
Happy April everyone! Now that gardening season is upon us all, Ms. Jeannie wanted to share a little garden project with you that she has deemed most helpful.
In the past Ms. Jeannie has always started her seedlings off in composted cardboard pots like this, which are supposed to be able to break down in the soil, pot and all, once you plant your seedlings in the garden…
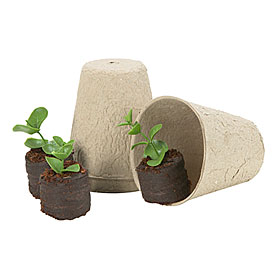
They are great at providing good vessels for growing seedlings but Ms. Jeannie always finds that once she plants them in the ground – they never fully disintegrate. She’s either left with a top ring to the pot or a chunk of side wall that inhibits the roots of the plant from growing out in one direction or another.
So this year, she’s trying a new seed starting option…the newspaper pot!

Because most newspapers are now printed with soy based inks, you can plant these cups directly in the ground once your seedlings are ready to be planted. They are fun, easy and inexpensive to make. Plus you are doing your part to recycle and also adding some compost to your garden!
Each pot takes about 4 minutes to make, so you can have a collection in under an hour and be well on your way to starting your spring garden.
Here is what you will need:
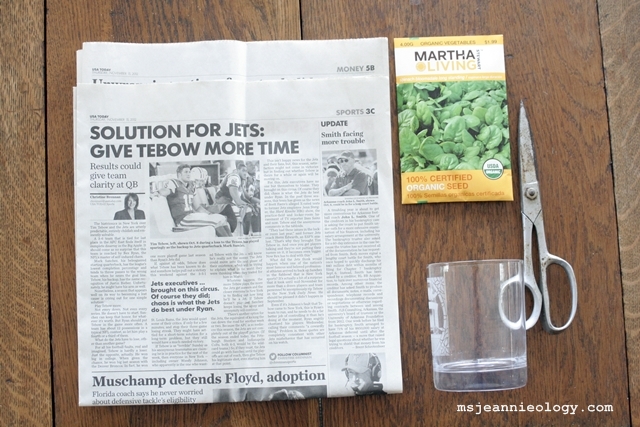
2 four page sections of newspaper
A 40z straight body juice glass (this is important to have a straight body juice glass as opposed to using a tapered or flared glass)
Step 1.
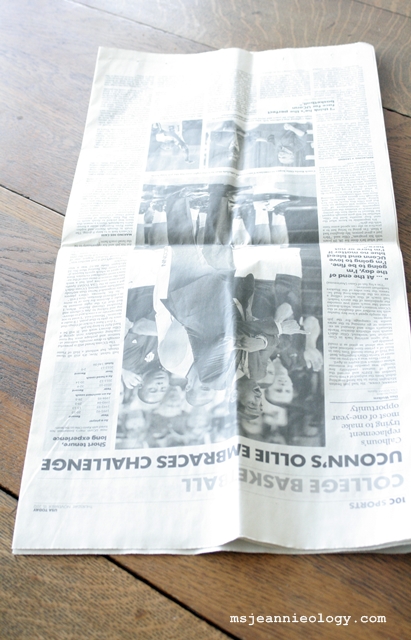
Unfold your newspaper to full length. Place both sections on top of each other.
Step 2:

Fold newspaper in half length wise making sure to line up the edges.
Step 3:

Next, take your glass (open end of glass pointing down) and place the bottom half of it on the edge of the newspaper and begin to roll the newspaper around the glass, making sure to keep the glass straight as you roll. This is where using a tapered glass is tricky, because the taper makes the glass roll in non-linear directions.
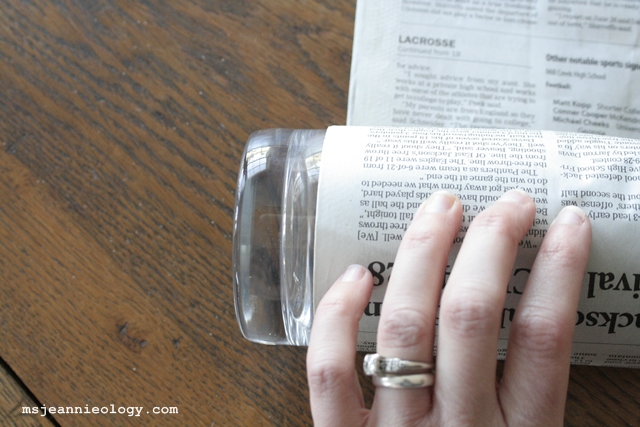

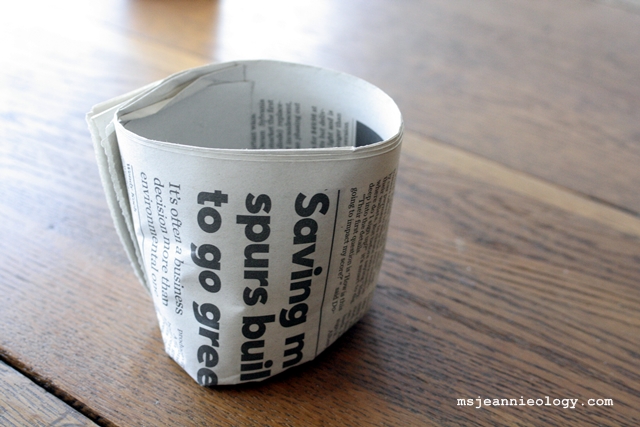
Continue rolling the glass all the way down the length of the newspaper. Once you reach the end, tuck the newspaper into the open end of the glass

So that it should like this…

Step 4:
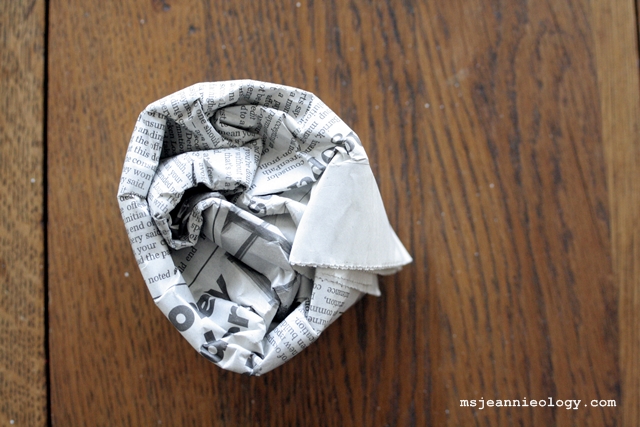
Next pull the glass out of the newspaper, this might take a minute if you rolled your glass really tight – you might have to sort of wiggle the glass out of the paper.
Once you remove the glass, you will wind up with a newspaper tube that looks like this…
Step 5:
Take your glass in your right hand, and place your paper cup on the table (in above manner). Insert the bottom of the glass into the paper opening and crush down the crinkled up paper in the bottom of the pot, which forms a floor for the container.
Pull your glass back out and the bottom of the pot should look something like this…

If you flip your pot over the bottom will look like this…
Flip your pot back around and you will be ready to fill it with gardening soil and seeds!
Ms. Jeannie placed her seed pots on a mesh screen frame so that air could get to it from all sides, but you can use any old tray if you like. By using two sections of newspaper you can now water your seedlings without your paper pot falling apart. If you just used one section of newspaper the pot would be too flimsy.
As soon as your seedlings get a few inches tall you can plant the whole paper package in the ground! Ms. Jeannie has planted spinach seeds in her pots which she will then transfer to terracotta container planters when they are ready.
By mid-May, she should be knee deep in fresh spinach!
She’ll keep you posted on the progress!


Well done to think of sothmeing like that
LikeLike