The Greenhouse Diaries Entry #6: How to Keep a Greenhouse Warm in Winter, Spring Seedlings and a Whole Lot of February

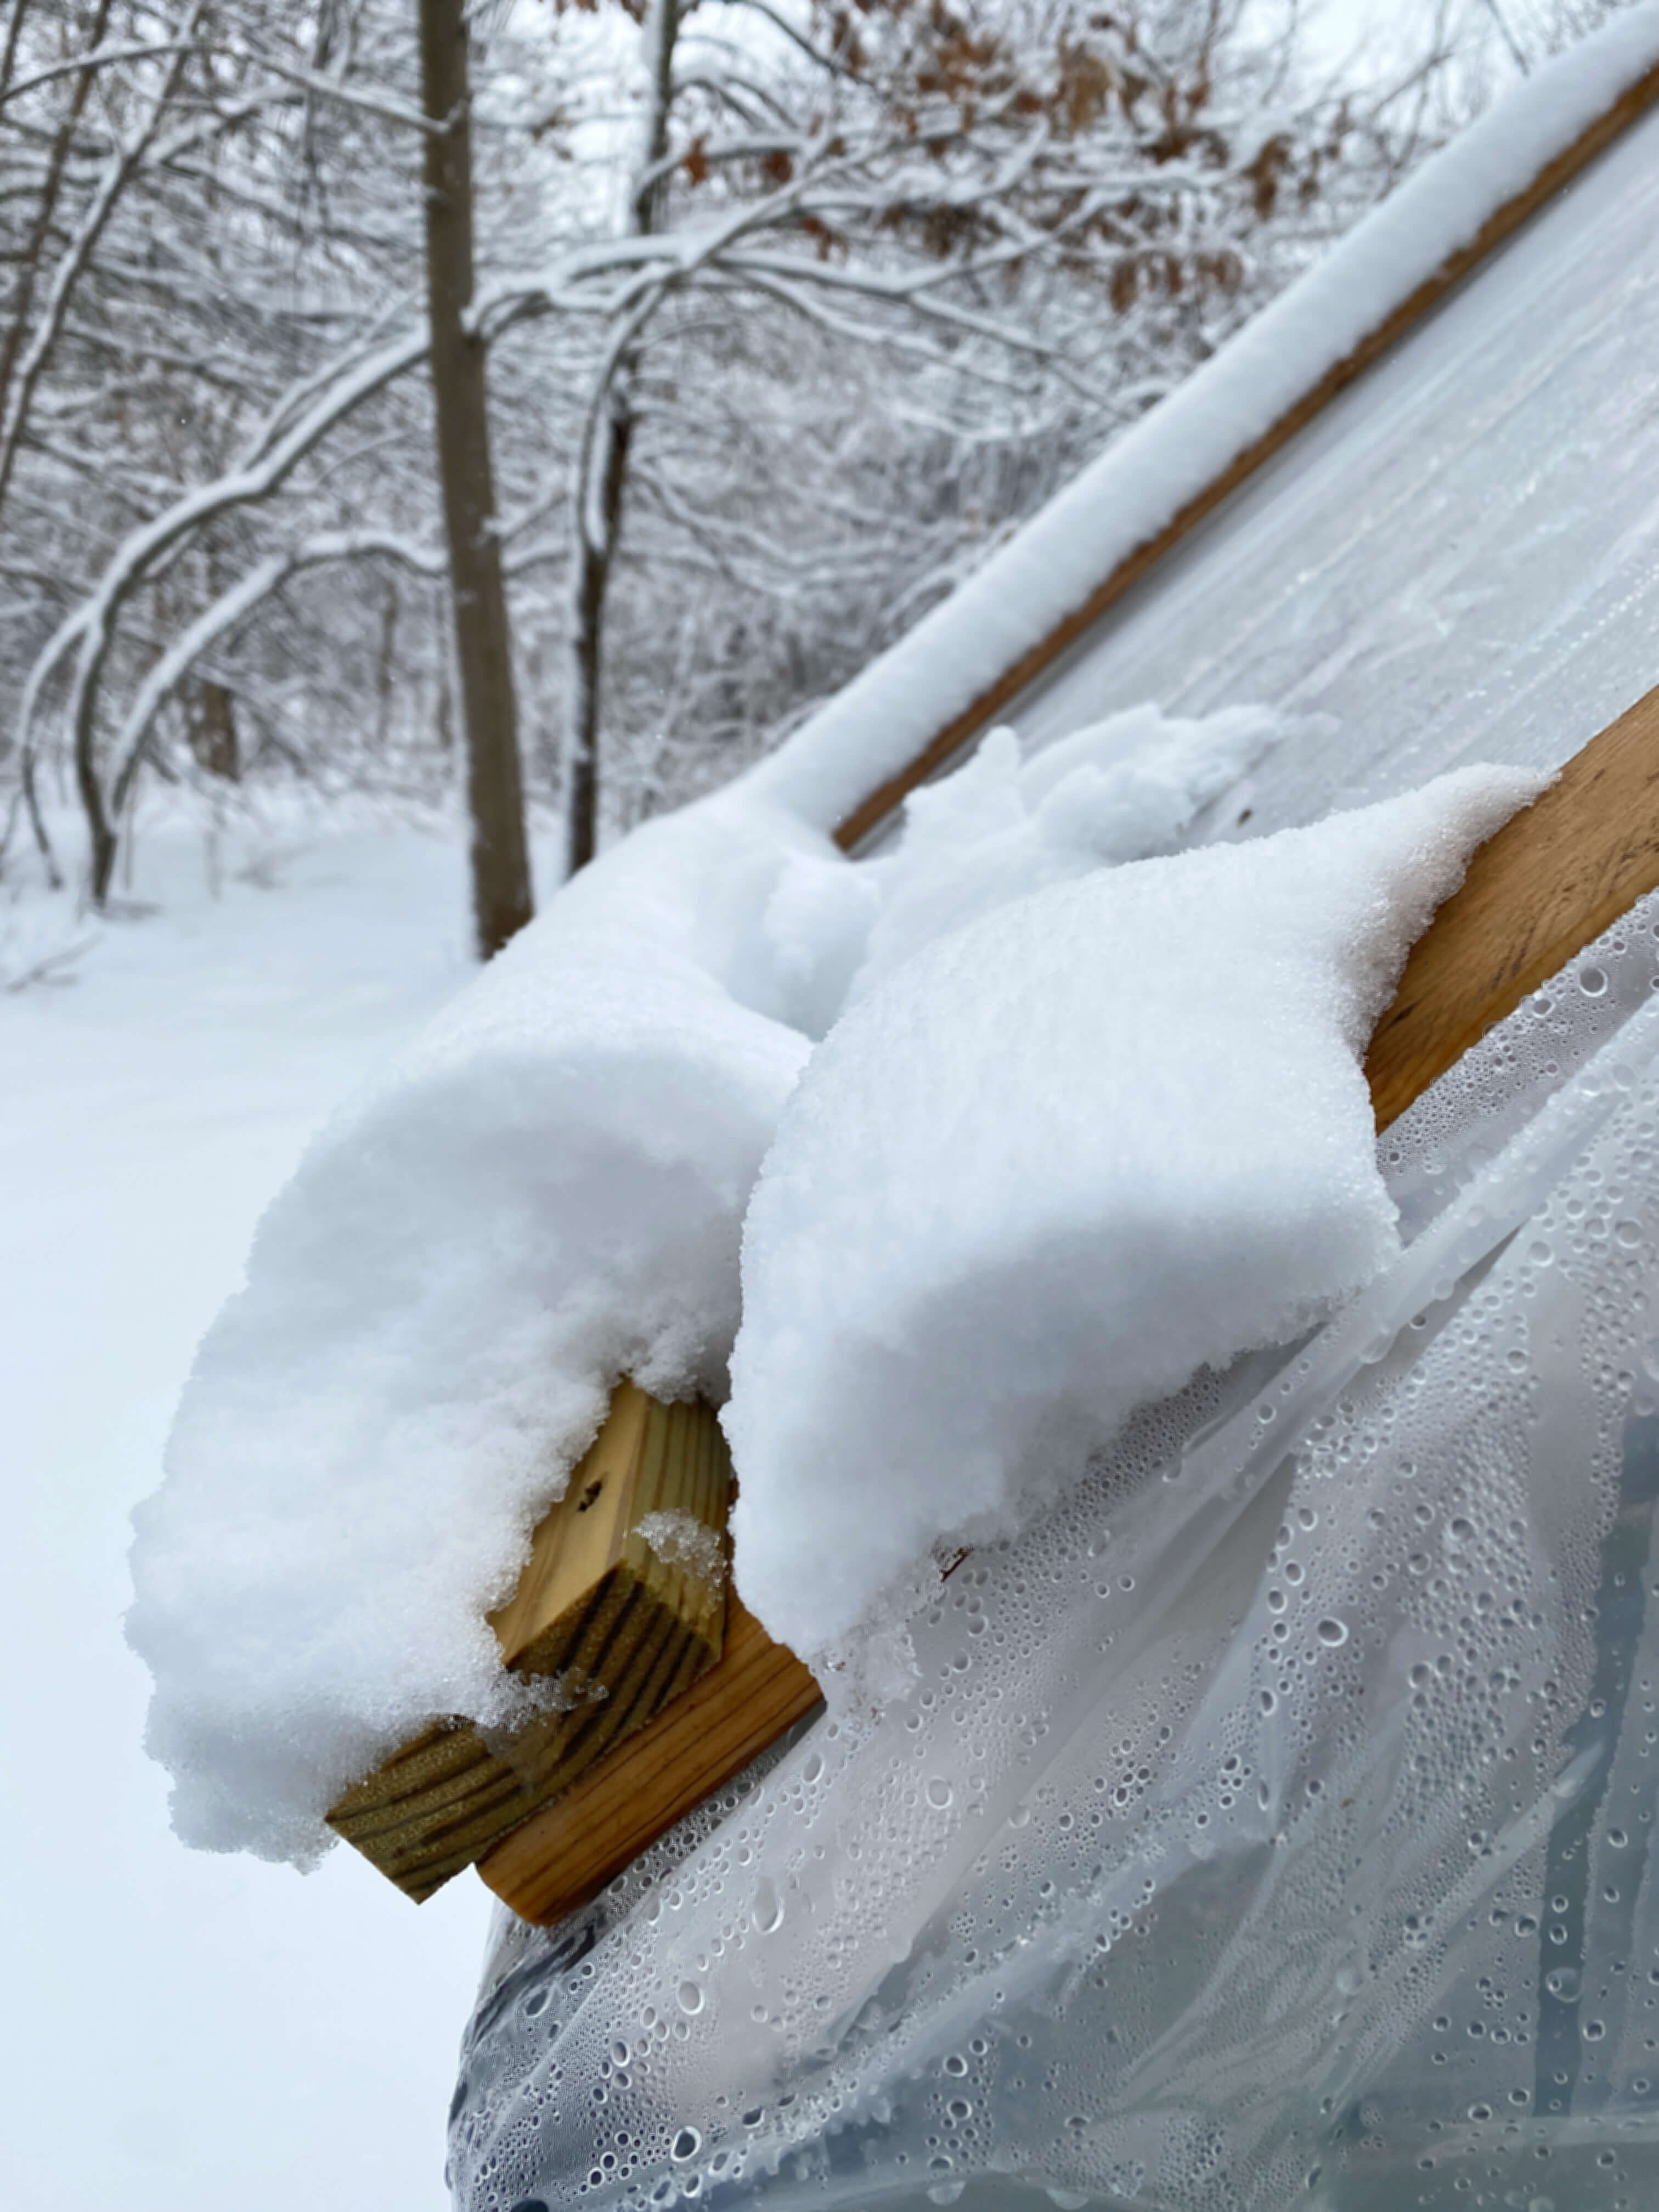
Wrap it up like a big present. In plastic. That’s how to keep a greenhouse warm in winter. Luckily, our greenhouse is small so this gift wrapping is not a giant undertaking. And it might not be the right solution for any big greenhouse owners, but for us, and our 4’x6′ growing station, this method of winterization has proved itself most competent. Like a champion, it weathered our second blast of single-digit-polar vortex temperatures in early February, it withstood wind gusts of 35 mph, and it embraced this week’s big snowstorm of 6.5″ inches all while maintaining an even 70-80 degree temperature range indoors. We can officially say, with confidence, that this is an ideal solution for any small greenhouse gardeners who live in a cold weather climate and struggle to keep plants warm throughout the winter.

We got a little behind in our greenhouse diaries updates, but by no means was February an uneventful month around here. As we all know, nature waits for no one. What was exciting twenty days ago in the greenhouse has now been replaced by exciting things happening at this very moment, so this post is a catch-up, a recap, and a new surprise all rolled into one in an effort not to make it a million miles long.

The front side of the greenhouse with a roll-up curtain panel to gain entry.

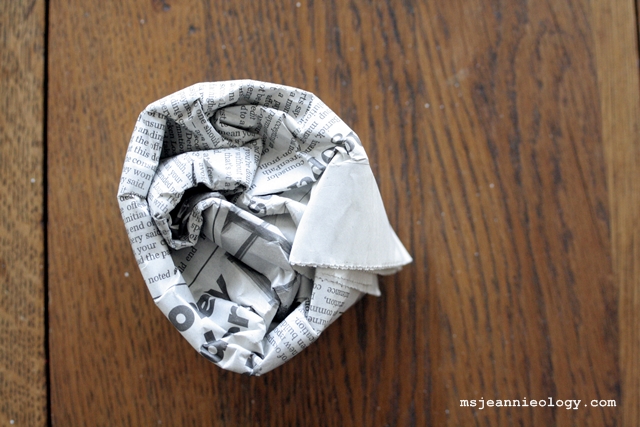
Here’s a brief recap on the winterization efforts. Essentially, in less than half a day, we built a wooden exoskeleton around the shoulder and roofline of the greenhouse and then wrapped the greenhouse in one giant piece of plastic. The plastic was stapled to the wooden skeleton which was screwed together but not screwed into the greenhouse. Instead, the wood frame rests on top of the greenhouse, secured by gravity from the wooden connection at the peak of the roof.

The backside of the greenhouse.

A 5′ foot wide roll-up curtain panel was made for the door using a curtain rod at the base and more plastic sheeting. Four bungee cords hold the plastic in place along each wall and two butterfly clamps hold the rolled-up panel in place when going in and out of the greenhouse. All it took material-wise was one roll of the plastic sheeting, six pieces of lumber, a curtain rod, a handful of screws, four bungee cords, and two butterfly clamps. If anyone would like a detailed drawing on how to replicate this plastic wrap for your own greenhouse, please send us a message or comment below and we’ll be happy to lay out the steps and materials.

Most days we leave the door panel rolled up to let a little outside air seep in through the draft in the doorframe. Just before dusk, it all gets buttoned back up again. Once winter is over, we will be able to easily remove, wrap up and save this plastic/wood frame system for the cold months later in the year. Using this type of winterization method and our one electric heater has kept the greenhouse a full 50-60 degrees warmer inside than the outside temperature. So on a 25-degree night, it will stay a consistent 75 degrees in the greenhouse. Some days, when the sun is out, the plastic keeps everything so warm we can turn the heater off completely. Both the established plants and the seedlings have really thrived in this much more consistent environment.

The Mexican sunflowers!

The only downside to this method of winterizing is that all the ventilation holes, the roof window, and each side wall from the pea gravel floor to the peaked roof get completely covered with plastic so there isn’t as much free air flow or circulation happening, and the view is reduced to a gauzy, opaque landscape once inside. The trapped heat is great for keeping everything inside warm but also invites pests to come and enjoy the tropical heat.

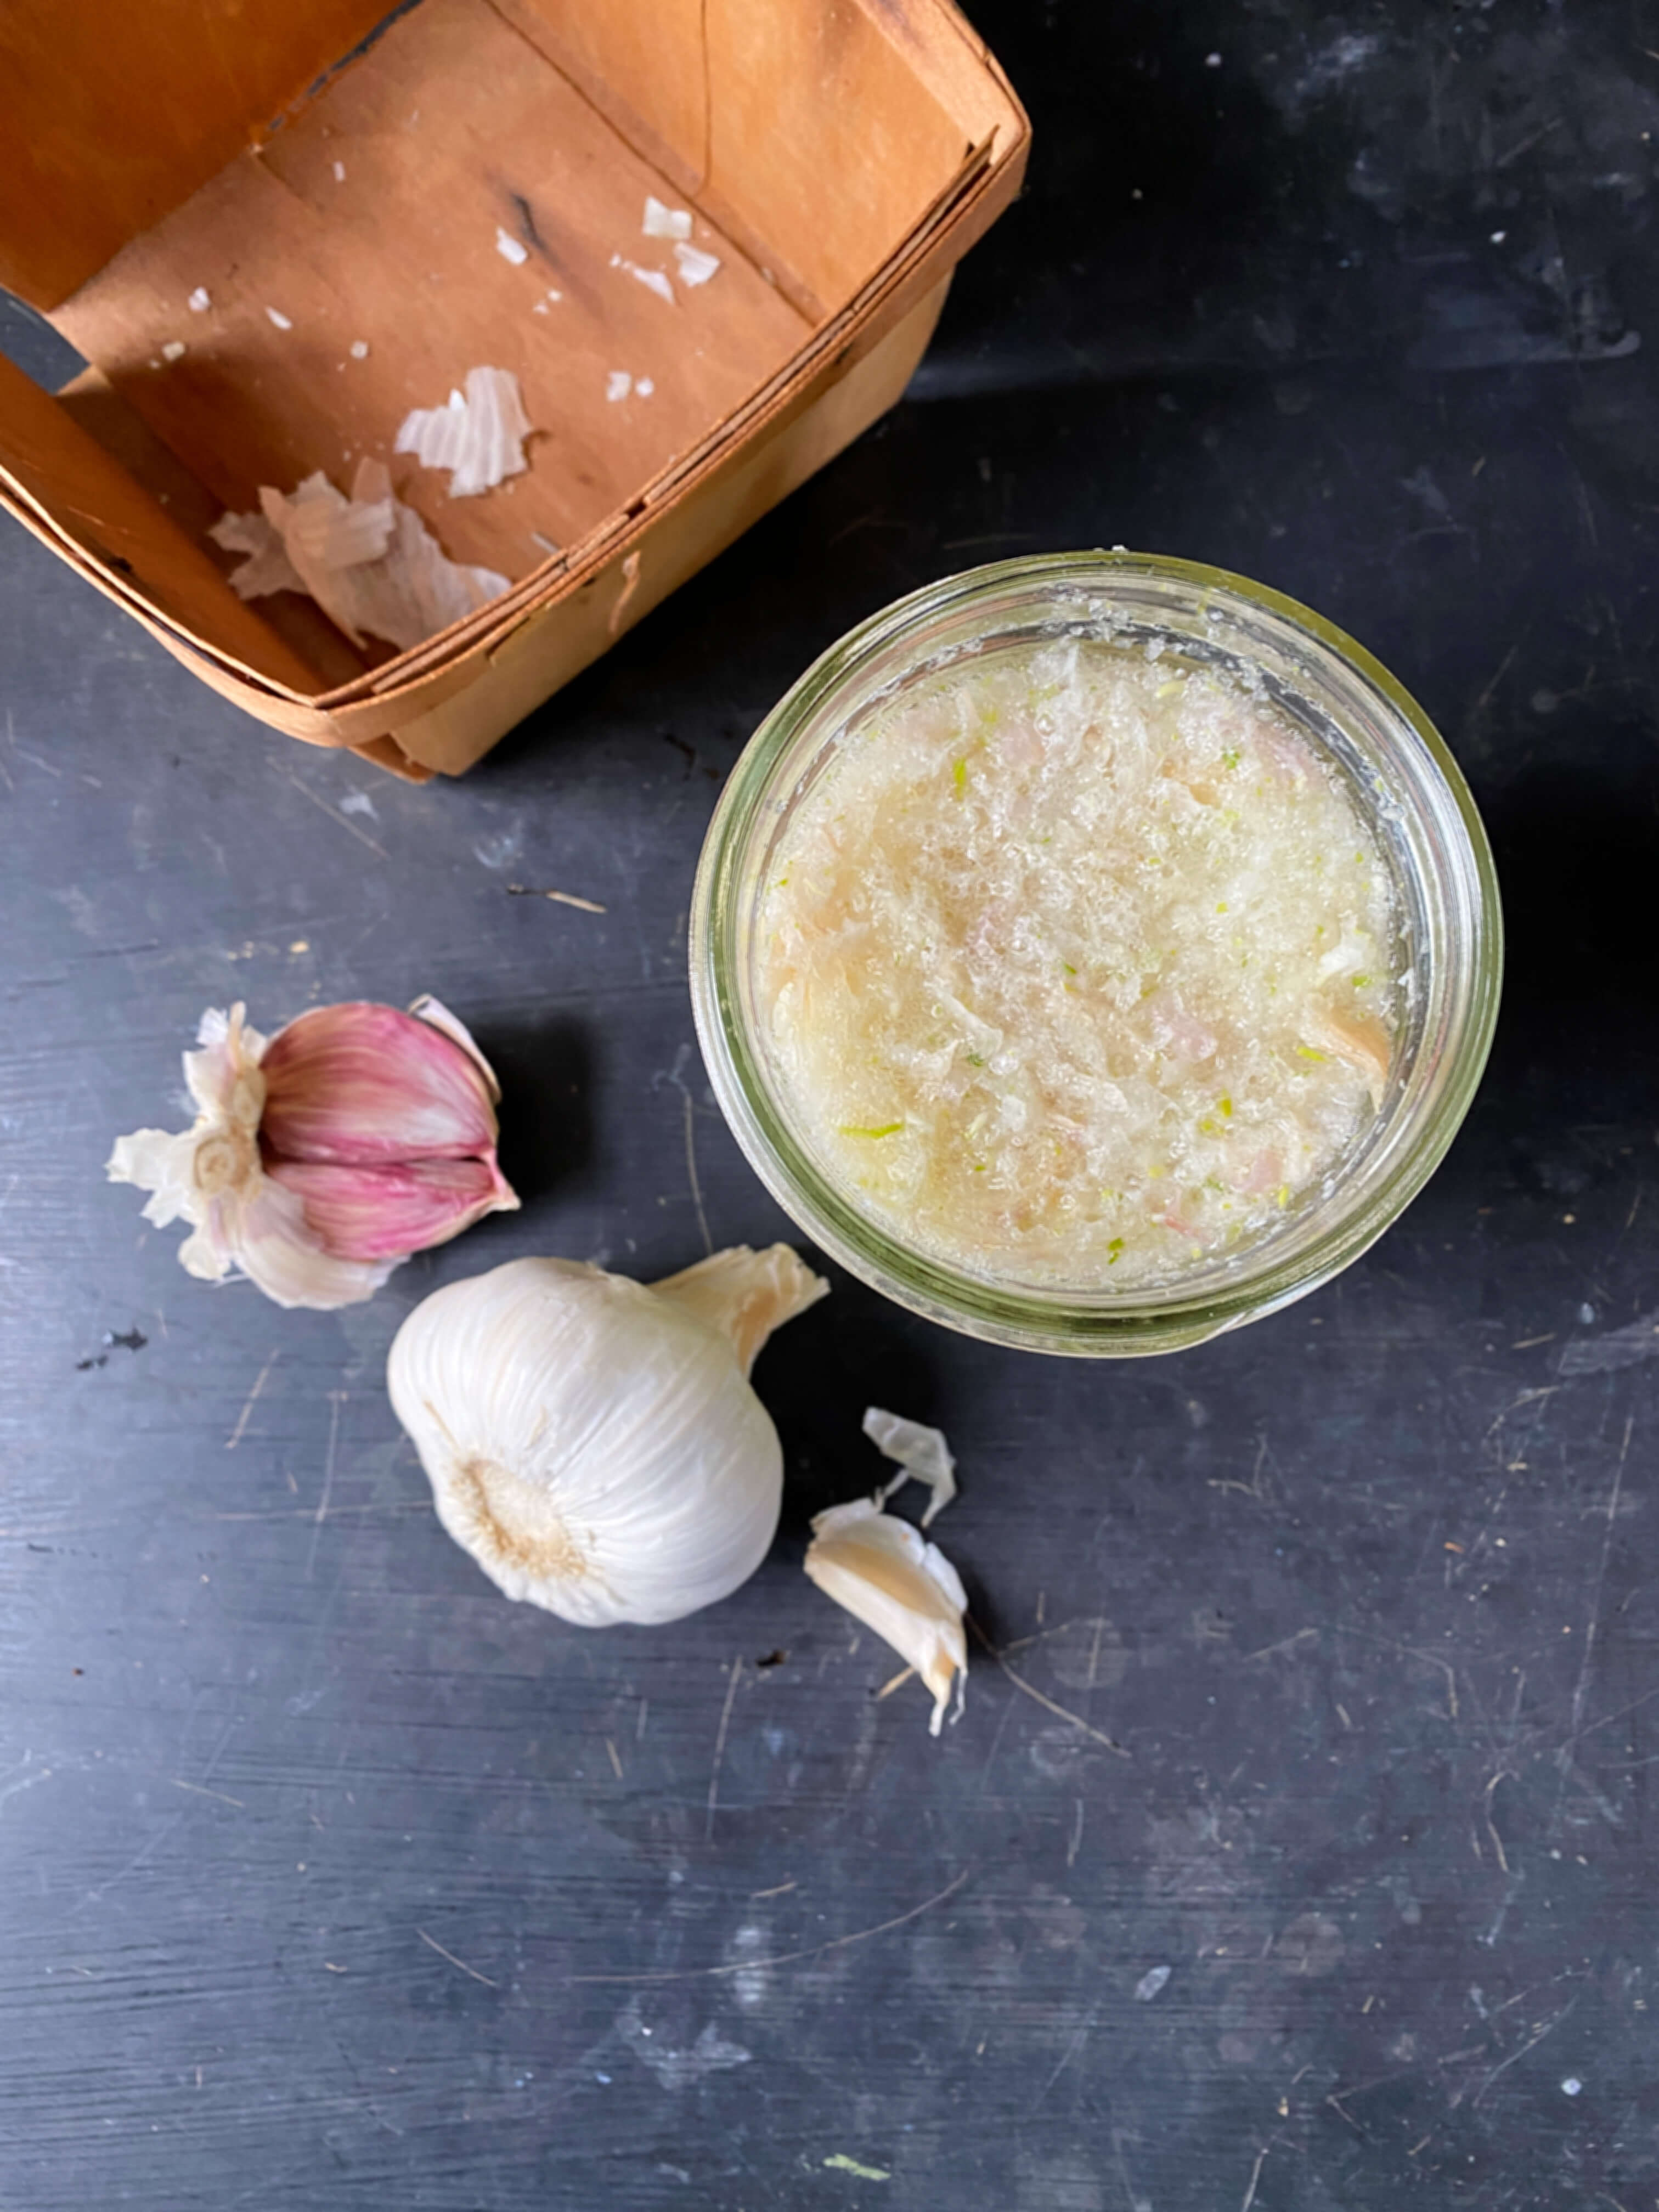
Over the course of February, we did see an outbreak of aphids, whiteflies, and spider mites, but a simple spray of homemade garlic water and store-bought organic neem oil did the trick to clear those up quickly.

Pureed garlic steeped in water for 24 hours before straining and applying.

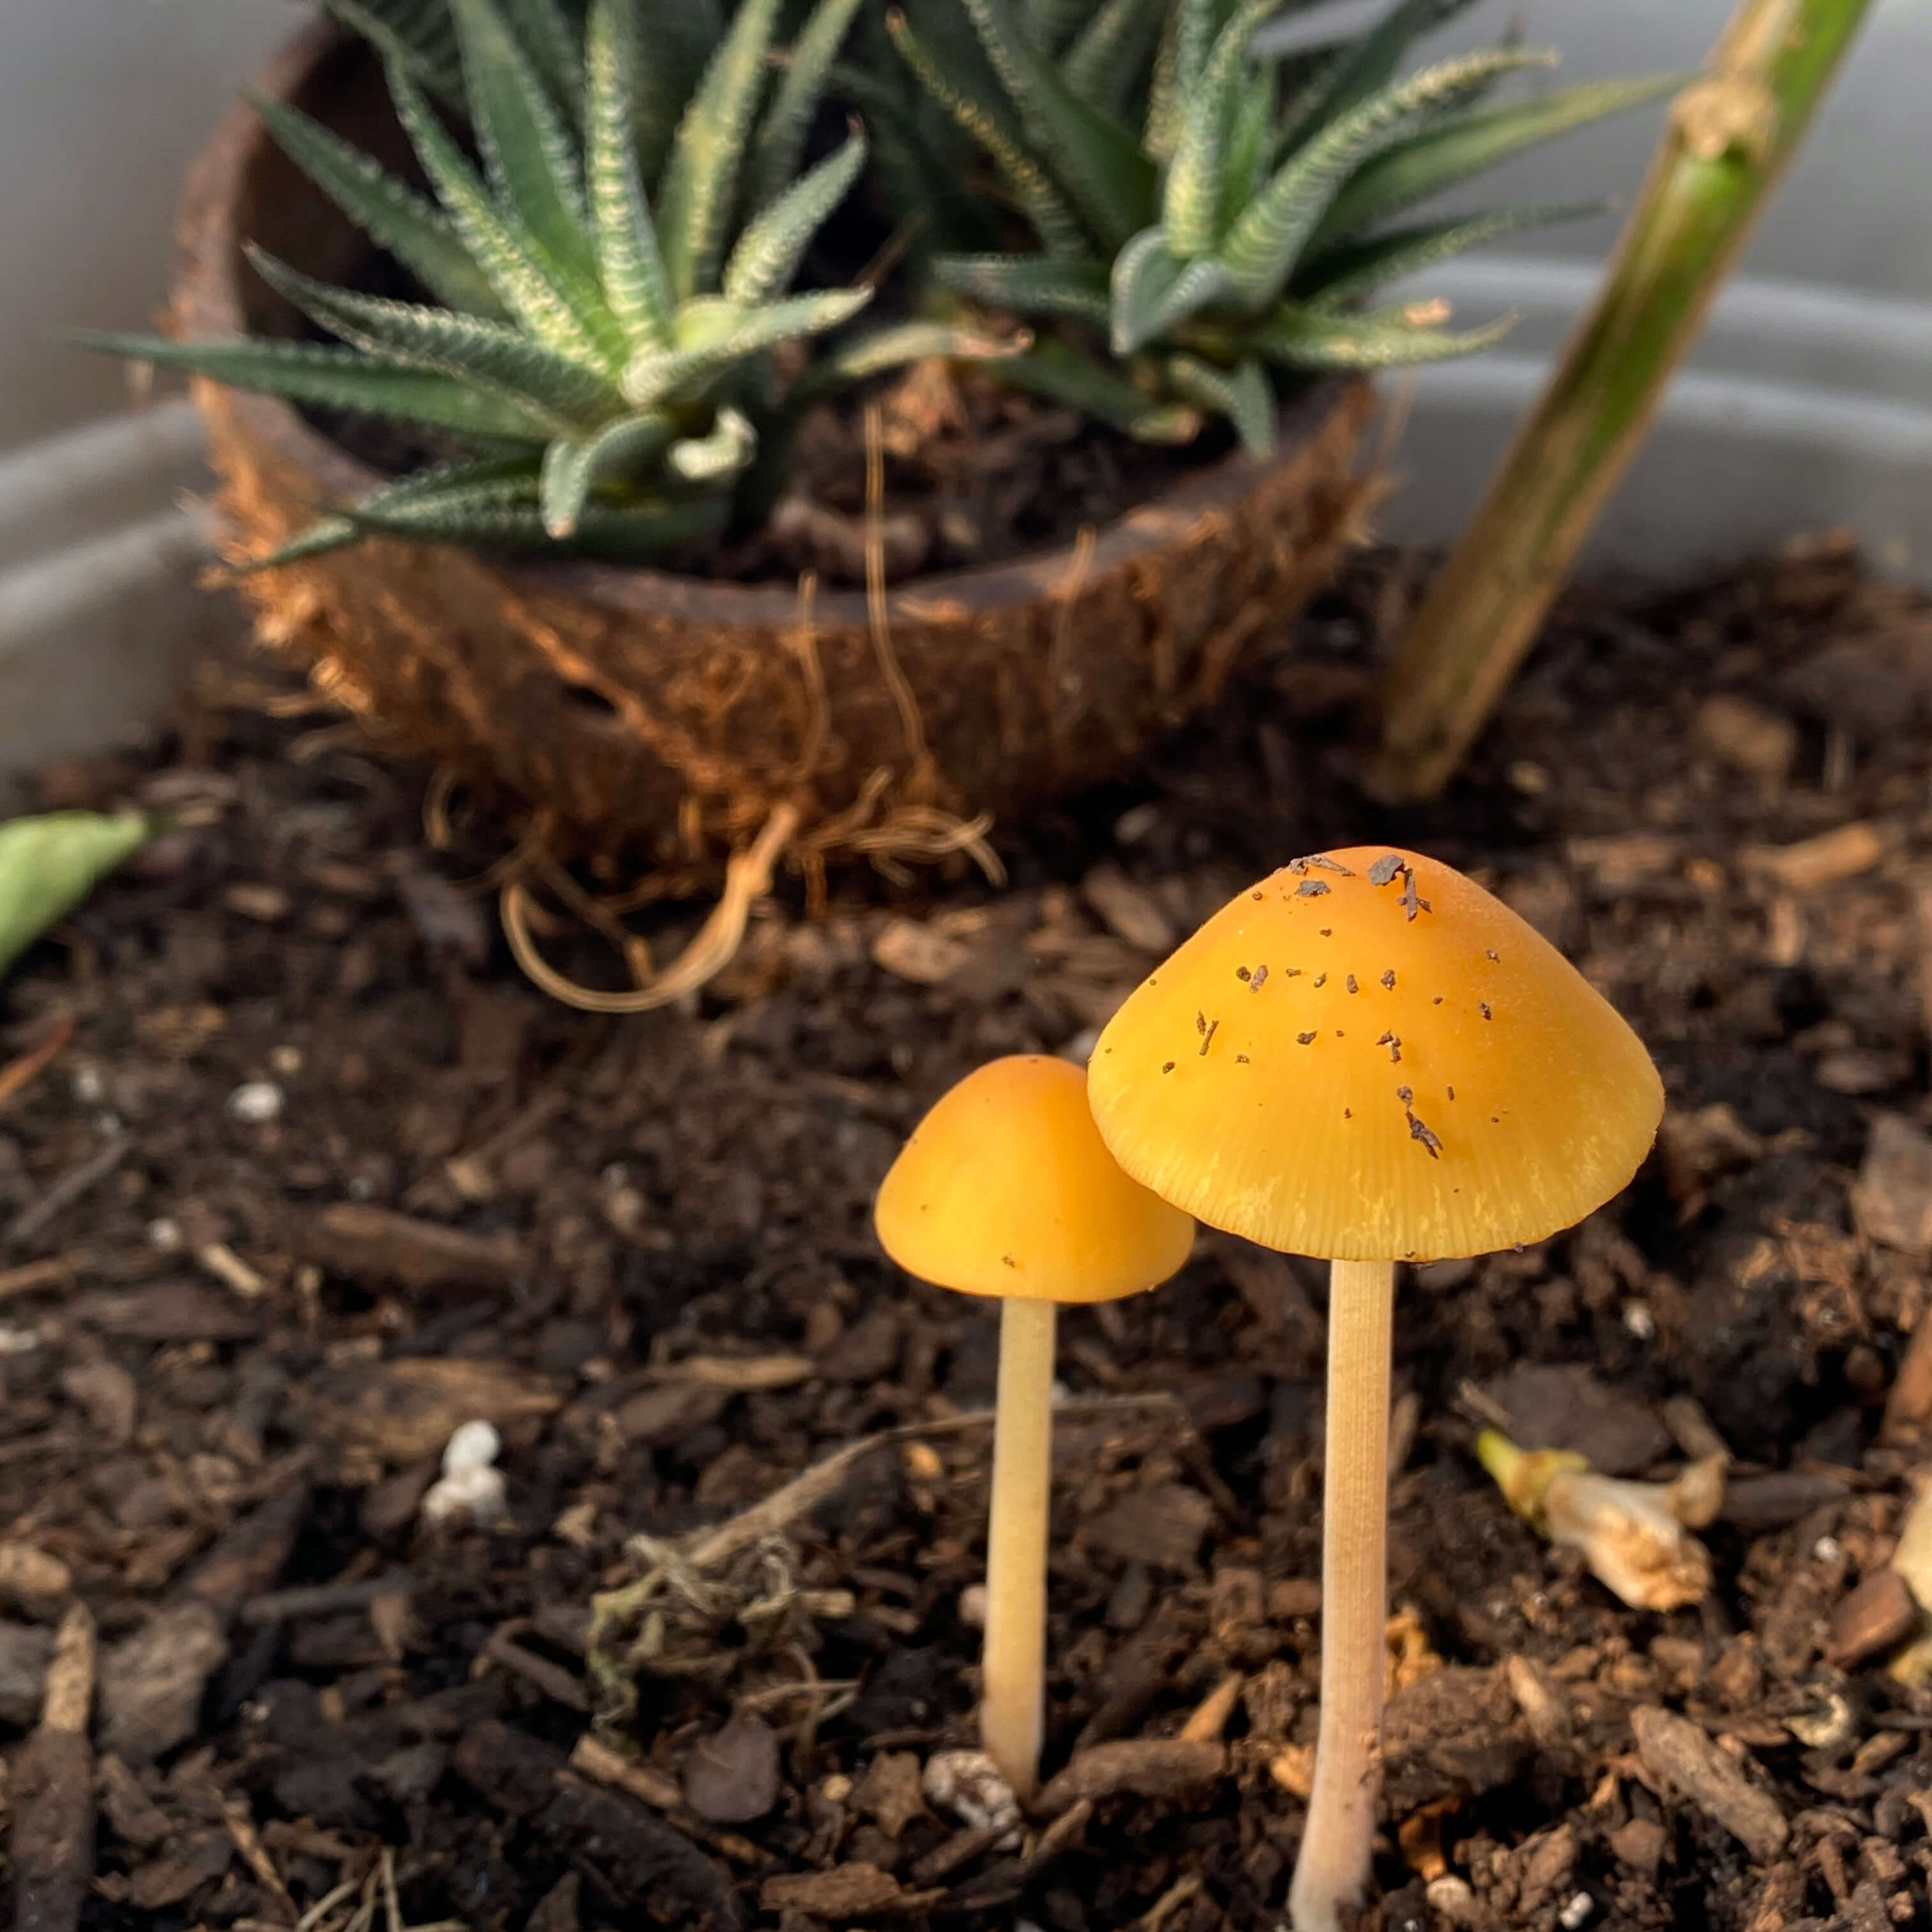
One note on the Neem oil though – it does get rid of everything. We had some mushrooms that popped up in the pepper plants in January and also two resident spiders who were helping reduce the unwanted bug population, but unfortunately, mushroom nor spider survived the neem spray. So keep that in mind if you have some critters that you’d like to keep around.

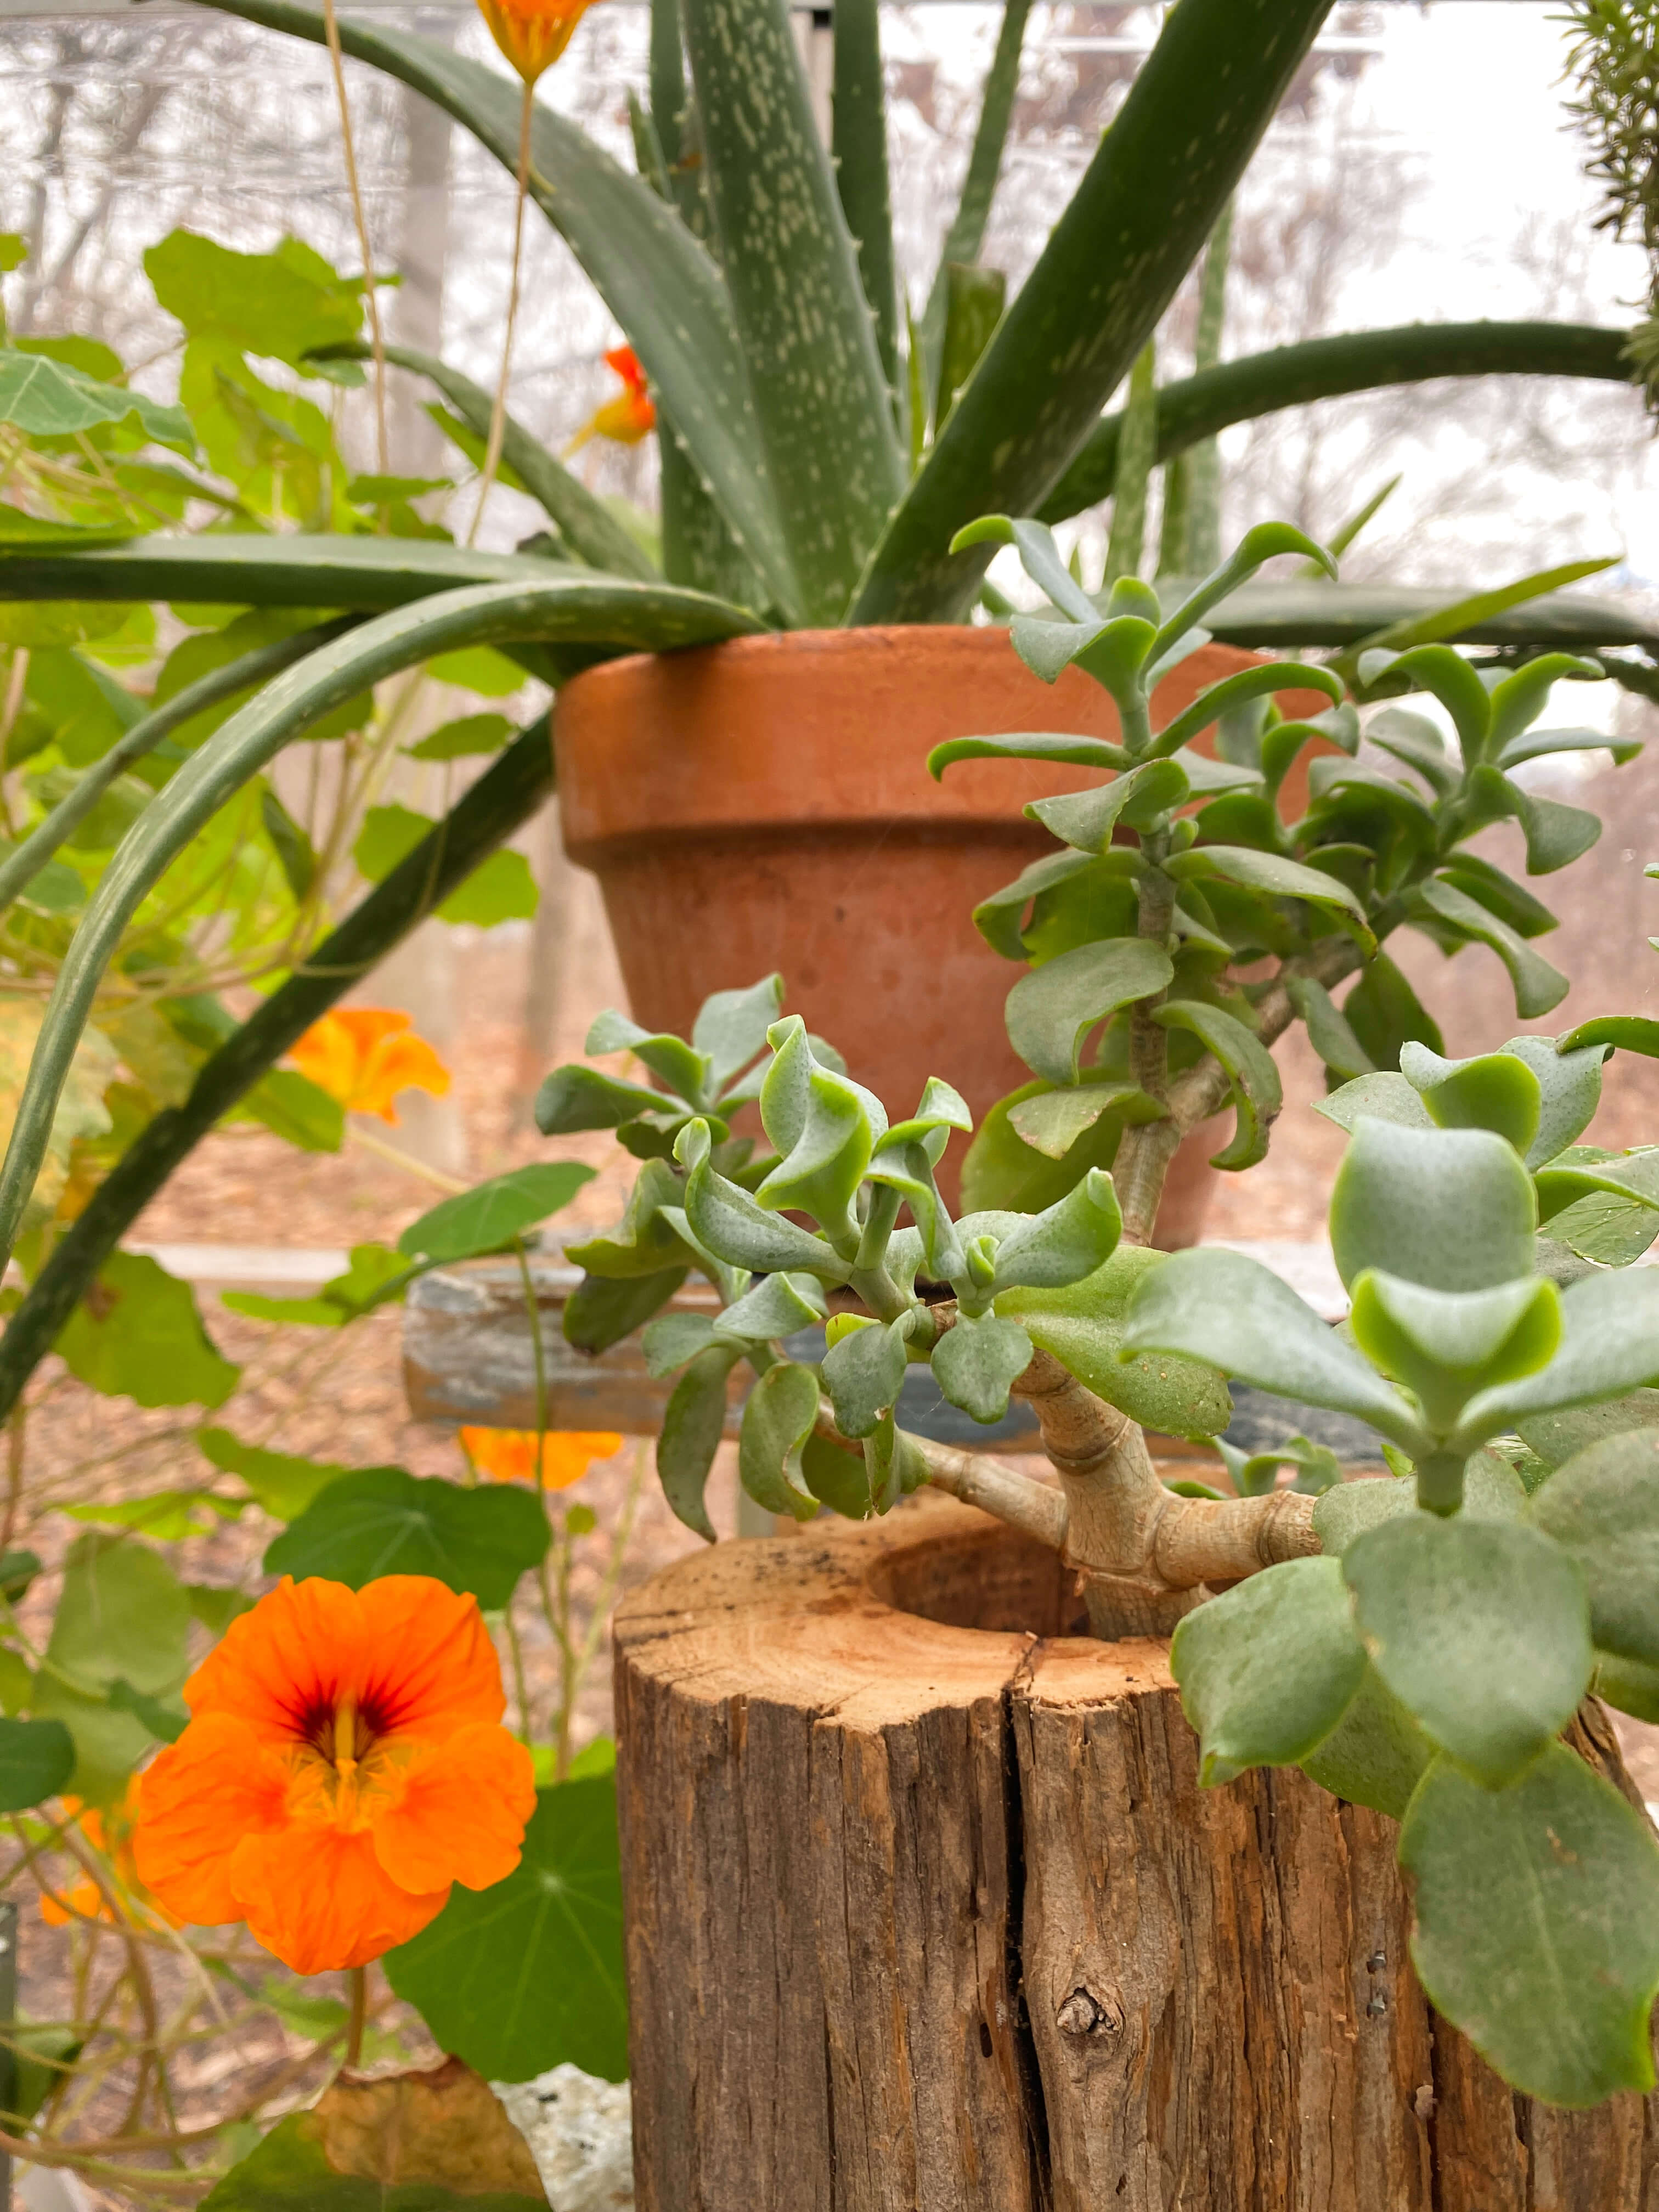
Over the course of the month, we said goodbye and hello to a few plants. The broccoli, the pincushions, and our beautiful nasturtiums all completed their natural life cycle. As much as I hated to see these three go, at least they were moving on to the compost pile for nutrient recycling. Like our sourdough starter recipe published last week, all these first-year greenhouse plants have been the best springboards – the ones that taught us so much about how to begin in the first place. Before their final send-off, I picked the last of the nasturtiums for a bouquet. It was a big colorful cheers and thank you to my most loved flower this season…

The last of the nasturtium flowers in a bouquet of geraniums and parsley.

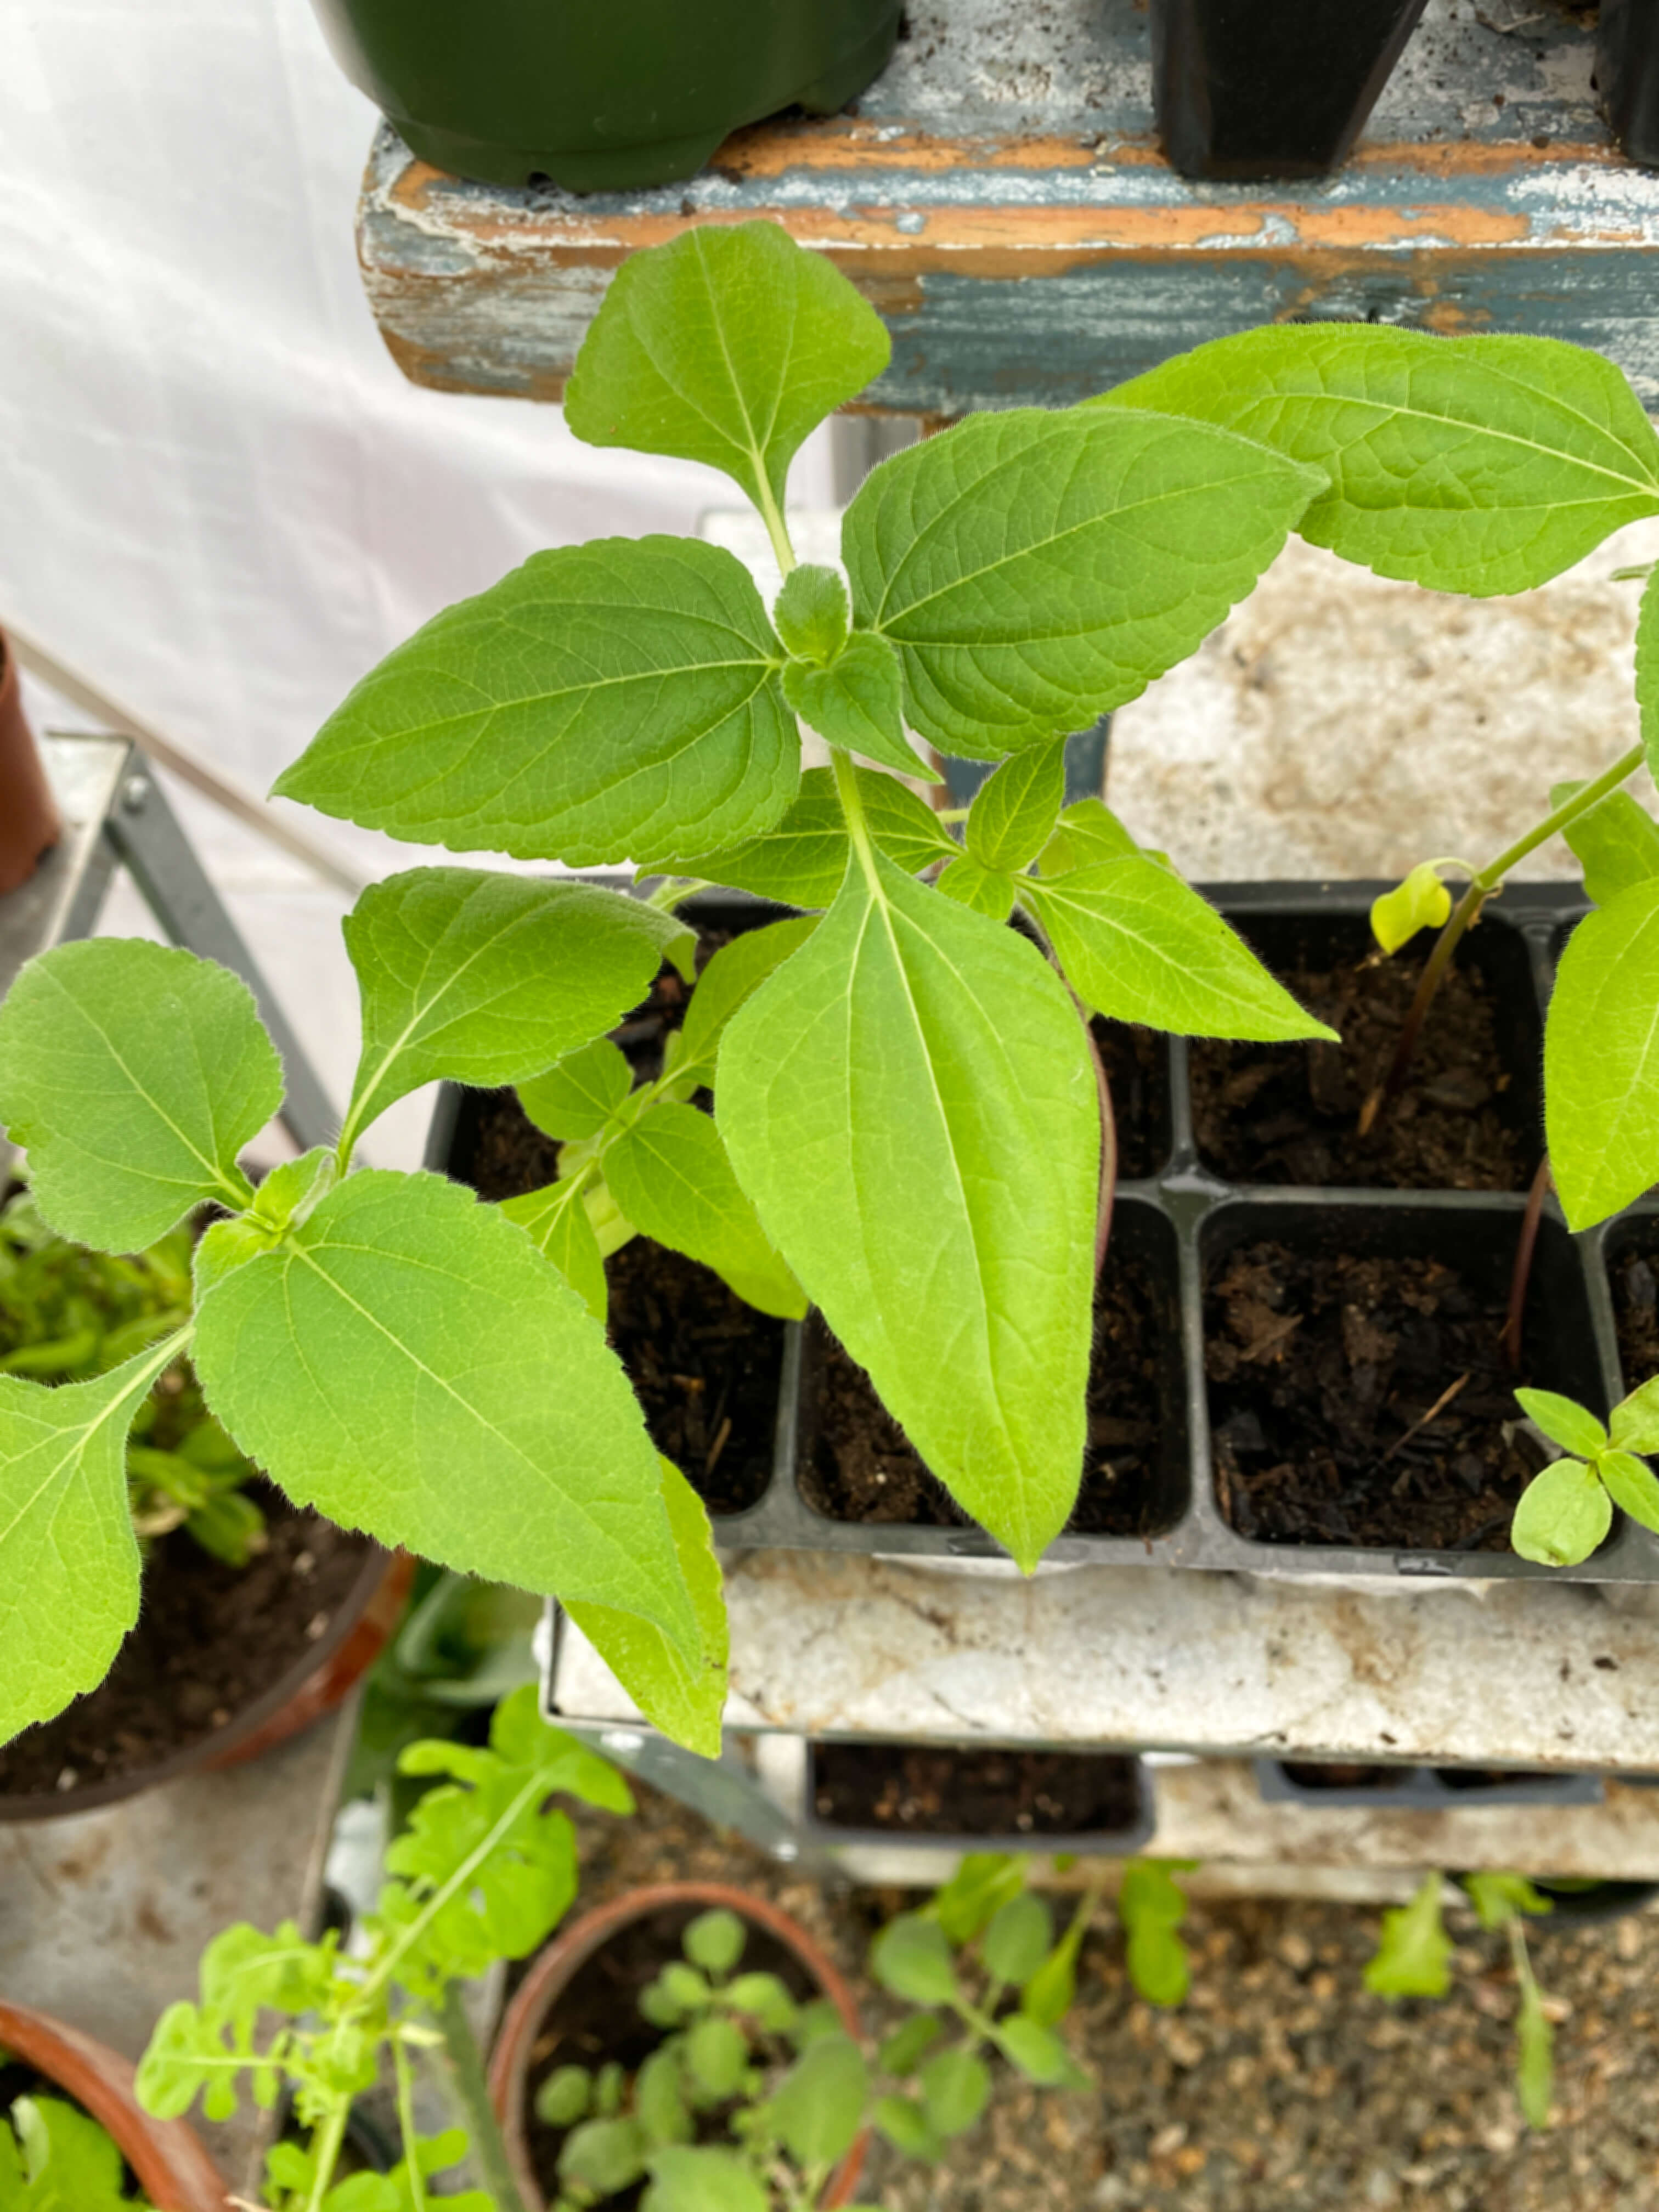
On the hello side, we said welcome to a bevy of new seedlings as they sprouted up this month. Snapdragons, foxglove, basil, black-eyed Susan vine, cucamelons, bell peppers, spicy peppers, cosmos, dill…

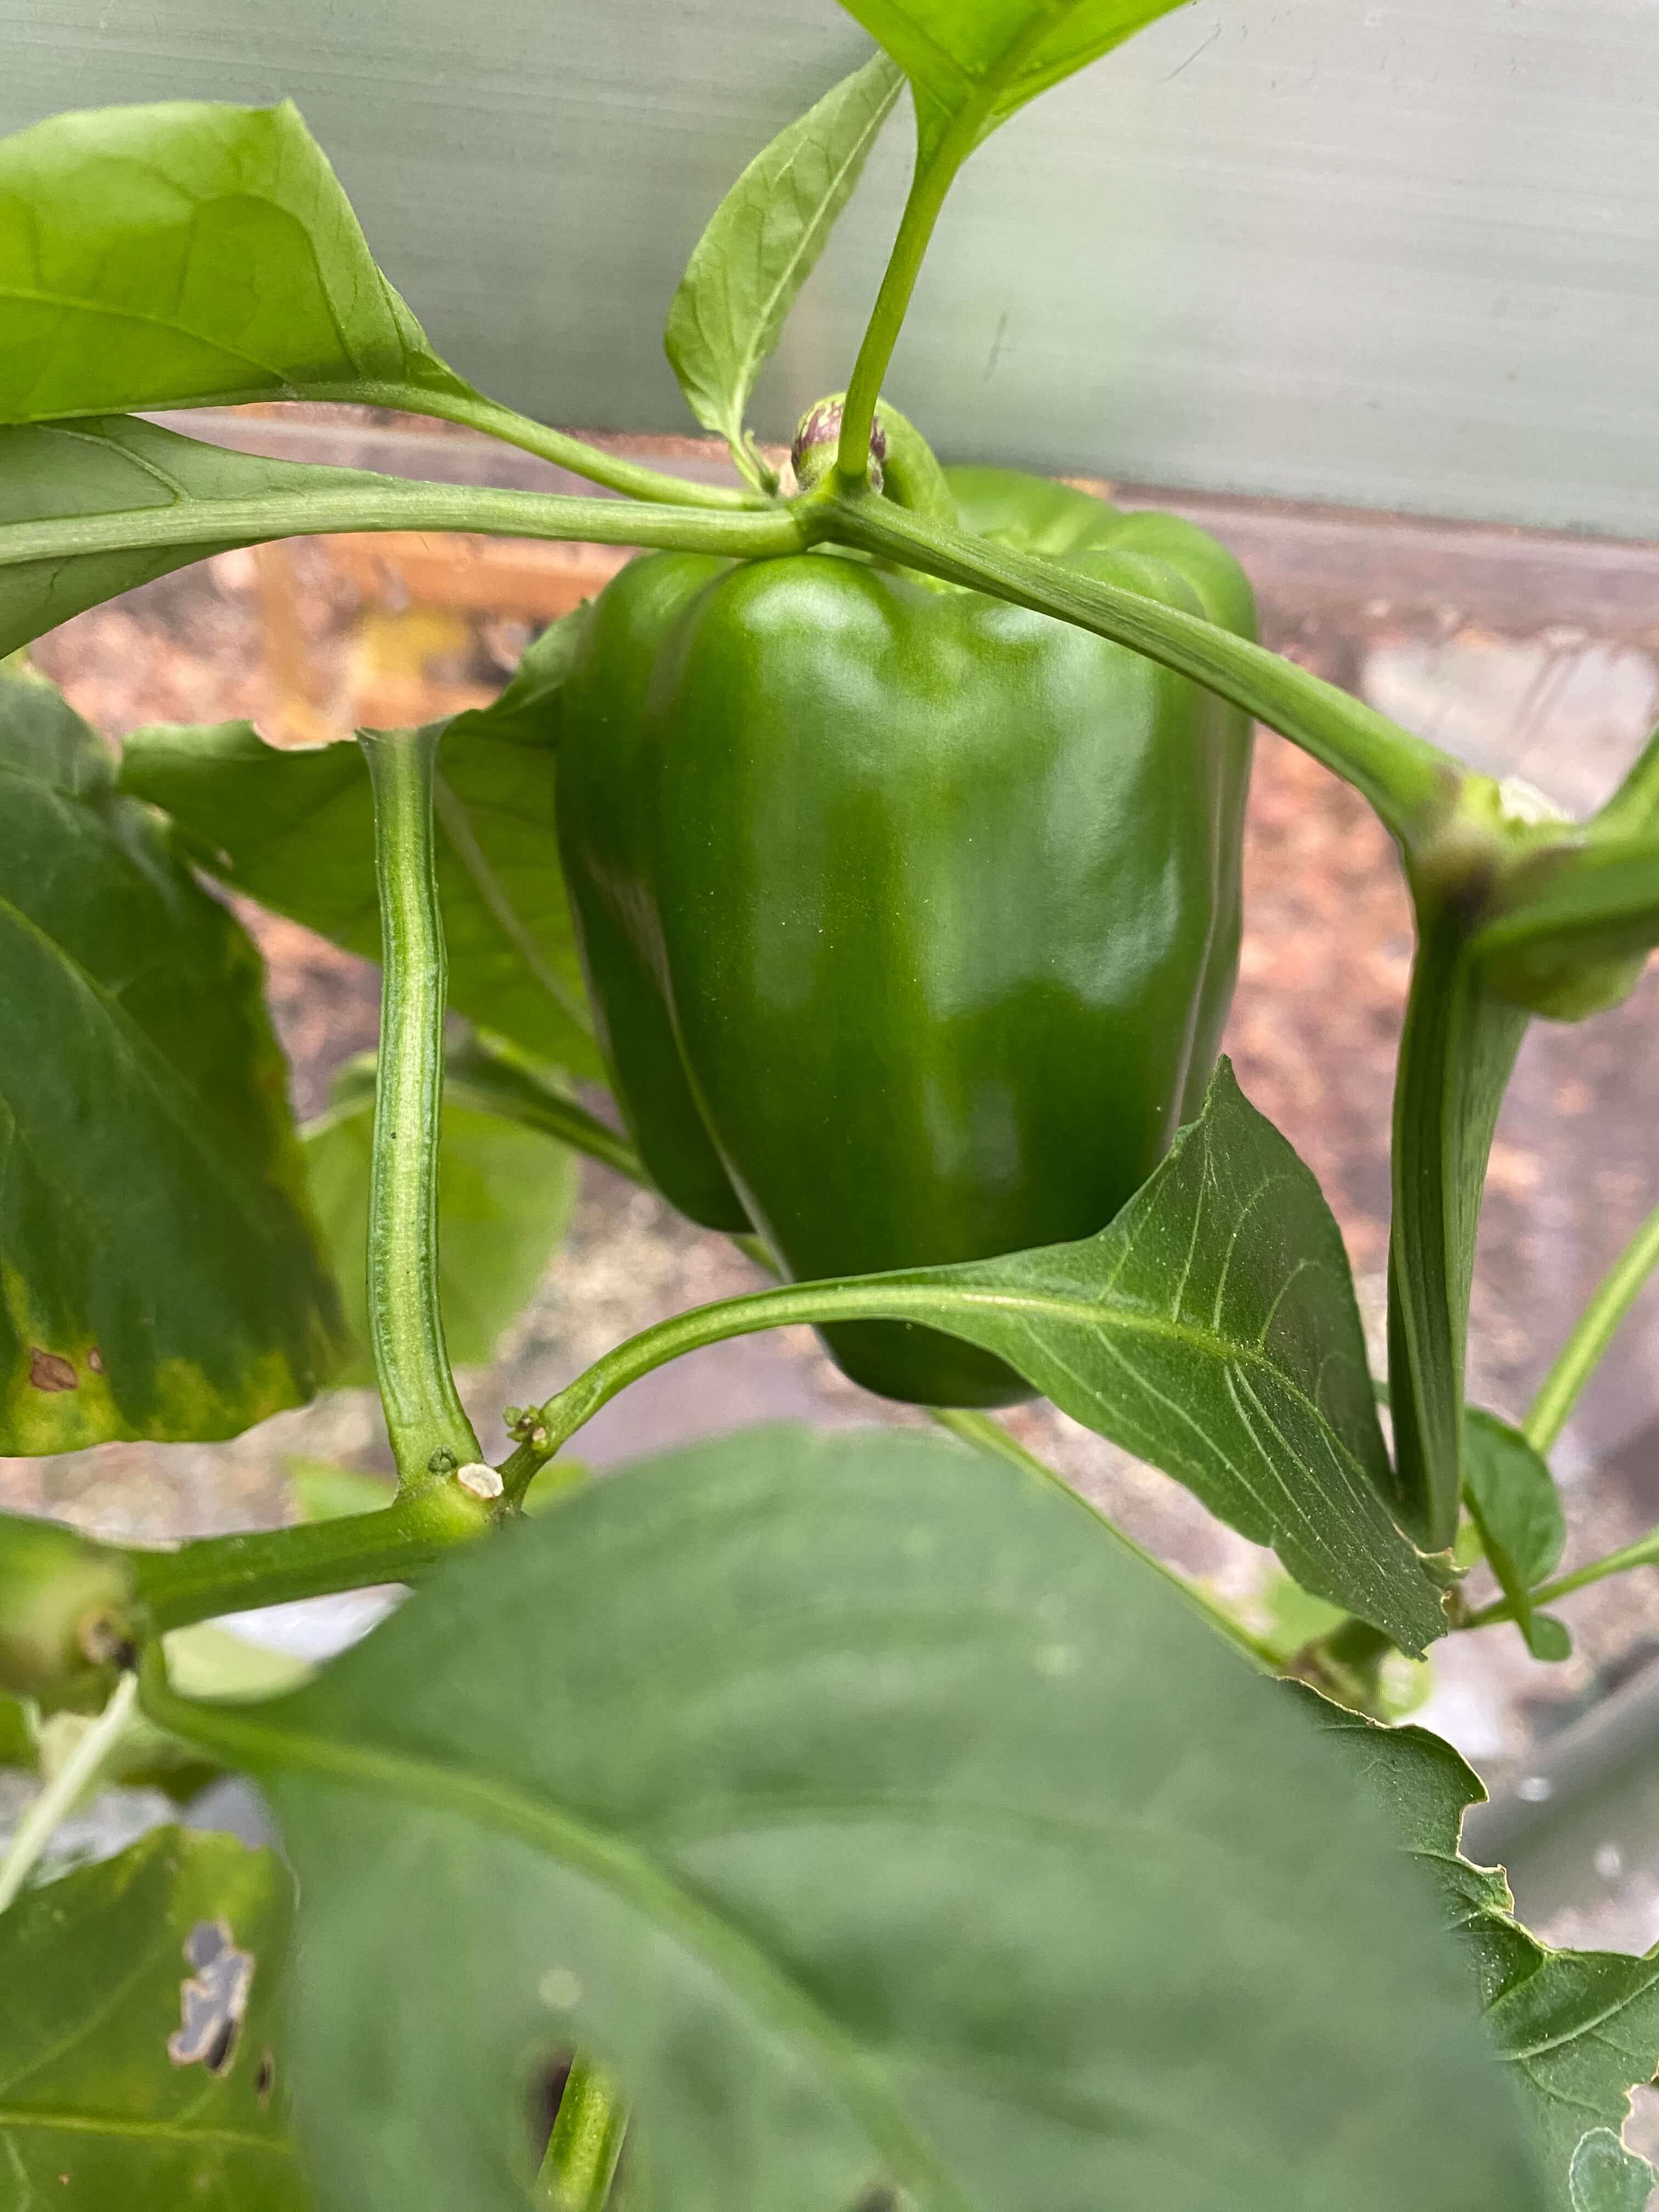
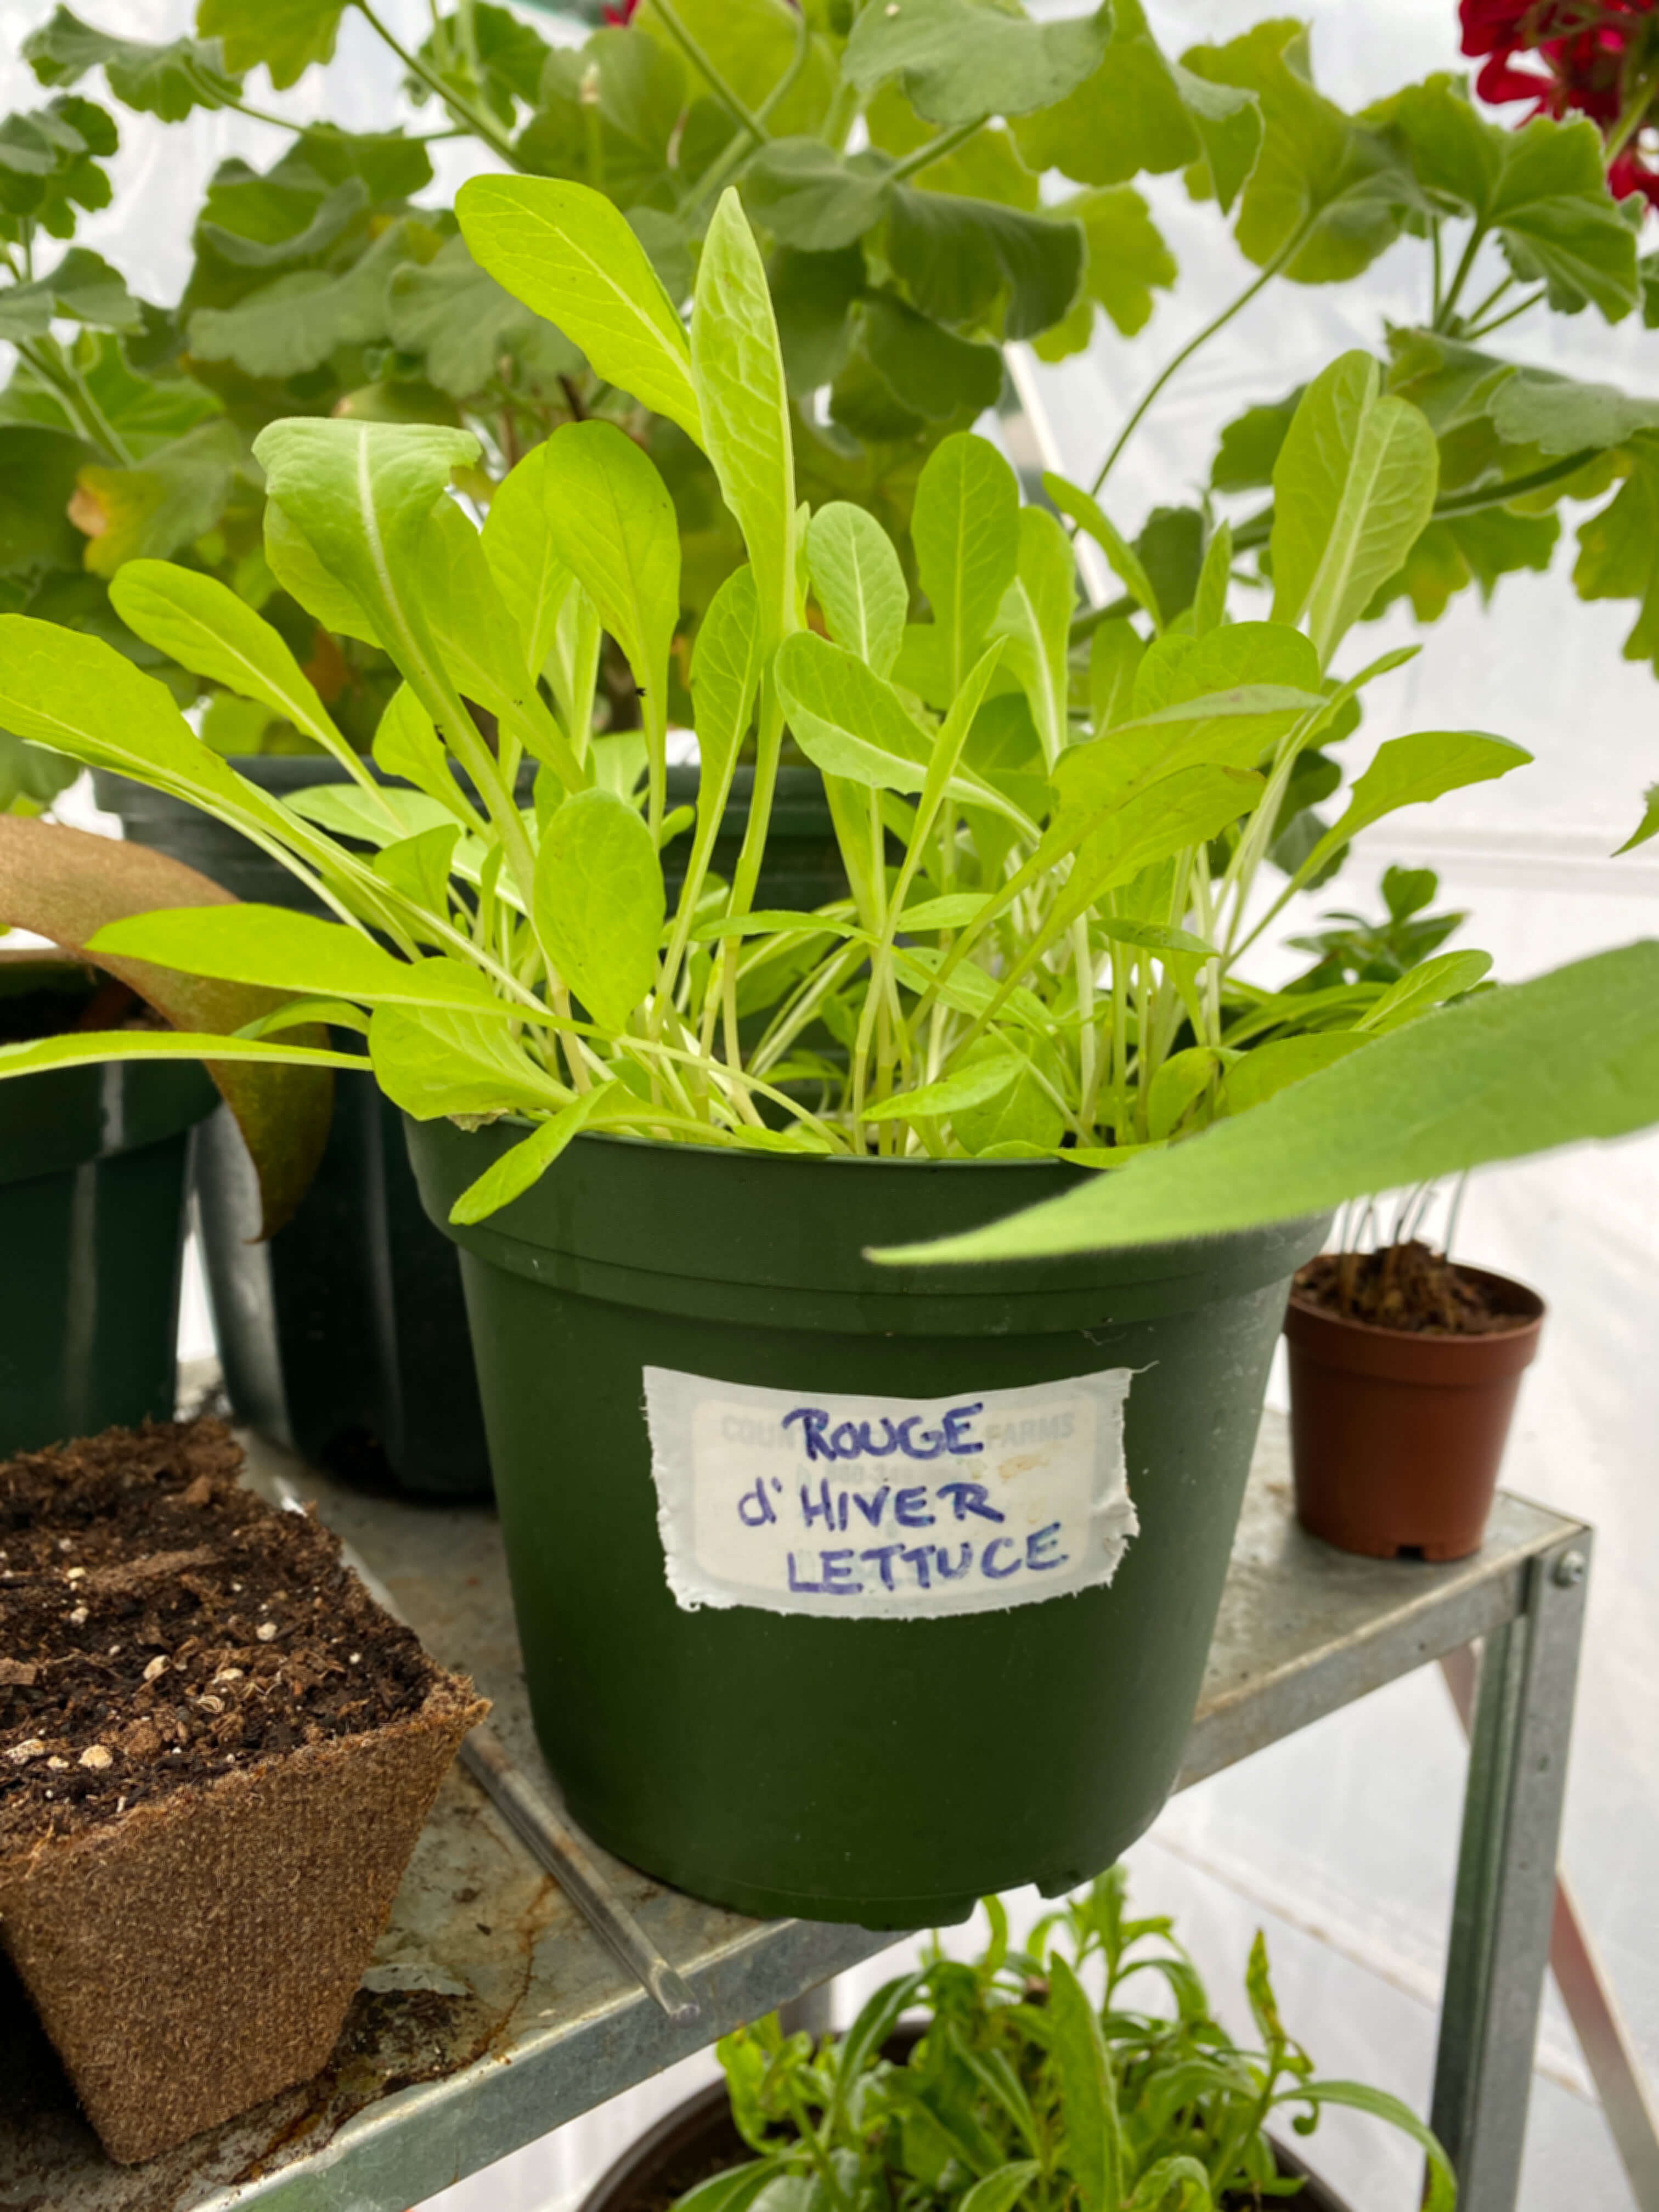
We harvested the orange bell pepper for a stuffed pepper recipe, the first round of collard greens for a sausage, potato, and collard hash, and the arugula for more salads than we can count. The chives, lavender, and tarragon all got haircuts and the Santaka grew five finger-long peppers.

Collard greens!

Santakla Peppers!

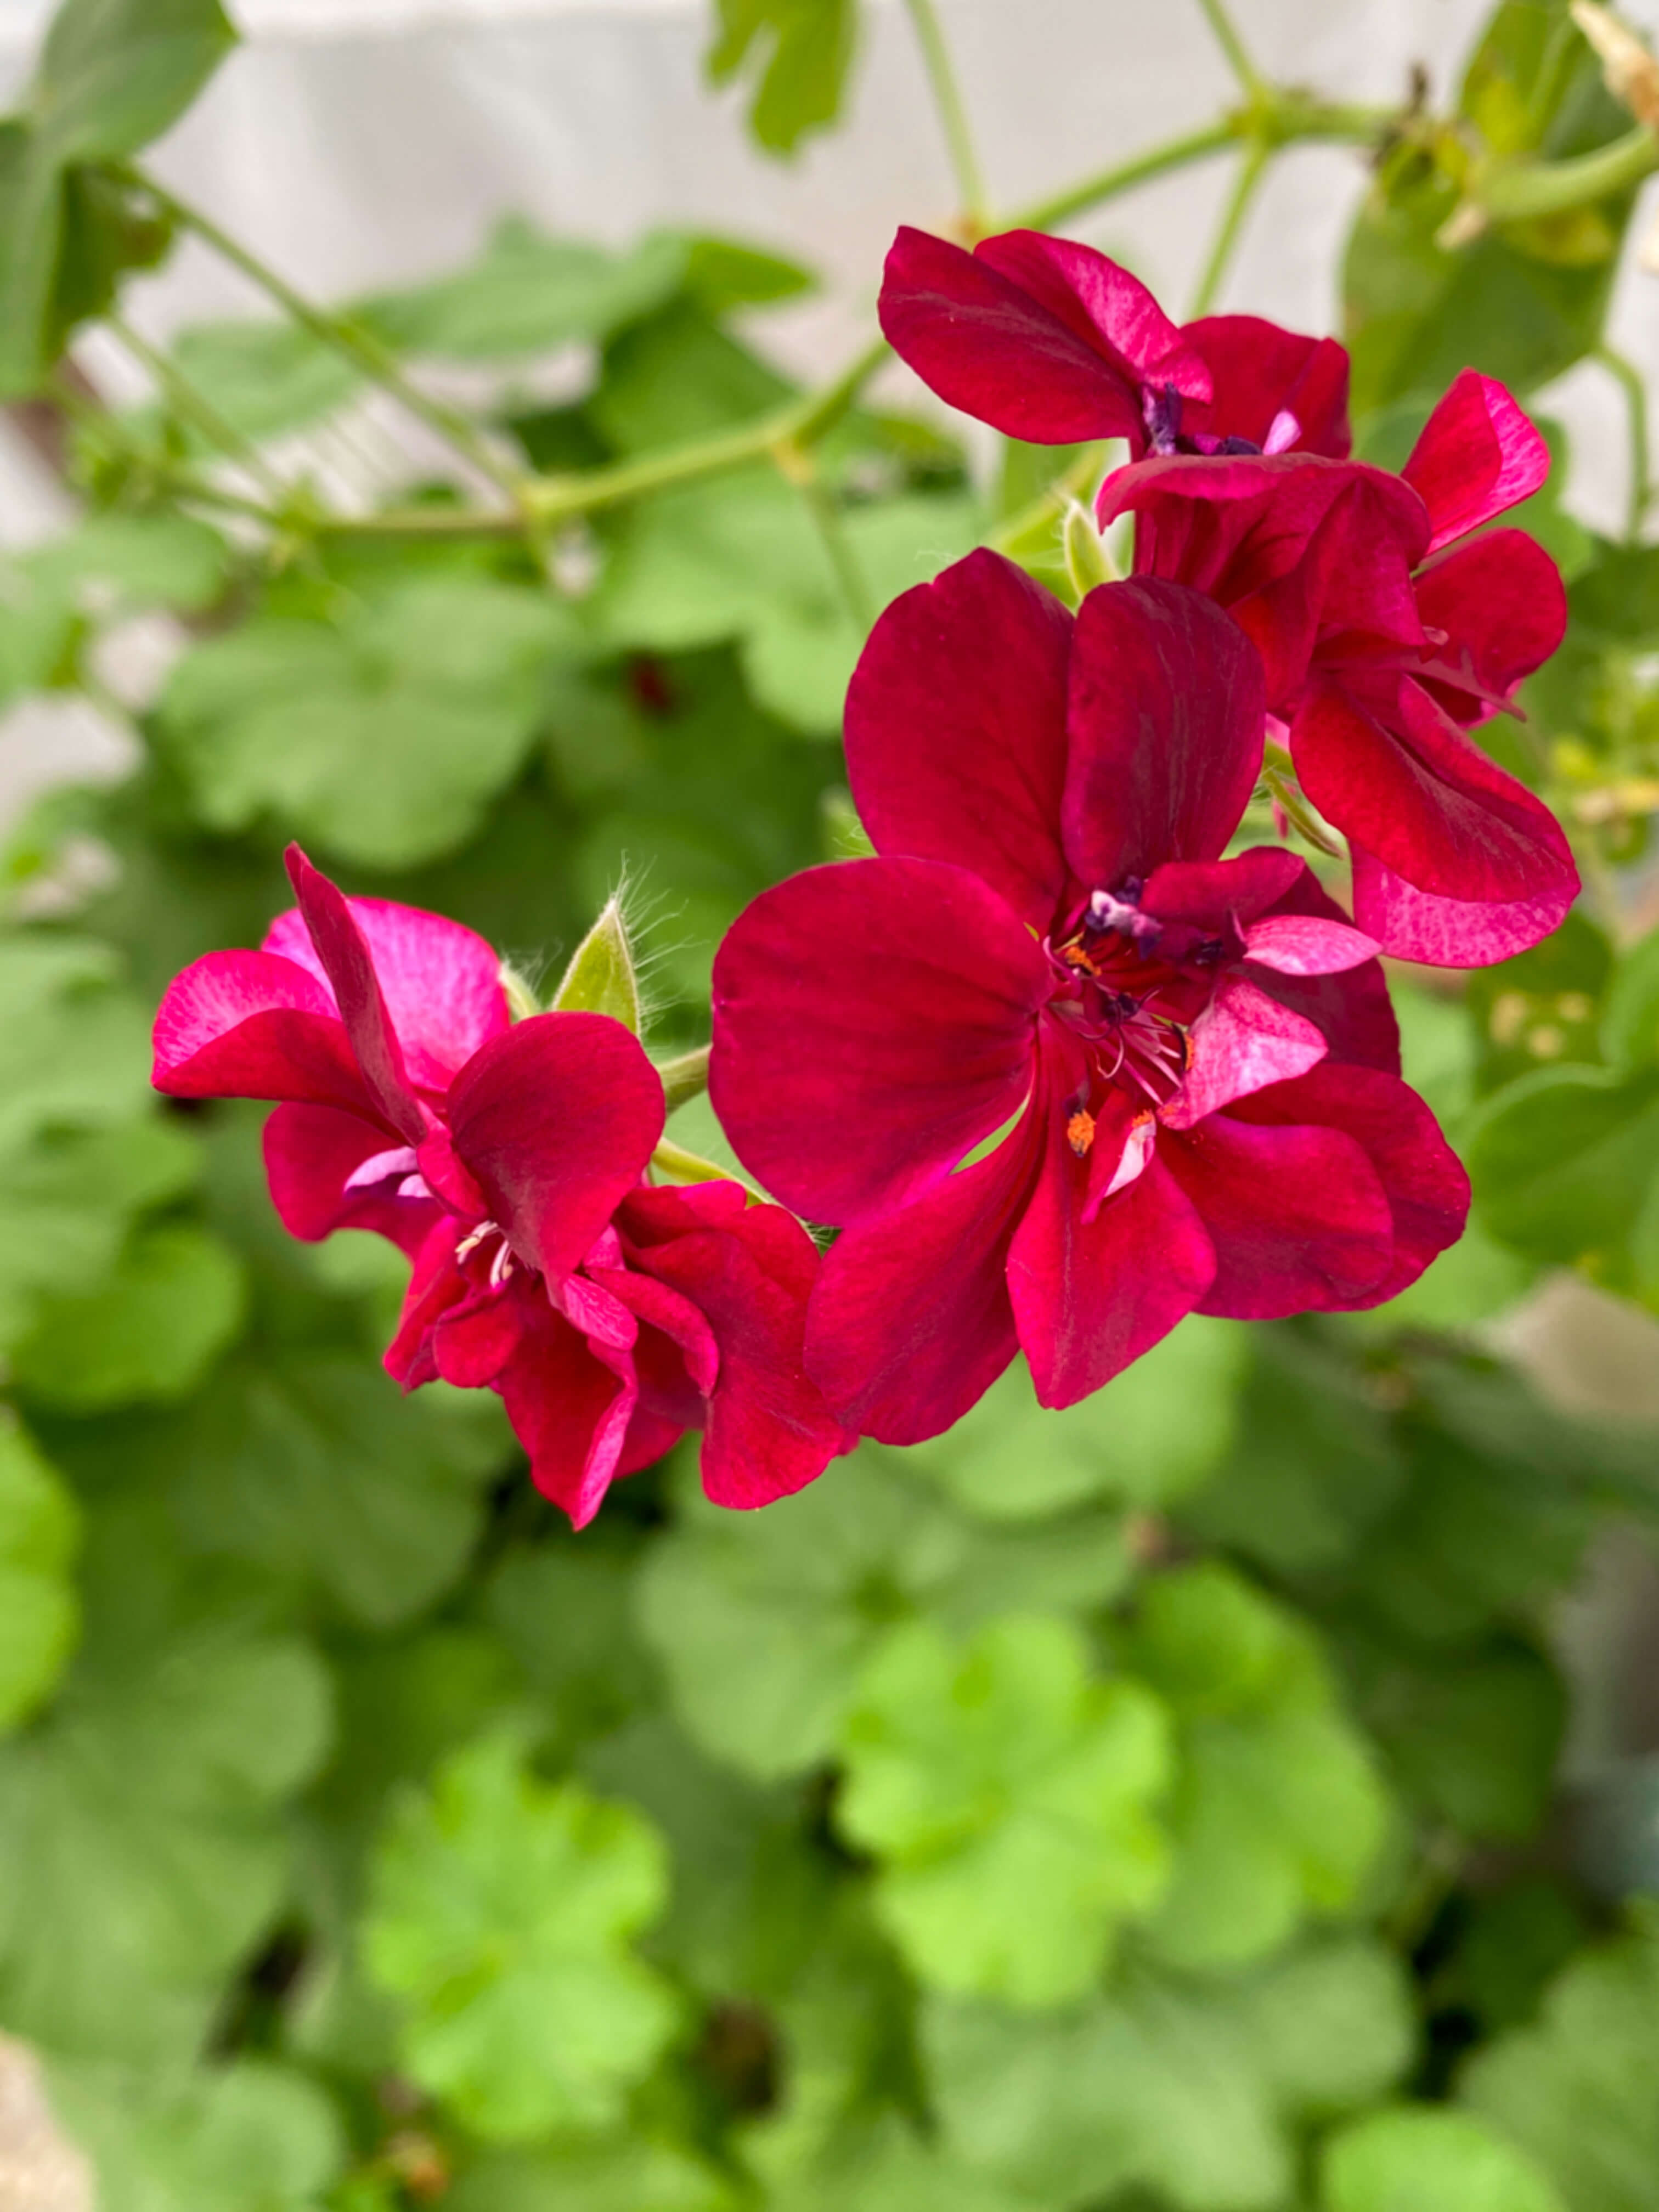
The geraniums are filling out so much they have completely taken over one corner of the greenhouse. Their resilience from frost recovery is pretty remarkable. I can see now why these plants have a shelf-life of 50 years if paid just a little bit of attention. With the colorful nasturtiums gone, they have been such a vibrant choice for the wintertime greenhouse.

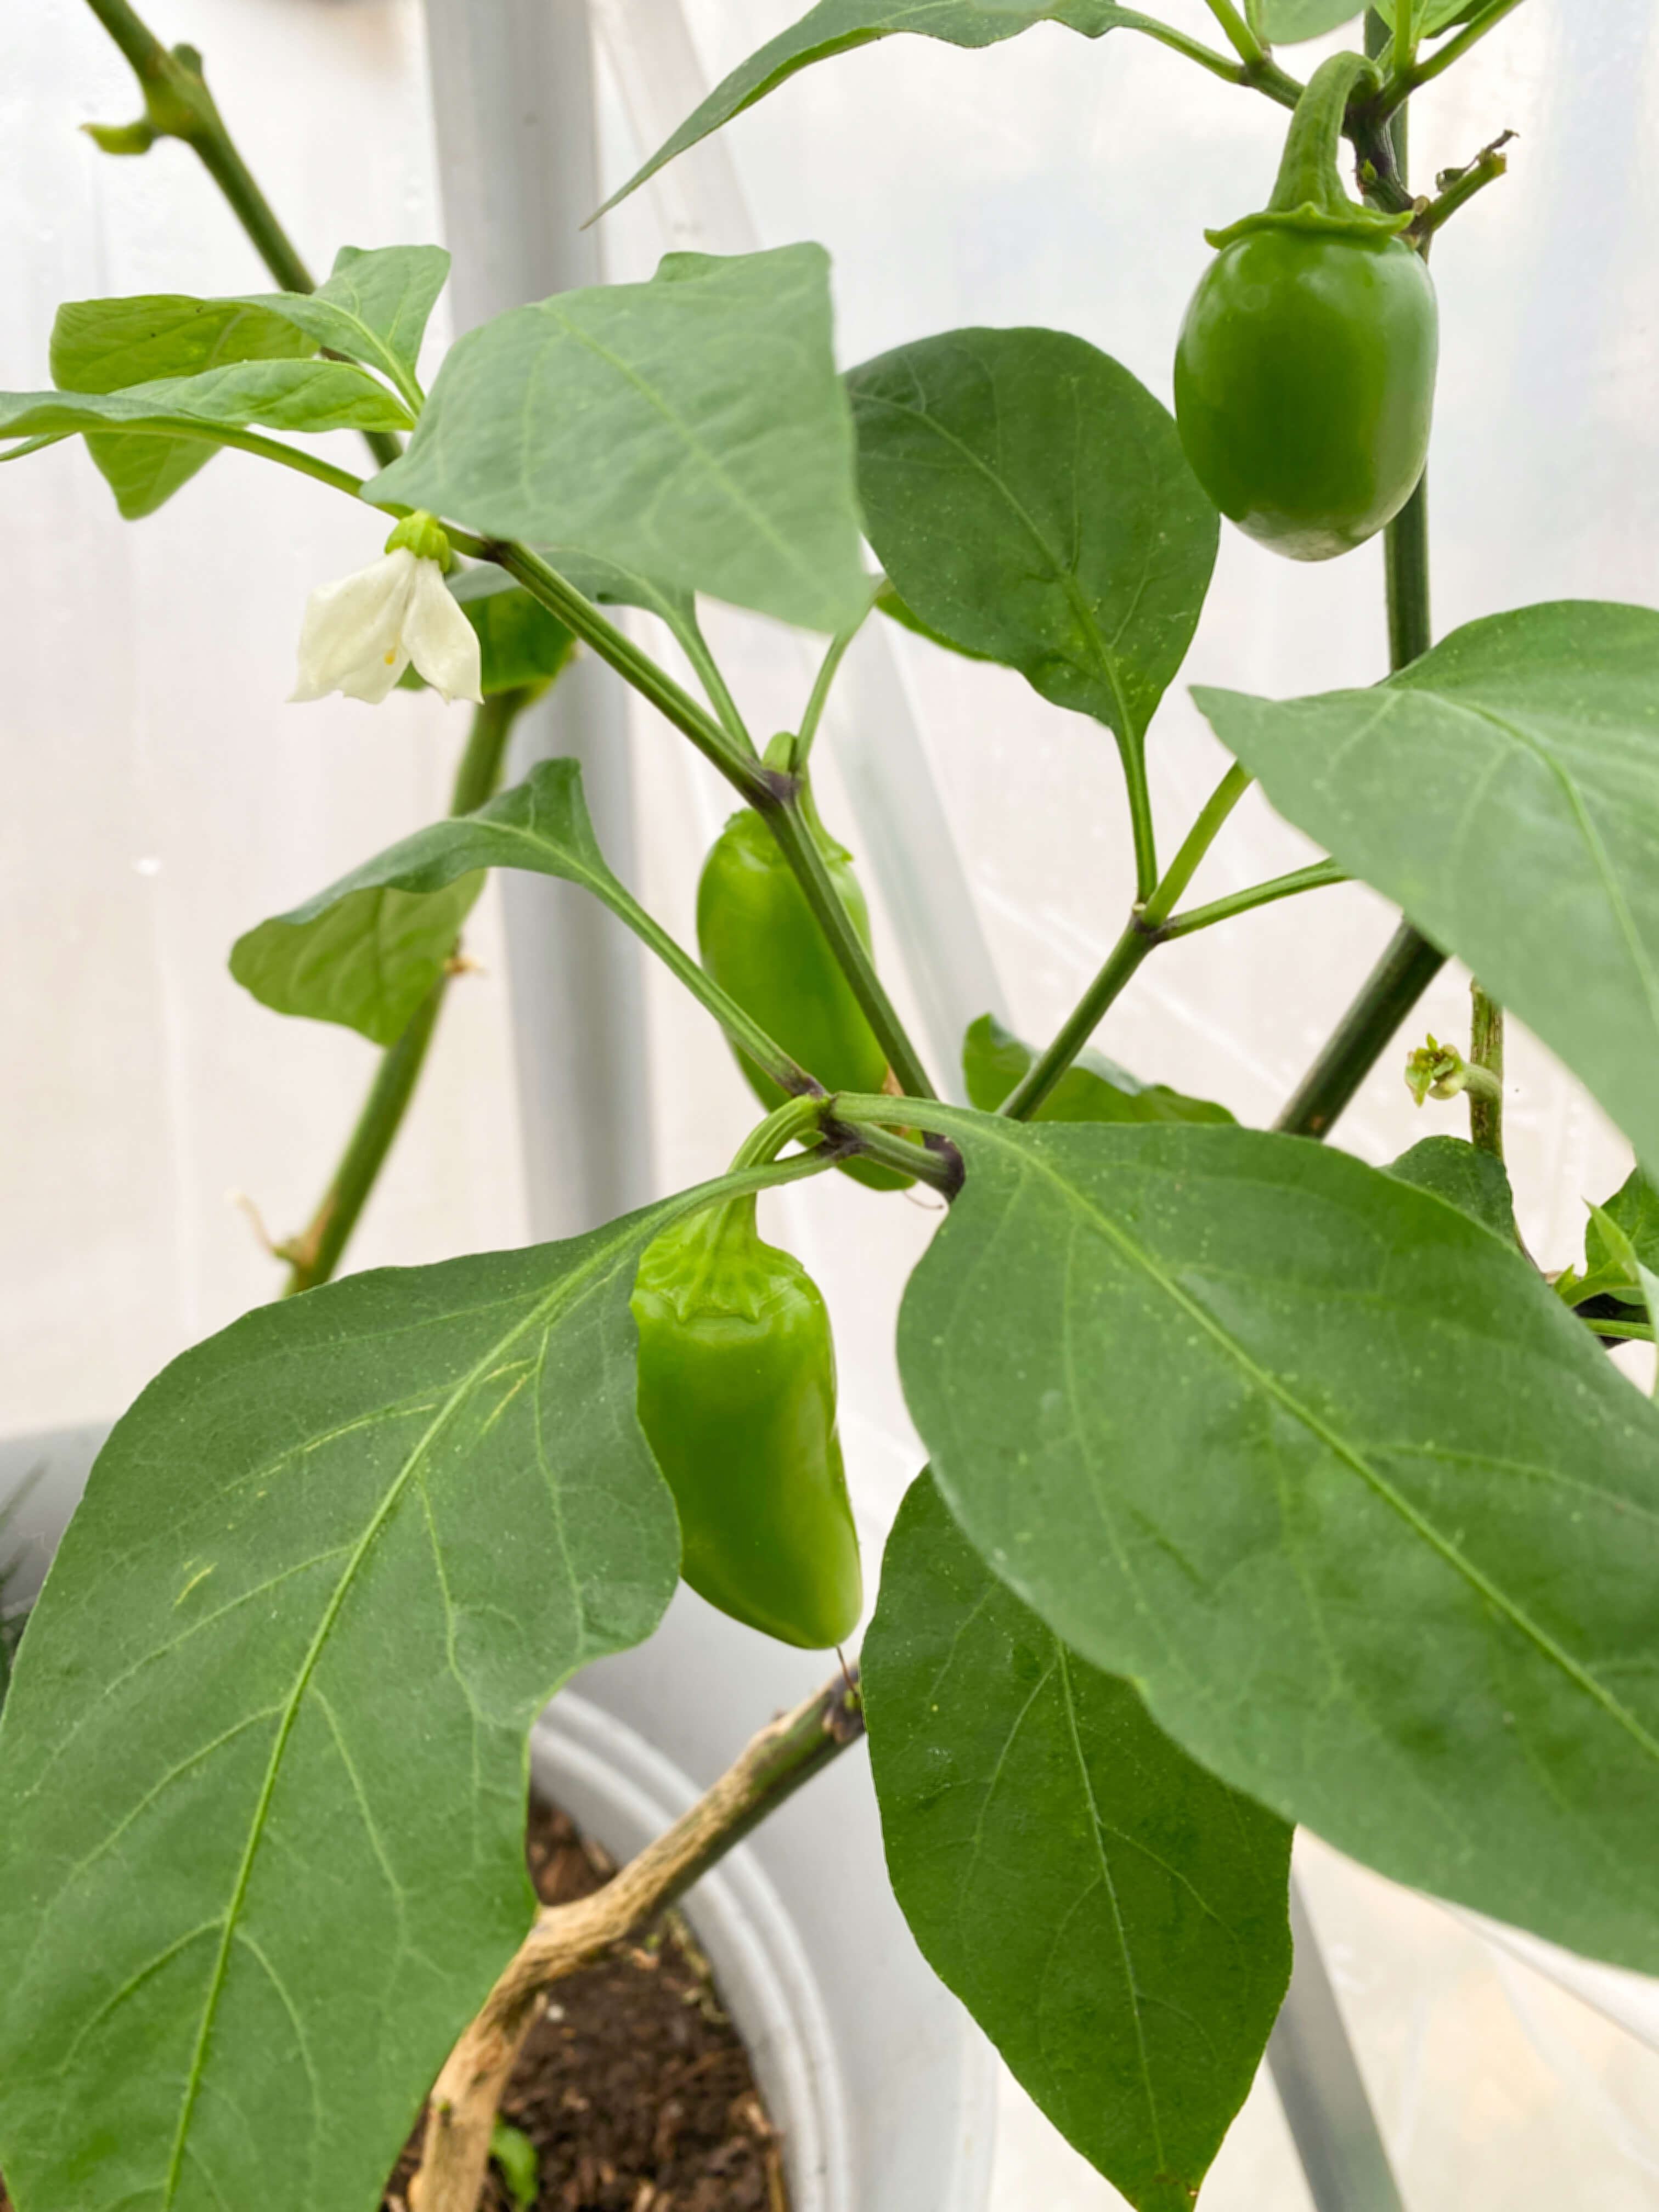
After the bell pepper was harvested and after the spider mites came to visit, I did some trimming of the older pepper plant leaves, and pretty much overnight three jalapenos grew. Now each of the three pepper plants are blooming again, Maybe we’ll be lucky and get two summer cycles out of each plant.

Jalapenos!

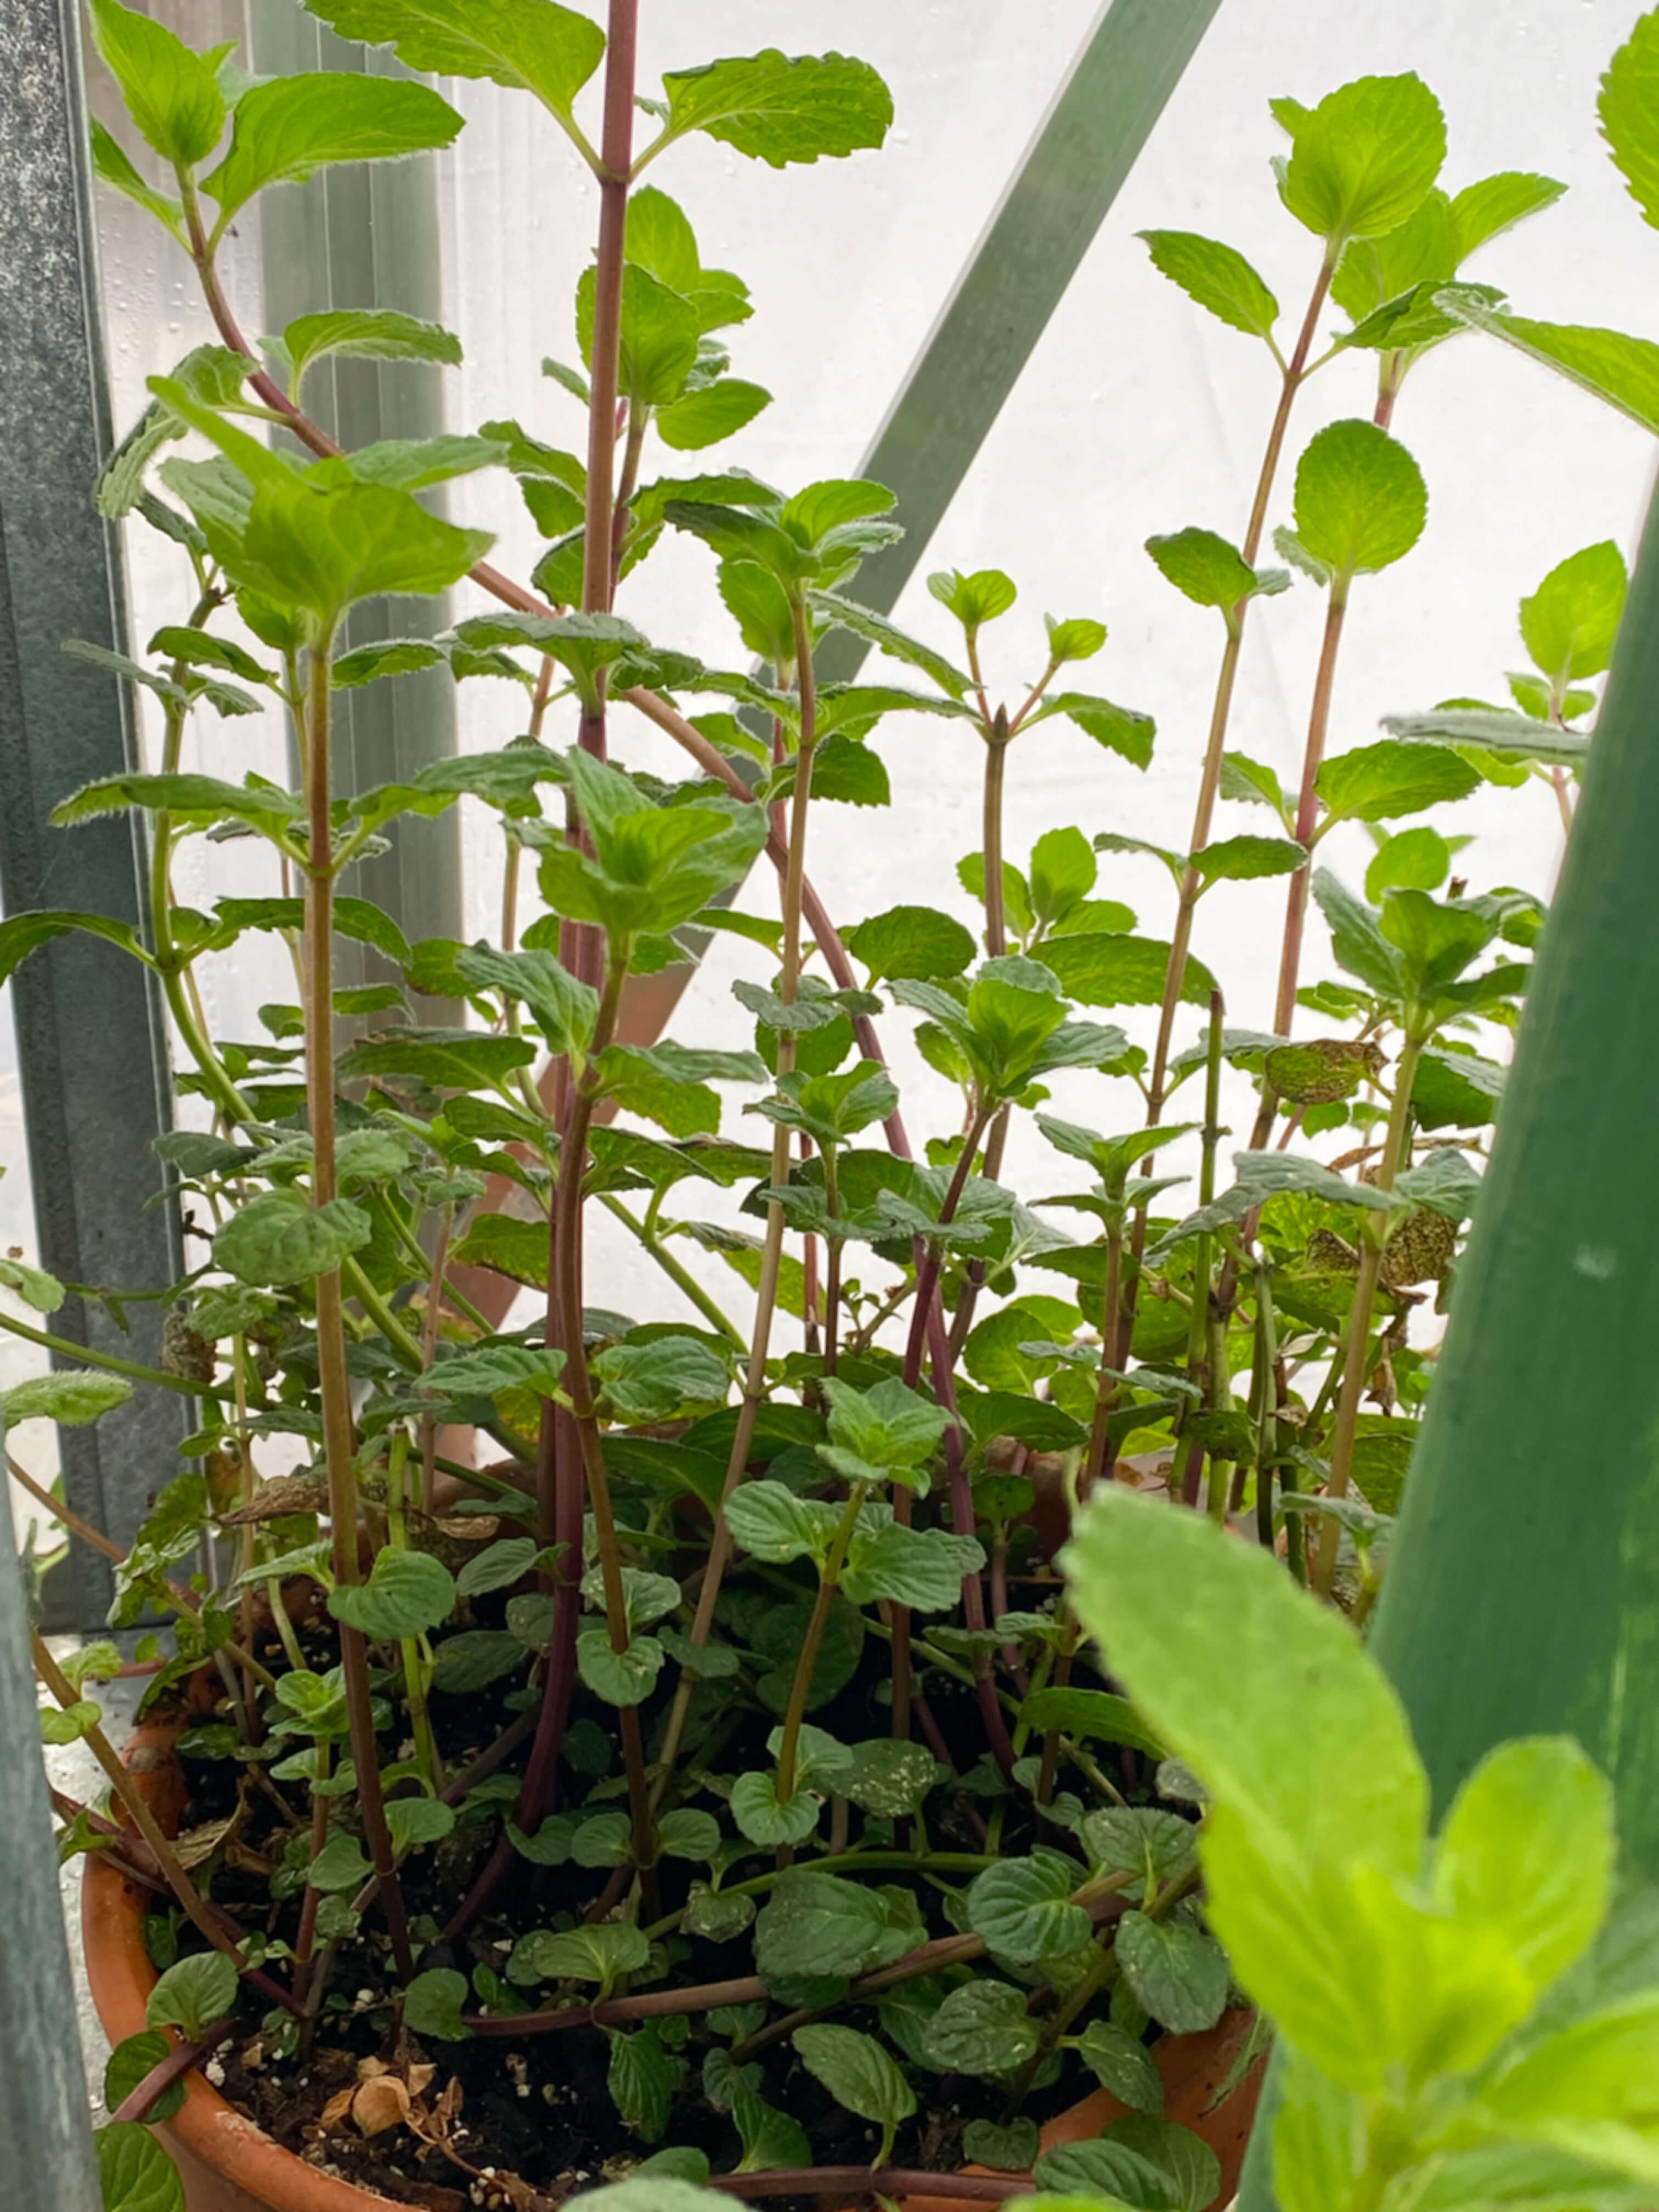
This week, the most exuberant grower in the greenhouse has been the mint. At 12″ inches in height now, it’s been the epitome of spring-is-right-around-the-corner joy.

Nineteen days to go. That’s how close the first day of spring is. In anticipation, another round of seed starting begins this week. On the list for March starts are cucumbers, marigolds, squash, tomatoes, okra, collards, sunflowers, cauliflower, brussels sprouts, peas, broccoli, and zinnia. To keep things interesting, Mother Nature also might be sending two to four more inches of snow our way this weekend, just as the daffodils are popping up in the garden beds. Like I said up top, nature waits for no one. And so we carry on. Snow showers and spring flowers aside, this is the perfect time to get the summer garden started.

Cheers to almost-Spring and to figuring out the greenhouse winterization plan just as a new season approaches! Have you been starting your seeds too? If so, what are you growing this year?

Advertisement

The Greenhouse Diaries Entry #5: Seed Starting, The Blushing Bell Pepper and What We Learned from a Veggie Burger

Valentine’s Day is still two weeks away, but in the greenhouse love and joy and lessons are in abundance these days. From the deep red petals of the geraniums to the blushing bell pepper to a big bowl of an aphrodisiac growing on the second-tier shelf, it seems like every plant is offering up a bit of romance and wisdom in one way or another. Is this what the winter harvest season looks like? Or does this mean spring might be coming early? I don’t know. Since it’s our first year, we can only take note and appreciate what’s happening right now in the greenhouse at this end-of-January date. Let’s look…

The sun gold cherry tomato branch produced another foursome…

The nasturtiums and geranium flowers are stretching their leaves and spreading so much cheer both in color and scent…

Nasturtiums
Geraniums

Growing like gangbusters, the chives and the collard greens, are each overflowing from their containers…

The arugula and the parsley are keeping pace with our daily kitchen needs by enthusiastically providing continuous greens for every meal…

Greenhouse-grown arugula and parsley

One of our favorite recipes we tried this week was this new veggie burger from Jenny Rosenstrach’s cookbook The Weekday Vegetarians. We modified it a bit by adding a fried egg on top and stuffing the buns with our own greenhouse-grown arugula and parsley but otherwise followed the recipe exactly.

These burgers don’t require any baking in the oven – just stovetop cooking (or hot plate, in our case) in a cast-iron pan, so it’s an especially great recipe for under-construction cooking, small space meal-making, or college dorm food. Soft and light, as opposed to many veggie burger recipes that can sometimes tend to become dry and dense, Jenny’s recipe has the consistency of crab cakes and a delicate flavor combination of mushrooms, brown rice and pinto beans. Jenny suggested sliced avocado and a spicy mayo mixture for a topper, but because of our greenhouse abundance, we substituted those two with our own version of similar flavors and textures via the creamy egg and peppery parsley and arugula. It was delicious.

Nowadays, arugula is such a common salad staple that it’s easy to forget that it was once considered a gourmet green and talked about in haughty tones. Although British and Italian immigrants are credited with bringing it to America in the 19th century, it wasn’t really until the 1980s, that it started making a more regular appearance in American cookbooks.

Paula Peck was one of the very few who mentioned it in her 1960s-era book, The Art of Good Cooking, grouping it together with “very expensive” bibb lettuce and James Beard, our favorite gourmand, described it with a sense of reverent curiosity in his 1970s American Cookery book. But none of our favorite 20th-century chefs featured it as an ingredient to create a meal around until many decades later.

Not the case across the pond though. There was nothing new about it in England, Europe and the Mediterranean. There, arugula has been enjoyed for centuries. Legend states that in Roman times it was considered an aphrodisiac and was even banned from some gardens for its love potion properties. So if you wanted to make a romantic Valentine’s dinner for your sweetheart this year, consider a big bowl of arugula along with your shellfish.

Santaka pepper

Back to the spicy atmosphere in the greenhouse, the Santaka Pepper – although pretty small in stature at just 8 inches – is getting ready to flower (above) and Liz Lemon is growing a baby (below)…

Liz Lemon’s baby lemon!

The loveliest surprise of all this week though was the bell pepper. If you have been following along with previous entries from The Greenhouse Diaries, you’ll recall that this was a mystery bell pepper plant that was either a California Wonder, producing peppers that would ripen to a deep red color, or it was the Orange Sun variety, which would turn, as it names suggests, to a warm shade of orange once mature. For weeks, we’ve been waiting to see which color it would turn.

Finally, last Wednesday, the pepper started to change. With great excitement, I’m so pleased to share for certainty now, both the color and the type of plant we’ve been growing all these months here in the greenhouse. The first blush gave it all away…

Wednesday

Orange Sun! Each day it gets brighter and brighter…

Thursday

Yesterday morning

If bell pepper had a theme song, it would be this one…

Through wind and rain, snow and sleet, sun and clouds, the greenhouse experienced all the different types of weather possible in these past 14 days. Outside it was a rollercoaster of highs and lows, but inside the temperature held steady between 70-80 degrees, the most even stretch of well-regulated temperature all winter so far. Thanks to our trusty heater, that cozy warmth is now making it possible to start our next endeavor…

Seed starting! After late sowing in the garden in 2022, this year the plan is to get a head start so that by the time the last frost date passes in our area (typically mid-to-late April), they’ll be a collection of hearty transplants ready to make their way out to the garden beds.

Excited to get to work on what is perhaps the most optimistic of gardening pursuits, the first set of seed trays were filled with flowers… snapdragons, Mexican sunflowers and foxglove. Four days in and the Mexican sunflowers have already started popping up. Another joy!

Mexican sunflower seedlings

The first time I ever grew Mexican sunflowers from seed was in 2012. I fell in love with their delicate, velvety soft stalks and their bright tangerine-colored petals. Blooming extensively throughout the season, they were a haven for bees and butterflies. That first year I was living in Georgia and they filled out into a 6′ foot by 5′ foot tall bush in a flash. That combination of heat, humidity, and full sun was a winning ticket. I haven’t had enough gardening space to try Mexican sunflowers again until this year, so I’m not sure if they will grow as large and as lush here in New England, but it will be an exciting experiment. This is how they turned out that first year (fingers crossed that we’ll get similar results and similar visitors)…

From the garden in 2012

Right on track, the snapdragons and the foxglove started sprouting yesterday. As biennials, we started some in the garden last year too, along with hollyhocks, but they didn’t grow very much. It’s my first attempt growing all three from seed, so we’ll see what happens this year. Between these greenhouse seedlings and those planted in the garden last year, we’ll have two sets hopefully coming up more productively this year.

Next up on the seed starting list for this coming week are a new batch of peppers and herbs, salad greens, hollyhocks, milkweed, and pincushion flowers, which will get us set up through the month of February before more seeds get started in March. By that stage, we’ll be rounding the corner towards Spring and our one-year anniversary at 1750 House. We aren’t as far along in our renovations as we thought we’d be, but I learned a valuable lesson this week from the veggie burgers.

At one point in Jenny’s instructions, when it comes to the step about forming the actual veggie burger patties, she writes “they will probably look mushy and unappetizing, but press on.” I love that she was so candid with this insight. And I love that she uses the encouraging words “press on.” As we continue to get to know the greenhouse, the 1750 House and the landscape in which they both lay, it is such a good reminder that all worthwhile endeavors require a healthy dose of blind faith and pressing on. Without that, we’d never make it to the flowering and flourishing days. I can’t wait to see what this spring holds in terms of a kitchen and a kitchen garden. We may be in the middle of the mushy parts now, but something deliciously wonderful awaits.

Cheers to love that sprouts, to the sun’s coming out party in the greenhouse, and to Jenny for sharing recipes and reminders.

Mexican sunflower seedling

{The Greenhouse Diaries is an ongoing series. if you are new to the blog, catch up here with Week #1Week #2, Week #3 and Week #4 here}

The Indoor Urban Orchard: What’s Growing Now?

This time of year recipe ideas start floating around the kitchen and vegetables start piling up on the counters. Pie pumpkins and sweet potatoes, herb bouquets and onions, lemons, limes, mushrooms, pomegranates, garlic, apples, cranberries, carrots, celery and what seems like all the nuts in all the world spill out from bowls and plates and baskets as we get ready for Thanksgiving Day. Nestled among all that Autumn bounty is an avocado. Not exactly the first food you think of when talking turkey day fare, but around here the avocado is king of the Kitchen, especially in November, when it comes to a certain someone’s birthday. I’m not talking about the kind of avocado that is small, round and rumply skinned though. Here in the kitchen, the king I’m referring to looks like this…

indoor-avocado-plant-1-avi (1)

It’s Avi the Avocado! On November 22nd, he’ll celebrate his third birthday.  If you have been reading the blog for a few years, you’ll remember that Avi started out as a seed experiment in November 2016. The kind of experiment where you pierce a regular avocado seed with toothpicks and set it in a glass of water and then wait and watch for it to grow into something green like this…

…which he did with aplomb! Months into the experiment Avi sprouted, gained a name and grew taller as each day passed. Three years into life now, he’s survived a move, a very fretful, almost fatal batch of scale, a fall off the kitchen counter and numerous jockeys around the house as he grew, and then subsequently outgrew, each and every perch. In that time, he’s also developed quite the personality – clearly communicating his loathing for the city patio, the wet blanket heat that is a Southern summer, and the blustery winds off the river that perpetually zip and zoom around the city skyline. Instead, in a very unusual flight of fancy for his kind, Avi decided that he preferred the air conditioning, the bright yet indirect light of the indoors and the resting spots that always seem to be in closest proximity to the hustle and bustle of the kitchen. Perhaps he’s a gourmand at heart:)  Long story short, Avi began and became the inspiration for an indoor orchard of fruit plants all started from seed.

In today’s post we are checking up on the state of the garden and the four inhabitants that now comprise the indoor orchard. It’s been 15 months, since I last posted about their progress and because Avi turns 3 on November 22nd, this seemed like a perfect time to check-in and check up to see how this indoor garden experiment is faring. Let’s take a peek…

Avi the Avocado:

The last time we checked up on Avi’s growth here on the blog it was mid-summer 2018. Outside the temperatures were hot and humid, but indoors everything was as cool as a cucumber. At that point, Avi measured 3′ 5″ inches tall and had just turned a hopeful corner of recovery from the terrible scale outbreak. When this photo was taken, Avi was just returning to his more handsome, happy, healthy state…

July 31, 2018

Today, I’m happy to share that Avi is still at it. Growing by leaps and bounds, he now measures 4′ 7″ inches tall and his leaves are widening out into a broad canopy…

indoor-avocado-plant-1-avi (1)

In just 15 months he grew 1′ 3″ inches. That’s an impressive inch a month! You can see the dramatic difference in this side by side picture if you use the black framed wall art on the left as a reference point…

avocado-tree-growing-stages

If he keeps growing at this rate, by next Thanksgiving Avi will be as tall as me:) Most thankfully, the scale is almost all gone. Soon he’ll transfer to a bigger pot where he’ll stay for a couple of years while he fills out leaf -wise. One thing I learned recently about transplanting flowers and plants is that you should only go to a slightly bigger pot than what you are already using – otherwise the plant spends all its energy below expanding its roots instead of growing taller above the soil line. The next pot size for Avi will be 12″ inches in diameter which should give him enough room to grow up and out for at least the next year and a half. Like a little kid graduating from crib to bed, Avi will be a true floor plant at that point, not longer able to be carried from perch to perch, an exciting milestone!

Grace the Grapefruit:

Not be outdone by Avi, a little friendly competition ensued between fruit trees. In this past year, Grace also also hit a spectacular growth spurt. She went from this in March 2018…

Grace the grapefruit almost 1″ inch tall in March 2018

to this in July 2018…

Five months later ( July 30th, 2018)

to this in November 2019…

how-to-grow-a-grapefruit-tree-2019

Just over 3′ 2″ inches tall now, Grace grew so fast that she’s been re-potted four times already. I’d like to say that all this robust enthusiasm caused her to literally break out of her planter,  but her current abode was a cracked-then-repaired pot meant as a temporary holder for her. But she’s so happy in her blue space, there she’ll stay until she outgrows it. Meanwhile she’s very busy growing extra everything – skyscraper limbs, big green leaves and sharp thorns, especially on her trunk…

grapefruit-tree-thorns

This is lovely to see, because just like Avi, Grace also succumbed to scale when I was away for a month taking care of my sick dad last January. When I got home, she had lost 70% of her leaves and had so much scale that the local garden center (where I took her for emergency help) declared it the worst case of scale outbreak that they’d ever seen. They also gave her a doomed prognosis, saying she probably wouldn’t make it. If you’ve never experienced scale before, this is what it looks like…(on overdrive as in Grace’s case)…

A series of flesh or clear sticky, jelly-like insects, scale wind up sucking the life out of plants. They are pretty gross looking and can be difficult to both see and eradicate but determined, I loaded up on Neem oil and bottles of rubbing alcohol (a trick I learned at the garden center) and then got to work every few days wiping down each of the leaves and the trunk. The rubbing alcohol kills the scale, and the Neem oil protects the plant from re-infestation. As it turns out, that was exactly what she needed and thankfully, Grace made a full recovery in just a few weeks. Now she’s racing to catch up with Avi!

Liz Lemon – The Lemon Tree

If we were giving out awards for the least amount of drama this year, the award would definitely go to Liz Lemon. By far the most low maintenance plant of the bunch, she just carried on over the past year the way all good lemon trees should – growing flowers, making lemons, filling out. Here she was in July 2018, a sprig of sharp angles…

Now she’s a more stately, shapely tree thanks to some careful pruning and lots of sunshine…

Not as fast a grower as Grace or Avi in the height department, Liz spent her past 15 months growing out instead of up. Coming in at 2′ 4″ inches tall she is the smallest of the household orchard trees but she supplied the most color of the bunch with her bright yellow lemons and her pretty perfume-scented flowers.

Just the other day, she started growing a new batch of tiny little lemons so I’m hoping our yield this year will be greater than last year’s, which produced a total of two lemons. Fingers crossed:)

Jools – The Medjool Date Palm

Finally, the baby of the group, born from seed in July 2018, was the Medjool date palm, who was so tiny it didn’t even have a name yet…

The spike is the date palm!

Four hundred and fifty six days later, the date palm looks like this. Meet Jools…

Standing at just over 16″ inches tall, Jools put forth a new leaf every few months last year. She lost a couple  of green shoots to wind damage over the summer, but apparently that’s not really fazing her, as she just grows another one in its place. Low maintenance like Liz, Jools just requires a sunny window sill and a good dose of water every few days.  When I look at her I can’t help but imagine those grand date palms that grow in India and Egypt – the ones that are big and lush and beautiful and radiate notions of exotic locales and foreign flavors. It will be exciting to see how big she grows over the winter now that she has taken up residence indoors and is out of the wind tunnel on the patio altogether.

Of all the orchard plants, Jools is the one I’ve researched least. There is an air of spontaneity in just watching her grow and imagining what might happen next. The container of dates that she came from was purchased at a fantastic international shop in the farmers market that unfortunately is no longer there. So not only is this date palm named Jools a fun growing experiment, but she’s also a good little memory of a place I loved, but can no longer visit. That’s the cool thing about plants isn’t it? How active they are in our lives… as decoration, as curious living creatures, and as memory holders. Each one is like a quirky little (or in some cases big!) character sharing our space, making it feel natural and welcoming, just like home.

Not every experiment I try turns out to be a successful one. This year I attempted apples (success up to month 5!) and papayas but neither lasted long enough to see the sprouts that start the story. Gardening is a game of chance after all. Somehow that makes the ones that do grow into a Grace or an Avi or a Jools all the more significant. While you are peeling and chopping and cutting stuff up this holiday season in your kitchen, keep your eye out for the seeds, and all the potential and possibility that is contained in those small packages tucked inside your favorite fruits and vegetables.  Worlds of adventure stir inside our kitchens everyday, none more dramatic or miraculous than the lives that feed our lives.

If anyone has started their indoor gardens from seed, please comment on this post and share with us what you are growing and how it is going. One of our blog readers, Gloria, recently shared photos of her avocado tree in Florida, which she started from seed around the same time as Avi began. She planted hers outside, a smart decision thanks to Florida’s ideal growing climate. Three years in, her avocado seed now looks like this…

Wow! An absolute beauty towering over the garden at a majestic 7″ feet tall! Well on its way to being a proper shade tree in her yard, Gloria is hoping that by next year, she’ll be able to eliminate avocados from her market shopping list and instead just pick them right off her own tree. What an exciting thought! Our fingers are crossed that she is flush with avocado by this time next year:)

If you need a little more inspiration when it comes to building your own plant paradise, consider these colorful and beautifully illustrated  mid-century books in the shop. They are packed full of helpful advice regarding citrus trees, orchards, edible plantings and indoor gardening…

They make fun gifts for yourself or your fellow garden lover, and unlike the internet, lay everything out before you all at once, instead of hunting and pecking your way through endless garden sites plant by plant.

If you missed the previous posts about the start of the indoor orchard, catch up here.

In the meantime, cheers and happy birthday to Avi, to all the seedlings out there who grow big with just a little extra dose of love and attention, and to Gloria for sharing her own personal gardening adventure with us:)

In the Garden: How To Make Seed Starting Pots Out of Old Newspapers

Happy April everyone! Now that gardening season is upon us all, Ms. Jeannie wanted to share a little garden project with you that she has deemed most helpful.

In the past Ms. Jeannie has always started her seedlings off in composted cardboard pots like this, which are supposed to be able to break down in the soil, pot and all, once you plant your seedlings in the garden…

seedpot

They are great at providing good vessels for growing seedlings but Ms. Jeannie always finds that once she plants them in the ground – they never fully disintegrate. She’s either left with a top ring to the pot or a chunk of side wall that inhibits the roots of the plant from growing out in one direction or another.

So this year, she’s trying a new seed starting option…the newspaper pot!

news14
Handmade newspaper pots for seed starting.

Because most newspapers are now printed with soy based inks, you can plant these cups directly in the ground once your seedlings are ready to be planted. They are fun, easy and inexpensive to make. Plus you are doing your part to recycle and also adding some compost to your garden!

Each pot takes about 4 minutes to make, so you can have a collection in under an hour and be well on your way to starting your spring garden.

Here is what you will need:

The ingrediants for your recycled garden containers
The ingredients for your recycled garden containers

2 four page sections of newspaper

A 40z straight body juice glass (this is important to have a straight body juice glass as opposed to using a tapered or flared glass)

Step 1.

news2

Unfold your newspaper to full length. Place both sections on top of each other.

Step 2:

news3

Fold newspaper in half length wise making sure to line up the edges.

Step 3:

news5

Next, take your glass (open end of glass pointing down) and place the bottom half of it on the edge of the newspaper and begin to roll the newspaper around the glass, making sure to keep the glass straight as you roll. This is where using a tapered glass is tricky, because the taper makes the glass roll in non-linear directions.

news4b

news4c

Continue rolling the glass all the way down the length of the newspaper. Once you reach the end, tuck the newspaper into the open end of the glass

blog 009

So that it should like this…

blog 007

Step 4:

Next pull the glass out of the newspaper, this might take a minute if you rolled your glass really tight – you might have to sort of wiggle the glass out of the paper.

Once you remove the glass, you will wind up with a newspaper tube that looks like this…news9

Step 5:

Take your glass in your right hand, and place your paper cup on the table (in above manner). Insert the bottom of the glass into the paper opening and crush down the crinkled up paper in the bottom of the pot, which forms a floor for the container.

Pull your glass back out and the bottom of the pot should look something like this…

news10

If you flip your pot over the bottom will look like this…

news11

Flip your pot back around and you will be ready to fill it with gardening soil and seeds!

news12

Ms. Jeannie placed her seed pots on a mesh screen frame so that air could get to it from all sides, but you can use any old tray if you like. By using two sections of newspaper you can now water your seedlings without your paper pot falling apart. If you just used one section of newspaper the pot would be too flimsy.

As soon as your seedlings get a few inches tall you can plant the whole paper package in the ground! Ms. Jeannie has planted spinach seeds in her pots which she will then transfer to terracotta container planters when they are ready.

By mid-May, she should be knee deep in fresh spinach!

She’ll keep you posted on the progress!

chateau 124