It’s been two months since we last checked in with Renee and Michael on their 1940’s colonial house kitchen renovation. According to the original plan laid out in February, by this point in the game, they should be more than halfway through the construction project. Their eyes should be twinkling with the excitement of a foreseeable finish line. Their bellies should be full of the creative, outside-of-the-box meals they’ve been making with limited equipment. And the countdown to the end of all that ham-ham-hammering should be coming to a close.

Is it? Are they well on their way to a brand new kitchen? Are they feeling happy and healthy and homely? Let’s find out with this update in Renee and Michael’s own words…
Hi again!
Remember how last time we talked about how excited we were to finally begin our renovation project after 4 months of delays? And that we were supposed to start on February 15th? Well, that didn’t happen. Now, we’re looking at breaking ground sometime in April (if we are lucky). Why, you might ask? Well, let me tell you a story about the worst thing to ever happen to mankind – LOCAL GOVERNMENT! I won’t go into details, but essentially our local Zoning Board had a bone to pick with our contractor, and took it out on us by finding a measurement error of 3 inches on our plans, and is making us hire a surveyor, re-measure everything and potentially reapply for the very simple variance that we need.
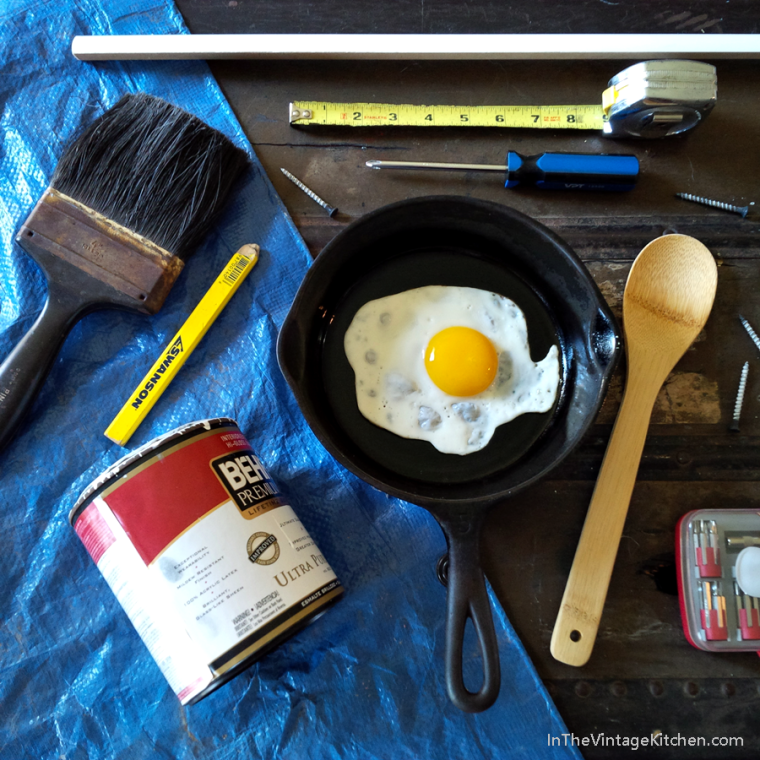
The bright spot is that it looks like a lot of our kitchen-less time will now occur during the summer months. That means that we’ll be able to grill outside a fair amount instead of having to make due with “cooking” on a hot plate or getting takeout.
We’re also using this extra time to work on perfecting some of our food-preservation techniques. Today, we spent a cold and rainy Sunday in our vintage kitchen making a whole ton of chicken stock and some really awesome granola, the recipe for which we share below with you, the readers of In The Vintage Kitchen.
We were going to post the chicken stock recipe too, but we thought “put chicken in a pot with some veggies and simmer it for 5 hours” was a bit of a cop-out.
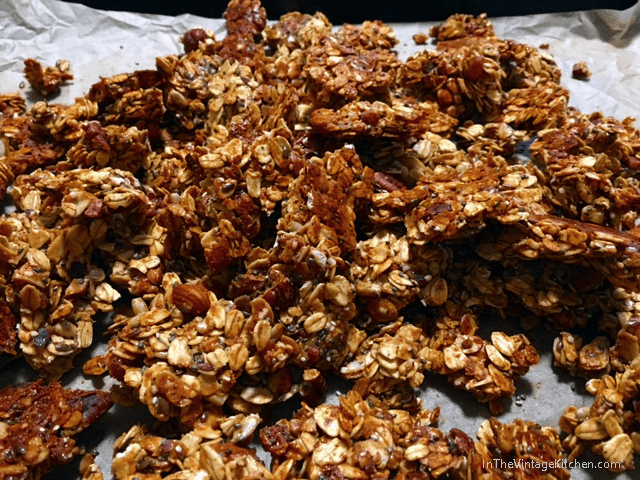
The granola is Renee’s own recipe and has gone through a whole bunch of iterations over the years from chewy and sweet to crunchy and a bit savory. This batch is particularly good, and despite its ability to last a long while on the shelf I have a feeling it will be gone pretty darn quickly. It’s got a nice cinnamon warmth, and an almost brittle-like bark that contrasts amazingly with the chewy oats. Sprinkled on top of some good yogurt (like our favorite from SOHHA: www.sohhayogurt.net) with a nice drizzle of local honey it makes the perfect breakfast, snack or dessert. We hope you enjoy it just as much.

Renee’s Homemade Shelf Stable Granola
3 tablespoons of oil (for this batch, we used one tablespoon each of olive, walnut and coconut oil, but use whatever you like or have on hand)
2 tablespoons of honey
2 tablespoons of maple syrup
2 tablespoons of nut or seed butter (we used almond, but you can use peanut or sunflower butter – whatever you like)
½ teaspoon of vanilla extract
½ teaspoon cinnamon
1 tablespoon of chia seeds
1 tablespoon of hemp seeds
1 tablespoon of flax seeds
1 tablespoon of sunflower seeds
1 tablespoon of shelled pumpkin seeds
¼ teaspoon flaky sea salt
2 tablespoons of unsweetened shredded coconut
¾ cup of nuts of your choice, roughly chopped (we used ¼ cup of almonds, ¼ cup of hazelnuts and ¼ cup of pecans)
1 ½ cups of old fashioned rolled oats
Preheat your oven to 250 degrees F.
In a large bowl, mix the first five ingredients until well combined. Add the cinnamon, all of the seeds, salt and coconut and mix well. Add in the chopped nuts, followed by the oats and mix until all the ingredients are incorporated.
Line a large baking sheet with a sheet of parchment paper (cool trick we learned to keep the parchment paper from shifting – crumple up into a ball first, then unravel and place on sheet). Spread the granola mixture on the sheet, distributing as evenly as you can. Bake for 45 – 50 minutes, checking and turning sheet pan every 15 minutes. When the granola is slightly browned, remove from the oven and let it cool completely in the pan. Break up into pieces and store in a glass container. Enjoy!
It is so poetic how Renee and Michael’s messy pre-construction situation yielded a messy recipe. There must have been some serious satisfaction in getting the big knife out and chopping away at all those nuts and seeds. It must have felt rewarding to tame a mass of unruly ingredients into an any-time sweet treat. In a followup conversation with Renee, I learned that their new zoning meeting has now been scheduled for the end of April, which hopefully will grant and greenlight the whole start of their construction project. That means they will be looking at an end date closer to August than the originally anticipated month of May. In the interim, as far as the healthy cooking challenge has gone Renee and Michael are still for the most part on track despite having this major lull in their plans. Renee explains further here…
♦ InTheVintage Kitchen: Since the project was delayed but essentially you had already packed up all your equipment in anticipation of the February start date, did you wind up unpacking any of the boxes so you could do more cooking?
Renee: Yes – we did unpack a few things that we needed in order to continue cooking at home. We didn’t pack up the entire kitchen (we were waiting until the very last day) so most of the essentials were still there for us to use in the interim.
♦ ITVK: How has it been going using a pared-down amount of dishes and pots and pans and such? Has it changed your eating habits in any way so far?
Renee: Surprisingly, it’s been OK – or maybe we’ve adjusted?!?! We already pared down (threw away/gave away/donated) many of our old and duplicate kitchen items and kept only the essentials in the kitchen to keep the packing and unpacking light. We’ve been preparing for a kitchen reno in the back of our minds for quite some time now, so we’ve been really good about what we really need and don’t need! As far as new habits – we’ve started adapting to our new electric hot water kettle to boil water (to make coffee/tea. etc.) and have been prepping food items that will keep without refrigeration in our spare time over the weekends.
♦ ITVK: Has the delay impaired any other cooking situations other than not having your boxed up items readily available and your patience tested?
Renee: Mostly the ability to throw a dinner party or have guests over to the house – we love entertaining, and it’s been really difficult to do at this point between the empty walls and piles of boxes… and lack of serving platters, etc… ugh!
♦ ITVK: On a 100 percent scale, at this stage in the game, how would you break down where you are eating?
Renee: 80% at home
10% at friends/family’s houses
10% out and about (restaurants, coffee shops, etc)
0% order-in/delivery
We are still trying to cook at home as much as we can – we know that any day now we won’t be able to – so we are taking advantage of the extra time that we have.
♦ ITVK: Did having the kitchen in a semi-state of upheaval for this delay time give you any new insight into how the next three months might go once the construction begins?
Renee: In a way – yes! It’s made us realize what we really need/don’t need for day-to-day cooking to create healthy meals. But, since it’s now dragging out the 3-month timeline, it’s definitely been a downer. Perhaps that will just make the new kitchen all that more loved and appreciated:) I’m sure when we are actually in the thick of it – nothing can really prepare us for what it’s going to be like, especially given how many surprises we’ve already had… who know’s what’s to come!
Michael admitted that this post was off to a sour start but wound up being sweet in the end. Next time they pop-in for an update these two hope to share actual pictures of actual construction occurring in their old/new kitchen. Fingers crossed that those days are right around the corner. If only local government ran on granola…
—
Did you miss Part One of Cooking Under Construction? If so catch up
here.Photo Credit: Granola photos provided by Renee and Michael.


