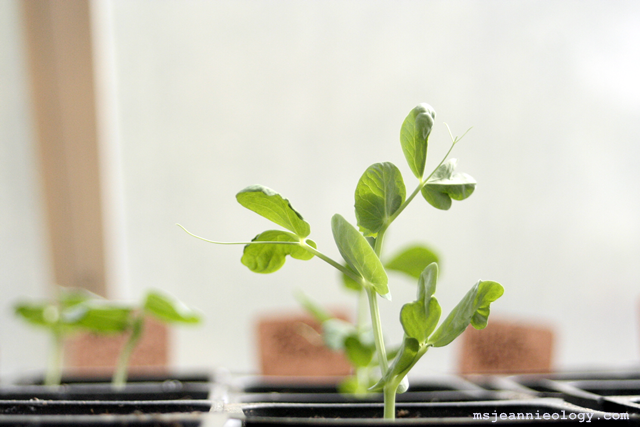
It was exactly two weeks ago today that Ms. Jeannie got going on her spring garden with the official planting of the seeds. And now here we are just 14 days later with sprouts that look like dancers…
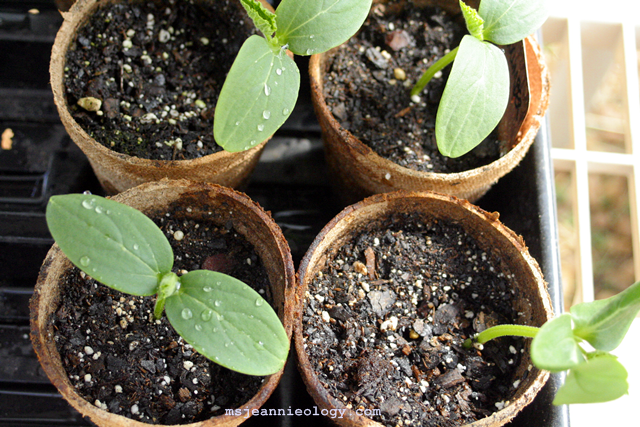
The cucumbers and the snow peas are winning the race towards bloom day…
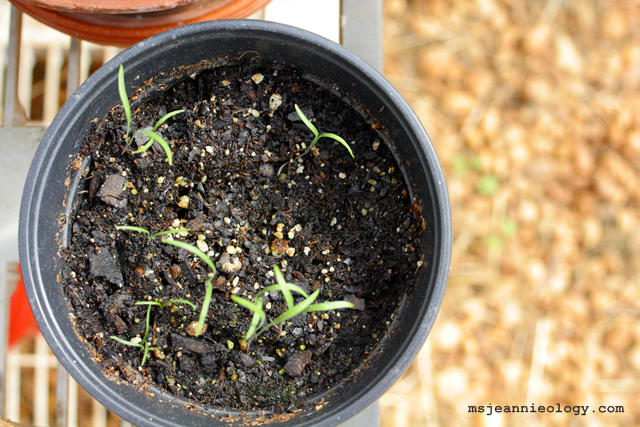
And the okra is not far behind…
Even the lone zinnia in the rescued and re-purposed pitcher has come to surface. Not doubt happy to have such an exotic home!
It is always fun to watch how each kind of seed unfurls…
The dill is dainty…
…while wax beans look downright pre-historic…
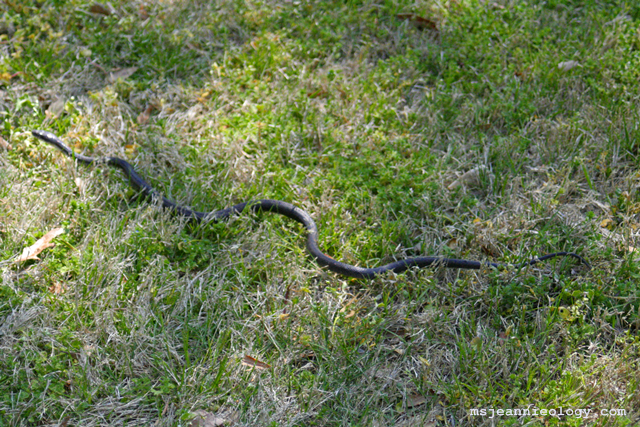
And then there was the sighting of an actual pre-historic…
“Just a baby,” said Mr. Jeannie Ology. This “baby” indeed, was three feet long, which was plenty long for the likes of Ms. Jeannie. Hopefully this little one will be gracious enough to stay out of the greenhouse!
The last time Ms. Jeannie posted on the blog it was snowing. And now it’s Spring!
Vintage Metal Marquee Sign – The Month of April
Goodness gracious where do the days go?! All throughout February and March Ms. Jeannie has been navigating the book club and her organizational systems for it.
80 February book club packages ready for the post office!
It has taken her away from blogging and all you lovely readers which she hates, but it has also introduced her to an assortment of wonderful authors and stories from new subscribers which she loves, so it’s been an exciting journey from concept to creation.
With a total of 88 subscribers as of this post, the book club is a constant bustle of activity. To date, which is now at the 7th month mark, Ms. Jeannie has wrapped 307 books, written 307 author’s bios and 307 book bios, been kicked out of the post office once (too many packages please come back tomorrow), gone through 15 packages of tape, finished 8 rolls of twine, folded 356 pieces of tissue paper, cut 560 lengths of ribbon and been reprimanded by the post master twice (only 10 packages at a time in line please!). Needless to say it’s been a spectacular adventure!
And while Ms. Jeannie’s days are now full of books, and research, and writing, and schedules , she managed to carve in a little gardening time over the weekend thanks to one of the most wonderful surprises ever…
A greenhouse on loan!
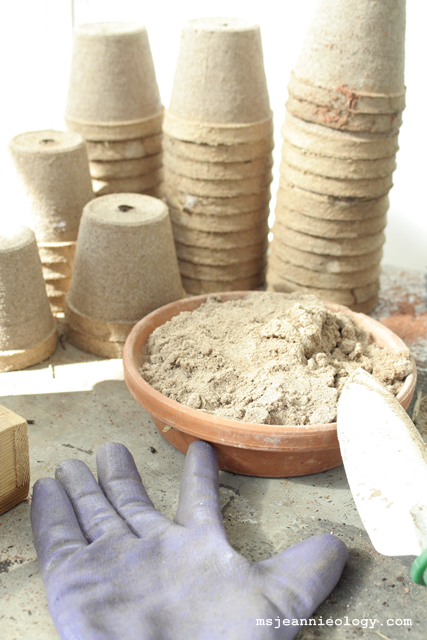
Ms. Jeannie’s neighbor has lent her the use of her greenhouse for the rest of the year! How exciting – a whole greenhouse all her own! It’s located just down at the end of the drive, so it’s a quick walk from the house, and ideally set with plenty of sun water spigots, and old rickety potting tables. After a quick yet thorough snake check by Mr. Jeannie (none thank goodness!) Ms. Jeannie got to work right away planting seeds…
The first seeds of the season!
So far, in just a day she managed to prepare and pot almost her entire vegetable garden…
Dill, cucumbers, spinach, hot peppers, and tomatoes.
It was the first sunny, dry and 70 degree weather in days and Ms. Jeannie was so glad to be enjoying it in her new horticulture house. She even collected sand from the creek bed for her spinach seedlings – these are going to be some pampered plants this year.
Creek sand!
Next week Ms. Jeannie will get to work on the flower seed aspect of the garden so stay tuned for some regular garden updates all season.
With each passing month, the book club gets better and better situated, so Ms. Jeannie looks forward to sharing a bevy of spring and summer blog posts.
After carefully cutting, wrapping, storing and dating (January 31st, 2013) her fig cutting as the NewEnglandGardener instructed, Ms. Jeannie was a little disappointed when she checked the clipping a week ago, only to see that nothing happened.
For three weeks the clipping had been tucked inside it’s plastic Ziploc, stored in a warm spot (on a shelf in the stairwell) and left unbothered to grow, grow, grow. But as of last week, the twig still looked exactly the same as when she started. No sprouts, no new green, no shoots. In the NewEngland Gardeners video, he already had sprouts after three weeks, so Ms. Jeannie worried that, perhaps, she had done something wrong and that she may have led her readers down a rocky garden path.
In speaking with a friend of hers about this matter, Ms. Jeannie learned another way that you could grow a fig clipping.
Method 2: Rooting a fig twig in a container of water.
In water! So Ms. Jeannie went out, cut another twig and placed that one in a jar of water and set it on her sill away from the sun.
This morning, she checked the status of both the Ziploc bag and the jar. This would now now be week 4 for the Ziploc bag and week 2 for the jar.
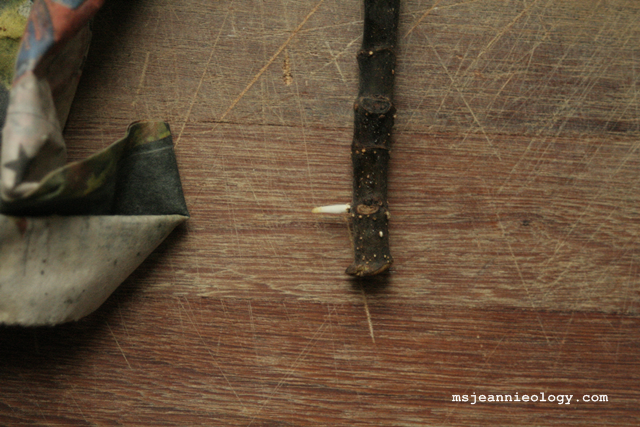
She was delighted to find this in her bag:
After 4 weeks in a ziploc bag!
Look closely and you’ll see a sprout at the very base of the twig…
A sprout!
Yey! Ms. Jeannie must have been a little impatient last week. This is a good reminder that you can’t rush Mother Nature. She is ready, when she’s ready!
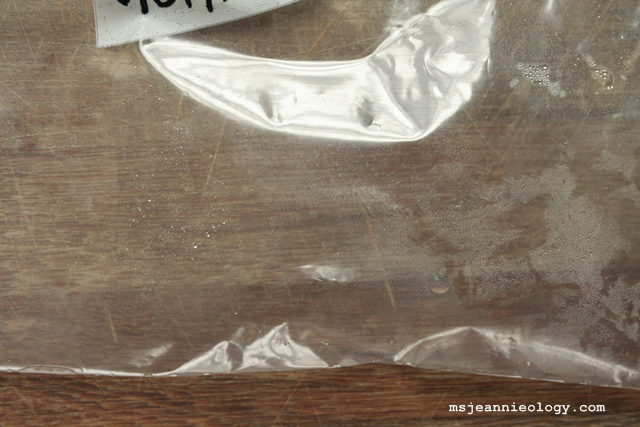
The grocery circular that Ms. Jeannie wrapped the twig in is still moist, even though she has never added any more water since the start, and it is a little spotted with mold…
Still damp!
The Ziploc bag also contains condensation…
Condensation bubbles
…so essentially, Ms. Jeannie created her own little greenhouse!
Nothing’s happening with the twig in the jar of water yet, but now Ms. Jeannie knows just to give it time!
So what’s next for the sprouted twig? Well, Ms. Jeannie is going to keep it in the Ziploc for one more week to see if any new shoots will form and then transfer it to a shoe-box size plastic container with potting soil as the NorthernGardener suggested. In the meantime, she’ll keep her eye on the water twig to see what happens.
Until next time, dear readers, grow fearless!
Grow Fearless Art Print by Feed Your Soul Art on Etsy
And don’t forget! You have until midnight tonight to enter to win this photograph (click on the ladies for contest information)…
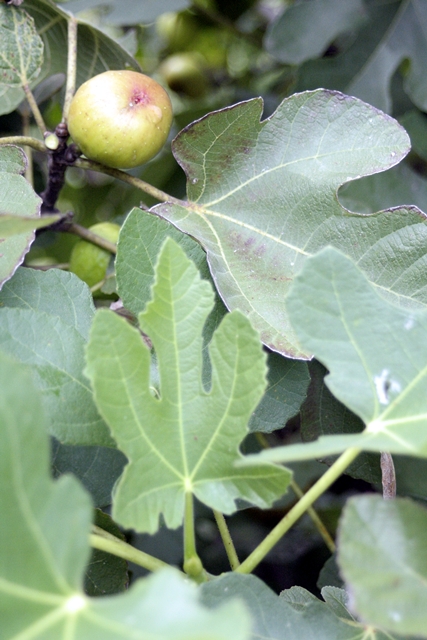
The two fig bushes in Ms. Jeannie’s yard, as pictured last summer.
In preparation for some spring gardening projects, our dear blog reader, Amy, sent in a gardening question about fig trees and whether or not she would be able to grow them from cuttings in her neighborhood, which happens to be arid Arizona.
Instantly, Ms. Jeannie thought sure, why not grow them in Arizona since figs first originated thousands of years ago in Arabia. But she wasn’t sure about the cutting department, so she did a little investigation on Amy’s behalf.
Lucky for us, Ms. Jeannie learned that since they are one of the oldest fruit trees in the world, they have now been adapted and modified to grow in just about any climate. Which is good news for all fig lovers! So first order of business is to determine which type of fig tree that will grow best in your neck of the woods…please consult this list.
Next, once you’ve found the right variety, you can visit your local nursery or garden store and either buy a small fig tree that has already been started or you can order a cutting online and start your own. Ms. Jeannie found this great video on youtube from the NewEnglandGardener which takes you step by step through the cutting process…
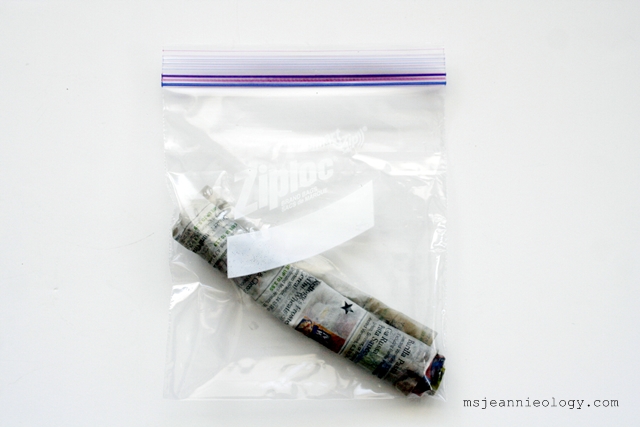
Ms. Jeannie was so inspired by the video – she decided to try her own clipping project, following the NewEnglandGardeners helpful guide. Here is what Ms. Jeannie used…
1. Garden Scissors 2. Publix Grocery Flyer 3. Quart size Ziploc bag 4. fig tree cutting (this one is 7″ inches)
She clipped a section that had a green sprout already (in hopes that it will encourage more!)
Close-up of clipping
Here’s the finished product. Now we wait for a few weeks and see what happens. Ms. Jeannie is going to keep the bag in her kitchen stairwell, which seems to collect all the heat in the house.
Grow big, little fig!
Please keep in mind, as noted in the video – growing trees does not happen over night. It will take a few years to get your cutting tree well established. However – they are fairly fast growers, so you’ll see changes over the course of months instead of years, like some other trees.
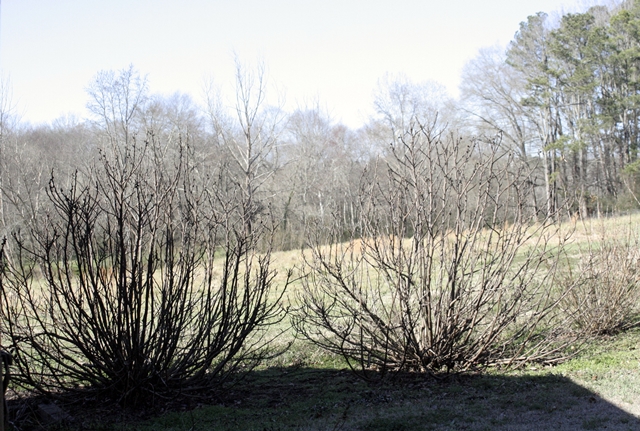
This is what the fig trees in Ms. Jeannie’s yard look like now, in the middle of winter (aka the dormant season, as the NewEnglandGardener refers to in the video)
A picture of Ms. Jeannie’s fig trees taken today. Stickily looking things in winter, but they still retain a nice shape.
If you look closely, you can see they already have buds emerging even though it is only January. This is a perfect stage now, to take a clipping.
You can see two of last year’s figs now dried on the twig. Ms. Jeannie wonders if this is inspiration for the new shoot!
Isn’t it amazing that this little sprout will grow from a tiny little wonder into this, in only about 3 short months…
The fig trees in Ms. Jeannie’s yard are over 12 years old and reach about 10′ feet high x 8′ feet wide. They’ve been pruned every once in awhile but otherwise, are incredibly low-maintenance. You may recall, last summer, the two fig bushes in Ms. Jeannie’s yard had a banner production season. There must have been hundreds of figs that plumped up from July thru September.
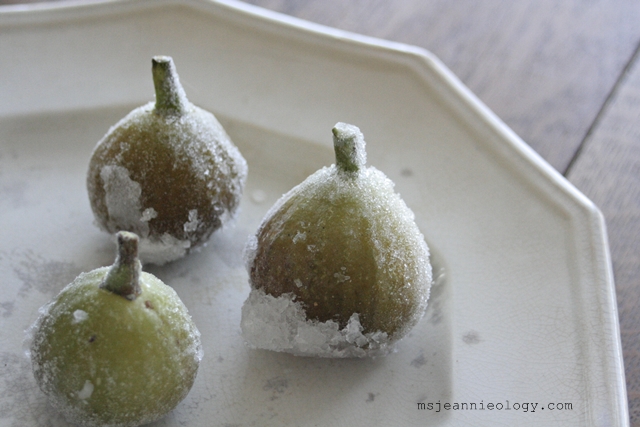
Mostly she passed buckets along to her friends, ate a few cups each day and froze gallon bagfuls for a jam lesson that never quite came into fruition. No problem though, as of late, Ms. Jeannie has been enjoying the frozen figs in her morning yogurt shake. Why add ice cubes when you can add some frozen figs instead?!
All you do is just pick, rinse and air-dry the figs and then pop them into a freezer bag and stick them in the freezer.
Ms. Jeannie tosses these little frozen delights right into the blender, straight out of the freezer in this state. They make the shake cold and add extra vitamins to the start of her day. Figs are high in vitamin K (good for blood clotting), vitamin E (protection from cell damage) and vitamin B6 (good for the nervous system, the breaking down of glucose and for cell energy).
They also contain the minerals manganese (good for your bones) and potassium (good for your blood pressure) and are also really high in dietary fiber. A delicious superfood! This is Ms. Jeannie’s recipe for her morning shake, if you are so inclined to try it…
Yogurt Fruit Shake
Makes two 8oz. glasses
1/2 cup organic 2% milk
6 whole frozen figs
1 banana (broken into 4 sections)
1 cup fat free vanilla yogurt
1 quarter fresh cantaloupe (rind removed and roughly chopped)
Add all ingredients in the blender and pulse on low until all the figs break down into pieces (about 30 seconds). Then put the blender on crush and let it mix for about a minute, which blends all the fruit and incorporates air to make it light and fluffy. If the shakes seems too thick, you can add more milk. Otherwise pour and enjoy! You can also add different types of fruit if you like. This is a really basic recipe and can be modified eighty million different ways!
Ms. Jeannie hopes this mini fig lesson will blossom into something wonderful for Amy and anyone one else with figgy aspirations. If you decide to start a fig tree from a clipping, keep us posted on how your progress goes. Ms. Jeannie in turn, will keep you updated on hers as well. Happy growing!!!