Sea and sky. Blue and white. Stars and snow. Dinner and dessert. That’s the theme of our next stop on the International Vintage Recipe Tour 2021. Destination #24 in this multi-year series takes us to the holy land of Israel for a bit of holiday festivity, Hanukkah style!

I thought that Israel was going to be right up there at the very top of the list of the oldest countries in the world, but surprisingly there are some discrepancies when it comes to naming the oldest places around the globe, and then also the specific order in which they should appear. That’s because there are quite a few ways to calculate this information and it all differs. Based on records, archeological findings, the official forming of civilized governments, one list could say that China is the oldest country in the world while another list says that it’s Greece.
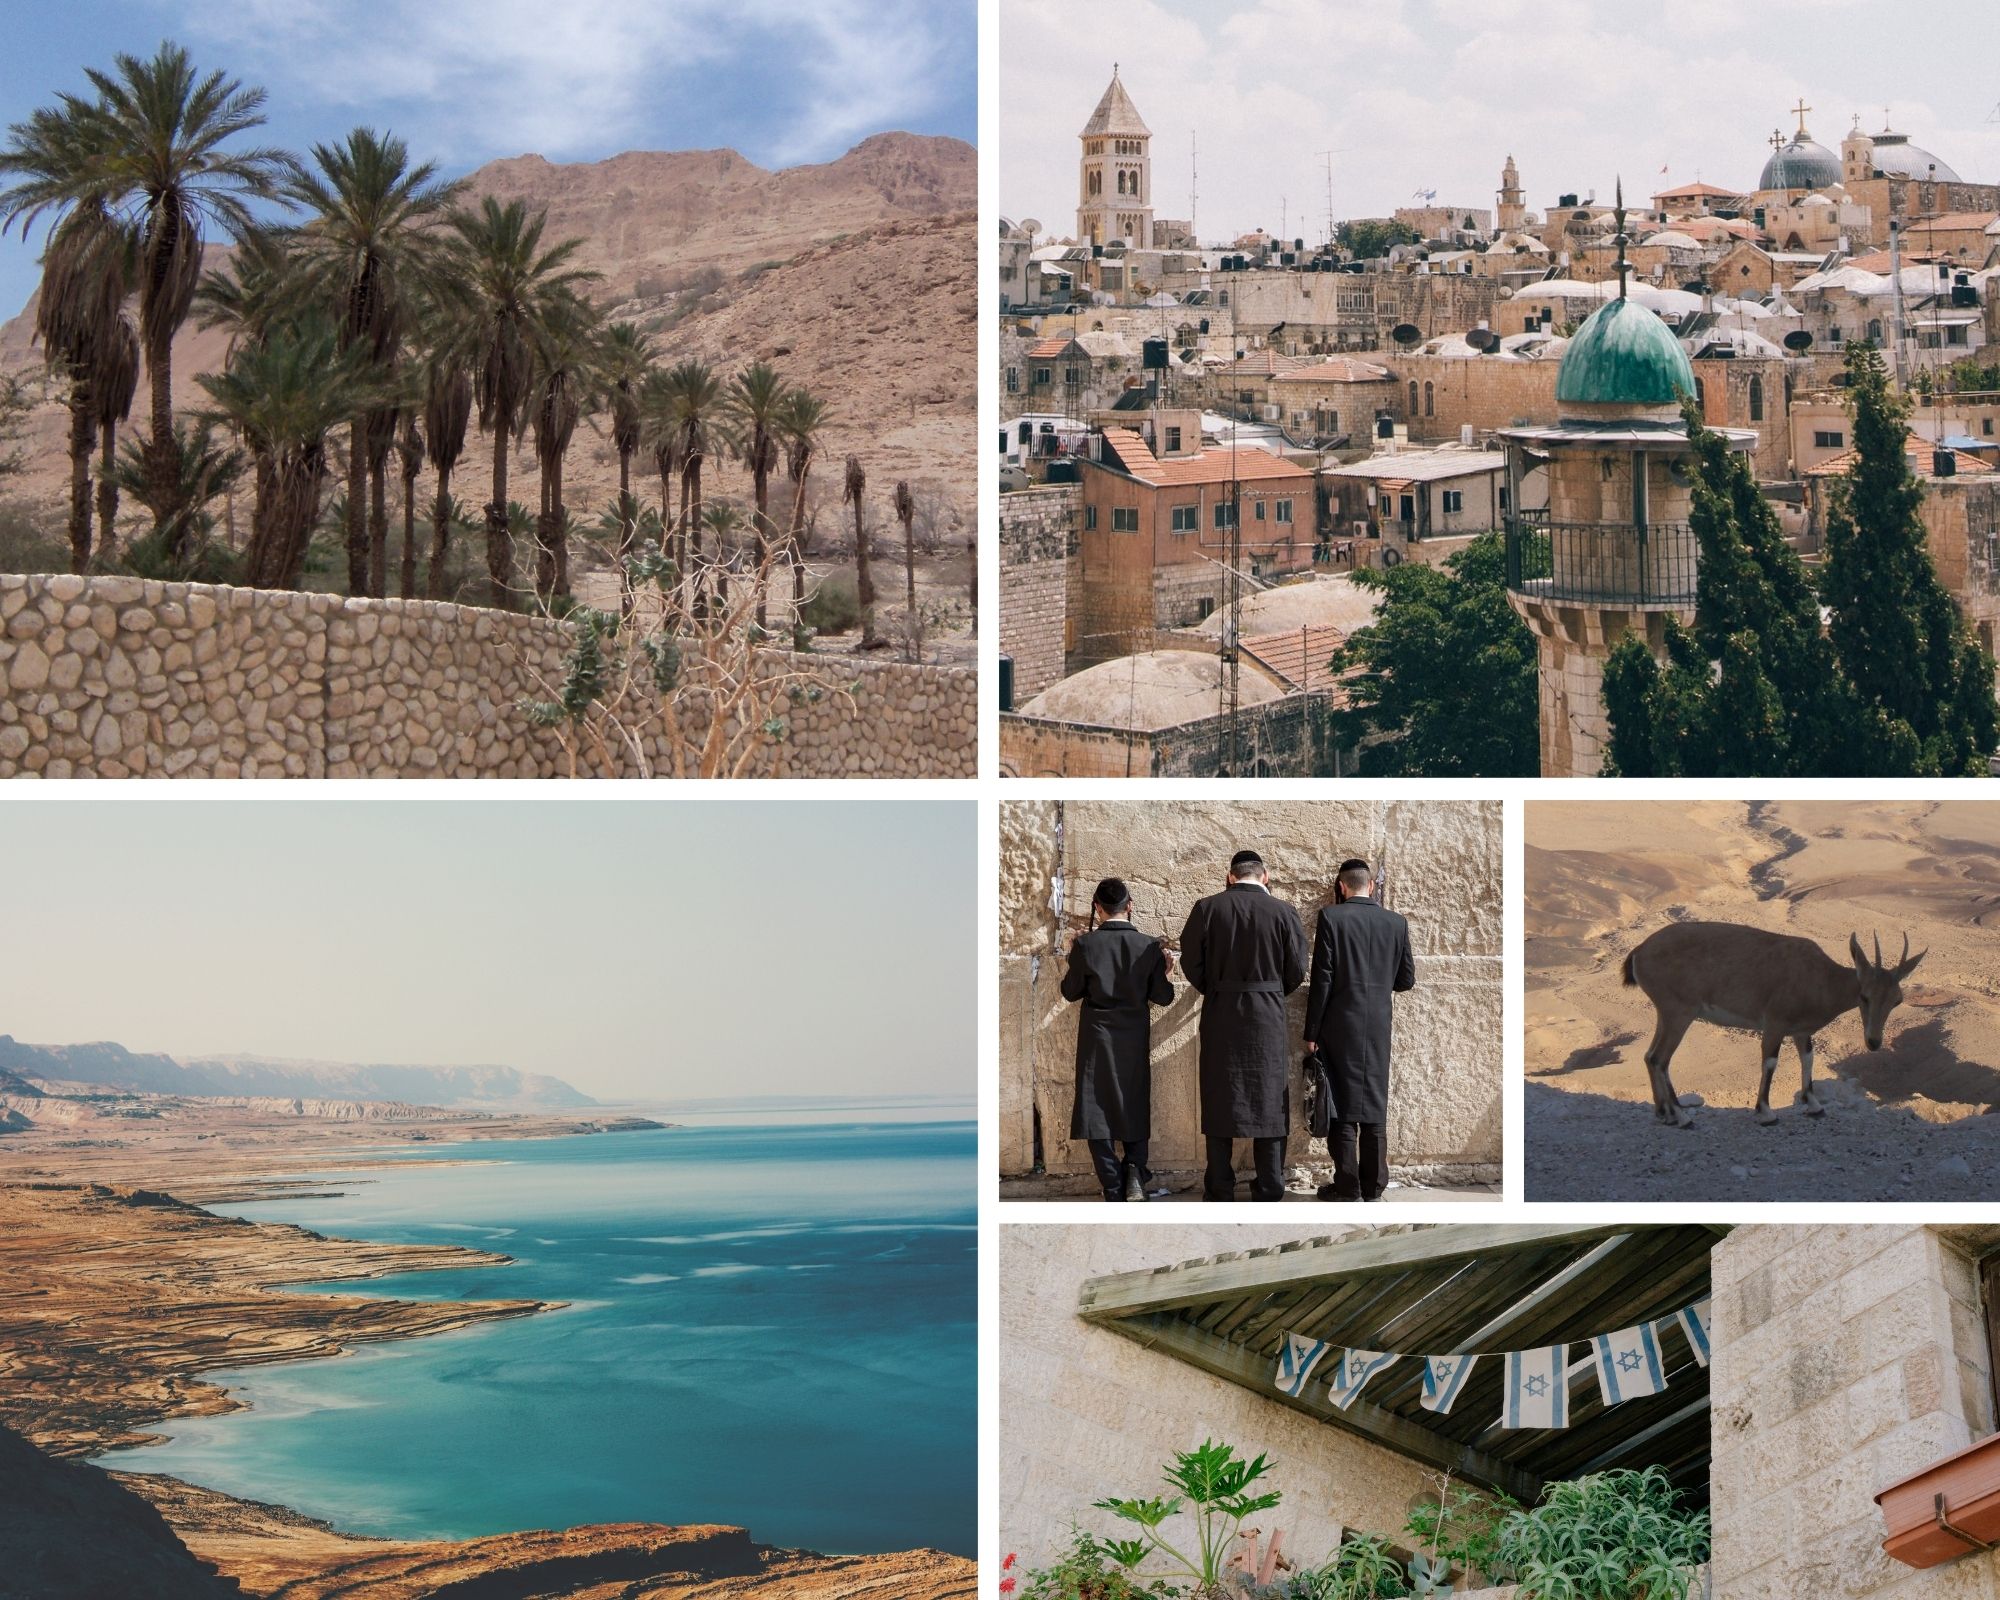
But particulars aside, there are a few countries that keep popping up on everyone’s top tier lists depending on which site you are consulting and for what reason. Japan, Iran, China, Greece, Egypt and India usually make the top ten agreed-upon selections. Israel, France, Italy and San Marino sometimes get included too, but not always.

Granted, the landscape of Israel is centuries old with ancient cities like Jerusalem and Jaffa always at the ready to offer historic context, but it wasn’t until 1948 that Israel declared its independence, becoming the first Jewish state in over 2000 years. 1948 is also the same year the Israeli flag, as we know it today, became official even though the design was first created in the late 1800s. That makes Israel both wonderfully ancient and modern all at once.
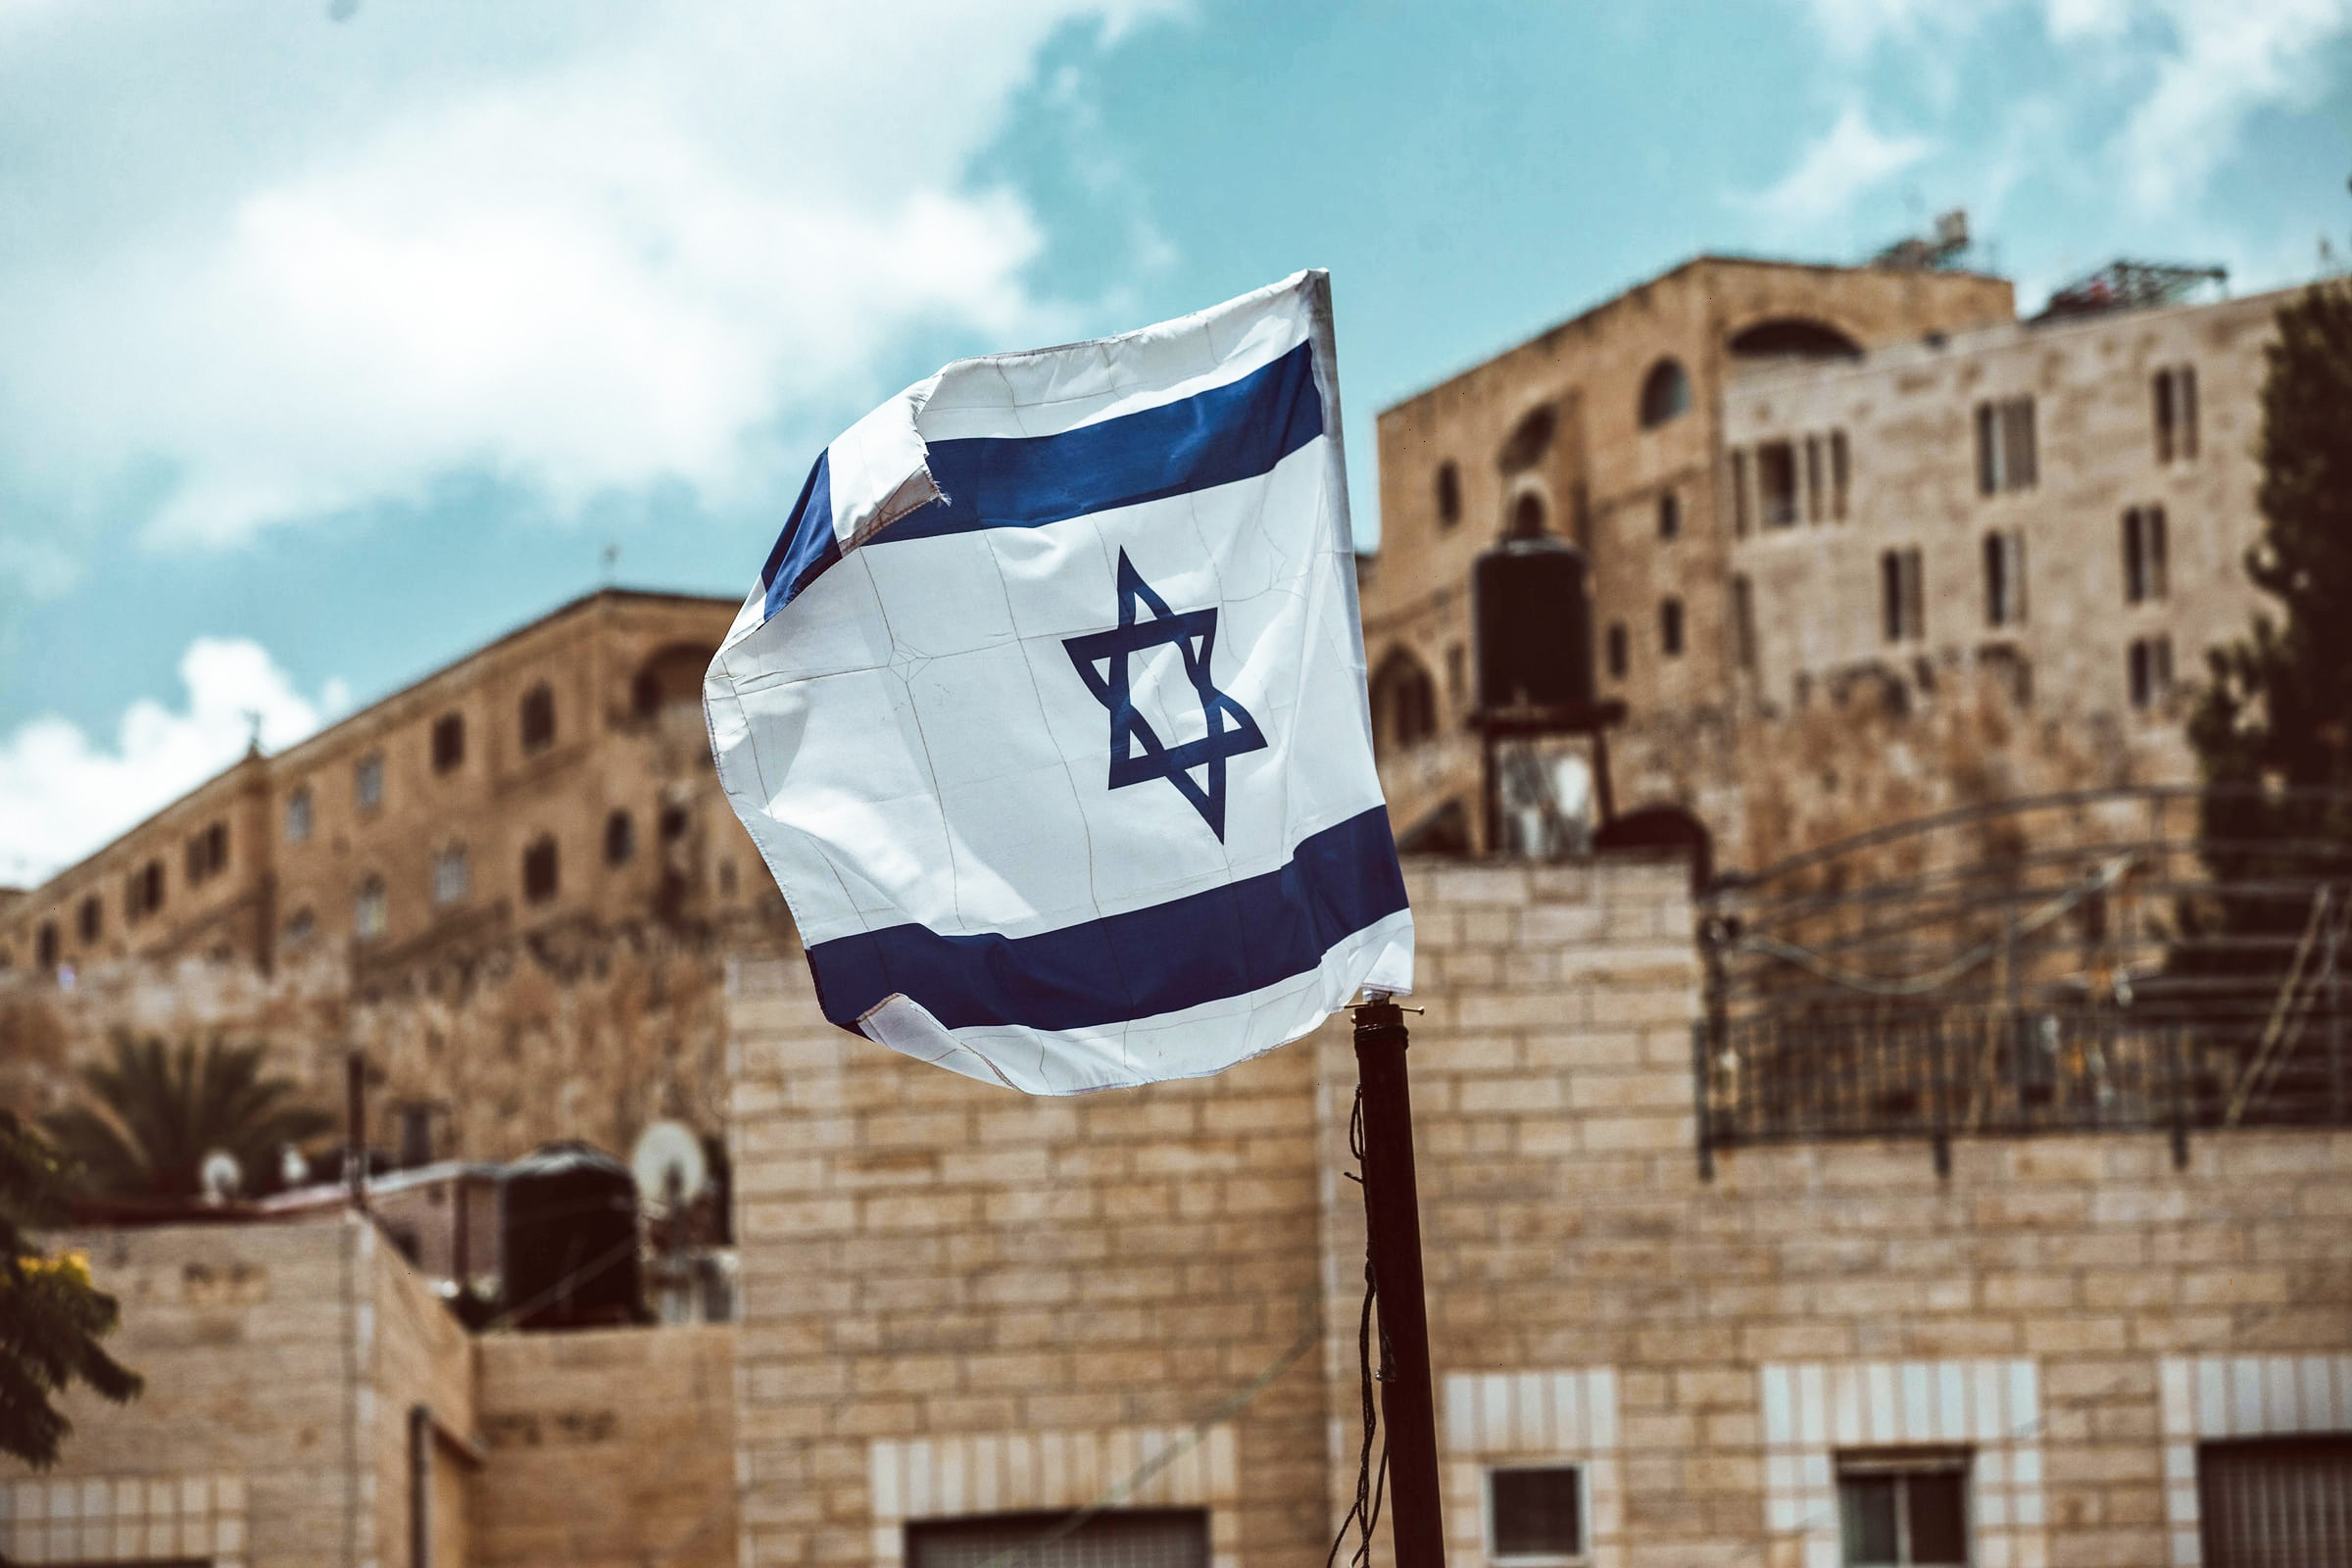
The first version of the Israeli flag was designed by a Lithuanian-American rabbi, Jakob Askowith and his son, Charles in 1891 for a temple in Boston, MA. They selected the blue and white colors which represented benevolence and purity, included the Star of David, and a Hebrew word for a specific warrior in Israeli history. Other versions designed by other people emerged in the 19th century too, including a flag that featured lions and stars, but it was the Askowith’s design that resonated with people most. Little tweaks here and there would be made to the flag and the Hebrew writing would be dropped from the original layout, but by the time, the Askowith’s flag was flown at the World’s Fair in St. Louis, Missouri in 1904, it was a cherished icon recognized by the Jewish community worldwide.

Since it’s Hannukah, I thought it would be fun to tie this food post in with a homemade craft project that celebrates one of Israel’s most iconic symbols of faith and flag – the Star of David – an instantly recognizable emblem deeply associated with Jewish culture.
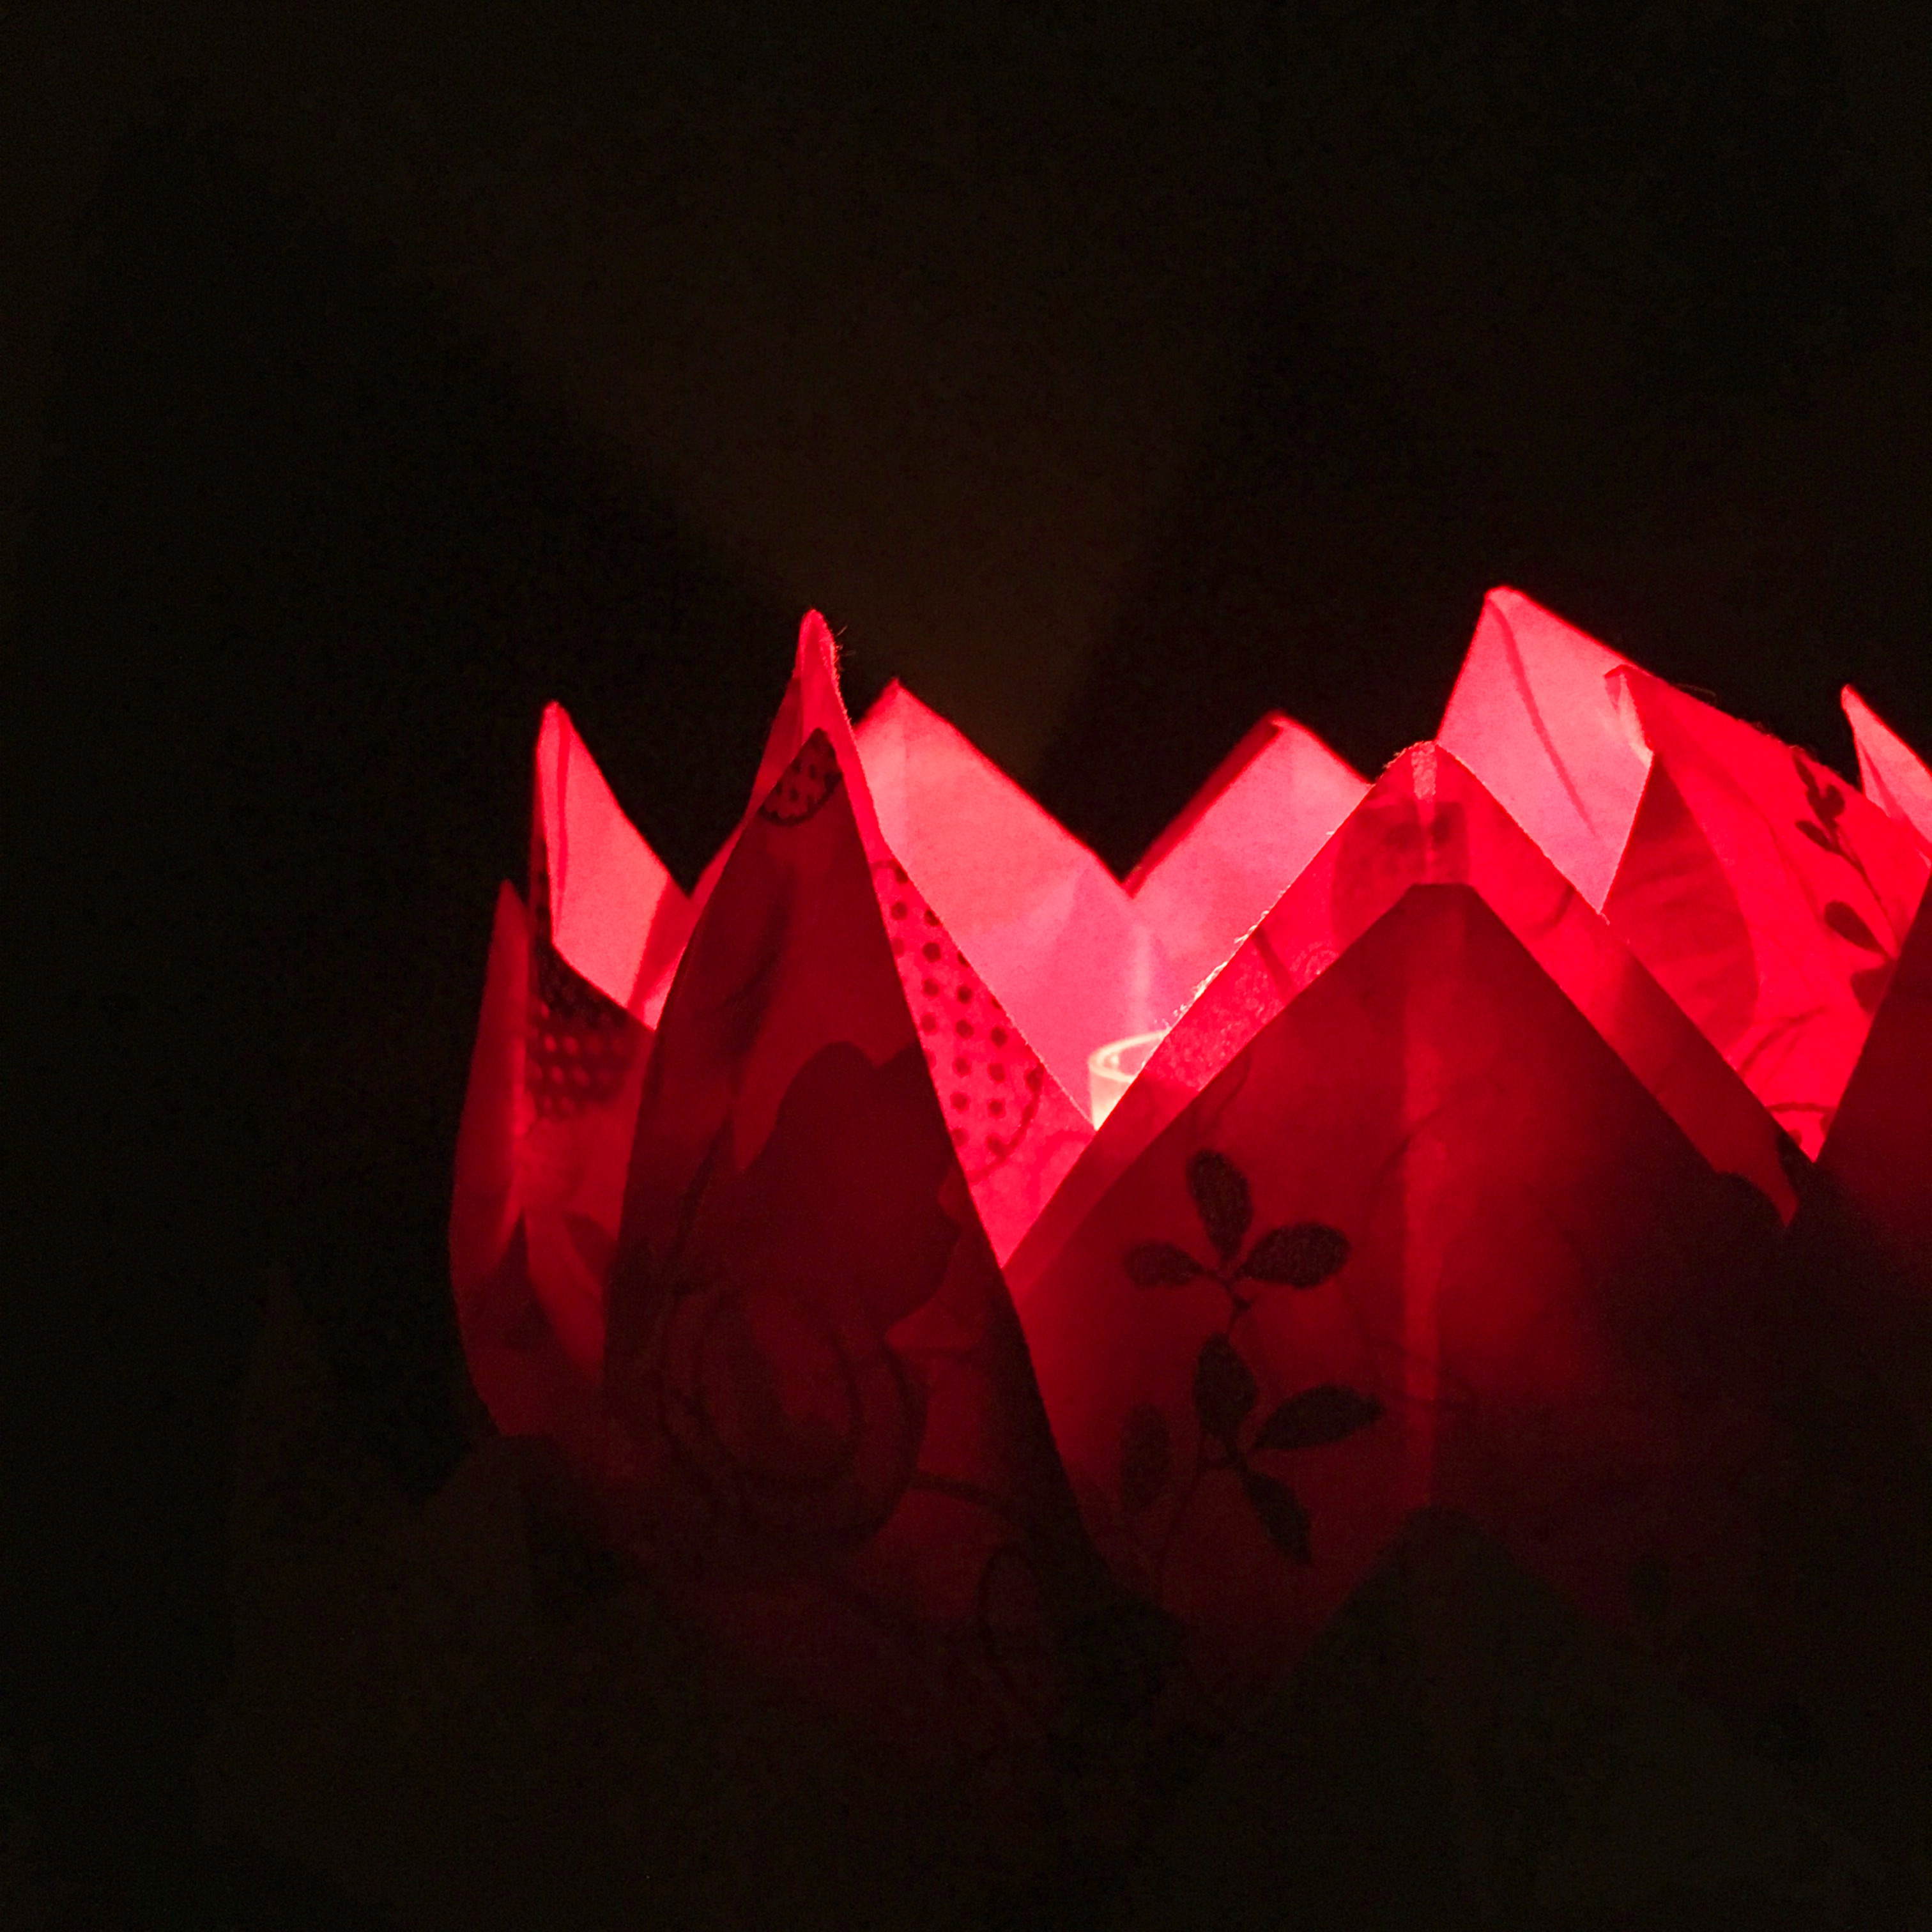
The last time we combined a craft project with a recipe from the International Vintage Recipe Tour it was during Week 9 when we traveled to China via the kitchen in March of 2020. That was just when the Coronavirus was gaining steam, the country was going into lockdowns, and when a major tornado blew through my city streets and destroyed half the buildings in my neighborhood.

In that turbulent post, we made floating lanterns based on an annual Chinese celebration, known as the Hungry Ghost Festival which honors the spirits of departed ancestors. As the world was losing loved ones to the virus and losing freedom to lockdowns, and my neighborhood was grieving the destruction of a broken-down landscape, I clung to the idea that memories of love and light could guide us through the dark in the form of an actual, physical light. The paper lantern may have been fragile in appearance but it was mighty in hope and sentiment.
This time, our craft project also centers around light and strength and spiritual guidance. It comes at a time when things in the world are still universally difficult due to the continuing pandemic, and it comes at a time when the Vintage Kitchen, is going through a big change as we relocate to a new space. I love how art from two very different cultures can become a beacon of comfort during chaotic times. Especially when tied in with cooking and creativity in the kitchen.

Today, we are making a Star of David wreath out of winter twigs, fresh greenery, and grosgrain ribbon. It’s a simple project that is suitable for all ages and skill levels and can be made in under 30 minutes. While it is ideally suited for the Hanukkah holiday, it also can be displayed all winter long both indoors and out as a reminder of faith, hope, community, and care. Make a big one for your door or a series of small ones as place settings on your table and you offer all who enter your home or relax at your table, a bit of love and (star)light this holiday season.

First recorded in the 3rd century in Italy, the Star of David was a universal symbol that was also referred to as the Shield of David. During the Middle Ages, the Star was believed to contain mystical and magical powers and by the 1600s was adopted into the Jewish community as a decorative mark of distinction.

Even though it originally started out not being connected religiously to any one group or another, the Star of David, with its six points and two intertwined triangles, is now most commonly associated with Judaism, and the Jewish community as a whole. In the 20th century, it also became a powerful symbol of heroism in relation to the Holocaust when Jewish people were forced by the Nazis to wear the Star of David like a badge on their clothing. It takes courage to be an icon, to display an icon and to believe in an icon. The Star of David manages to be a reminder of the past and a symbol of the future all in one.

When it comes to making your own Star of David wreath, creativity reigns supreme especially if you wanted to incorporate this festive week of Hanukkah. But the two most important components to include are the colors blue and white. Since it is the holiday season, I added accents of juniper berries and star anise for scent and color. Once the initial framework is built, the sky is the limit when it comes to decorating.
To make this Star of David wreath, all you need is…
- kitchen string
- six straight twigs or tree branches all cut to the same length (this wreath was made using twigs that were 10″ inches in length)
- a hot glue gun
- fresh greenery, winter berries and/or fresh herbs/spices for decoration
- grosgrain ribbon in shades of blue
Start by clipping your twigs to equal size.

Next, make two triangle shapes with the twigs…

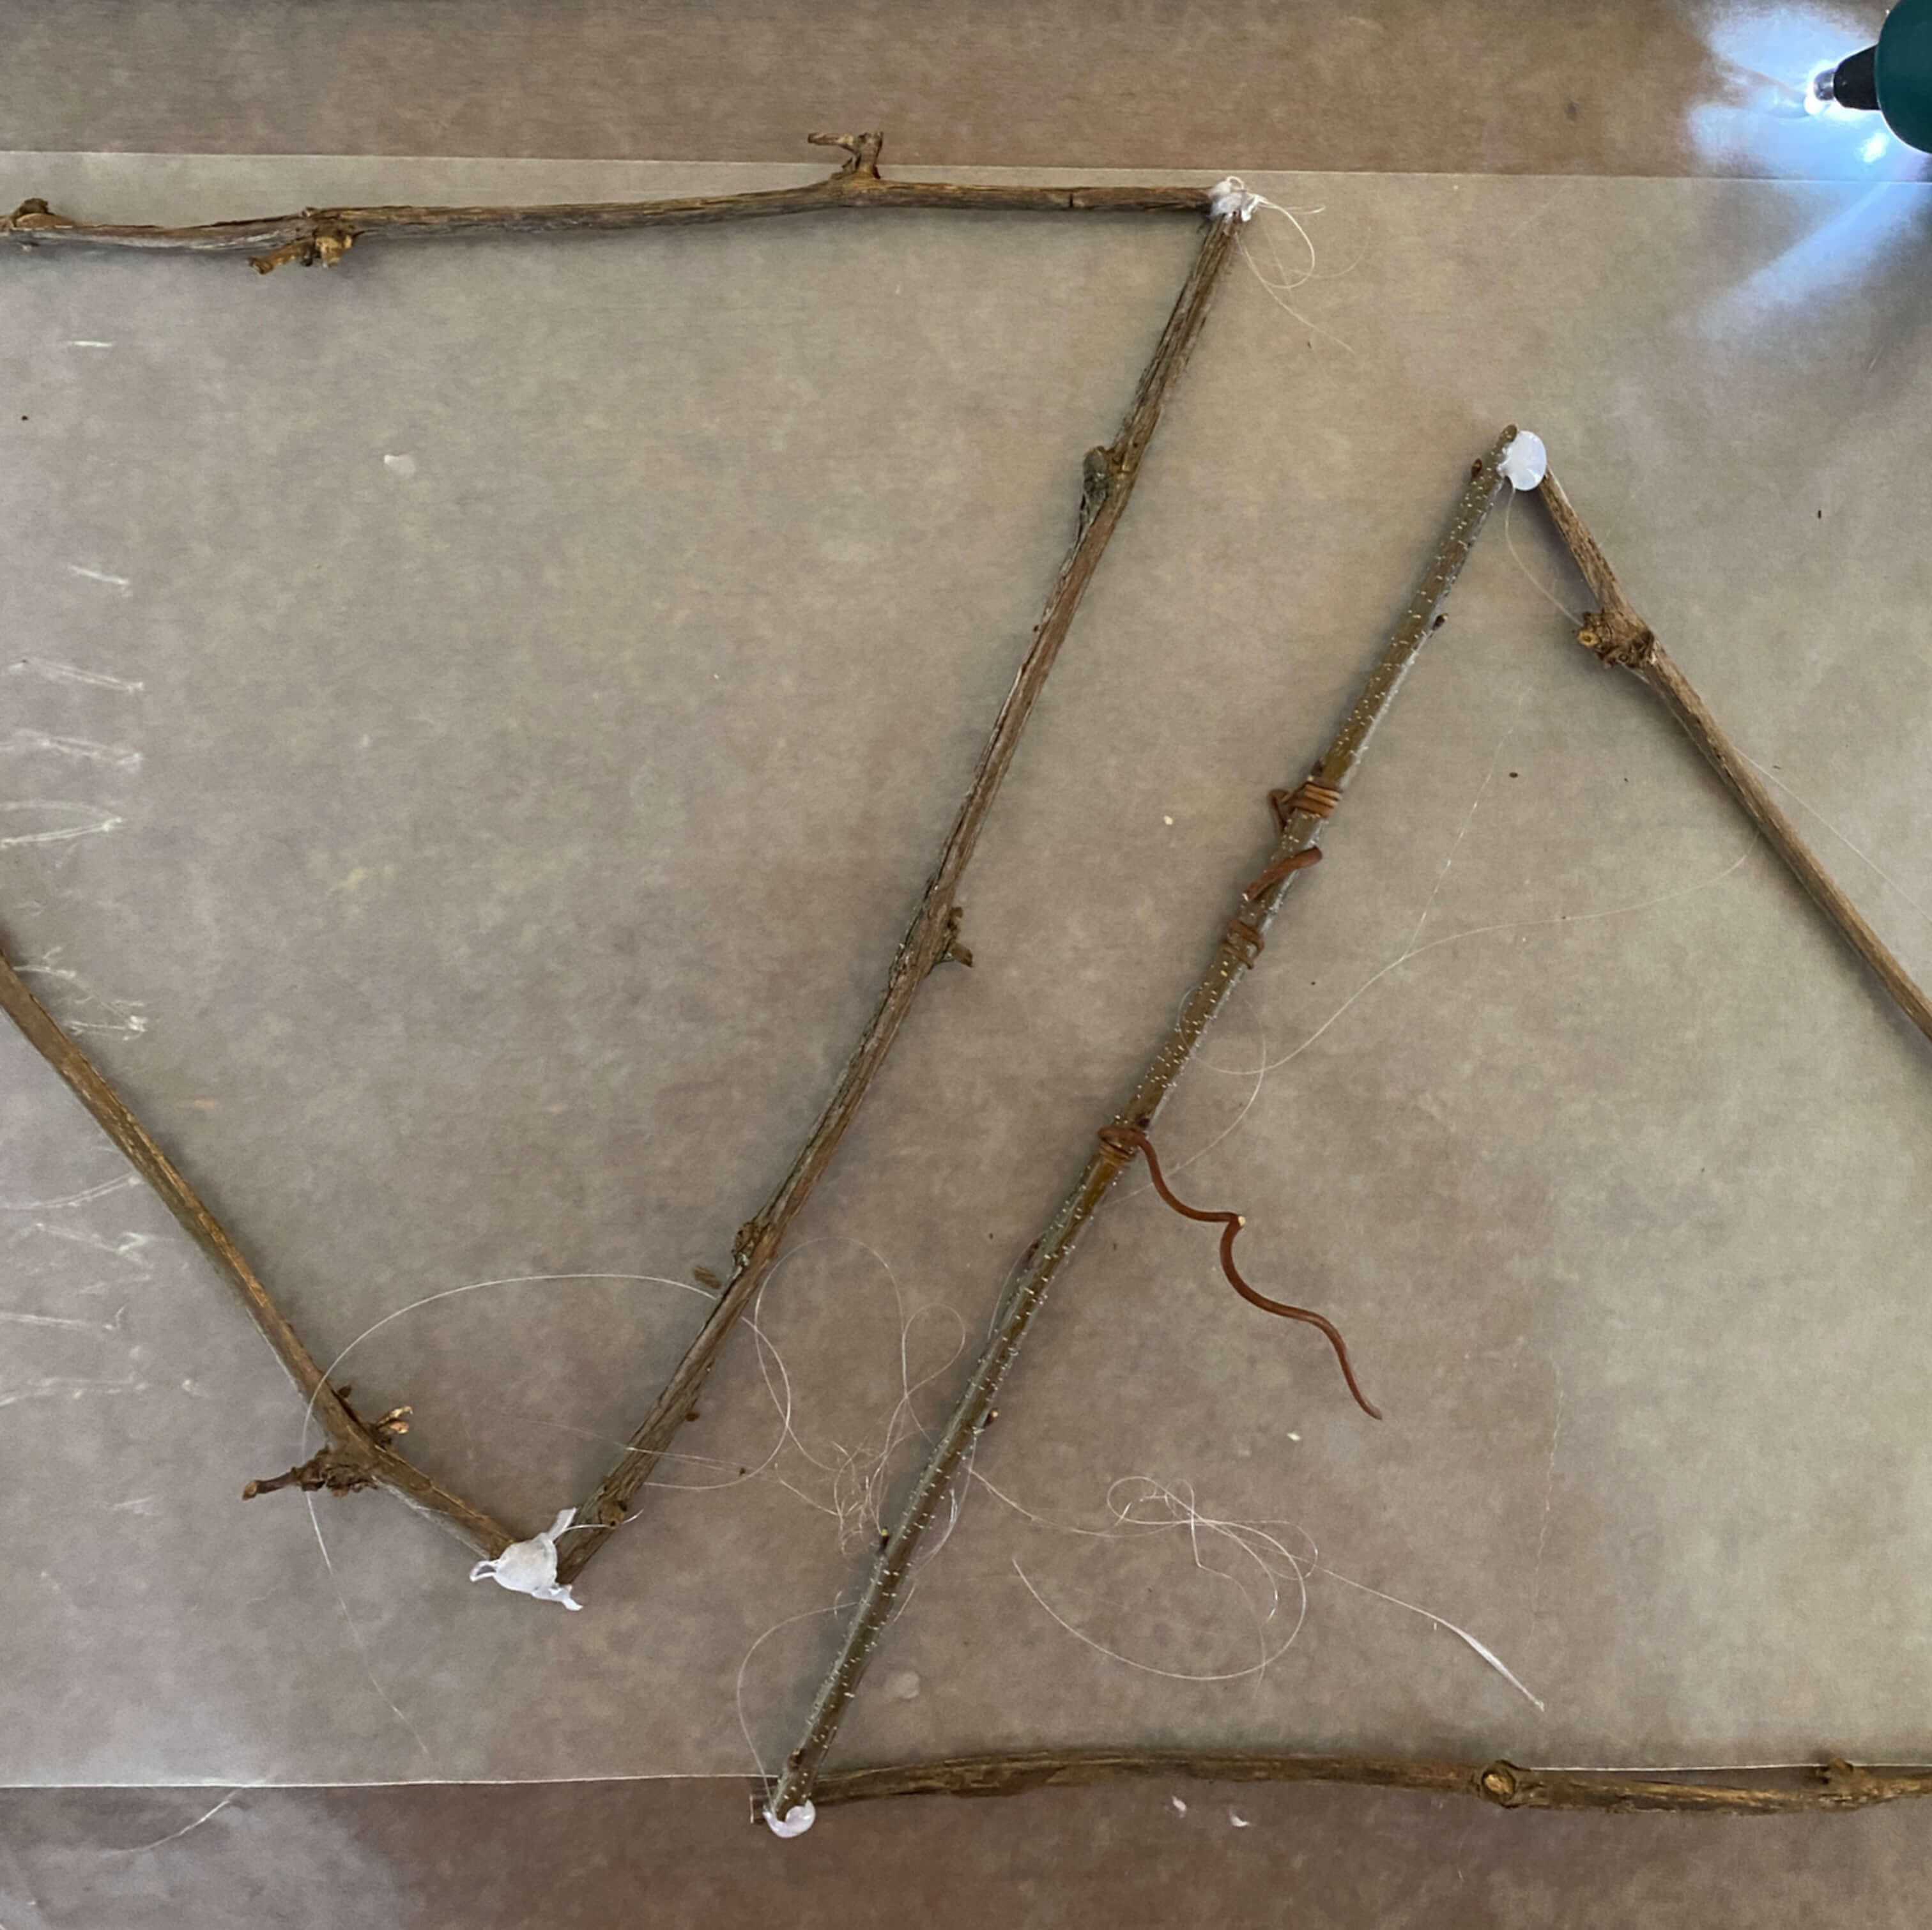
Glue each end of each twig together to permanently form the shape and then place one triangle on top of the other in opposite directions and glue the triangles to each other wherever they touch.

Next, wrap each joined section (wherever you dabbed a bit of glue) with kitchen twine to cover the glue spots and add extra support to your star. Glue decorative greenery (or whatever embellishments you would like to add) to the bottom left corner of the star. Let the glue dry for a few minutes. Attach the ribbon at the top of the star and you are ready to hang up your wreath.

Simple, natural and easy to style both indoors and out, a Star of David wreath looks just as wonderful hanging from the knob of a kitchen cabinet as it does from a front door. Make a few stars and hang them on the wall in your kitchen or from the light over your dining table and you’ll have a starry scene to inspire this next part of the post… the cooking of two vintage Israeli recipes.

On the menu today, it is saucy Mediterranean Fish for dinner and a homemade lighter-than-air Walnut Torte for dessert.

Like the Star of David wreath, both recipes are simple to make. What is lovely about both foods, and most Mediterranean cooking, in general, is that each dish is light yet flavorful and can easily be shared with a crowd if you are entertaining friends and family for the holiday season.

Throughout time, Israeli food has been inspired not only by staples gathered and grown in the local landscape but also by the millions of immigrants that have populated the country from Eastern Europe, Africa and its neighboring countries. Poverty in the middle half of the 20th century, and the scarcity of certain types of food during those decades (mainly meat products) encouraged more creative and colorful cooking using more accessible ingredients like grains, fruits and vegetables as a substitute for animal proteins.
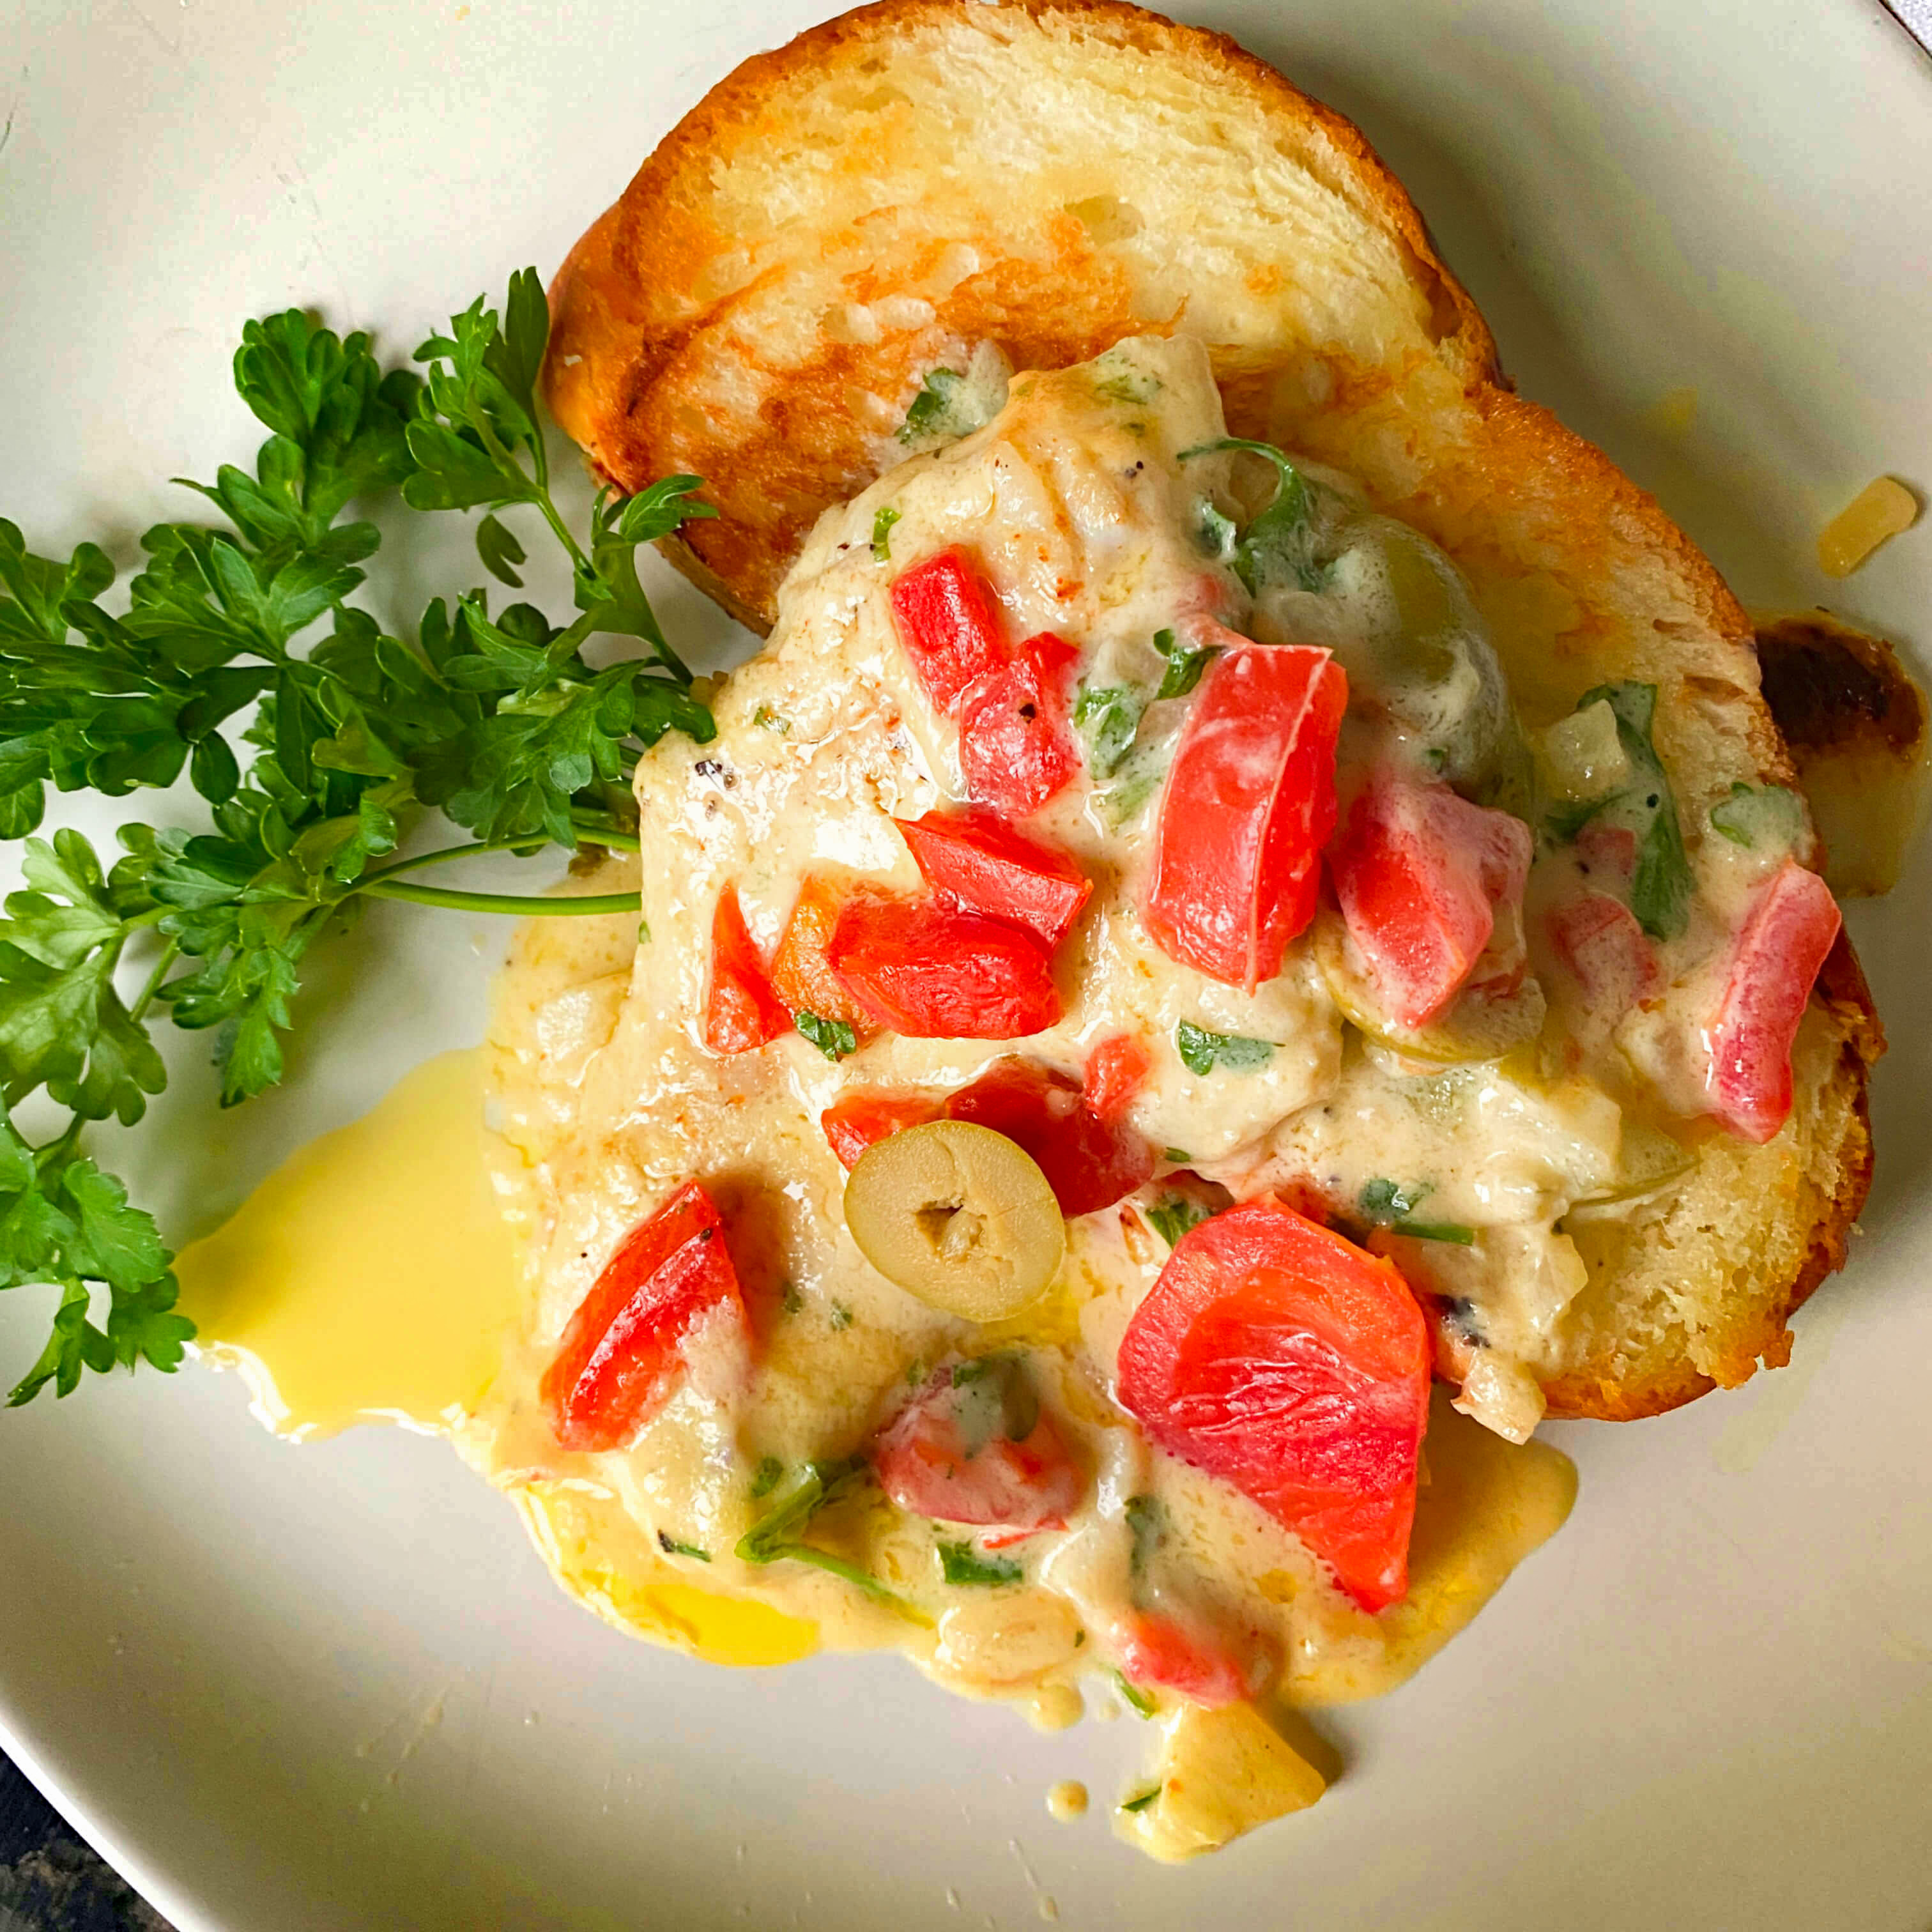
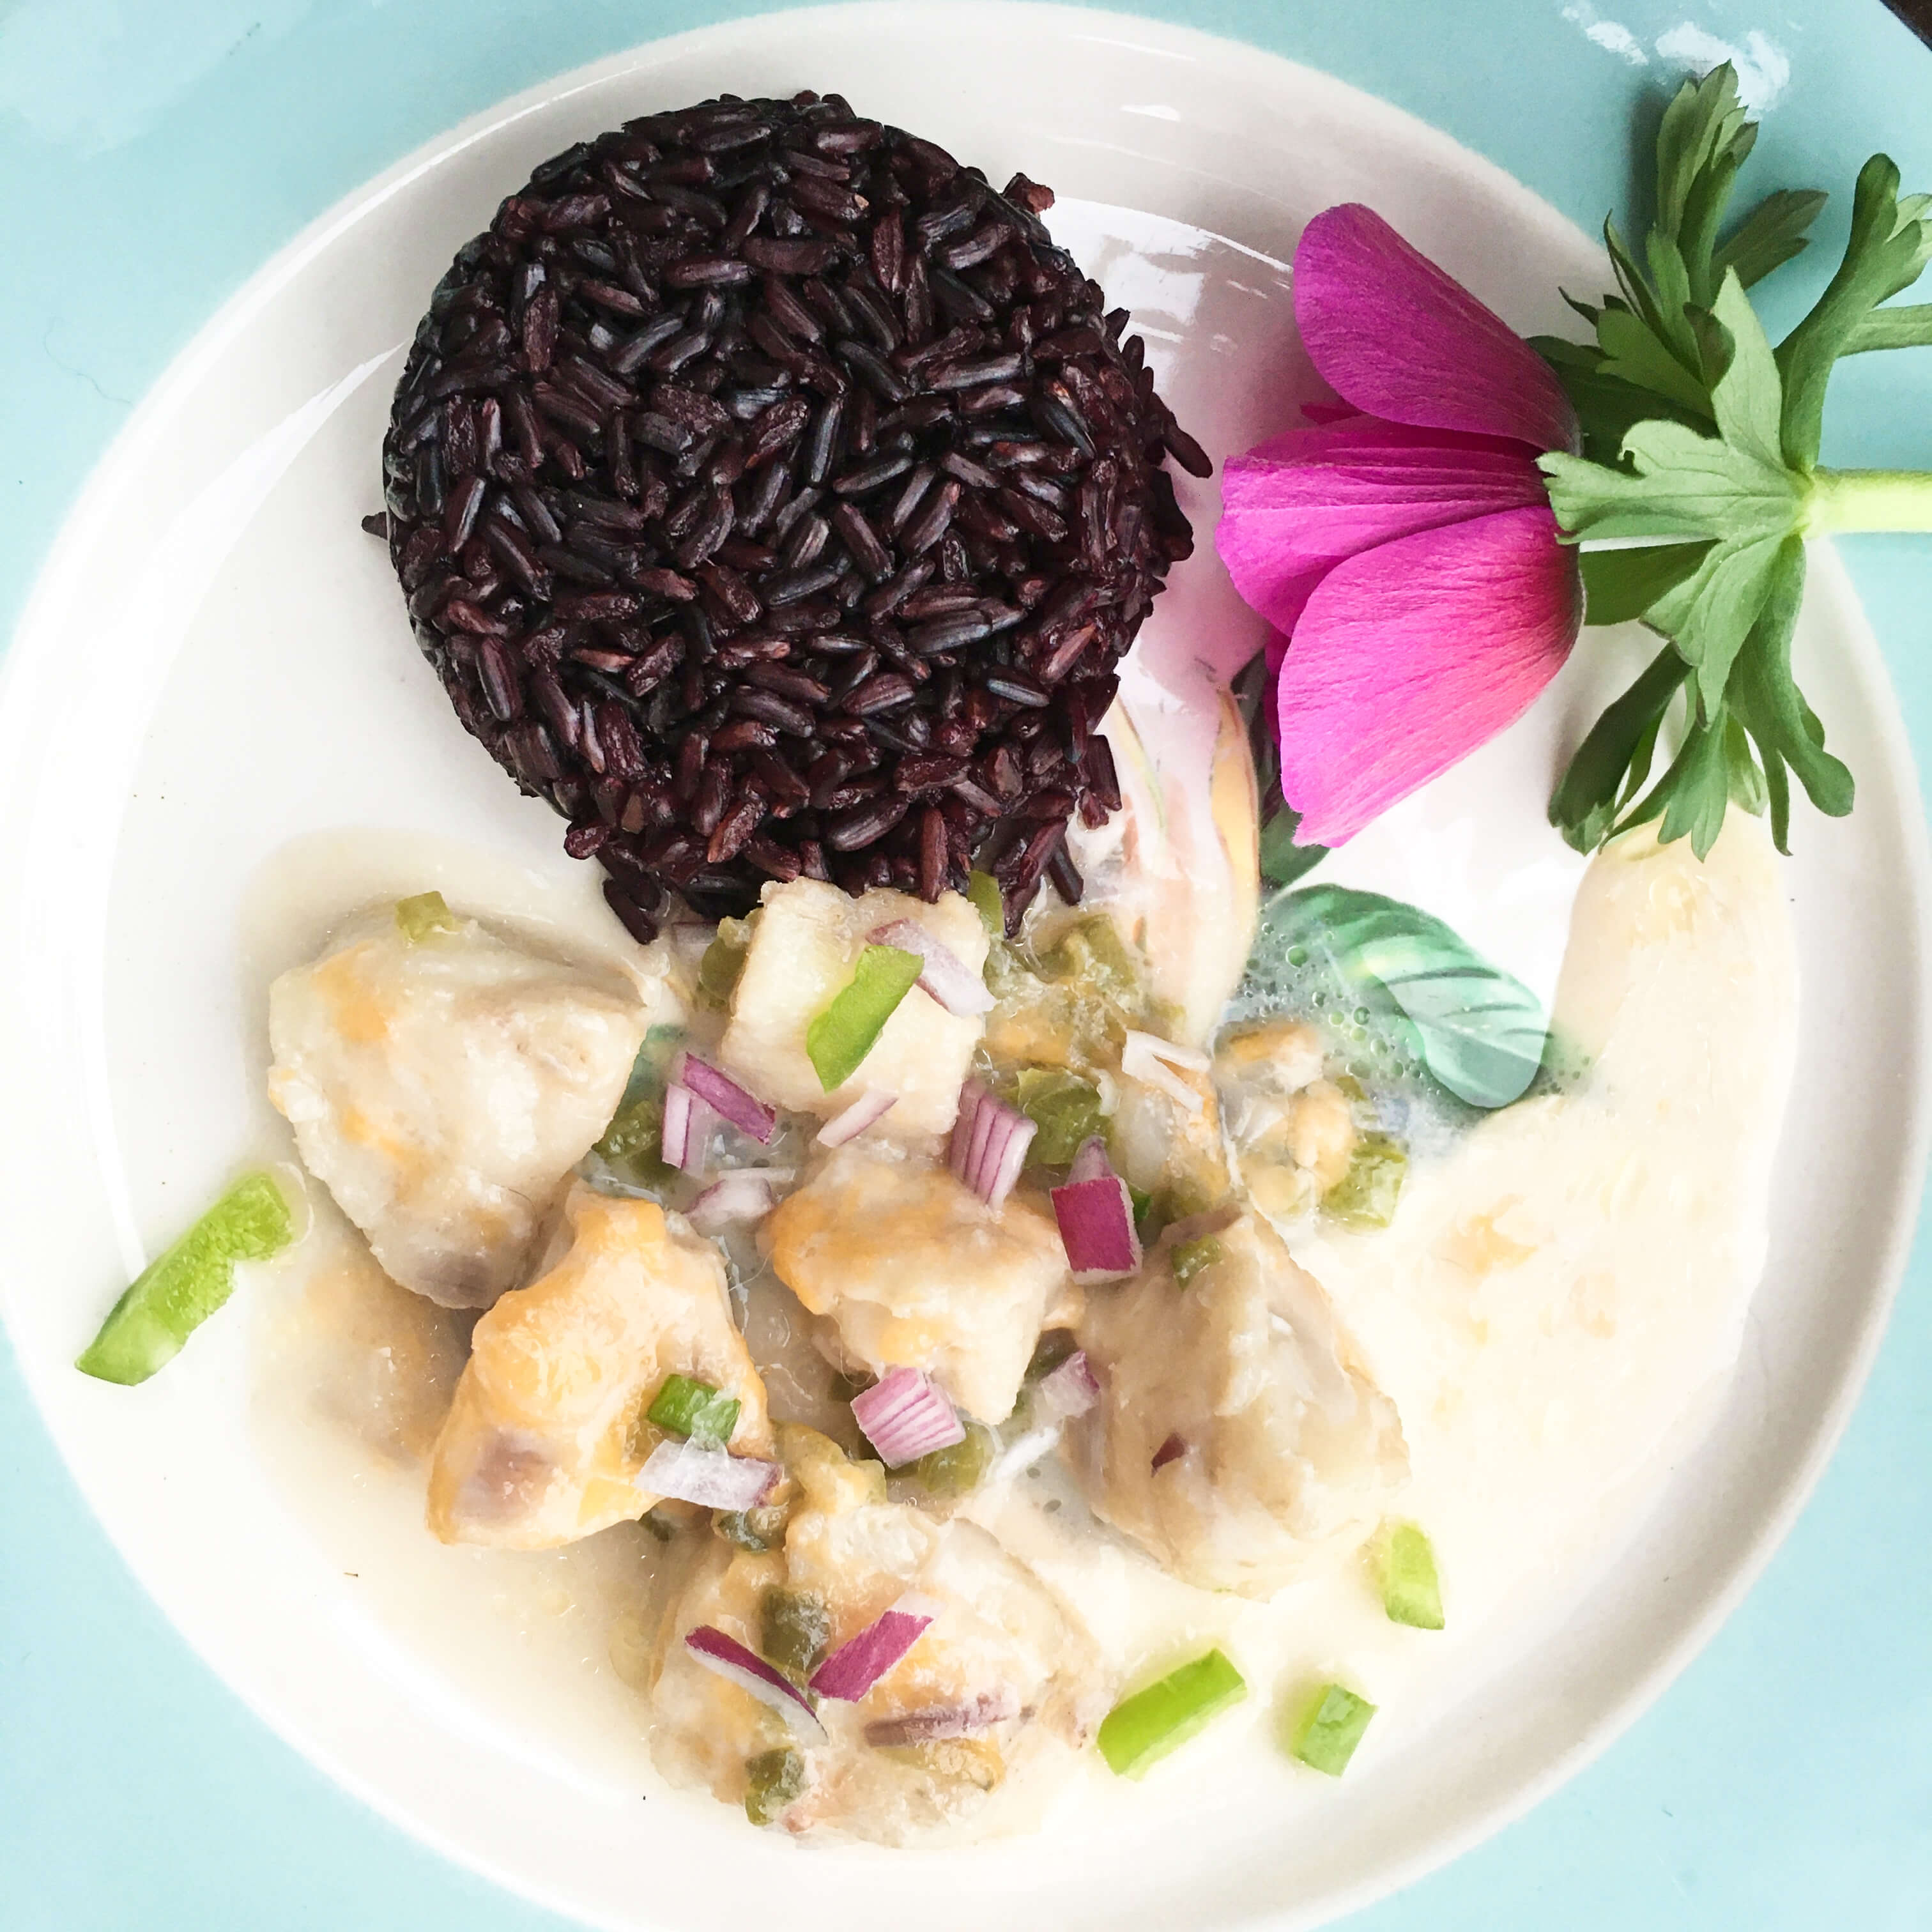
This Mediterranean fish dish features the best of all those influences. It contains olives (one of the seven ancient agricultural products that still serve as a foundation for the traditional Israeli diet), local fish from the Mediterranean sea, the middle Eastern condiment tahini, and wine (ideally made from local Israeli grapes). The combination of all these unique flavors is light, creamy, and nuanced. Similar to crab dip, this Israeli-inspired fish dish is warm and saucy in composition, comfort and consistency, and is absolutely delicious when served with challah bread.

Mediterranean Fish
serves 4
1/4 cup olive oil
1 cup finely chopped onion
1 green pepper, cored, seeded, and chopped
4 individual fish fillets such as salmon, flounder, or cod (I used cod)
2 tomatoes, cored, seeded, peeled, and chopped (if making this in the off-season use whole, canned tomatoes)
1/2 cup fish stock (if you can’t find fish stock substitute with vegetable stock and a few dashes of fish oil)
3 tablespoons tahini
1/4 cup dry white wine
2 egg yolks light beaten
2 tablespoons chopped parsley
8 stuffed olives
4 slices bread (I recommend challah bread)
Vegetable oil for frying
1 clove garlic
Heat half the oil in a large skillet and cook the onion and green pepper until wilted.
In another skillet heat the remaining oil and cook the fish until lightly browned on each side.
Transfer the fish into the skillet with the onion mixture. Sprinkle with salt, pepper, and cayenne to taste and half the lemon juice.

Spoon the tomatoes over the fish and add the fish stock. Cover with aluminum foil or parchment and cok over low heat for ten to fifteen minutes. Be careful not to overcook the fish.

Combine the tahini and remaining lemon juice in a small mixing bowl. Beating with a whisk, add the salt, and pepper to taste. Add the wine. Carefully pour the liquid over the cooked fish into the tahini mixture and beat well.

Beat in the egg yolks and parsley and spoon the mixture over the fish. Place the entire pan under the broiler until the mixture just begins to brown. Scatter the olives over the fish.

Quickly fry the bread in oil and rub lightly with garlic. Place a slice of bread on each plate and smother with fish. Serve immediately.

Satisfying in all the ways that a saucy smothered bread can be, this fish dish looks remarkably creamy yet contains no actual cream. I really loved it for the way each ingredient brought its own pizazz to the ensemble. The olives offer salt, the tomatoes – color and acidity, the parsley a bit of fresh green, the tahini – a roasted earthiness, and the wine brilliantly married all the flavors together. Festive with its red, white, and green color palette, this is a fun dish to share amongst friends and family during the holiday season, as well as a quick fix if you find yourself short on time.
Likewise, dessert promises to be just as effortless…

Oranges are a popular citrus fruit grown in many backyard gardens in Israel. As a result of being fruit lovers and home baking aficionados, many Israeli home cooks creatively incorporate ample amounts of local fruit into their culinary endeavors.
Similar in consistency and texture to zucchini bread, this walnut torte is light and delicate with a fluffy consistency. Not too sweet, and slightly tangy thanks to the citrus, *it contains matzoh meal which can be hard to find in typical grocery stores. If you have difficulty like I did, just purchase a box of plain matzoh crackers and grind them to a fine powder and use that as an equal substitute for the flour. It comes out perfectly either way.
Israeli Nut Torte
Serves 8
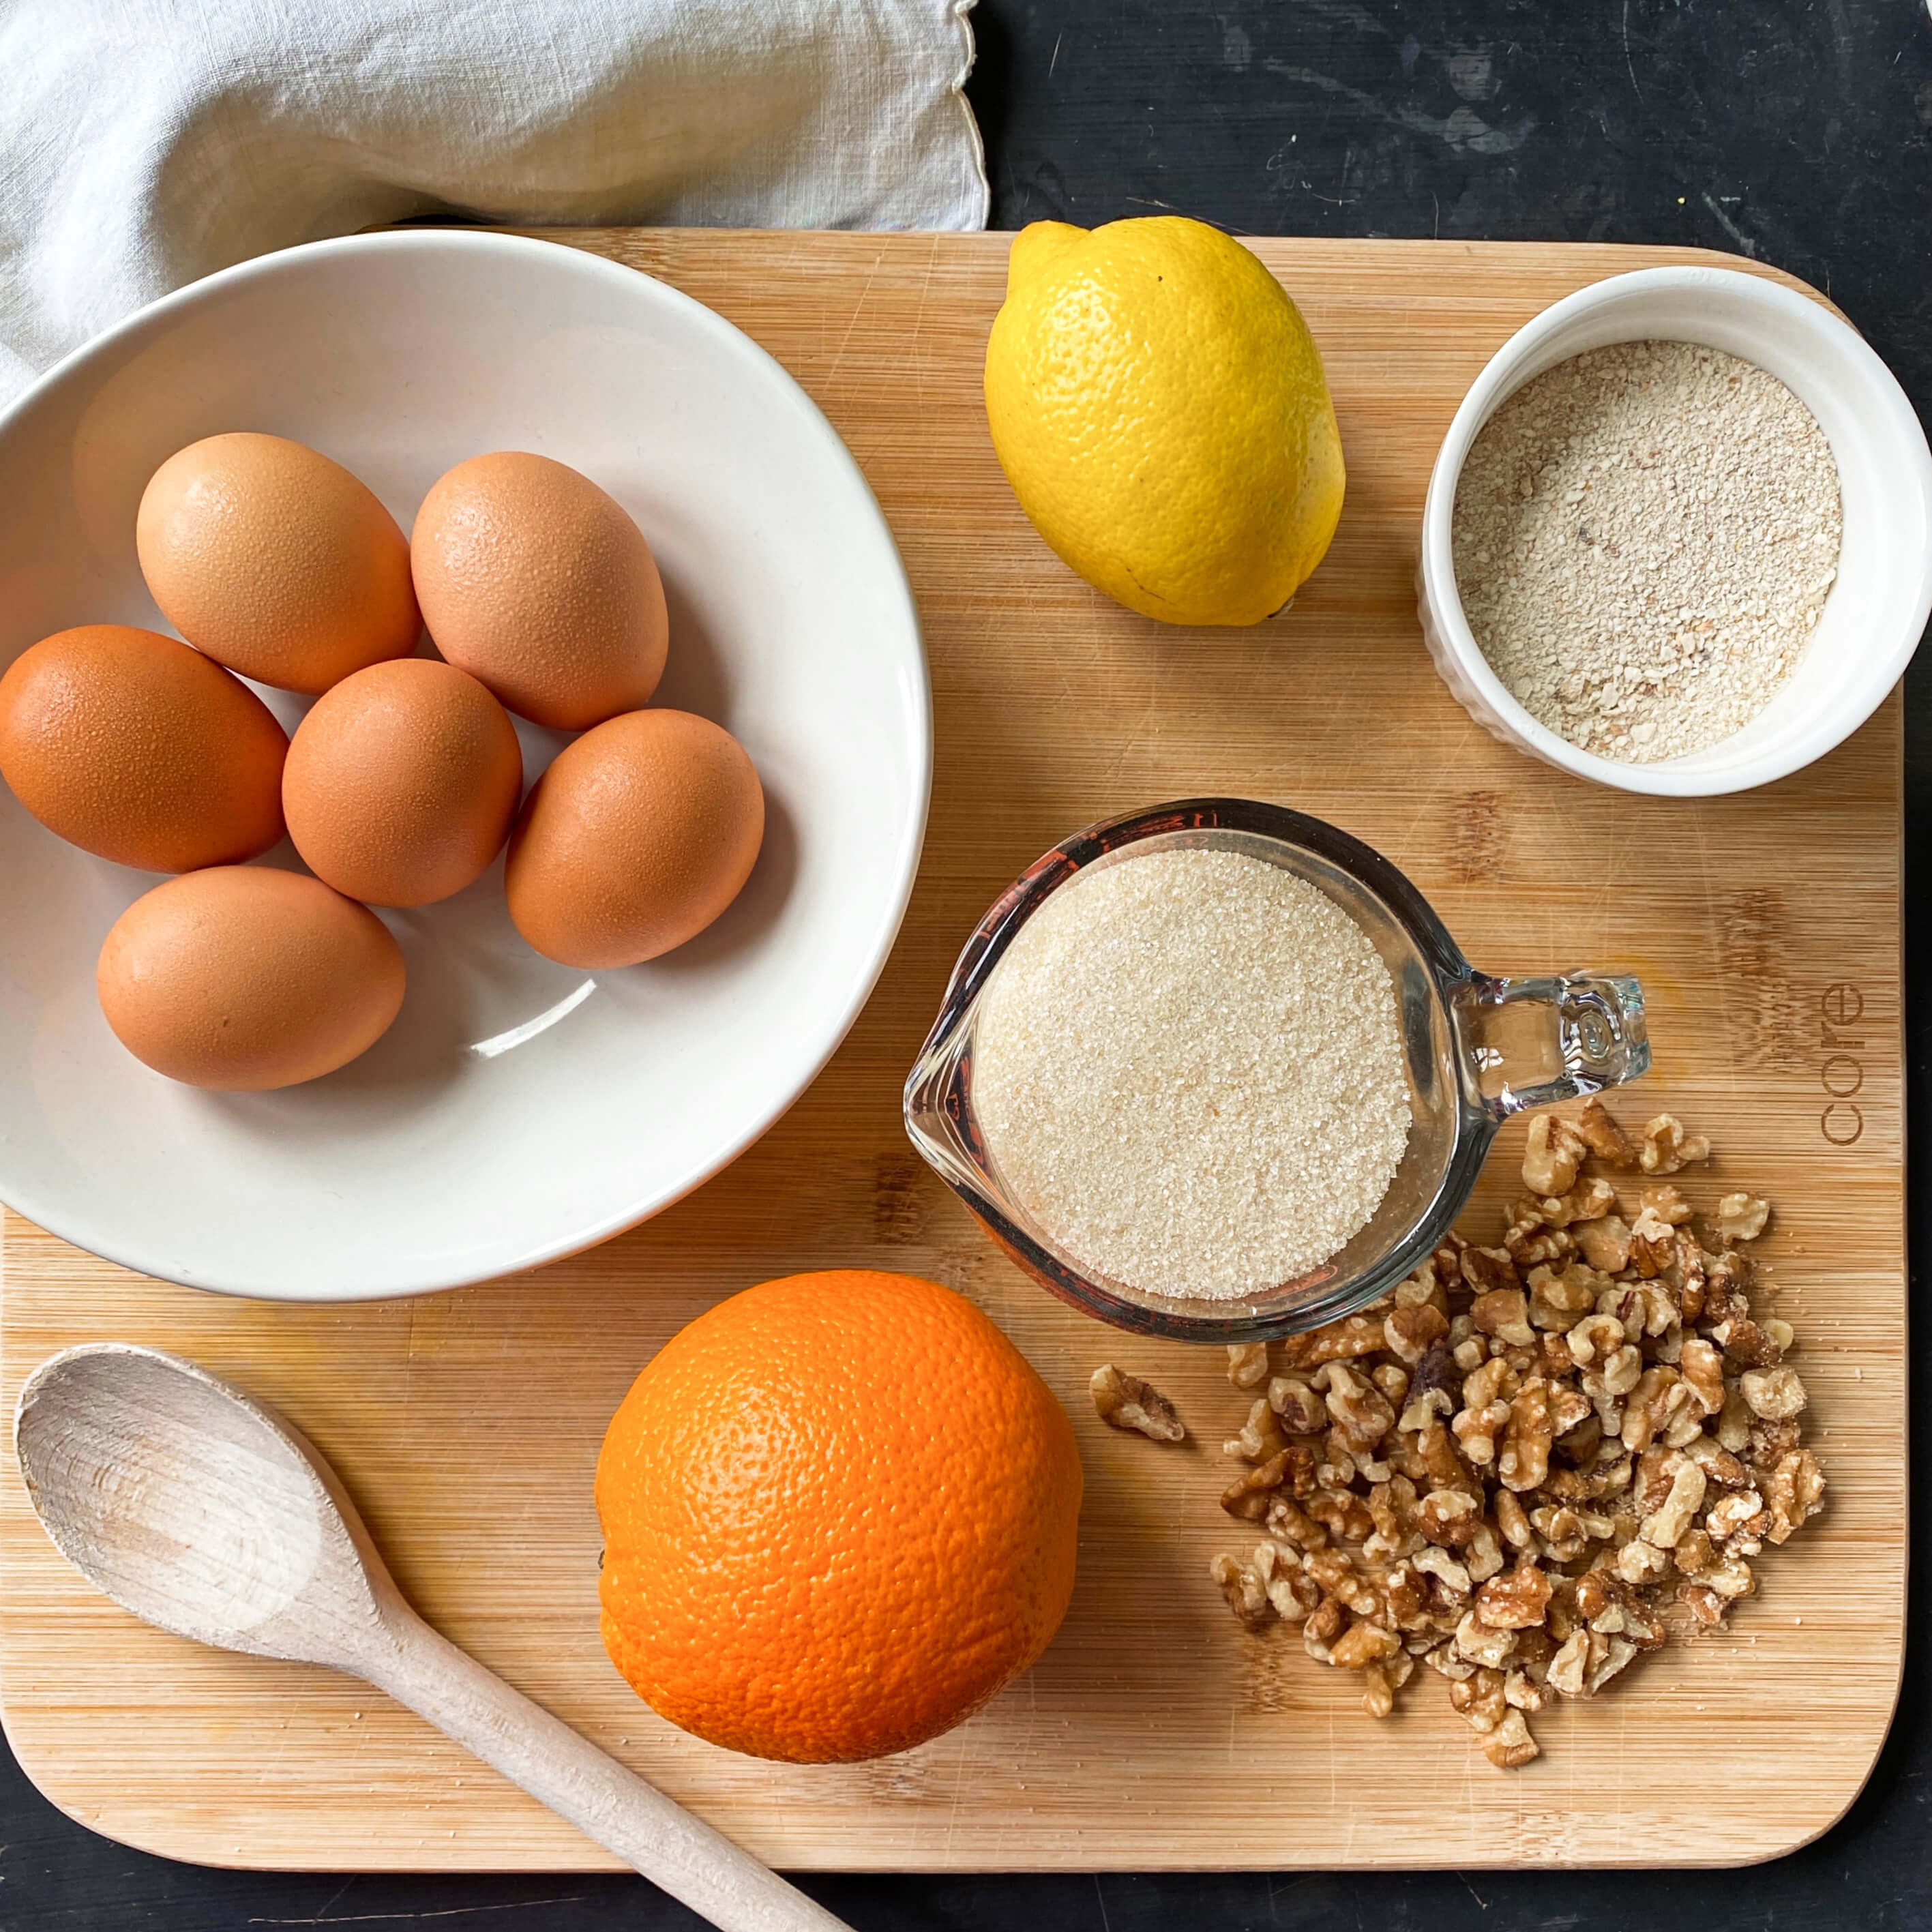
6 eggs, separated
1 cup granulated sugar
Juice of 1/2 lemon
Juice and grated rind of 1/2 orange
1/2 cup matzoh meal (*see note above)
2 tablespoons cake flour
1/2 teaspoon salt
1 cup walnuts, finely chopped
Preheat oven to 350 degrees
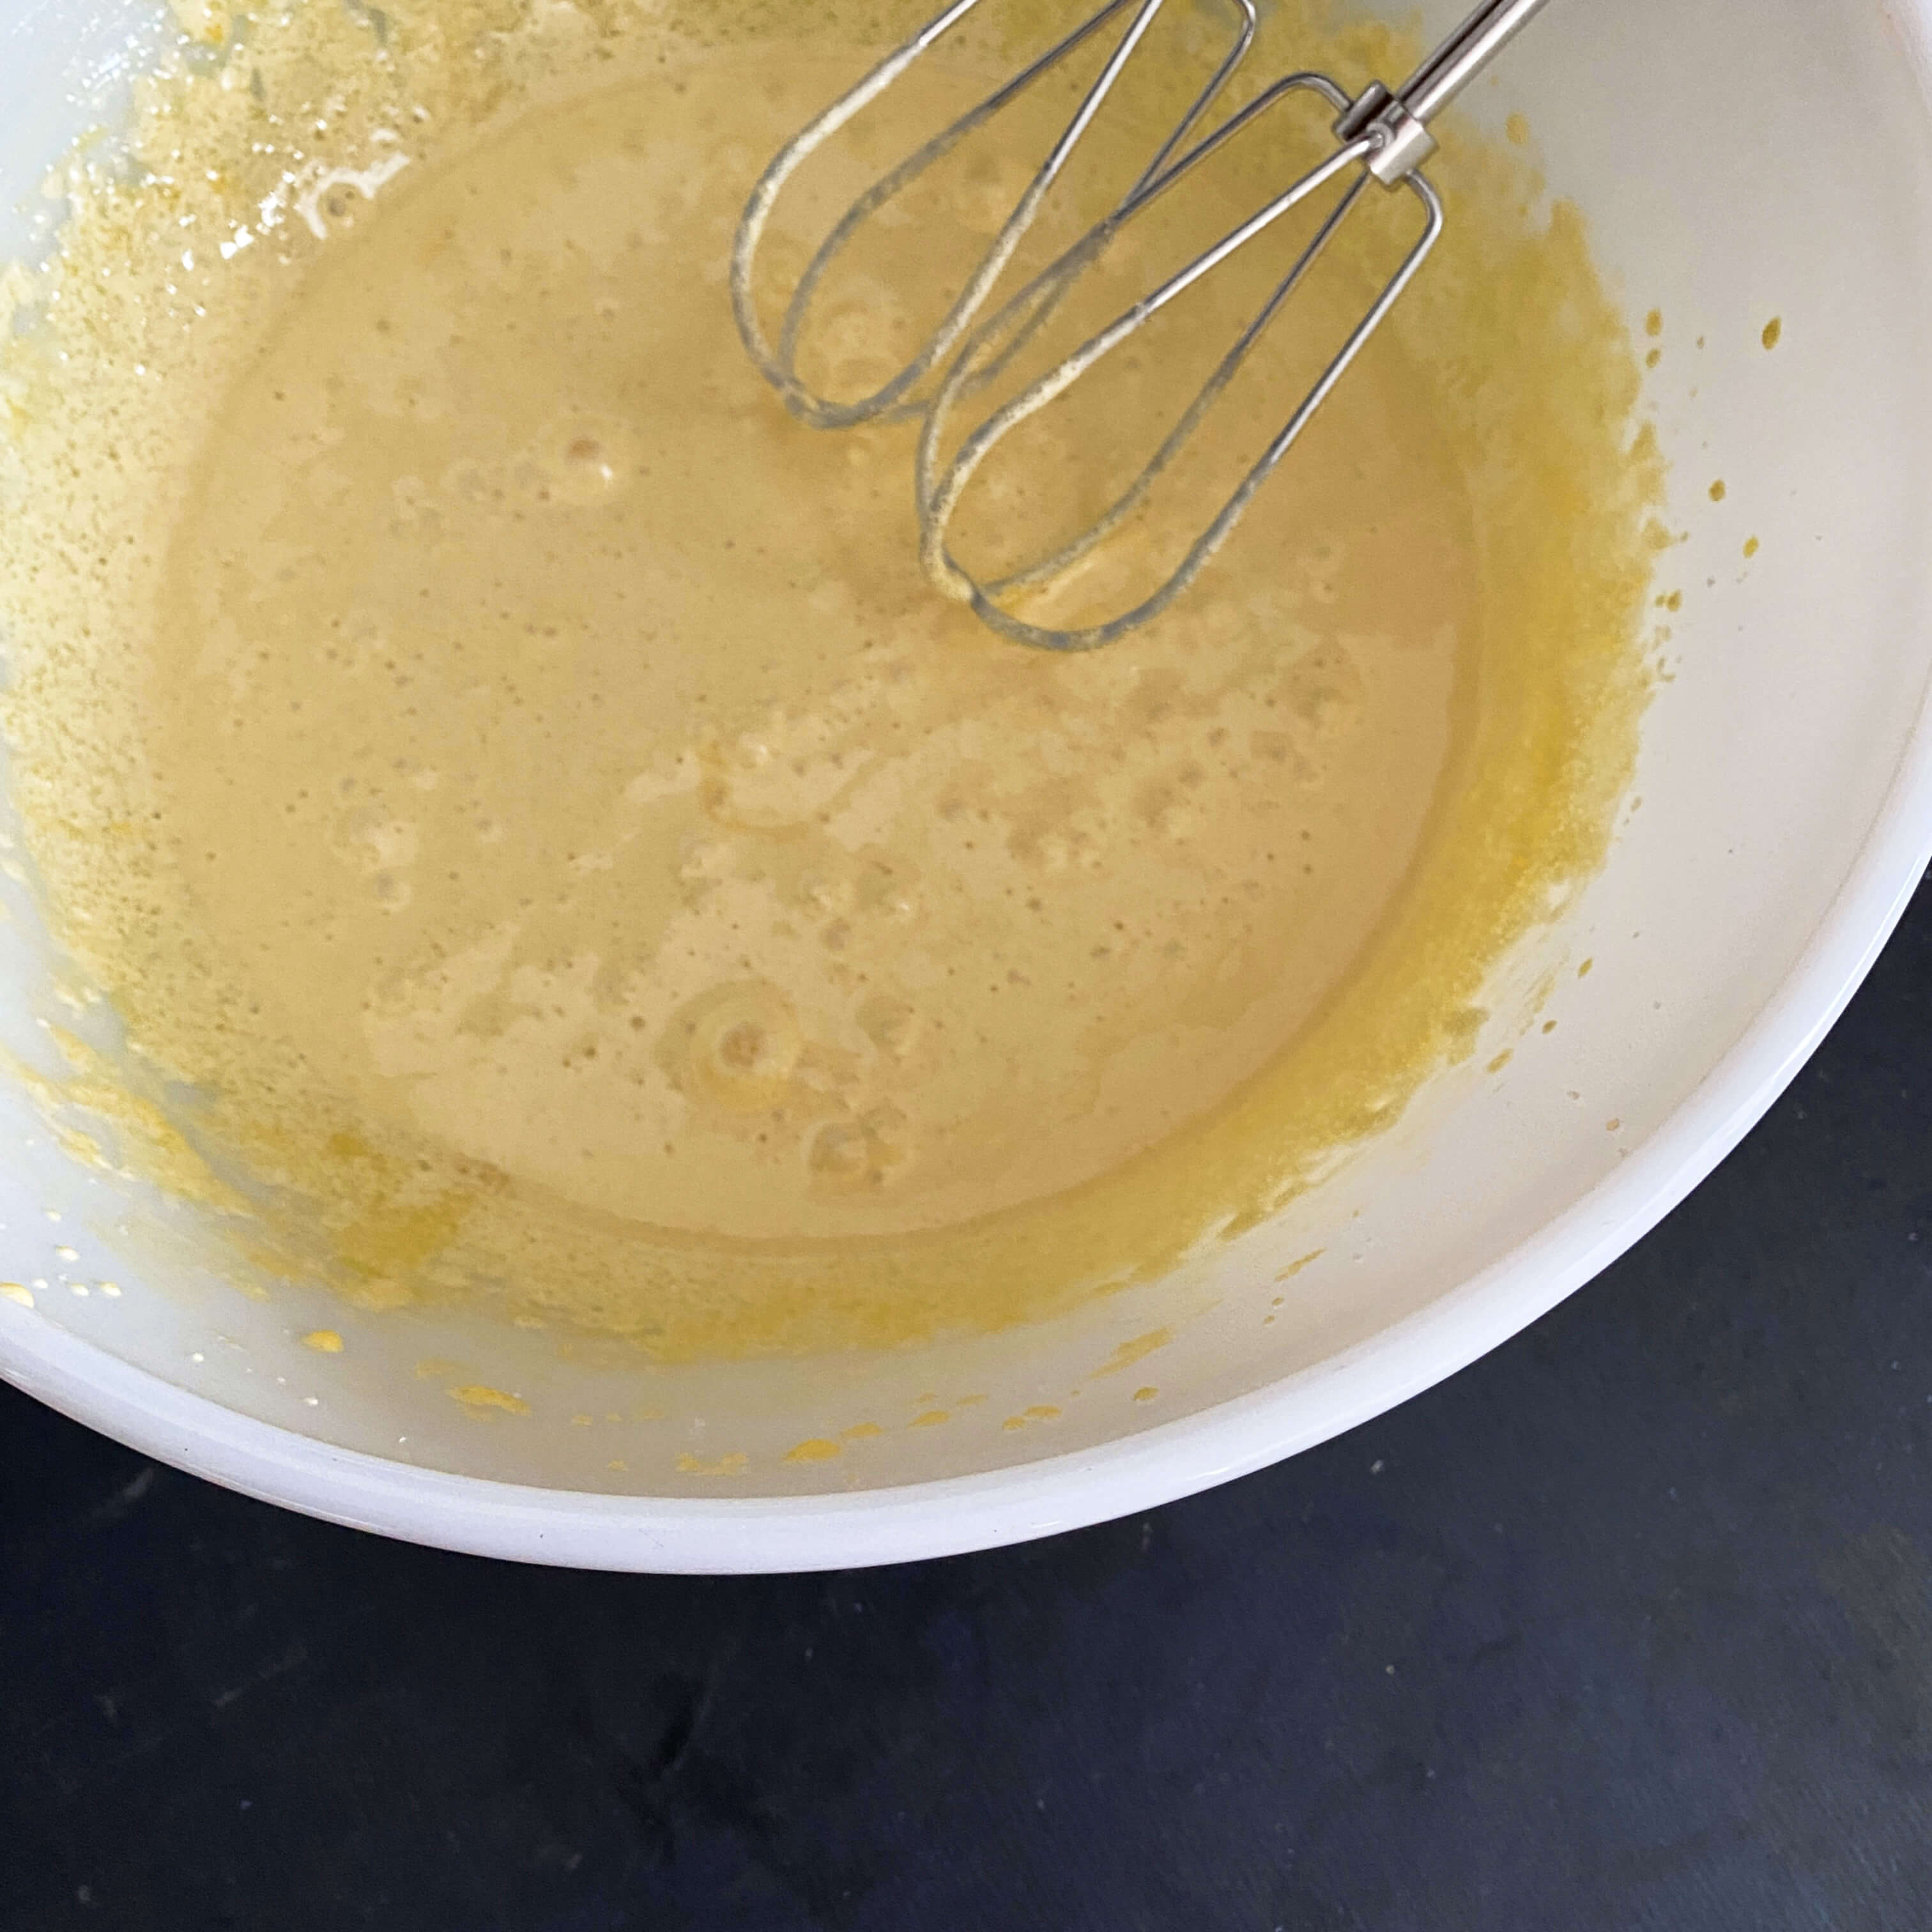
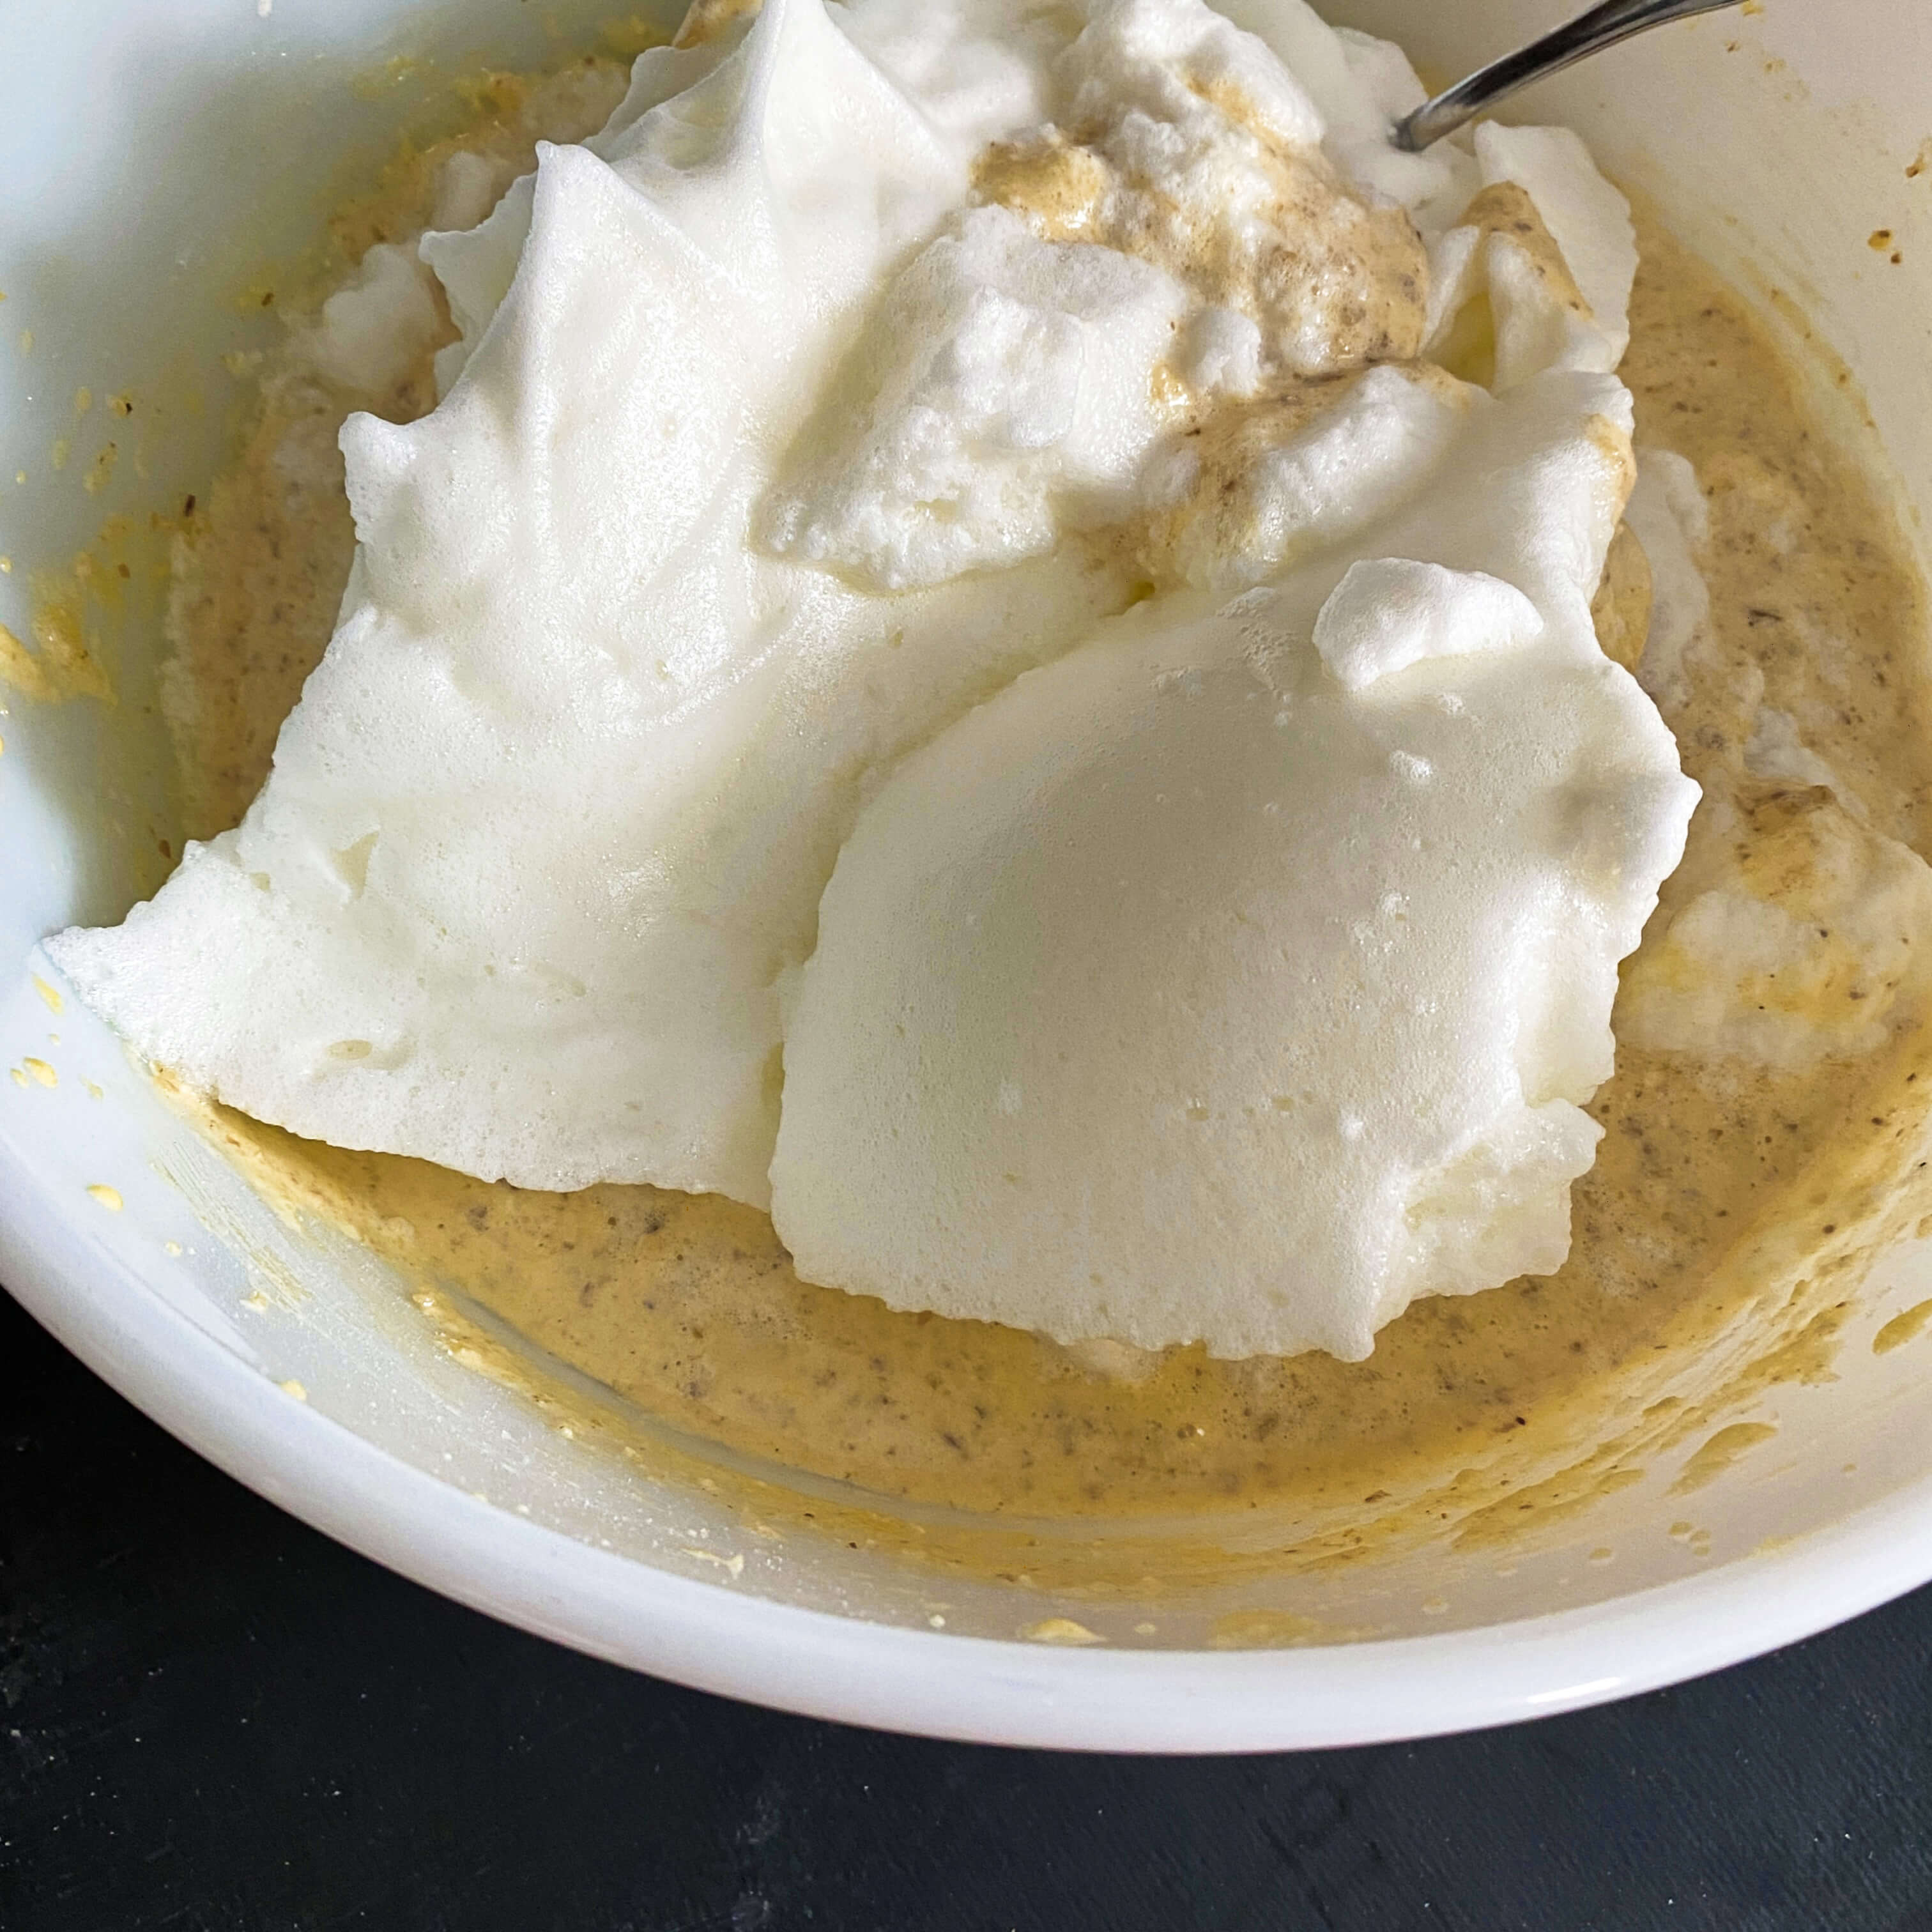
In a medium bowl, beat the egg yolks, add sugar gradually, and beat until the mixture is light in color. Add the lemon juice, orange juice, and orange rind. Mix in the meal, flour, salt and walnuts.

Beat the egg whites until stiff, but not dry. Fold into the walnut mixture.

Bake in an ungreased pan, eight-inch springform pan for forty-five minutes or until the cake rebounds to the touch when pressed gently in the center.
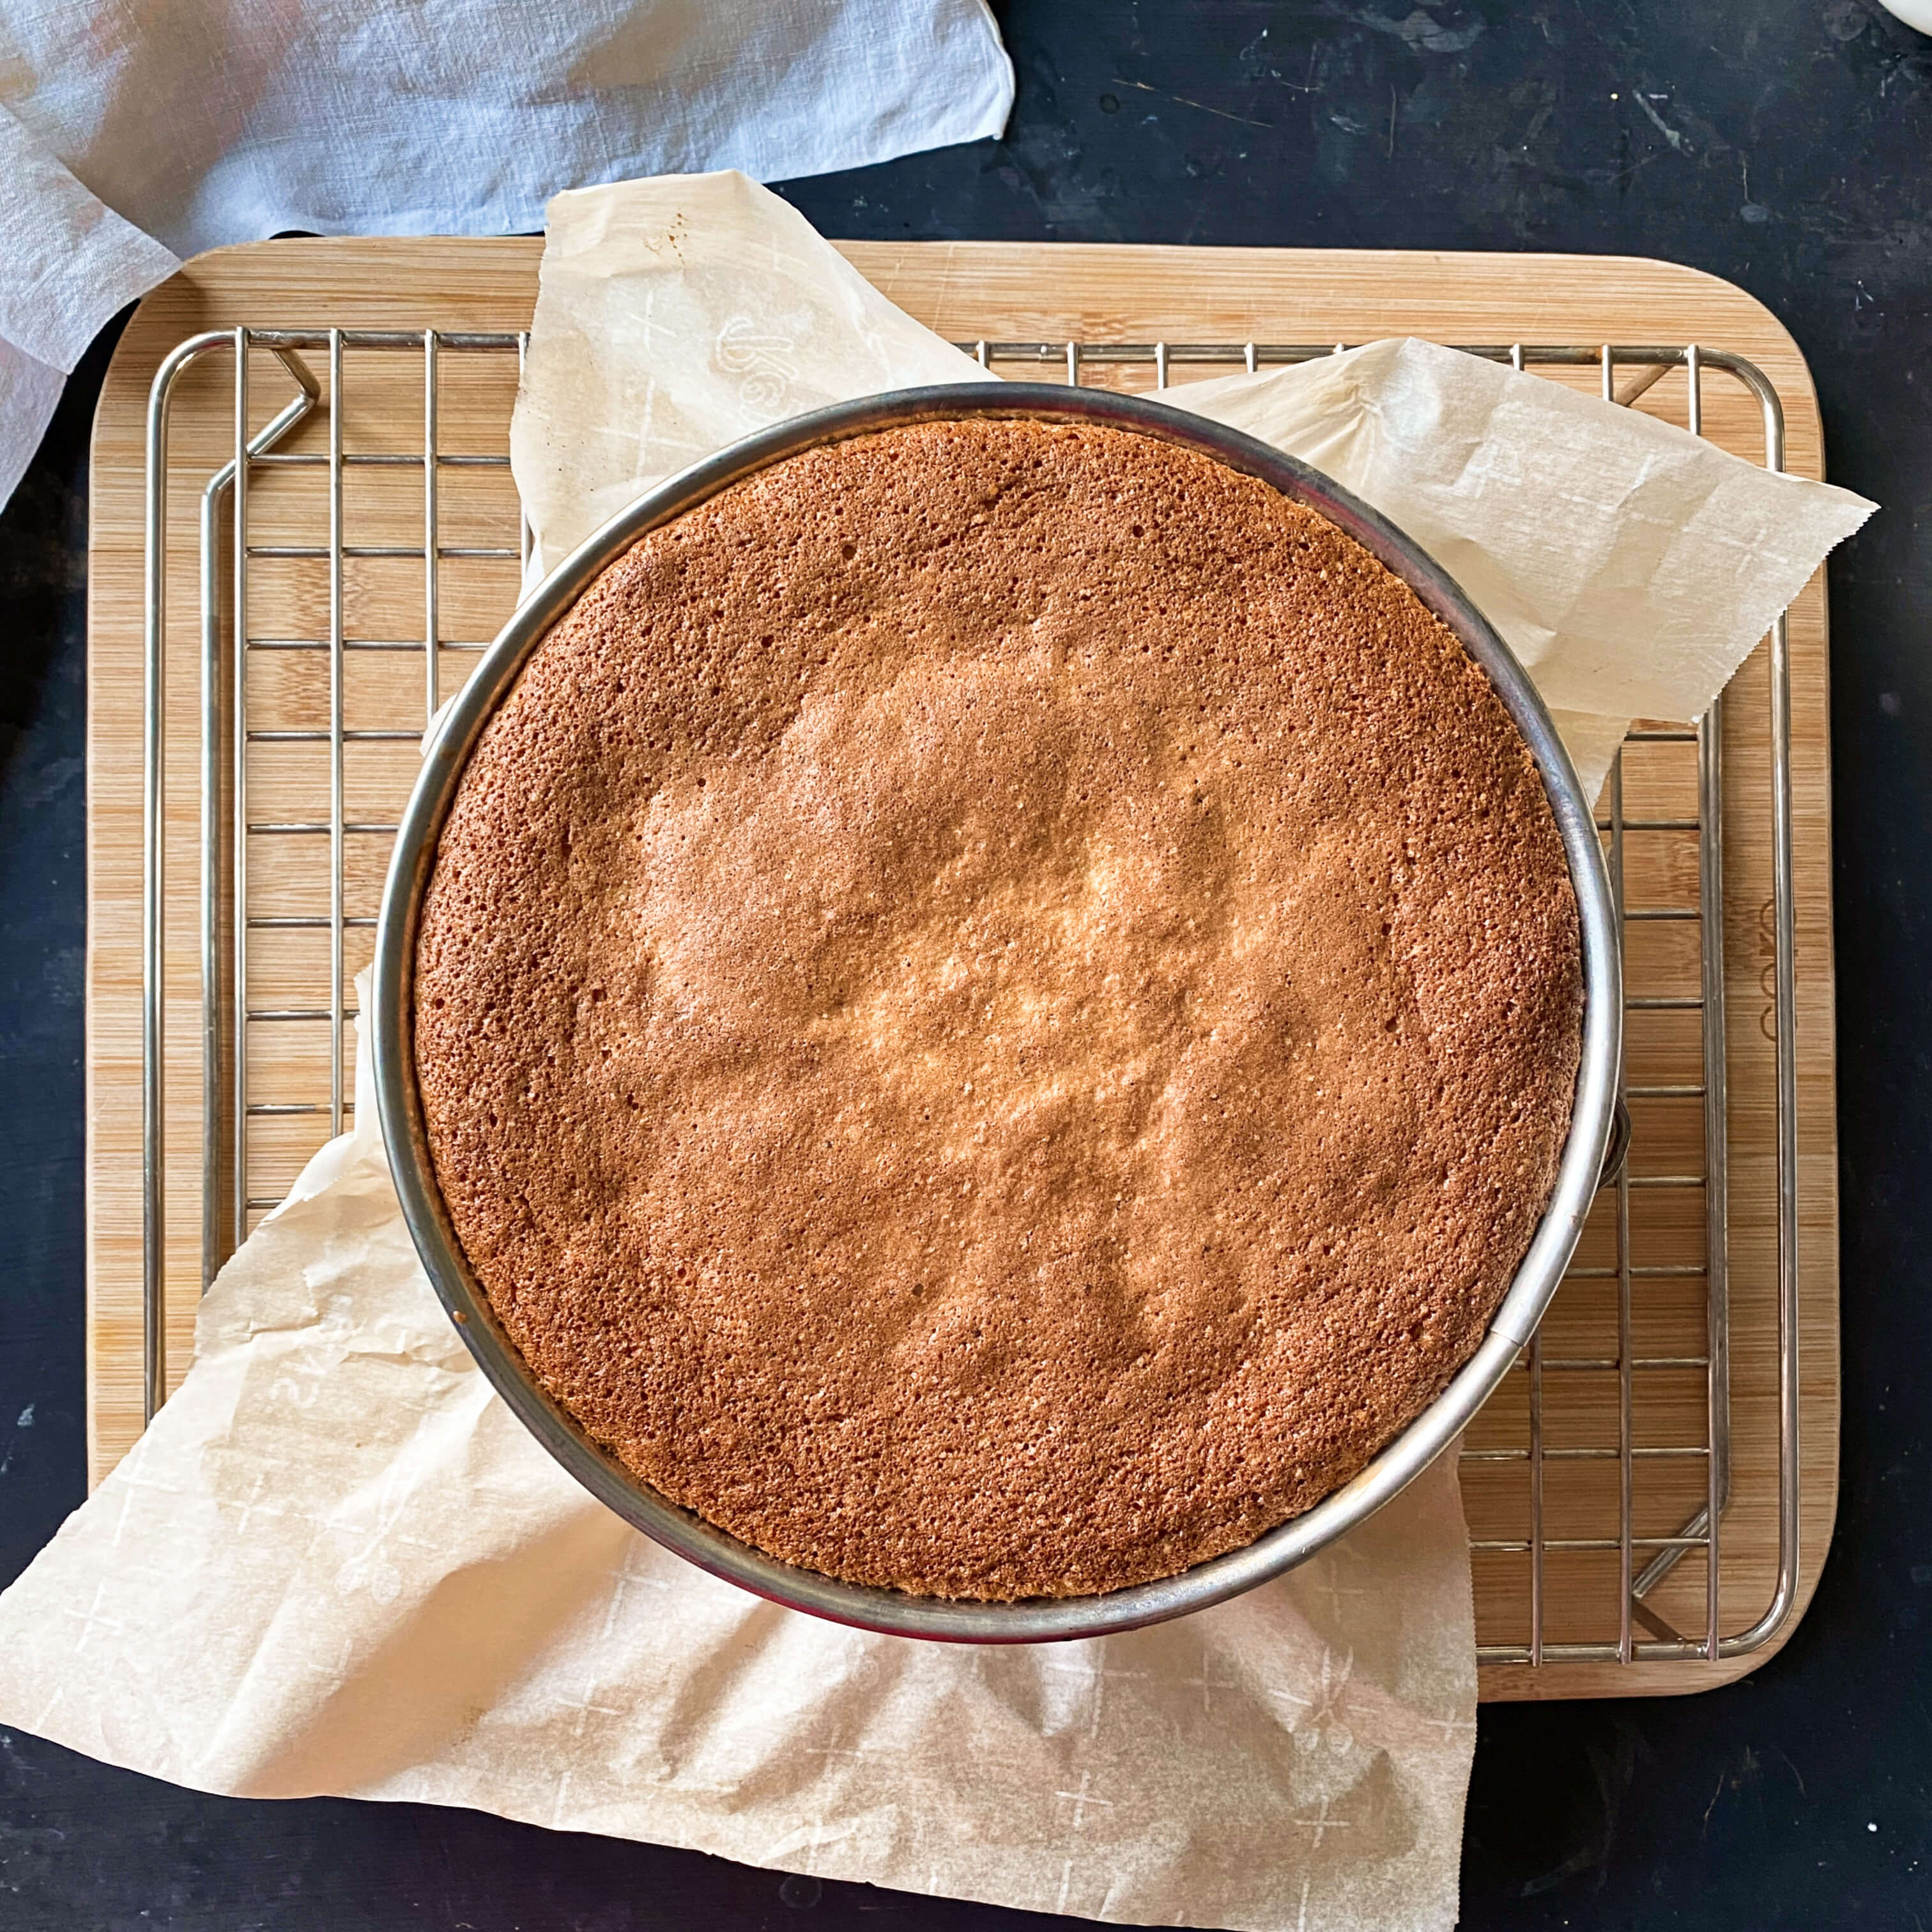
Fruit is such a lovely addition to the holiday menu. Not only does it offer a break from the more rich flavors of cookies, pies and pastries but this cake, in particular, is especially enjoyable because it gives you a break from butter. Gathering its fat solely from the walnuts and the eggs, it is one of those desserts that adds just enough at the end of the meal to sweeten your night.
Because less is sometimes more, especially when bombarded with all things holiday at this time of year, I especially liked that this cake recipe did not call for a frosting or a glaze or a drizzle of anything on top. Of course, you could get creative and add your own extra flourish in the way of a sweet topper, but I opted to remain true to the vintage intentions of this recipe and just garnished the cake with fresh mint leaves on top and a few orange and lemon rind roses on the side.
If I made this next time, in the early fall for example, when walnuts are just coming into season, I might mix up a small bowl of confectioners sugar and orange juice and pour a thin drizzle over the top of the cake to glaze it. I might add a teaspoon of cinnamon or nutmeg to the batter to add some tantalizing aromatics to each bite, and perhaps I would add a ribbon of crushed walnuts around the side of the cake. But for the time being, at this moment in this holiday season, this cake recipe is just fine and lovely just as it is. Simple, easy, delicate. A classic star of the Jewish table. I hope you’ll love it just as much!

Cheers to the Askowiths for designing a flag that featured a star that continues to shine and inspire, to Israel for its light and lively food scene, and to all the Hanukkah celebrators out there. Chag Sameach!
Join us next time for Week 25 in the International Vintage Recipe Tour as we head to Italy in search of food, family and a good book!