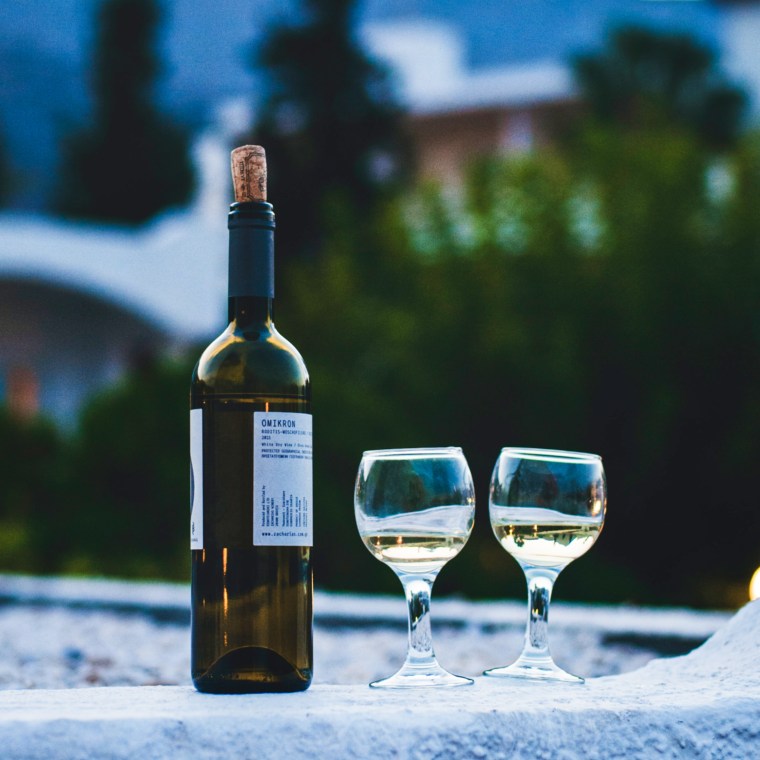
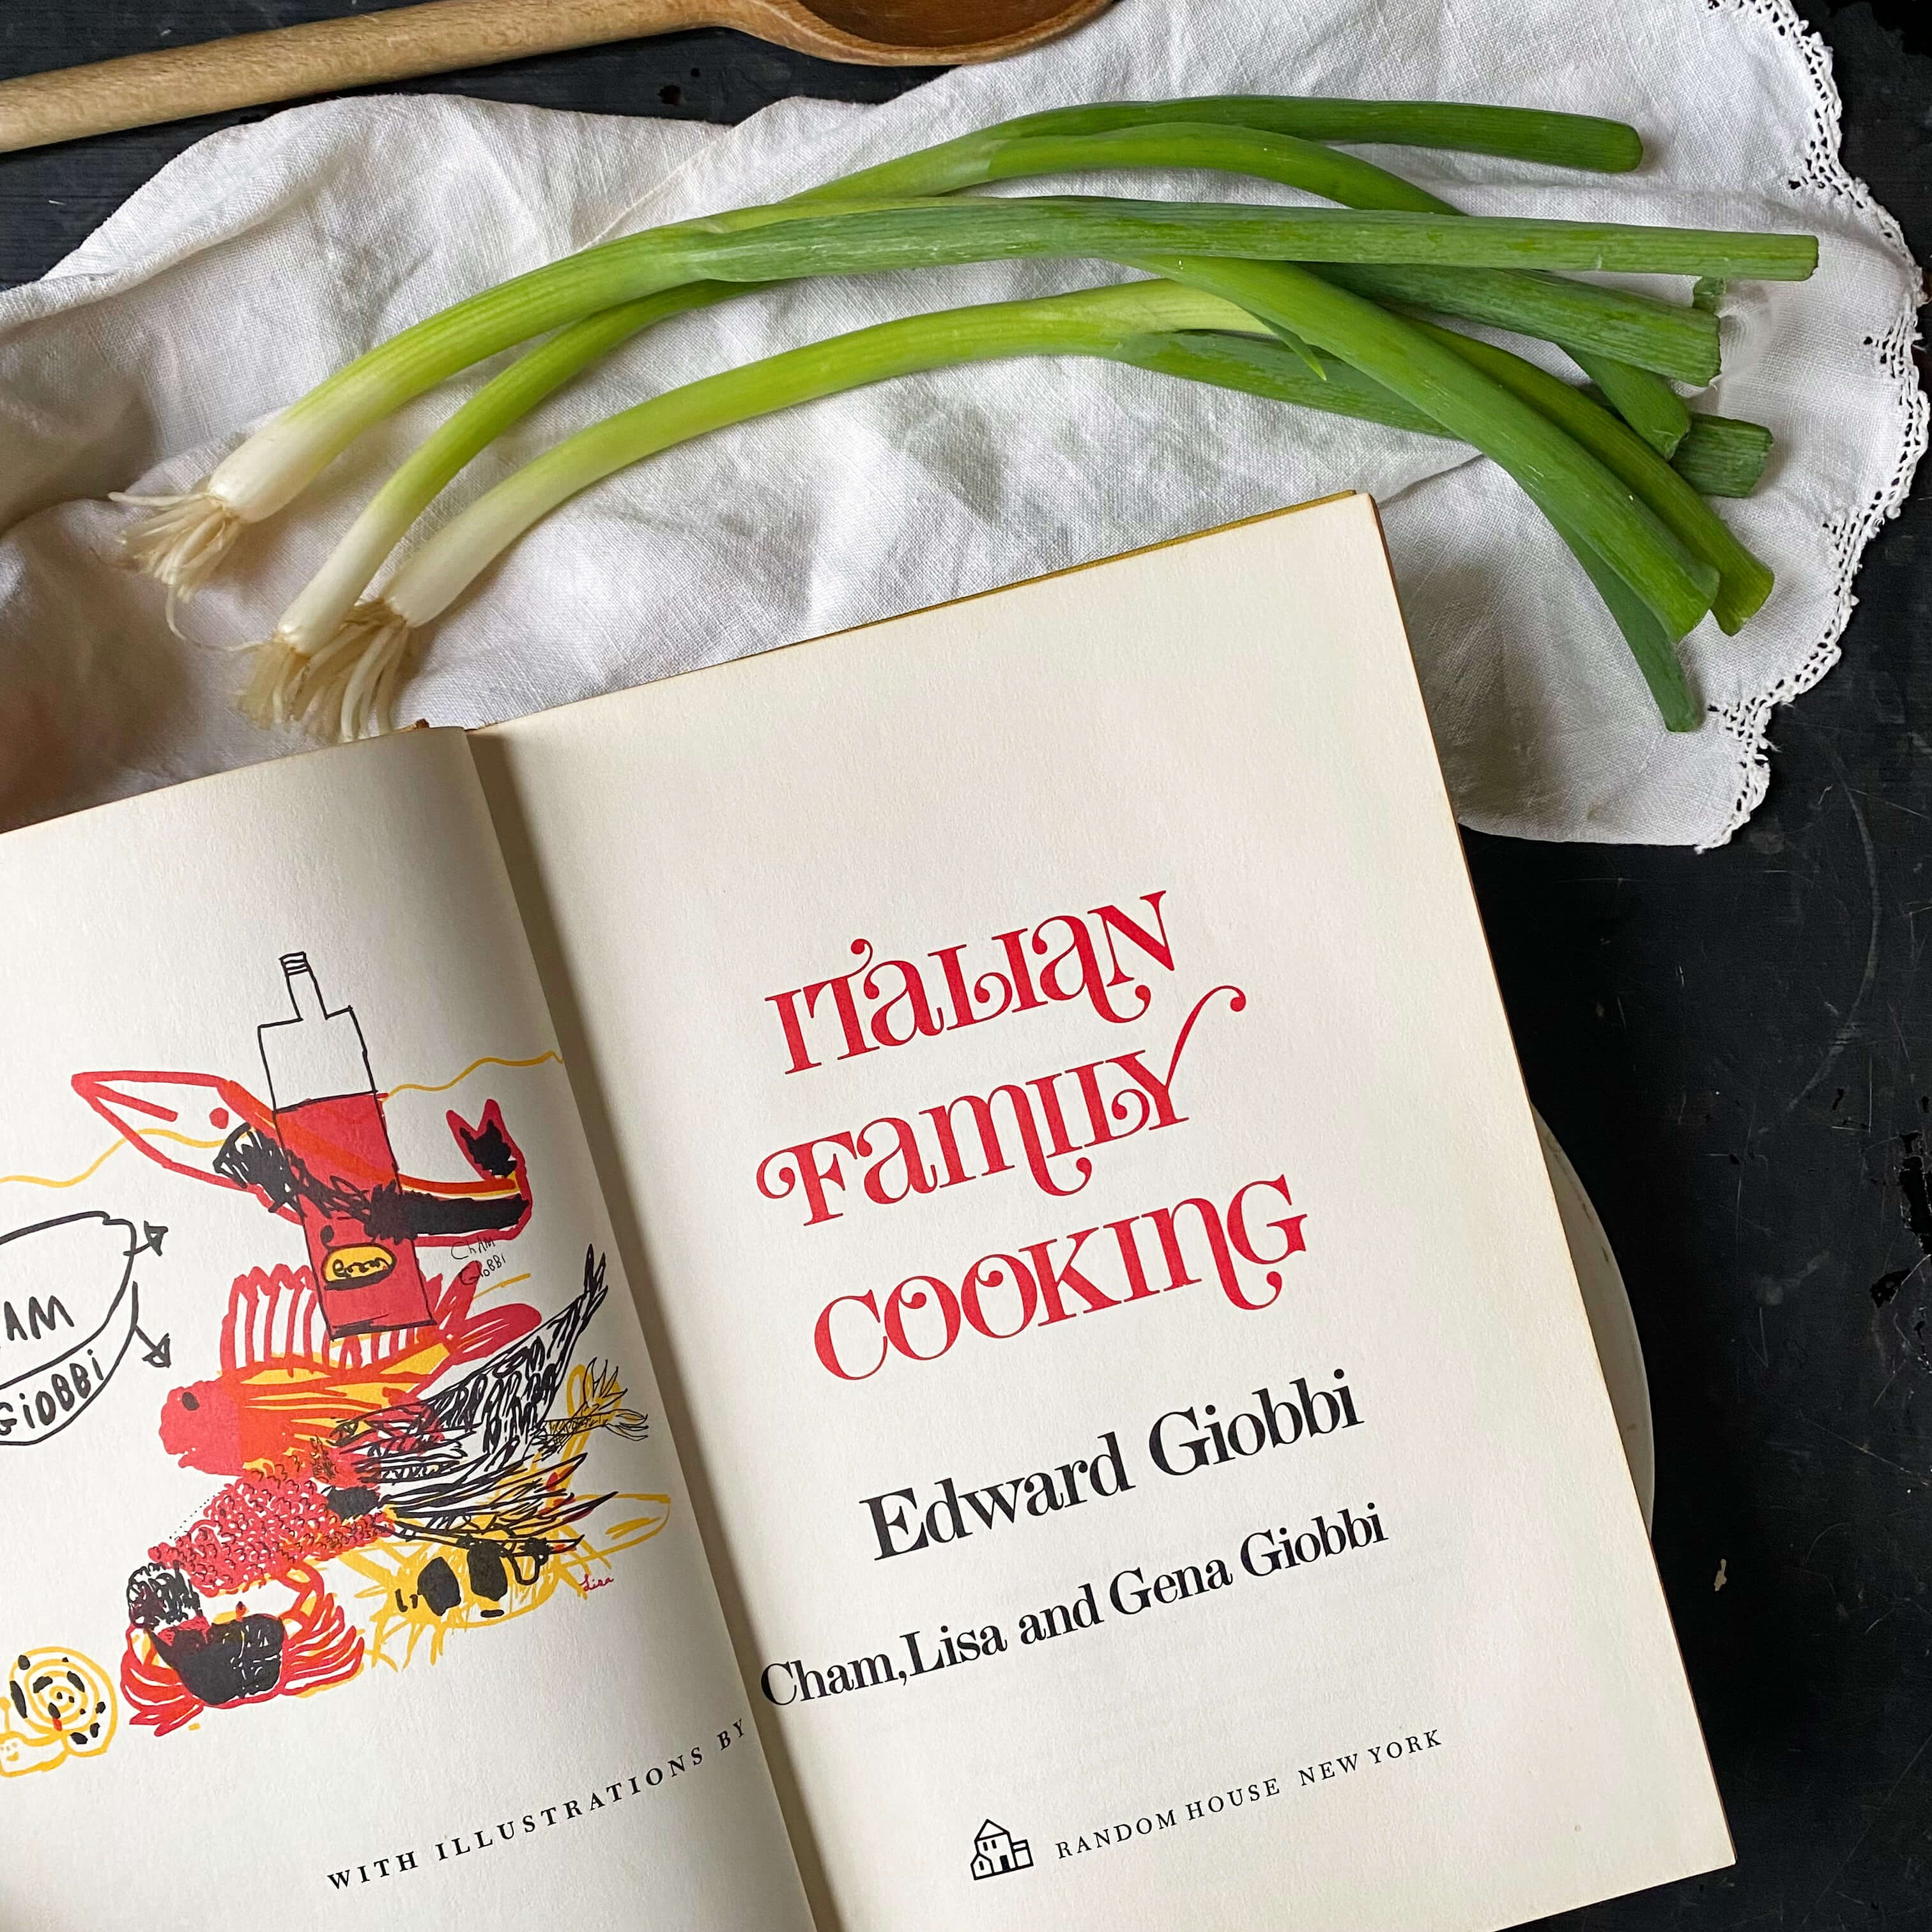
Welcome back to the International Vintage Recipe Tour. When we last left off on our around-the-world culinary adventures, we were in Italy cooking up Chicken Canzanese and spotlighting the artistic and culinary career of Edward Giobbi and his talented family.


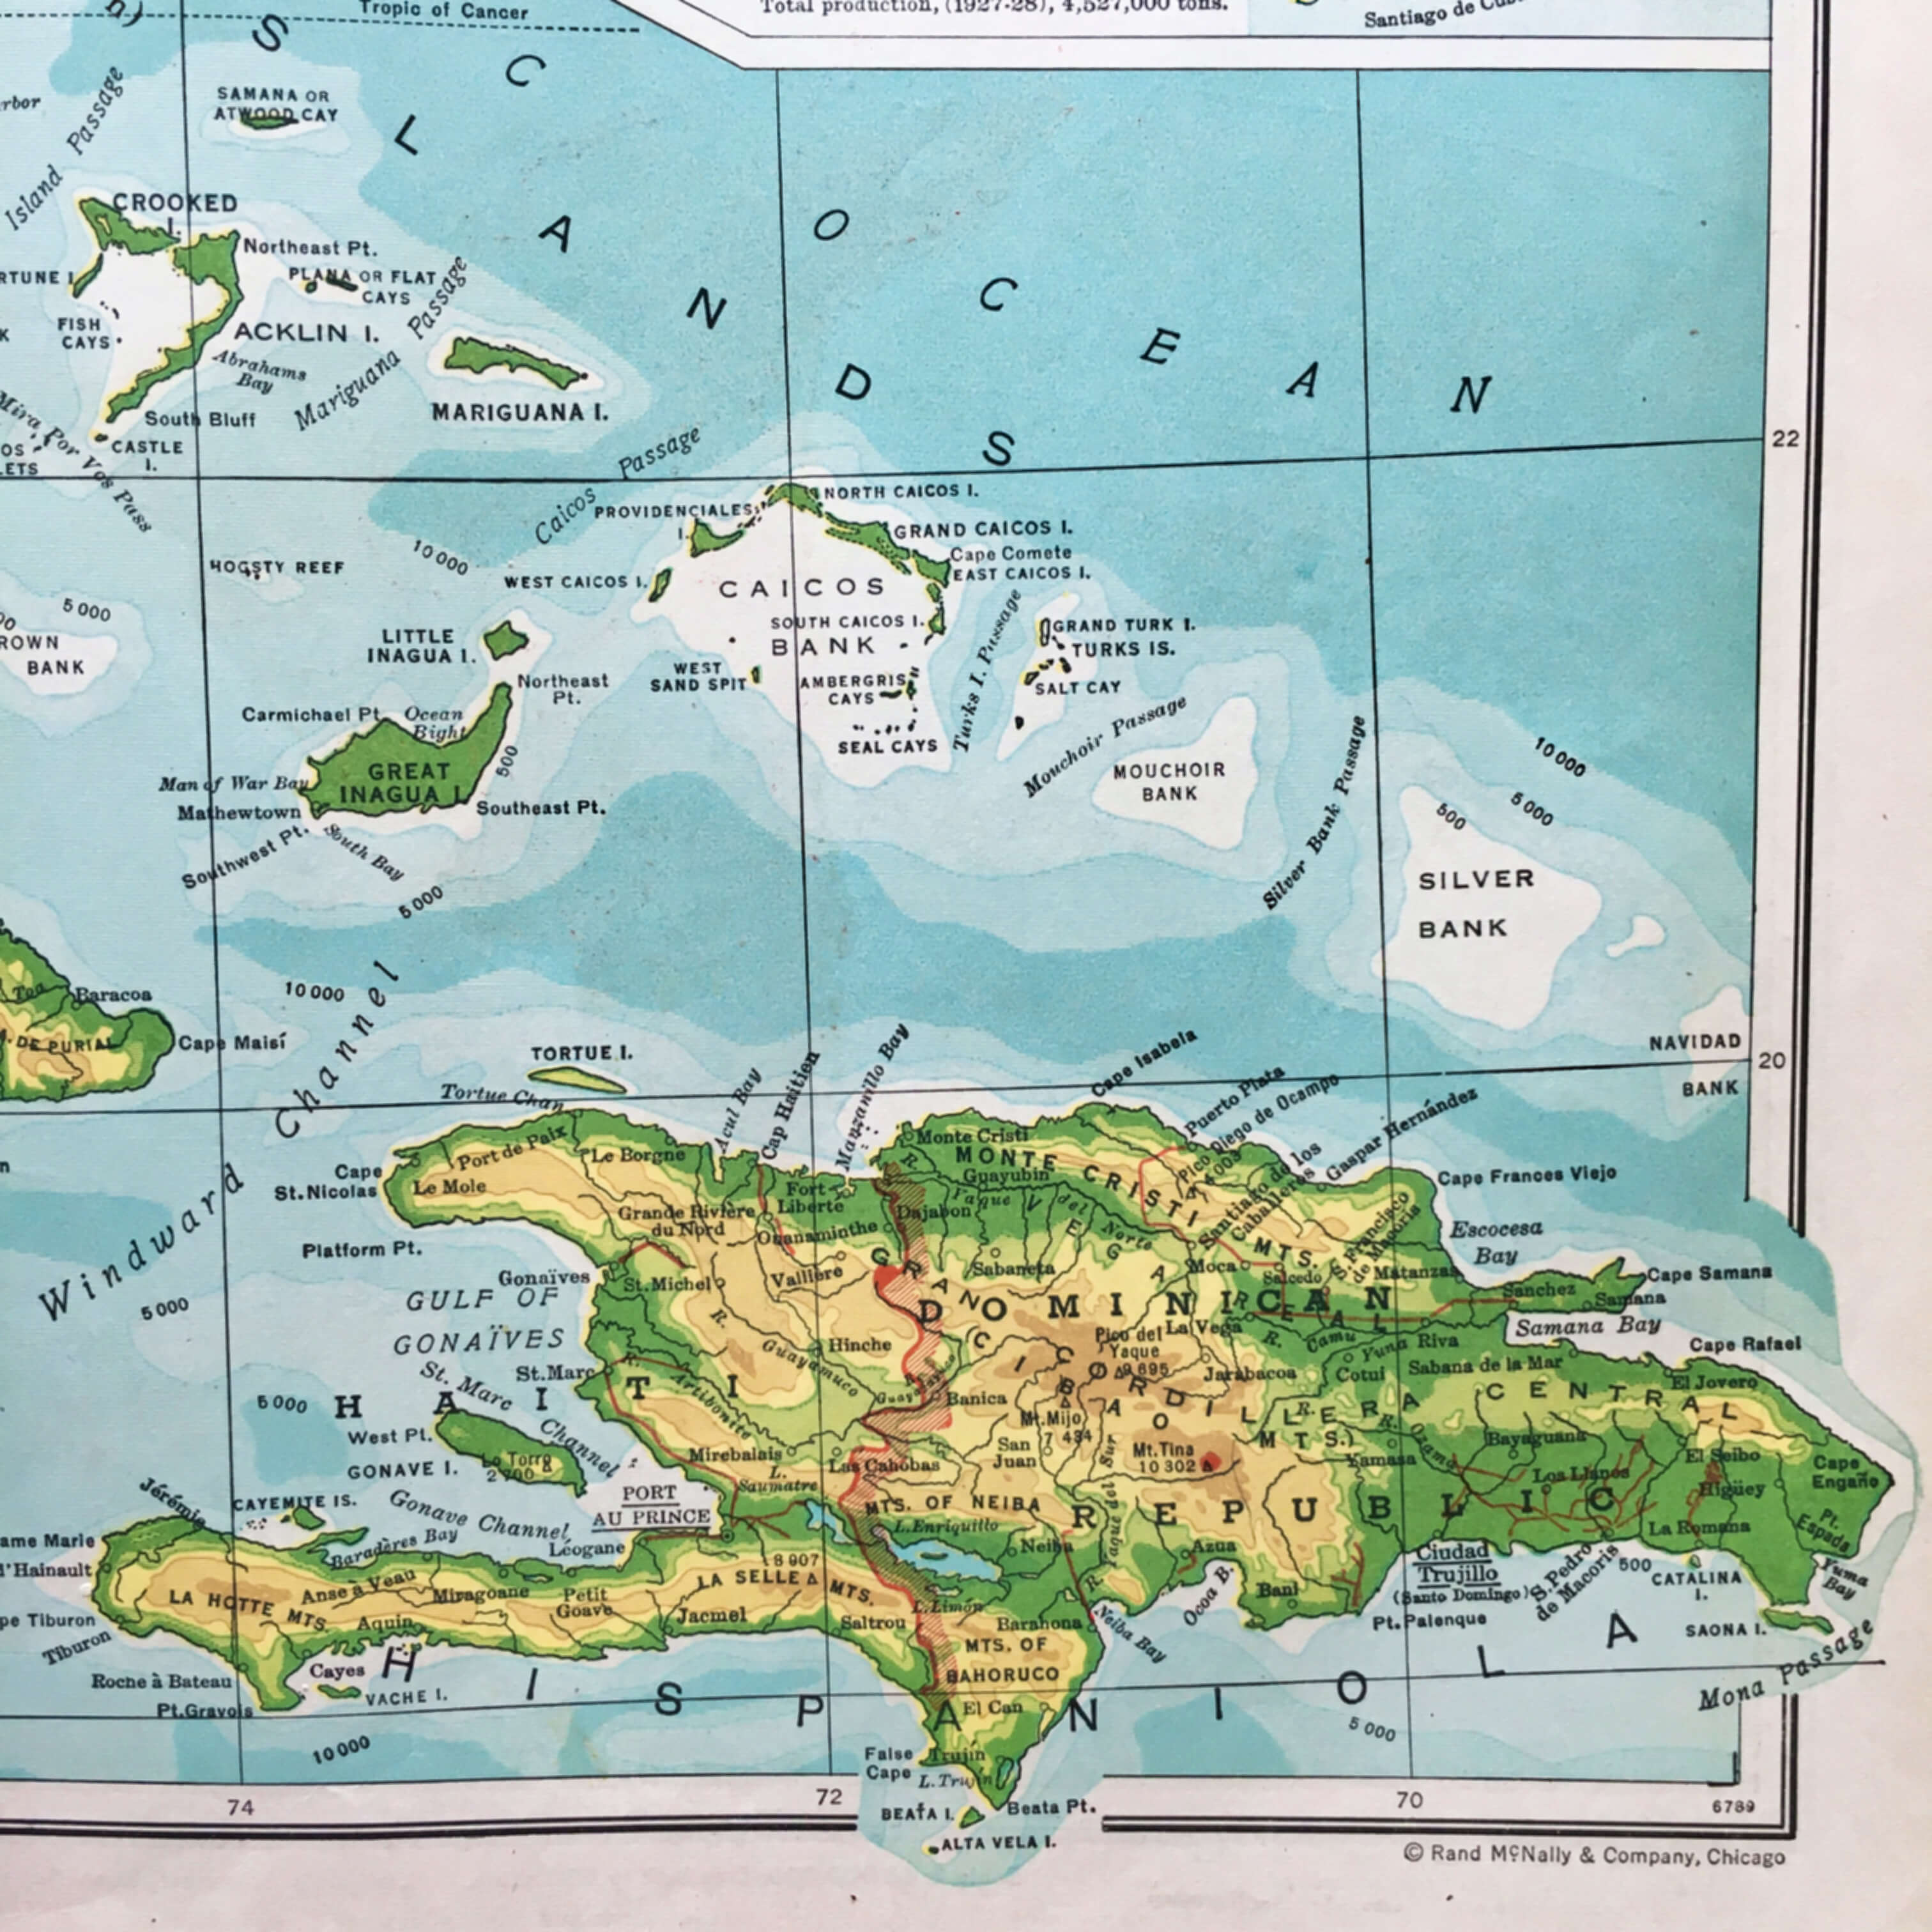
This time, our international itinerary takes us to Jamaica, where we are cooking a traditional heritage food, Jamaican Rice and Beans, making milk from a fresh coconut, and exploring the island 1940s-style via a 1948 Pan Am travel film and a selection of first-hand observations experienced by visitors to the island post-World War II.

It’s easy enough nowadays to see what a modern-day Jamaican holiday could look like thanks to the internet, but can you imagine what it looked like 80 years ago? This throwback travel post draws attention to the excitement of a tropical holiday experience in the 1930s and 1940s during the golden age of travel, back when Jamaica was a newcomer to the tourism industry.

Back when hats, heels, suits, and dresses were staples of vacation wardrobes…
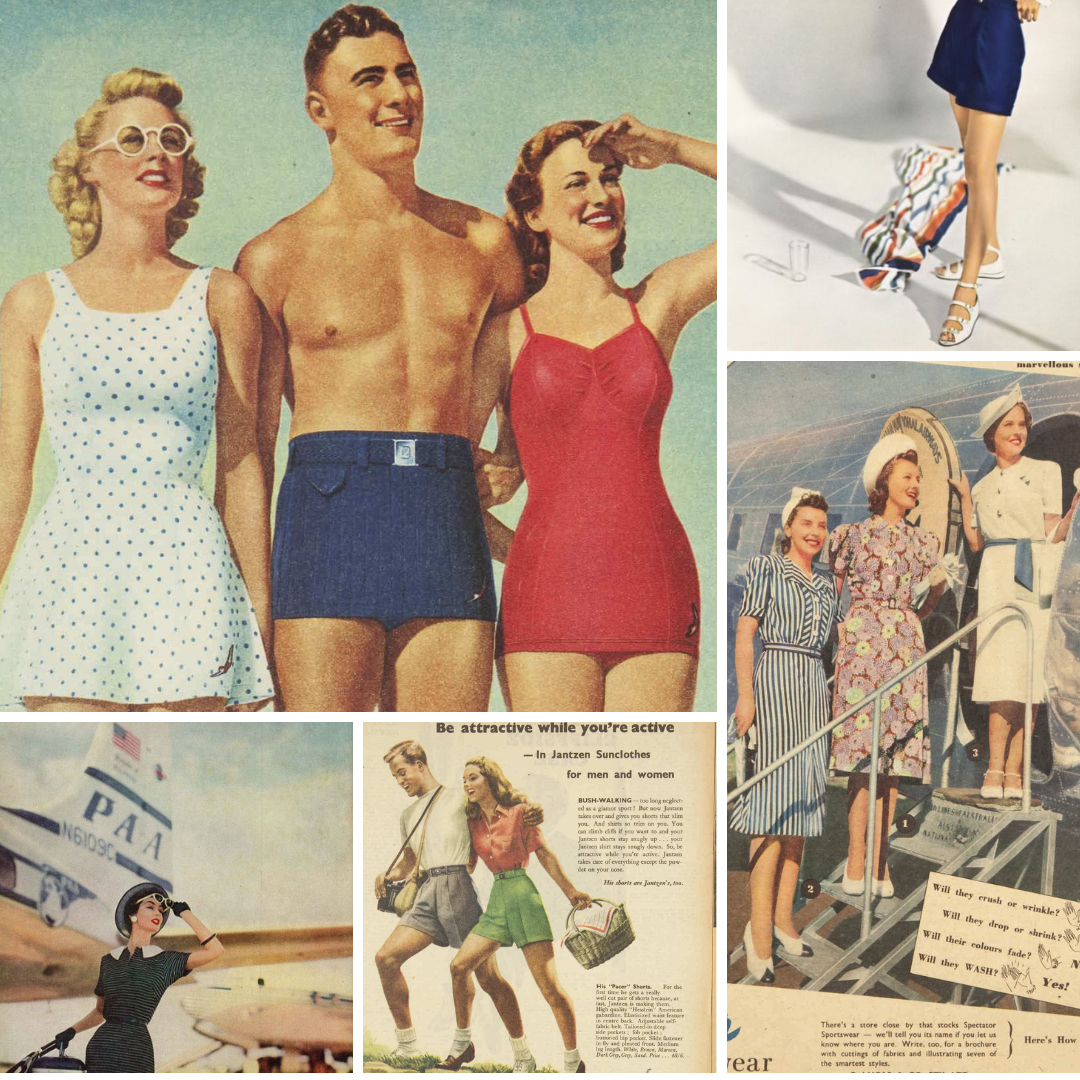
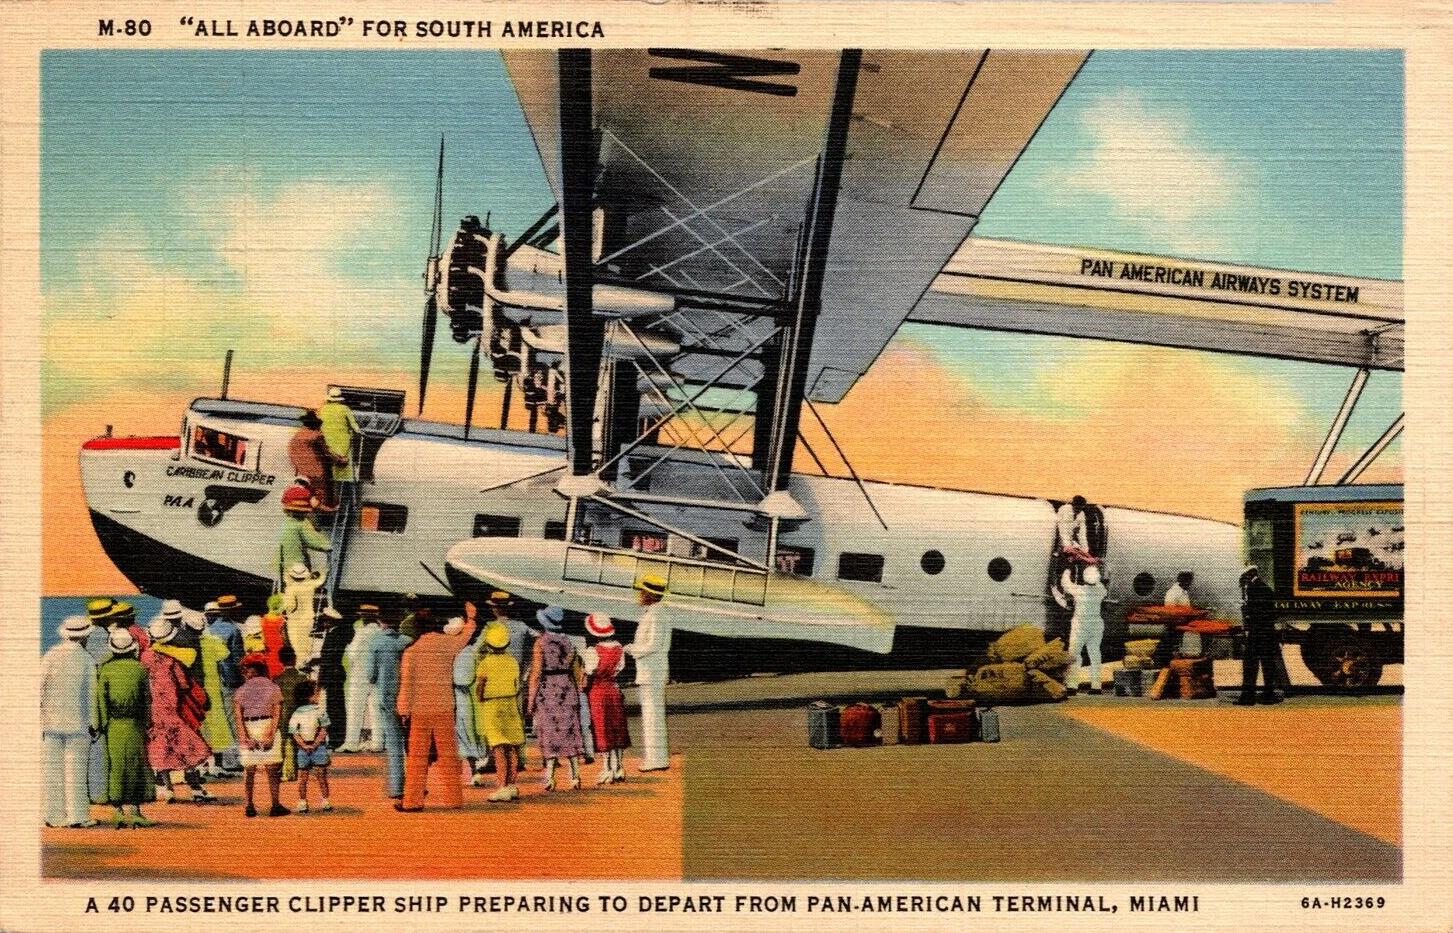
and when airplane travel looked like this…
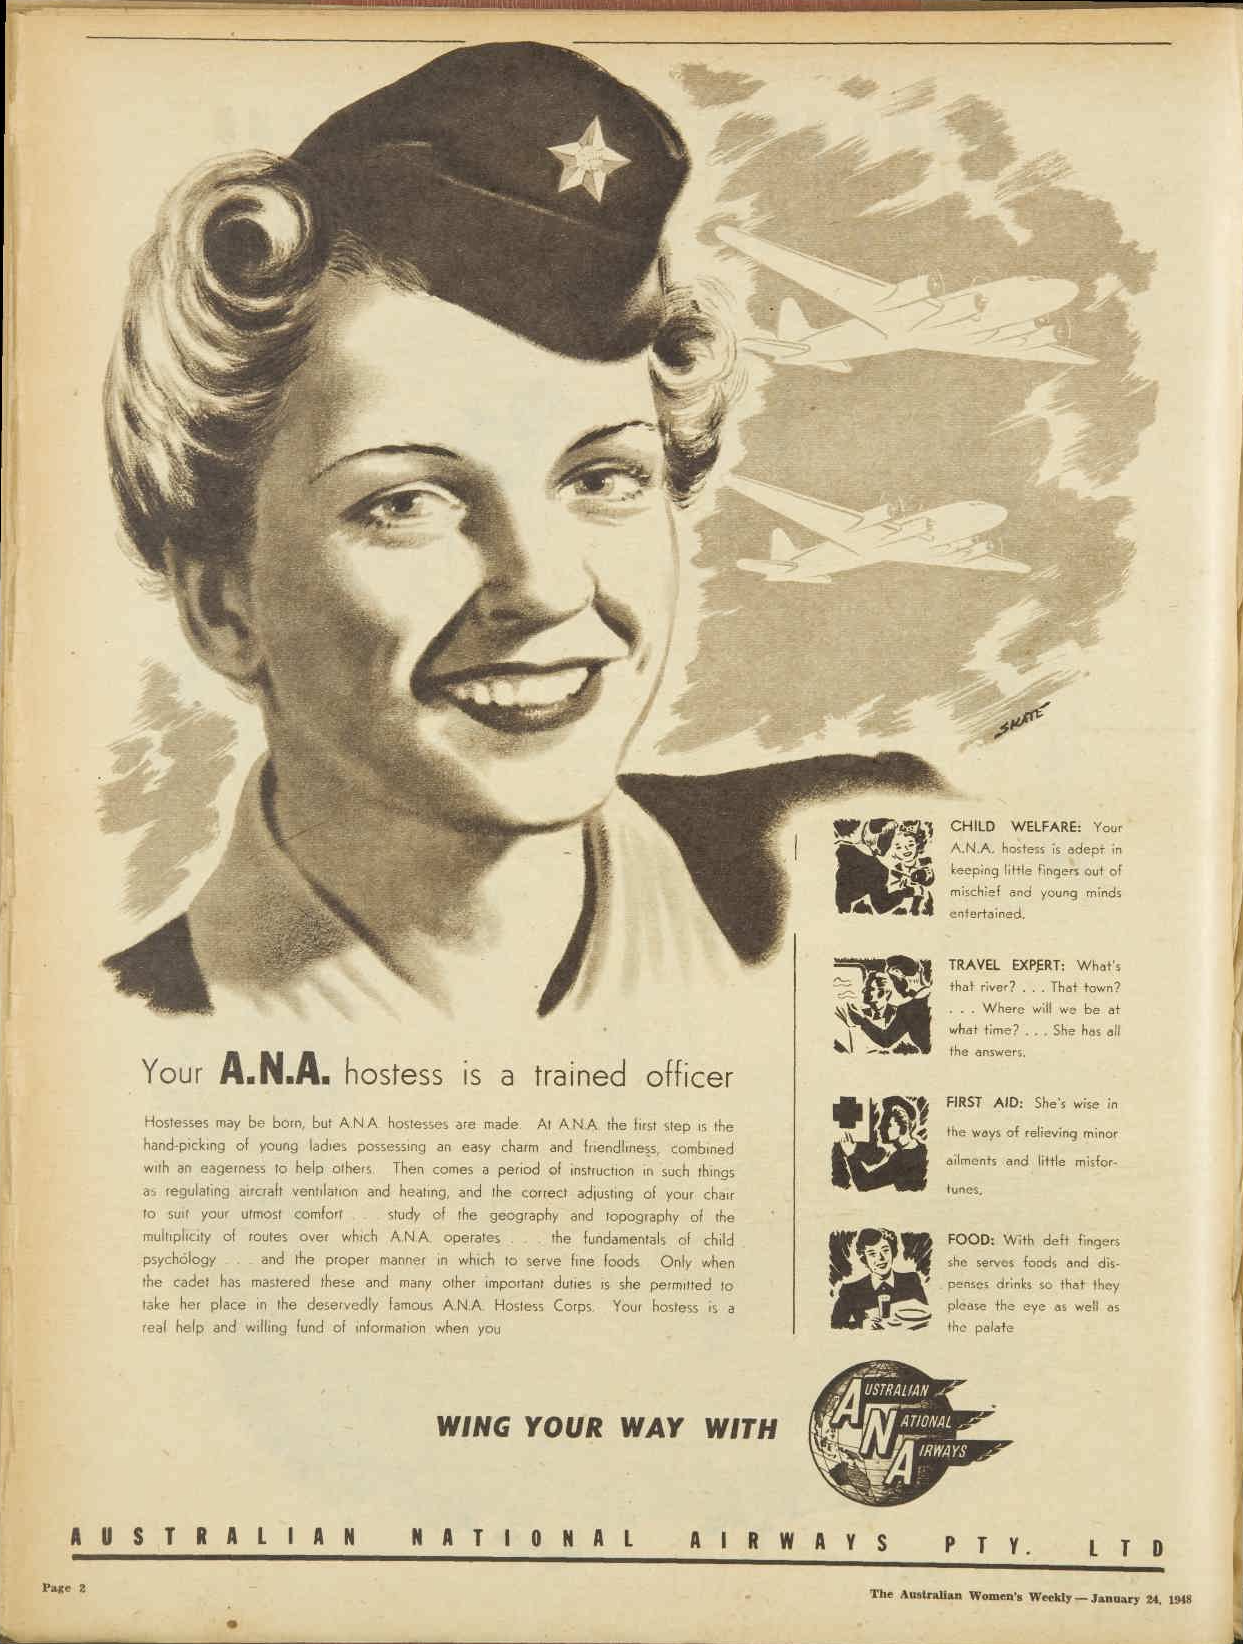
Back when flight attendants provided an array of services akin to that of a luxury hotel concierge…
and when a trip to an exotic Caribbean island was considered a dreamy, decadent, once-in-a-lifetime experience.

It’s an escapist getaway for certain, to a time and a place so steeped in hospitality that its national tourism slogan is “Jamaica: The Heartbeat of the World.” Heartbeat indeed. This post is a swoonworthy one for all of our vintage travel aficionados complete with a delicious heritage recipe to match. Welcome to country number 26 on the International Vintage Recipe Tour. Welcome to Jamaica.


Prior to the 1930s, Jamaica’s tourism population was a small, subdued bunch made up mostly of elderly retirees, the medically infirm, and the ultra-wealthy. Travel to the island during the first part of the 20th century was difficult, expensive, and lacked a suitable infrastructure that could readily accommodate a large influx of guests. But by the mid-1930s, Jamaica was tourist-ready.

The hotels were built, the staffing was in place, and a slew of leisure activities awaited guests. Vacationers were ready too. They were more mobile, there were more flights to New York and Miami (the gateway cities to the Caribbean) and airlines were expanding service to the islands offering faster transportation than ship-to-shore travel.
Unfortunately, the excitement was short-lived. World War II put a pause on all travel to Jamaica. But following the end of the war, an exuberant sense of adventure and wanderlust, especially from the American market, caused Jamaica’s tourism numbers to rise from less than 5,000 per year in the 1920s to close to 100,000 visitors per year by the late 1940s. Today, Jamaica welcomes over 1.4 million visitors annually.
Credited with being the first country to actively promote tourism in the Caribbean, the post-WWII introduction of Jamaica was exciting on all fronts. Media campaigns began rolling out in creative ways that highlighted the island’s beautiful beaches, turquoise-colored water, engaging cities, tropical climate, jungle-rich flora and fauna, and friendly faces. Aside from those show-stoppers, the other attractive and important component to Jamaica’s successful promotion was its convenient location in the Caribbean Sea. Just a short 90 minute flight Miami, it offered almost instant gratification. Paradise was close.
I thought discussing Jamaica’s early rise in tourism would be a fun cultural touchpoint to pair with this international vintage recipe because it’s emergence as a true destination vacation occurred over 90 years ago and travel on all fronts today is so different than what it was then. Today, we slog through airports and plane travel to get our destinations as quickly as possible in the most comfortable clothes possible. We consult the internet for practically every detail of our vacation from lodging to sightseeing to restaurants. We read reviews online, we look at ratings. We take into account a stranger’s bad experience as well as their good ones. We juggle safety concerns, security threats, disease outbreaks and world events. And for most travelers today, it’s a comfort to be able to see and know exactly what we are getting into when we take a trip abroad.
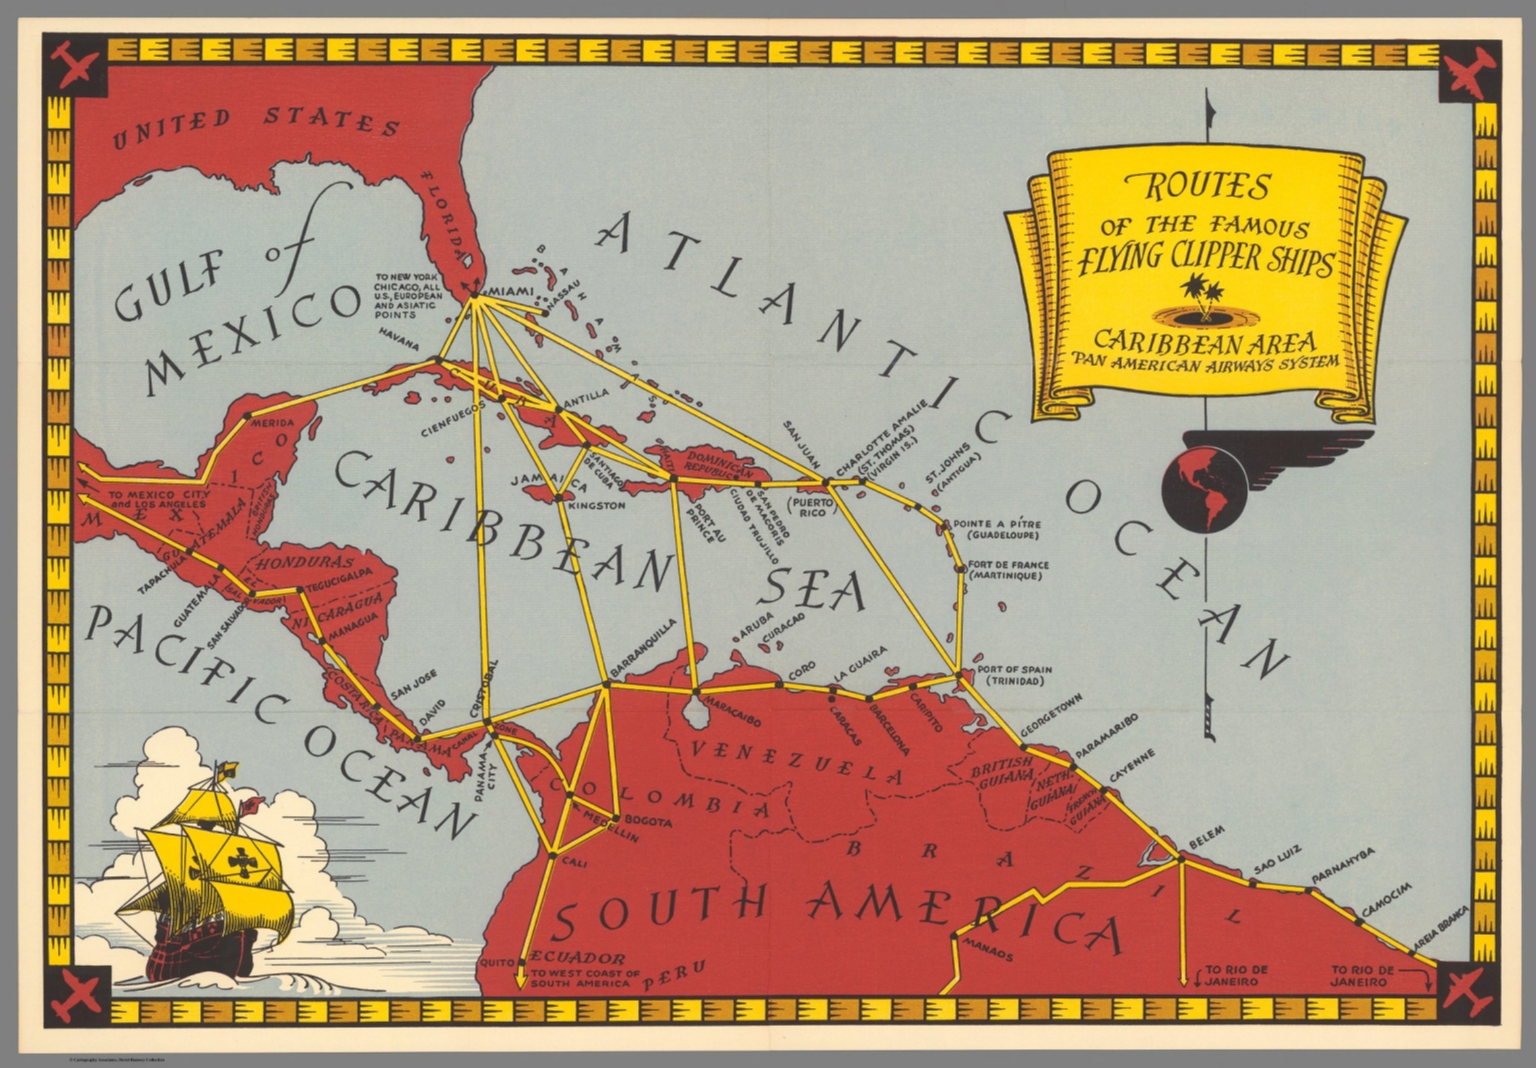
In the 1940s, travel was different. It was more carefree, less planned. Travelers knew where they were going, but they didn’t necessarily always know what they were going to see. Curiosity and discovery led the adventure. To get a sense of what traveling to Jamaica was like in the 1940s, I’ve included this fun and insightful 24-minute travel short that was produced by Pan American Airlines in 1948. It whisks viewers along on the adventures of Ms. Dale, an American traveler who is exploring the Caribbean on a two-week vacation aboard Pan Am’s propellered clipper ship, courtesy of a custom itinerary prepared for her by a whimsical, animated character named Clip, the Spirit of Travel.


Presented as an enticing tourism piece to highlight Pan Am’s newly expanded routes to the West Indies, Central and South America, and Mexico, this travel film made its rounds, often accompanied by a representative from Pan Am, at libraries, museums, civic organizations, schools, and travel agencies around the United States beginning in January 1948. Showcasing the warm and sunny climate Jamaica offered during a time of year when almost all of America was wrapped up in a cold blanket of winter weather was alluring marketing at its best. The film received rave reviews around the country for its beauty, interest, and excitement in depicting the history and culture of this exotic string of islands floating in the Caribbean Sea.
To give you an example of the type of reception the film received… on October 11th, 1948 at the Lincoln School Auditorium in Kalamazoo, MI, nine hundred tickets were available for a nighttime showing of Wings to Cuba and the Caribbean. 900 tickets! This illustrates not only the level of interest in the subject matter but also the attraction of movies in the 1940s.
In the film, Ms. Dale island hops around the Caribbean beginning in Cuba. She arrives in Jamaica at the 13-minute mark. If you wanted to skip ahead, you’ll find her en route to the island at 13:27.
I found this travel short to be captivating in so many ways. Not only was it fun to see vintage film footage of the tropics but I loved how it combined flight, fashion, fun facts, music and history into a compact story that gave you an immediate sense not only of what life was like in the Caribbean but also what life was like in the 1940s too.
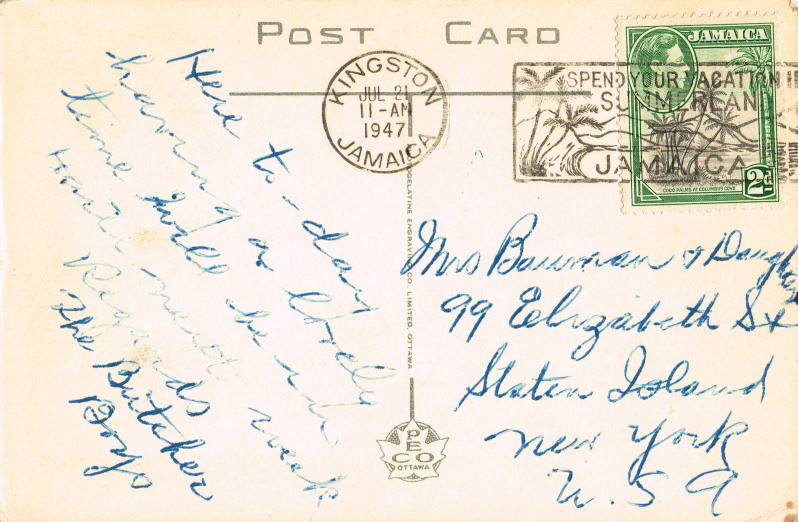
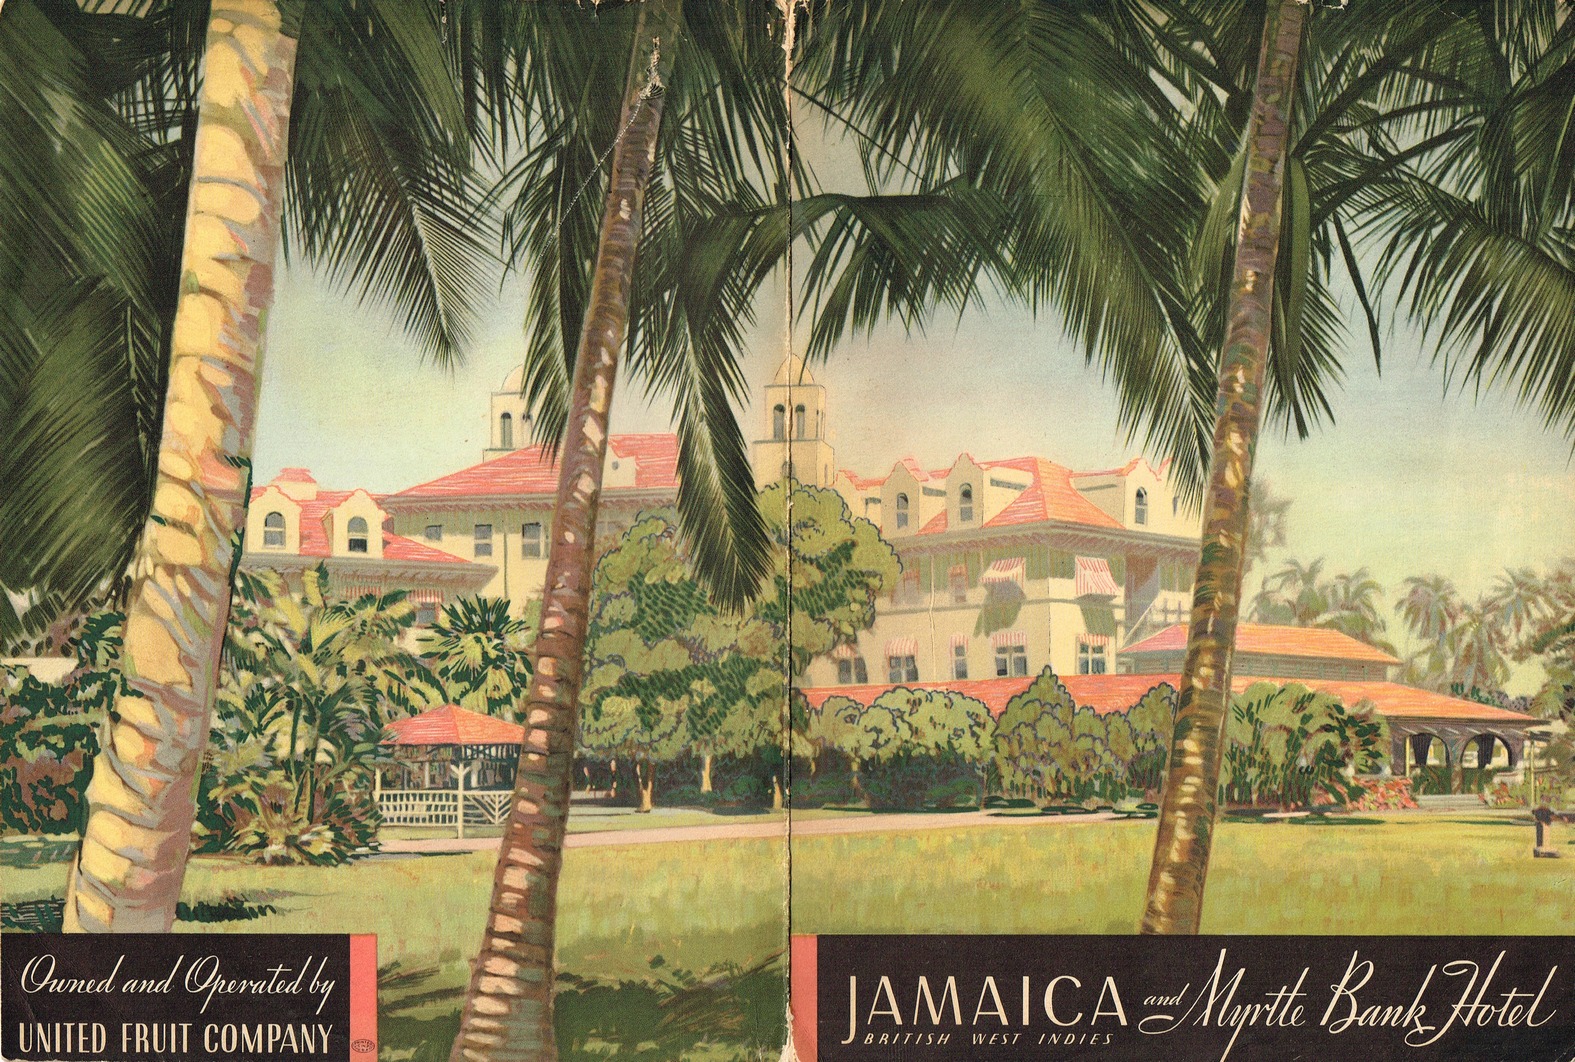
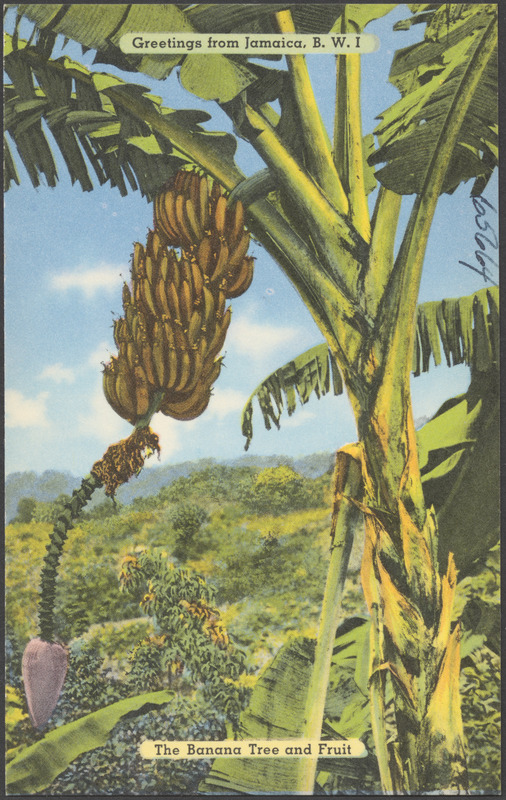
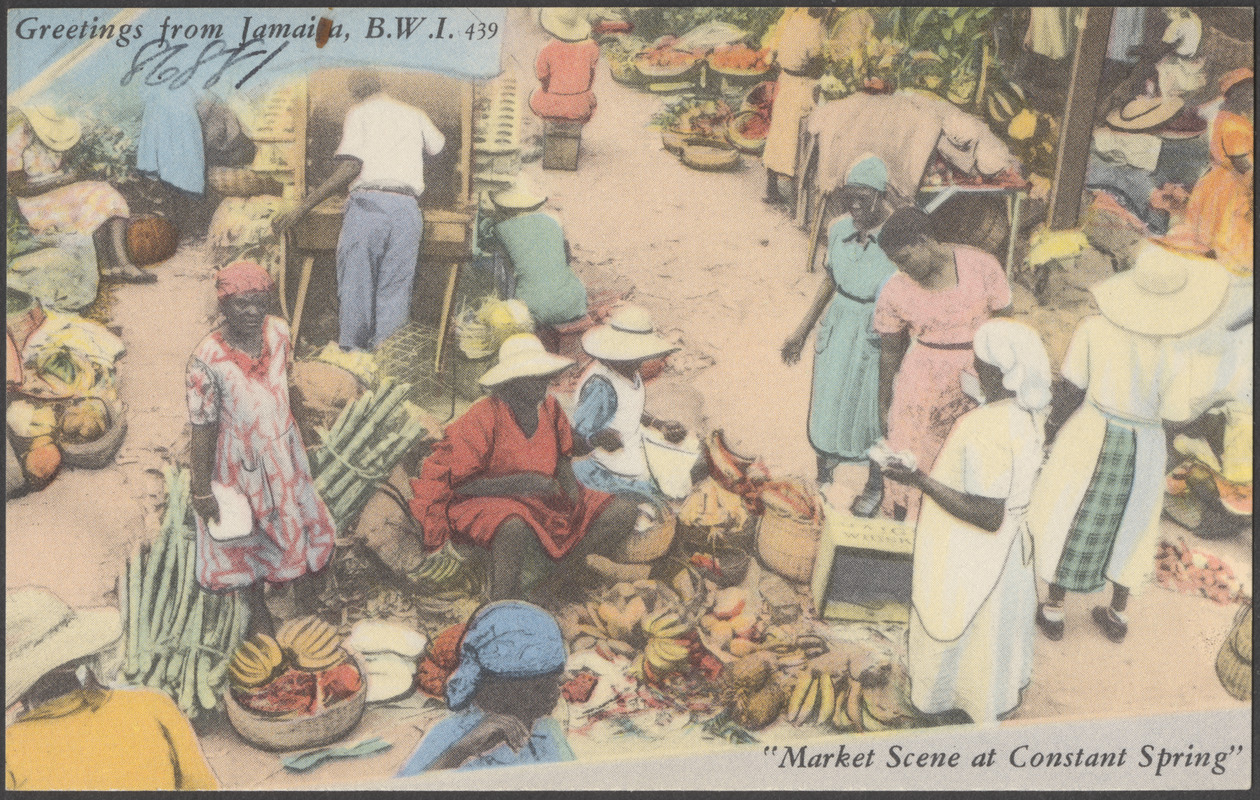
Watching Wings to Cuba and the Caribbean in 1948 provided many viewers with a first-time glimpse of the islands from a cinematic perspective. At the same time, equally enticing tourism promotion for the Caribbean began appearing more and more frequently in newspapers, and magazines too. I pulled some snippets from vintage archives and combined them with vintage postcards of the era to showcase exactly how, in mid-century America, you would have been introduced to this exotic island.


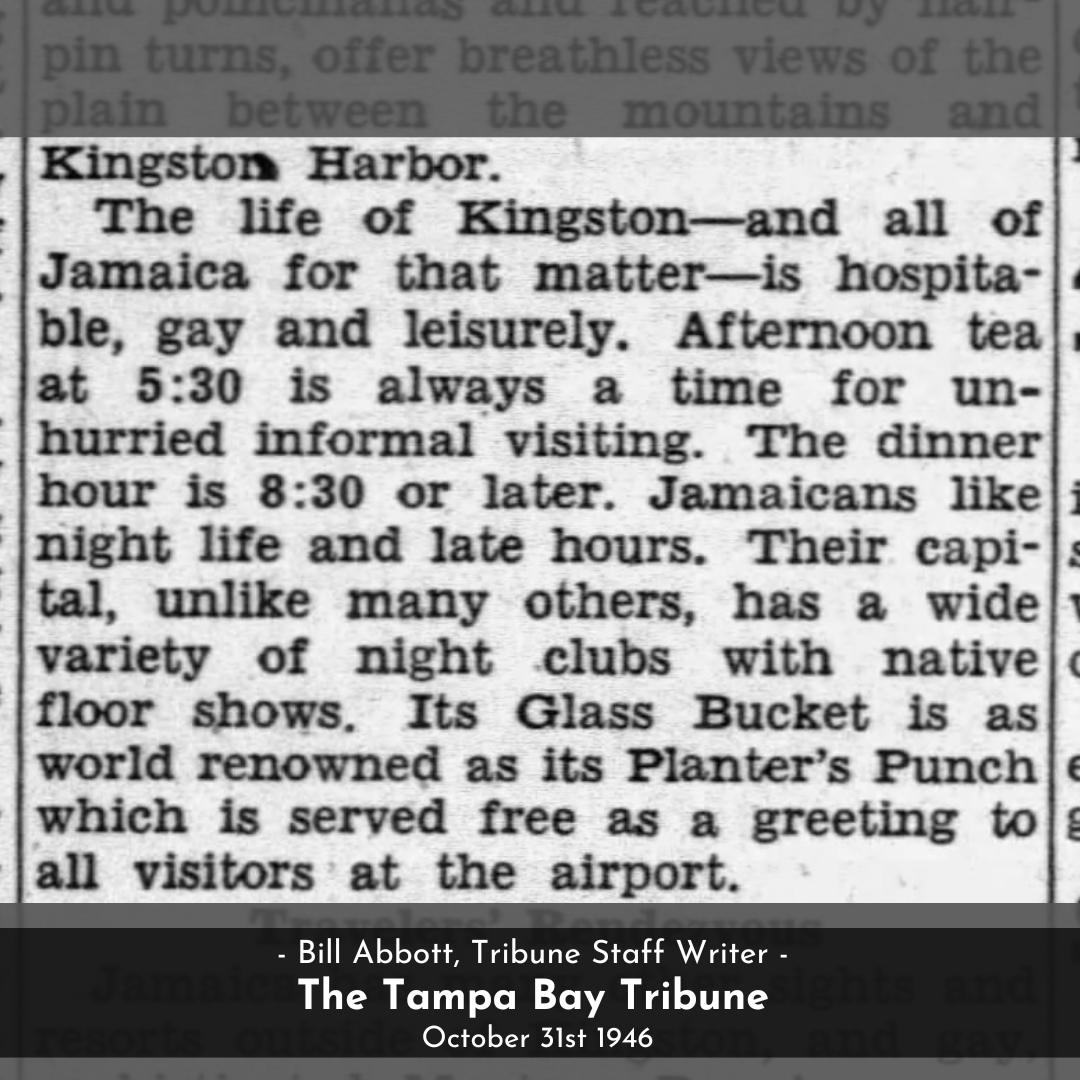


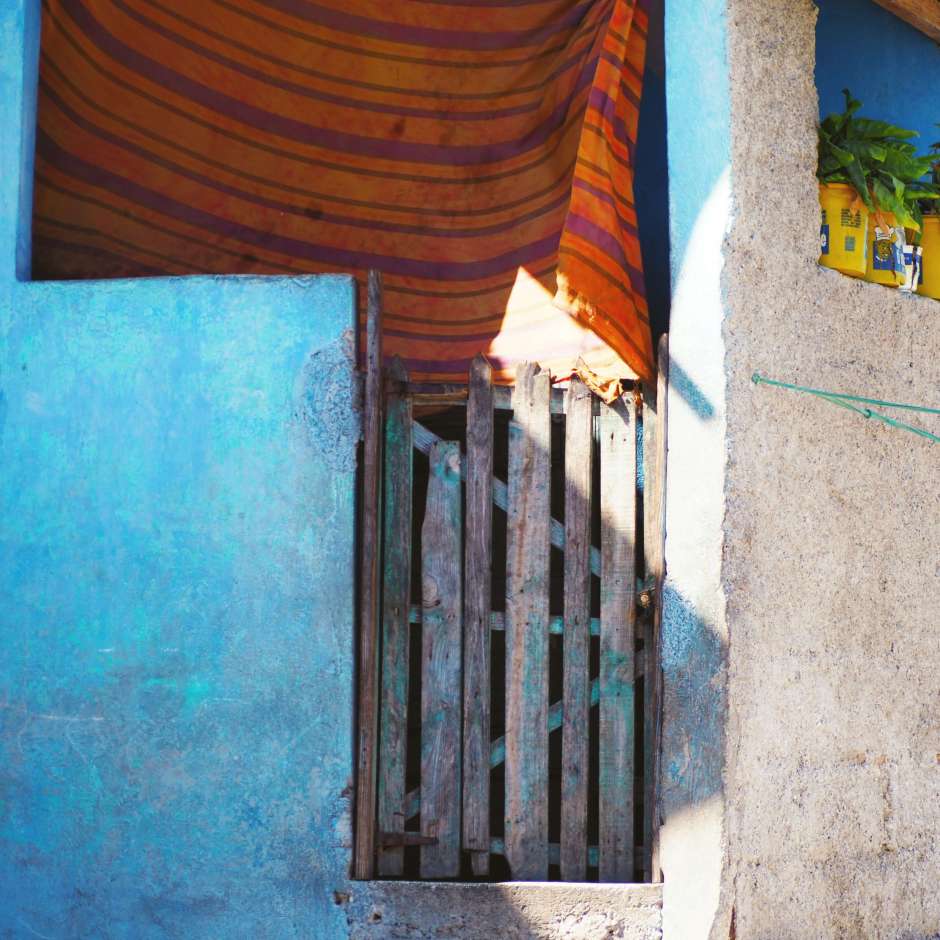
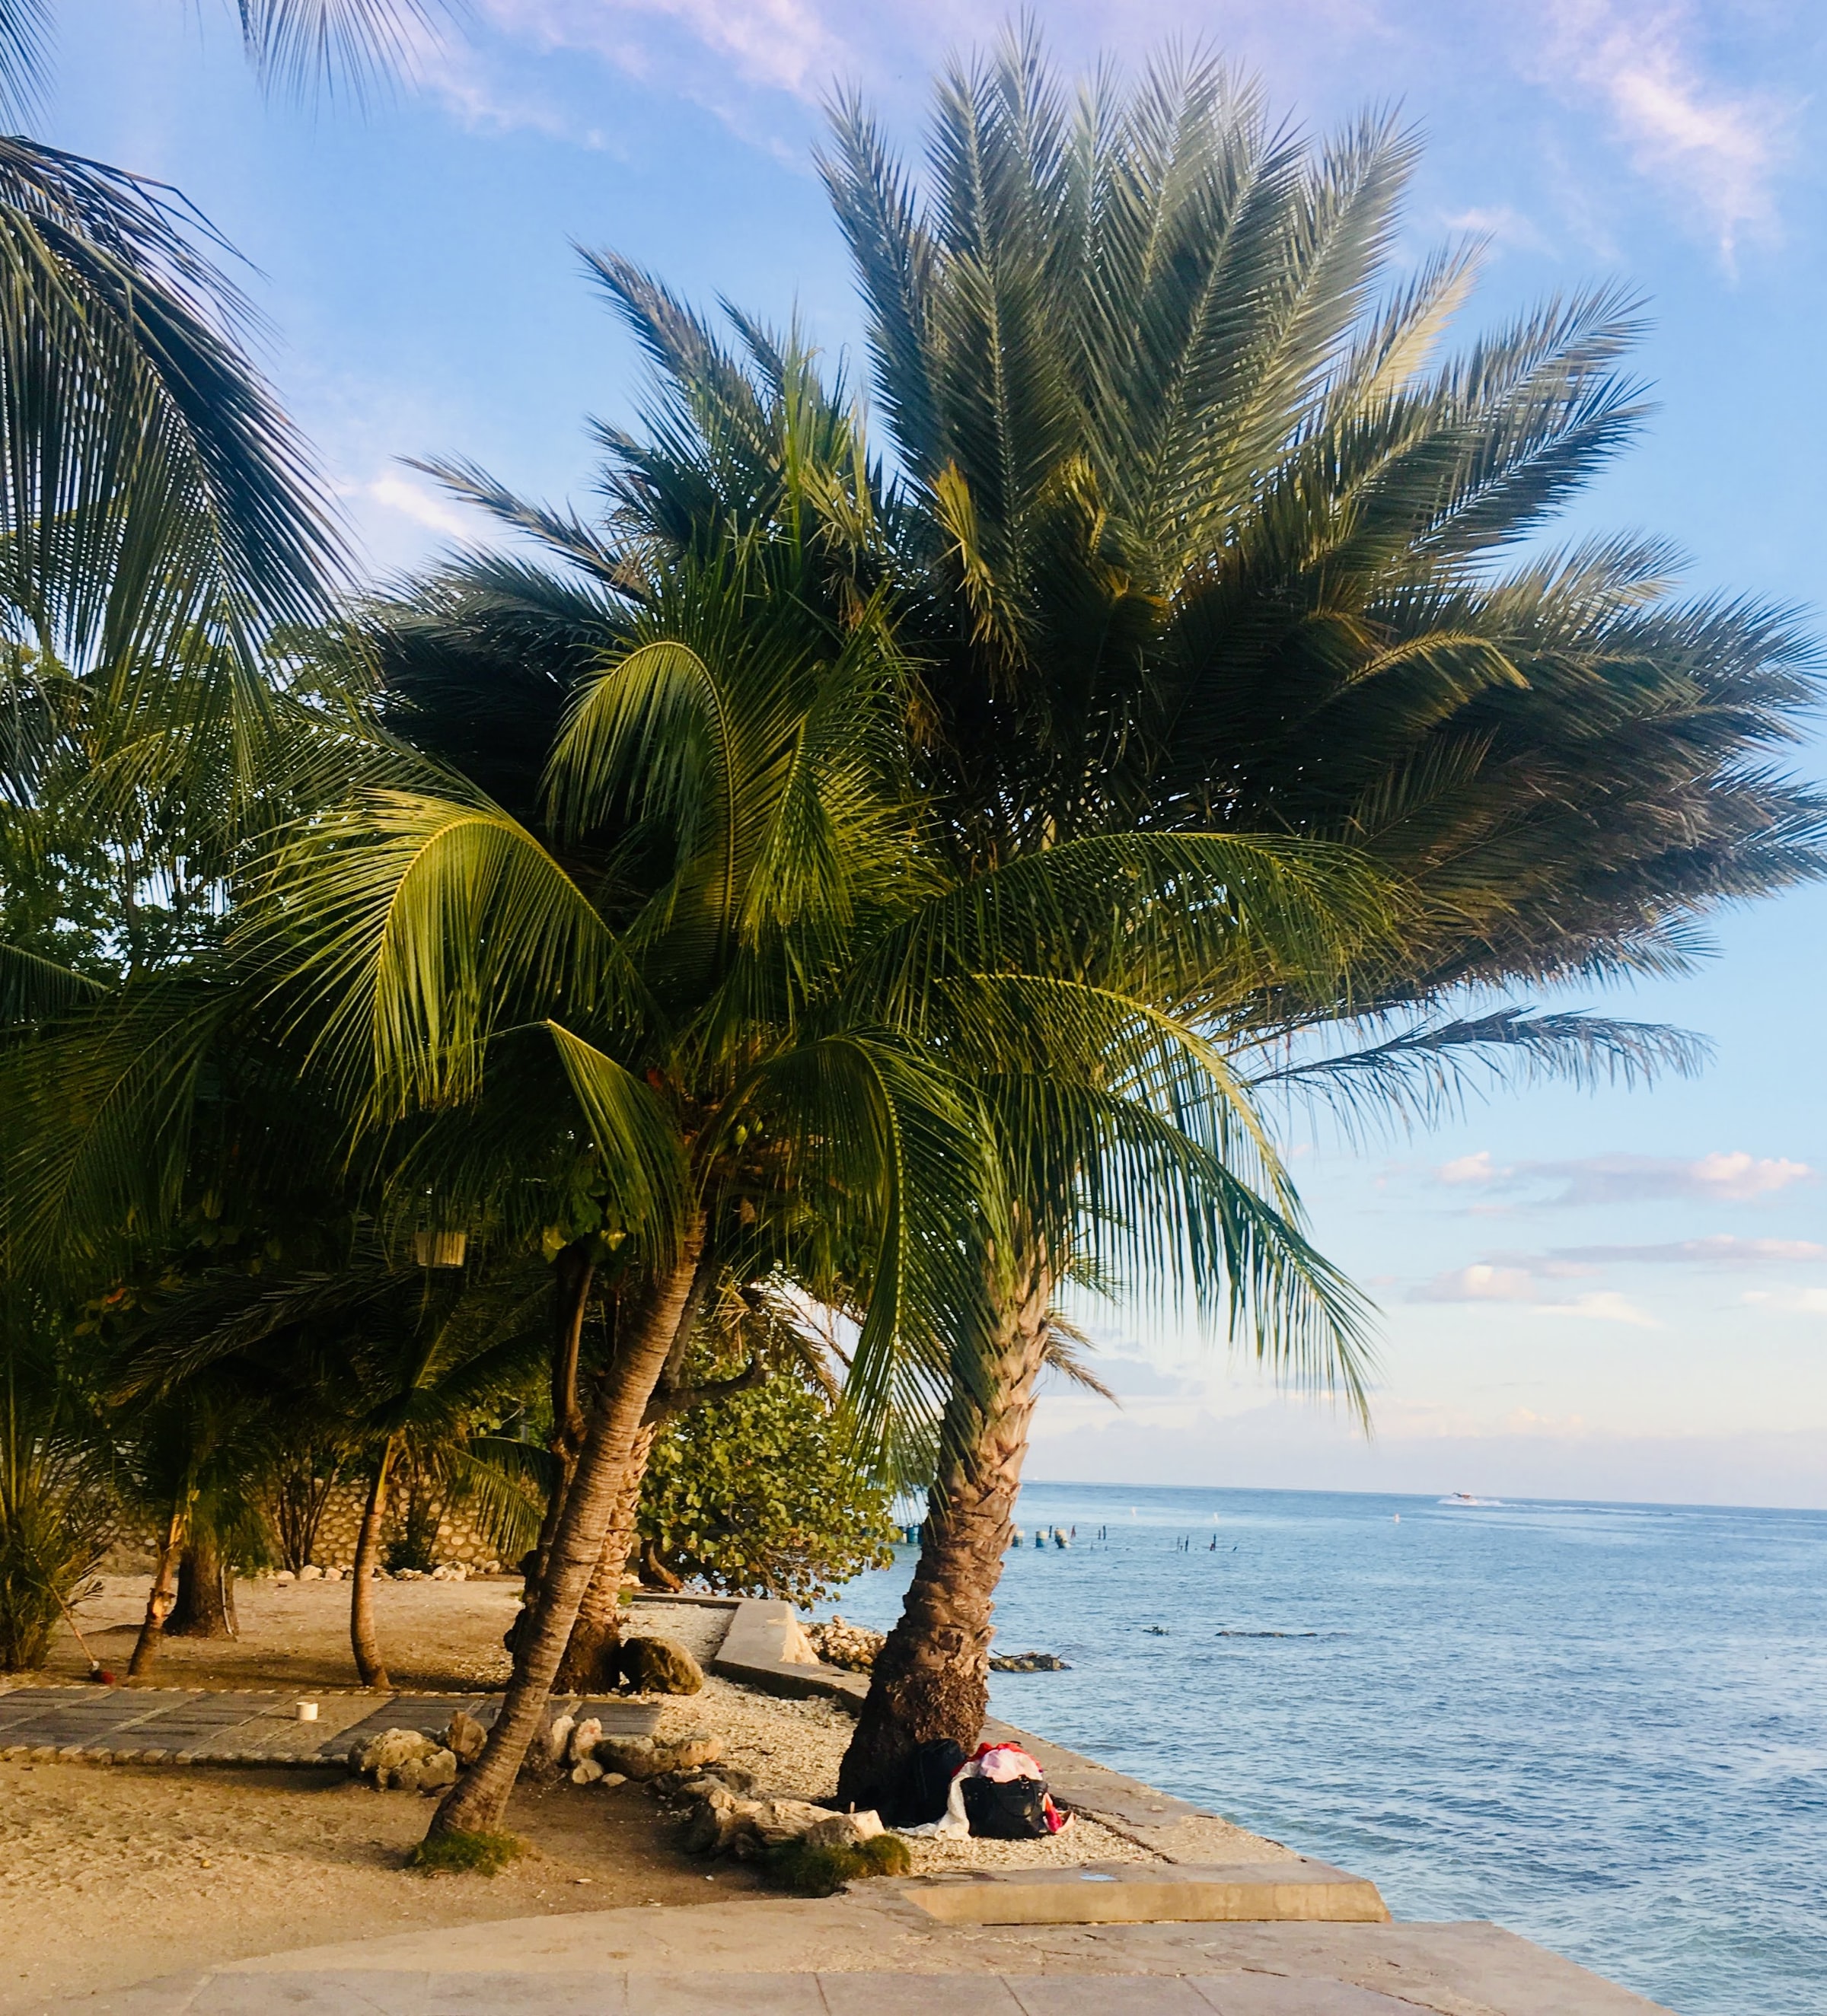
Since its emergence on the tourism scene in the 1930s and 40s, Jamaica has become a treasured and popular resort destination, winter getaway, and honeymoon haven for travelers around the world. Even if you have never visited yourself, you are still familiar with it. You’ve seen photos, watched a video, read a book, heard stories from someone else who has been there. We are all familiar with the beautiful, bright smiling faces of local residents. We know the palm studded beaches, the gorgeous blue water, the relaxed vibes, the music, the pretty hotels. But in the 1940s it must have been magical to experience the island for the first time as a brand-new destination. To experience the talcum-powder soft beaches, the two mule carts, the afternoon tea hour, the mountain of cotton trees, the gay and leisurely atmosphere. It must have been awe inspiring to see it in its pristine form overflowing with a proud, fresh-faced enthusiasm. Jubilant with a happy-you-are-here hospitality. It must have been magical to see the island barely touched by the trappings of tourism. Unaffected yet by repetitive foot traffic caused by the millions of travelers that would eventually come to it, mold it, define it, shape it into something influenced a little bit here and there by something else from somewhere else. In the 1940s, Jamaica felt new to the world to a new set of travelers unlike any other place in the world.
We are all spoiled these days with an overconsumption of information and an in-the depth understanding of the world on just about every topic under the sun. Sometimes, when everything is at our finger tips that leaves little room to ever discover something truly new. But imagine, for a moment that it’s the 1940s. You don’t own a television, but you do read the newspaper. There’s a movie theater in your town, a globe on your desk, and a stack of travel magazines on your bookshelf. You long for far-flung adventures and travel to exotic places but you’ve yet to ever leave your home city. A showing of Wings To Cuba and the Caribbean comes to your town. You fall in love with the islands. You begin to read more and more stories about Jamaica in the newspaper. You see tourism ads start to appear in the travel section. Your favorite magazine features it in a multi-page spread. You take Ms. Dale’s lead and you book a trip through a local travel agent. Finally, the day arrives and you board the propellered plane with the the Pam Am logo. It’s your first international adventure. Your first tropical vacation. Your first real-life glimpse of the world beyond anything you have ever known.
While it’s impossible to return to the excitement of Jamaica’s early tourism days of the 1930s and 1940s, we can at least return again and again to a vintage recipe from this beautiful country via the kitchen any time we want. It may not physically plunk you down on a sandy beach, but it will carry you away to a Caribbean state of mind. Nothing transports you to the tropics quite like a coconut.

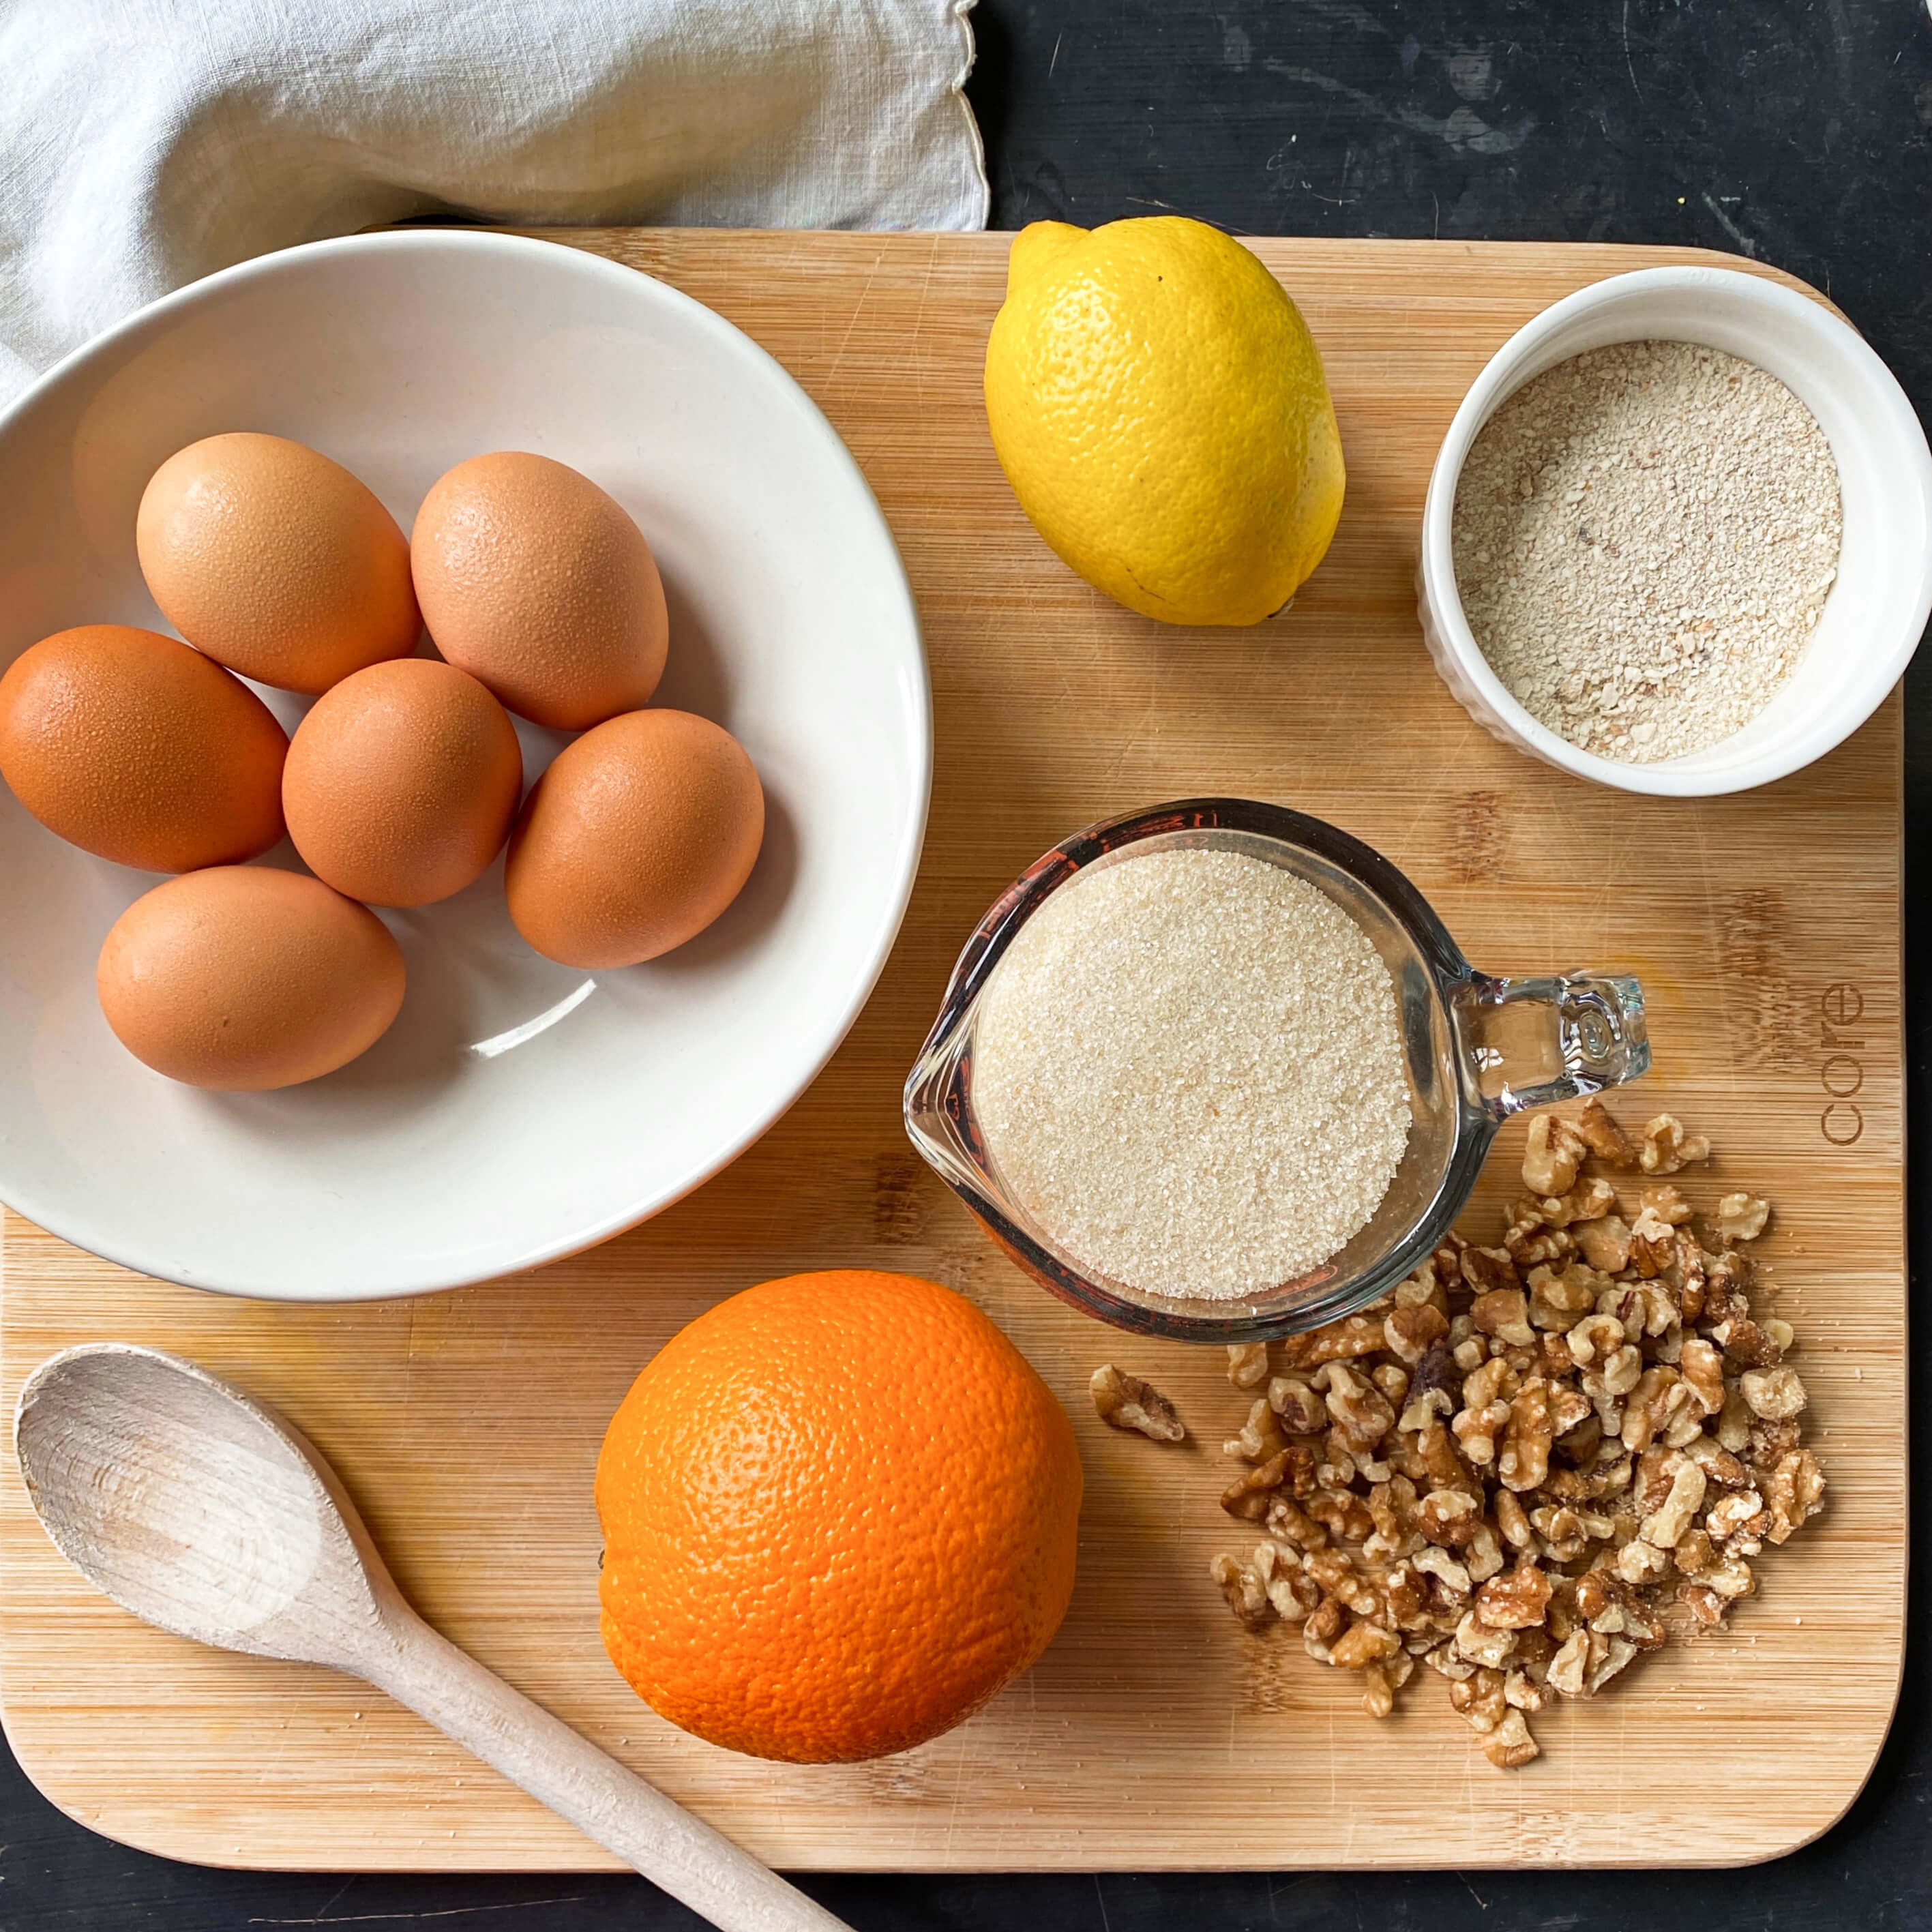
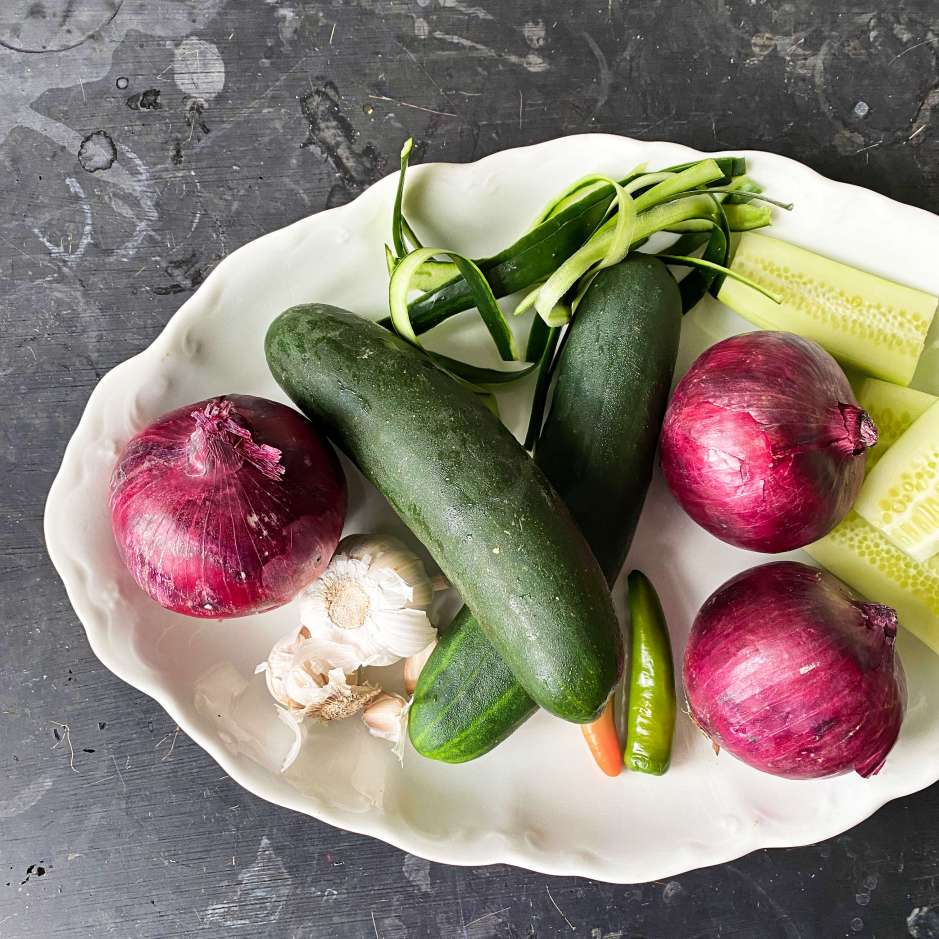
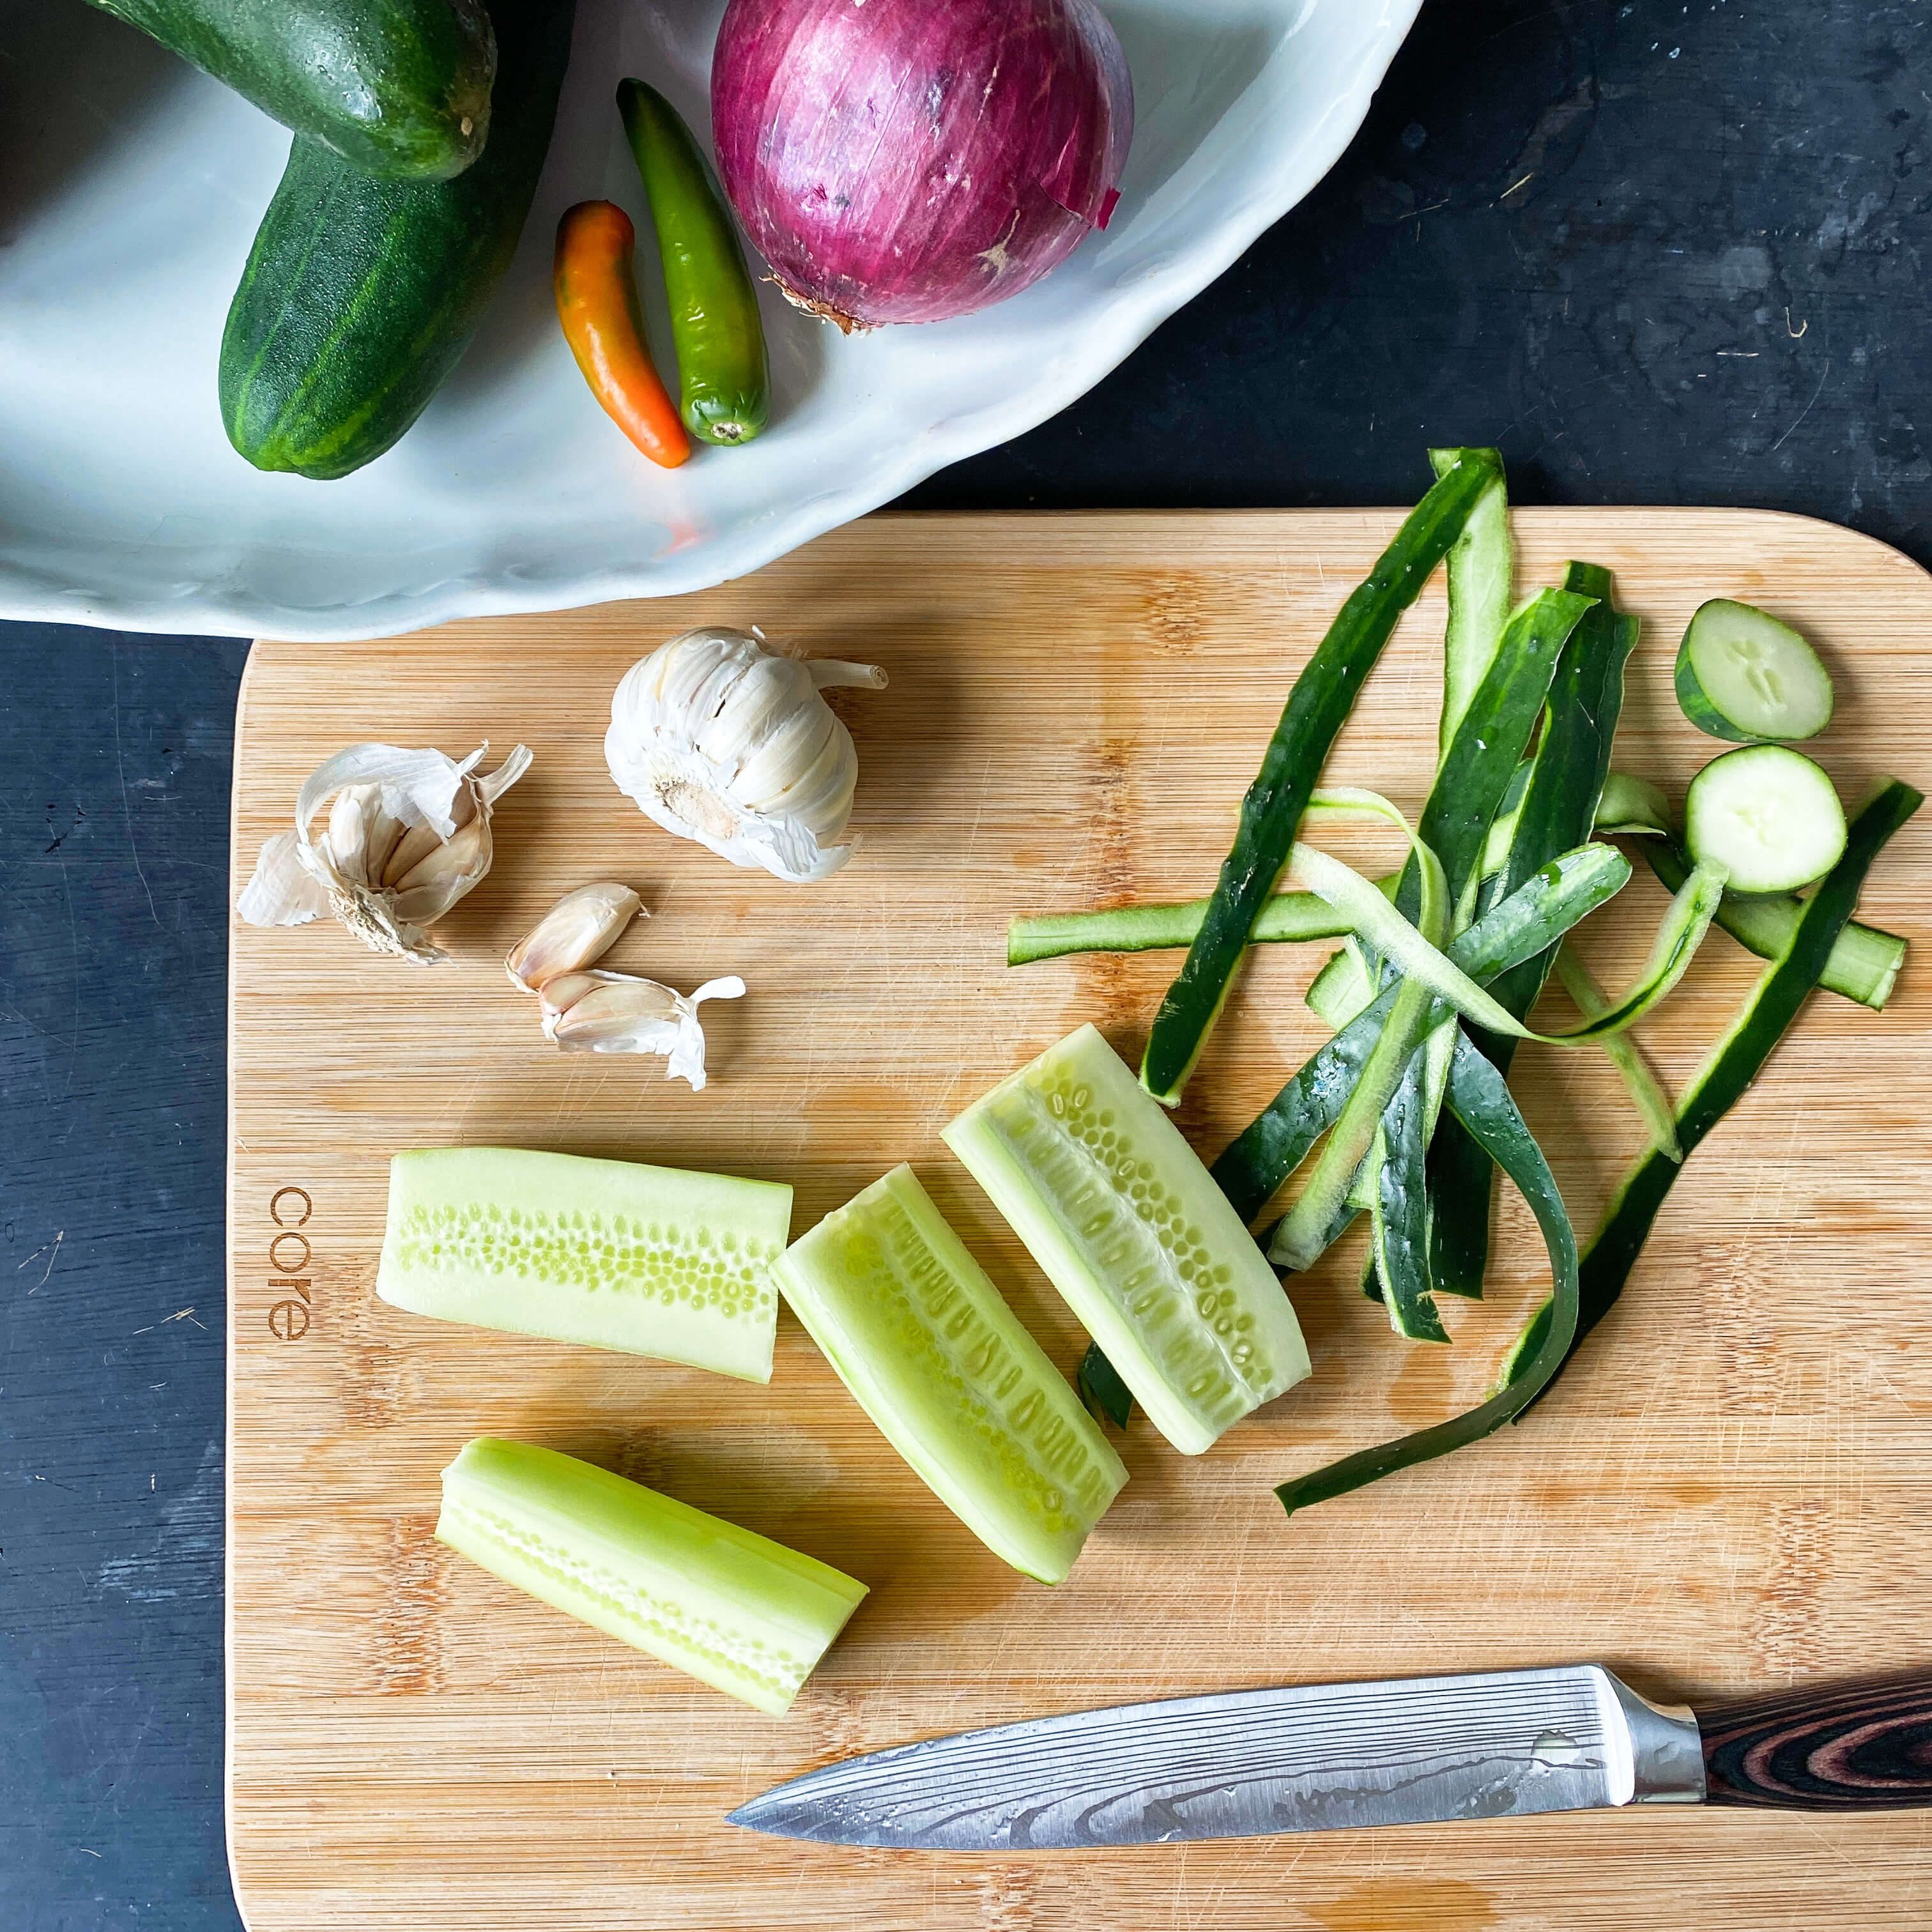
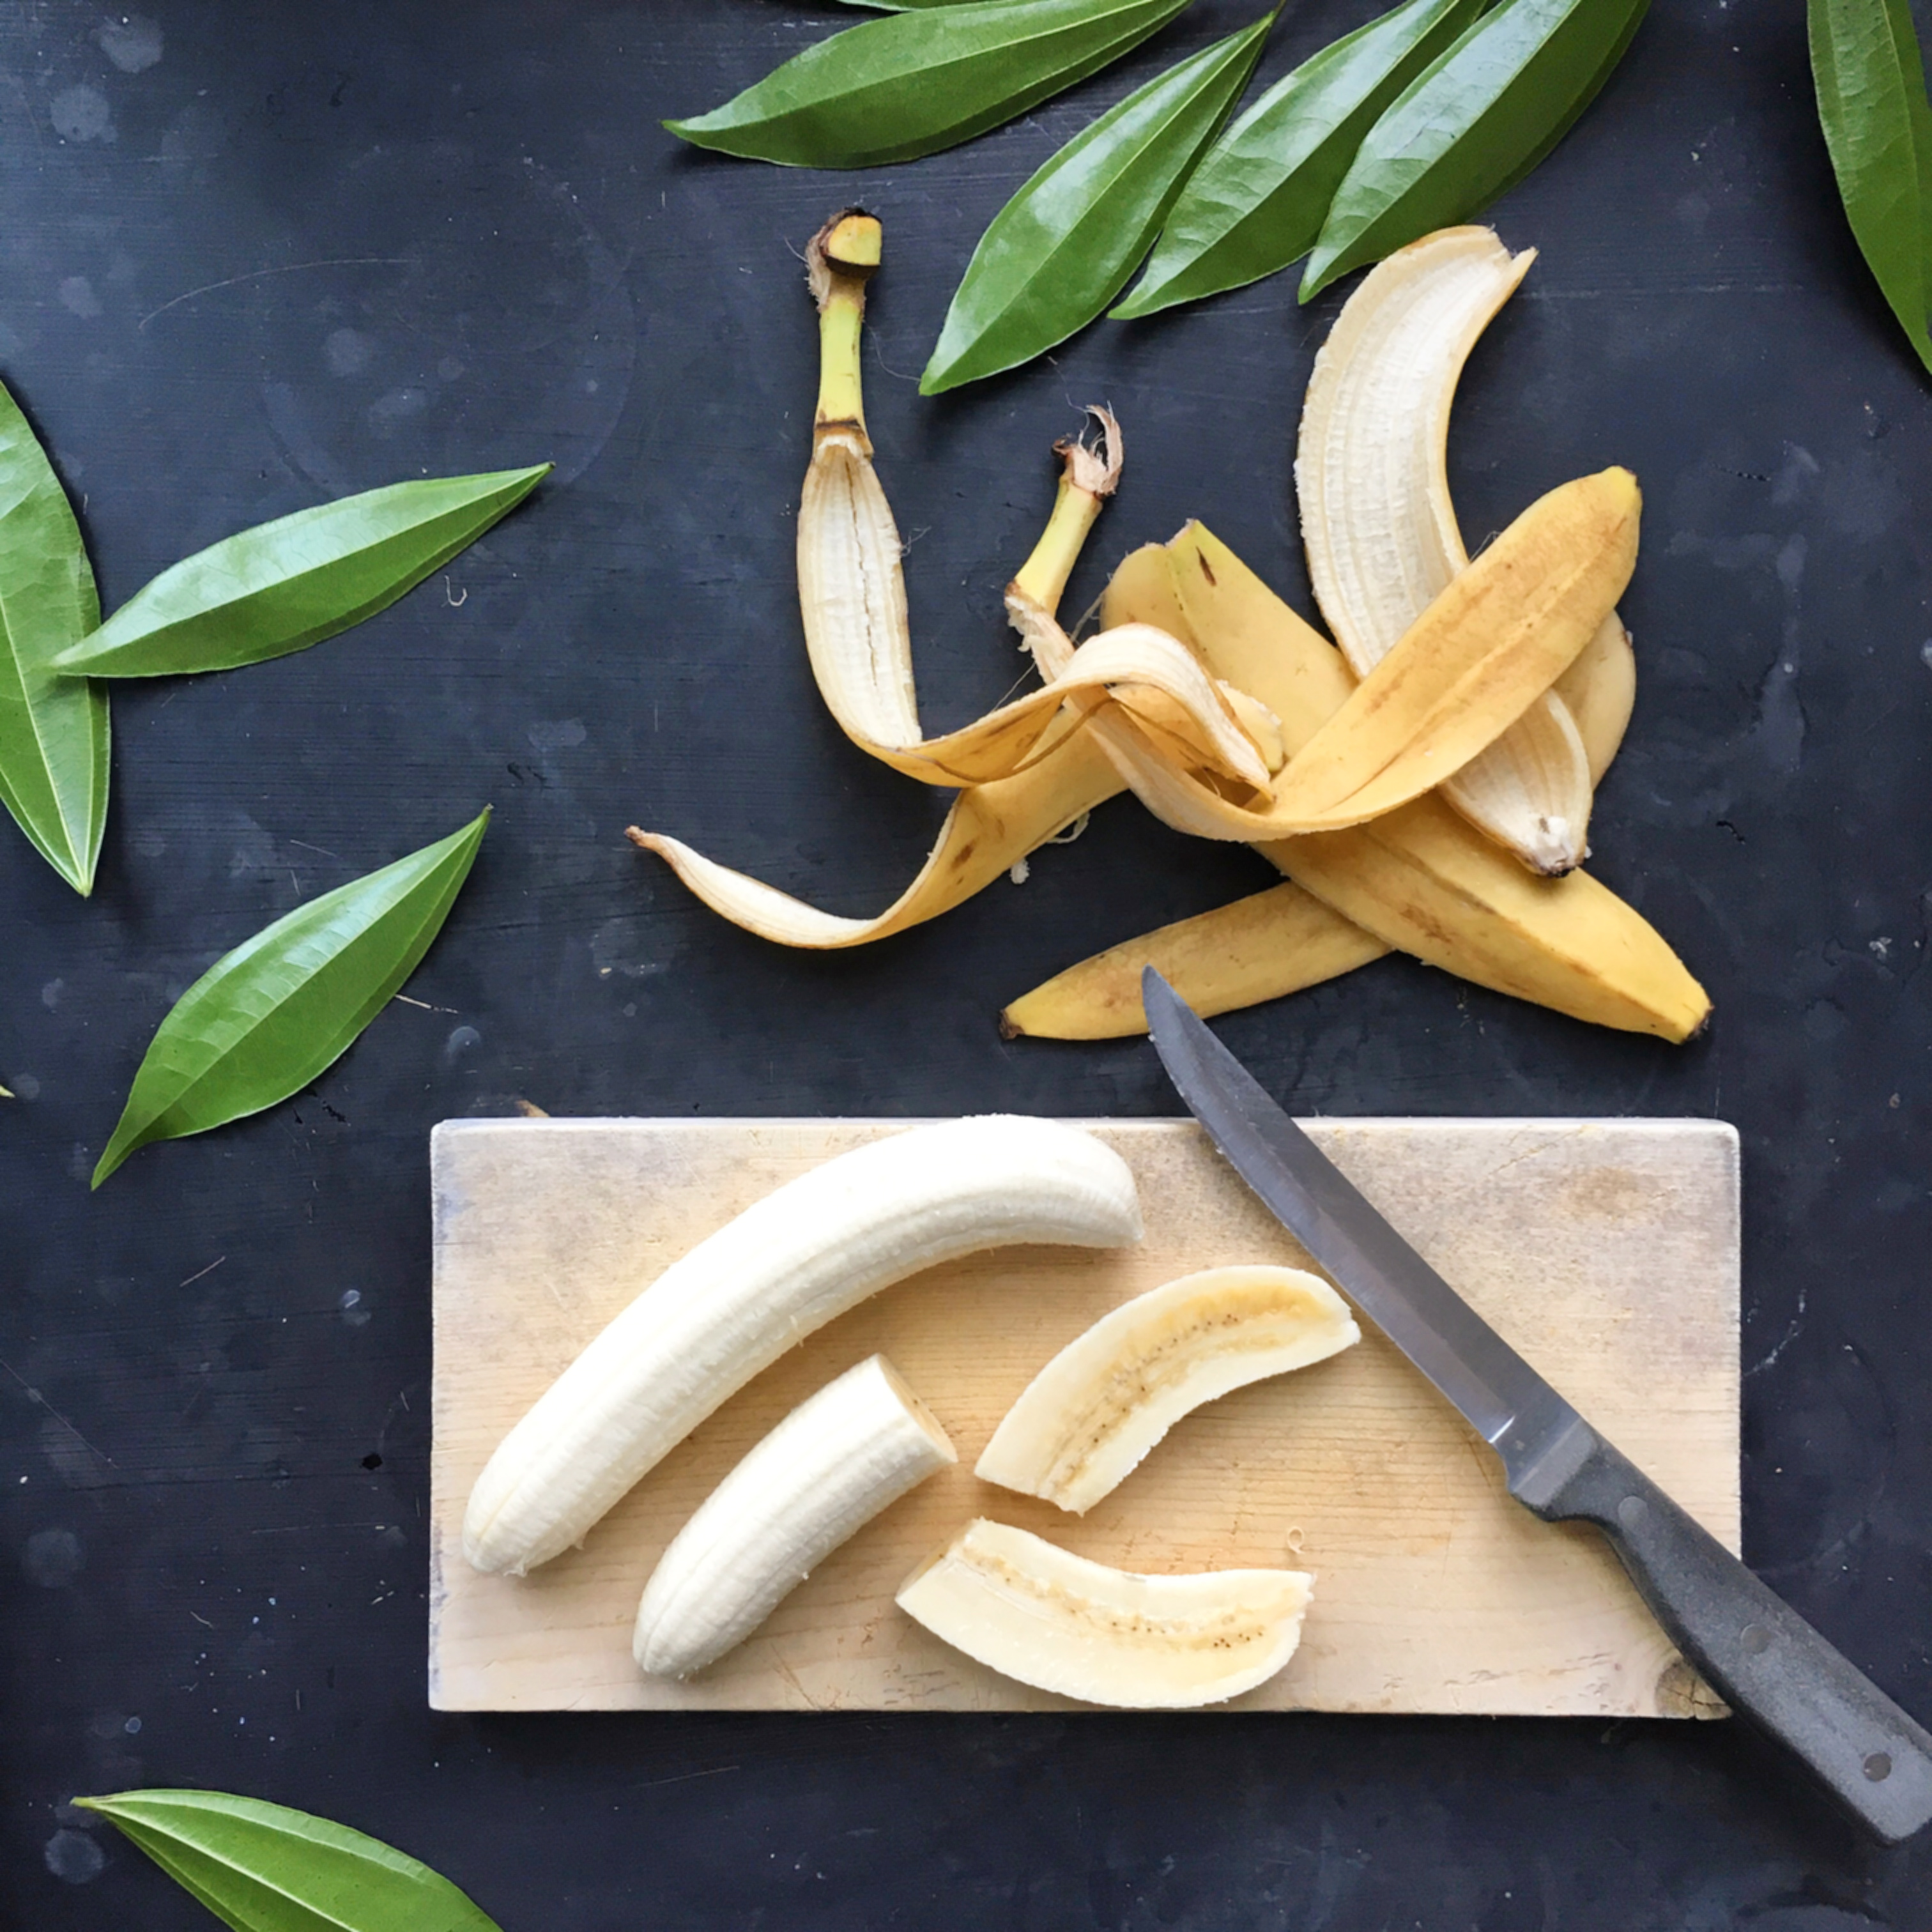
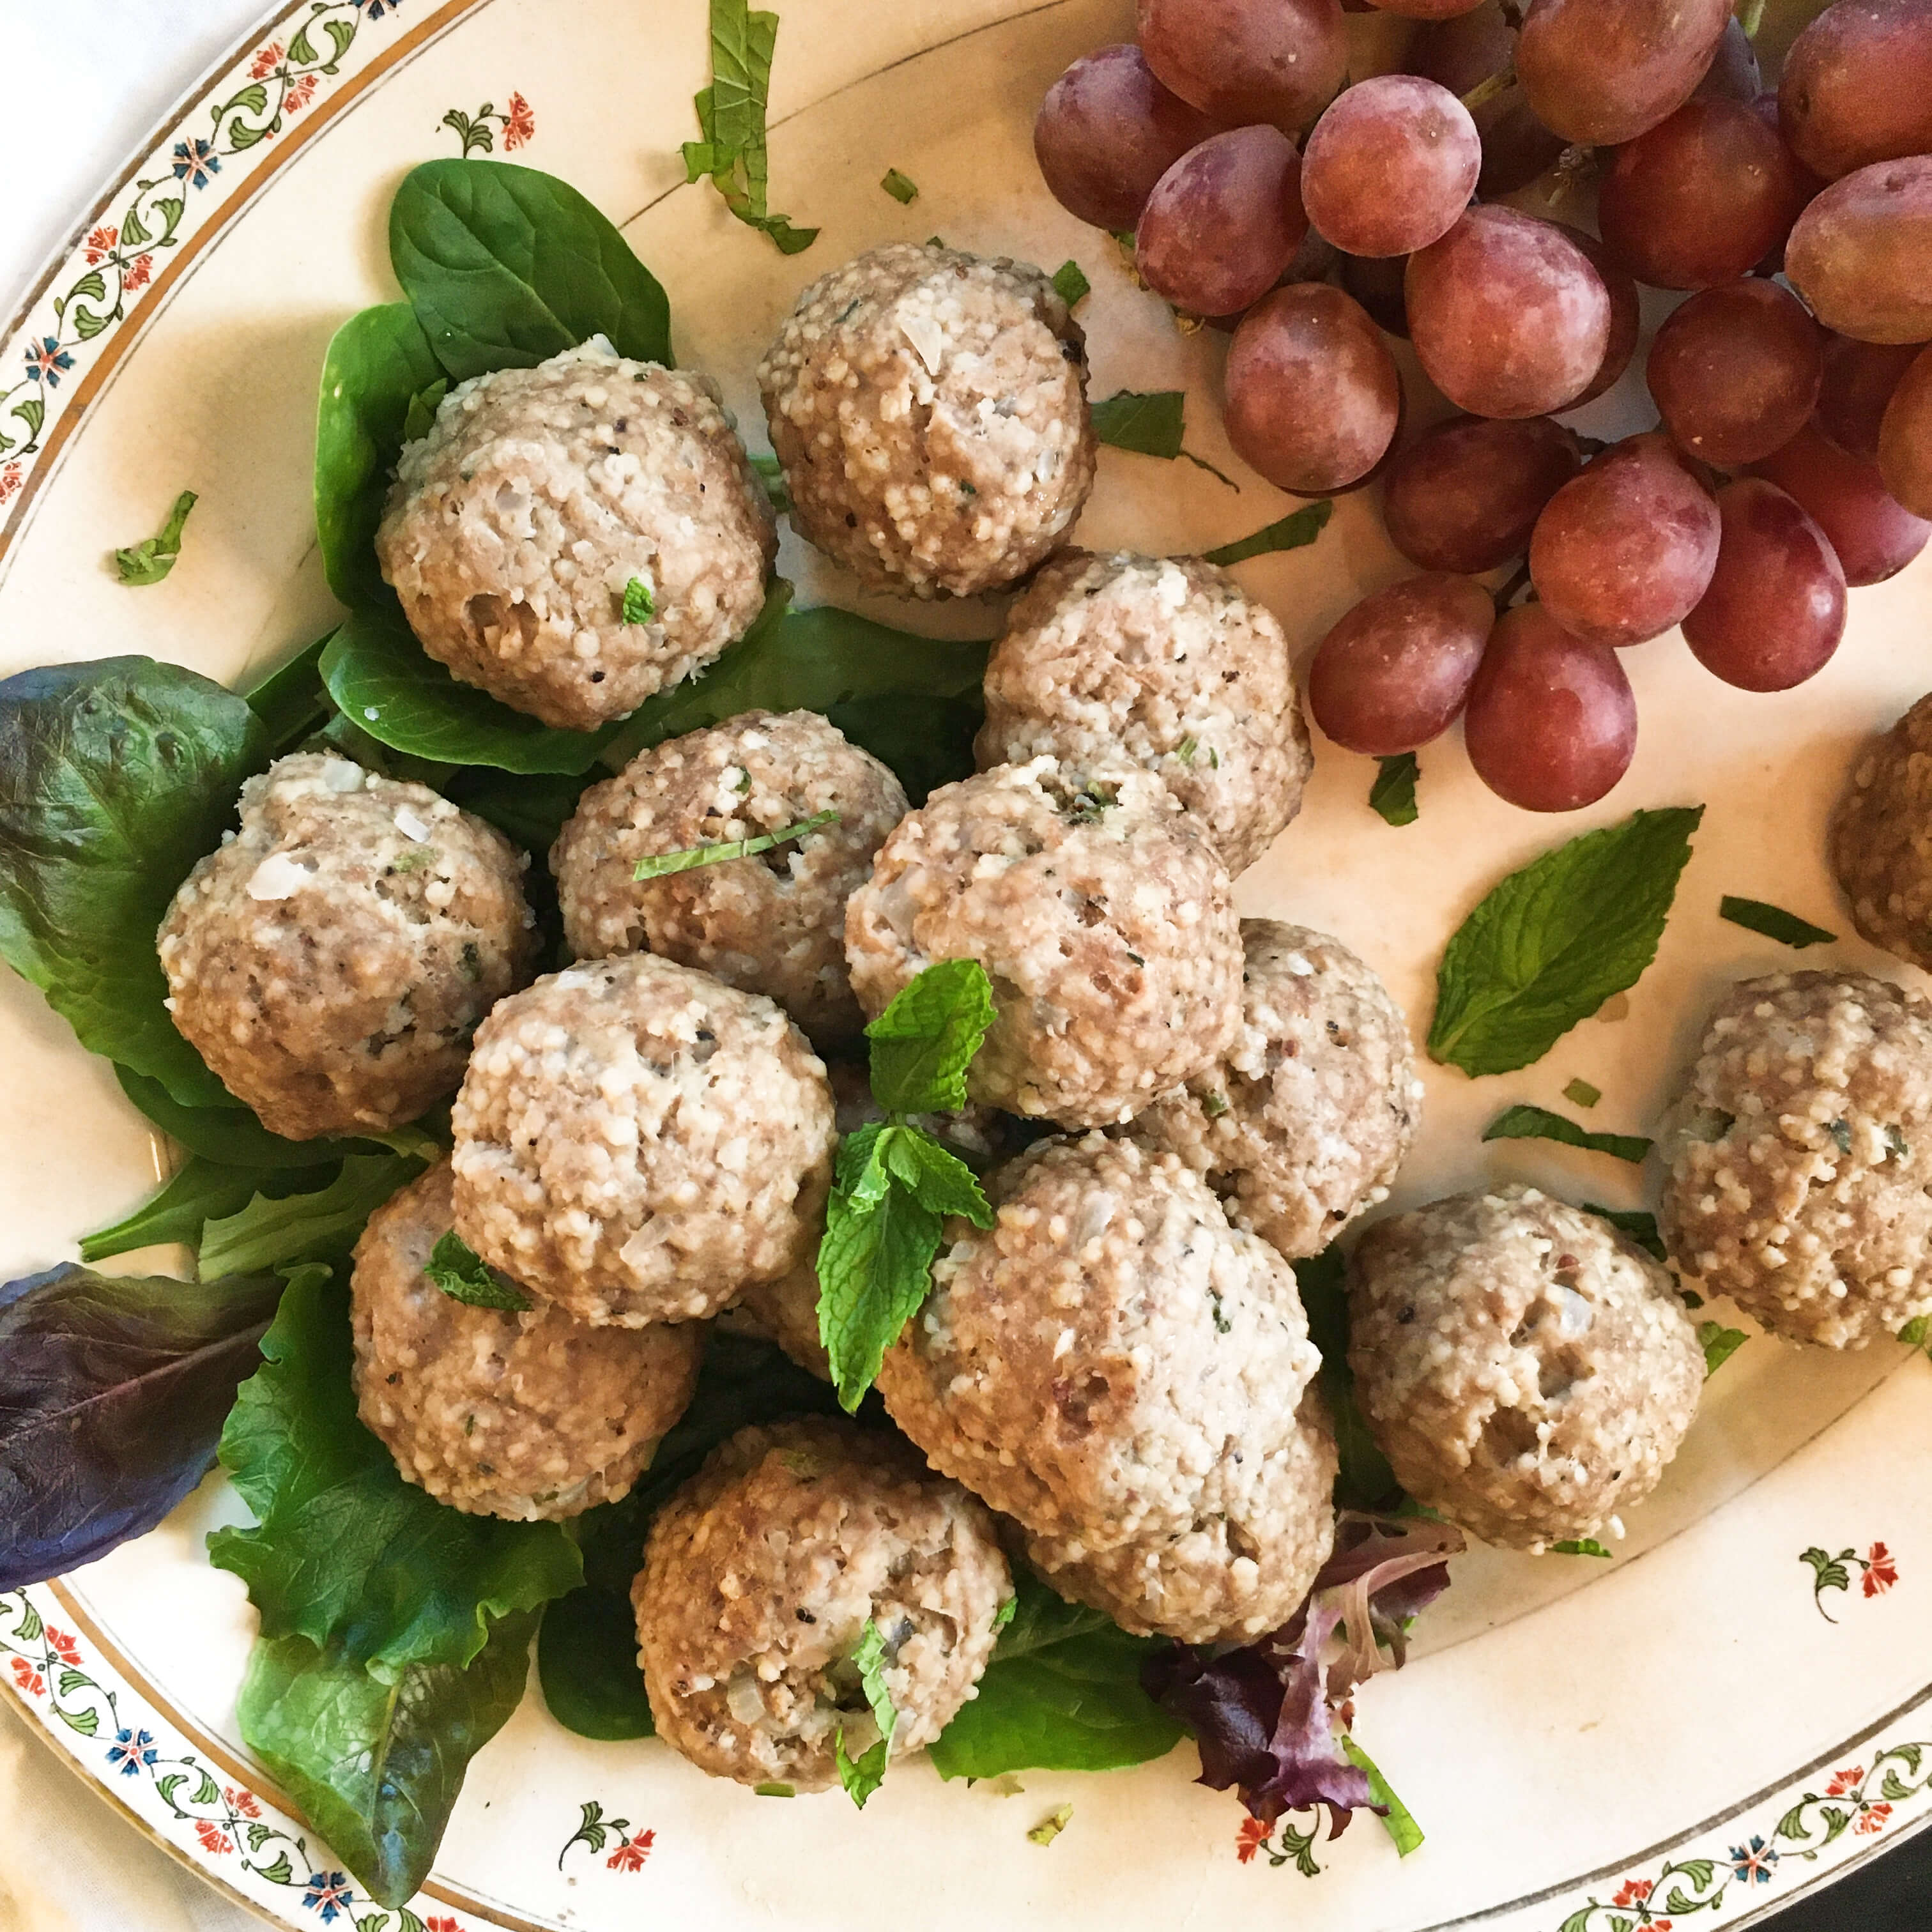
This vintage recipe for Jamaican Rice and Beans calls for coconut milk made from a whole, fresh coconut. You could possibly substitute it for canned coconut milk as a shortcut, but I wouldn’t recommend it. Especially if you are longing for an escape of mind these days. I wholeheartedly recommend making this recipe as is, fresh coconut and all. It’s not only a fun meal to prepare but you’ll have a little bit of extra coconut water left over to make a rum cocktail while you cook, further embracing a vacation vibe.

If you have never cracked open a coconut before, rest assured, it is easier than you think. Look for a whole coconut in your local grocery store or market that is heavy in weight, pre-scoured, and sloshes with the sound of liquid inside when you shake it. This ensures that the coconut is fresh and easy to crack.
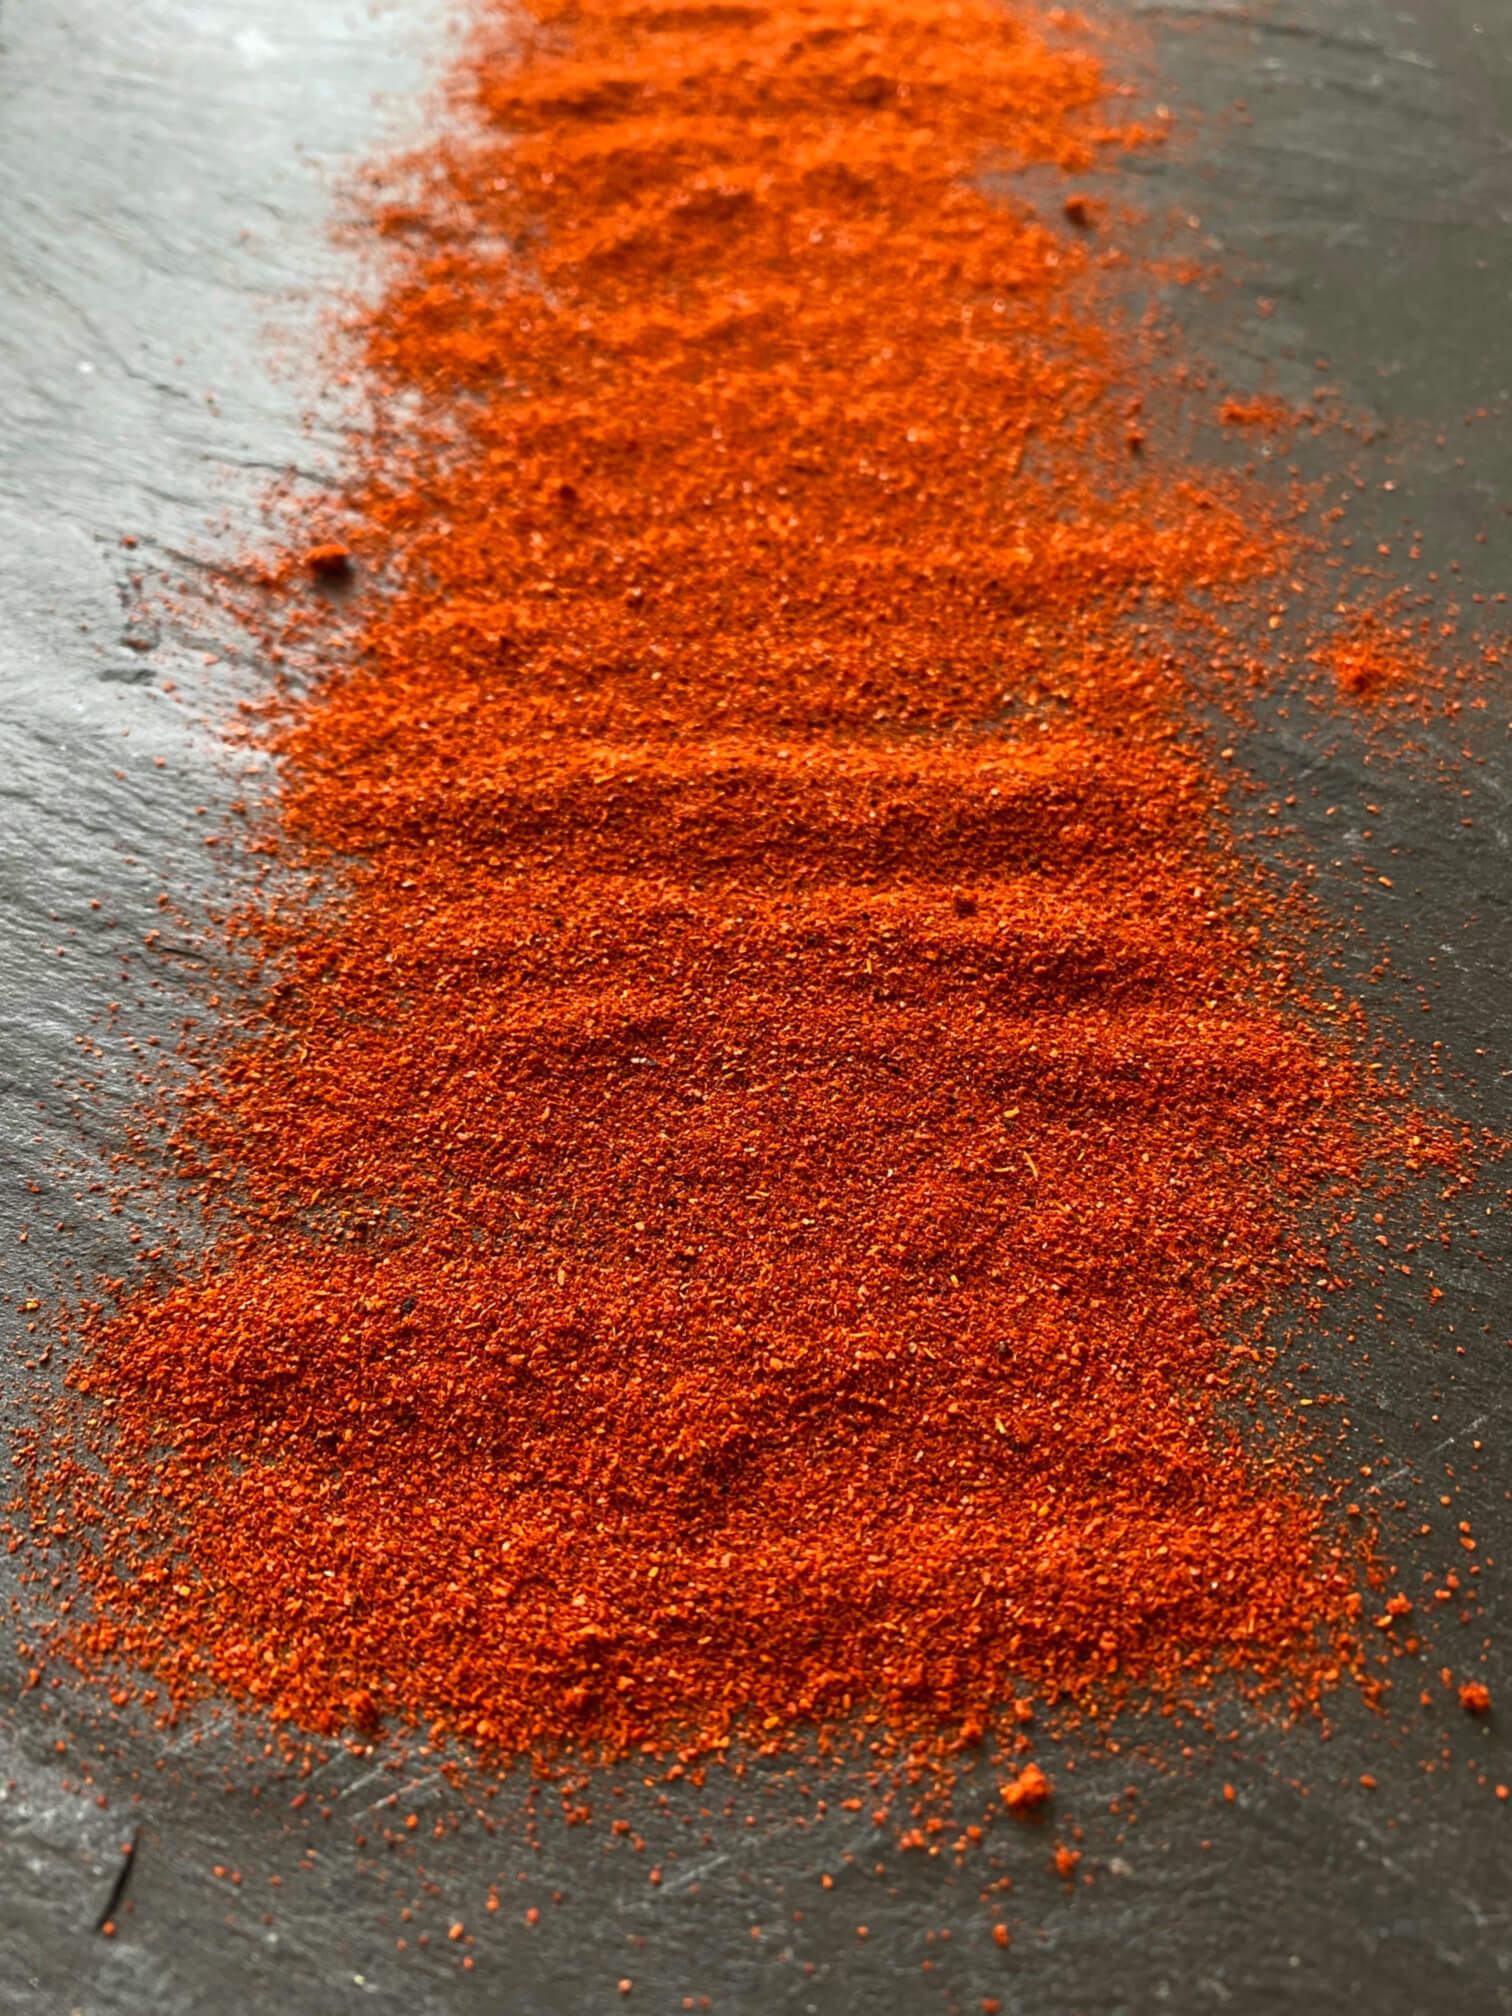
The history of this rice and beans recipe is rooted in the slave trade which began in Jamaica in the 1500s by way of Africa and Spain. Over the course of the island’s history, the dish’s unique blend of grains and legumes morphed into different variations using different spices and came to be known by different names. The most traditional and widely accepted name is Jamaican Rice and Peas. But not peas of the round, green sort that we often think of as vegetables. It was originally made with small round red peas, also known as pigeon peas, also known as gungo peas.

At some point, gungo peas became more expensive and harder to find in Jamaican markets and kidney beans were substituted in their place, which is how this dish also became known as Jamaican Rice and Beans. Technically a pea is a bean as they are both members of the legume family so both names are correct, but we all know green peas are not kidney beans, and kidney beans are not red peas. Each has its own unique flavor profile, color, consistency, and shape. Nonetheless, today in Jamaica when it comes to this recipe, gungo peas and kidney beans are both accepted ingredients and it’s left up to personal preference as to which is the better bean/pea.
Aside from the extra bit of attention given to the coconut preparation, this recipe is easy to make and very economical. It serves 10-12 as a side dish and costs less than $15.00 to make. Equally enjoyable as a full meal on its own, this dish also freezes well, reheats beautifully, and acts as both a comfort food and a vegan meal. Since it contains both carbs and protein, it’s especially lovely for this time of year as we start spending more hours and energy outdoors. But most importantly, this is a dish that will transport you to another era, a mental mini-break from the malaise and the momentous events of the modern world.

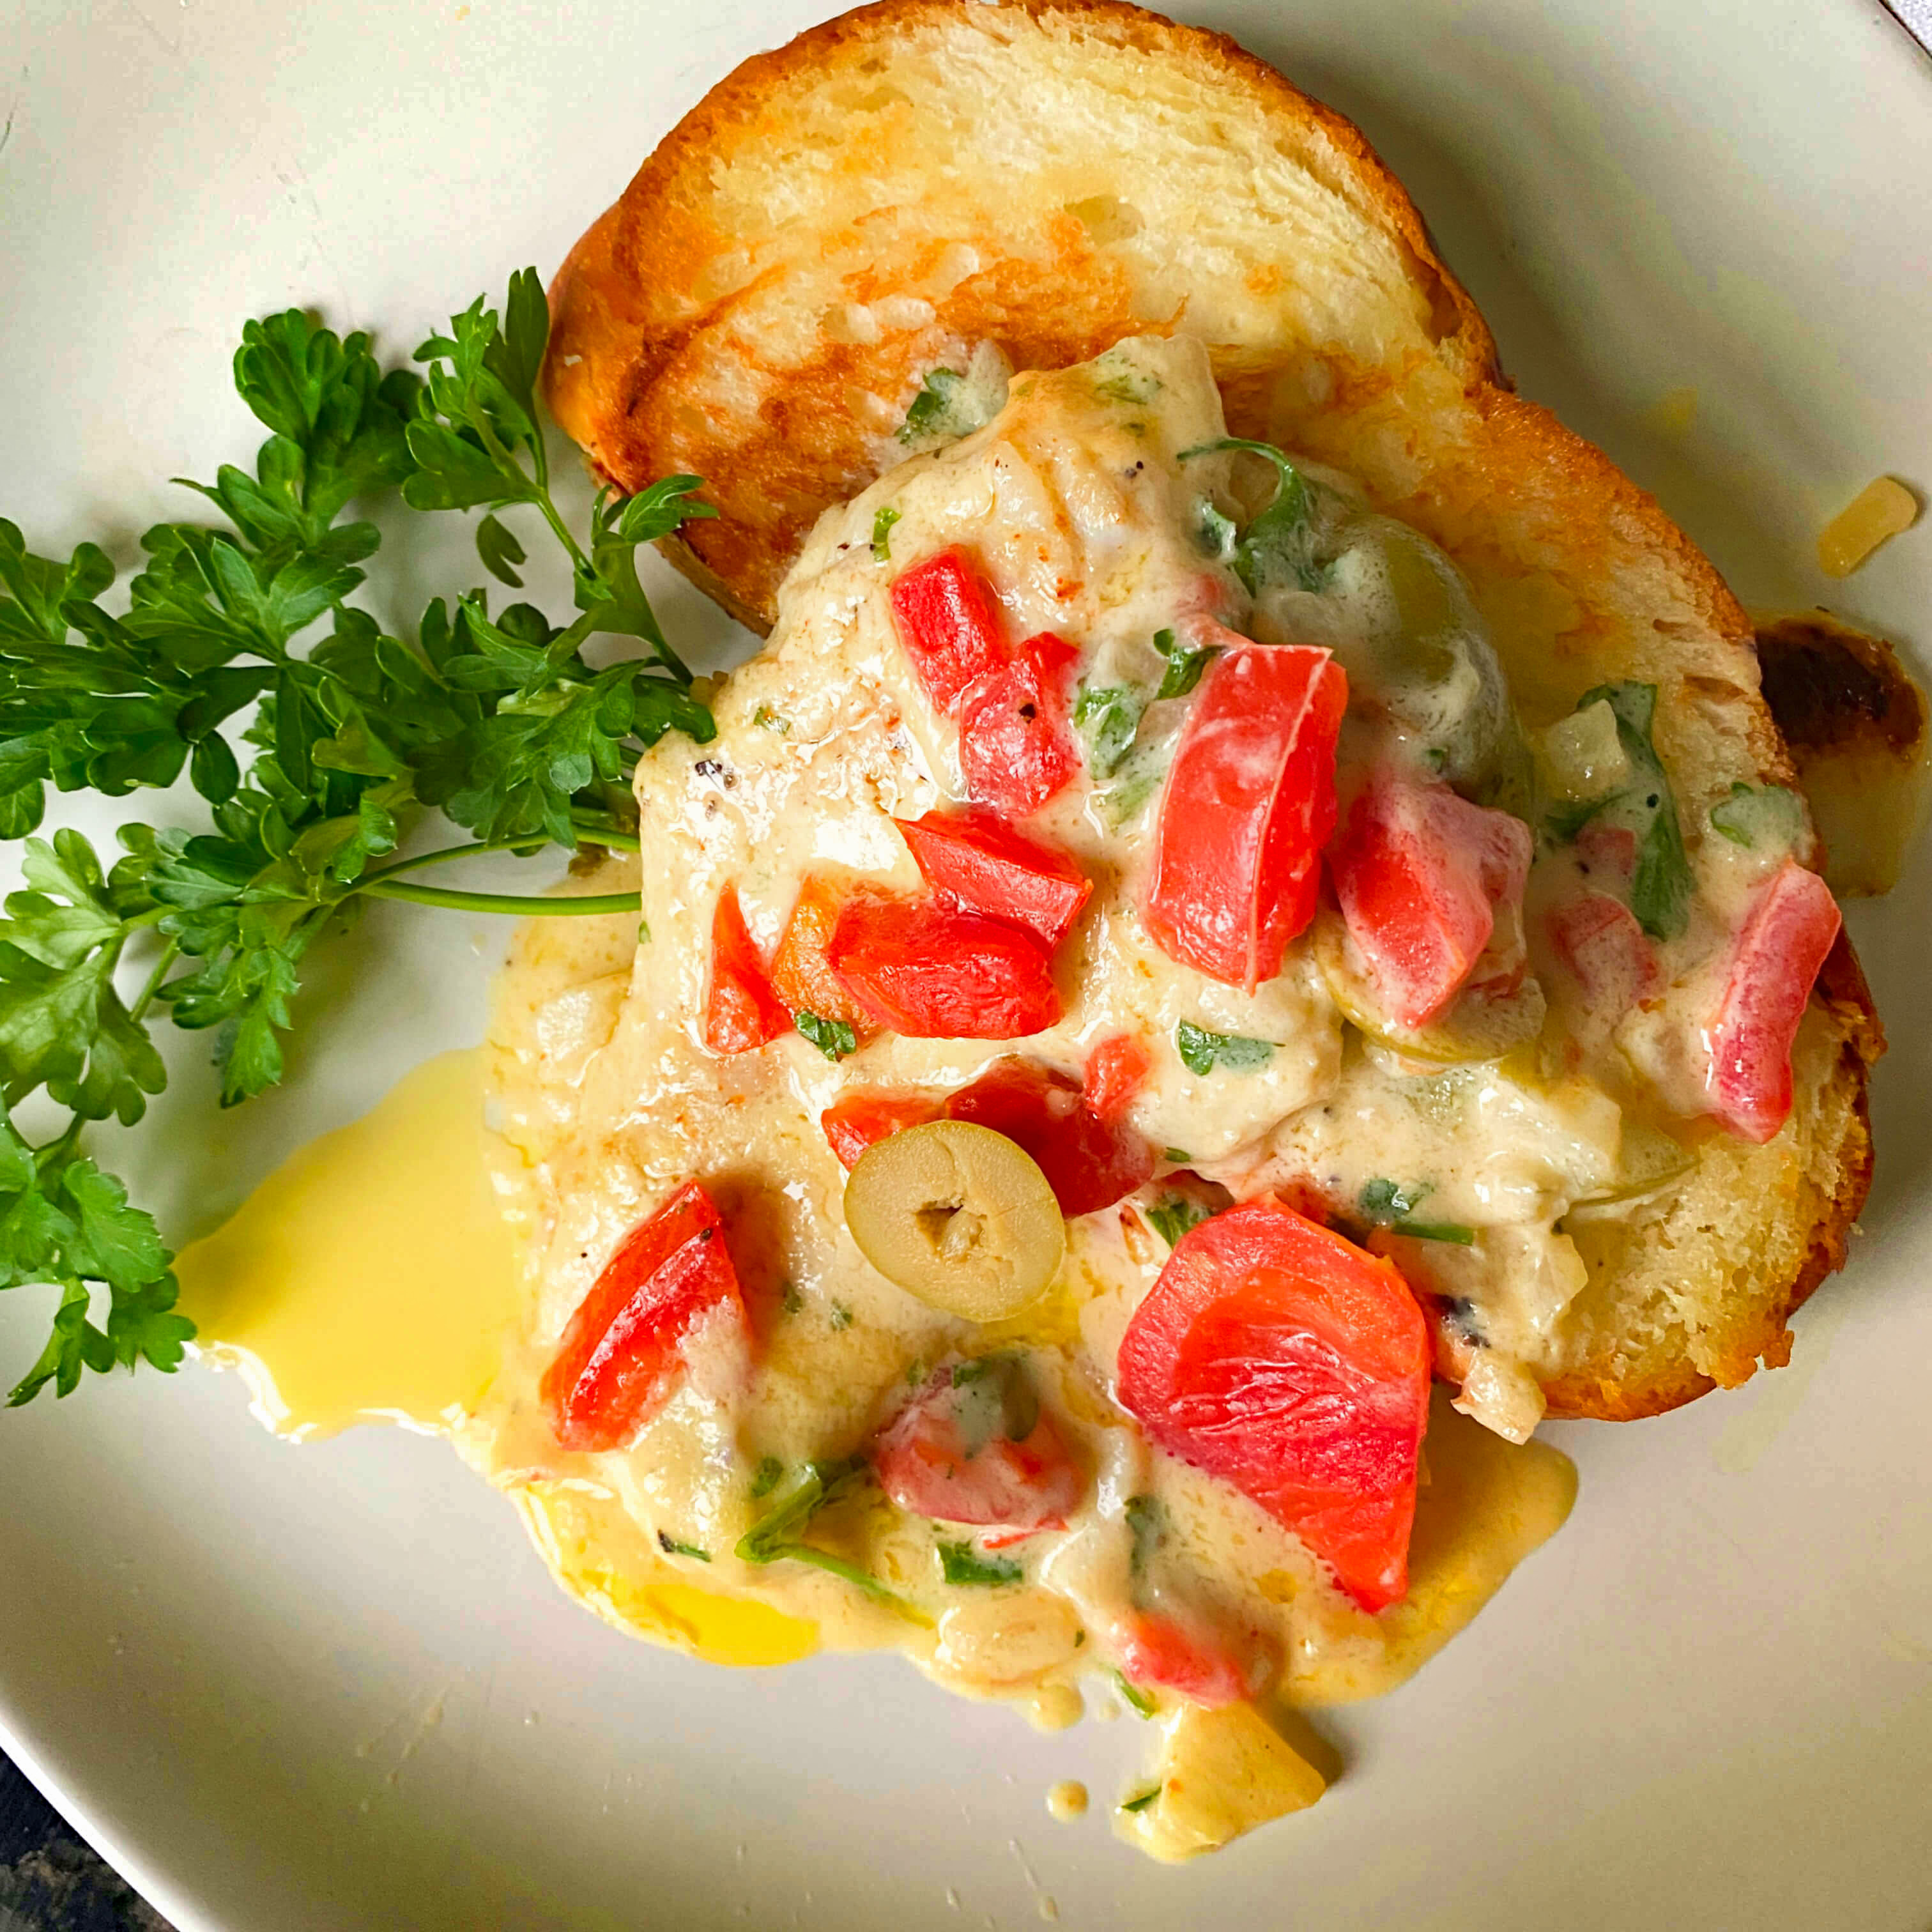
Jamaican Rice and Beans
(from the New York Times International Cook Book circa 1971)
Serves 10-12 as a side dish
1 cup dried red kidney beans
1 rib celery, cut in half
1 small wedge of green pepper (about 1/4 of a whole bell pepper)
1 large coconut
6 cups water
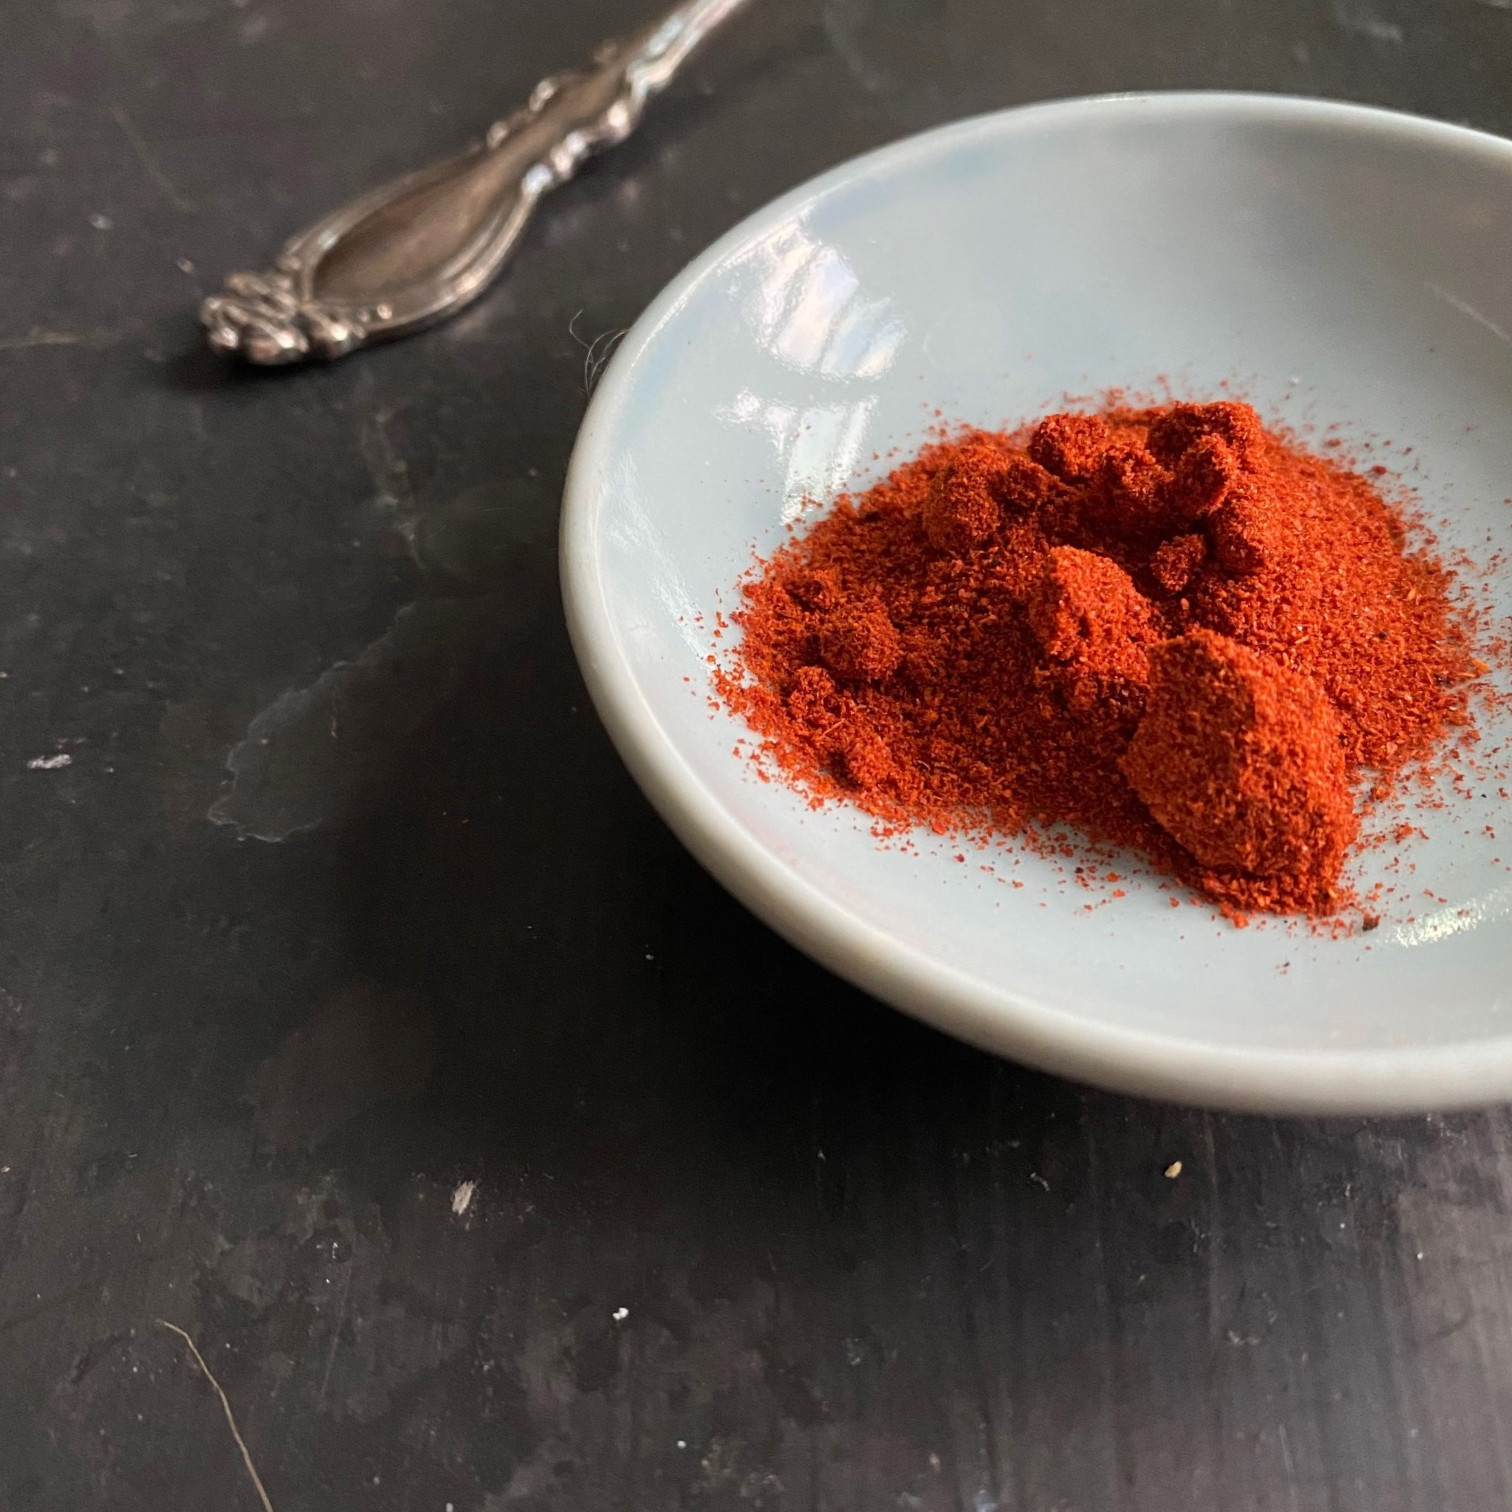
Salt to taste (I used 3 teaspoons)
1/2 teaspoon dried thyme
2 1/2 cups uncooked rice
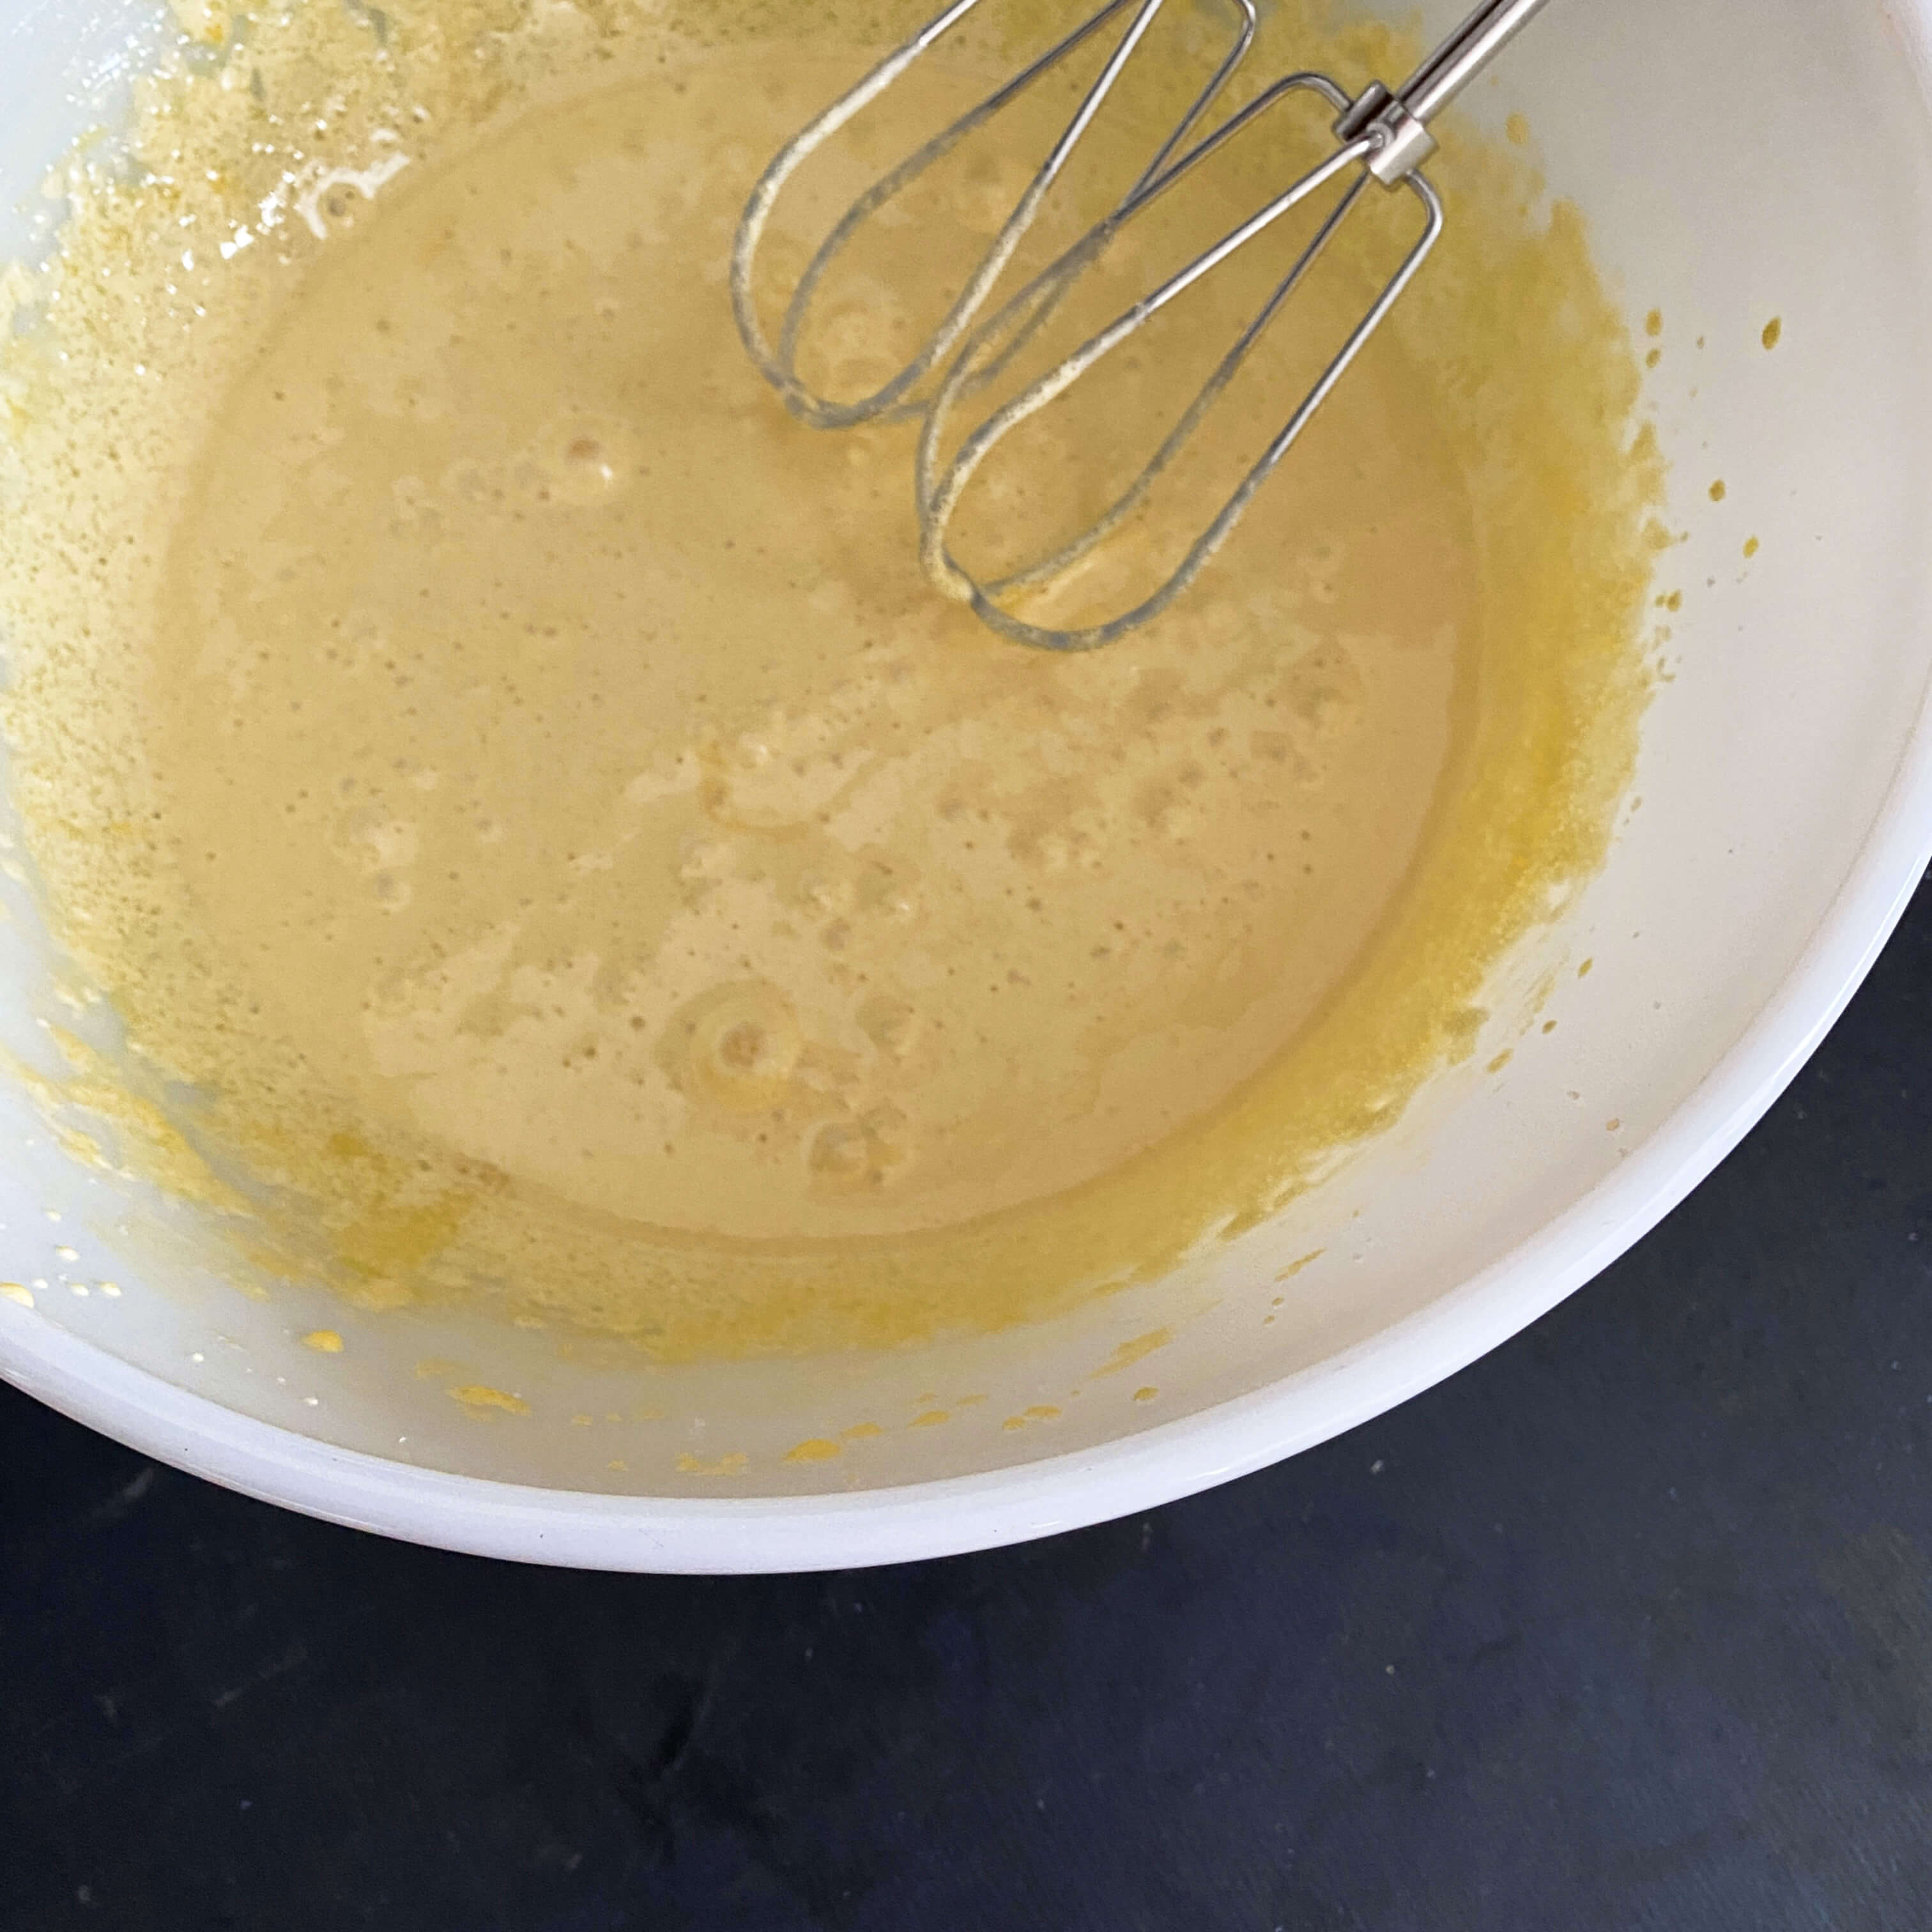
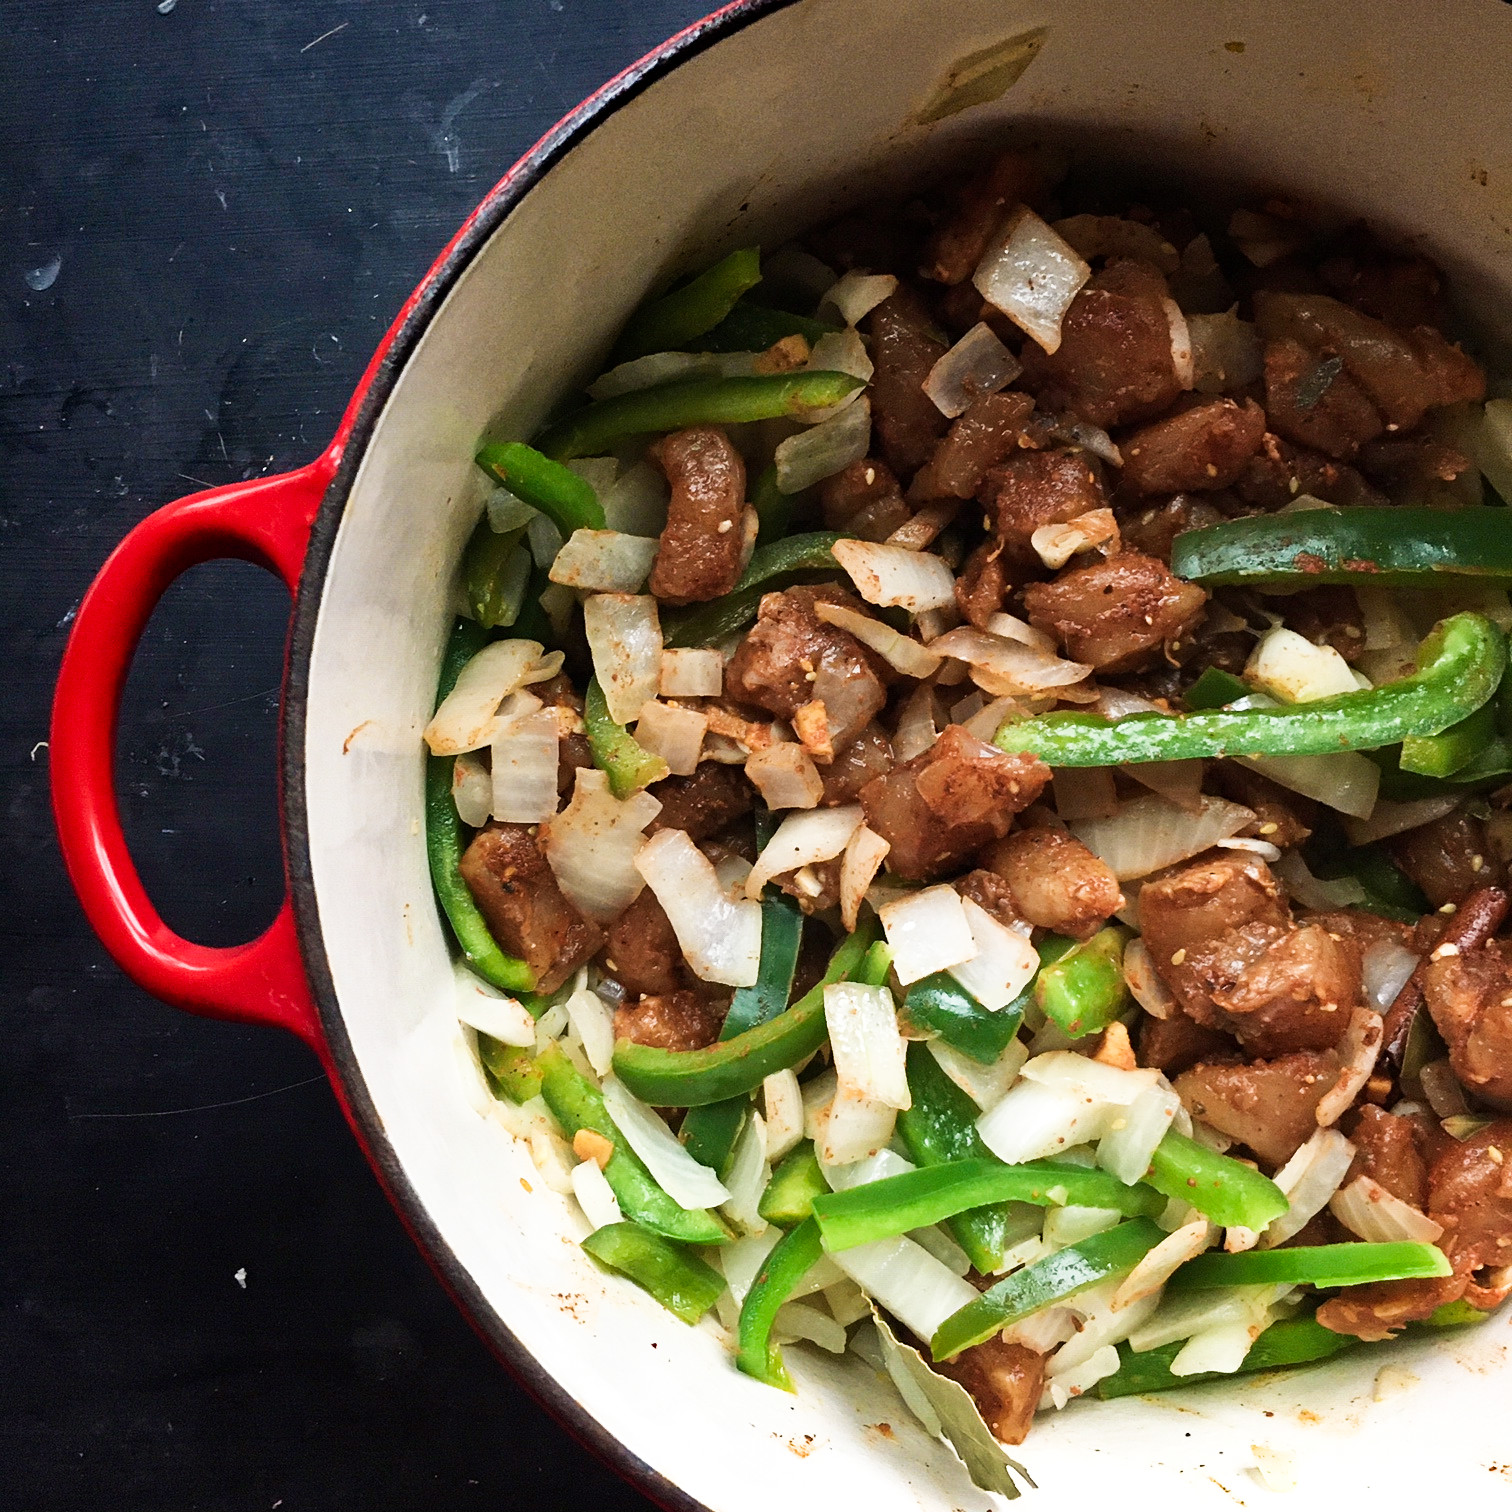
Place the beans in a large kettle and add water to cover to a depth of one inch. Add the celery and green pepper, cover and bring to a boil.
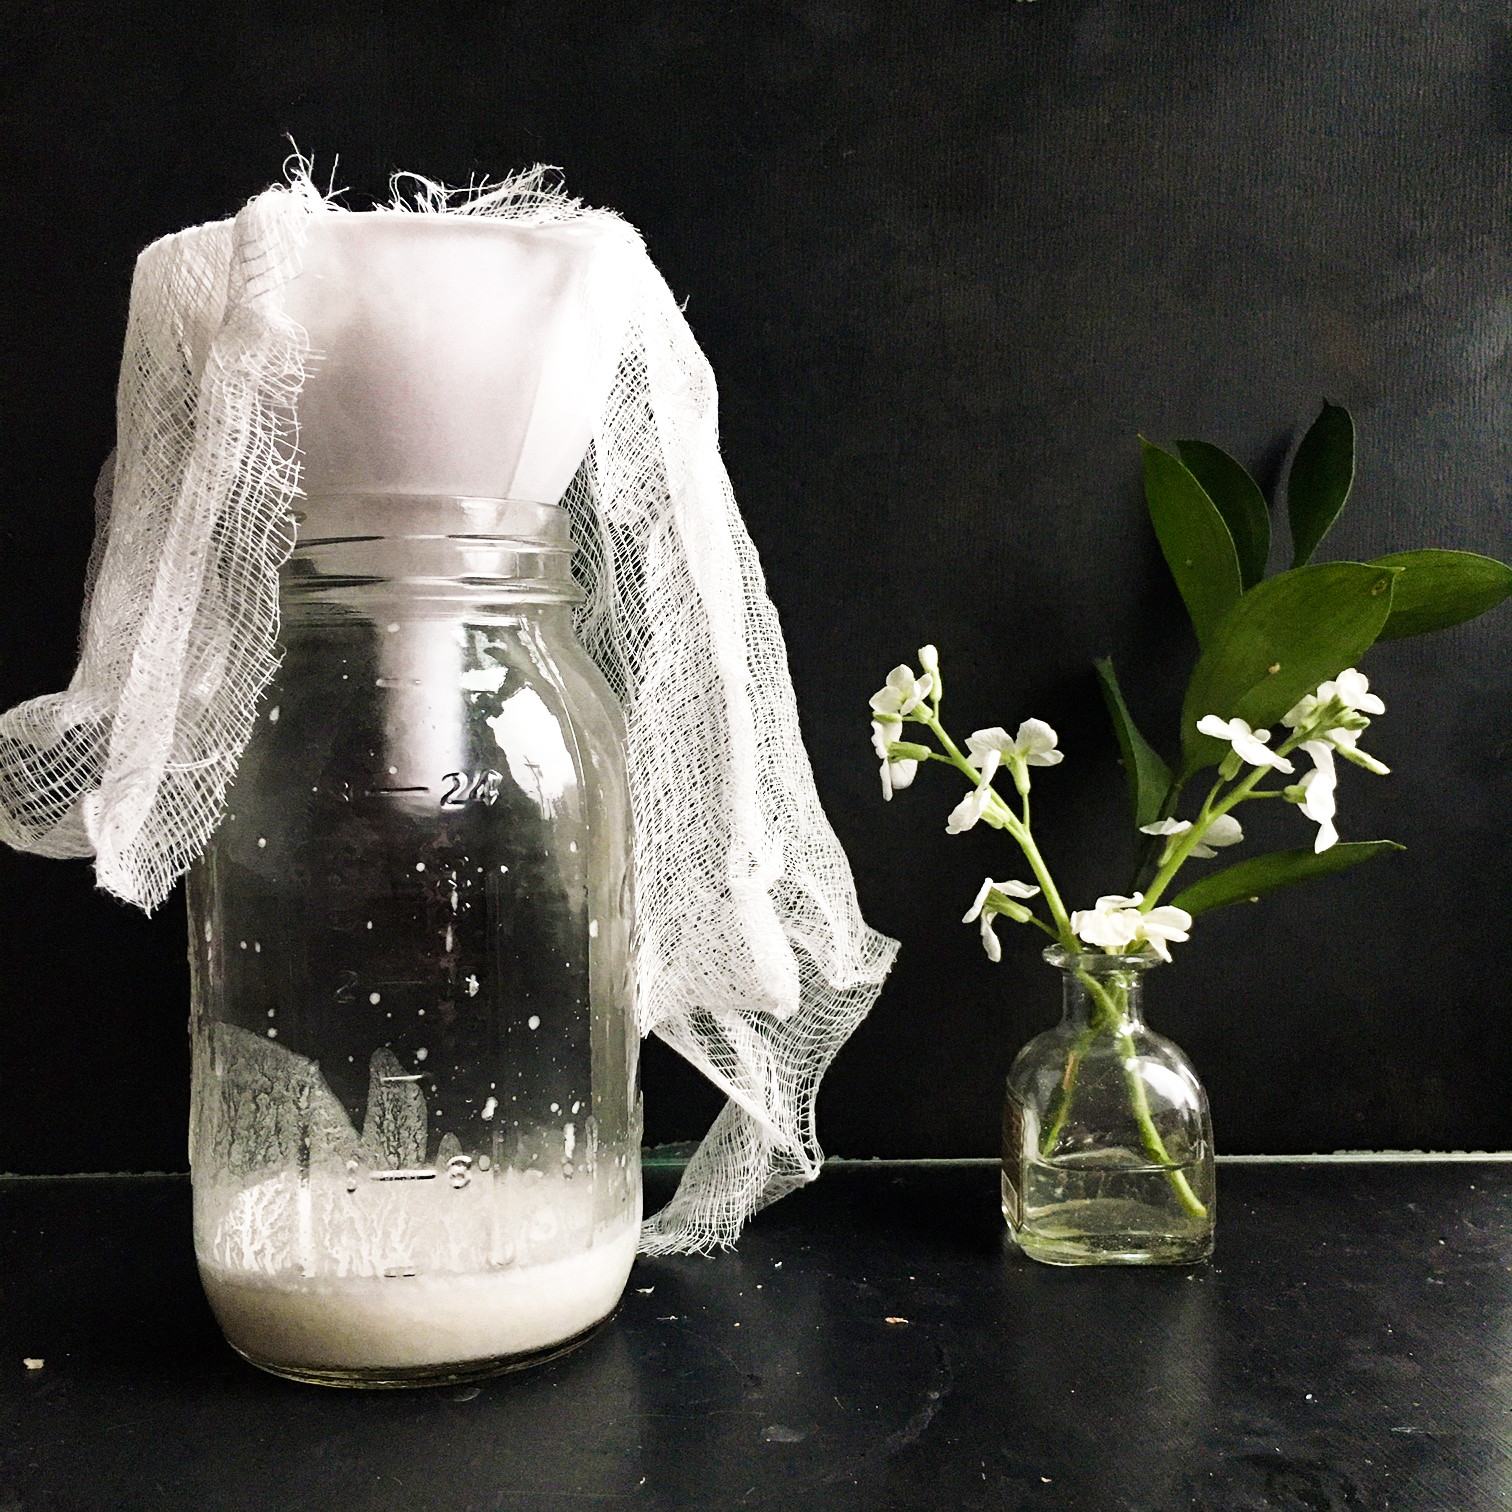
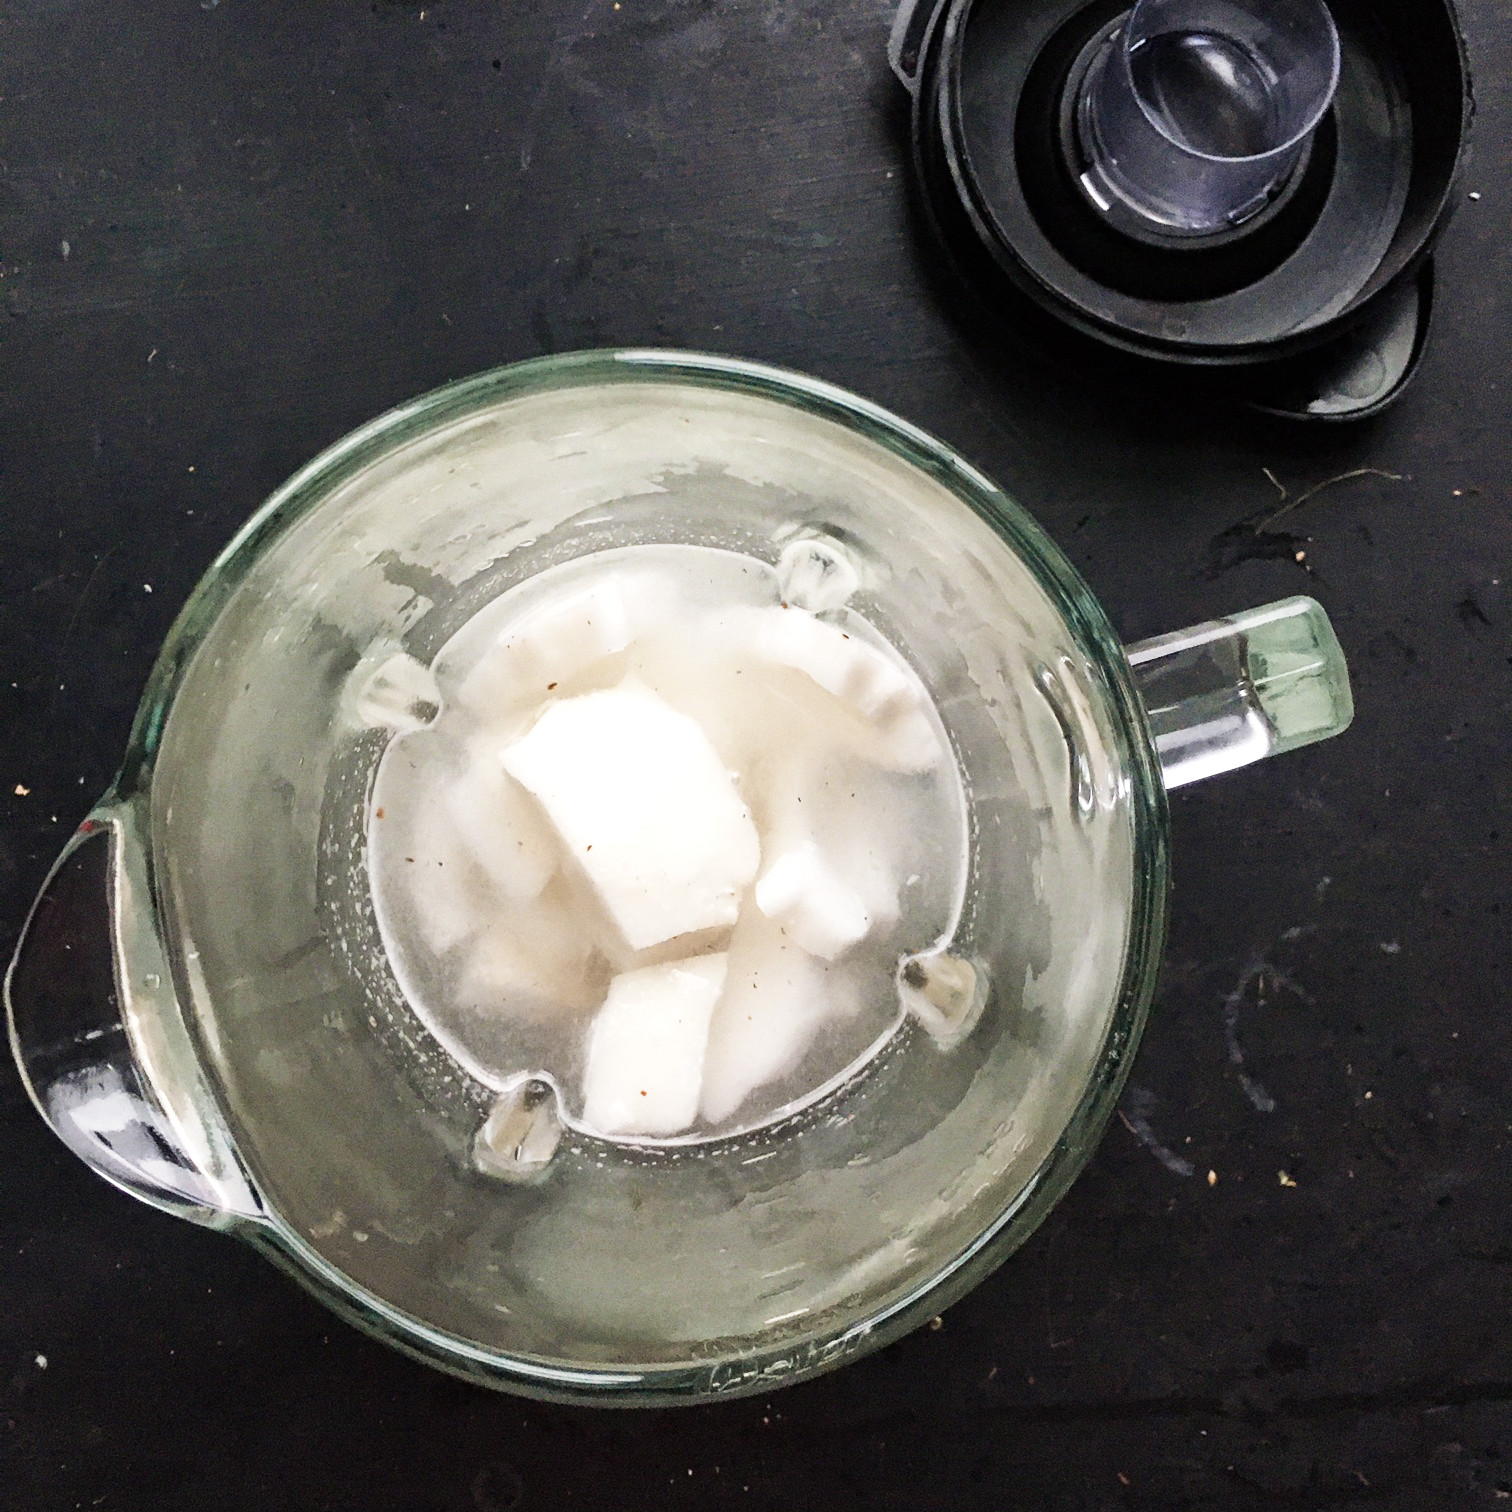
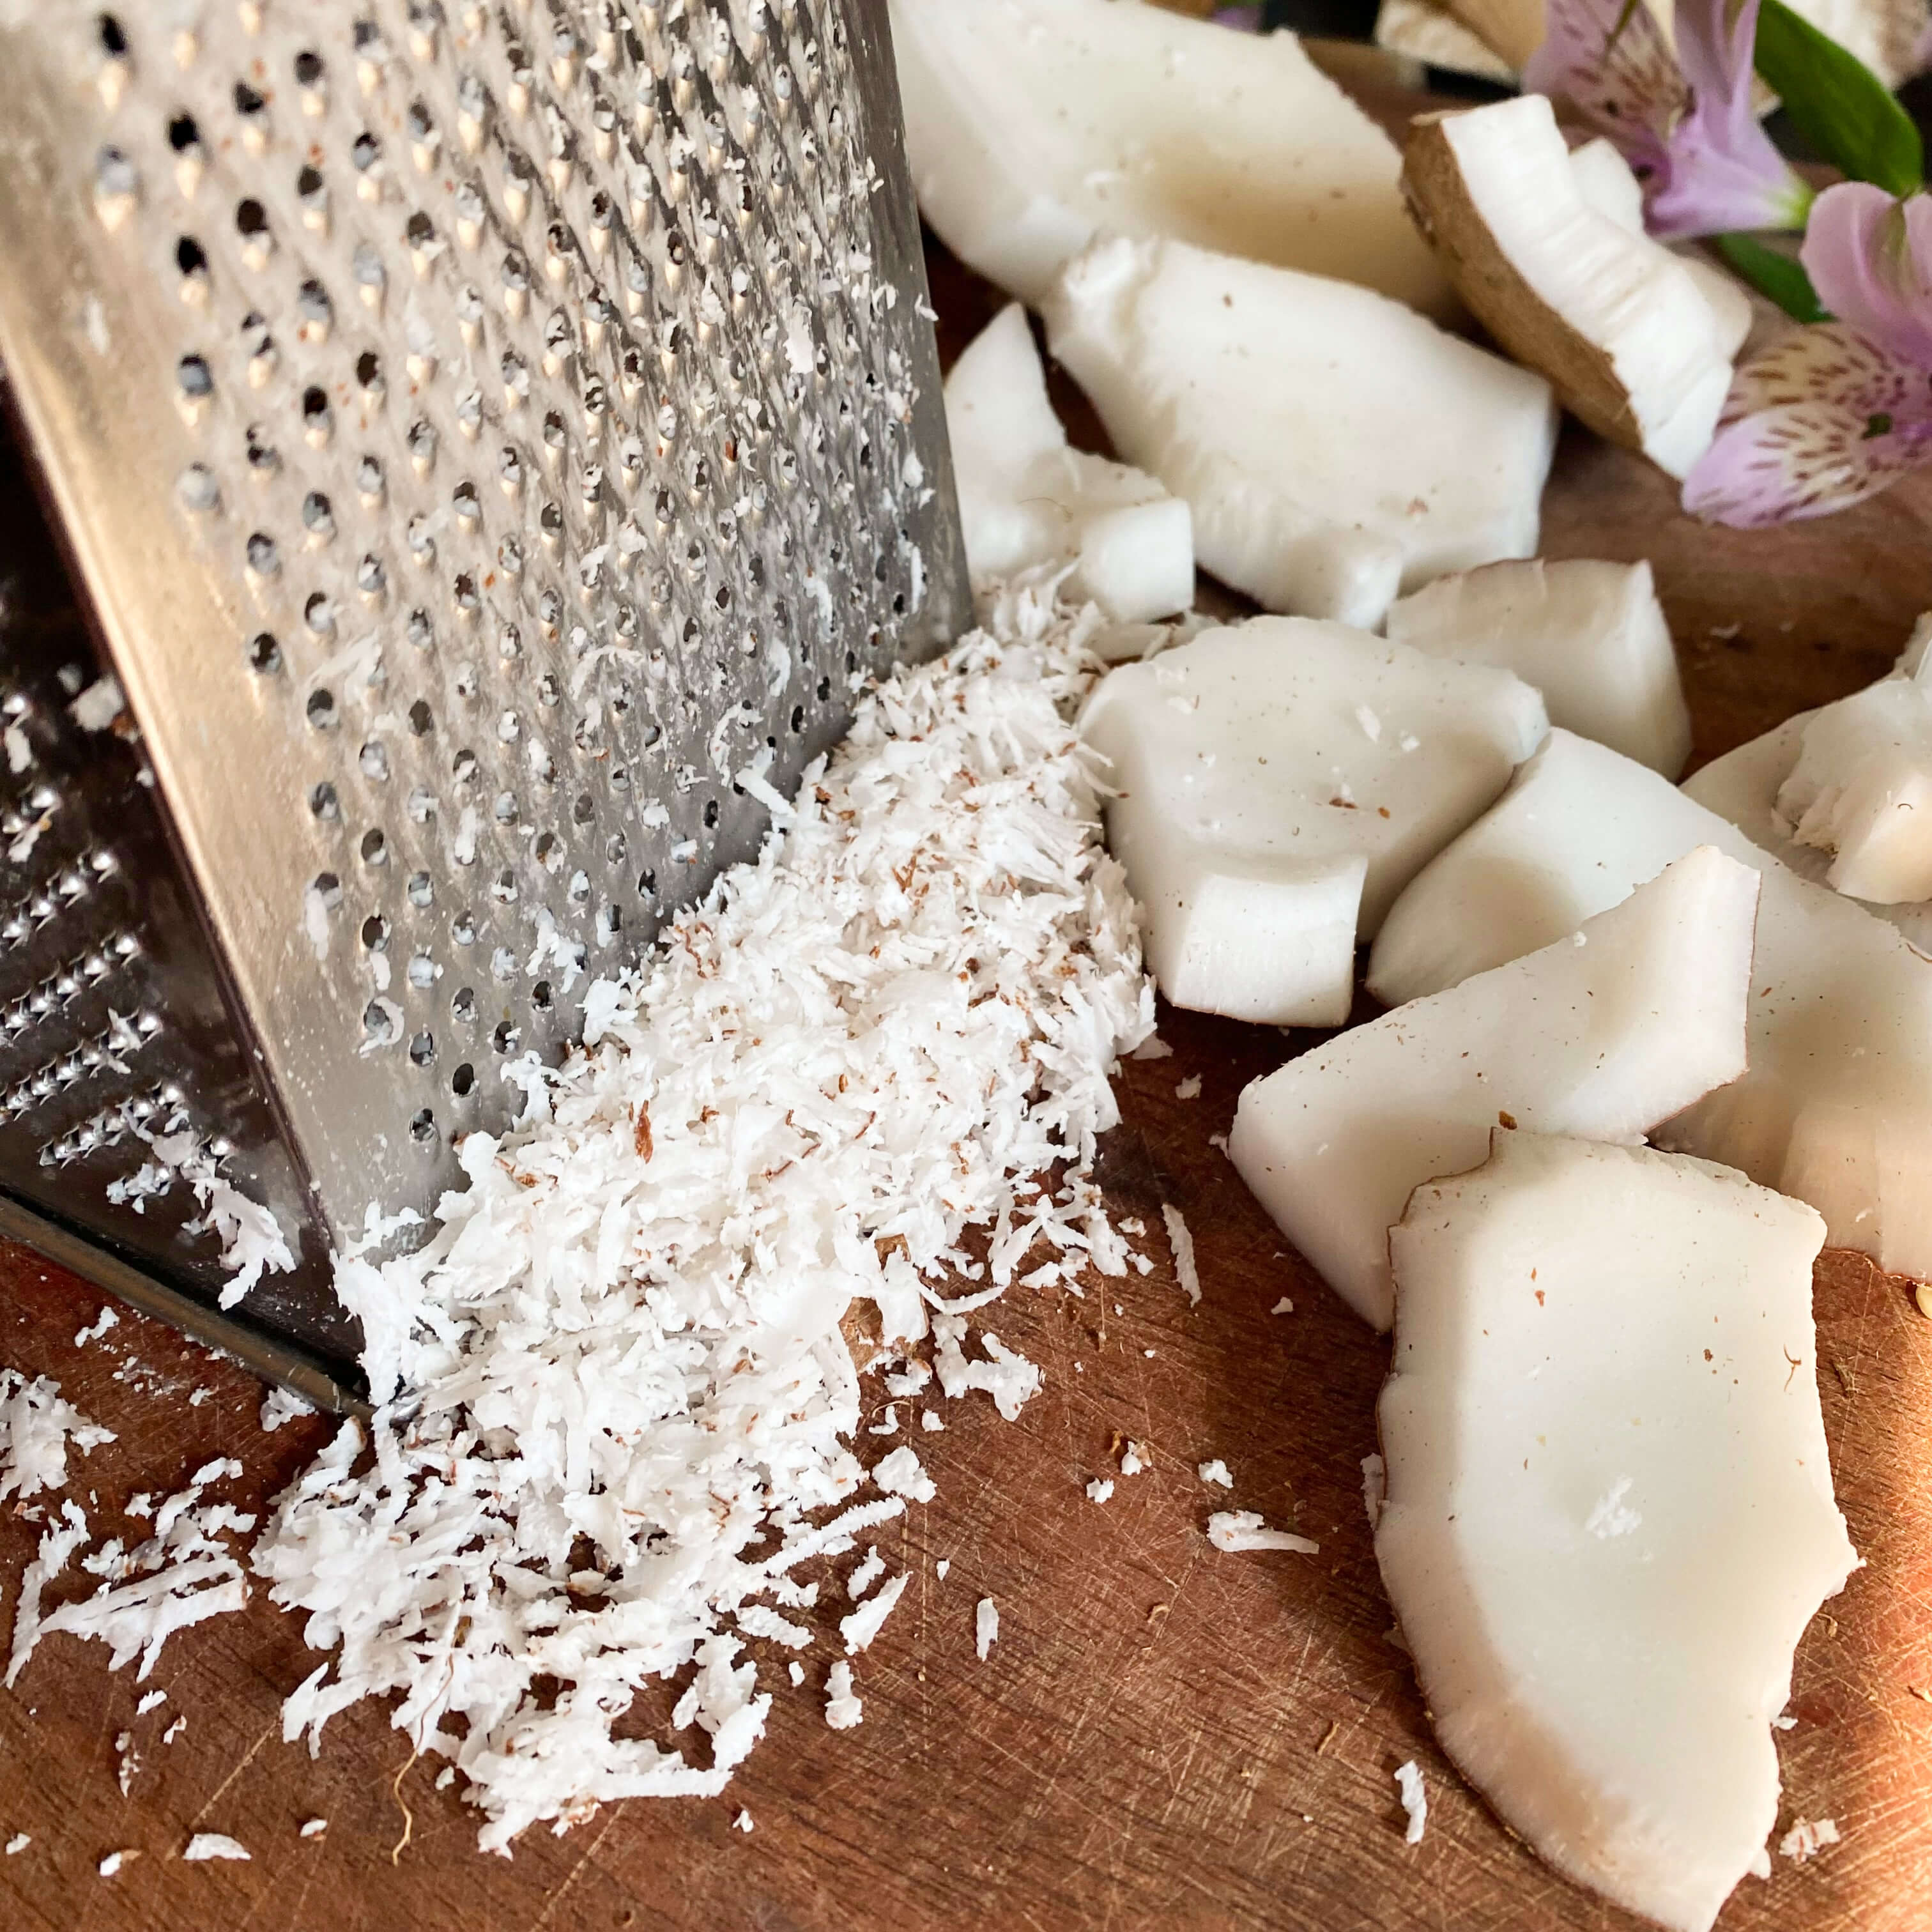
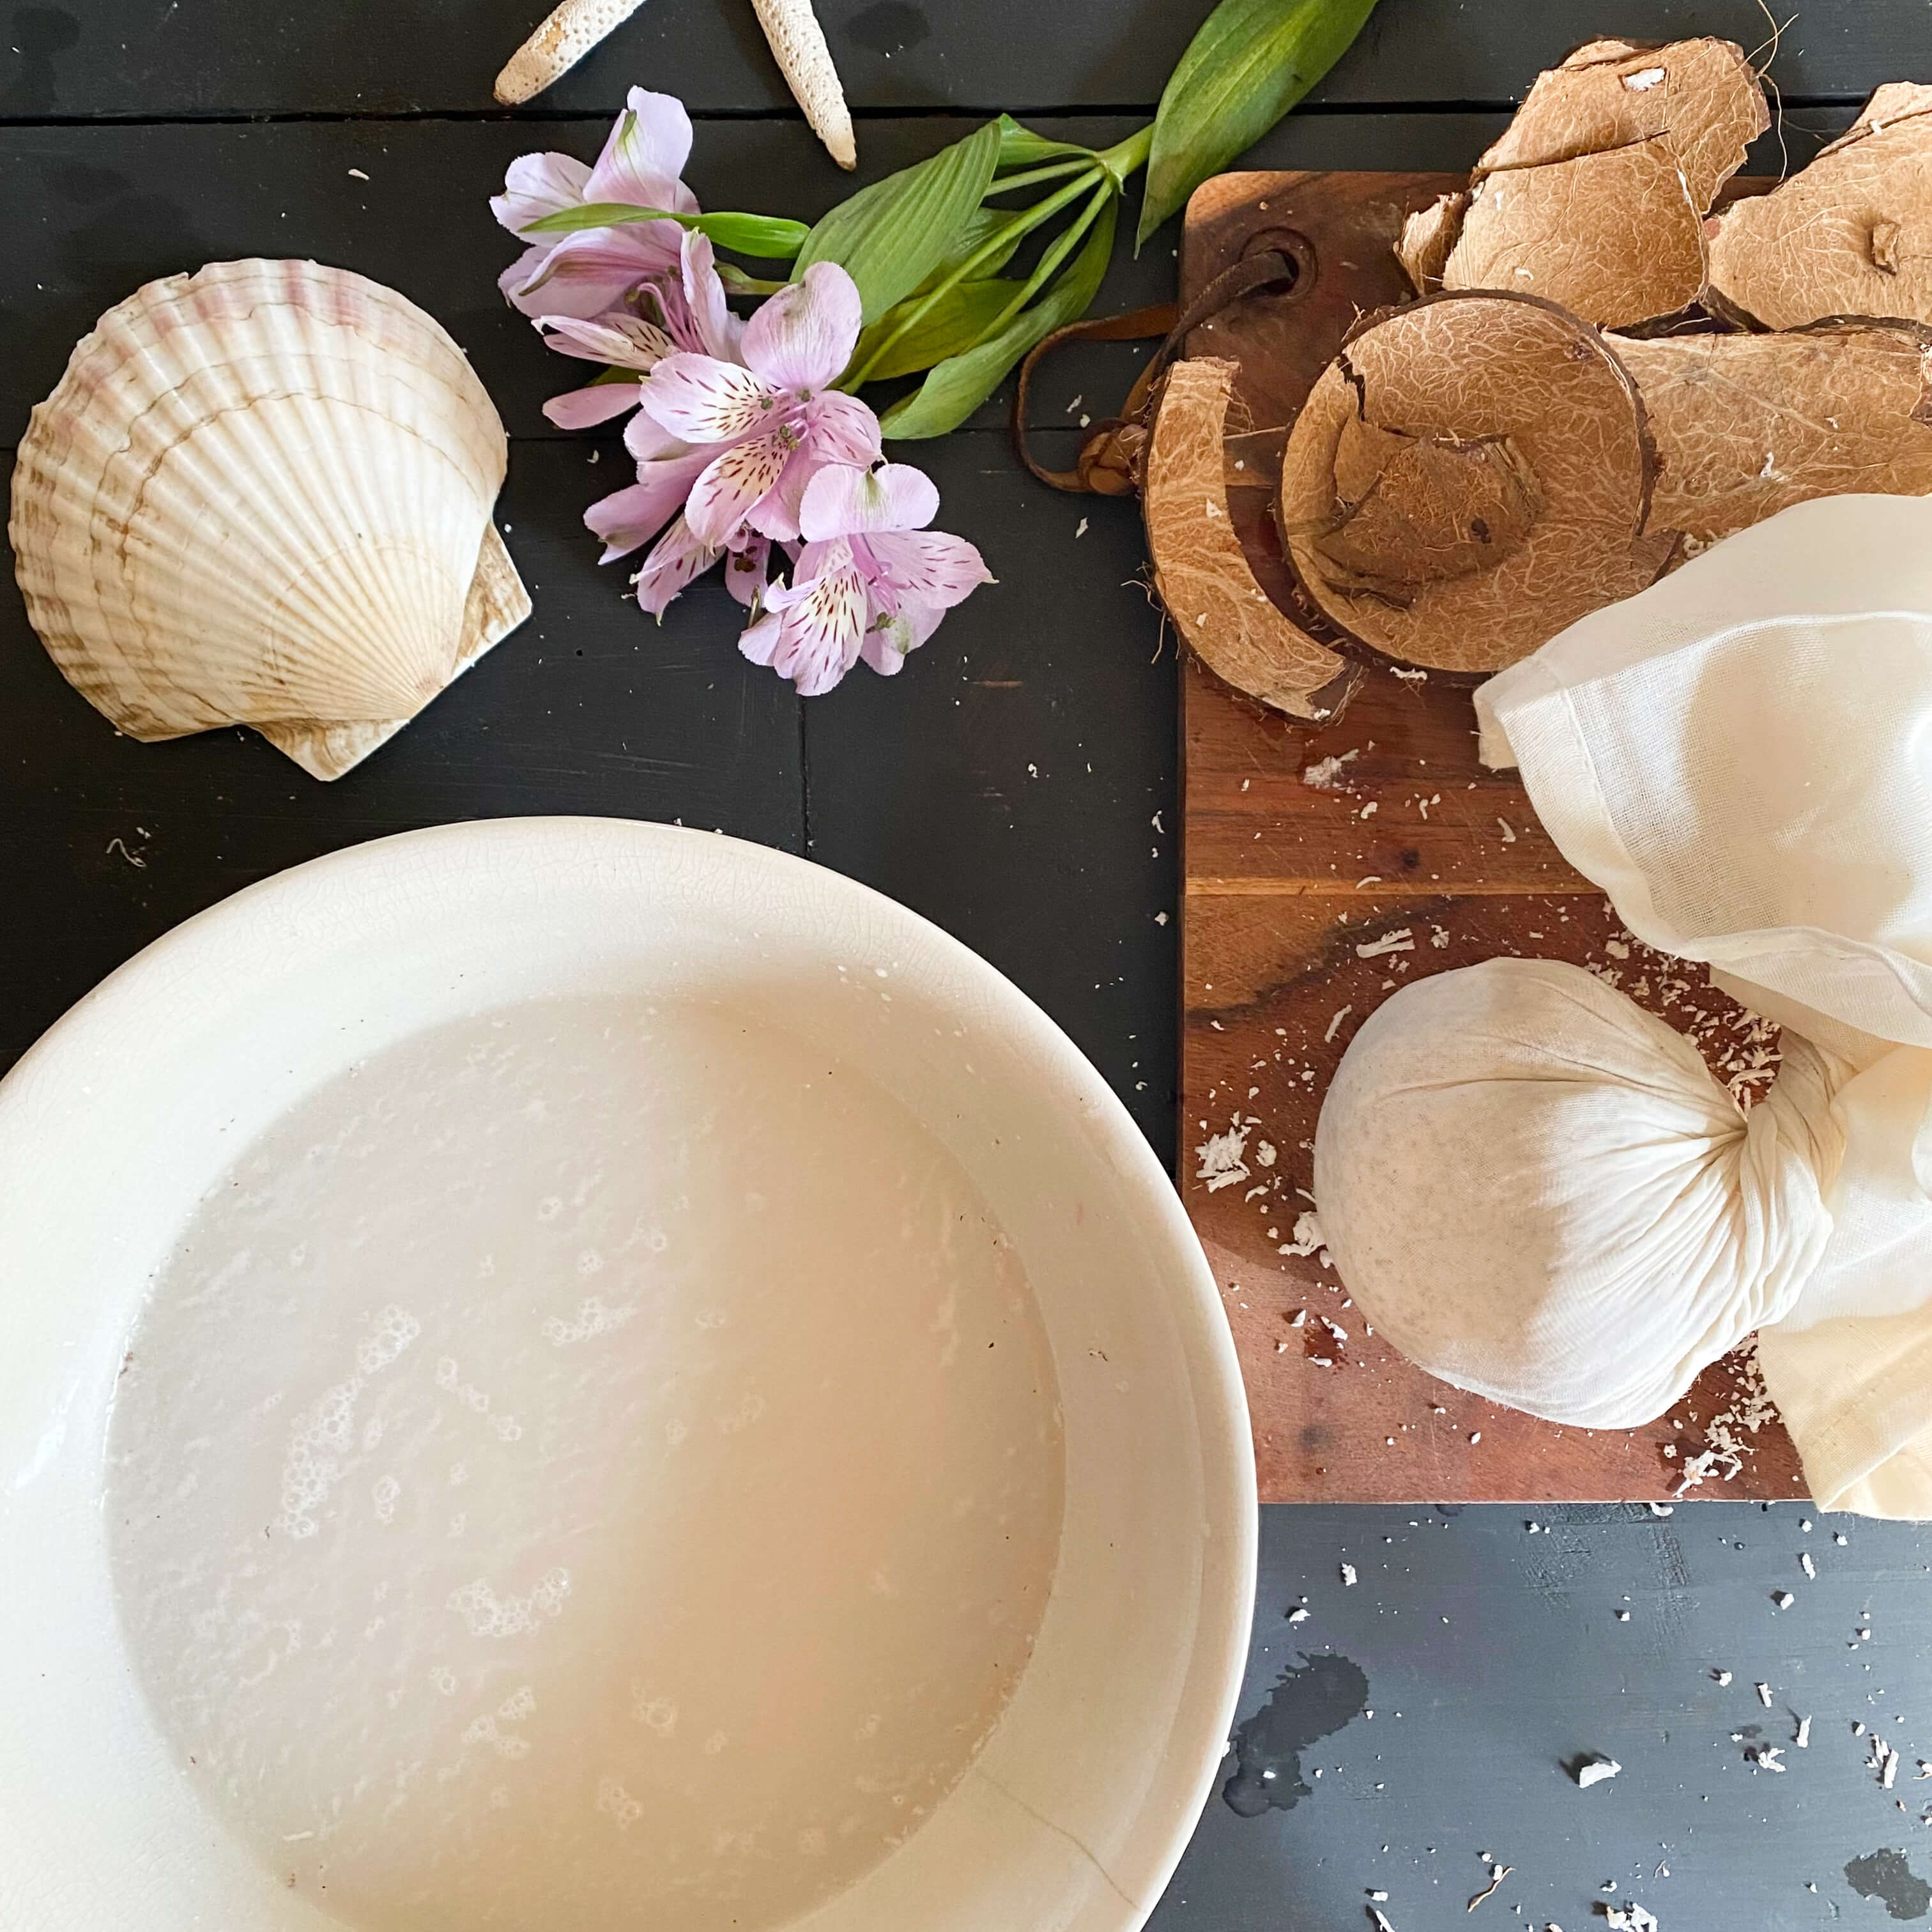
As the beans cook, prepare the coconut. There are three eyes on the coconut. One of them is soft enough to pierce. I like to use a corkscrew for this job but you can also use a shape paring knife or a Phillips-head screwdriver. Pierce that one eye and drain the coconut water from the interior into a large glass or mason jar. Once drained, with a heavy mallet, hammer, or the back of a butcher knife crack the coconut shell in several places, and using a paring knife, remove the meat from the shell in large pieces.

Once broken into pieces, do not bother to cut away the thin brown skin from the coconut flesh. Grate each piece of coconut using a fine grater.


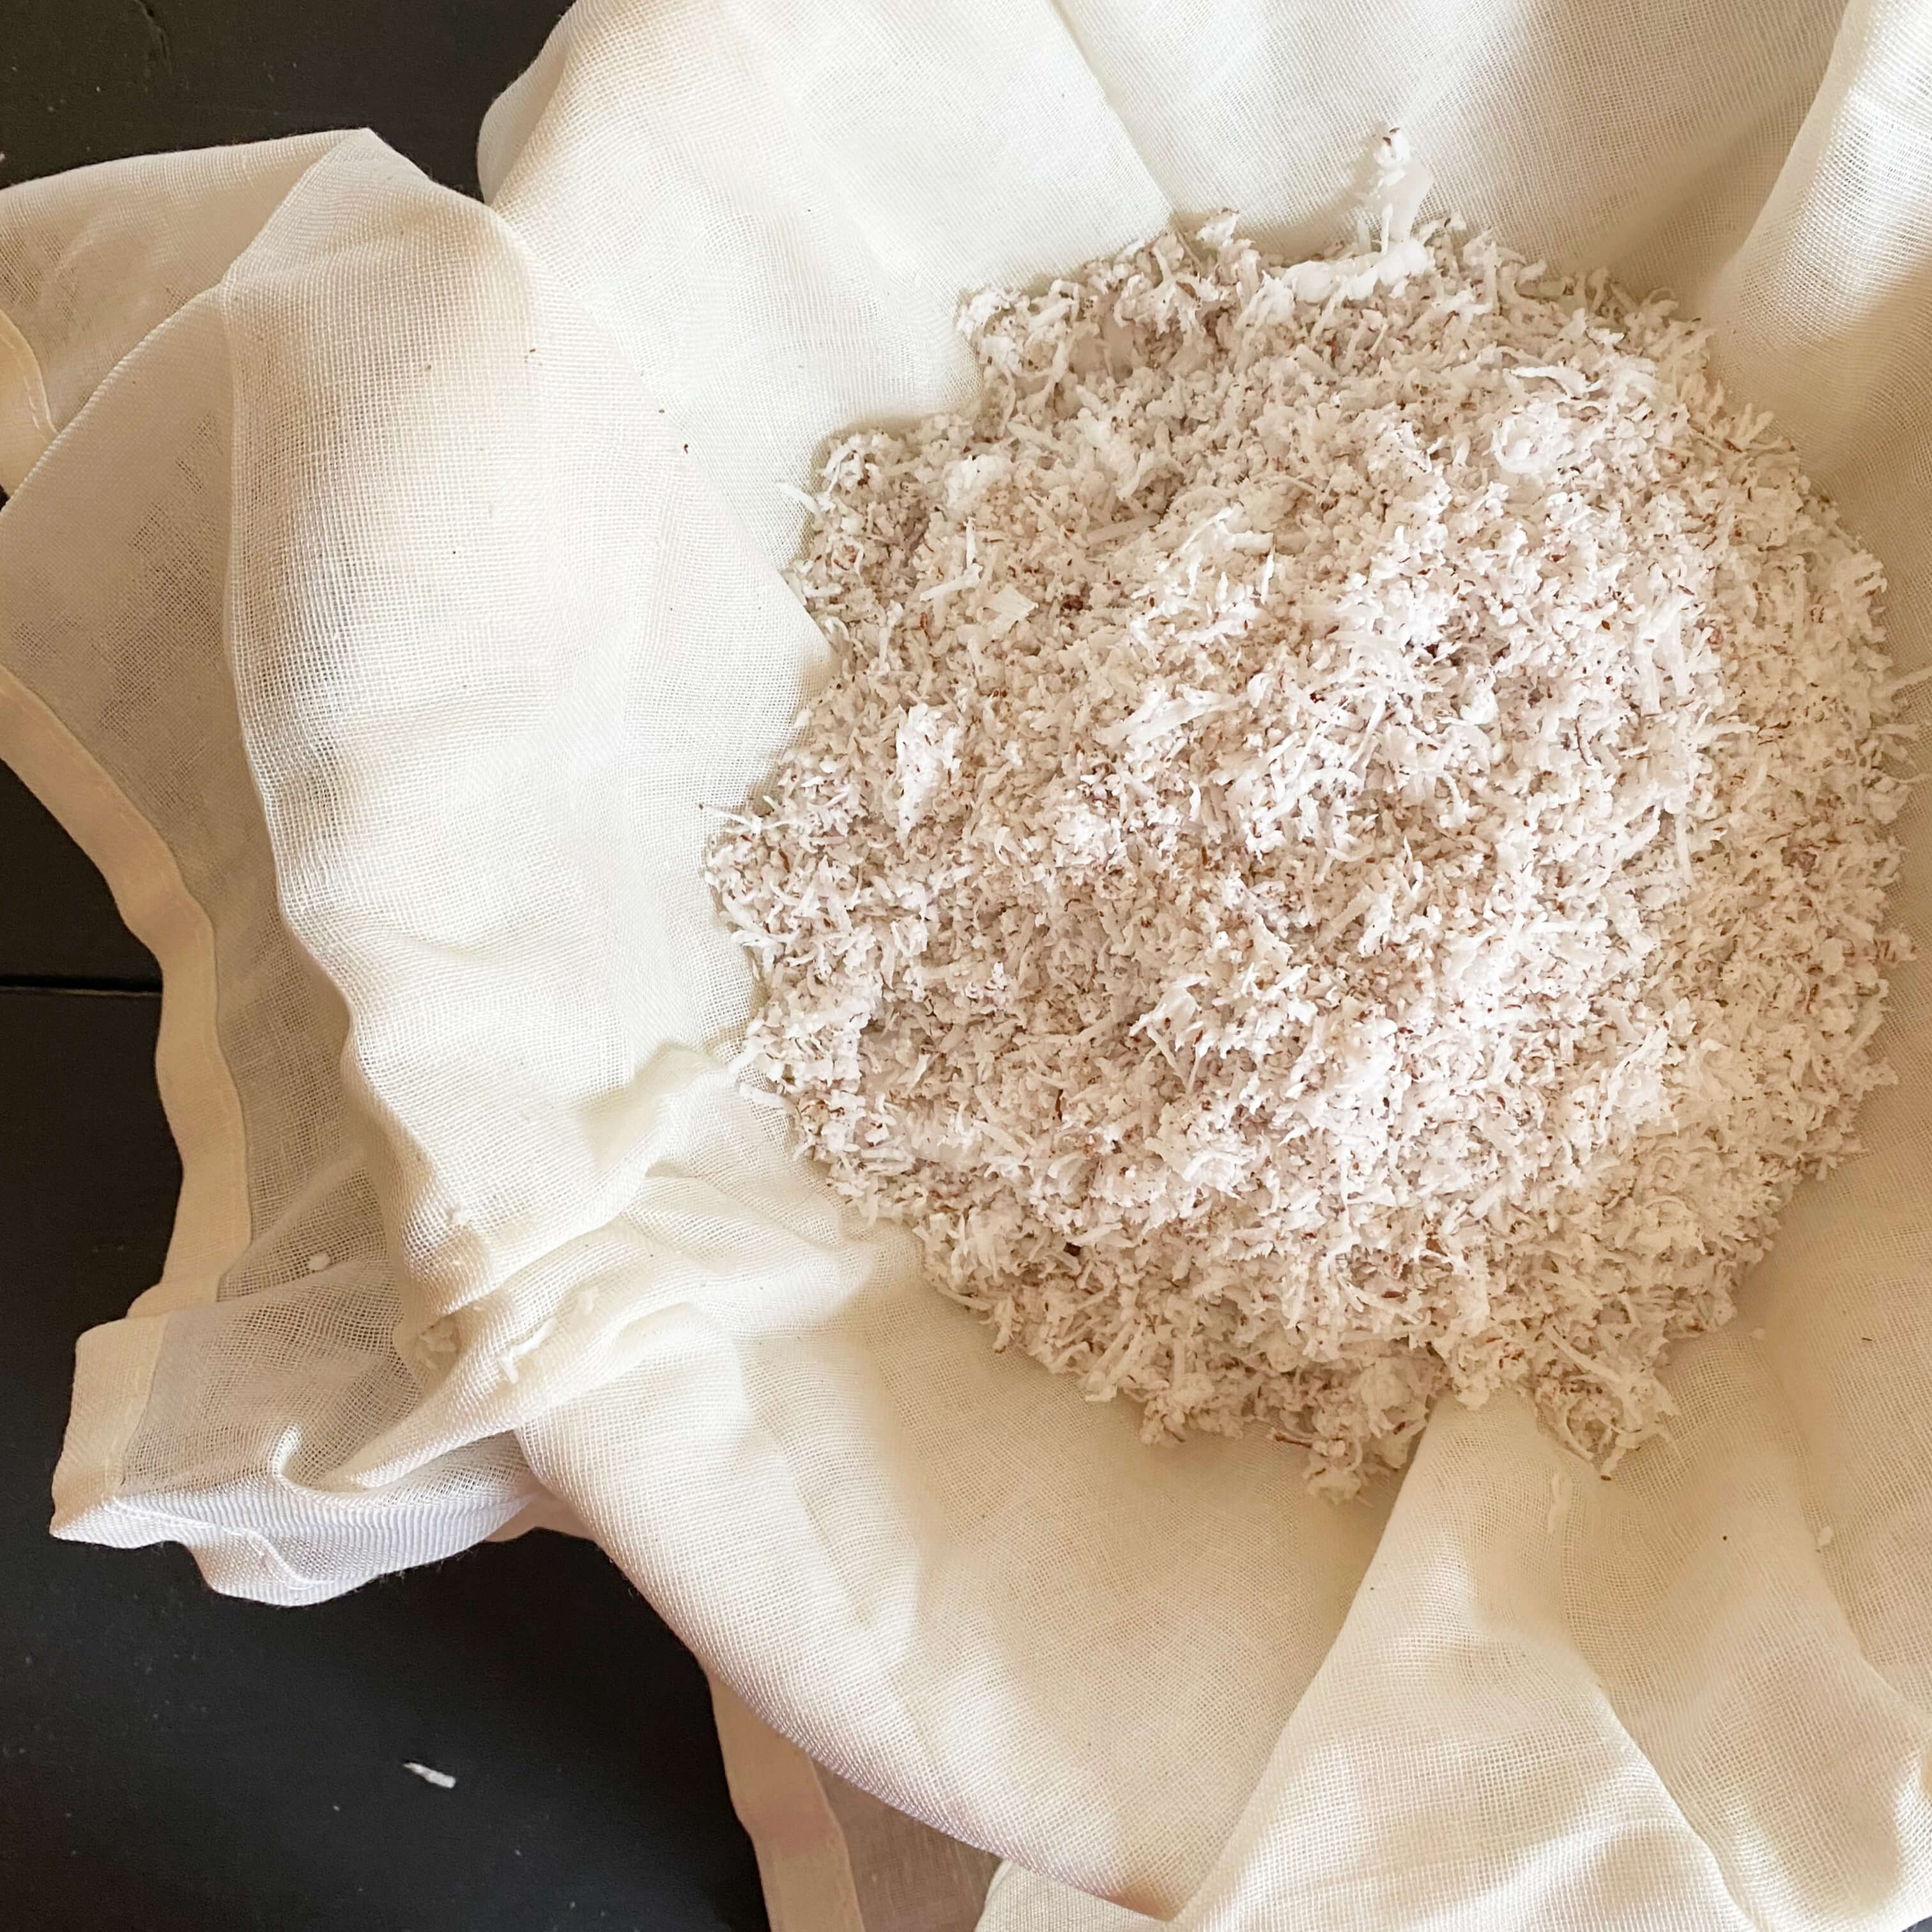
Line a mixing bowl with cheesecloth and add the grated coconut. Add two cups of cold water and squeeze to extract the white liquid. This is coconut milk. Add two more cups of water and squeeze, then add the last two cups of water and squeeze again. This should yield roughly six cups of coconut milk.


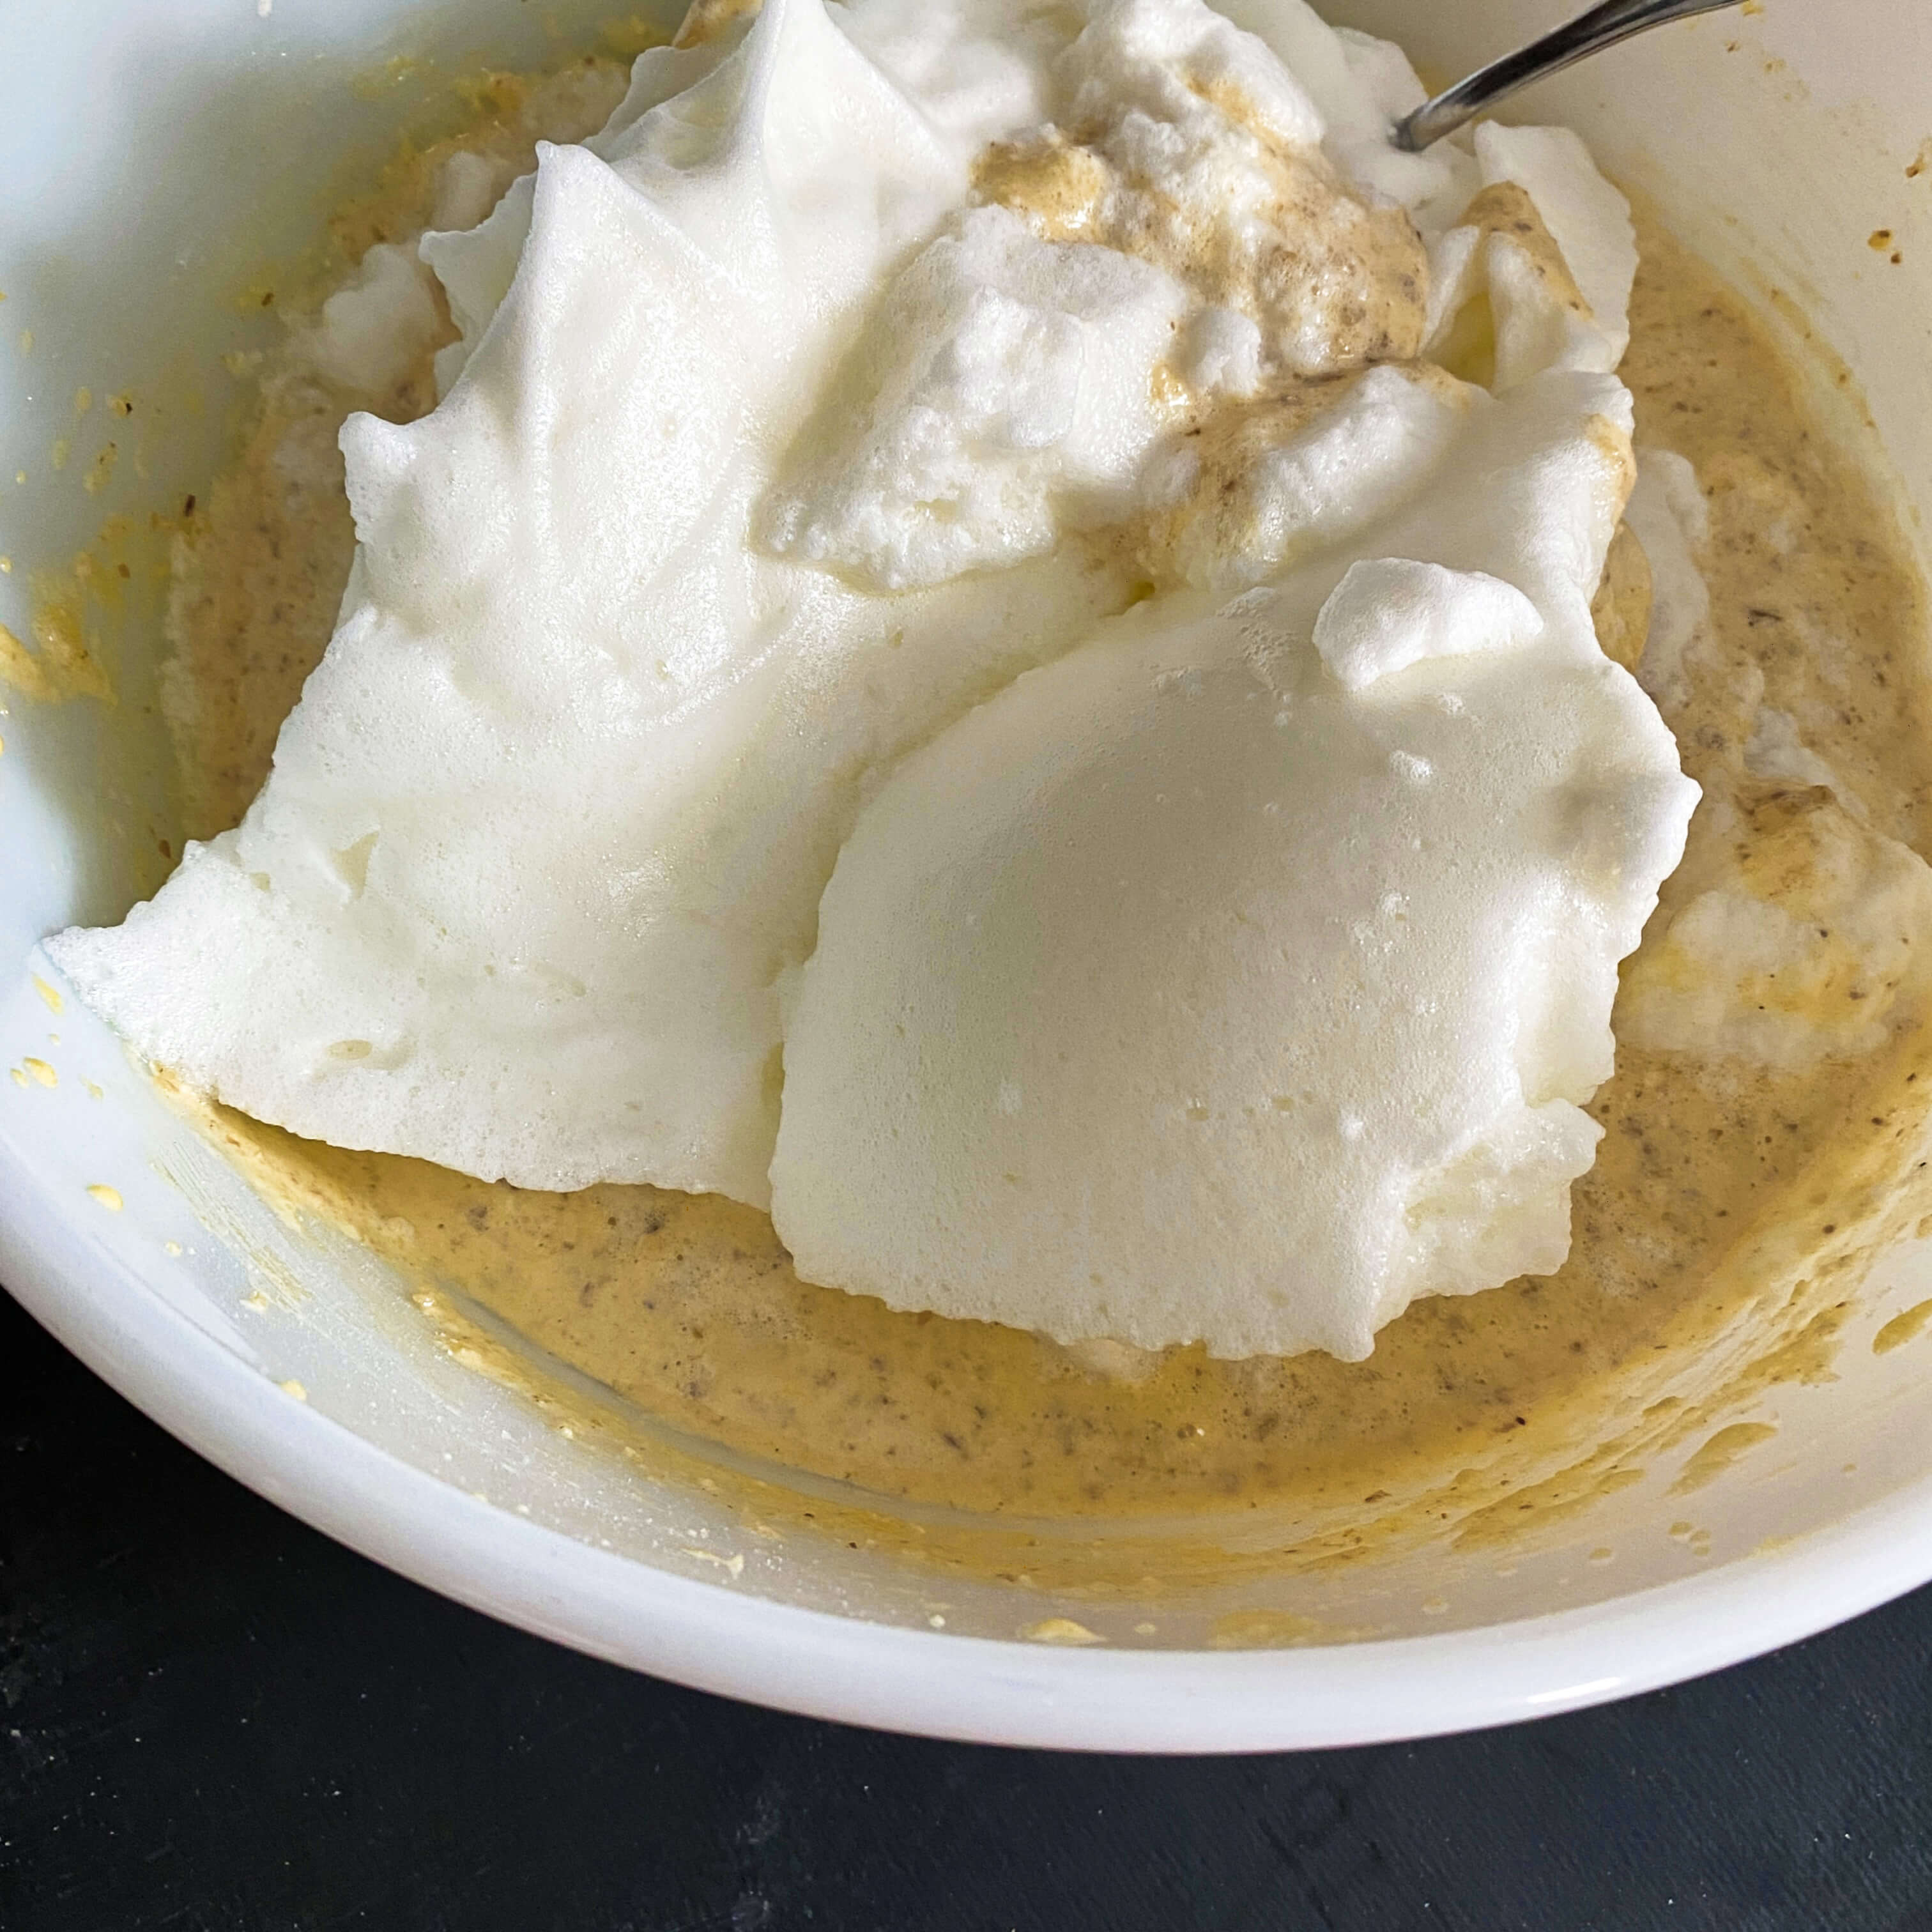
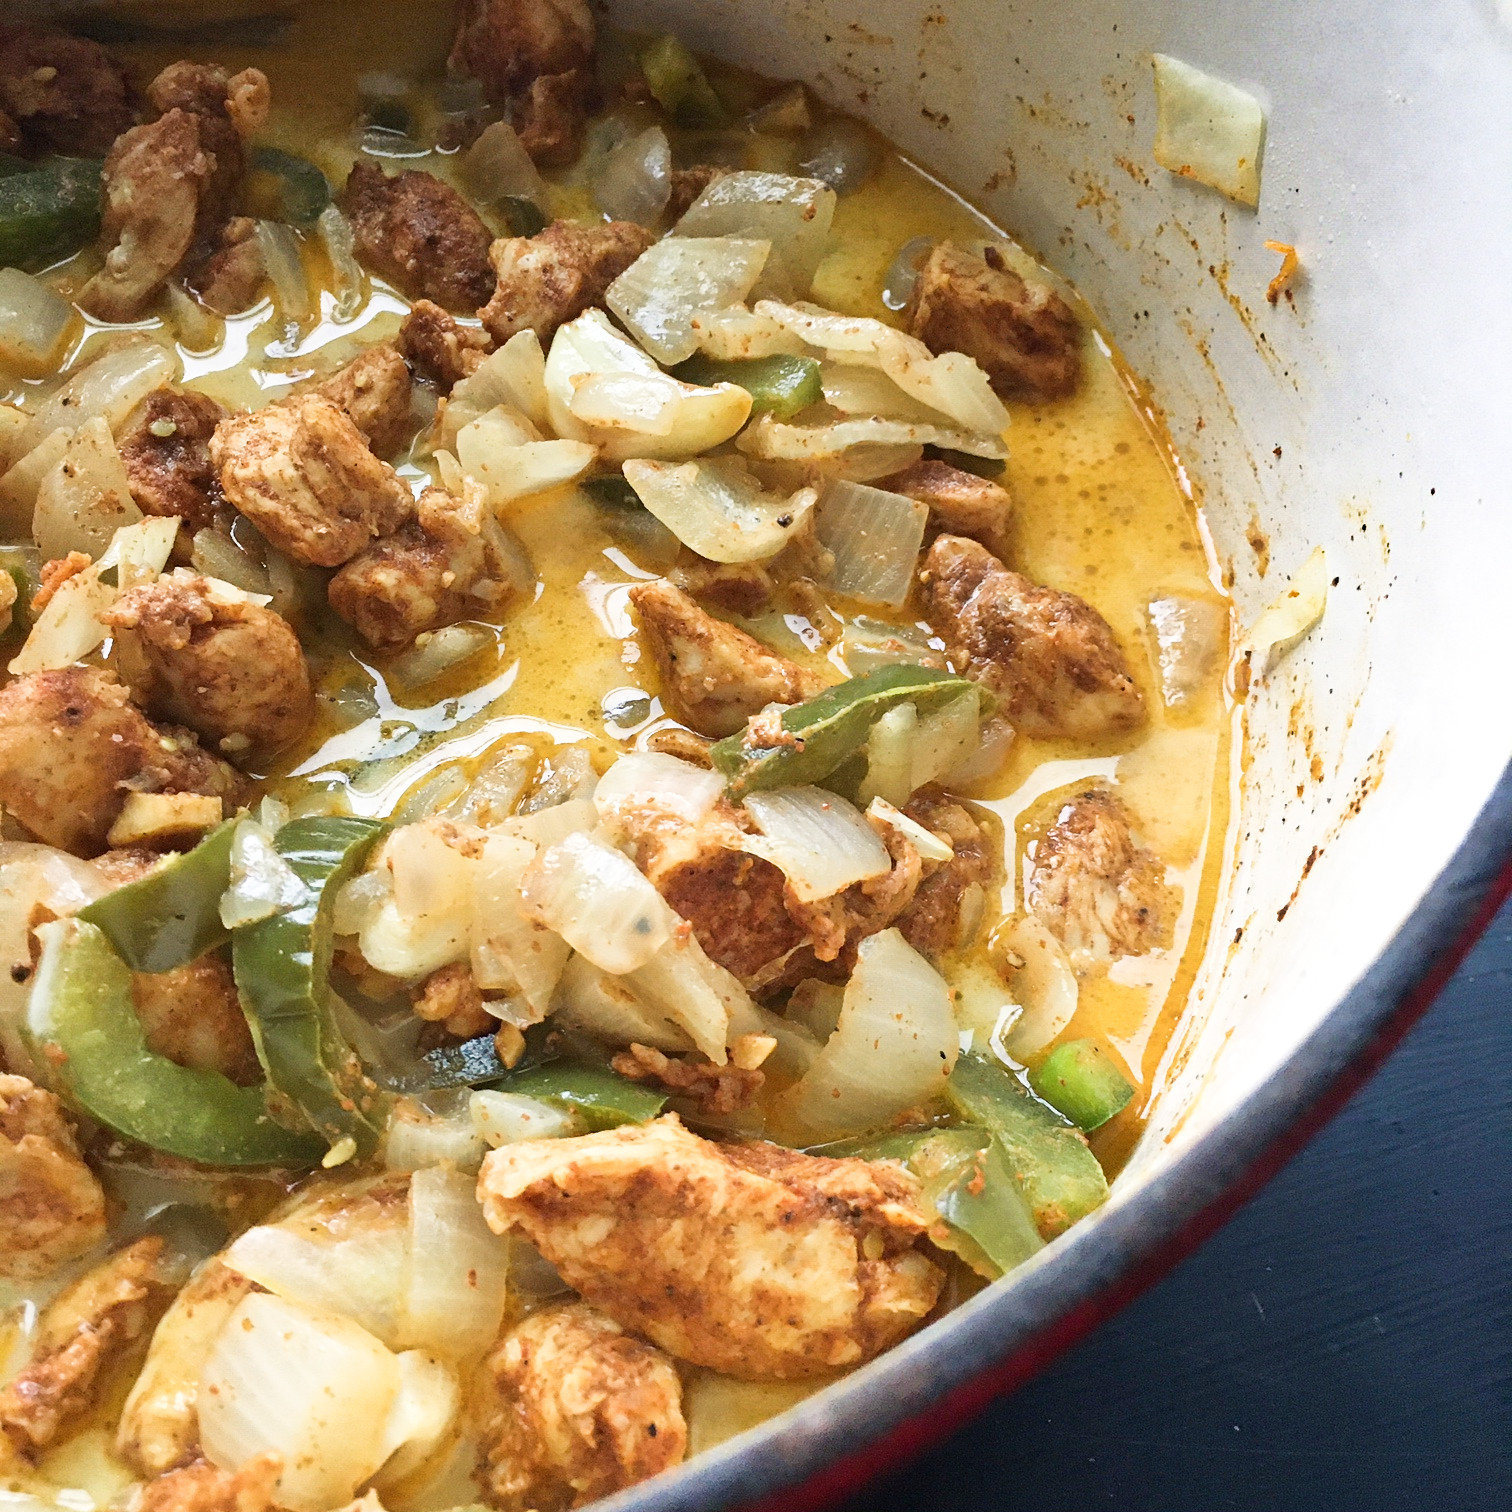
Add all six cups of coconut milk to the simmering beans. Cover and cook until the beans are tender, about 1 and 1/2 hours in all. Stir frequently to prevent the beans from burning.

Add salt to taste, thyme, and the rice. Stir once and cover. Continue to cook until the liquid is absorbed by the rice, about 20 – 30 minutes.


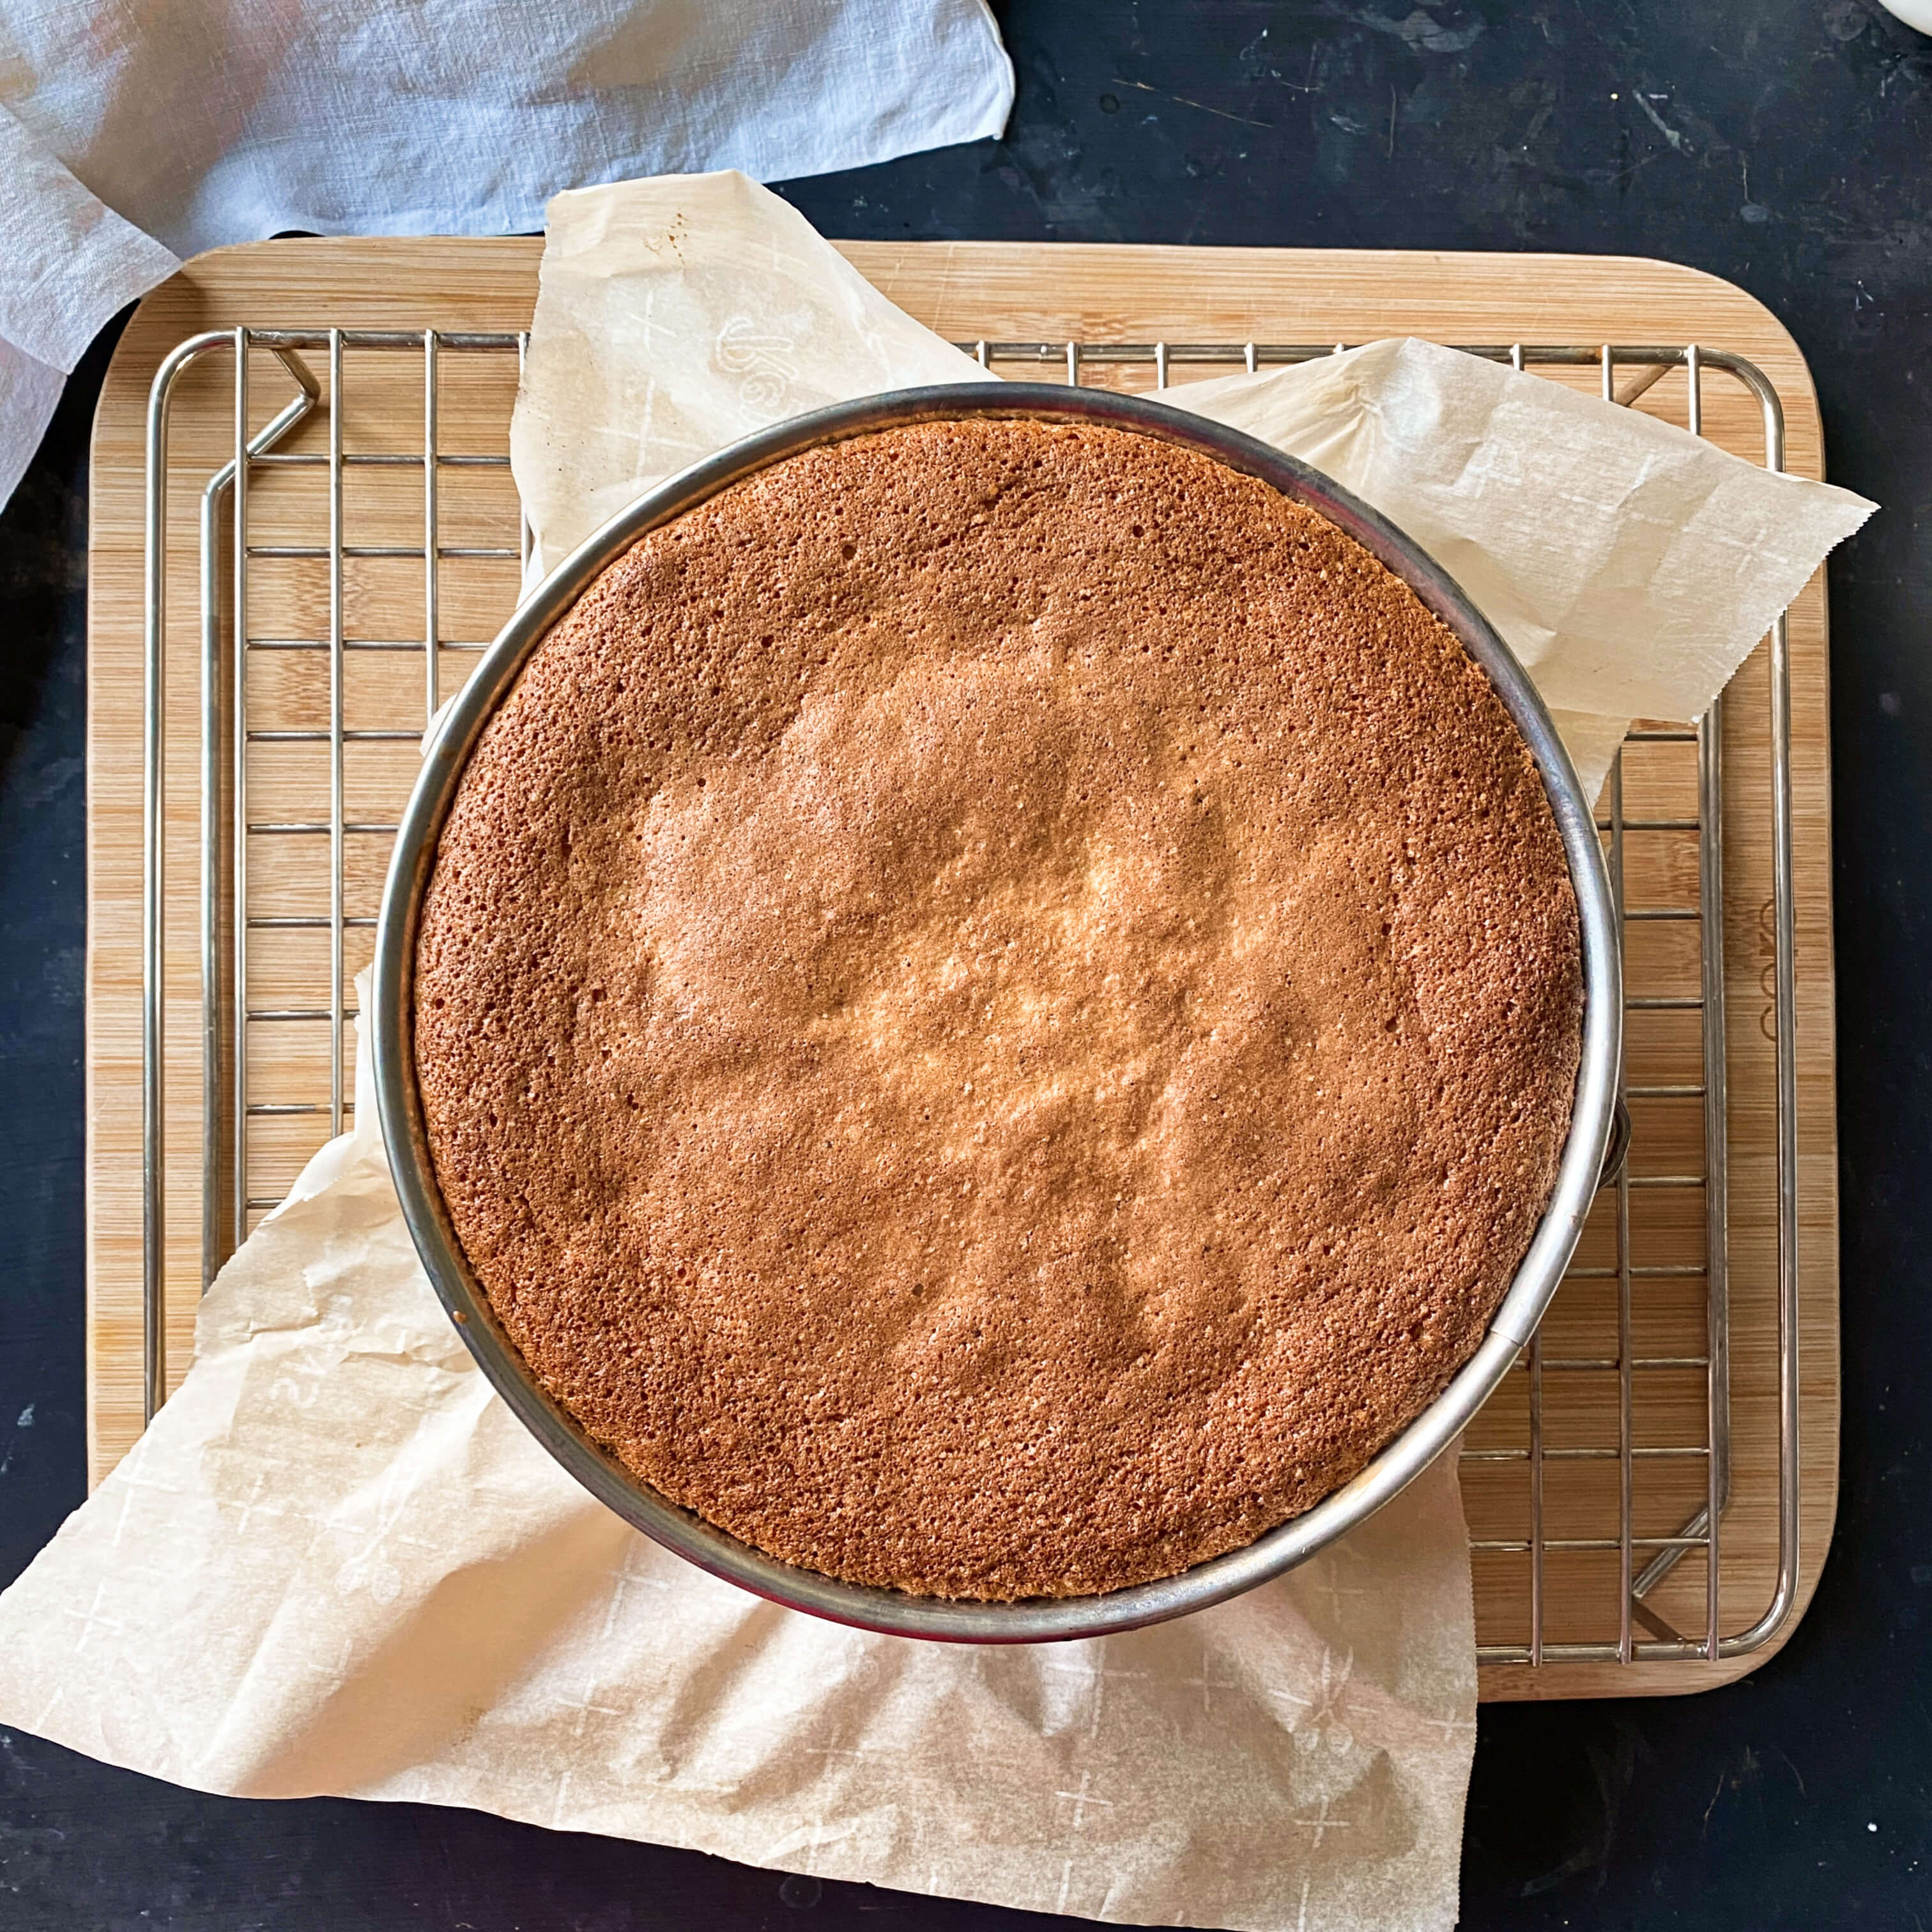
When done the rice should be tender and all the liquid absorbed. Remove the cooked celery and green pepper. Fluff the rice. Serve as a side dish or as a vegetarian meal.

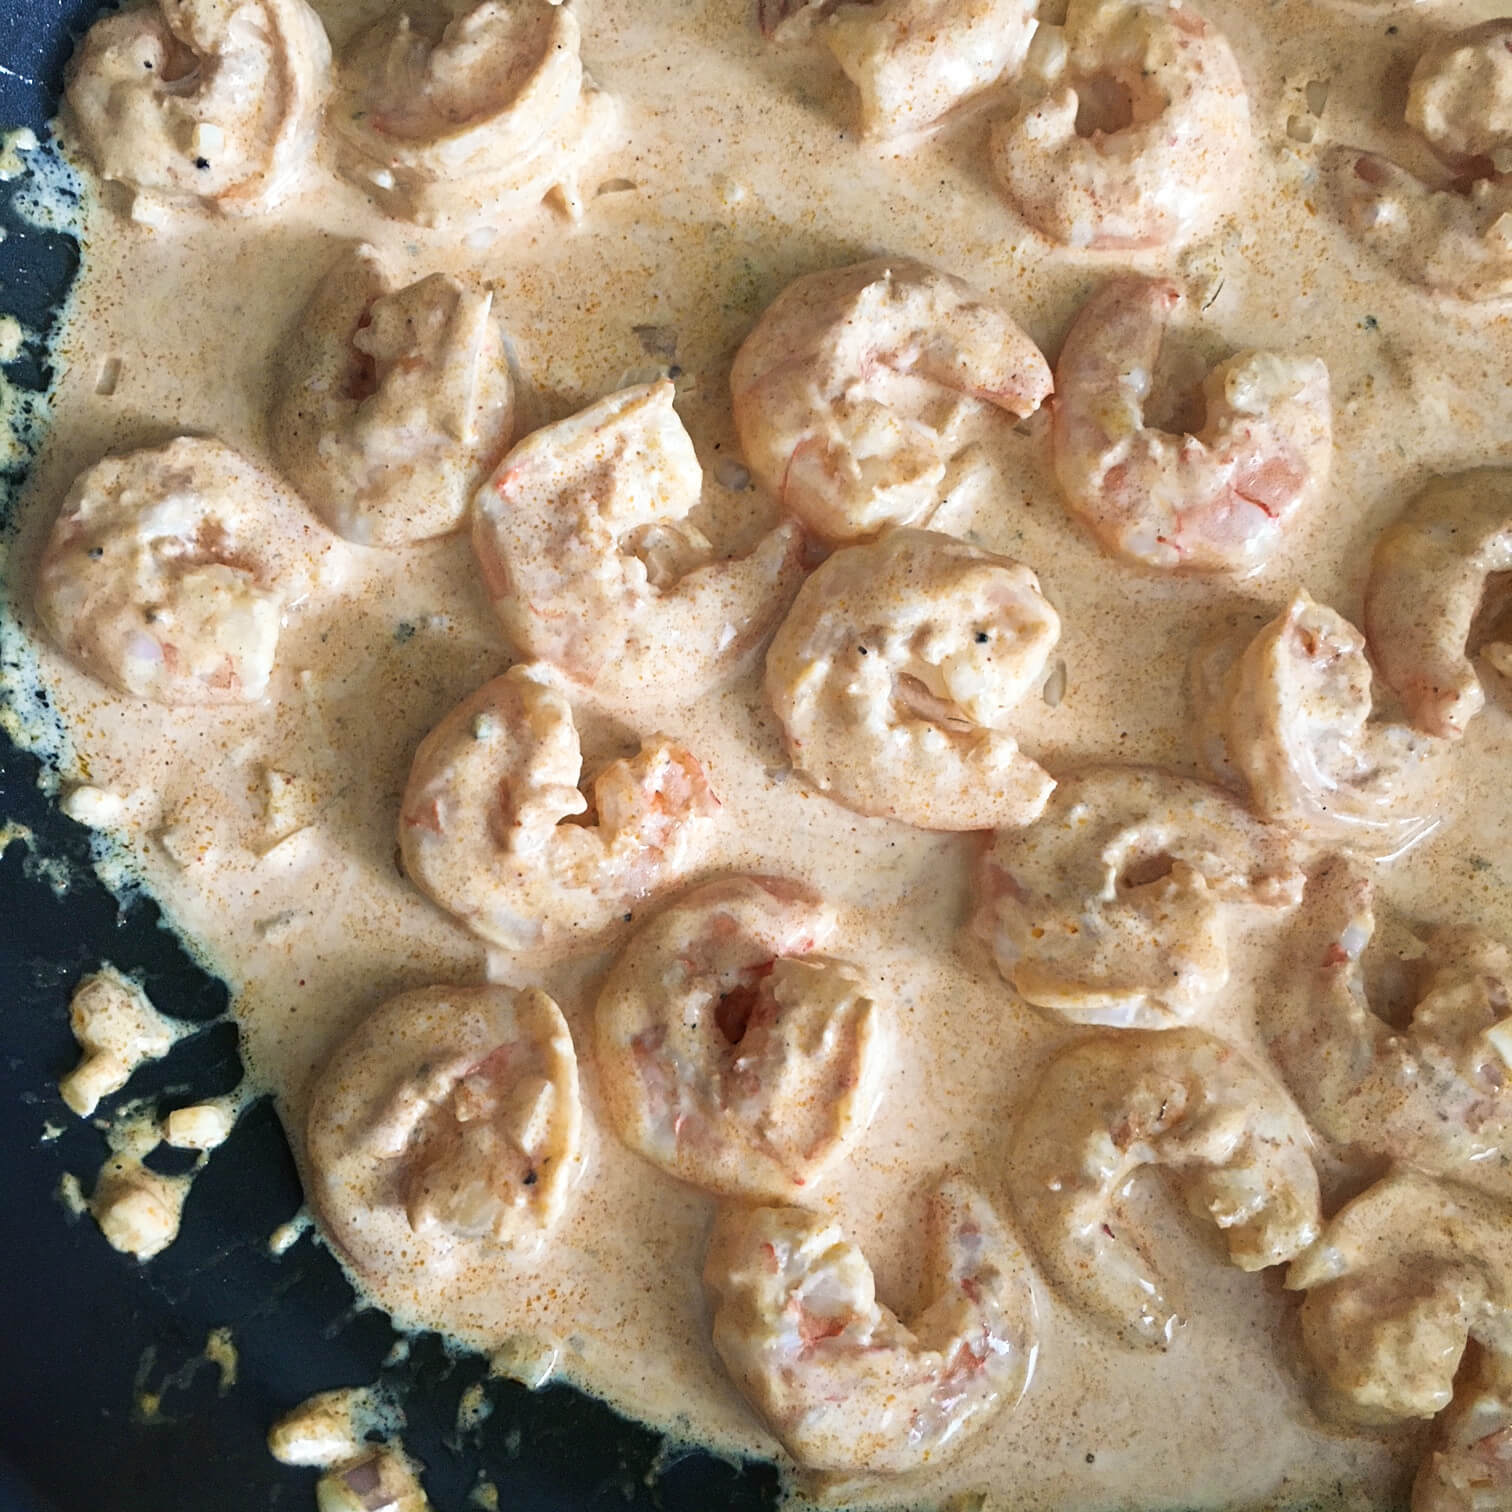
I garnished the beans and rice with finely chopped fresh green pepper just before serving. The contrast between the crisp green pepper and the soft rice and beans was lovely, almost like serving a chopped salad on top. I thought the coconut flavor might be more pronounced than it was but to my surprise no one ingredient overpowered the other. Instead, they all blended together to create a warm, comforting combination of flavors that is easily compatible and very complimentary with so many other types of food.
If you were serving this as a side dish, other traditional Jamaican accompaniments would include Jerk Chicken, Salted Fish or Curried Goat. I wouldn’t hesitate putting it in a taco or topping it with grilled shrimp or steak either. Or simply enjoy this one as is – a simple meal of rice and beans with a hint of tropical flavor to warm your spirit on these chilly days of early Spring. I hope by the time you sit down to the table to enjoy this meal, you’ll feel like you’ve had a little adventure.

Cheers to Jamaica for extending so much hospitality out into the world in the form of a beautiful place and a beautiful recipe. Join us next time on the International Vintage Recipe Tour as we head to Japan, our 27th country via the kitchen. See you there!
To catch up on previous International Vintage Recipe Tour posts visit here.