One minute it was mid-April. The witch hazel had just arrived in the mail. A newly planted pot of Nemesia was fluffing out on the front porch, ready for its photo shoot and its spotlight feature in the Fragrant Year series. The collard greens, beets, peas, and kale were growing up in the garden. The second-year foxglove was throwing out layer after layer of leaves, mounding up like bushes. The shop was a flurry of activity – filling and emptying, filling and emptying with stories, heirlooms, and recipes, from kitchens, cooks, and history past.
The next minute it’s the 4th of July. I’m making a vintage summer recipe for the blog. The humidity has set in and the slugs have returned. The witch hazel has grown 6″ inches. Tomatoes and corn have replaced the kale and collards in the garden. The Nemesia has outgrown its pot twice. The summer vegetable garden has been planted. The autumn pumpkin seedlings have started to flower. And the shop is filling and emptying, filling and emptying again with a season’s worth of new old stories.

How did three months pass so quickly? How did we go so fast from collards at the end of one season to corn at the beginning of another? How did all the trees leaf out, and the wildflowers bloom on the side of the road, and the strawberries appear and then disappear? How did Mother’s Day, Memorial Day, Father’s Day, and Fourth of July fireworks pass without a single reflective moment to stop and share here on the blog?
So many interesting stories, gardening adventures, and heirloom gatherings have filled up those past three months. So many things I wanted to share, slated to share, photographed to share. But somehow, the days whizzed by. One by one, ten by twenty, thirty by sixty. All to wind up here at ninety days with nothing new but last April’s post.
Long stretches of absence like this are rare here on the blog and it can be challenging to start back up again after such an extended time away. Fortunately, after much stewing about how to return and what to say, Eleanor Roosevelt breezed into the Vintage Kitchen last week and offered up a bit of wisdom.
“If life were predictable, it would cease to be life, and be without flavor.” – Eleanor Roosevelt
This quote is attributed to Eleanor’s 1937 autobiography, This is My Story, which is now included on my list of books to read. Somehow Eleanor’s wise words wound up describing the very circumstance that defined the last three months. It was unpredictable. It was full of flavor.
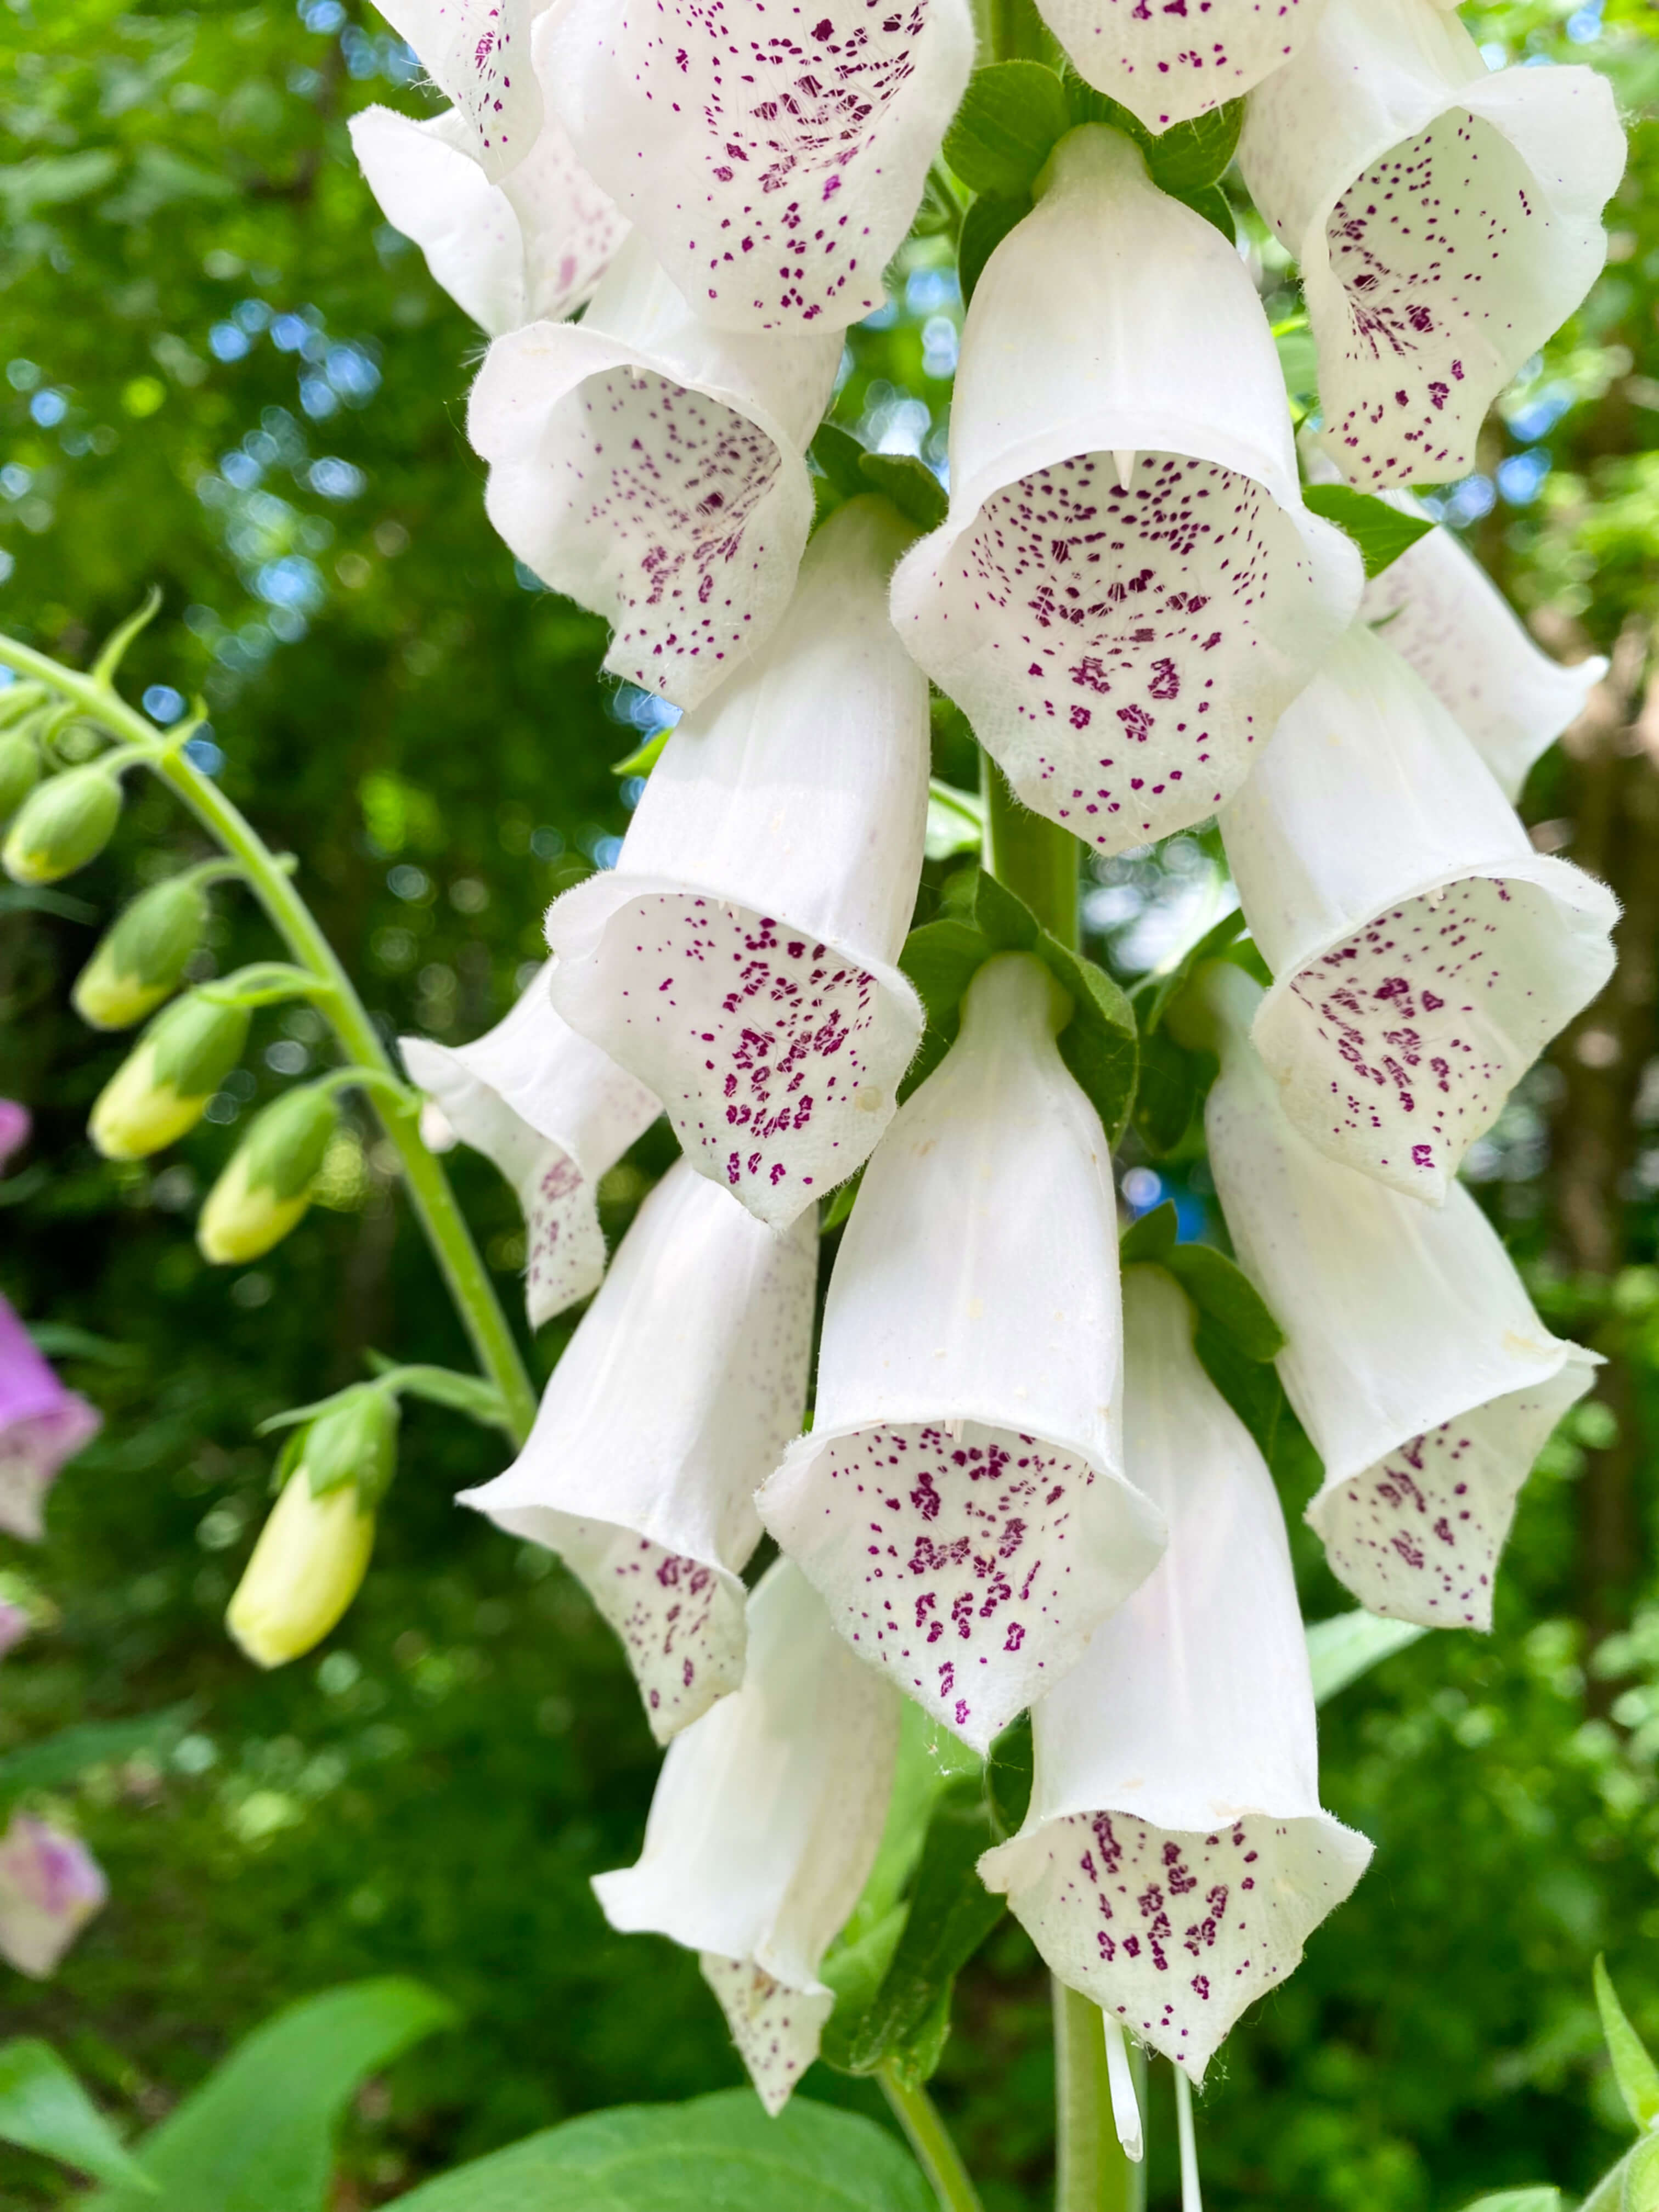
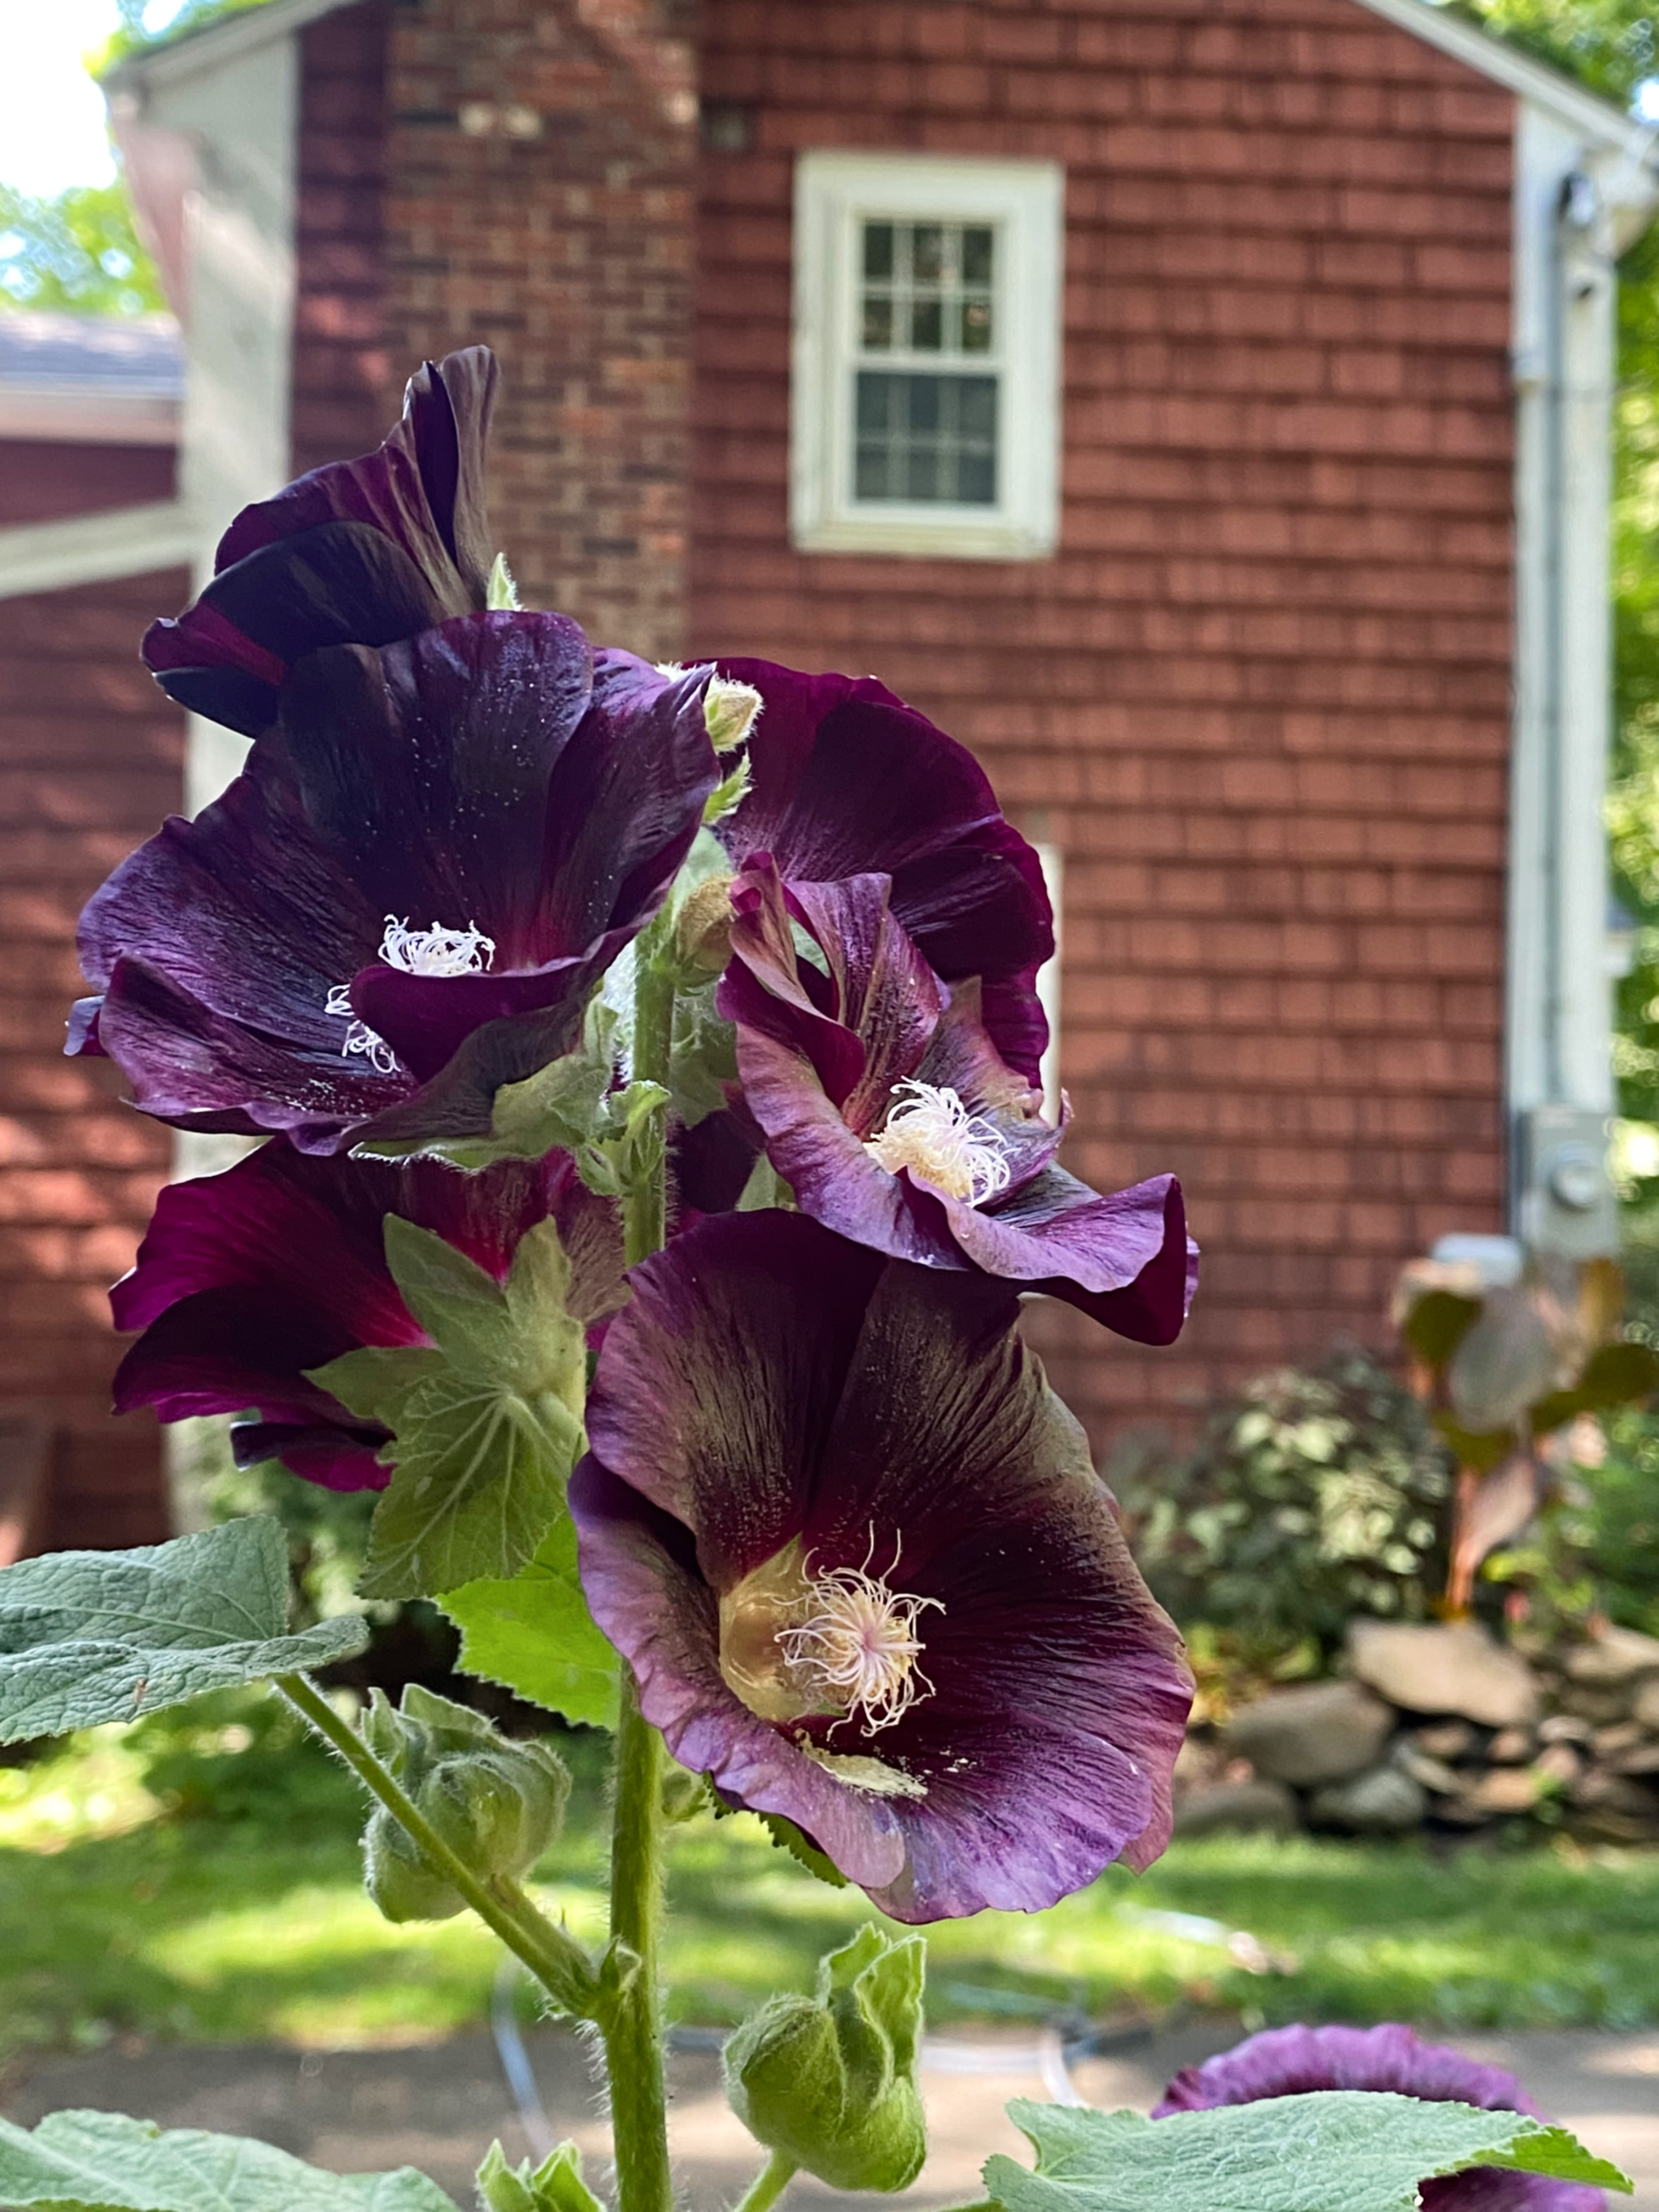
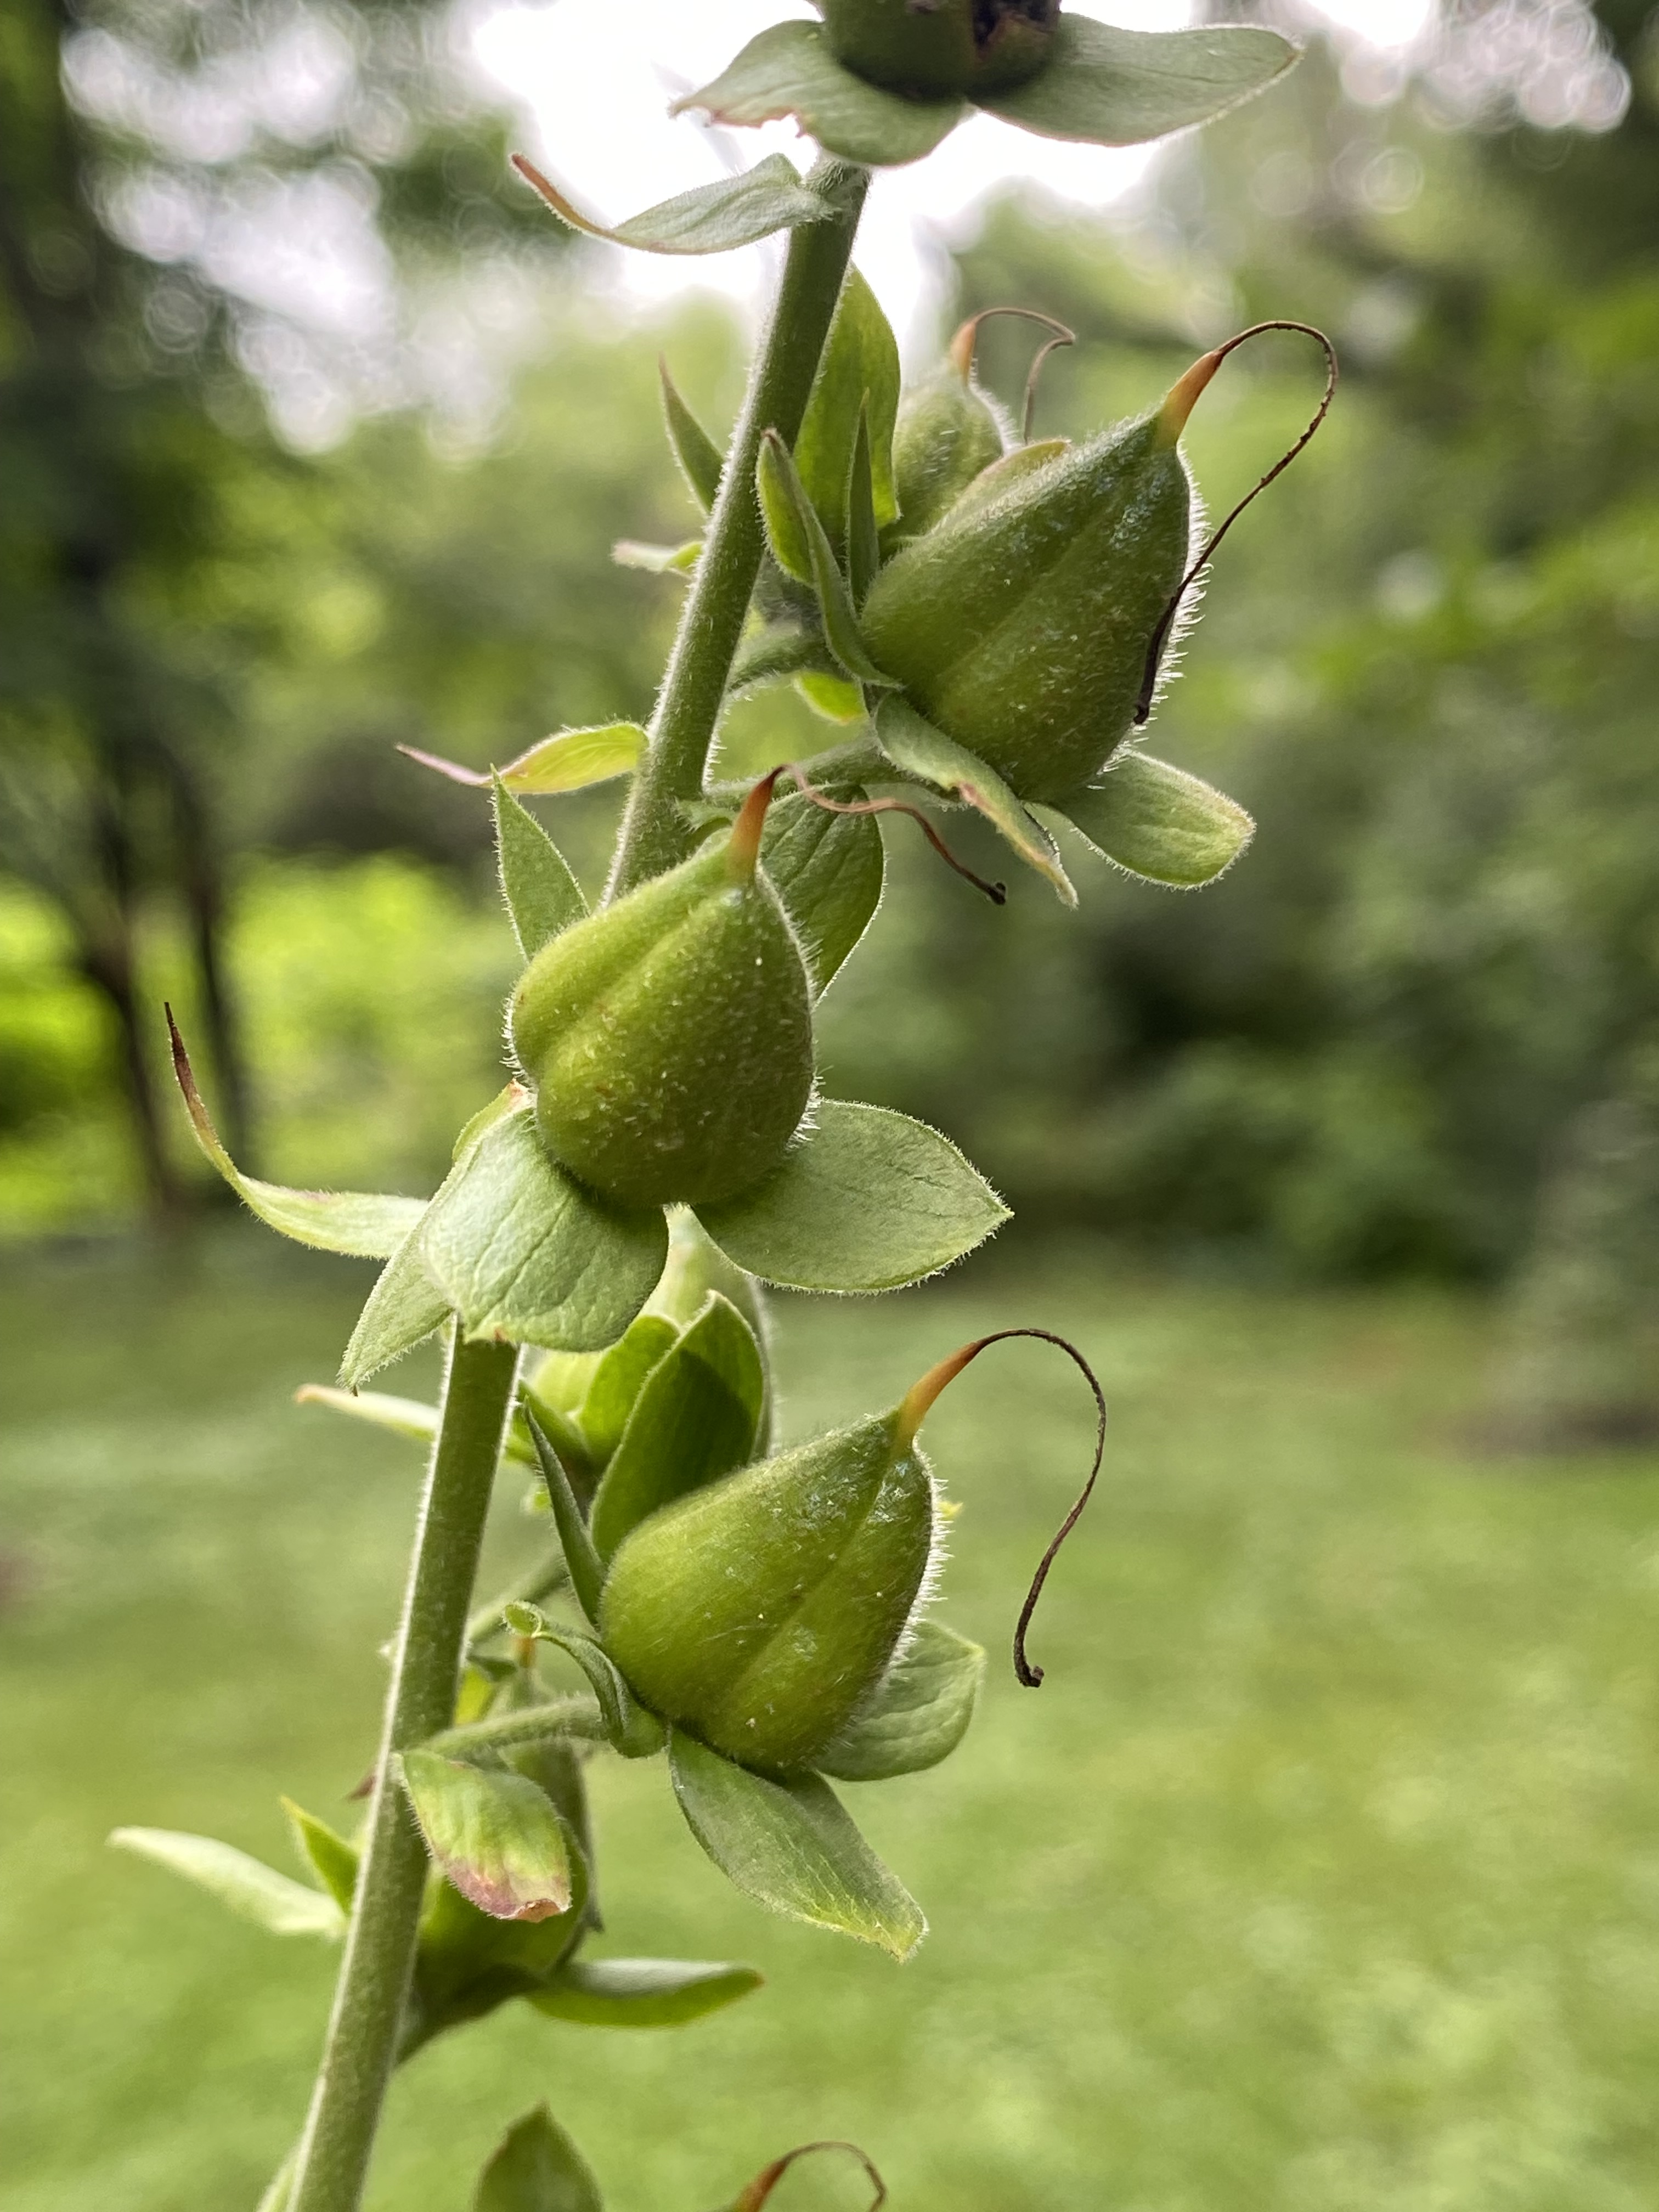
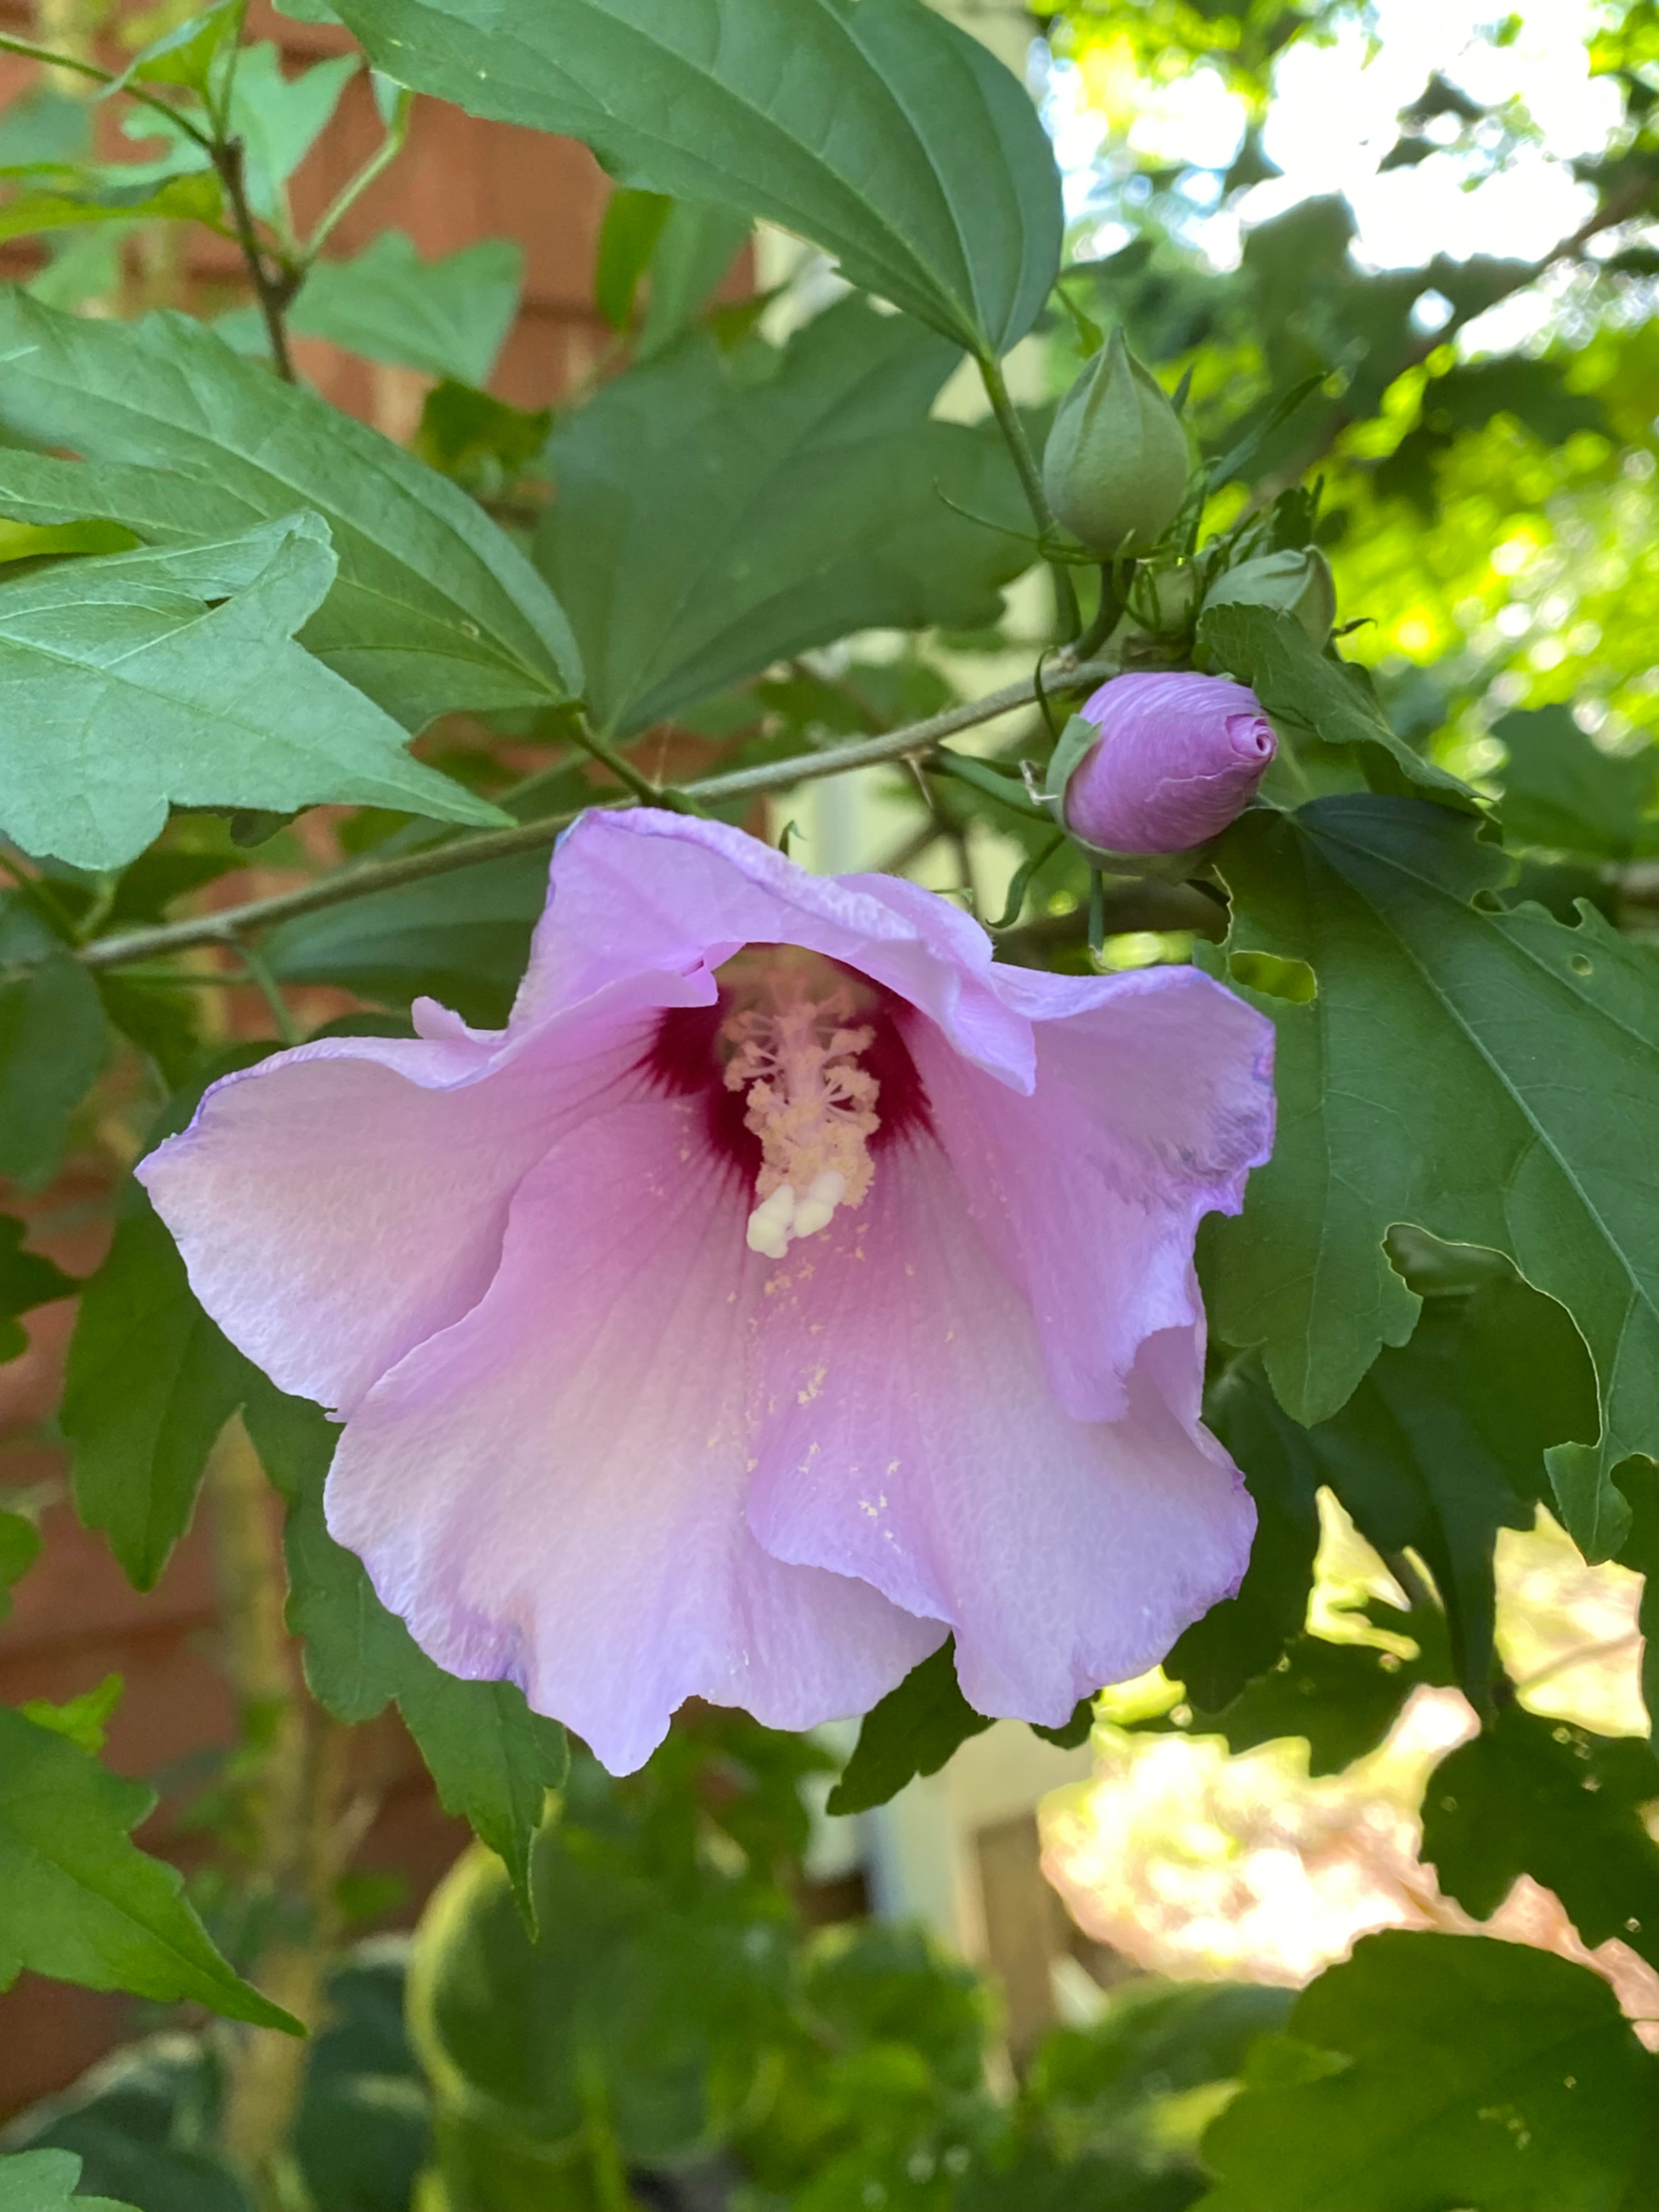
The greenhouse got a fence. The hollyhocks bloomed. The 1750 House cupola was rebuilt. The vegetable garden was harvested for spring. And then it was re-planted for summer. The holidays were celebrated. The tomatoes climbed. Tulip bulbs were ordered for fall. Vegetable seeds were exchanged. A wild pheasant stopped by to say hello. Friends and family came to visit. Recipes were cooked. Heirlooms were collected. And after a two year wait, the foxgloves flowered for the first time.


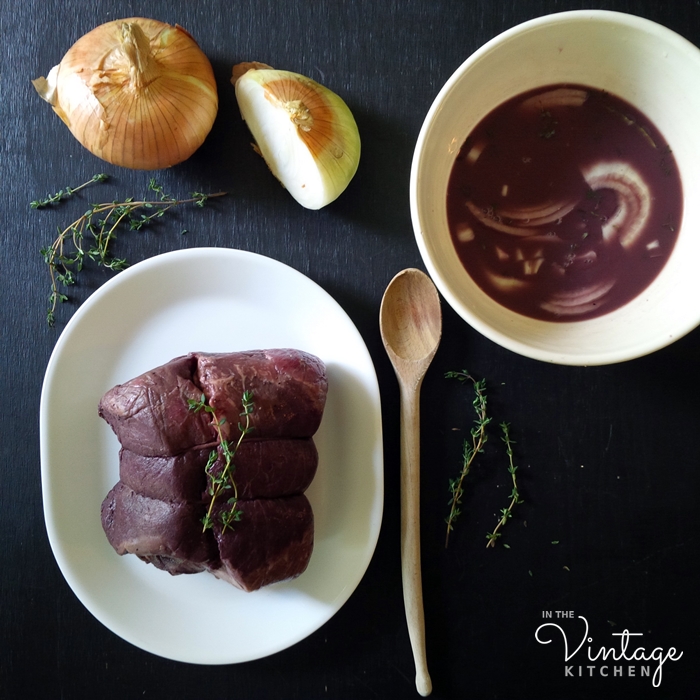
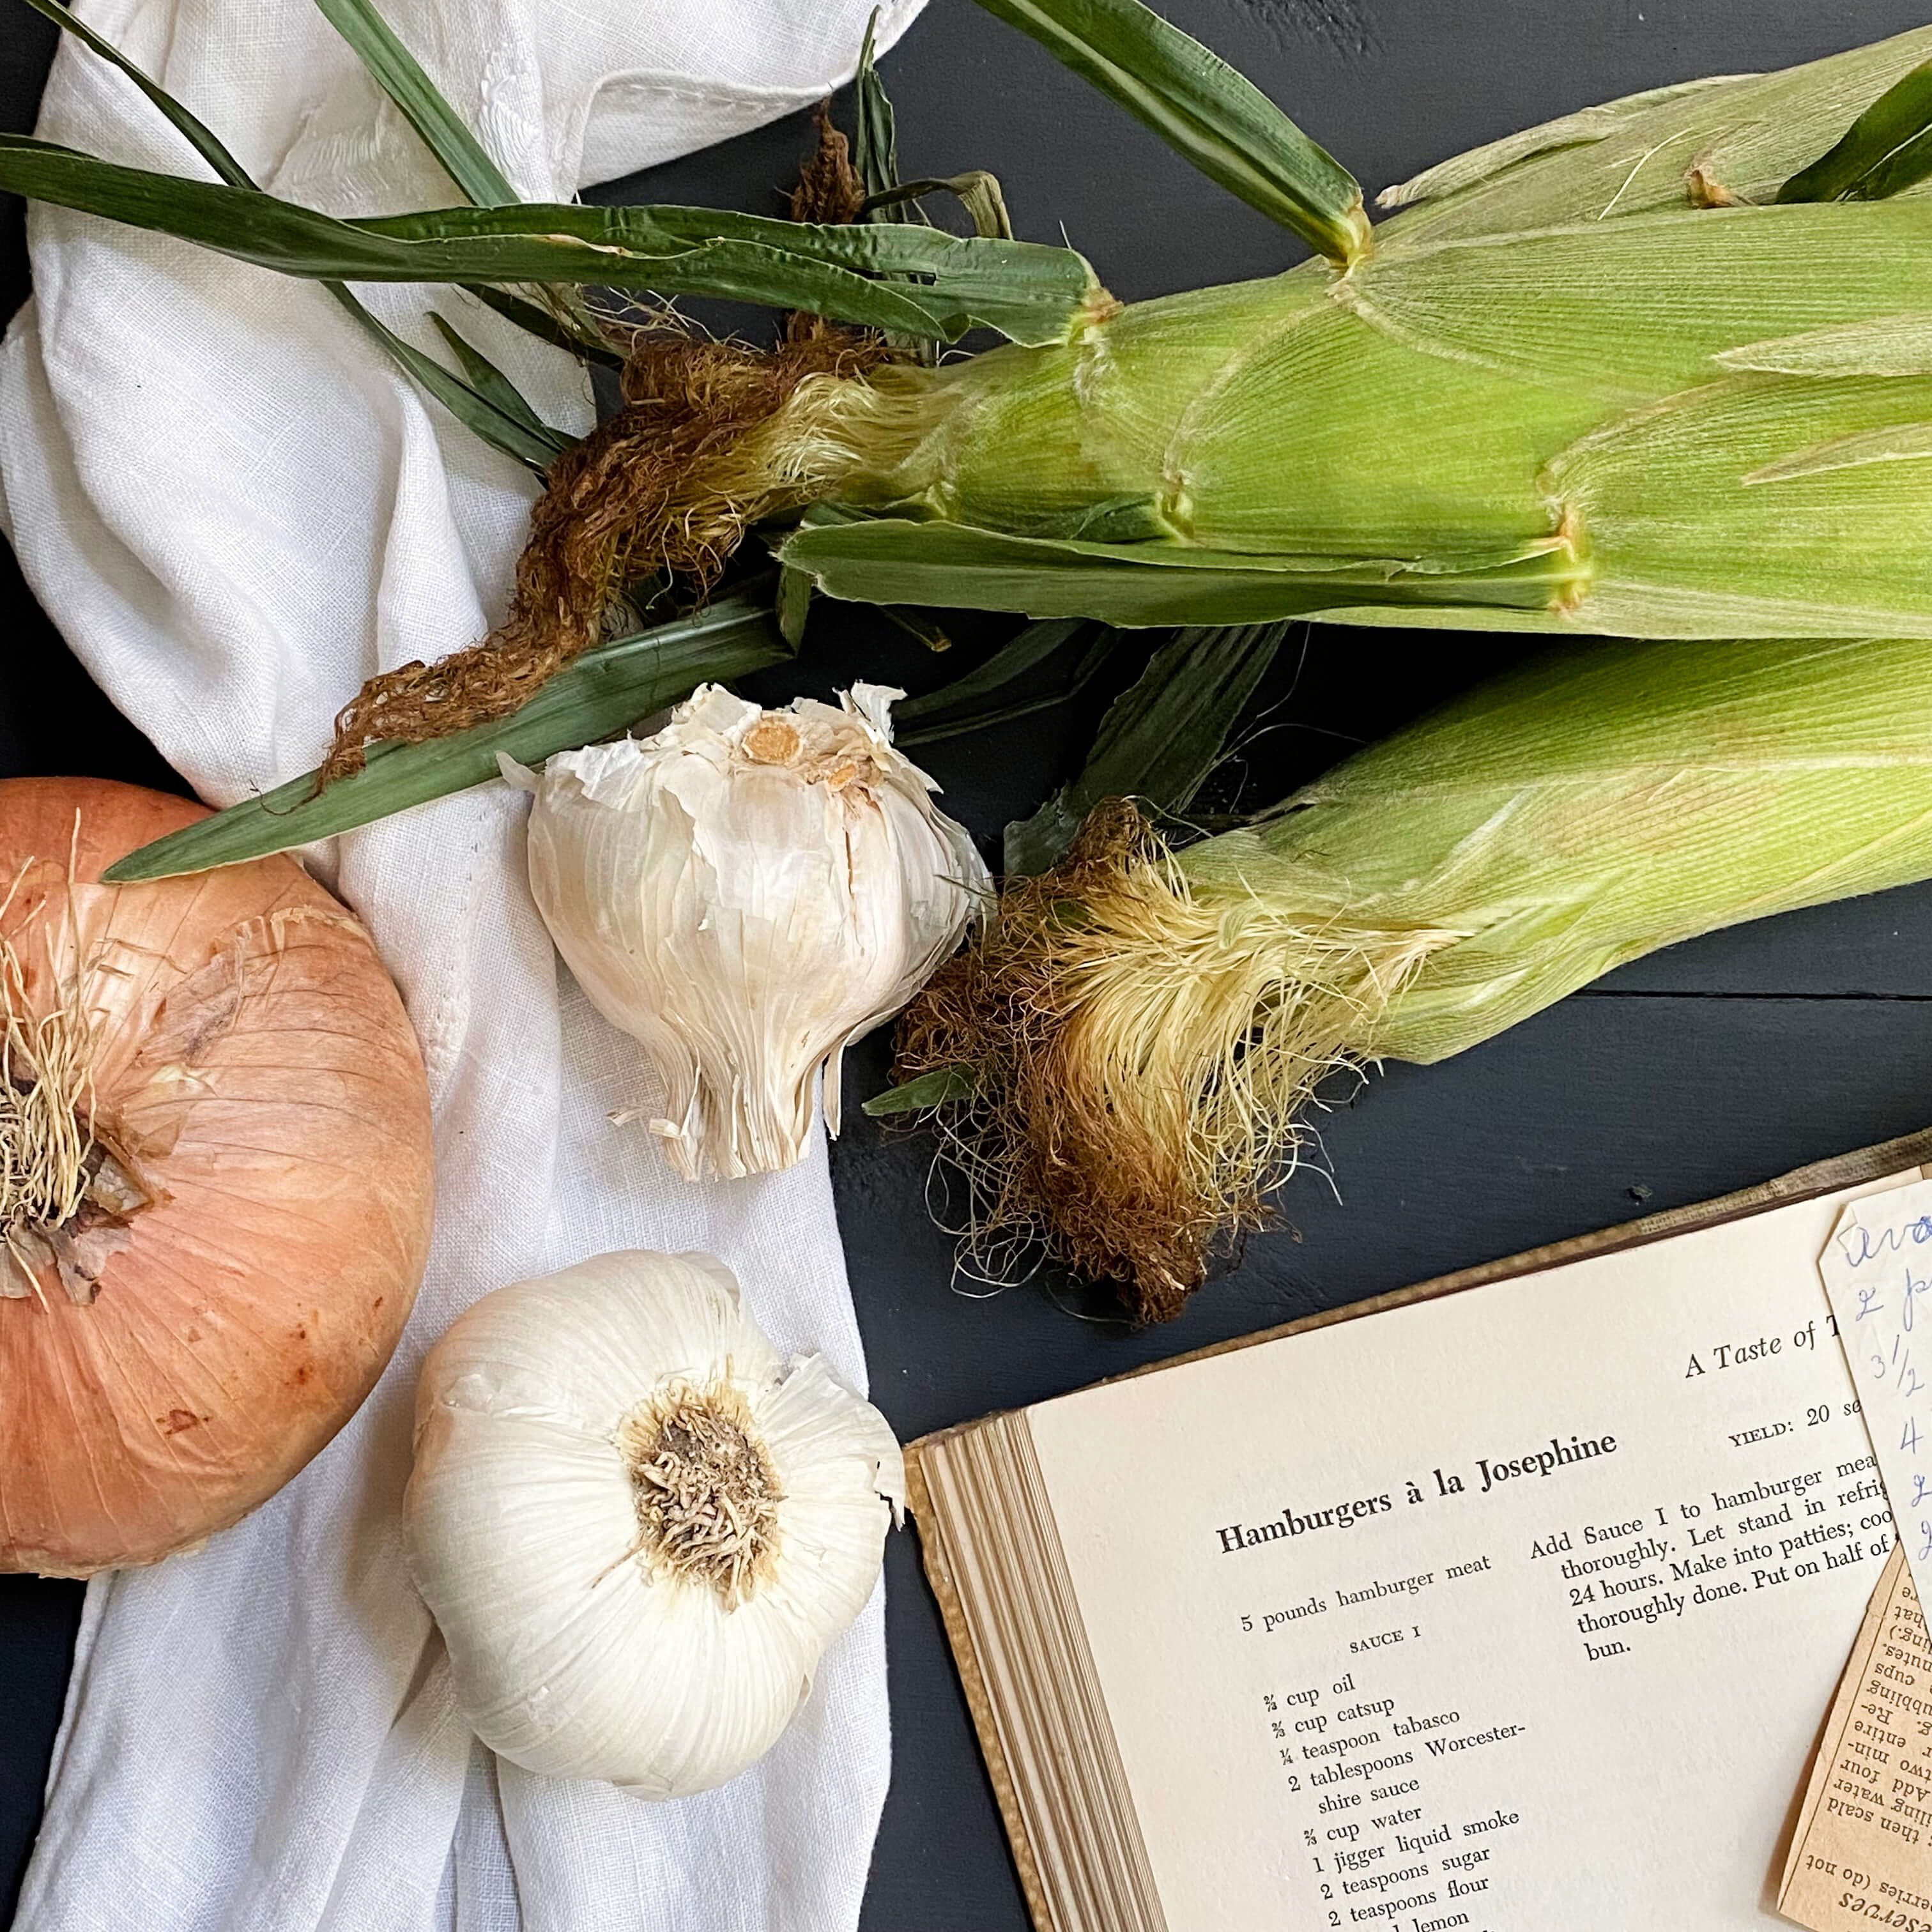
The activities were plentiful, and each day different in routine and rhythm. Just like Eleanor said… they were full. In that spirit of busy activity, I thought it would be fun to do a quick recap via photos of what’s been going on in the kitchen, the garden, and the shop over the past three months so that we could wind our way back towards the present to share a new vintage recipe so perfectly suited for the mood and the moment. This is a catch-up post of the past three months with a 1960s recipe for homemade ketchup attached at the end. Catching up with ketchup, if you will.
A Look Back…
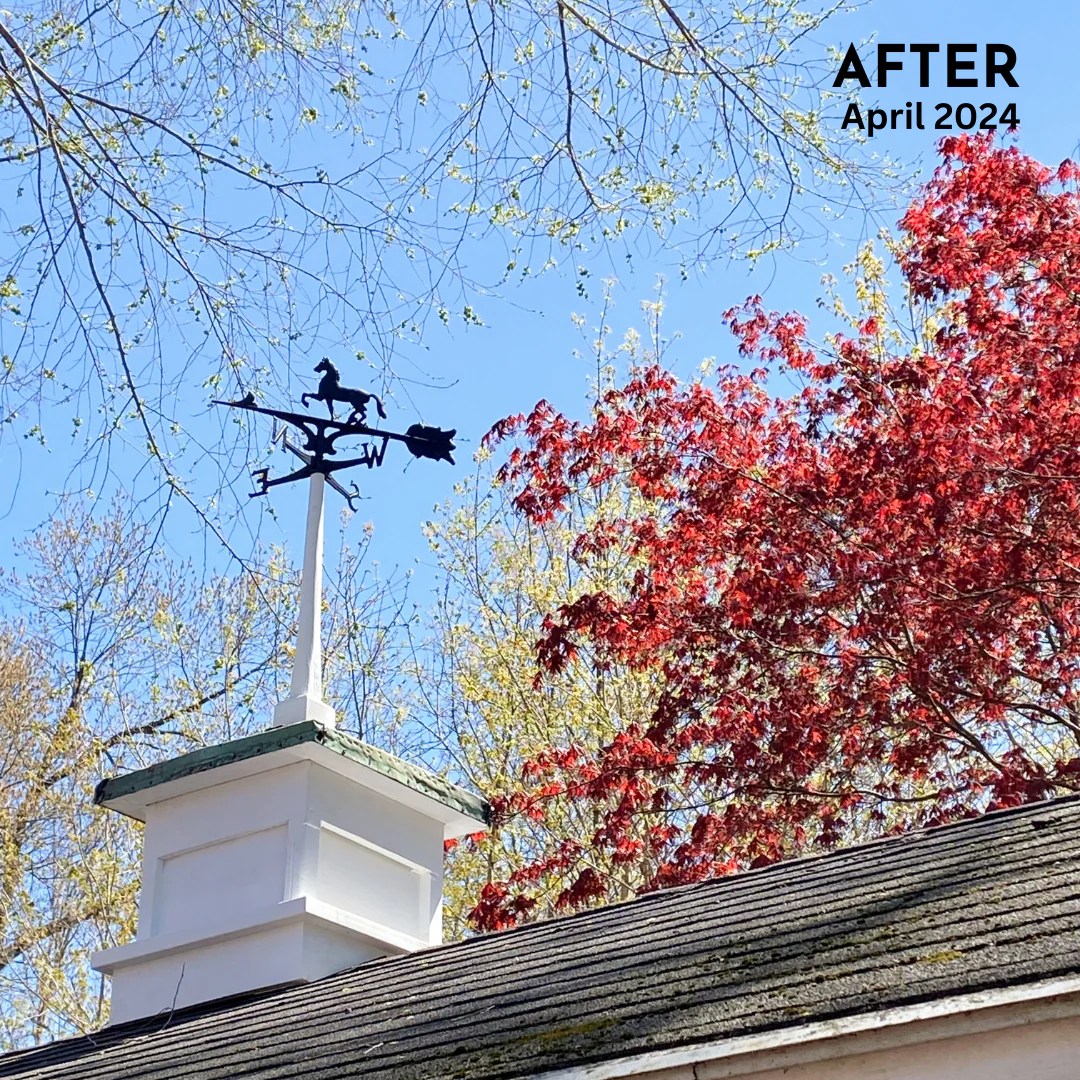
Two of the most exciting 1750 House renovation projects were the rebuilding of the 1930s cupola which had been chewed to pieces by squirrels long before we moved in, and the addition of a long-awaited fence around the greenhouse. The cupola was rebuilt using old tools and old techniques and squirrel-proofed so that the weathervane horse could freely run with the wind once again…

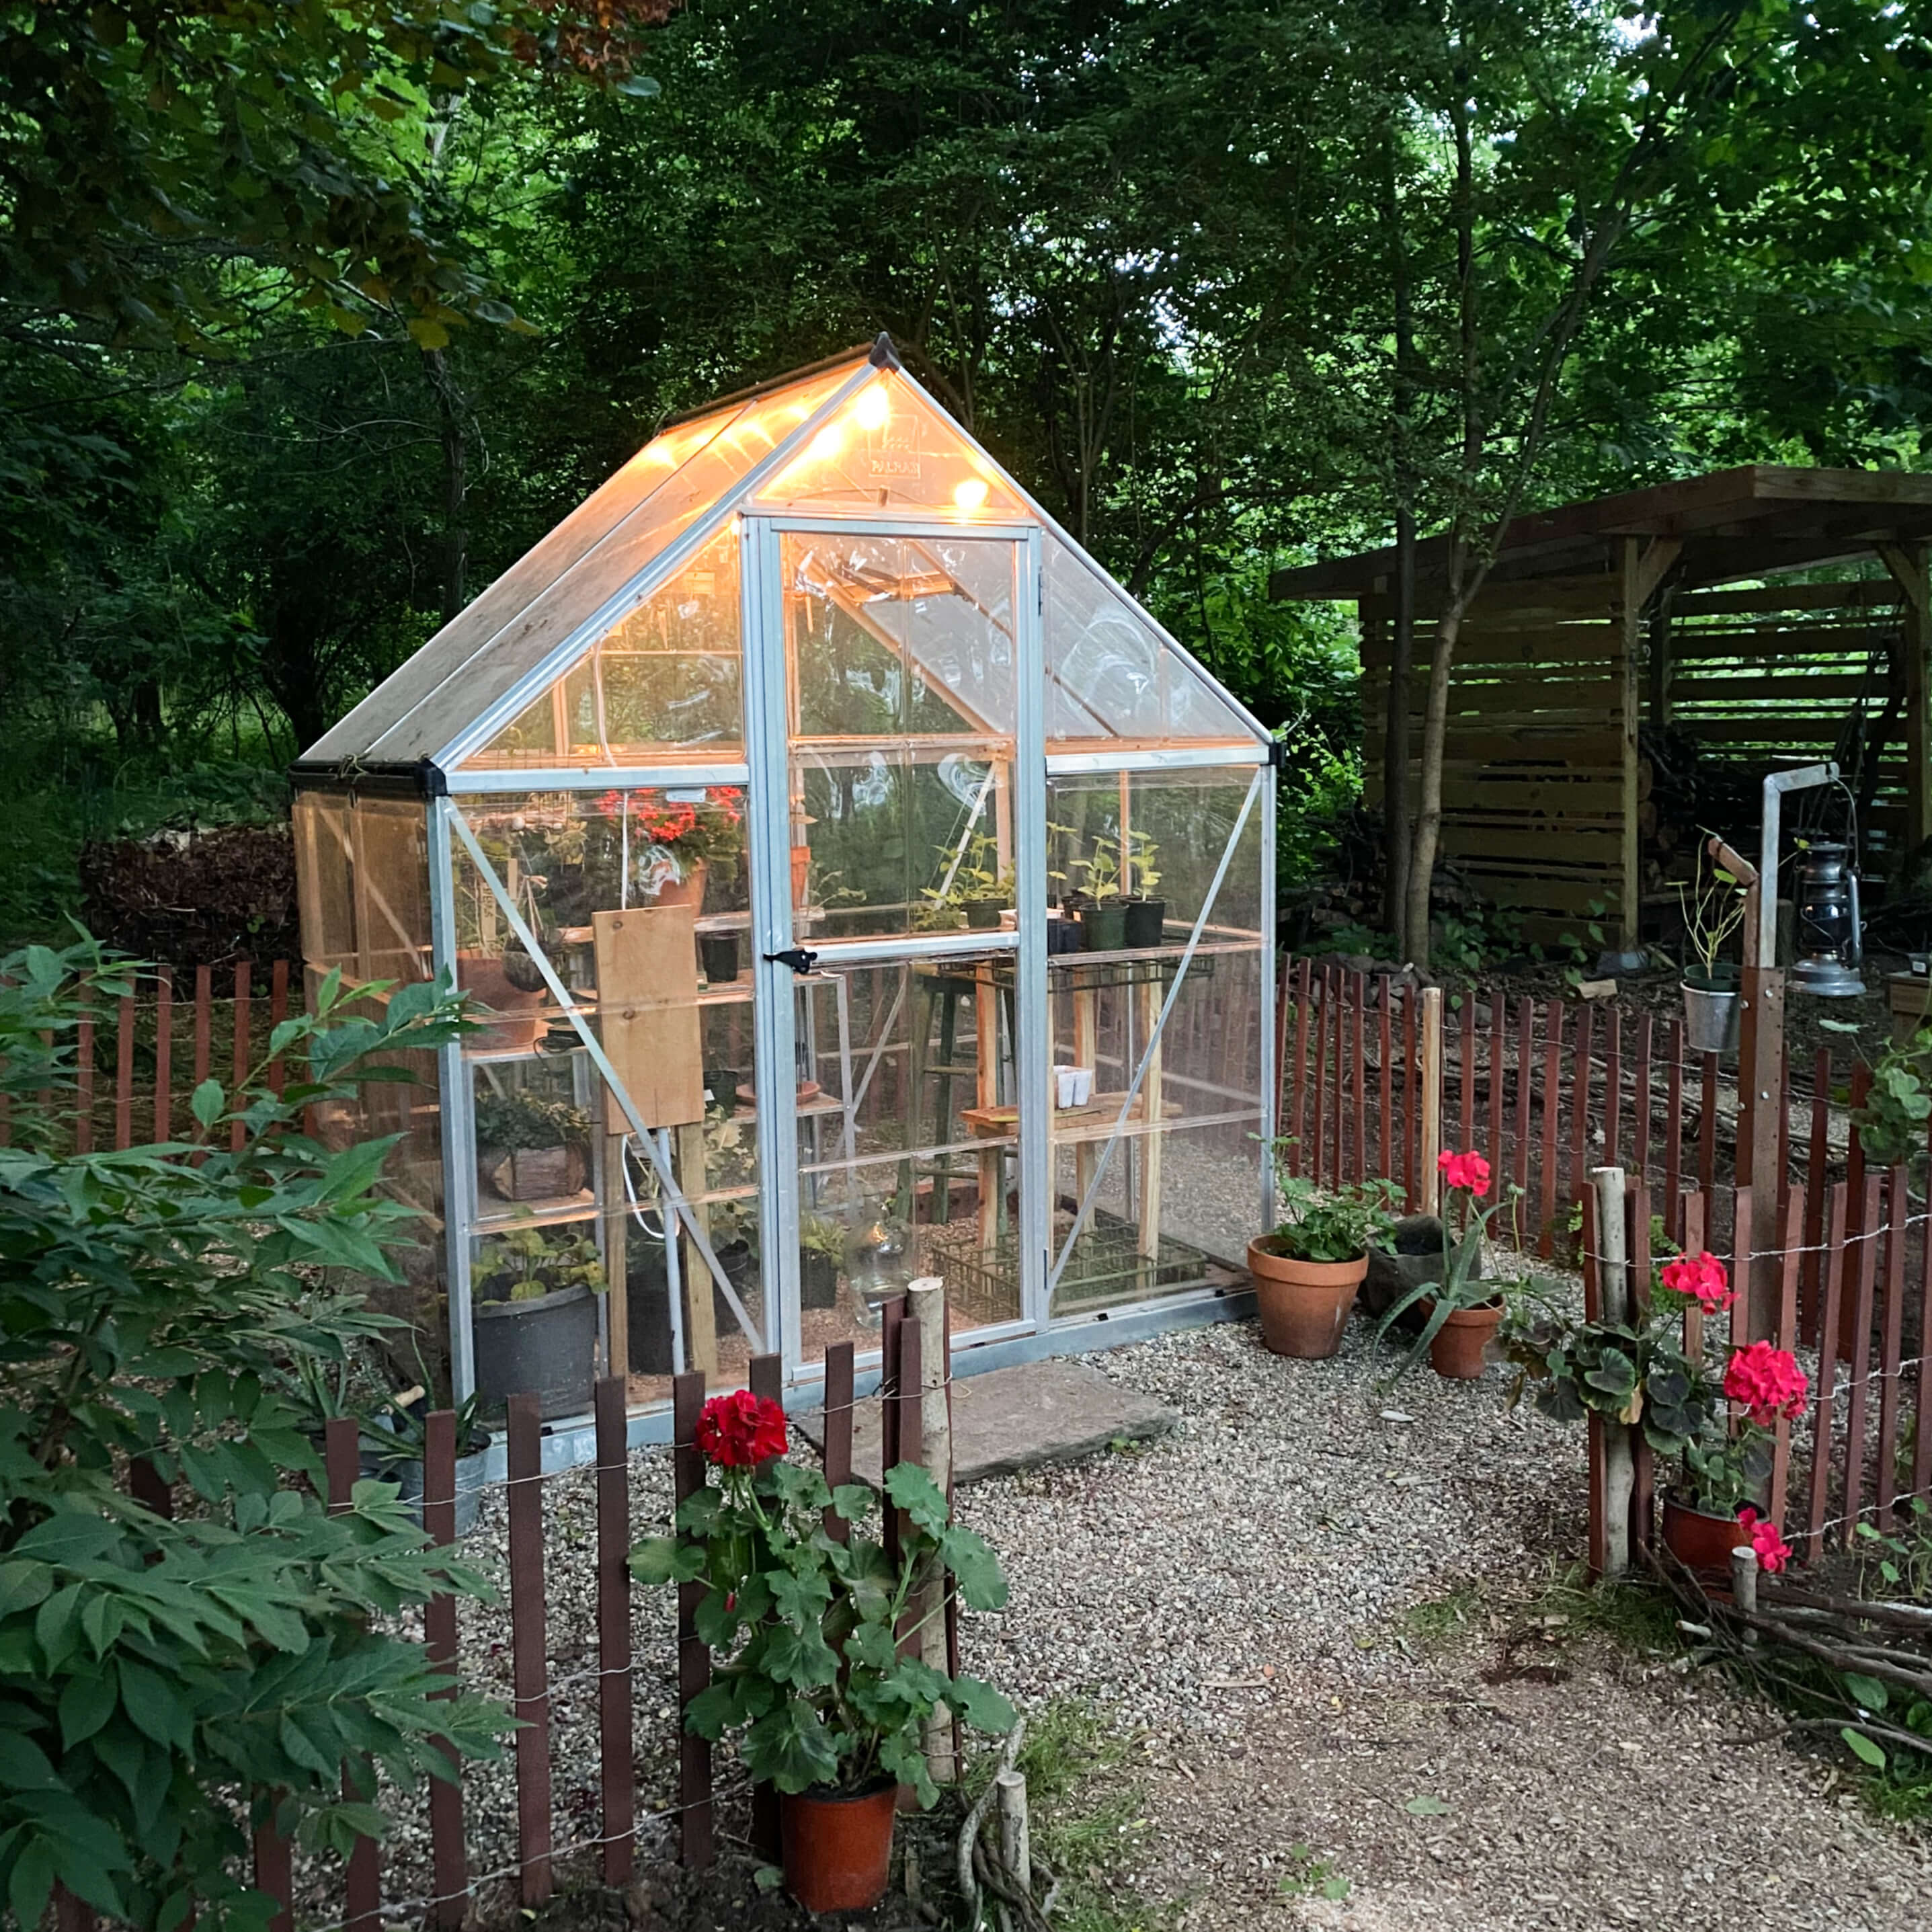
The greenhouse fence adds some dimension to the side yard and forms the backdrop for a cottage garden that will eventually include shrubs, perennials, climbing flowers, and a permanent herb garden.

In early May, a wild pheasant came to visit…

In early June, a prehistoric-looking Dobson fly appeared one morning in the greenhouse…

And at the end of June, we saw our first butterfly of the season, a Red-Spotted Purple dipping and diving around the garden path and raised beds.

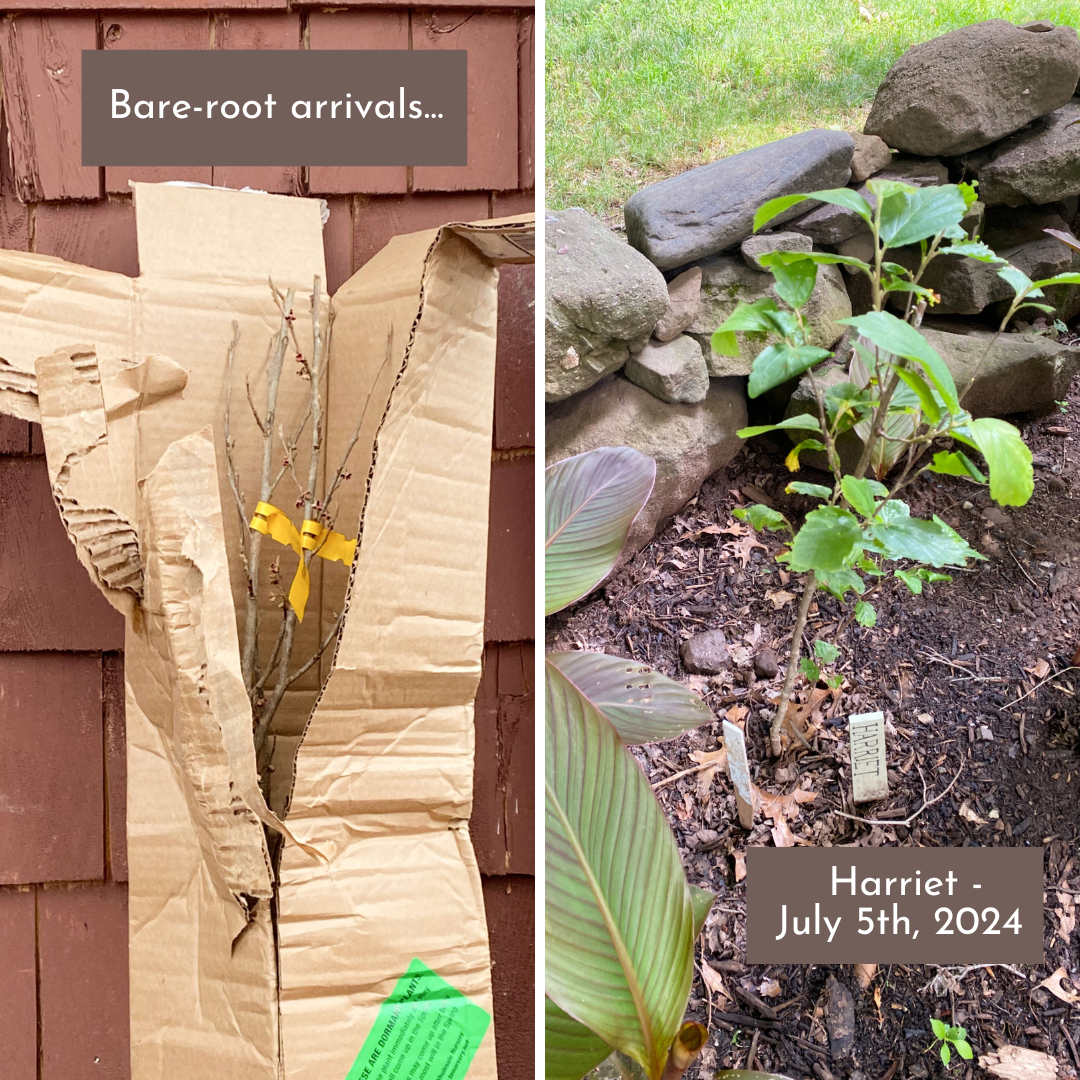
The witch hazel, from February’s Fragrant Year post, arrived in the mail in mid-April with not one bare root specimen but three, even though I just ordered one. All three trees were planted and named (Hazel, Harriet and Hilda – a nod to the original H-hinges inside 1750 House) so that I can track and record each one’s progress. All was well for a couple of months with each leafing out and growing taller, but sadly, Hazel got some sort of blight and lost all her leaves. I’ve left her in the ground in hopes that she recovers, so we’ll wait and see what happens over the next few months. In the meantime, Hilda and Harriet are doing great. In three months, they’ve each grown 6″ inches and have sprouted numerous sets of leaves. If they keep that growth rate up through the fall, by the end of 2024 they should be reaching about four feet in height.
Scenes From The Garden…


Stories From The Shop…
Every bit of kitchen history is always interesting, but every season there are a few stand-out stories that capture quite a bit of attention. These are some of the latest encountered over the past three months. Clicking on the photos will take you directly to the shop item that inspired further storytelling…


.


Just last week, we debuted our own custom-designed ITVK gift wrap. The floral pattern was inspired by a vintage print that I found in a South Carolina antique shop in 2003. That print, along with an antique platter also found that day, launched a passion for collecting vintage and antique heirlooms and laid the groundwork for what would eventually become In The Vintage Kitchen.
This was a packaging project I first started dreaming about during the 2020 COVID lockdown. I picked the colors in the bouquet to represent the brand colors of the Vintage Kitchen long before I ever knew that a red house built in 1750 and surrounded by garden beds of orange lilies awaited in my future. The floral bouquet was resized, recolored, and brightened up to give it a more modern feel by a wonderfully talented graphic designer based in Austria. I think it’s the perfect blend of history, sentiment and fate. All purchases from the shop are wrapped, and complimentary, so if you find an heirloom you love, it will arrive packaged up in this…

That Was Then, This Is Now…
Now that we are all caught up, let’s ketchup. This recipe comes from the 1961 New York Times Cookbook, edited by one of our favorite Vintage Kitchen cooks, Craig Claiborne. Since it’s condiment season I thought this would be a fun one to feature for a couple of reasons.

Just like mayonnaise, I have always heard that a homemade version is much tastier than any store-bought variety. And since there aren’t really that many different types of ketchup available at the market, this recipe will add a little something unique and unexpected to your summer cookouts. Also, at some point in the summer when harvests are abundant and overwhelming, I always find it helpful to have a collection of recipes at the ready that require big batches of tomatoes so that nothing goes to waste. This recipe definitely calls for that.

This week we are making Spicy Tomato Ketchup from scratch using garden ingredients and a handful of pantry staples. The spice in the title comes from a small amount of cayenne pepper which can be omitted completely if you don’t like a little extra zip. But just to clarify this is a true ketchup, not a hot sauce, so if you are not a lover of hot and spicy foods, don’t worry, it won’t set your mouth on fire. Milder than Tabasco sauce, I’d rate the spice factor of this ketchup at about a 3 on a scale of 1 to 10 with 10 being the hot, hot, hot side.

The recipe calls for 12 pounds of tomatoes which yields about 6-8 pints of ketchup. When writing the cookbook, Craig Claiborne assumed that you would make a big batch, seal everything in sterile jars, and add it to your pantry collection for later consumption. Clearly, 8 pints is a lot of ketchup and not everyone is a home canner, myself included. I cut the recipe in half and then in half again and wound up with about 1 cup of ketchup after starting with 3 lbs of tomatoes. That size batch is shelf-stable in the fridge and is just the right amount for a few servings, and a few slatherings. Having said that, I’m posting the original recipe in case you are a ketchup lover and a canner too. This way, the measurements and portion sizes can be customized to your own needs. As for timing and difficulty, it takes a few hours to make this recipe, but it’s a very easy process. The bulk of the cooking time is hands-off while you wait for the tomato puree to reduce to a ketchup-like consistency.

Spicy Tomato Ketchup
Recipe from 1961 edition of The New York Times Cook Book. Makes 6-8 pints
12 pounds ripe tomatoes
1 cup chopped onion ( I used Vidalia onions)
1 tablespoon salt
1 cup sugar
1 teaspoon black pepper
1/2 teaspoon celery seed
1 teaspoon mustard seed
1 tablespoon whole cloves
1 stick cinnamon, broken
1 1/2 cups vinegar
1/4 teaspoon cayenne pepper

Core and chop the tomatoes. Cook the tomatoes and onions together until soft (about 20-30 minutes) and then press the mixture through a fine sieve.

Return puree to heat and cook until reduced by one-half, stirring occasionally. Combine spices in cheesecloth or a tea strainer and set in the puree. Add the rest of the ingredients and stir.
Continue cooking uncovered to desired consistency (about 2-4 hours depending on the amount of tomatoes used). Remove the spice bag. Seal ketchup in hot sterilized jars or refrigerate in an air-tight container if making a smaller batch.

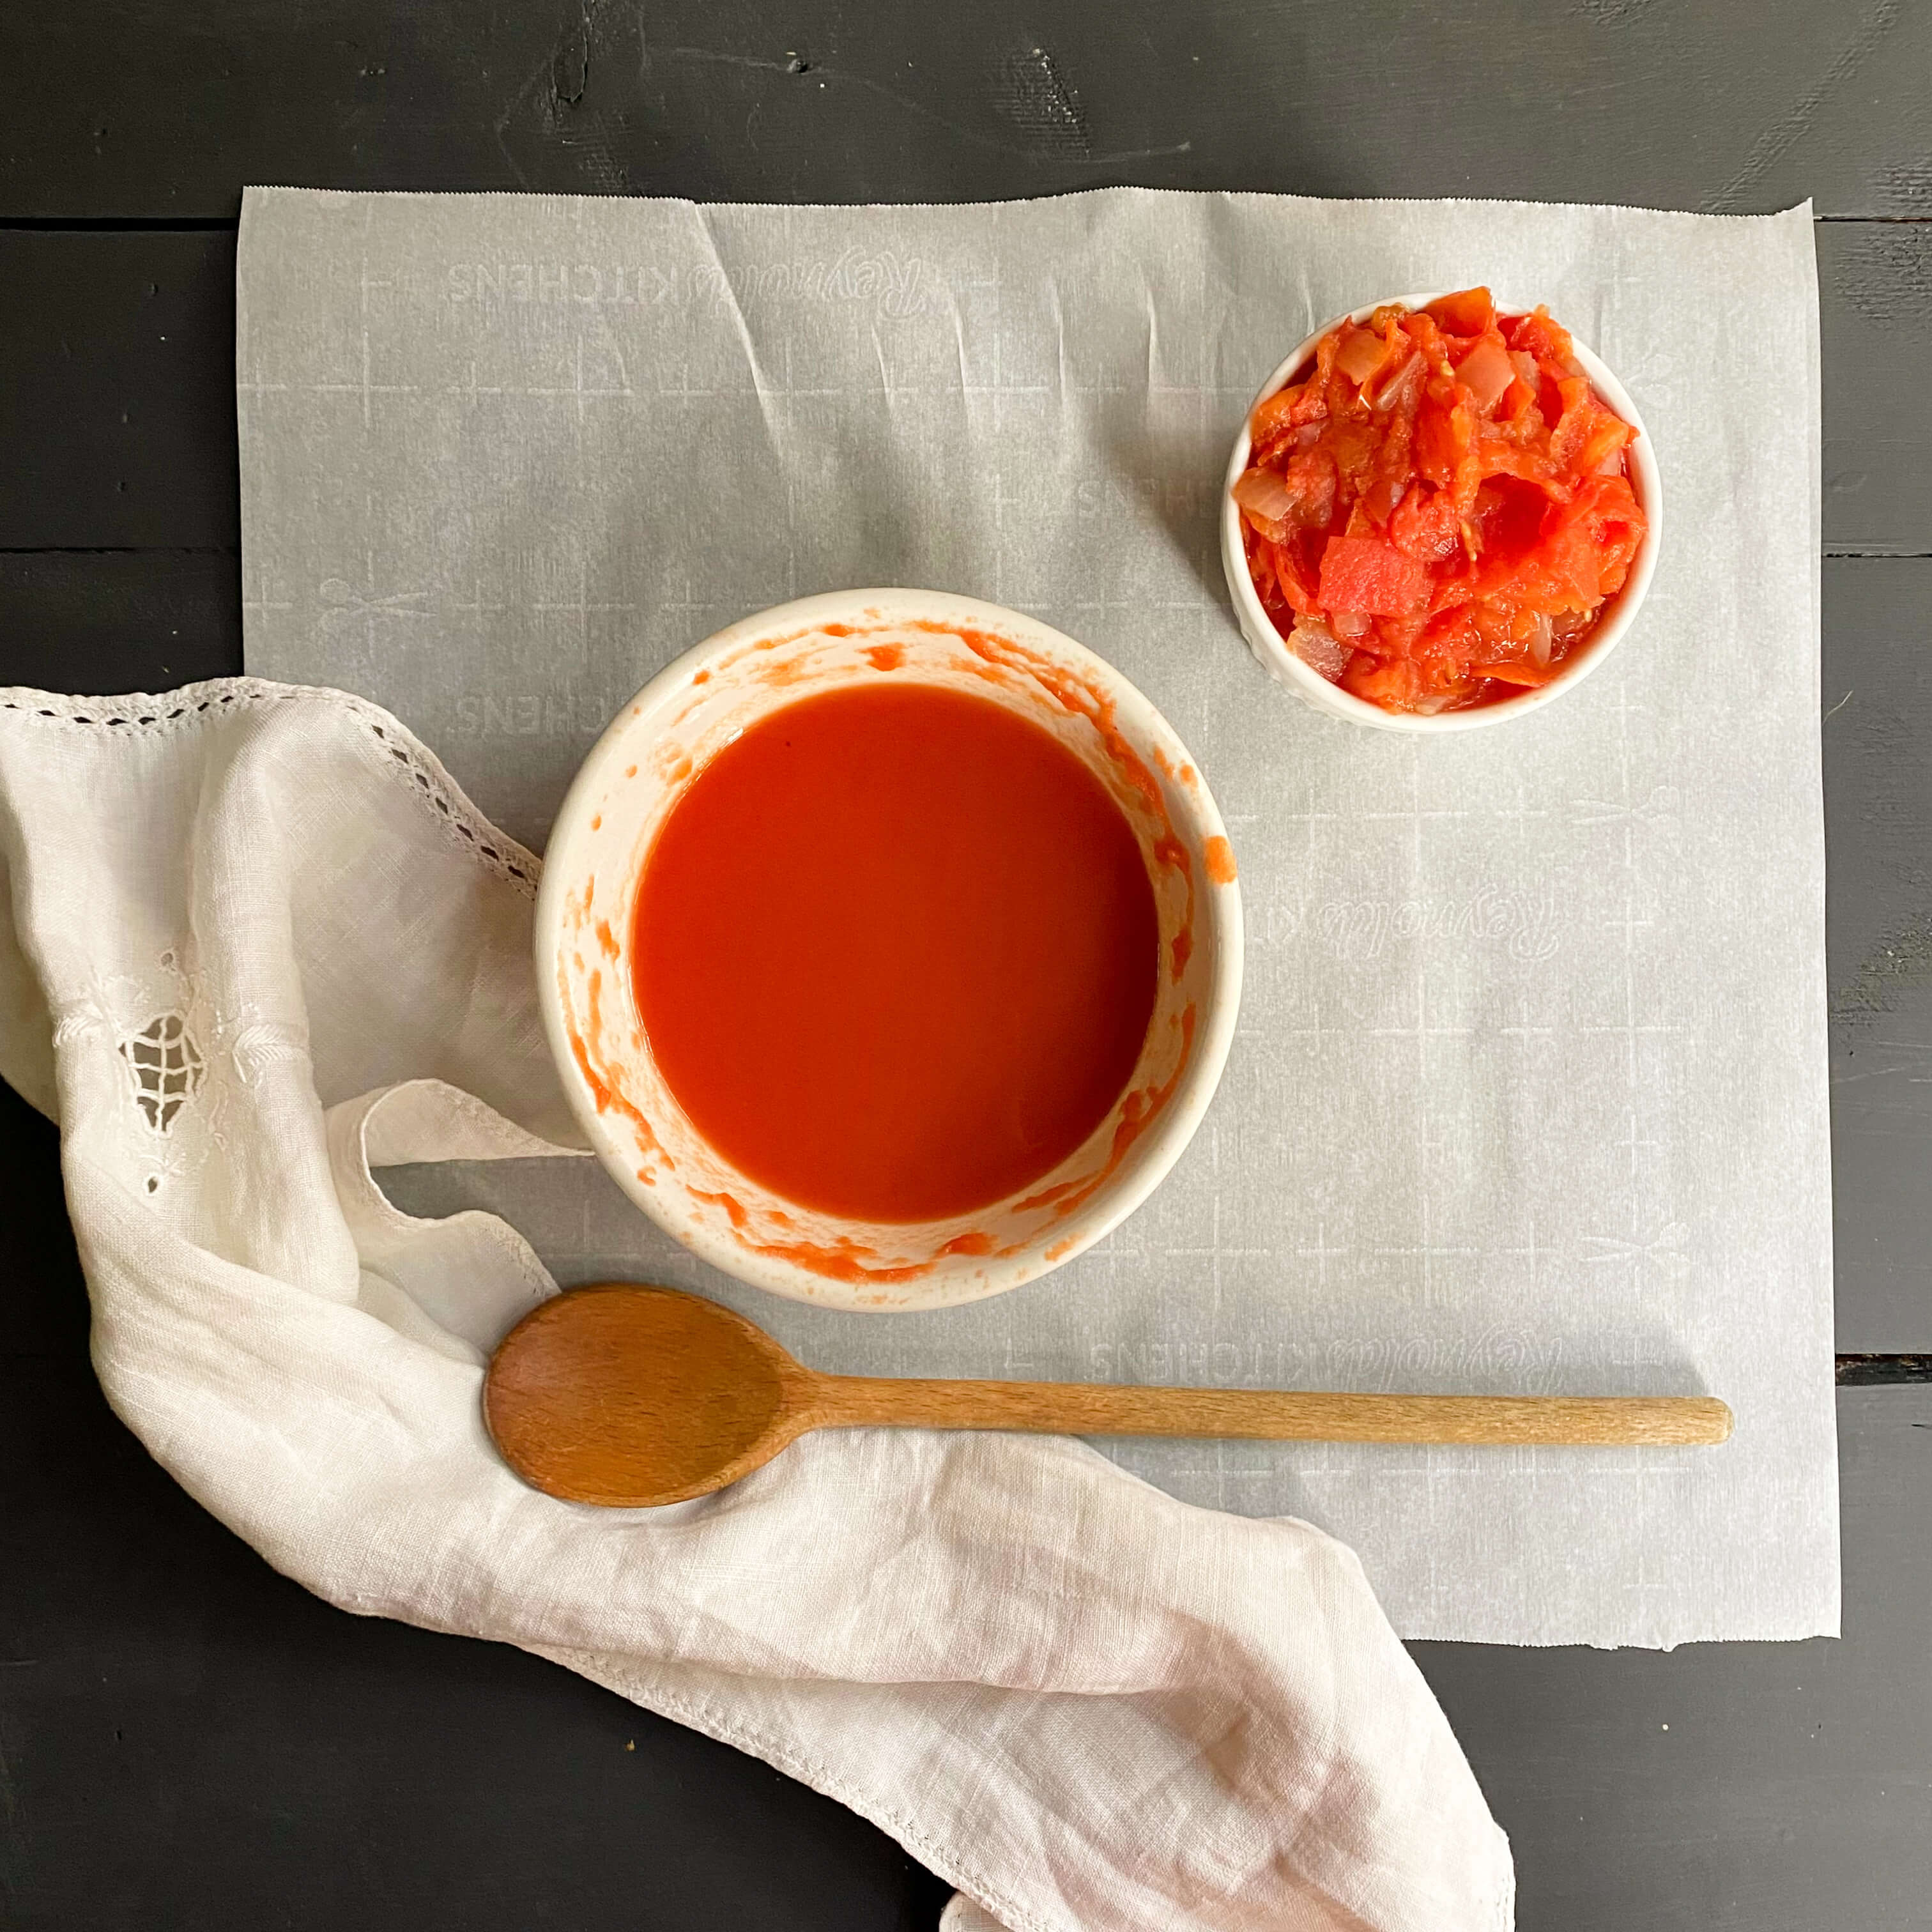
With a thick consistency, a sweet taste and a peppery bite this homemade ketchup was full of delicious, tangy flavor. A little bit darker in color than our usual brand of store-bought ketchup, the best way to describe the difference between these versions is to compare them side by side.
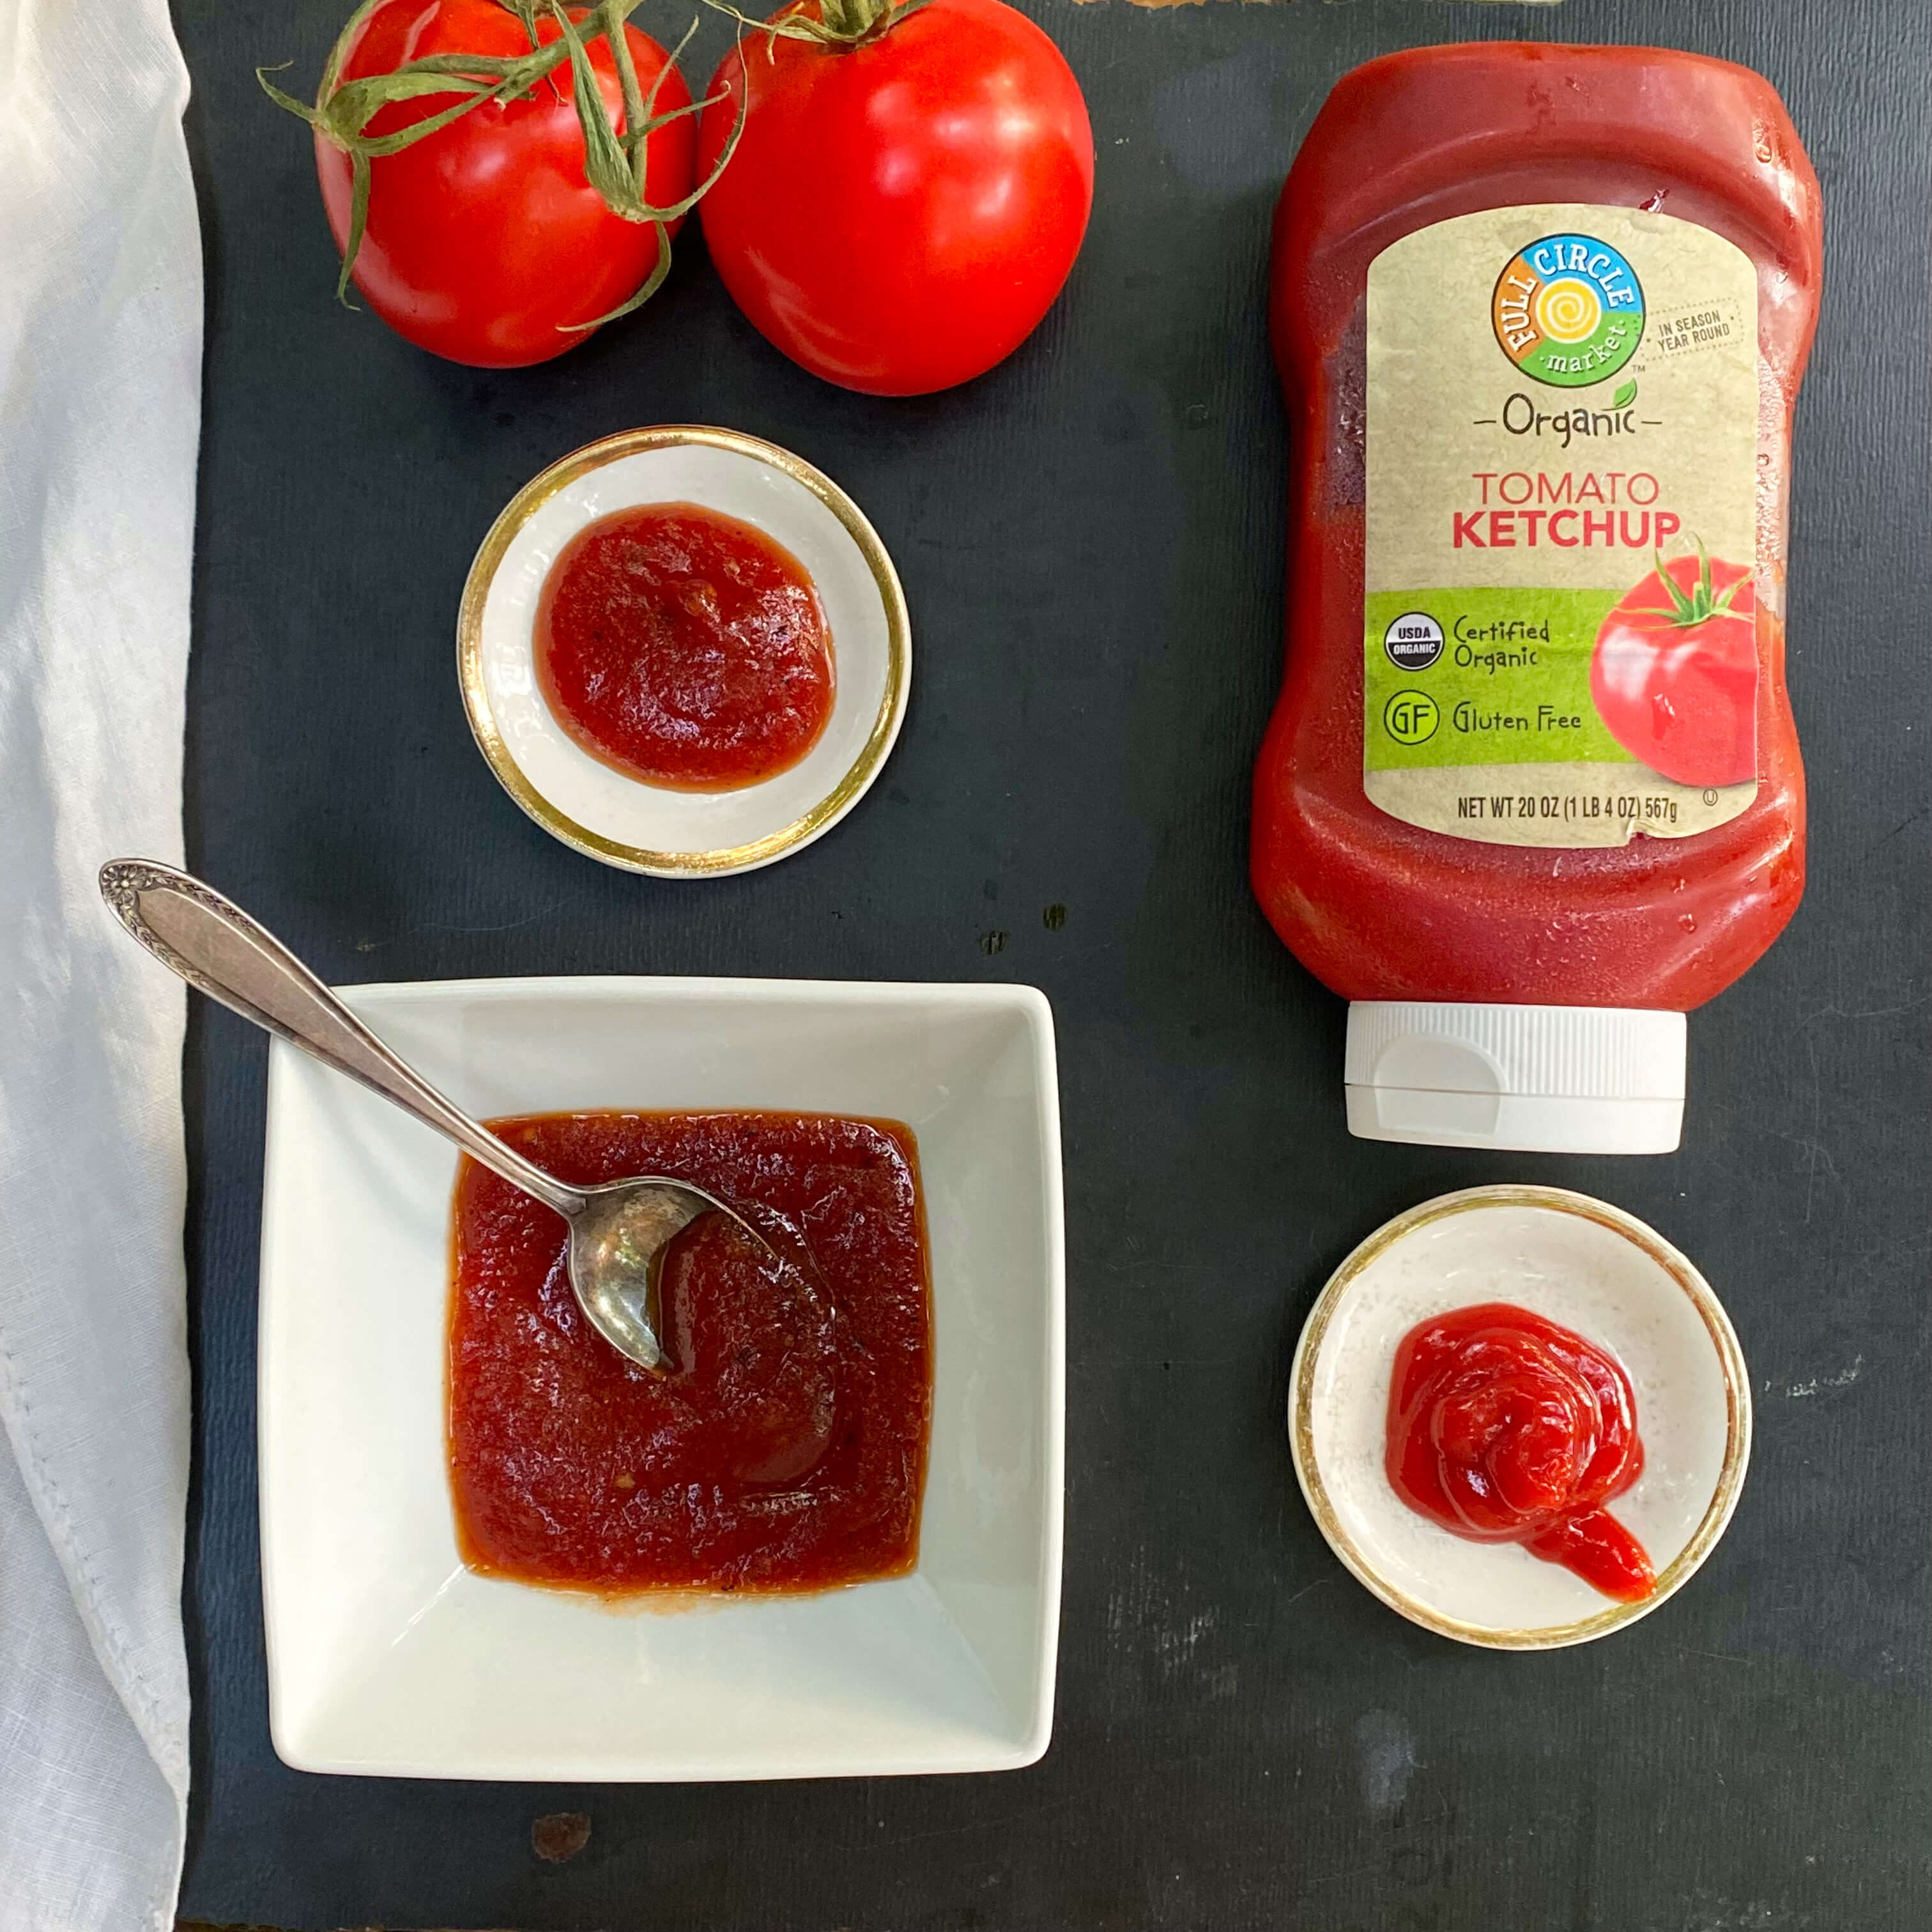

The store-bought ketchup was not as sweet and it tasted tinny like canned tomatoes with a mineral undertone. The homemade ketchup was sweeter, brighter, and more evenly balanced in flavor. The store-bought version was candy-apple red in color and smoother in consistency. The homemade version, although not thin, was more sauce-like in texture, similar to a steak sauce or a barbeque sauce, and slightly more opaque. The last defining difference between the two was the spice factor, which of course was the unique ingredient in the homemade version.
Interestingly, the store-bought ketchup contained very similar ingredients to the homemade version… organic tomato concentrate, organic sugar, organic vinegar, salt, organic spices, and organic onion powder – not too different from the ingredients we used. But like anything made from scratch in small batches, as opposed to something made en masse in a factory, you can’t beat fresh, homemade, whole-food flavor.

You might suspect that ketchup would have an origin story that begins in Italy, given the country’s love of homegrown tomatoes and homemade sauce. But actually, ketchup is steeped in centuries of Chinese food culture and dates all the way back to the 1700s when it was first used as a way to ferment and preserve fish. At that point in time, there were no tomatoes involved and it was not red in color. It was thin and watery and looked more like soy sauce. It wasn’t until the early 1800s in America that tomatoes in ketchup made their debut.
Henry John Heinz (1844-1919) made ketchup a famous American condiment in the 1870s after years spent first experimenting with horseradish. By the 1960s, when this Spicy Tomato Ketchup recipe was published in The New York Times Cook Book, Heinz Ketchup was a worldwide favorite bringing in over $300 million dollars a year in global sales.

It’s interesting to think that in the dawn of convenience foods (aka the mid-20th century), when saving time in the kitchen was important to busy families, and the exciting novelty of pre-packaged foods was all the rage, that Craig Claiborne was still interested in adding a homemade ketchup recipe to his cookbook. When 1960s home cooks could have easily run out and purchased an already prepared bottle of trusted, reliable Heinz Ketchup and called the day done for a lot less time and expense, it’s interesting that the New York Times treated this ordinary, taken-for-granted, always-around condiment with a little more reverence.
In preparing this recipe, I now understand that ketchup is an elevated culinary sauce, perfected over centuries. It’s not just something you slather on your burger or your hot dog or dip your french fries into without thinking. It shouldn’t be something you buy in bulk at the grocery store with the same level of enthusiasm as buying a roll of paper towels. Homemade ketchup requires time and a unique blend of ingredients to bring out all the flavors. It’s a condiment worthy of attention and of appreciation. When it is homemade, it offers a gourmet flourish to your summer grill menu and adds a bit of zesty flavor to your palate and your plate. There is also something freeing about knowing that, should we ever run across The Great Tomato Ketchup Shortage of 2021 again, we could easily whip up a batch ourselves if we needed to. I guess this means that I need to learn how to can. So that I can go ahead and make those eight pints and have a reserve in my pantry. This homemade recipe will spoil you in that way. It will turn your attention away from all those other commercial ketchups. There is truth in the saying. Yes, homemade ketchup tastes better than a store-bought version.
I hope you love this ketchup recipe just as much. As always, if you make it please share your thoughts in the comment section below. And if you’d like to experiment with another homemade condiment, try this wonderful Danish mustard recipe here.
Cheers to Craig, Eleanor and tomato growers all over the globe for adding so much flavor to our summer days.