As we settle into cozy mid-winter weather with the hustle and bustle of the holiday season behind us, I’m excited to share the annual tradition of the recommended book list. Usually this lists gets published at the end of December during the last week between Christmas and New Year’s, but I’m a little late this year. Two books that I definitely wanted to include on the list I finished just as 2025 turned into 2026. That wound up actually being pretty good timing.
The month of January offers a blank slate, a clean start, a new way of looking at life and landscape. And that’s exactly what these thirteen books offer too. A new way to look at home, at garden, and at life.
As is true every year, this book list does not cover the newly published books hot off the press in 2025 or the same round and round recommendations that pop up on our social media feeds and dance around emails. These recommended books are not ones that I sought out but rather discovered by serendipity on my way through the research archives looking for other information about other things. Many of these books are over a few years old, and some are a few decades old, but they all center around three main themes: embracing the whimsicality of nature, of celebrating personal passions, and of appreciating the moment.
I hope you find a book or two that sparks your interest and makes you look at life in a new way too.
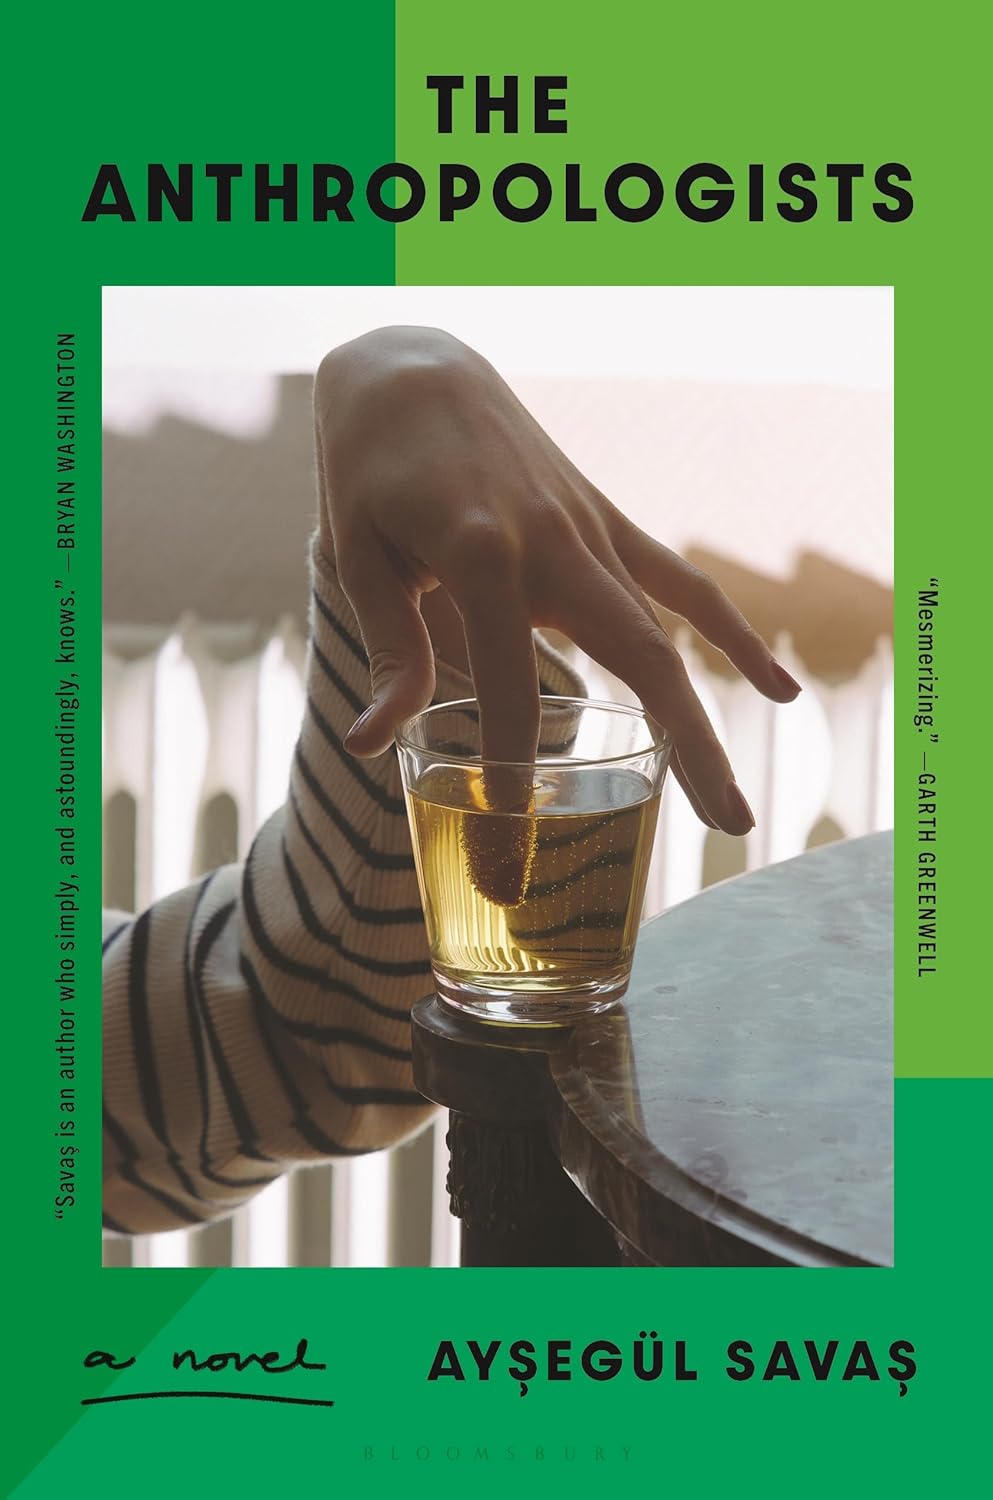
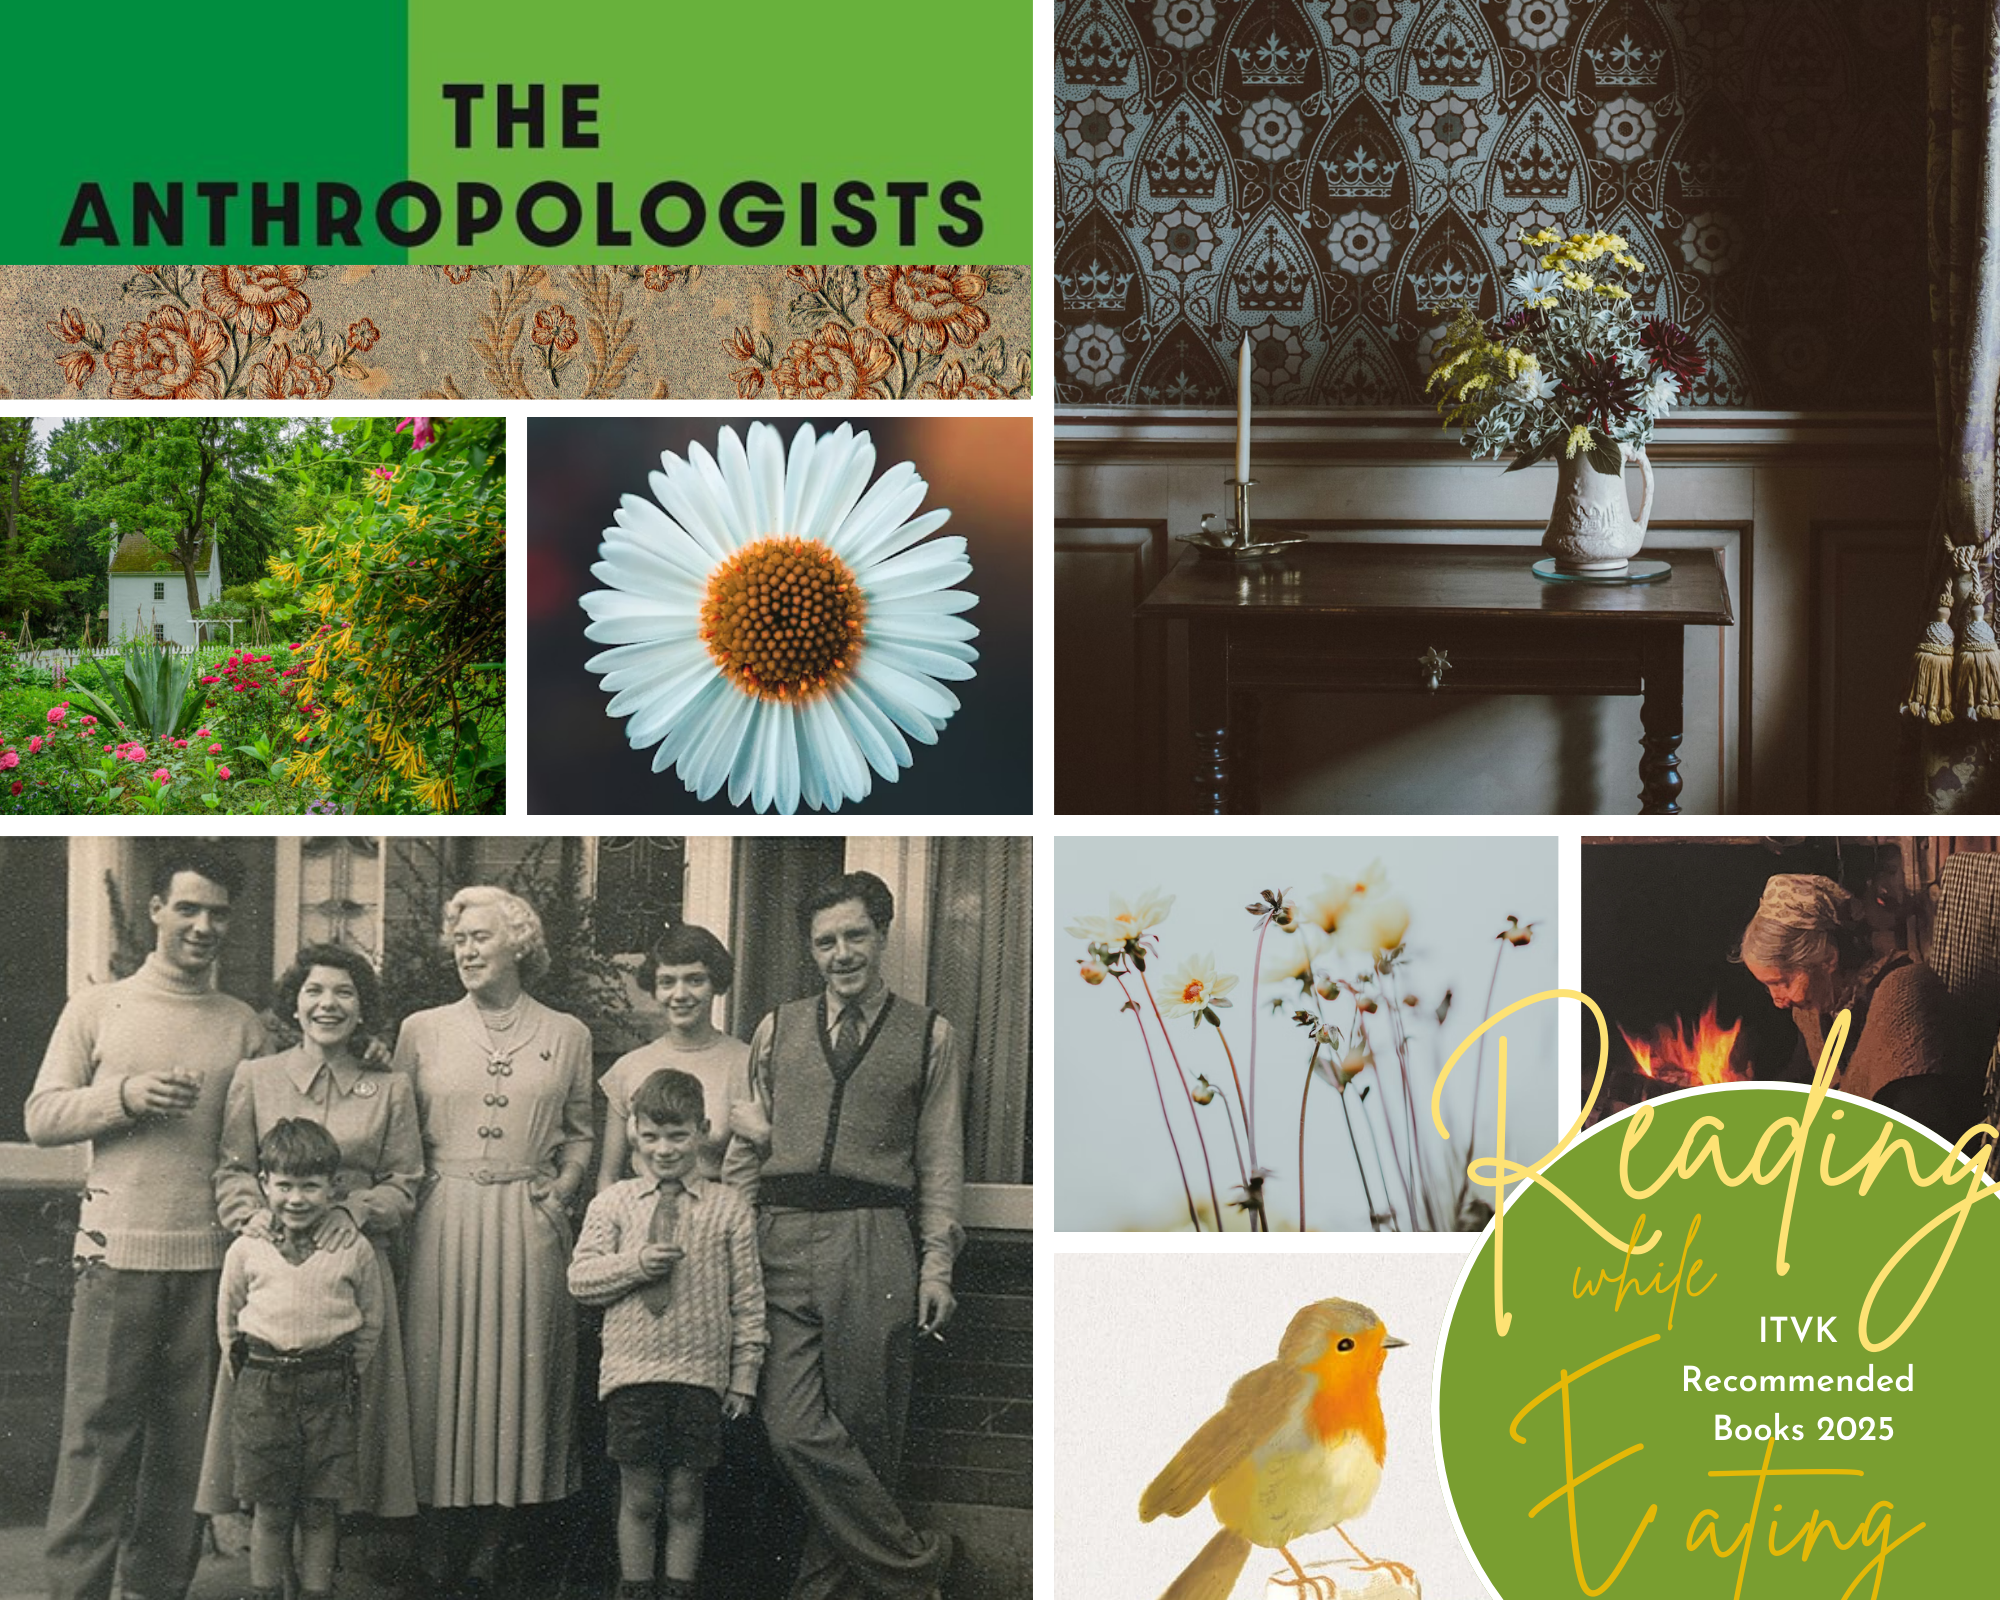
The Anthropologists by Aysegul Savas (2024)
The placement of a vase in the kitchen. The purchase of an orange at the market. The conversation with a neighbor over lunch. The decision to buy or not to buy the lamp, or the rug, or the table with the wobbly legs. These are some of the types of decisions and details that swim around the main characters, Aysa and Manu in The Anthropologists as they hunt for a new apartment in a new neighborhood. This is not an easily achievable task. Aysa and Manu don’t exactly know what they want, other than having a vague and hazy idea that the new apartment will fit with the comfort of who they are now and the idea of who they want to become in the future.
On this hunt, Aysa and Manu examine everything. That orange and that lamp. That rug and that table. They examine their friends, and their neighbors, and their commitments to them both. They examine their daily routines, their work, their ambitions, their families, their food. Is this what we want? Is this who we are? Is this where we are going? Aysa and Manu ask these questions over and over.
Beautifully written, funny, and thoughtful, I fell in love with Manu and Aysa and how they moved through their days with their languid ways, always searching for significance. Ultimately, this book is about finding a place where one fits and with whom. It’s about transient people trying to establish permanent roots. And it’s about attaching meaning to the details of every day, no matter how significantly big or stunningly small.
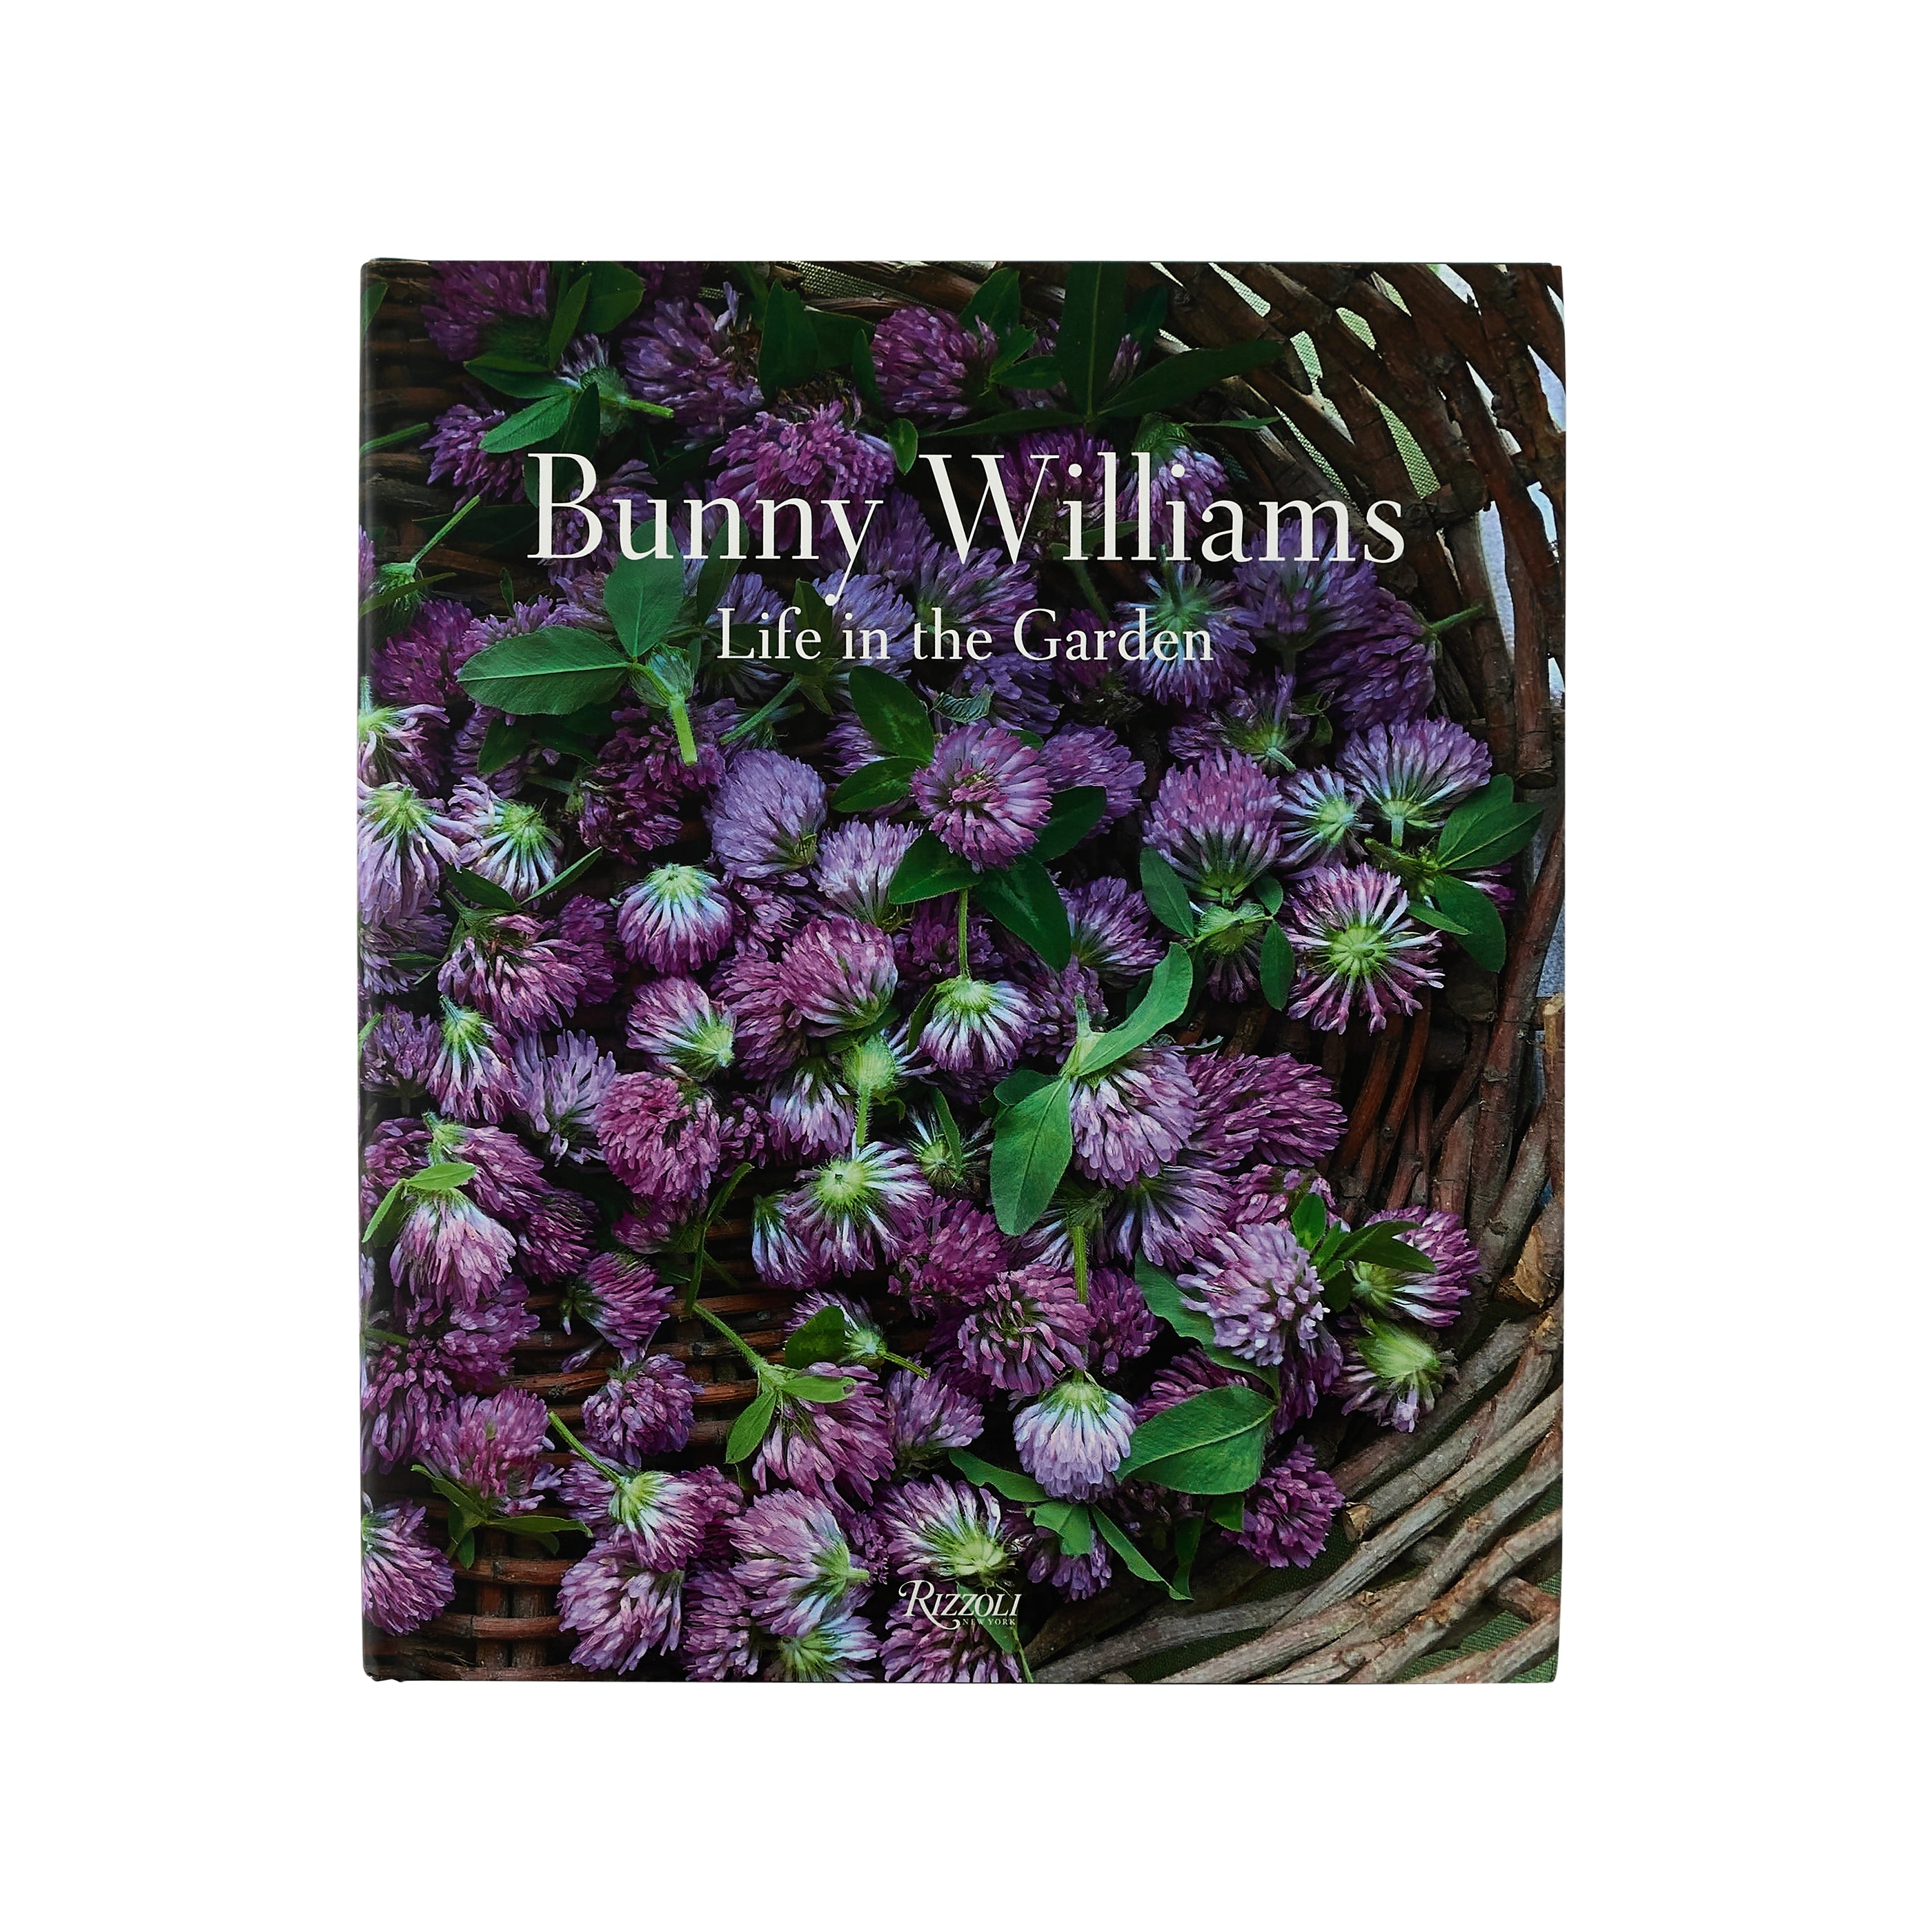
Life In The Garden – Bunny Williams (2024)
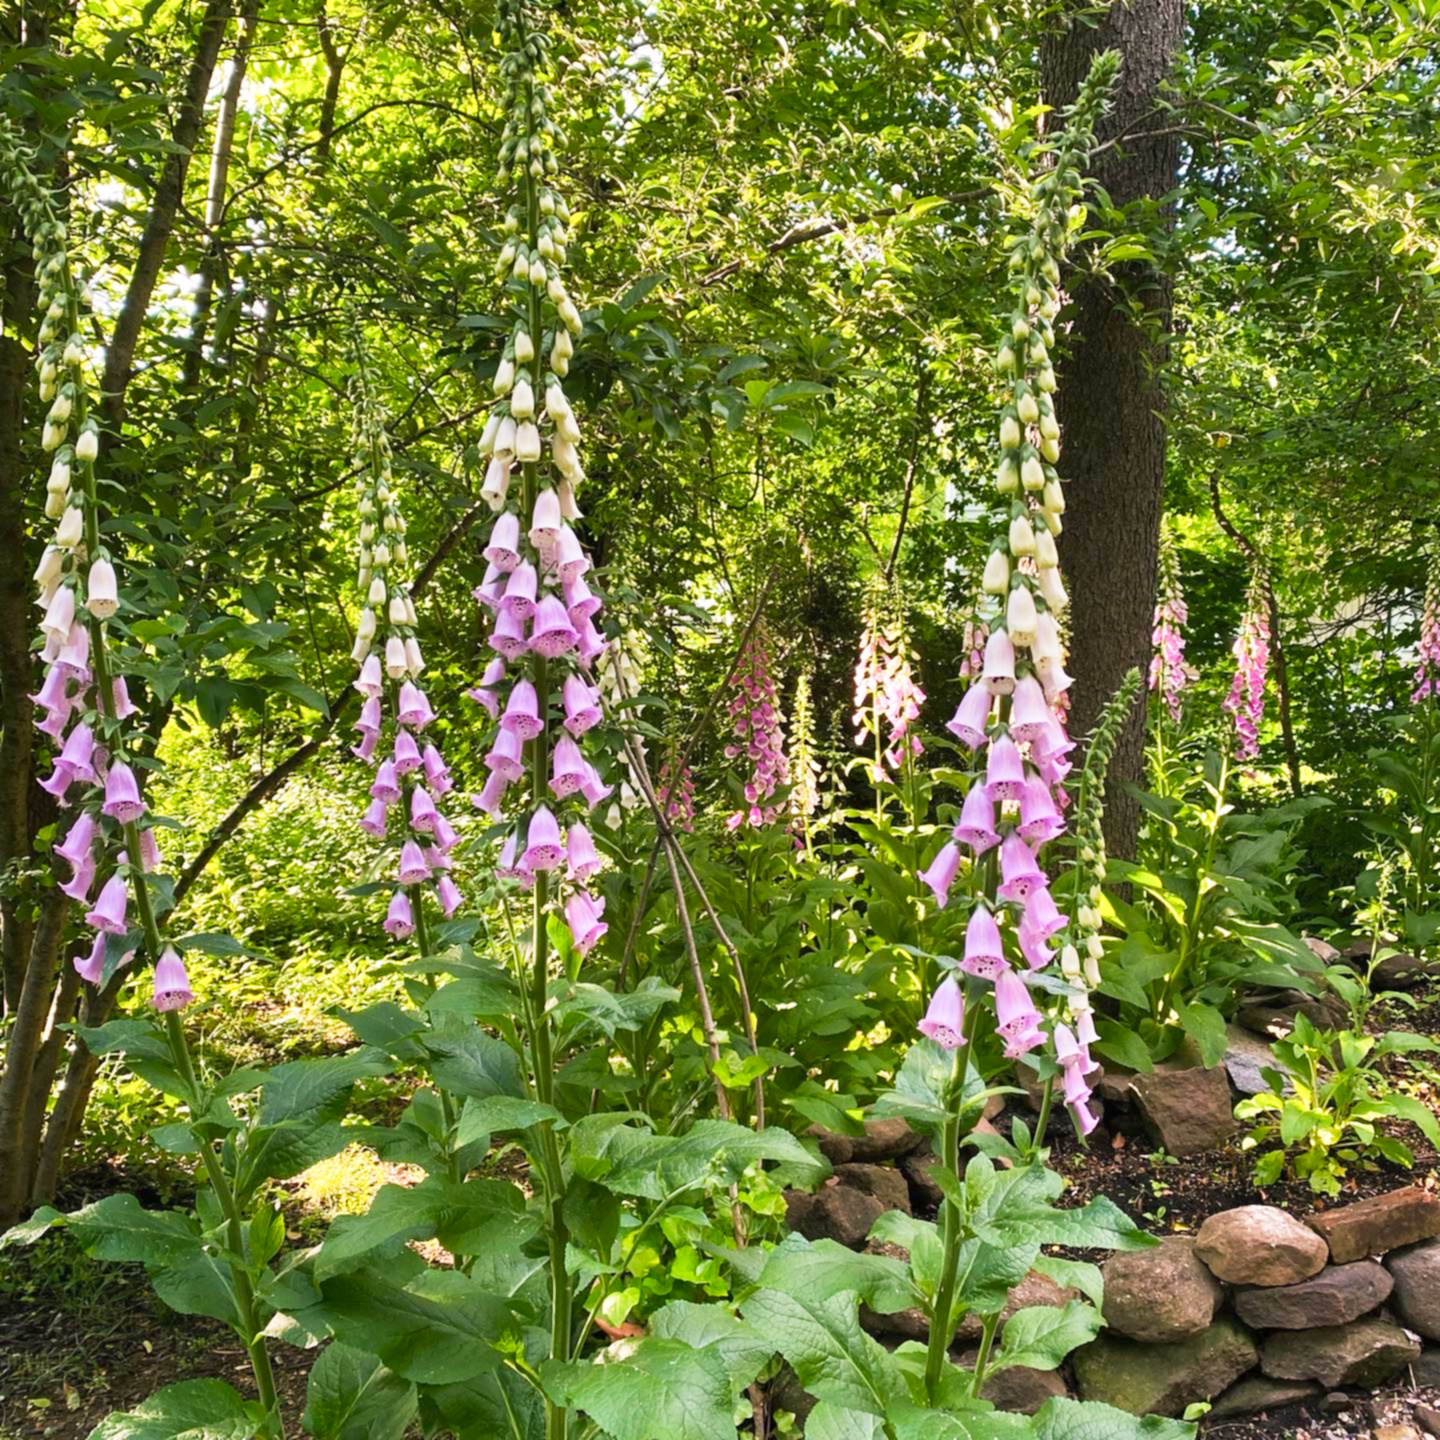
Mid-winter landscapes favor warm beiges and steel greys, but if you need a dose of bright color on these January days, spend a minute with Bunny. She’ll take you through her garden of rainbow-colored blossoms lush with verdant vistas and summer sunshine. The prettiest garden book I have ever read, every page is an homage to the beauty of nature. The photographs are detailed, dramatic, stunning. The layout of the book is equally captivating. And it is the first garden book that I’ve ever encountered that utilizes different types and weights of paper stock, making each page compelling both in content and presentation.

Bunny Williams, a long-time Connecticut gardener, interior designer, and writer is no stranger to beautiful garden books or tours of her c. 1780 farmhouse and property. But photographers Annie Schlechter and James Gillispie were new discoveries on my part.
Capturing both long shots of the garden and exquisite up close details, Annie and James’ images encapsulate the work of three extraordinary artists… two photographers and a gardener, as they walk through an inspiring paradise built by hand.

A Year at Brandywine Cottage – David Culp (2020)
For all the beauty that Bunny Williams’ book visually brings to the reading experience, the thing I loved most about David Culp’s A Year at Brandywine Cottage, was the writing. Unlike many gardening books which predominantly talk about the flowers and the plants and the beds and the buildings and the process of planting what where, David’s book is a memoir. One that weaves together 30 years worth of stories detailing how he built up the gardens from scratch at his pastoral cottage in Downingtown, Pennsylvania.

He discusses how nature and life choices ultimately influenced and inspired each other in the garden. He discusses the horticultural trends he raced to embrace early on and the results of those enthusiasms years later in the garden when his tastes changed, or he decided to go in another direction.
What I found particularly refreshing about this book is that David talks about the successes and failures he encountered across three decades. How the garden has ebbed and flowed in step with his own horticultural passions as they bloomed and waned. Not every gardening book, nor the author behind it, races to tell you about the challenges met or the long-term effects of fads they wish they hadn’t embraced. But David reminds readers that gardening is a journey: physically, emotionally and aesthetically. Full of beautiful photographs by Rob Cardillo and recipes inspired by the vegetable gardens, this is one of those books that is as fun to read and cook from as it is to gather ideas and inspiration.
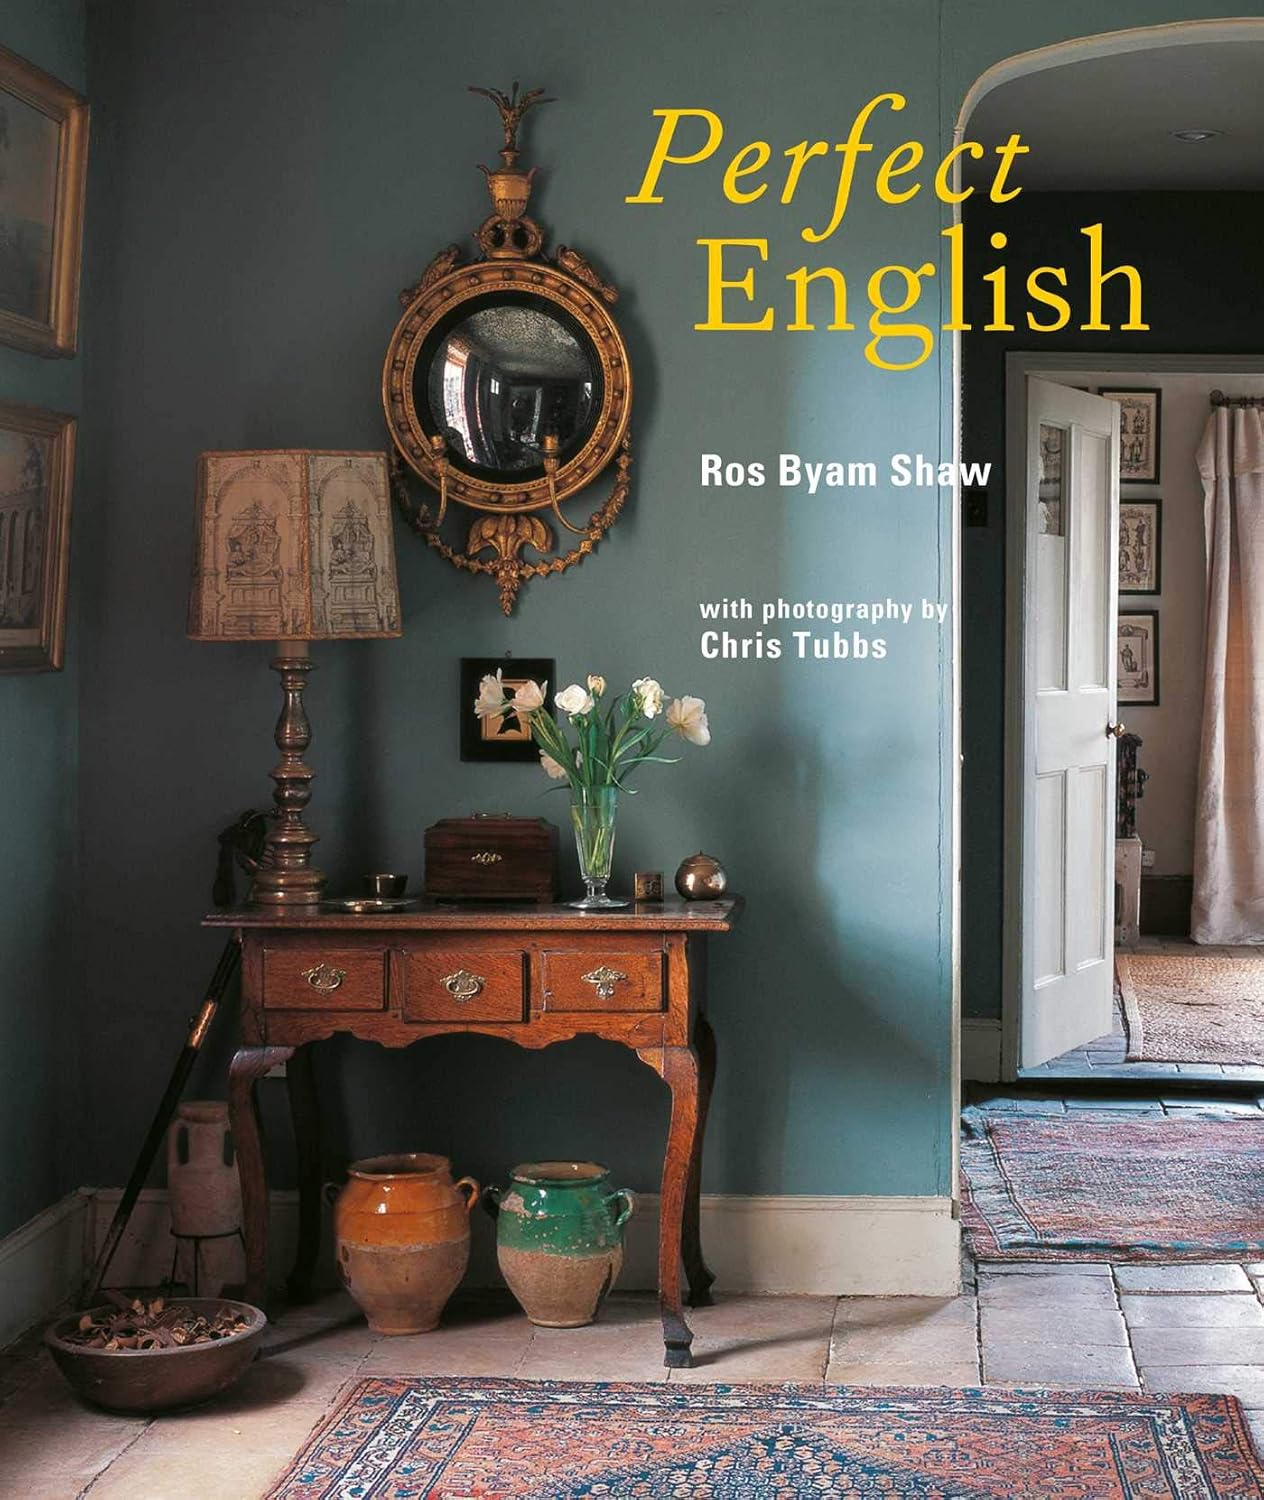
Perfect English – Ros Byam Shaw (2007)
It’s ultimately regrettable that not all decorating books travel the years well. So many trend-conscious ones gather dust on the shelves a few years after publication simply because of an out-dated aesthetic or a fashionable fad that went out of favor. But Perfect English, published in 2007, nineteen years ago, still looks as fresh and relevant as the day it debuted. Celebrating timeless design by incorporating classic antiques along with all the practical elements of contemporary everyday life, the interiors in this style guide are layered with story.
Mostly decorated by homeowners on thin budgets, with objects pulled together from car boot sales, charity shops, antique markets, and family heirlooms, the rooms in Perfect English are filled with character and personality. Stories and snippets are shared by the homeowners about how they decorated their spaces and which specific items helped to lend history, sentiment, and love-at-first-sight appeal all in order to promote a style that is always in style. No matter the decade.
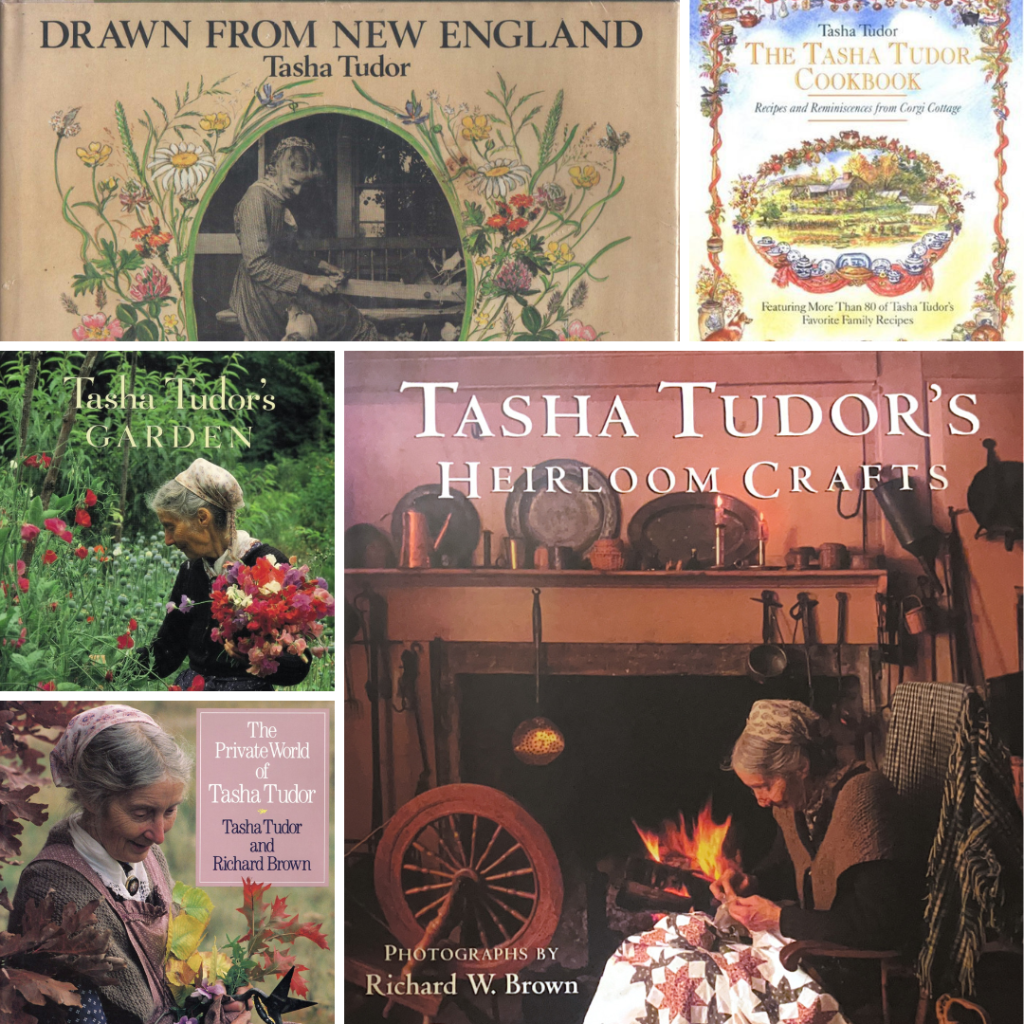
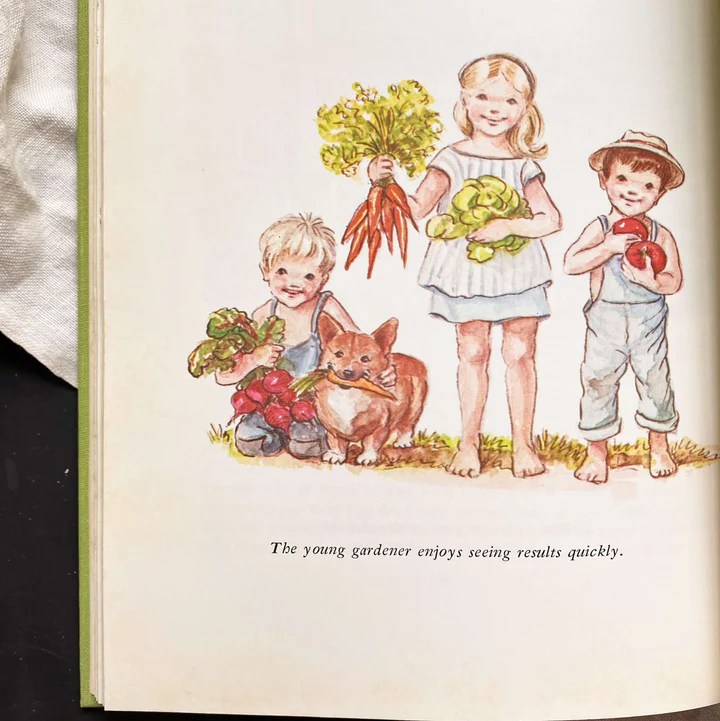
A Sampling of Tasha Tudor Lifestyle Books (1979-1995)
Not only an accomplished artist, but a master gardener, a cook, a craftswoman, a writer, a historian, and a primitive home dweller, Tasha Tudor (1915-2008) was one of the most interesting women I discovered in 2025. Practically a one woman living history museum in and of herself, Tasha had a long-lasting love affair with the 19th century that infiltrated every aspect of her life. Identifying most with the 1830s, she intentionally approached gardening, cooking, decorating and craftmaking in the same way as early 19th century New England homesteaders.
Her range of talent and expertise in the antique arts knew no boundaries. She lived in a Vermont farmhouse built to suit in the 1830s style, where she spent her entire adult life dressed in 19th century clothing that she made herself. She grew all of her own food as well as plants and flowers for fabric, homemade dyes and medicinal salves. She took care of a wide range of farm animals along with a pack of ever-present, close-to-her-heart Corgi dogs. She made heirloom crafts for practical, everyday use. She cooked on antique cast iron range, illuminated her home by candlelight, and made all of her own household linens including fabrics and rugs that she wove herself on a series of antique looms set up in her living room.
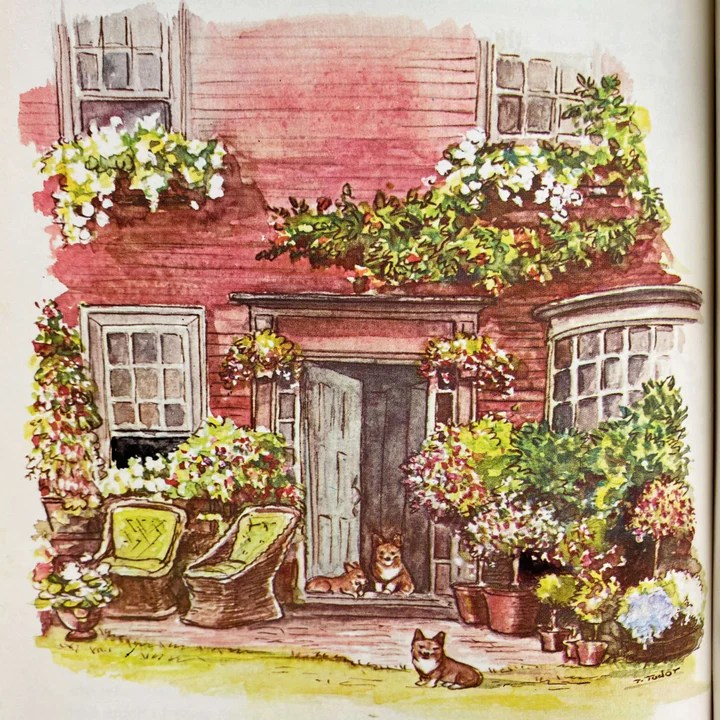
Her successful long-running art career as a painter and illustrator both inspired and fueled her life at Corgi Cottage. Responsible for creating a magical world for both kids and adults, her illustrations of an idyllic, bygone world garnered fans around the world throughout the 20th century.
Although a very private person, the five books recommended above share glimpses into how and why Tasha managed to accomplish this unique lifestyle. They detail her ancestral history, share stories from friends and family who were close to her, and offer tips and techniques she learned over the years in the ways of cooking, crafting and gardening. Ultimately they show, time after time, book after book, how her art was her reality and her reality was her art. Whether Tasha’s story is one of eccentricity or just an example of sheer passion fully embraced, there is a fondness for life at Corgi Cottage, an impression of a return to a simpler life, that still resonates with people around the world, including Japan where there is a museum devoted to her work. Fascinating in so many ways, I think Tasha was the closest modern-day connection we might have had to not only meeting but also understanding our early 19th century ancestors.
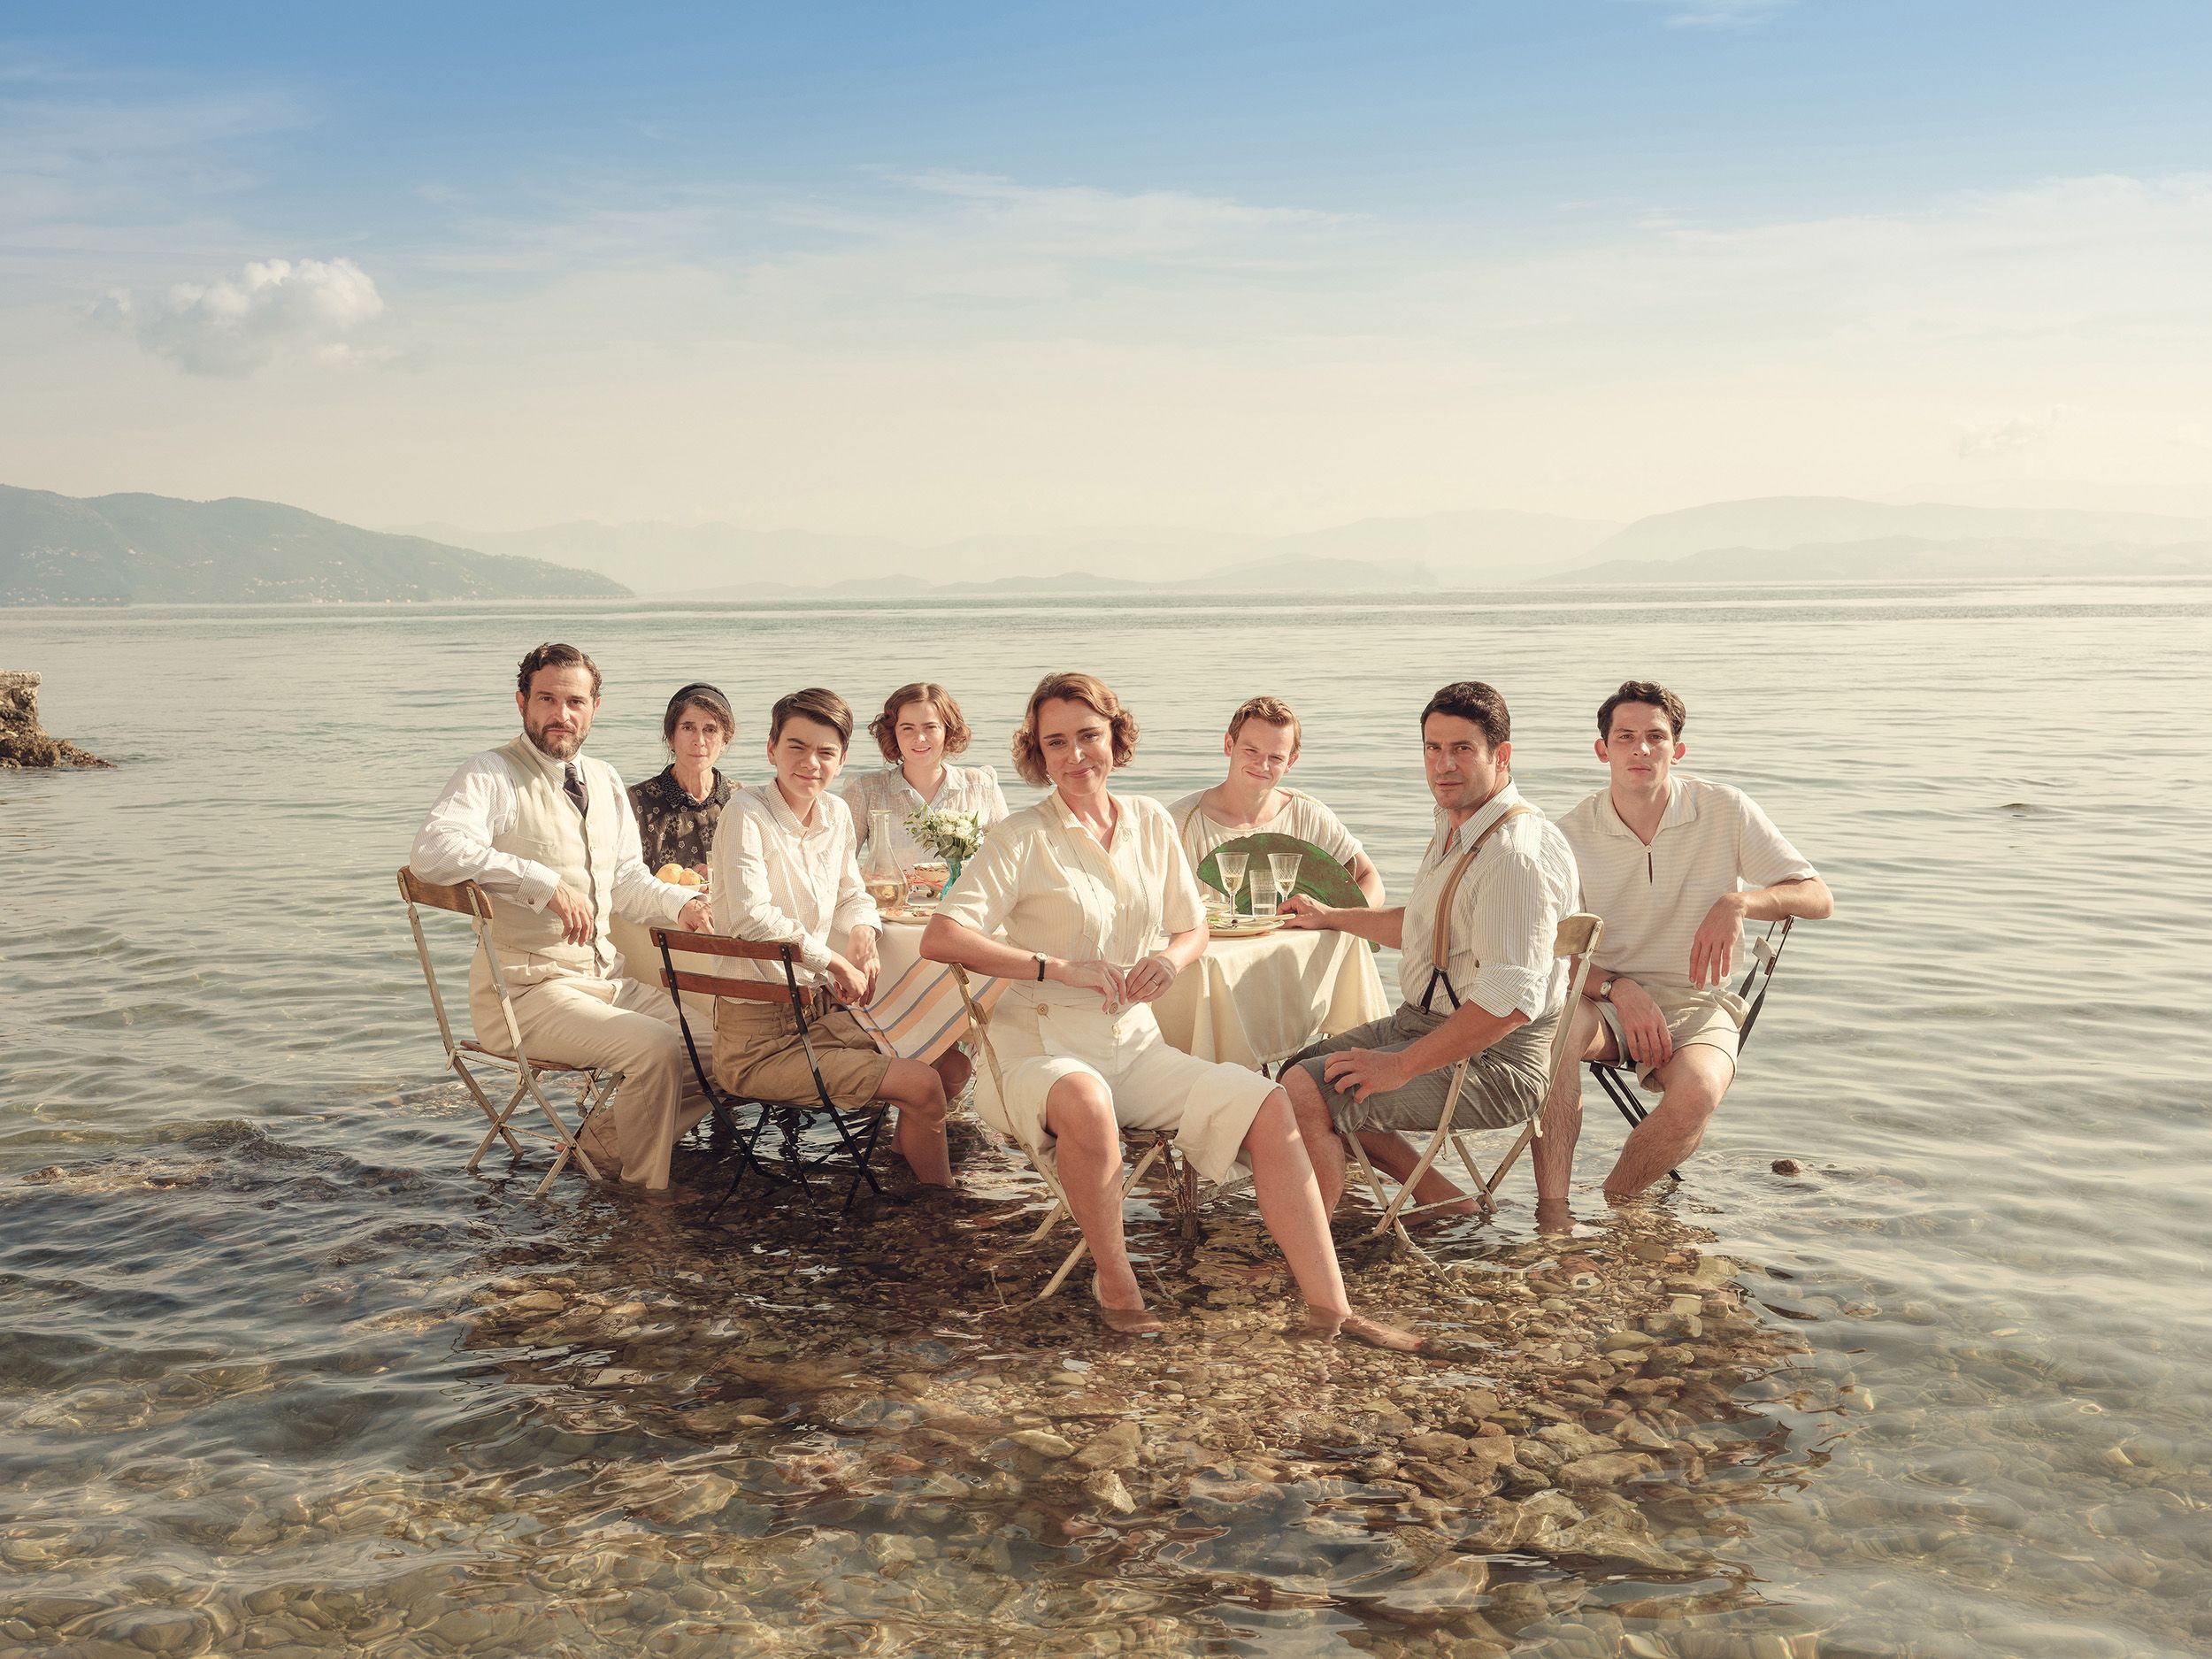
The Durrells of Corfu by Michael Haag (2017)
Written by a friend of the family, Michael Haag’s The Durrells of Corfu is the real-life story of Louisa, Larry, Leslie, Margot, and Gerald Durrell and their Corfu friends Spiros, Lugretzia and Theo who made up the cast of characters in the PBS series, The Durrells in Corfu. When Gerald Durrell published his autobiographical account of his family’s adventures on this gorgeous Greek island in My Family and Other Animals, he added some fanciful storytelling panache to the events for extra entertainment.

But Michael’s book follows the family’s real-life timelines as they moved through India, England, and Corfu. Compelling, engaging, and beautifully written, he takes readers into Louisa’s world in 19th century India before her marriage. He details her life as a newlywed, and shares her experiences as a young mother traveling to remote sections of the country with her husband Lawrence Sr. as he designed and built railroads through jungle lands and primitive surroundings. Michael describes Larry, Leslie, Margot, and Gerry as babies, and the animals that first shared their lives then, setting the stage for the personalities and the pets that would naturally follow in Corfu. And he discusses the devastating heartache that Louisa endured following the early death of her husband.
Set against a backdrop of exotic locations and dramatic historical events, the Durrell family story is fascinating for all of its adventure and creativity. Capturing intimate perspectives from each of the family members, Michael also focuses on the emerging writing talents of Larry, Gerry, and Margot, each of whom went on to detail their childhood and adult years in later fiction and non-fiction works. And he discusses what became of them all once those magical, remarkable years in Corfu came to an end and changed the family forever.
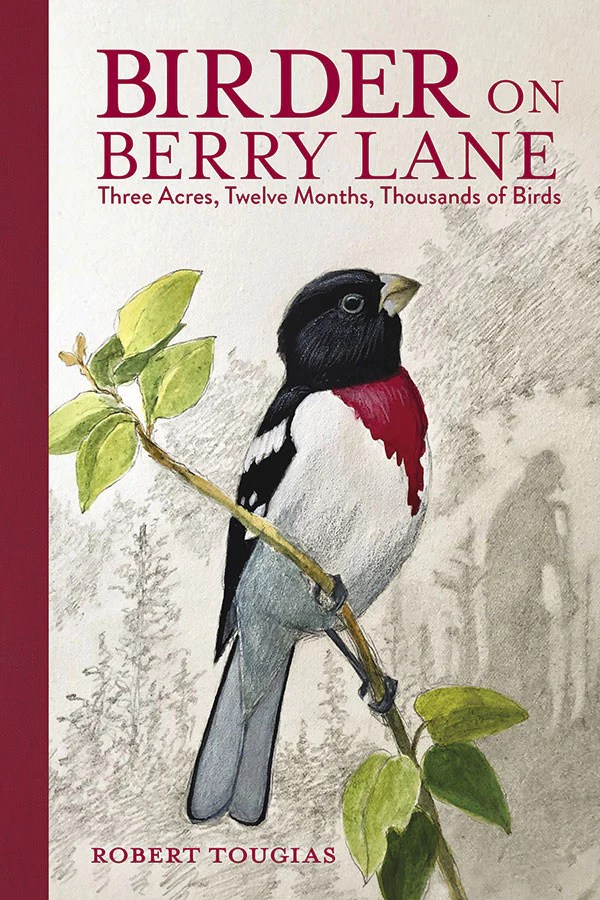
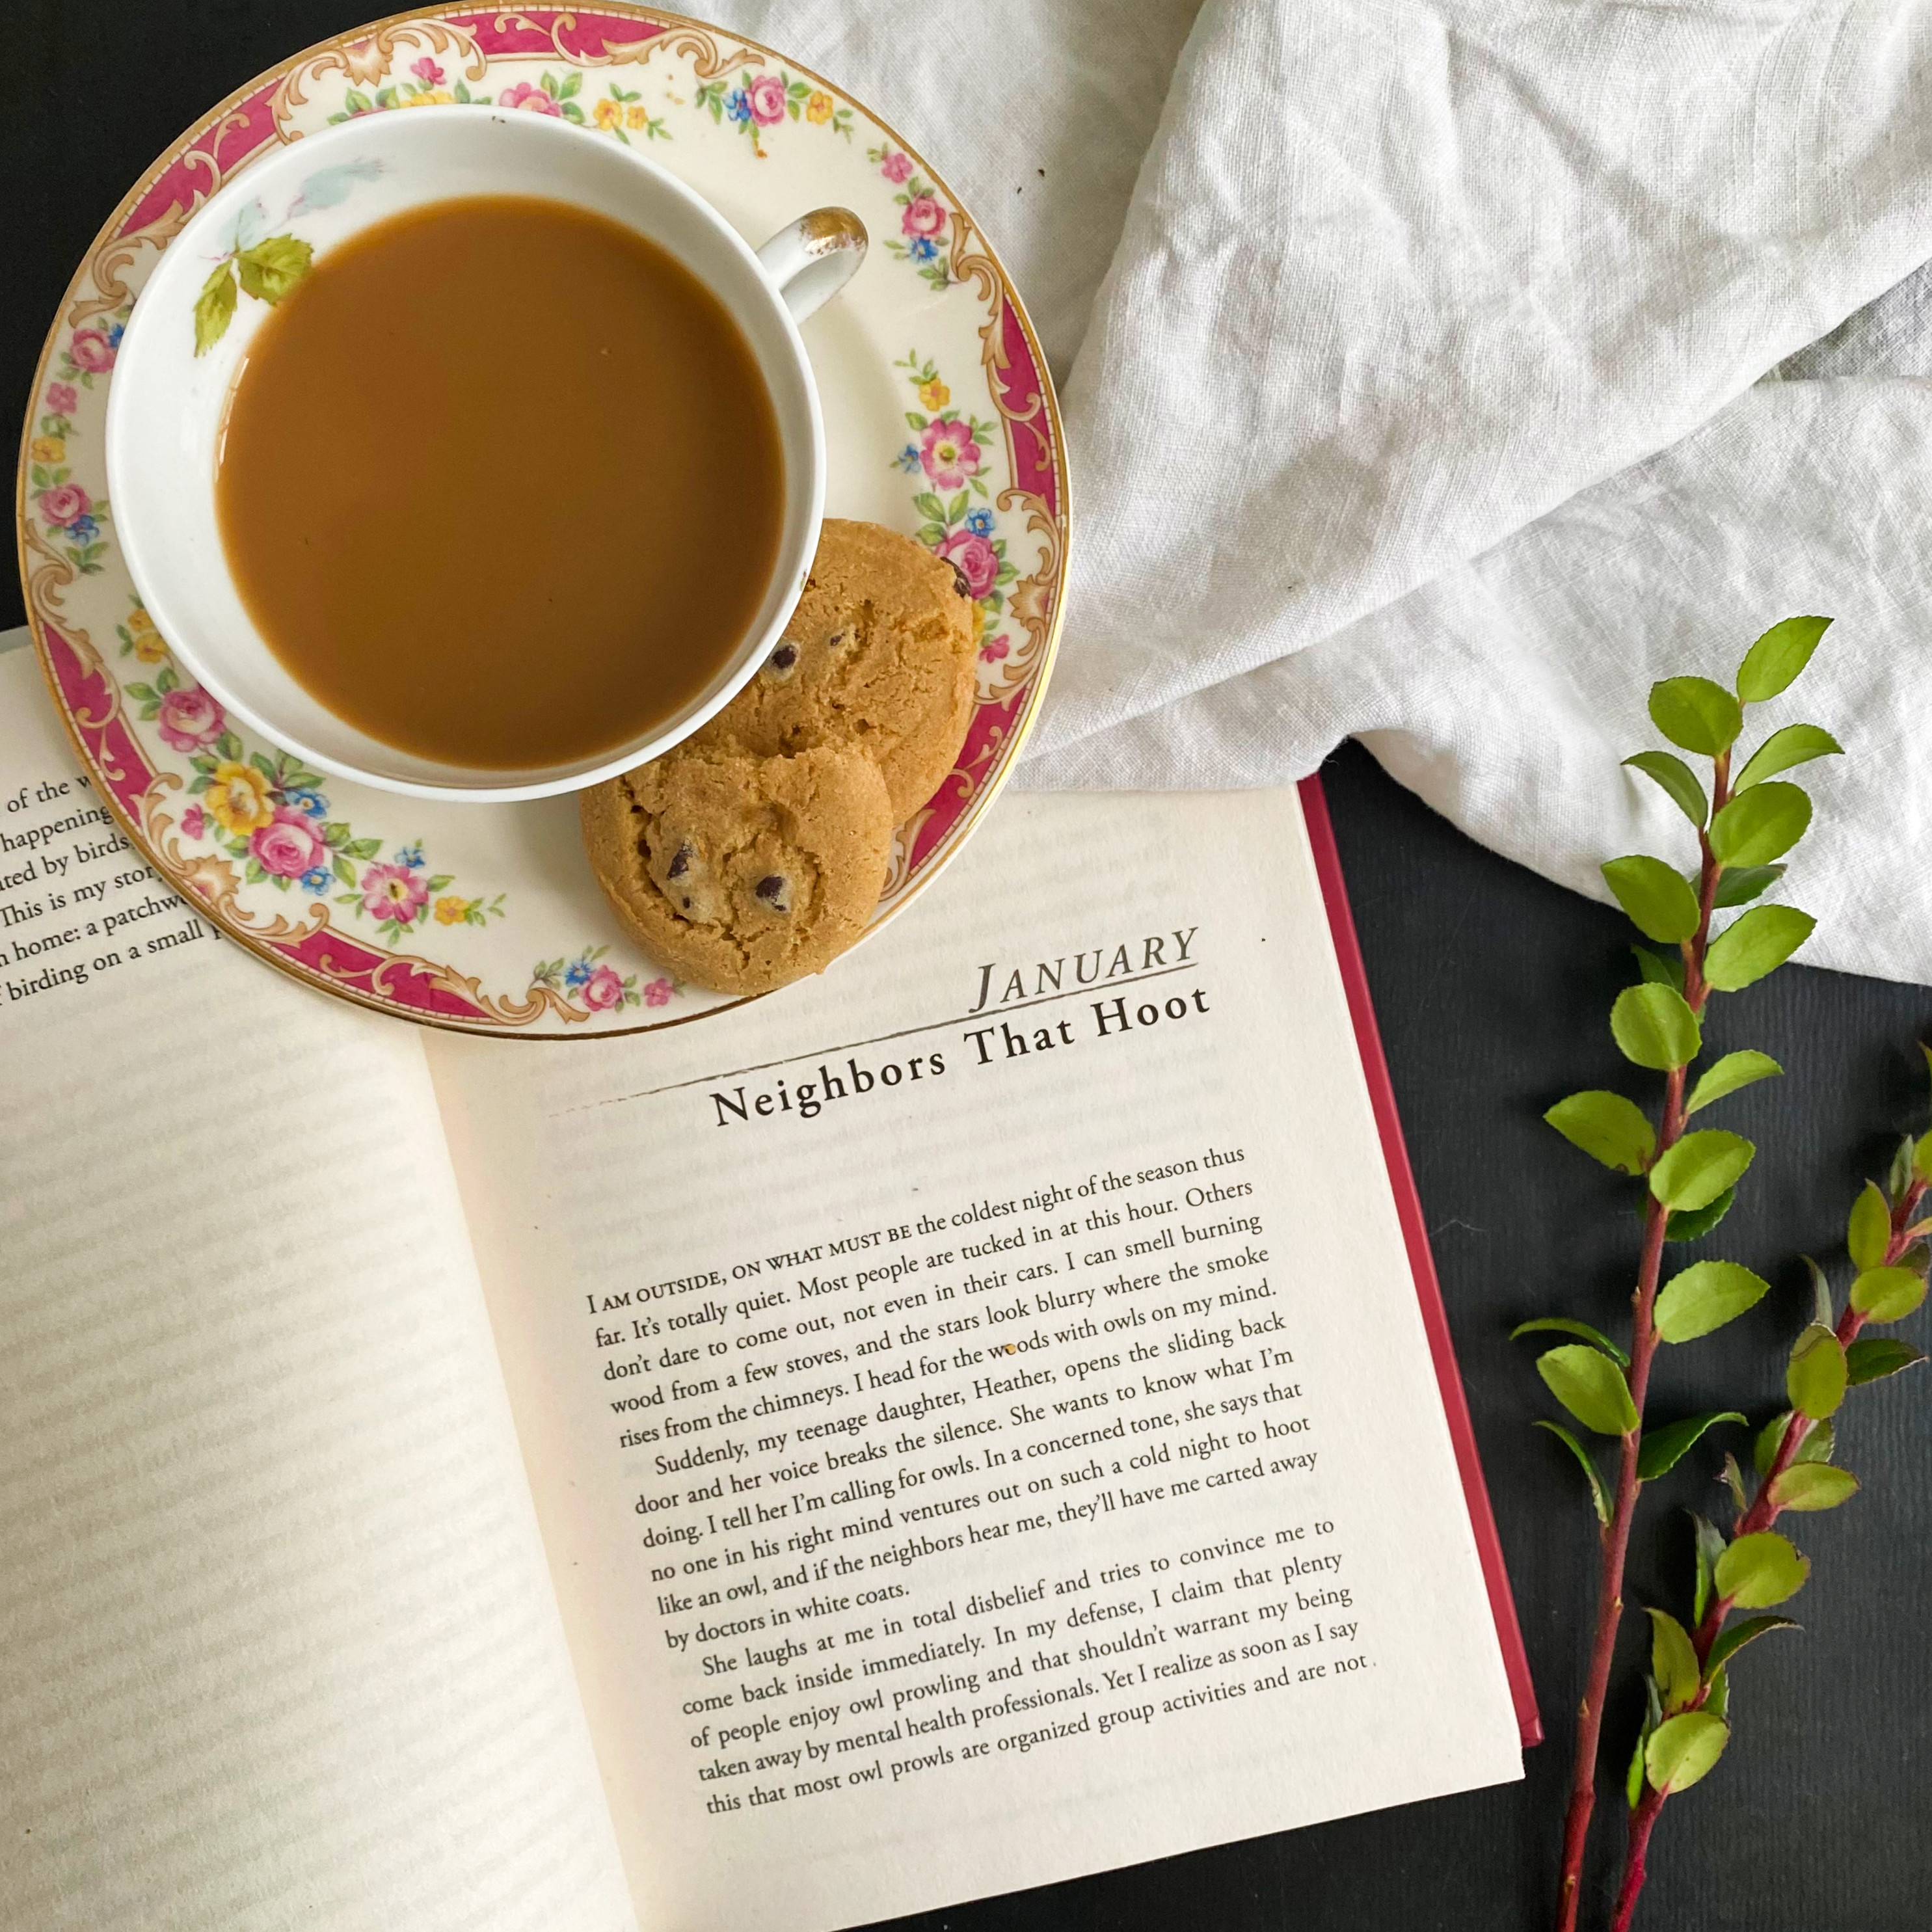
Birder on Berry Lane by Robert Tougias (2020)
Birder on Berry Lane proves you don’t have to travel far to find interesting things to talk about. Robert Tougias, a long-running newspaper columnist, nature writer and avid birder fills the pages of this year-long memoir with the sights and sounds of the wild creatures that visit his yard month by month, season by season. Illustrated throughout with beautiful pencil drawings by Connecticut ornithological artist, Mark Szantyr, Robert shares some unique aspects of birding on his three acre property in New England. This is no suspense-laden thriller or dramatic page-turner filled with mysteries to unravel or capers to solve and that is exactly why it’s wonderful.
A gentle meandering through a year filled with fun facts about common birds and the influence that they have upon the landscape, it is a calming, reassuring read in our frenetic times. Robert shares stories of going owling in the middle of January (“I’m out here to know the winter night”), of migrations in the middle of May, and of the acorn harvest in October and how the quantity of each year’s acorn drop will ultimately affect the diets of the local turkeys and the deer in the coming winter. Like Margaret Renkl’s book, it is a year full observation, curiosity and a commitment to understand the wild world that surrounds us all. It is also a book loaded with beautiful turns of phrase… “May is in the evening’s promise of tomorrow, even as the April night has hints of March.”
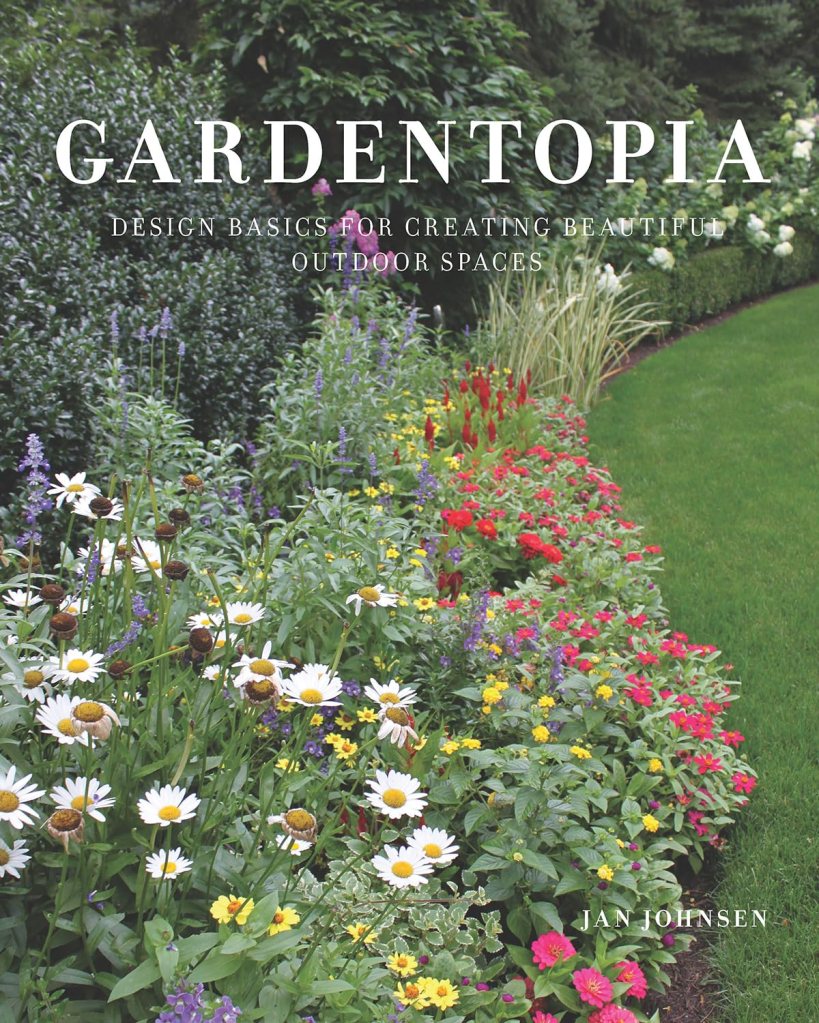
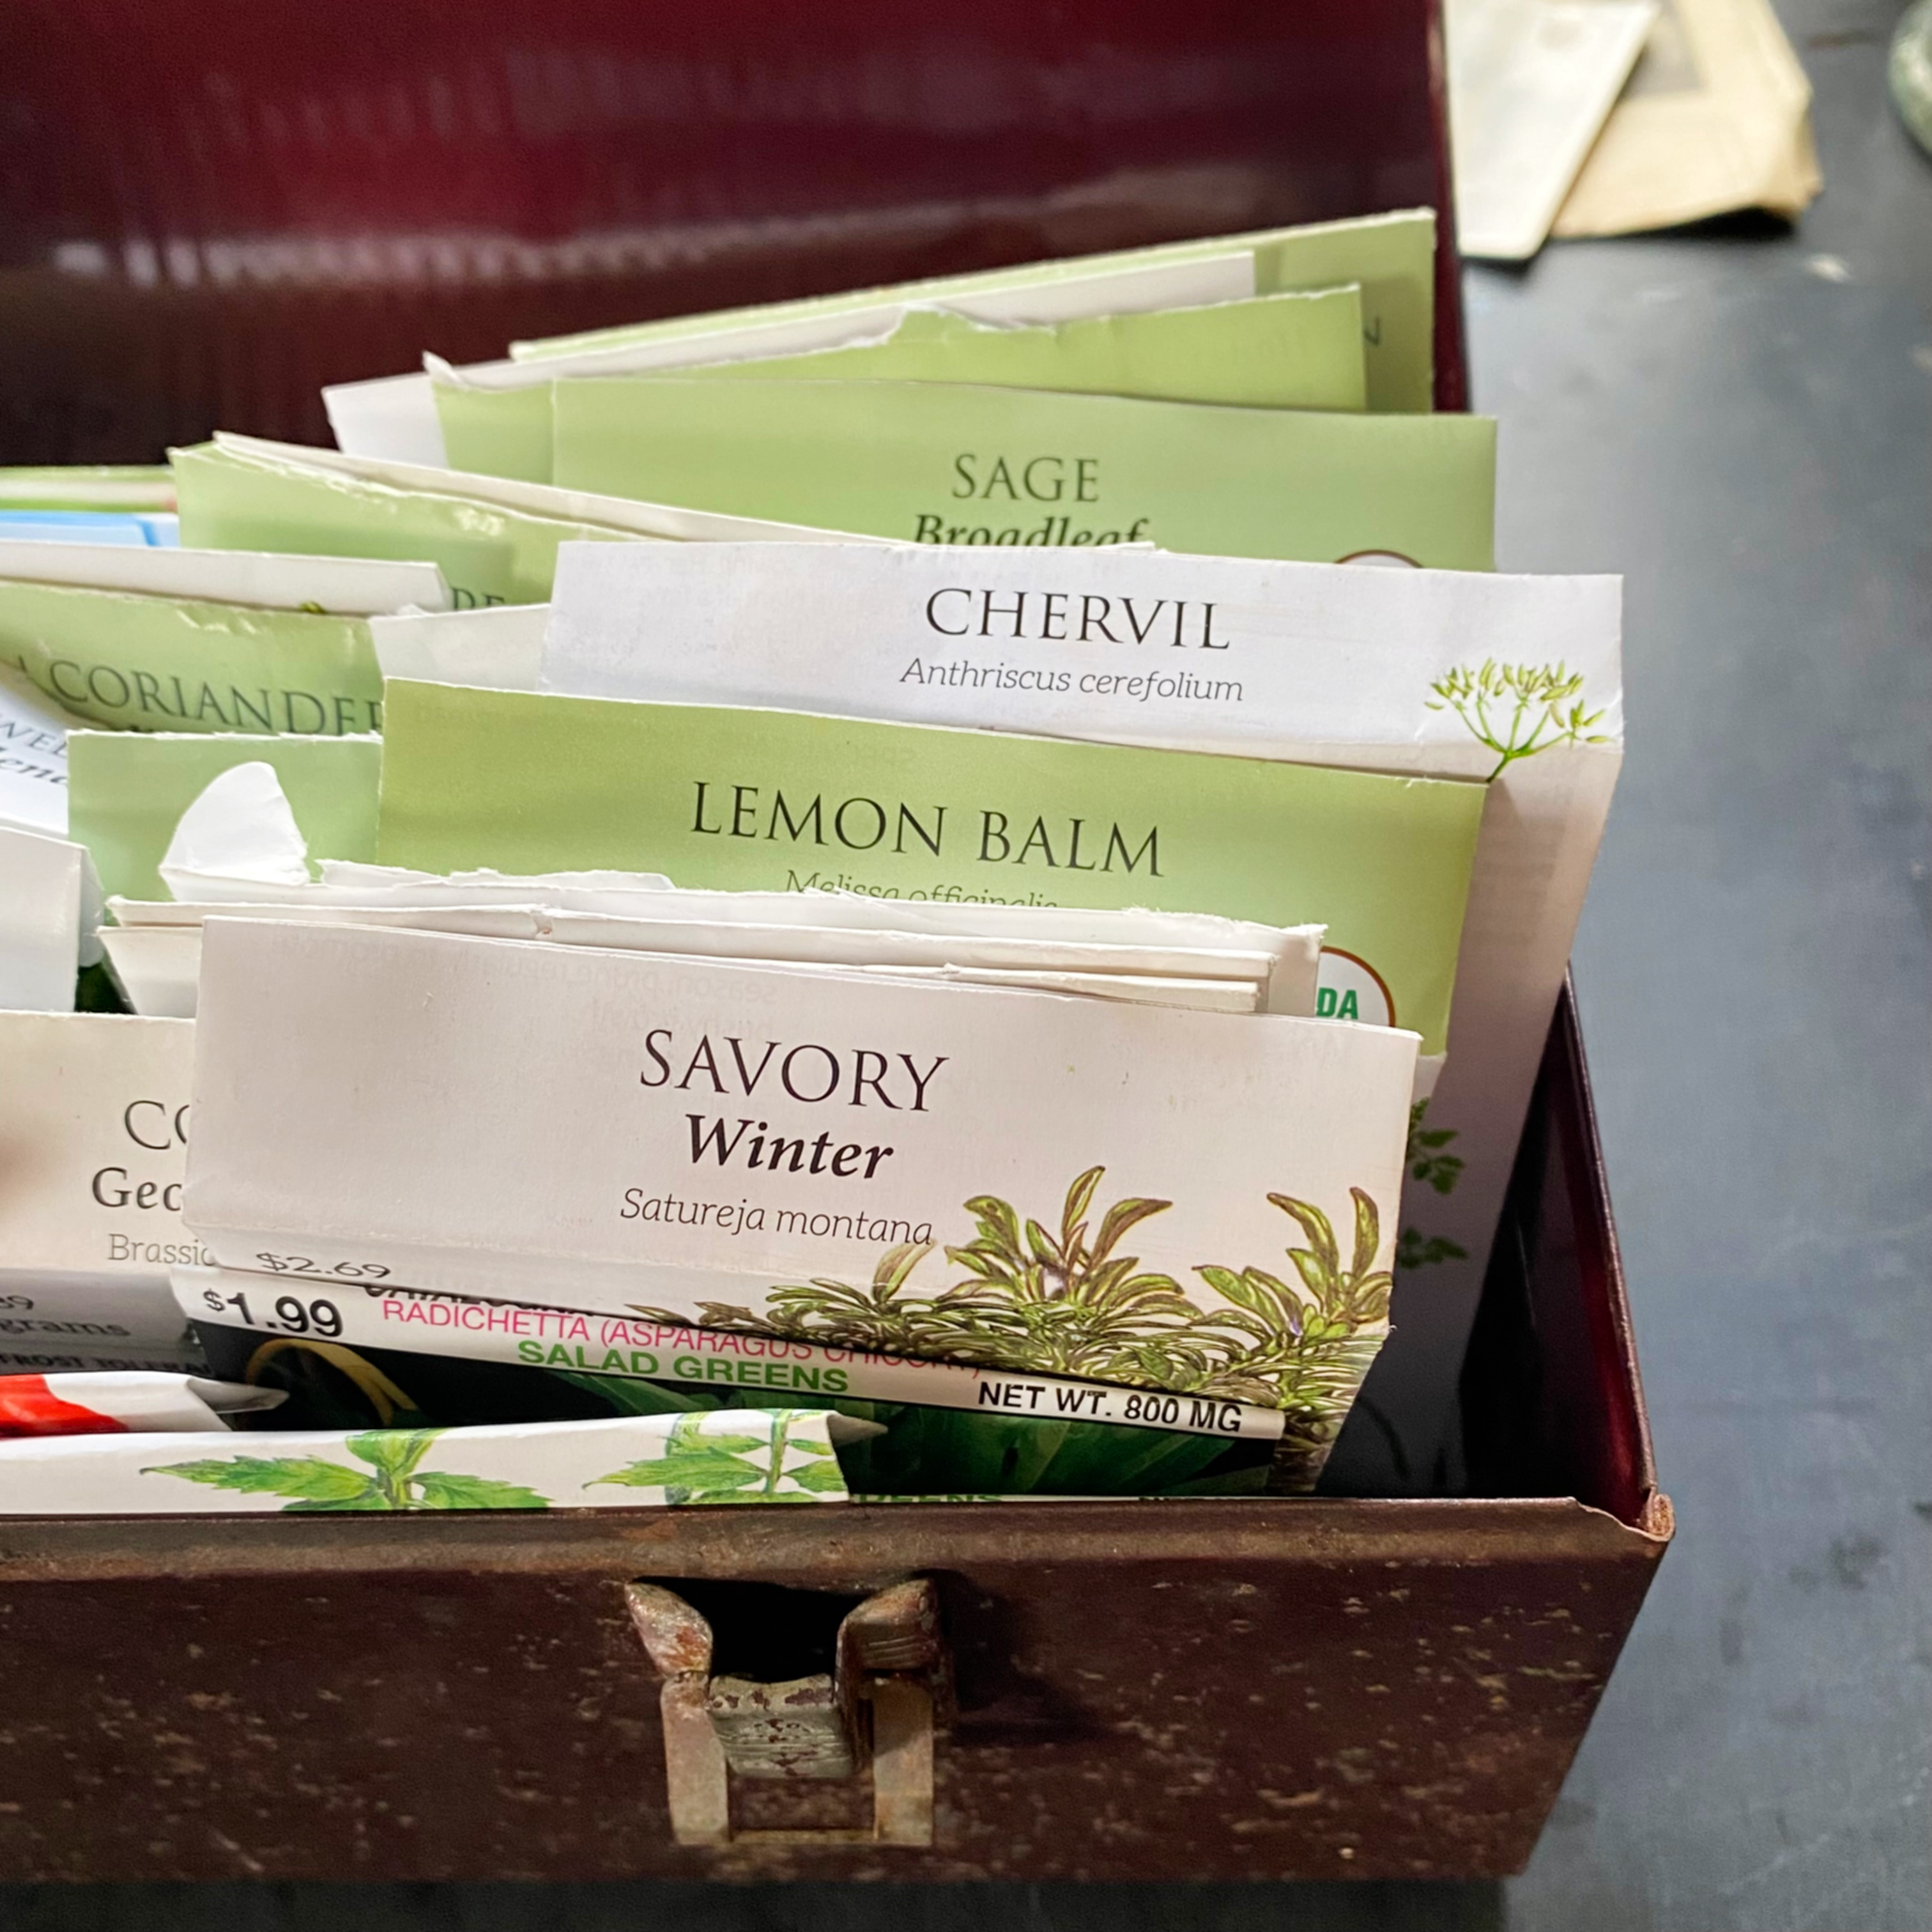
Gardentopia by Jan Johnsen (2019)
Written by a landscape designer with over 50 years of experience in her field, Jan Johnsen’s Gardentopia is packed full of practical information and handy solutions for anyone looking to get the most design value from their yard.
Just like decorating a room in a house, landscape design also responds well to certain tips and tricks that help project a cohesive theme, a comforting environment, and an inspiring vista. Depending on the ultimate goals you have for your garden, Jan’s book helps design the greenspace of your dreams.
One of my favorite parts of this book – a real “aha” moment in working out garden plans for 1750 House, was when Jan described the magic of the power spot. Every garden has one. Sometimes there are multiples. Essentially, she shares that the power spot is the place in your yard where your eyes return and return and return, day after day. It often happens to be the first place you look to when you enter the yard or the garden. It’s the place you naturally migrate to or spend extra time in. It is the place that makes you feel calm and protected, but also curious and engaged. The power spot is the place in your landscape that is a delight to your senses at all times, every time.
Whether this power spot involves a favorite plant or a feeder, whether its a path or an outbuilding, or a tree, or a bush, or a bench that invites you to sit and rest, Jan suggests making that winsome area the focal point of your garden or your yard and designing your plantings around there. By celebrating, catering to, and nurturing these power spots, no matter how big or small, they’ll naturally add energy to your design scheme and awe to your day.
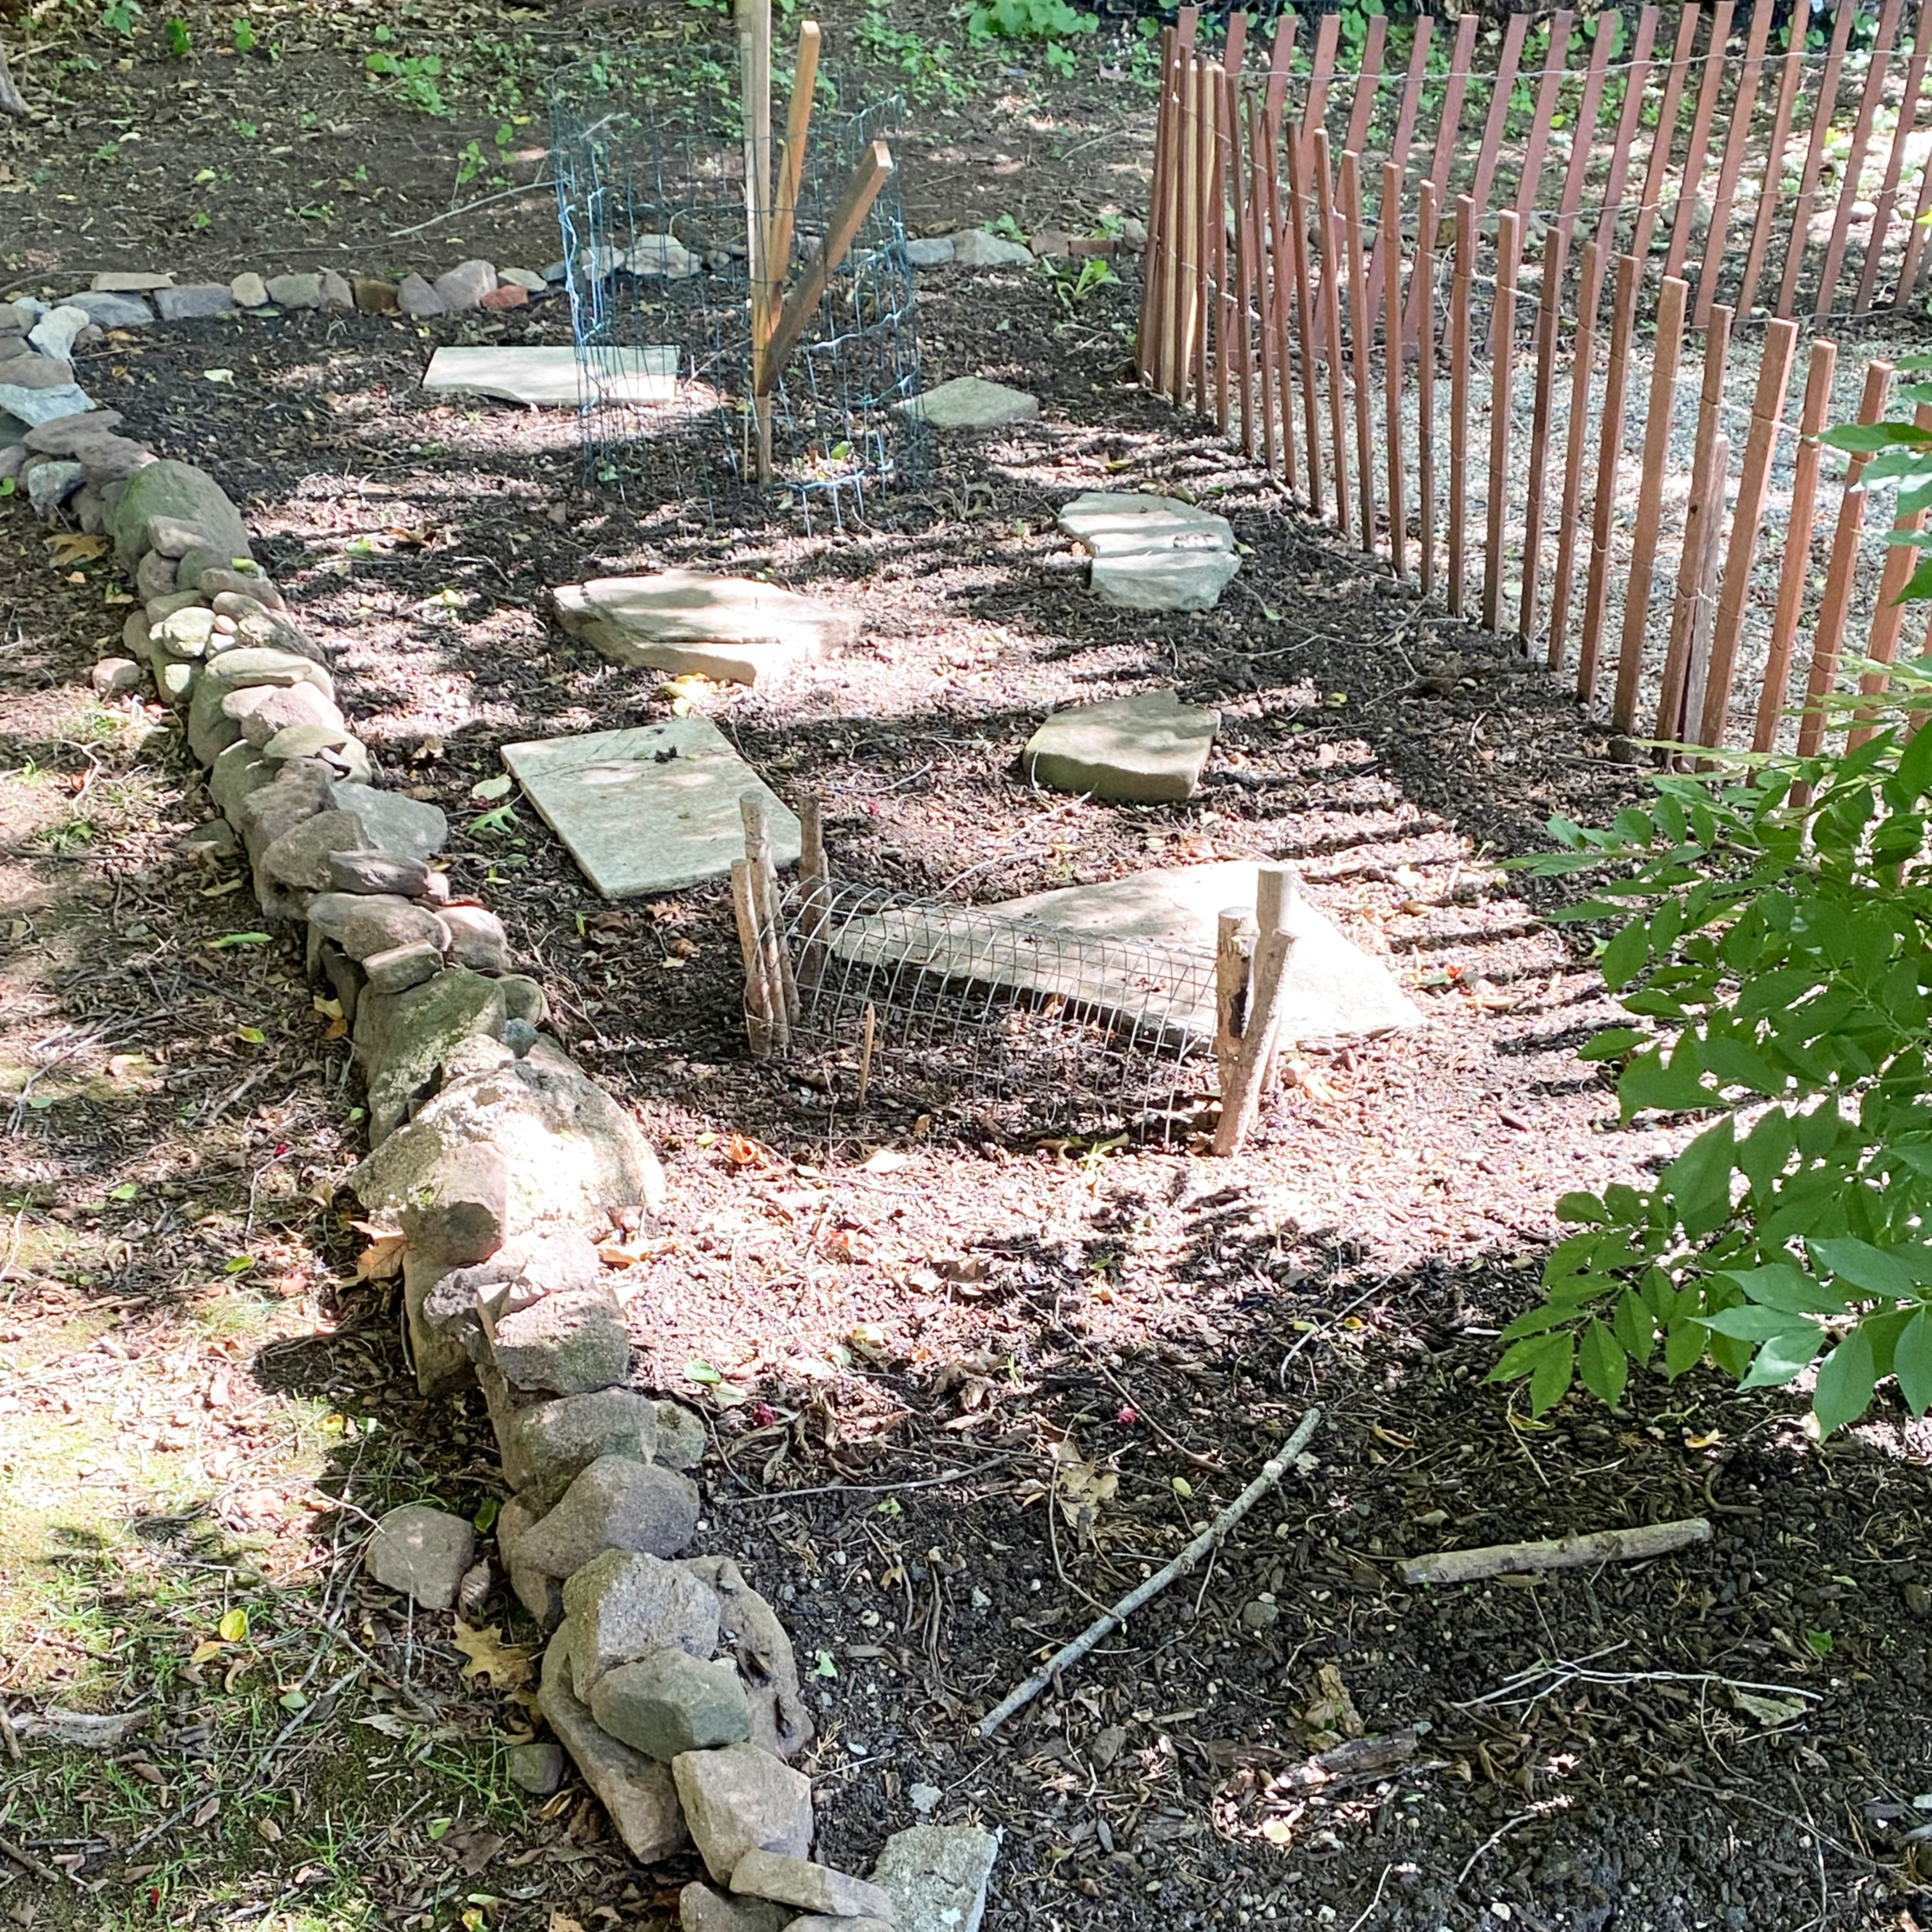
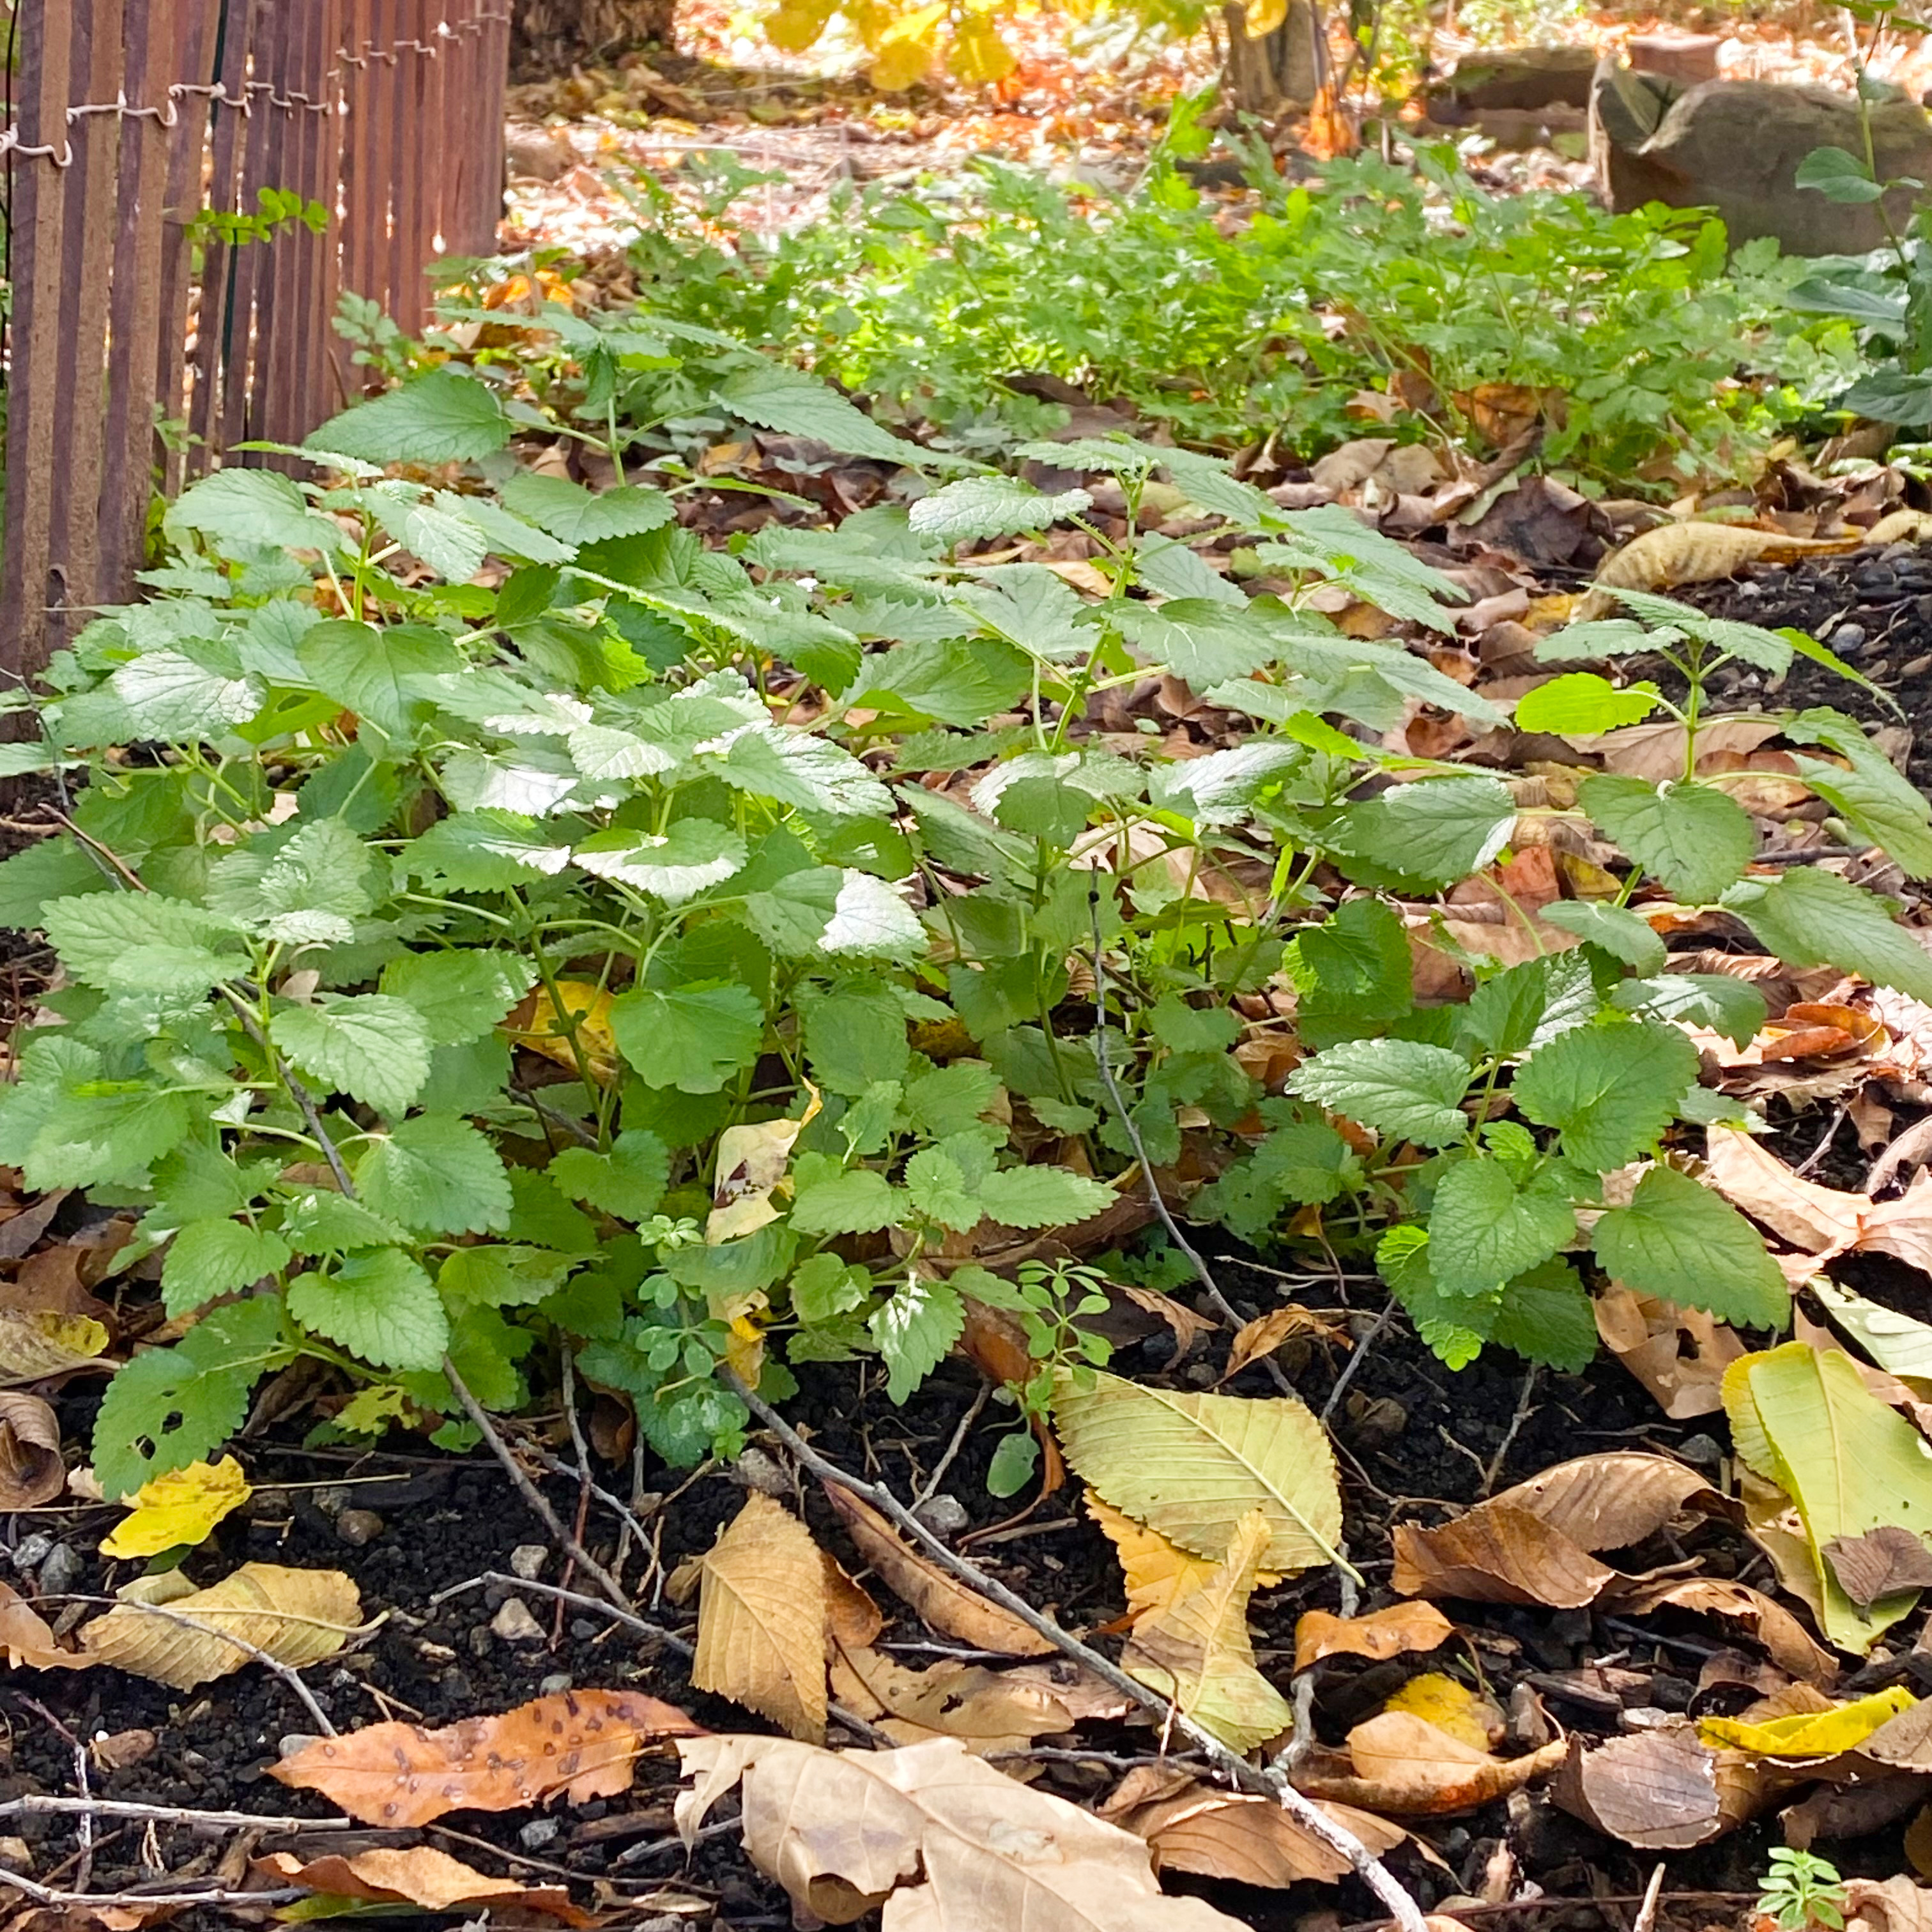
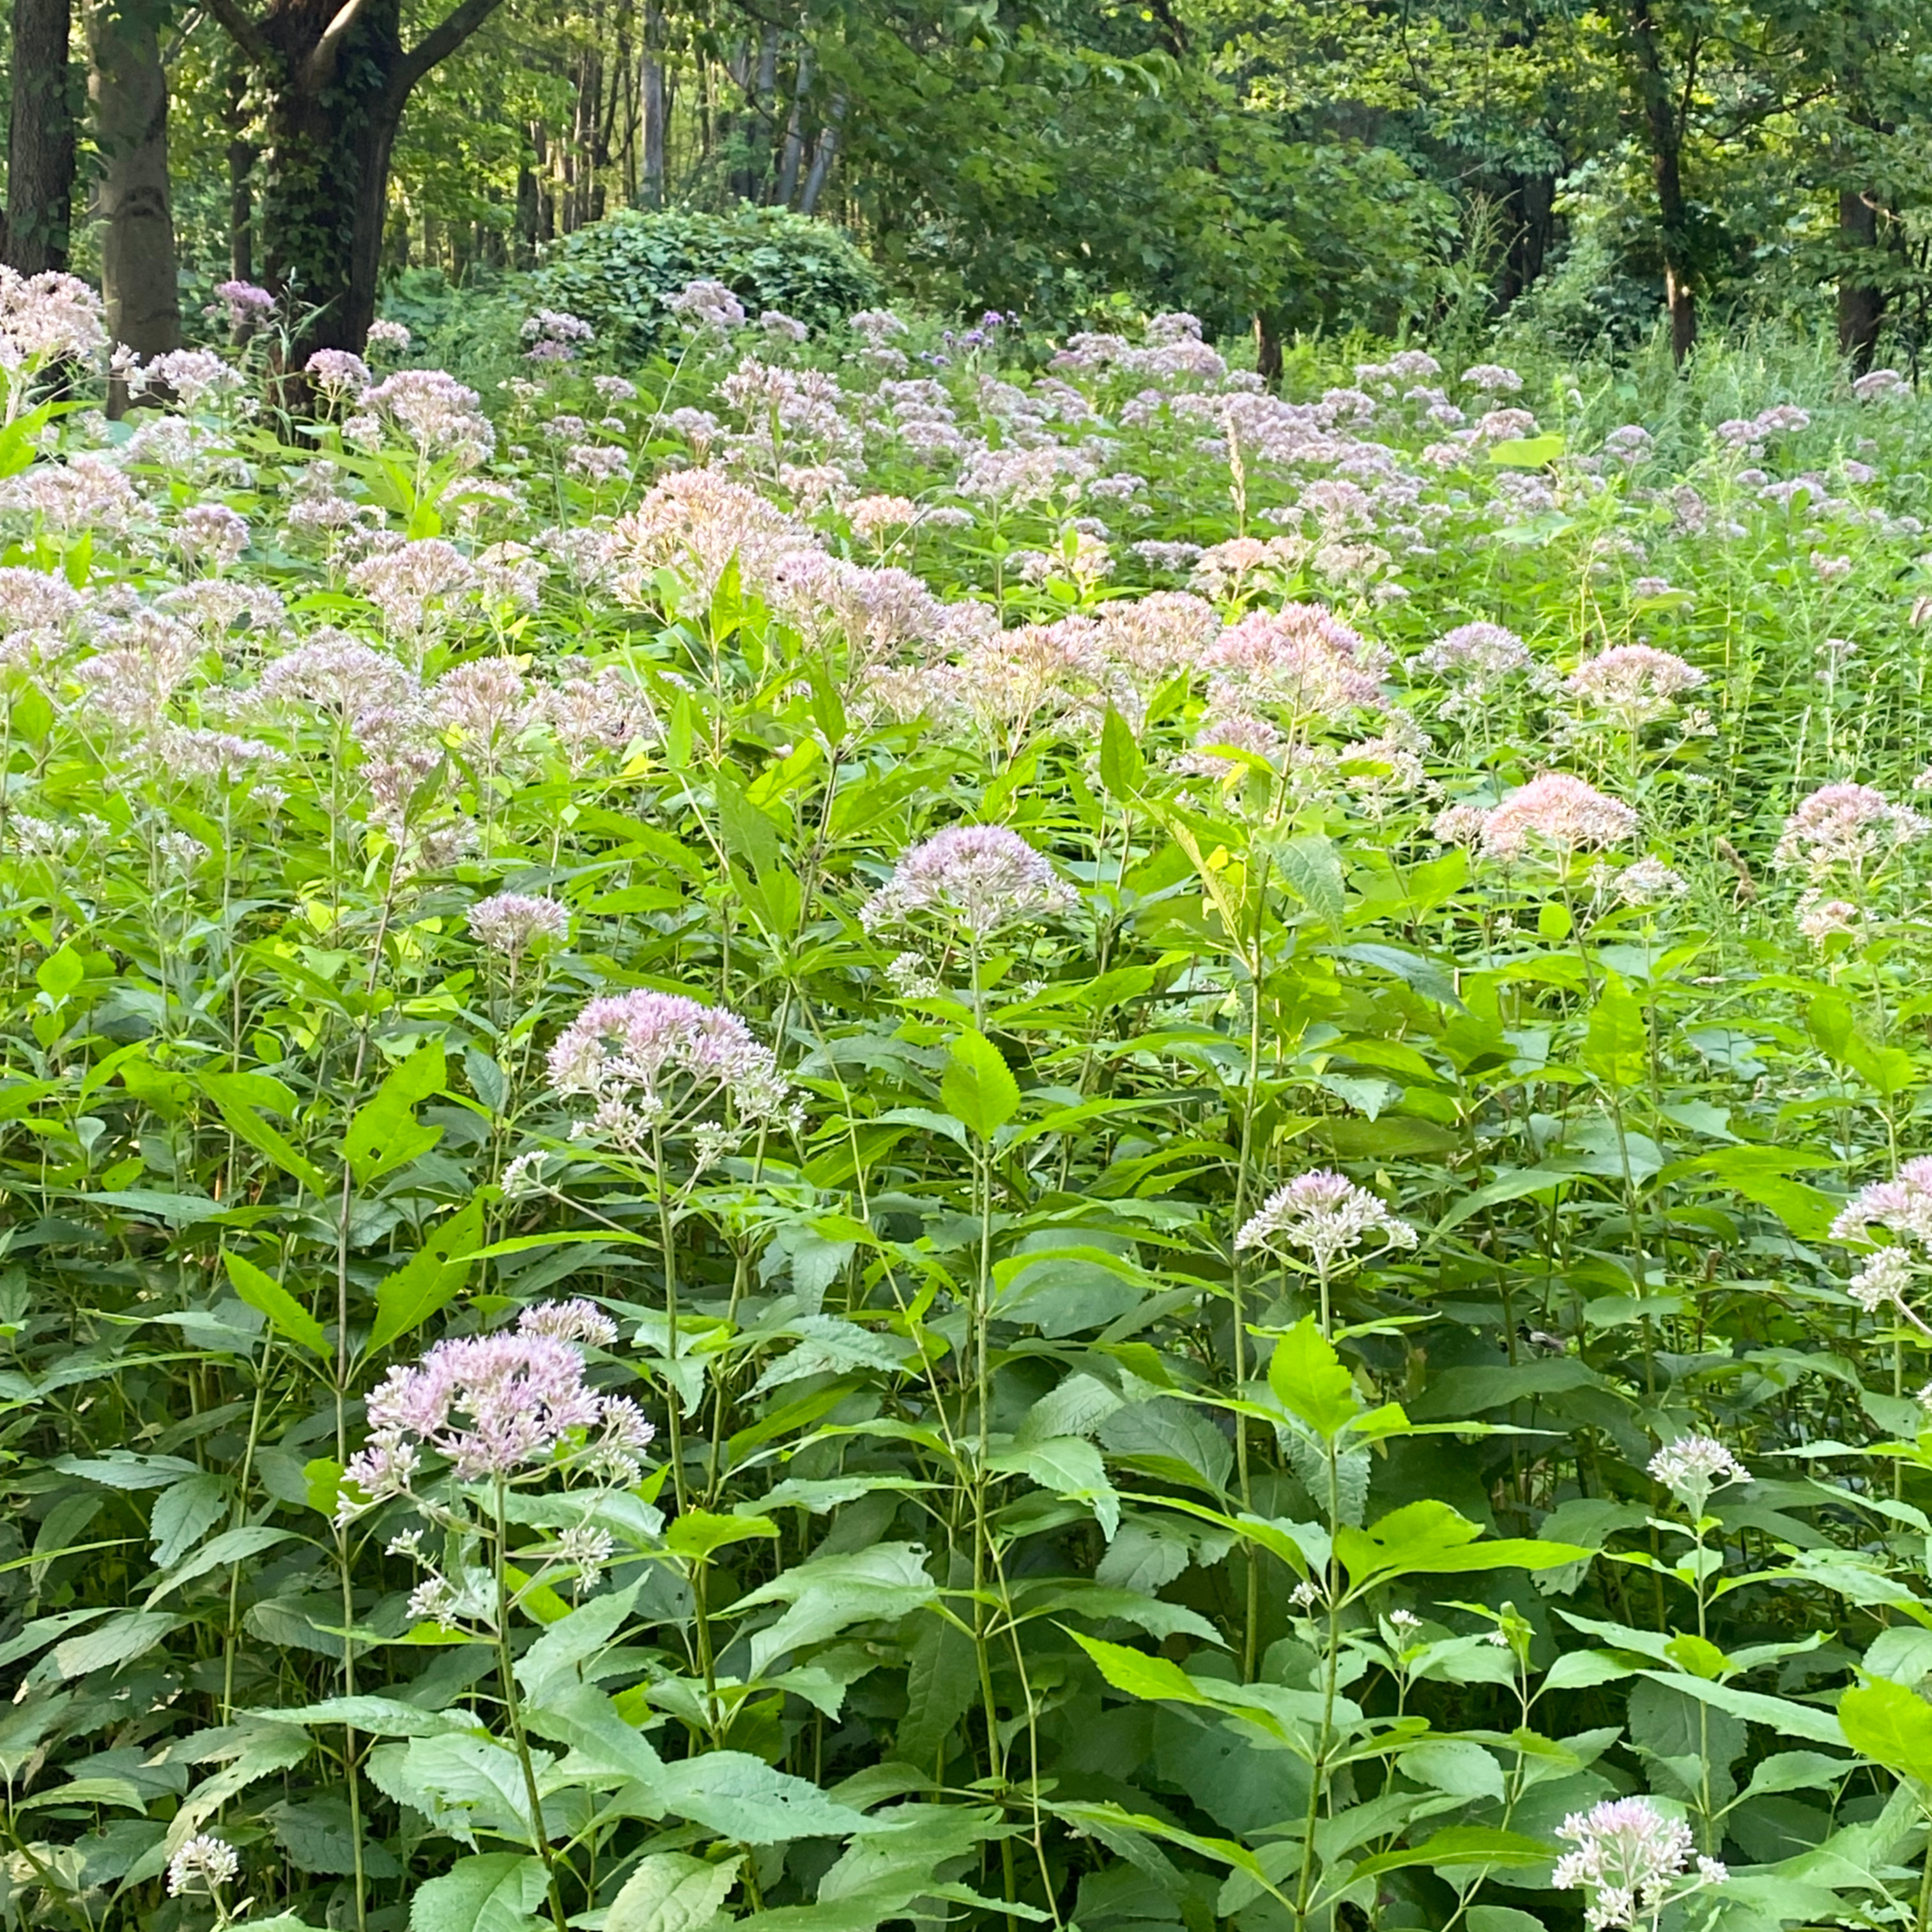
At 1750 House, after reading about the power spot, I walked around the whole property looking for ours. I found five between the front, back and side yards. Lucky us! The most prominent one is in the backyard. It is the start of a winding path at the far corner that leads to acres of wild woods behind us.
This winding path is a heavily traveled corridor for a wide variety of wildlife. We have seen deer, coyotes, foxes, raccoons, rabbits, turkeys, opossums, pine martins, neighborhood cats, bobcats, and a zillion squirrels, birds, and chipmunks who all pass along the dirt path throughout every season of the year. Next to the path is a tall maple tree with outstretched arms that creates a lovely arch over the entrance. In fall, the maple turns a golden yellow and lights up this area of the yard like a lamp. In spring, the surrounding crab apple trees bloom with frothy white blossoms that eventually float to ground like snowflakes. Every season, there is something interesting to see.
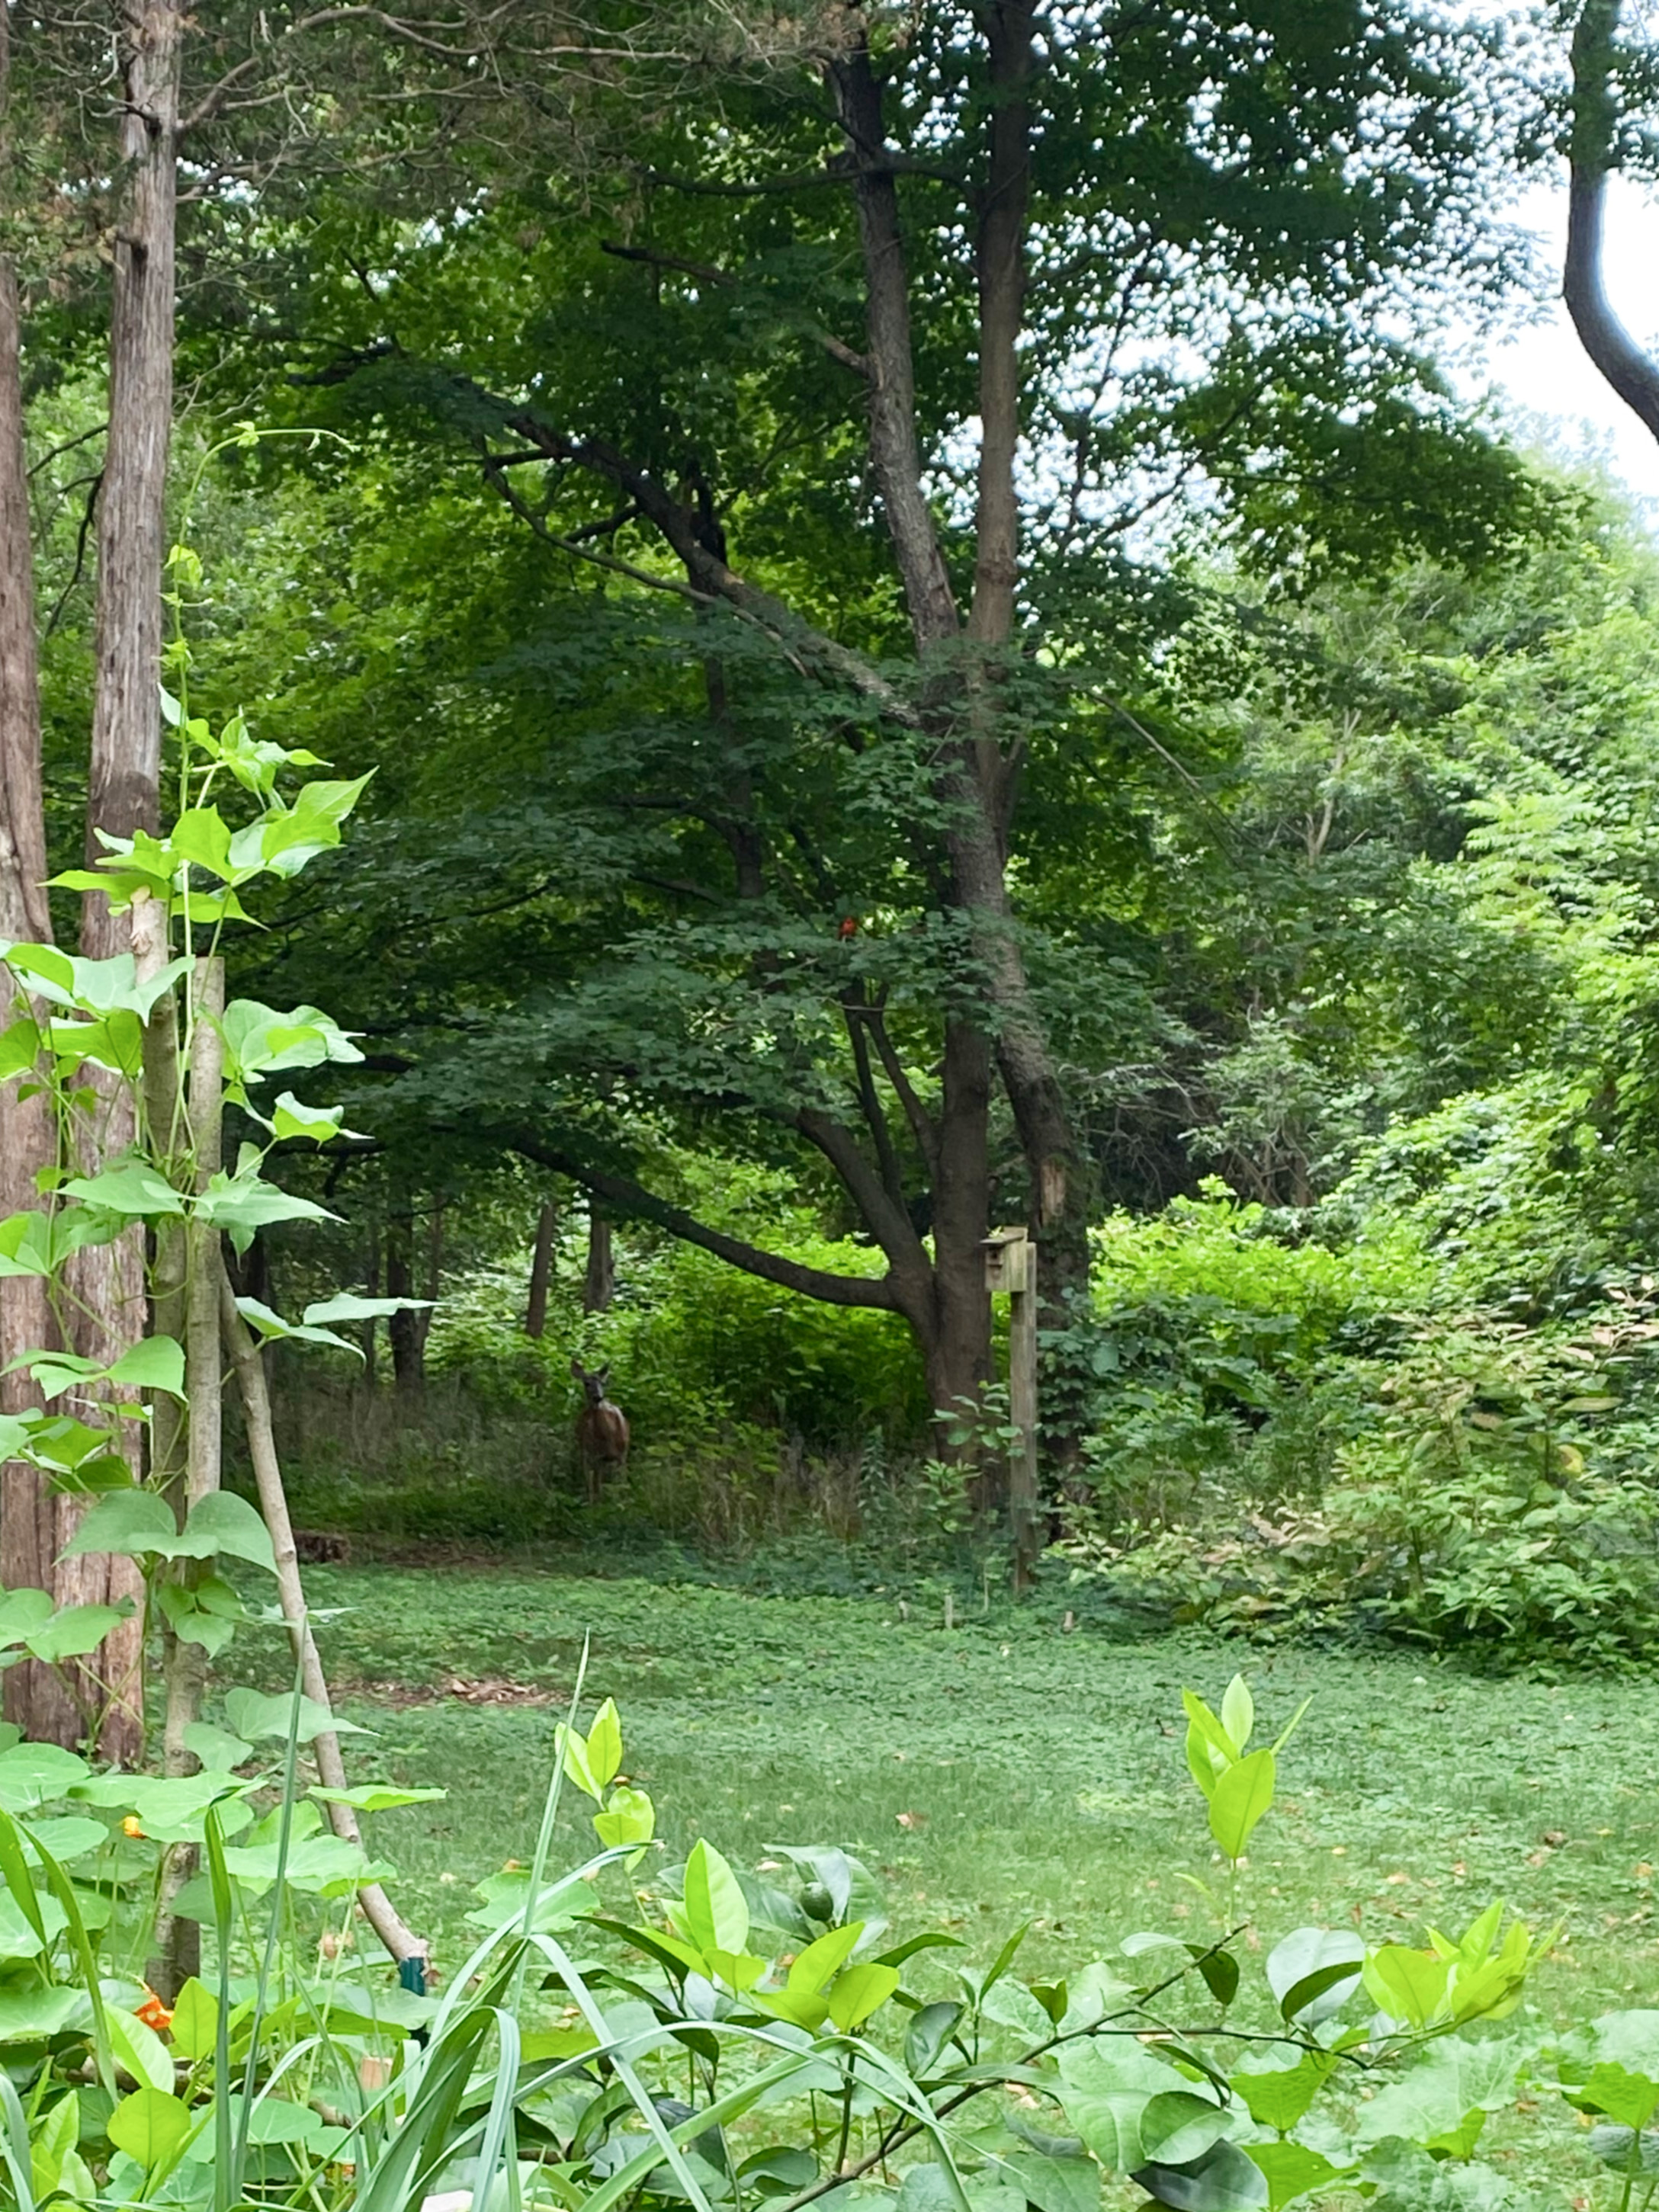
In the summer photo above, which was taken last August, you can see a deer visiting in the exact spot. After reading Gardentopia, and determining this was the best of the best of our power spots, we made an immediate decision to build a rock wall on each side of the path to mark the entrance. It will not only frame this pretty view, but also it will add depth and some structure to the yard and will add visual interest in winter when all the greenery dies back for the season. In this photo taken to today, you can imagine two rock walls sweeping in from the bottom corners…

Without Jan’s insight, I might have never looked at this path in the same way. I love how her simple suggestion of looking for power spots opened up a field of vision, which in turn helped narrow design ideas and make them more easily achievable. The rock walls will be built in early spring as soon as the ground thaws. I’ll share an update then on how it all turned out.
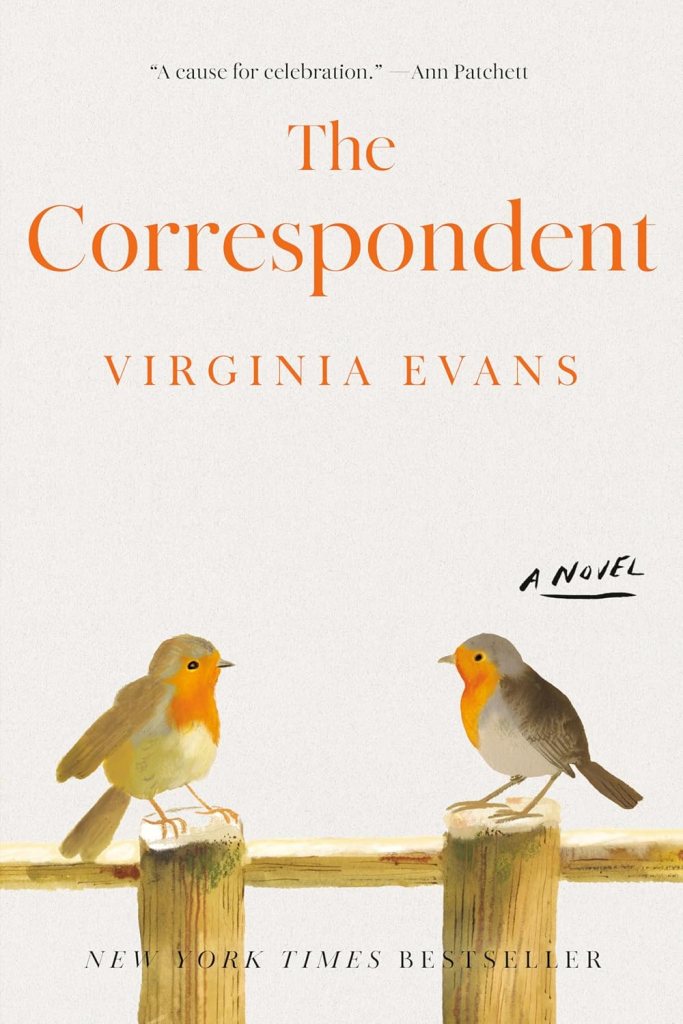
The Correspondent by Virginia Evens (2025)
Last but not least, I think The Correspondent was on everybody’s must-read list in 2025. If you missed all the excitement about this book, it’s an epistolary-style novel written in letters and emails by a woman in her 70s to a small network of friends, family, and acquaintances.
The story of her life unfolds through these communications that have been exchanged over decades. Offering insights into her character and circumstances that are wholly unique yet also very relatable, I won’t go into much detail so that I won’t ruin the storyline. But what I did find interesting, and what I can share without ruining the reading experience, was how the tone of the letters written by the main character, the correspondent, Sybil Van Antwerp, changed depending on who she was writing to. I thought this was a very clever way of giving Sybil a lot of layers, and also very true of real-life and how people choose to present themselves in different ways depending on their audience.
Sybil was a web of a woman: sweet, opinionated, feisty, sentimental, irascible, out-of-touch, proud, uninformed, stubborn, educated remorseful, progressive, thoughtful, and intuitive. She reminded me a little bit of India Bridge in the 1959 novel Mrs. Bridge and also of Daisy Goodwill Flett in the 1995 Pulitzer Prize winner The Stone Diaries in that those women, like Sybil, were examining life and coming to terms with their participation in it. I would have changed the ending, but if you’d like to discuss that further please, send a message, and I’ll respond via email so as not to spoil the story for readers here on the blog. I loved this book so much, that I hope it encourages a resurgence in letter writing. How lovely it would be to have a handwritten record of a long-running friendship carefully tucked between stationary and stamps.
Cheers to Virginia, Jan, Robert, Michael, Tasha, Ros, Rob, David, Bunny, James, Annie, and Aysegul for adding so much interest and inspiration to 2025. I hope they bring some extra delight to your days too.