In the words of New England herbalist Adelma Grenier Simmons (1903-1997), “the most difficult garden to maintain is an unplanned one.” If you are joining us on this year’s Greenhouse Diaries adventures, you’ll recall that Adelma is our horticultural teacher, creative muse, and gardening inspiration for 2025 as we embrace her expertise in building and establishing an herb garden here at 1750 House.

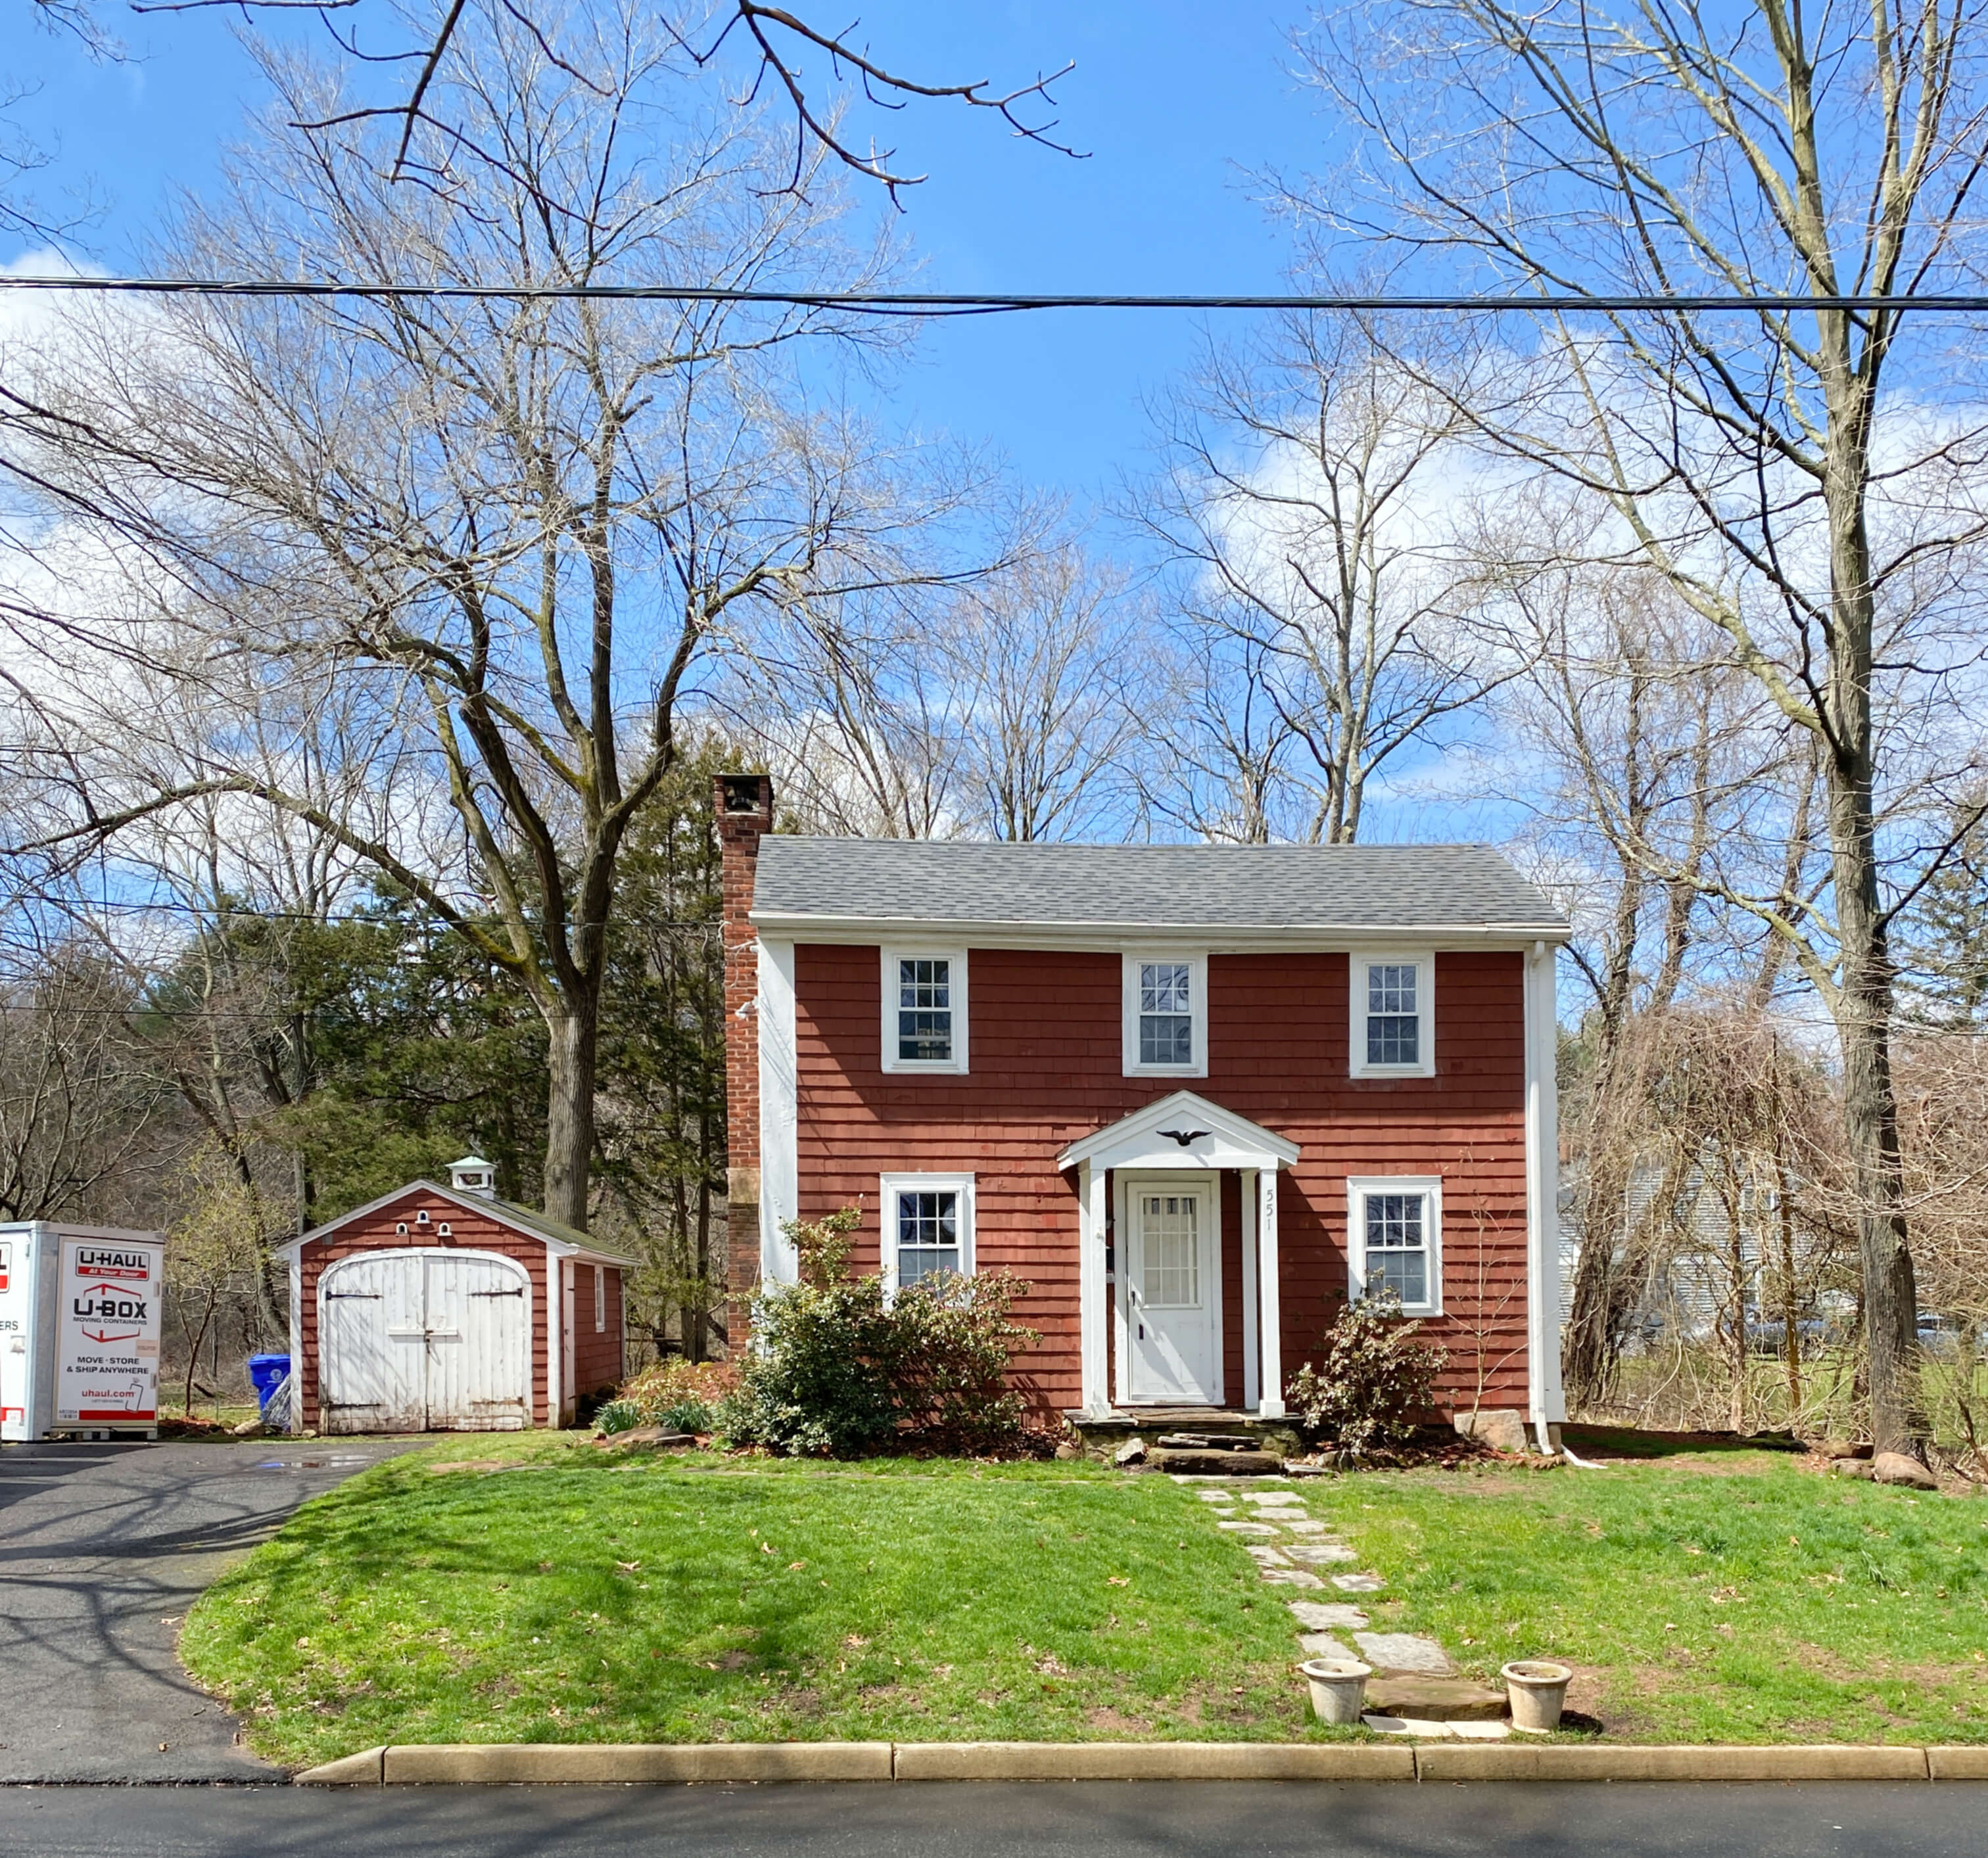
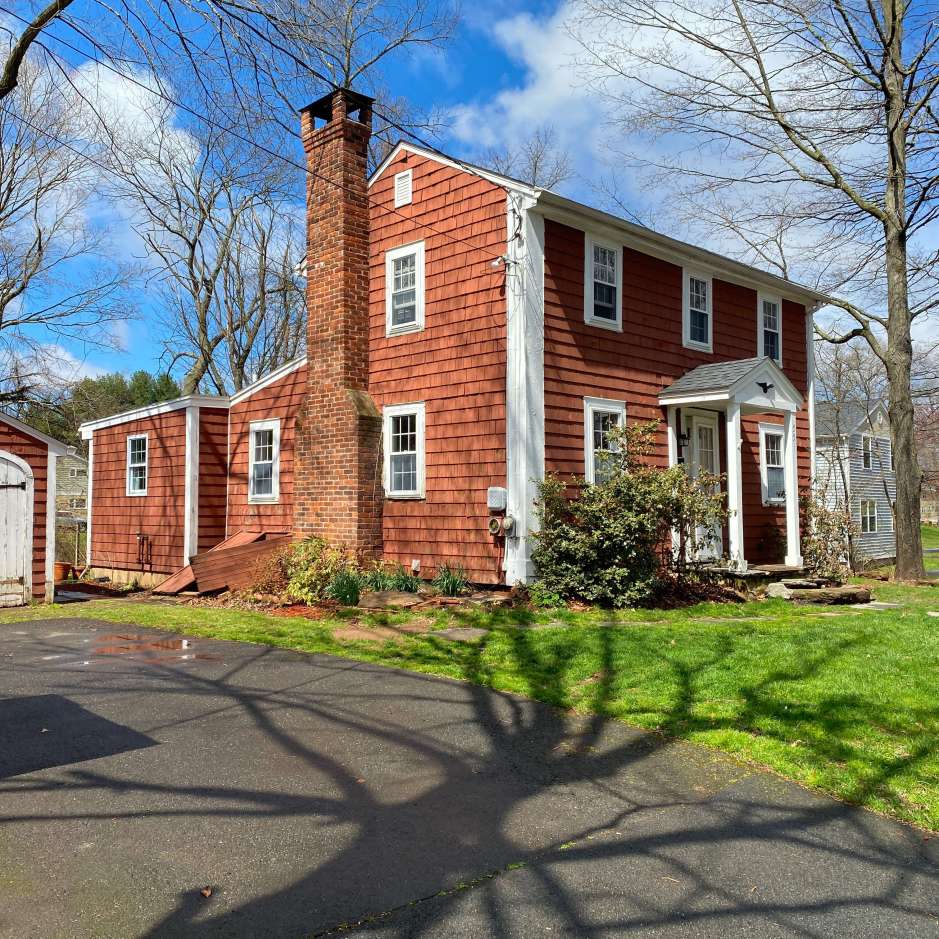
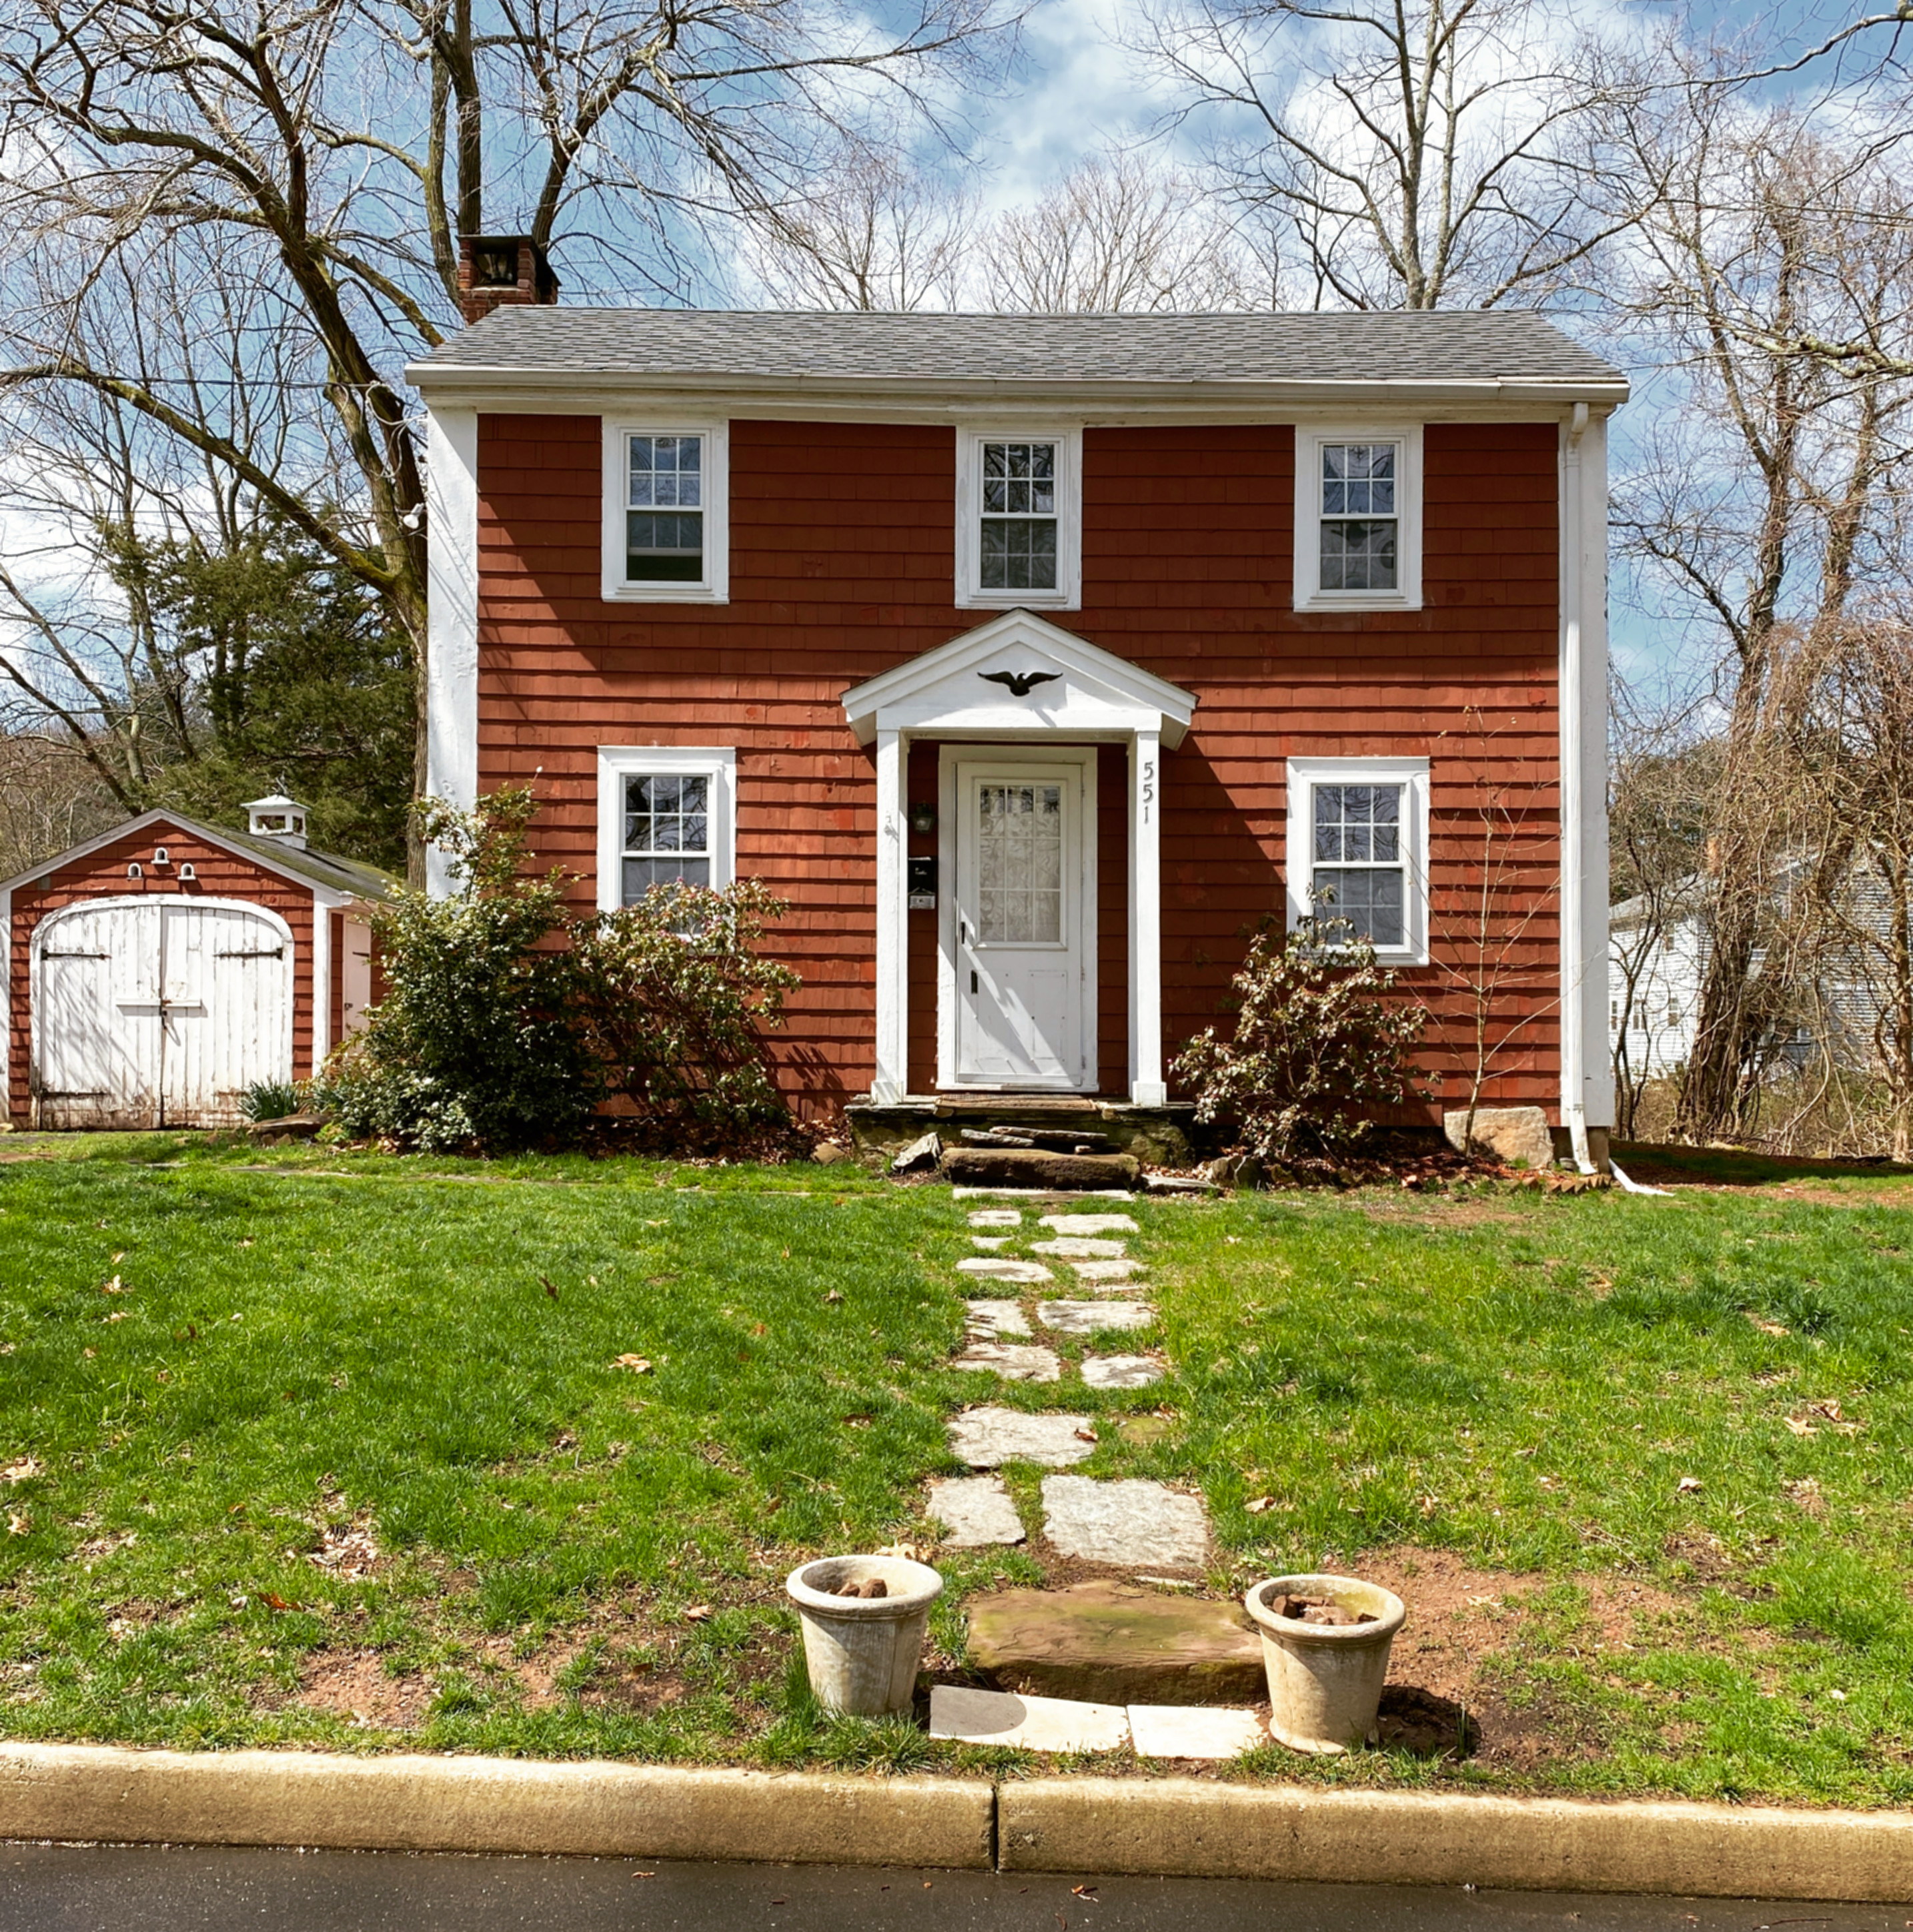
Although I’ve never met Adelma, she passed away in 1997, and I’ve never had a chance to visit her beloved Caprilands Herb Farm, I do have several things in common with her that makes me feel like we are kindred spirits. We both purchased 18th-century houses in Connecticut that needed an extra bit of care and attention. We both embraced a desire to create heirloom gardens made from scratch. And we have both indulged our passions for history, cooking, and hands-on gardening.

Ever since my husband and I moved into 1750 House, I’ve had my mind set on building a proper kitchen garden that includes plentiful bouquets of vegetables, fruit, herbs, and edible flowers. I laid out our initial plans in a 2022 post about colonial kitchen gardens, but as we keep digging and discovering, growing and gathering, year by year, we keep refining and expanding plans to fit our abilities, interests, lifestyle, and landscape. Every year, the garden design plans seem to get better and better.

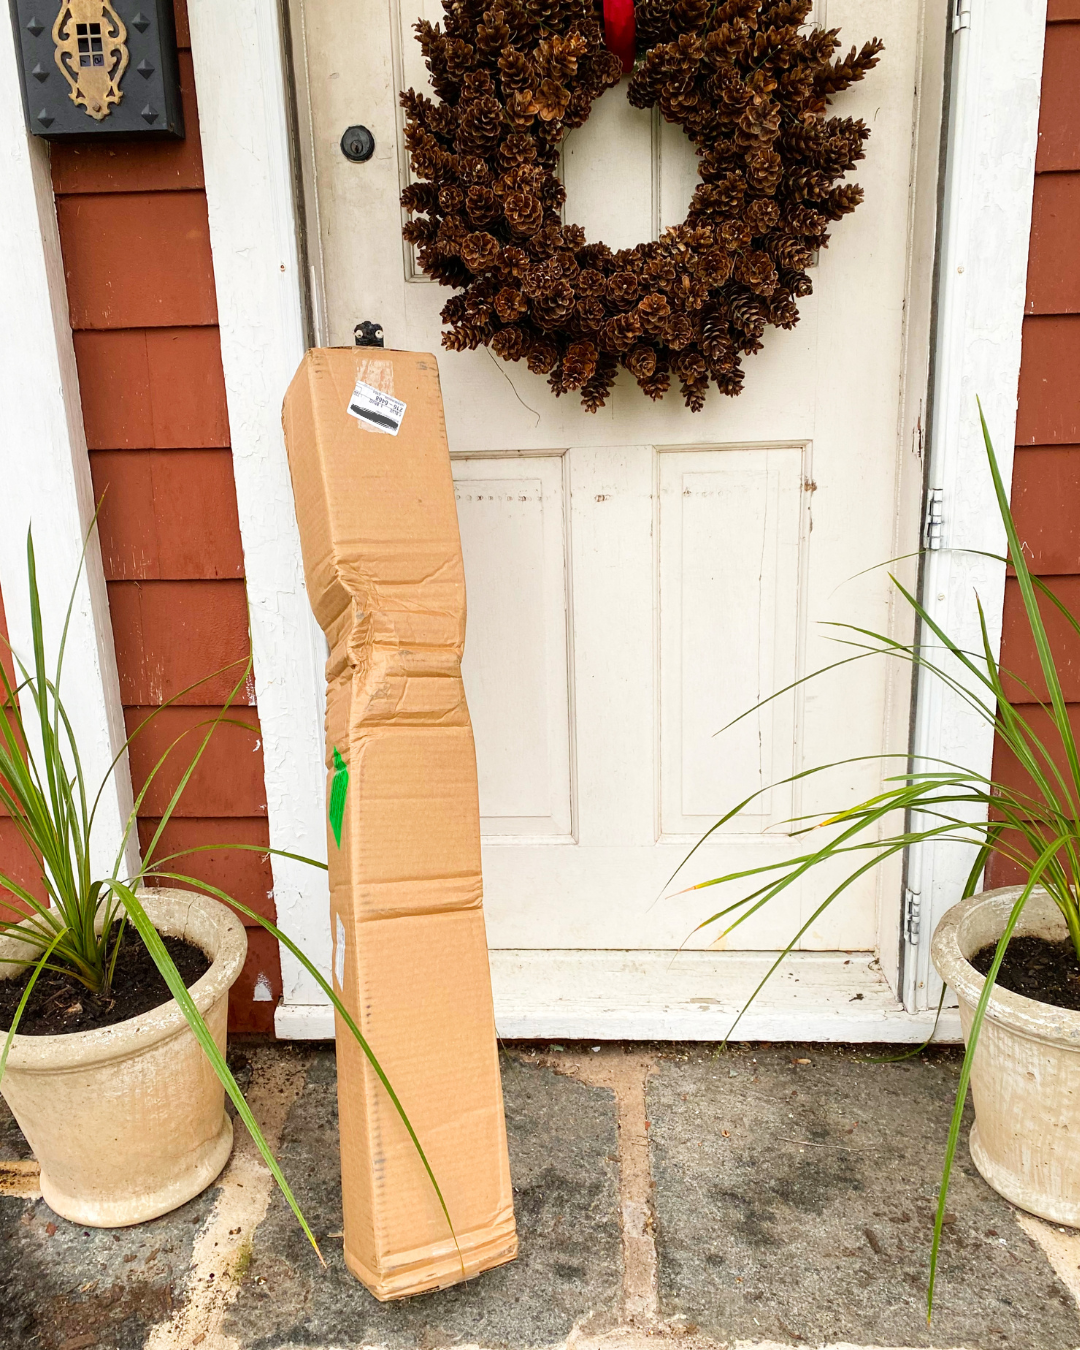
Always interested in tips and techniques that will make my endeavors more successful, when I first discovered Adelma’s book at a local library book sale last year, I had a feeling I was going to be in the good hands of an expert gardener. This is the 1964 book that inspired the project…
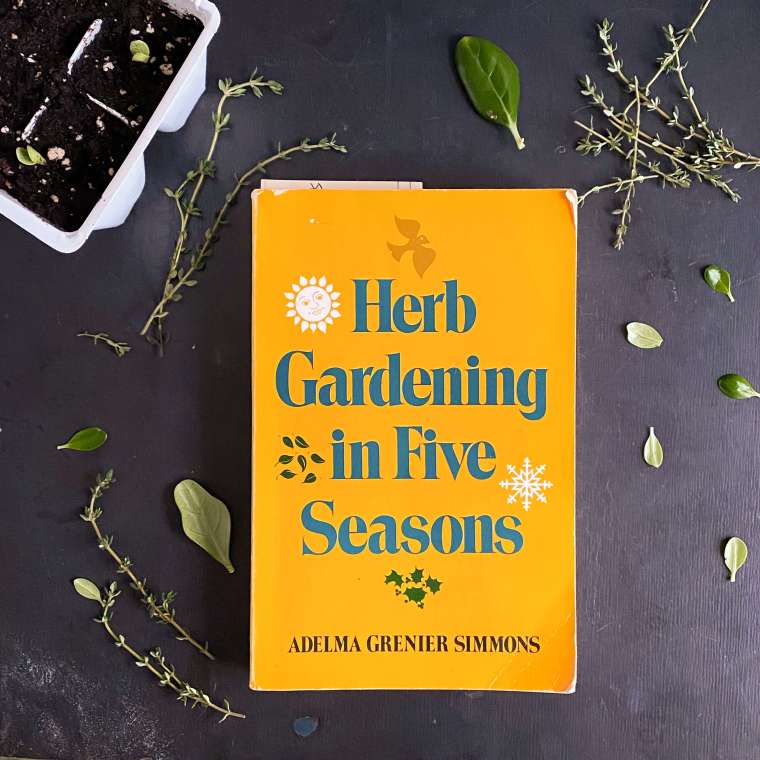
In Herb Gardening in Five Seasons, Adelma lays out how to build, cultivate, create, design, grow, and care for an herb garden utilizing decades of practical, hands-on knowledge learned over her long, enthusiastic career as a gardener, herbalist, lecturer, and horticultural scholar.
Throughout the entirety of 2025, season by season, I’m taking her words to task and building an herb garden from scratch that I hope will continue to remain a stalwart and sustainable feature of the landscape at 1750 House for years to come. Since this is new gardening territory for me, both literally and figuratively, I thought it would be fun to share, along with my experiences, Adelma’s advice, in case you, too, might be interested in building an herb garden of your own. This way we can all experiment together.
In our first Greenhouse Diaries post of 2025, I introduced Adelma and her gardens at Caprilands, which attracted botanical enthusiasts from all over the world. The info I’ll be sharing here in the series this year, although based on my own Connecticut garden, will hopefully prove useful to all of our ITVK readers around the globe, too, who might face similar challenges when it comes to limited sunlight and space constraints. I’m excited to see how successful we can be using gardening knowledge from a 62-year-old book, and I’m also very interested to see just how bountiful a partial-shade herb garden can be.
There’s no way to find out unless we start, so here it goes. Advice from Adelma back then put into practice by me today.
Step One: Choose A Design and Figure Out What You’d Like to Grow…
Thoughts from Adelma: Whether the herb garden is small or large, it needs to be exquisitely neat and weedless, with wide paths and compact borders, the same plant often repeated to make a good showing. (Page 3)

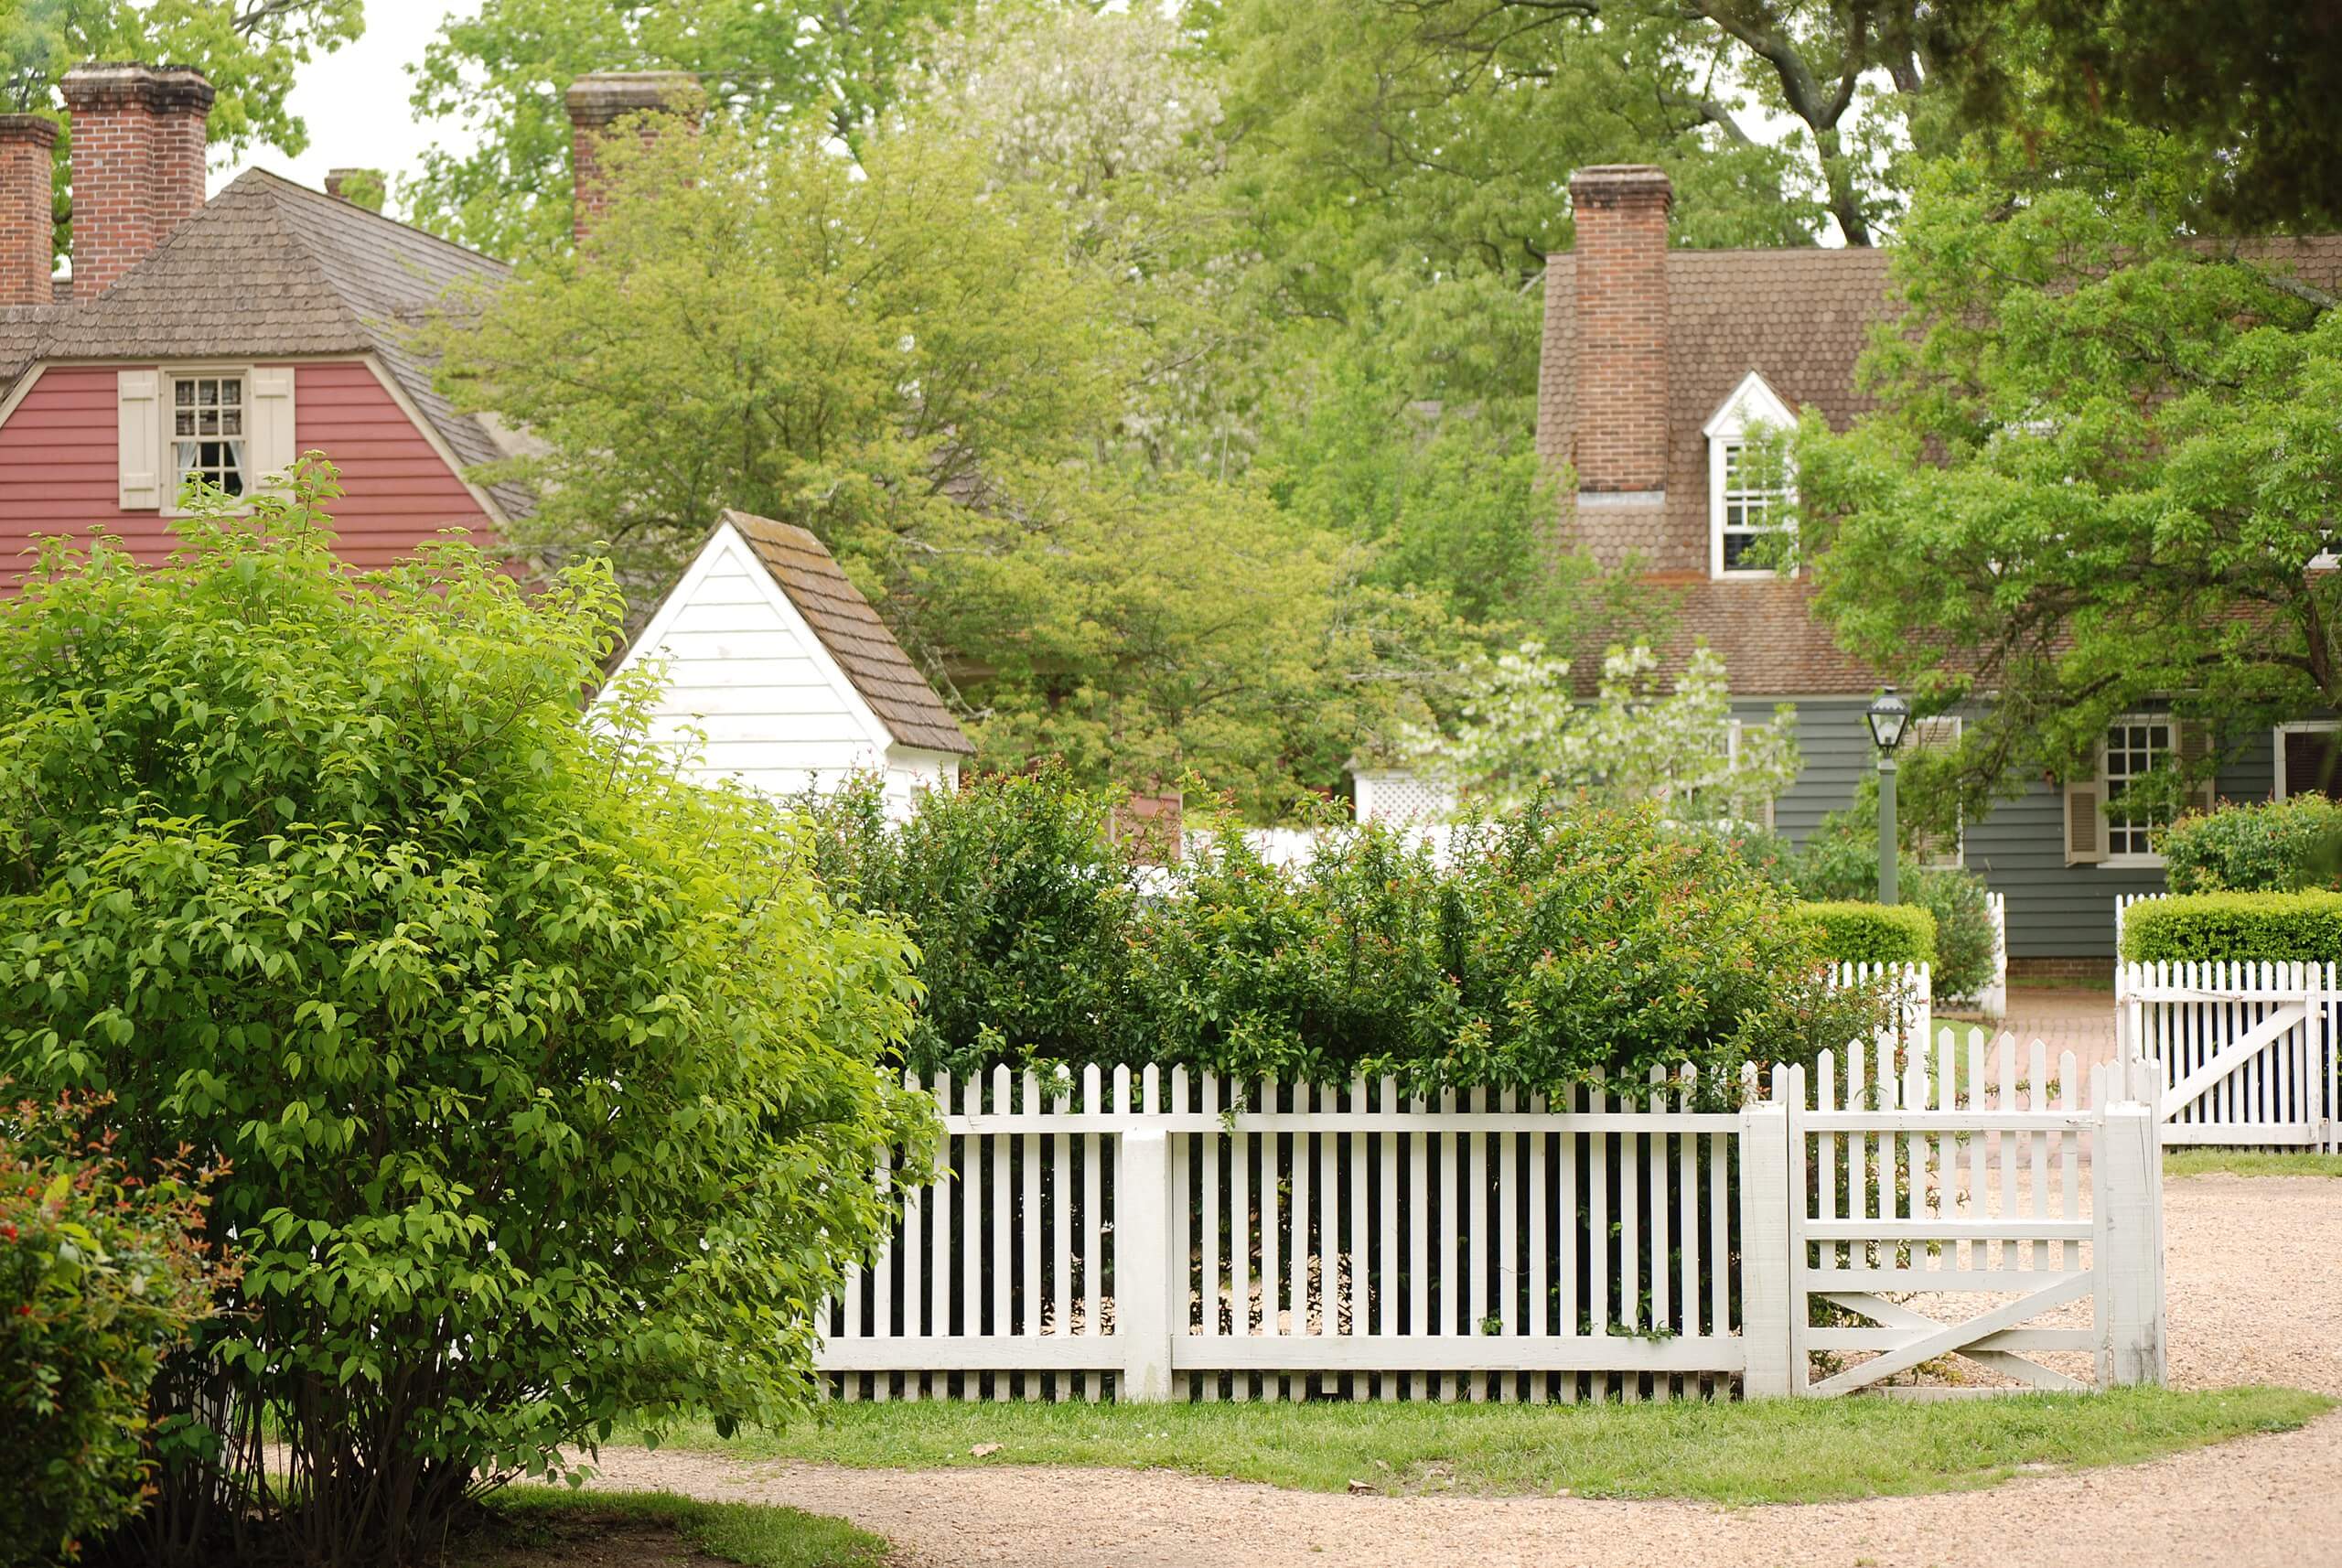
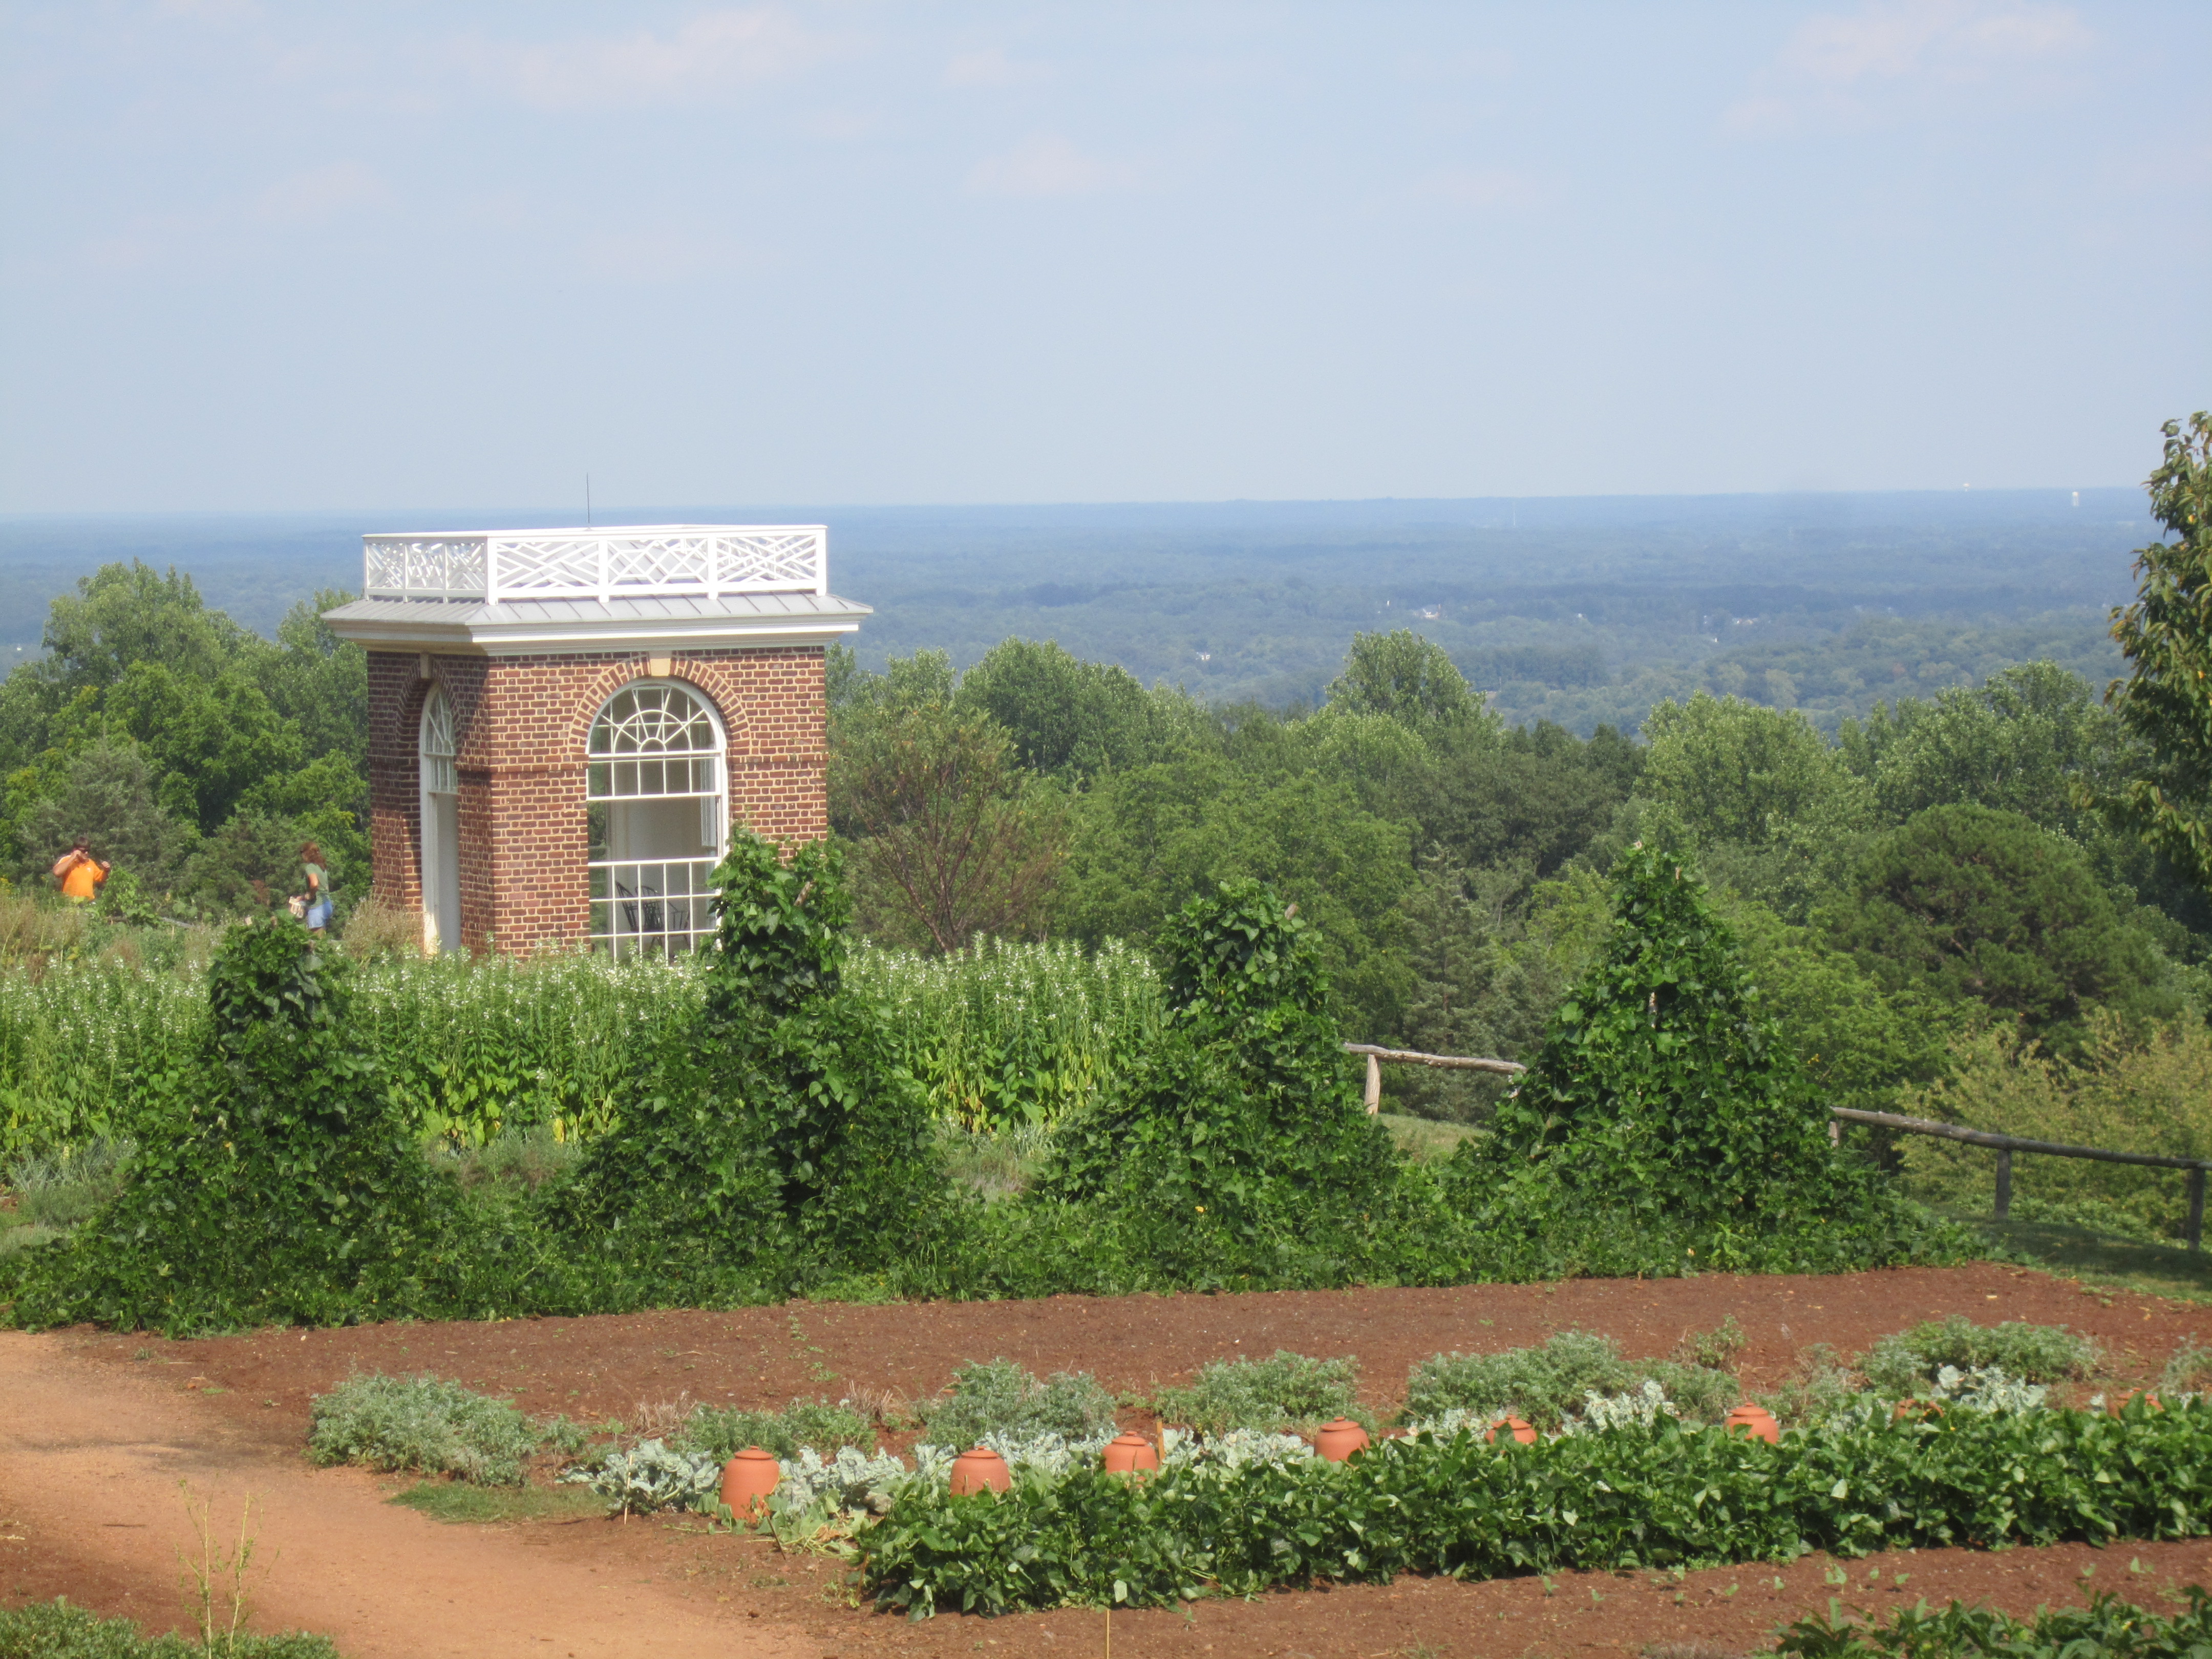
In keeping with Adelma’s advice, I spent most nights in February and March studying stacks upon stacks of gardening books, in addition to hers, to gather ideas and inspiration from real-life examples – all so that our garden here at 1750 House would not fall into that aforementioned “difficult,” “unplanned” territory. Through the winter, I learned about prairie gardens, dry gardens, meditation gardens, bog gardens, dooryard gardens, shade gardens, kitchen gardens, formal gardens, cottage gardens, cutting gardens, woodland gardens, and native gardens in pursuit of coming up with some interesting layouts. What I kept admiring over and over again in book after book was a traditional square garden with pathways, some sort of architectural feature in the middle, and herbs arranged in a balanced fashion around the edges. A timeless design, I liked its simple and tidy scale, which is very much in keeping with our simple 18th-century colonial farmhouse.
In Herb Gardening in Five Seasons, Adelma also offered a variety of her own designs specifically tailored to herb gardens. There were eight in total, each ranging in theme and aesthetic. Had I the space and the sunlight, I would have replicated this one exactly…

The one challenge that presents itself at 1750 House is a limited amount of full sun spaces. Basically, we have two areas that receive about eight hours of sun a day and the rest is made up of dappled shade or towards the very back, deep shade of the woodland variety. Not every part of the full-sun area is appropriate for garden beds, so our limited sunshine spots are reserved strictly for growing vegetables and flowers in those areas.

While a shady garden is a challenge for growing many types of plants, the thing that first drew me to Adelma’s book last year was that she included a long list of herbs (29 of them) that grow well in sun-filtered shade. This was inspiration enough to start thinking about a new gardening experiment in 2025 to see what was possible in the way of a partial-shade garden using her expert advice.

The only compromise to a somewhat shady garden, Adelma noted in her book, is that some of the herbs might grow taller than they would normally in a sunny location, and that they might not be 100% as flavorful as their sun-bathed counterparts. Tall plants are my favorite kind, and while I am growing these herbs for cooking and, of course, would want them to be as flavorful as possible, I figure it’s best to understand their growing conditions and flavor intensity first in order to see what we can improve later.
Step Two: Determine The Location
Thoughts from Adelma: I think of the “perfect” herb garden as about 12 x 18 feet. Well organized, it will not require back-breaking labor once the soil has been prepared, walks laid, a center motif clearly stated, and borders planted with favorite but often miscellaneous plants set out in orderly beauty. (page 4)

Eight hours of full sun is ideal for herb gardens, but if that amount of sunlight is not possible when it comes to choosing a site, Adelma at least recommends situating your garden in a well-drained location with a slight slope so that plant roots are not swimming in puddles long after it rains or the garden is watered.
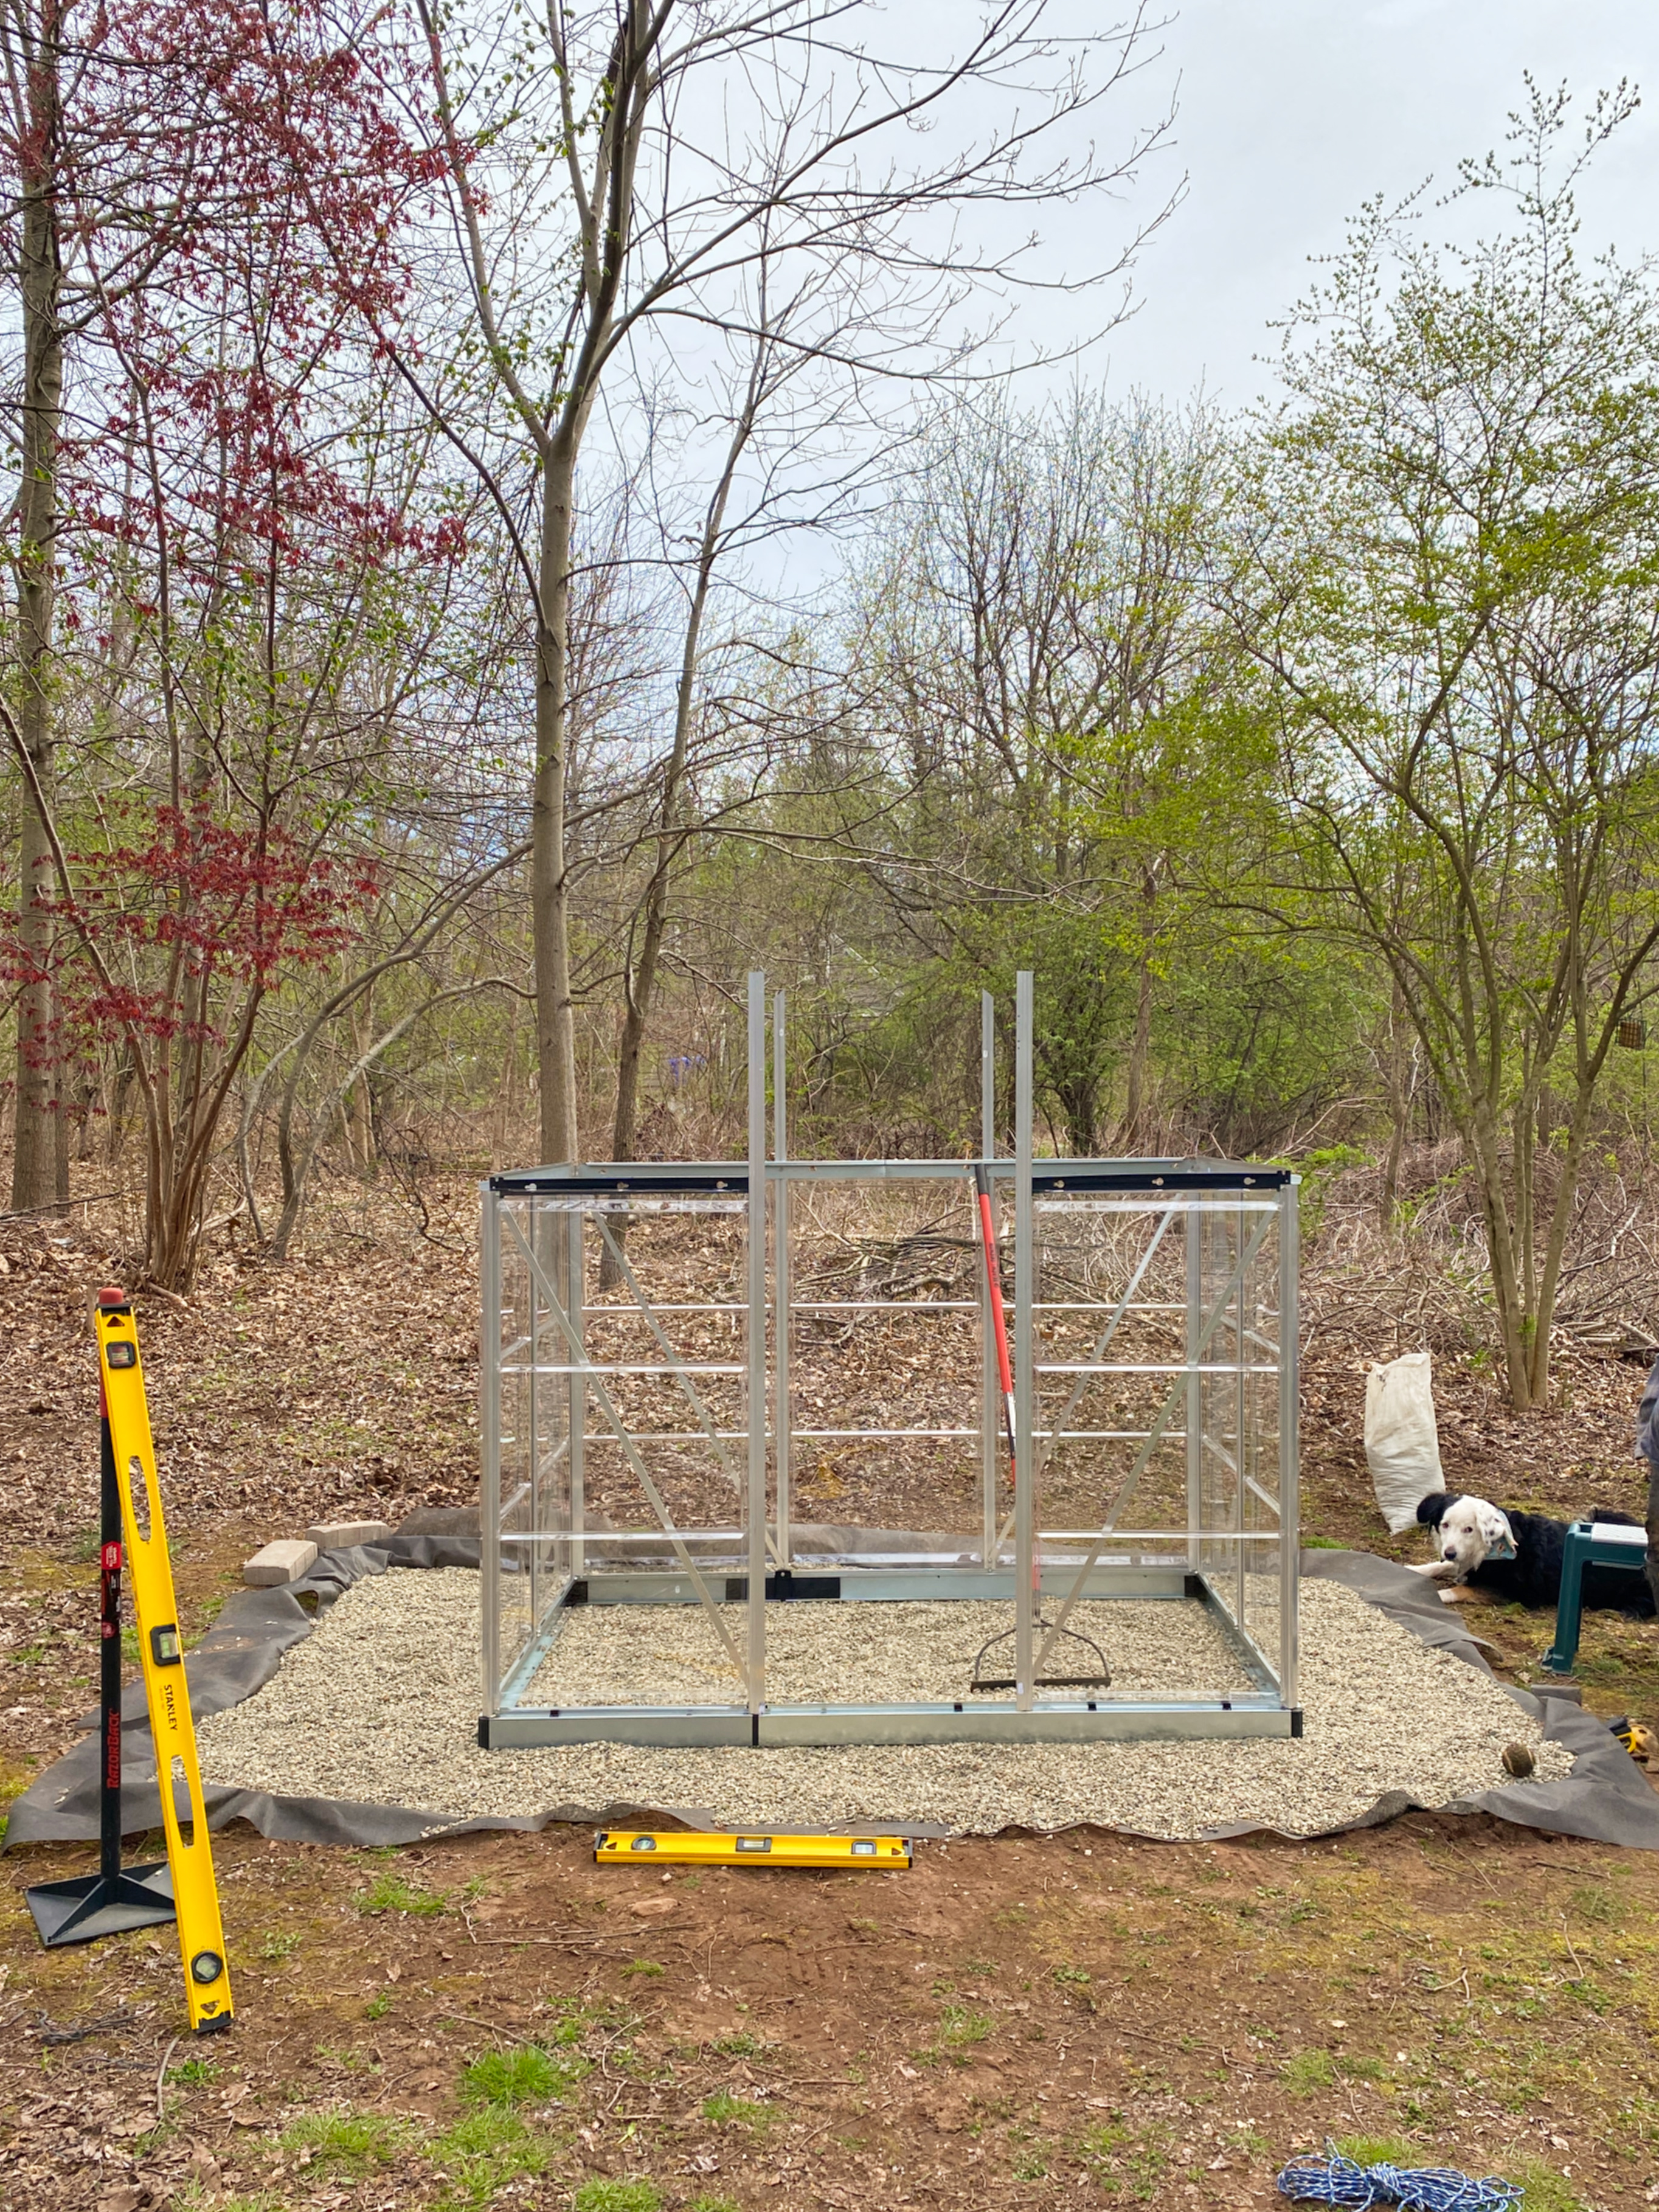
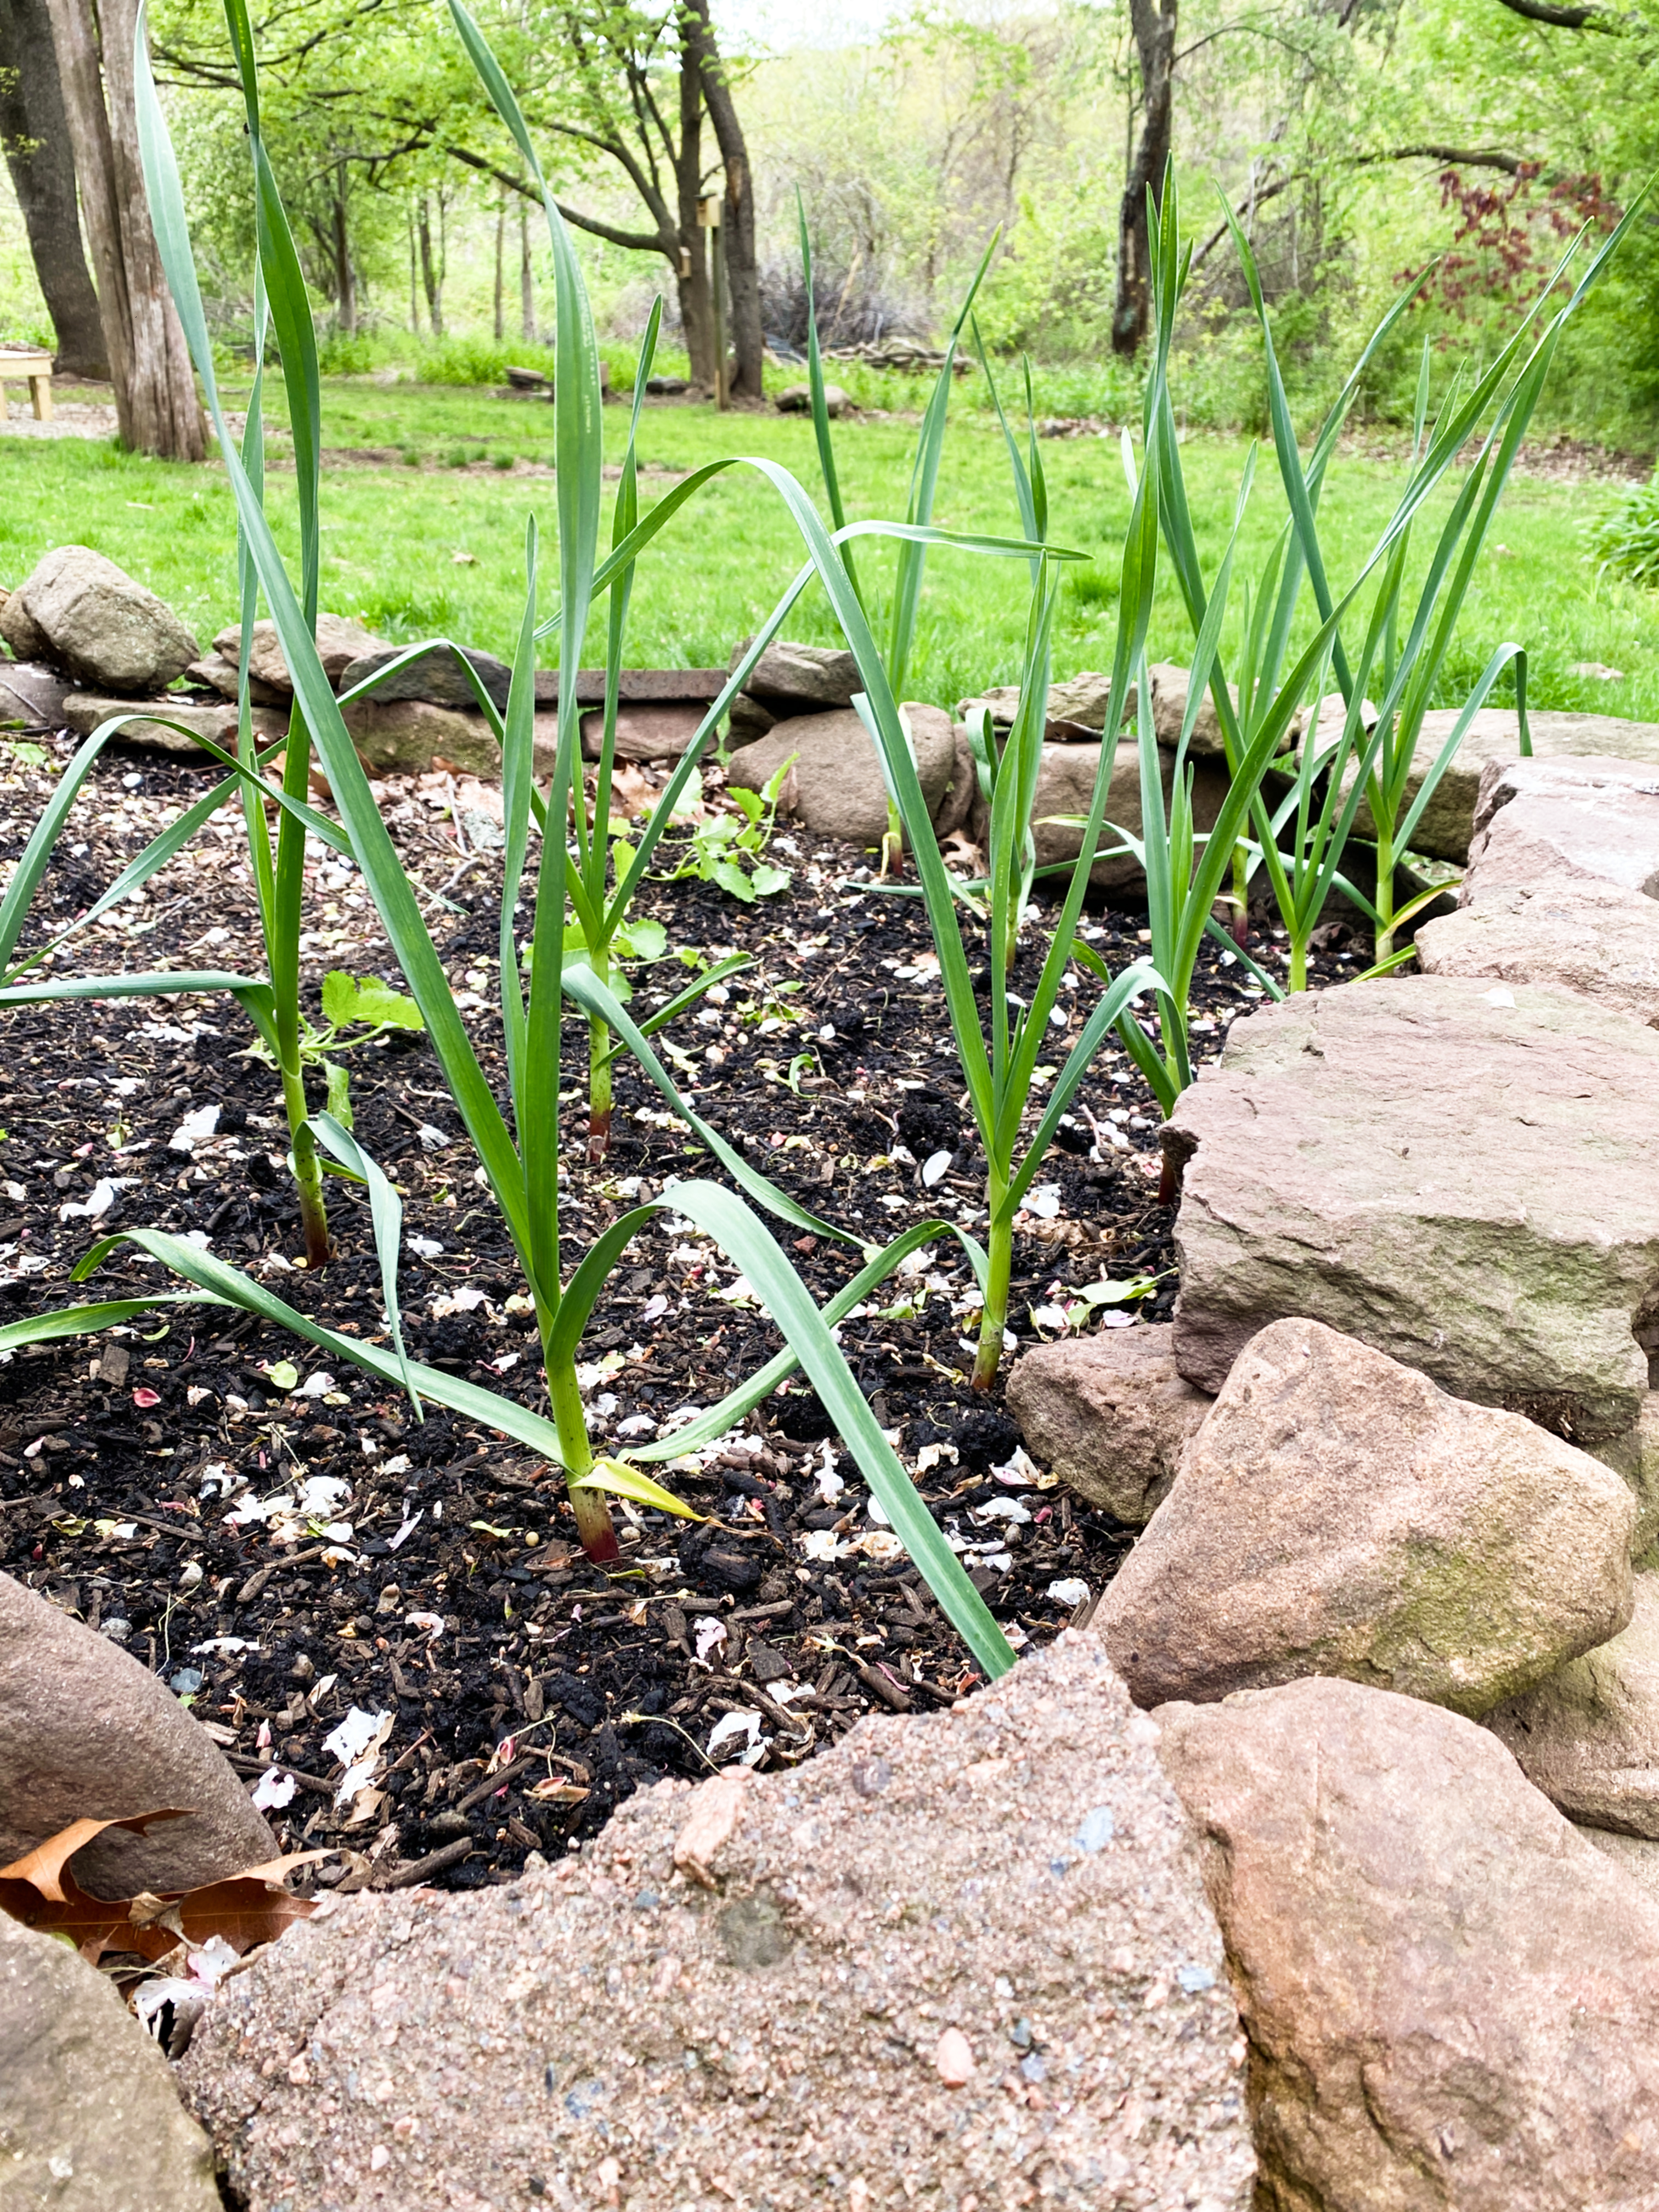
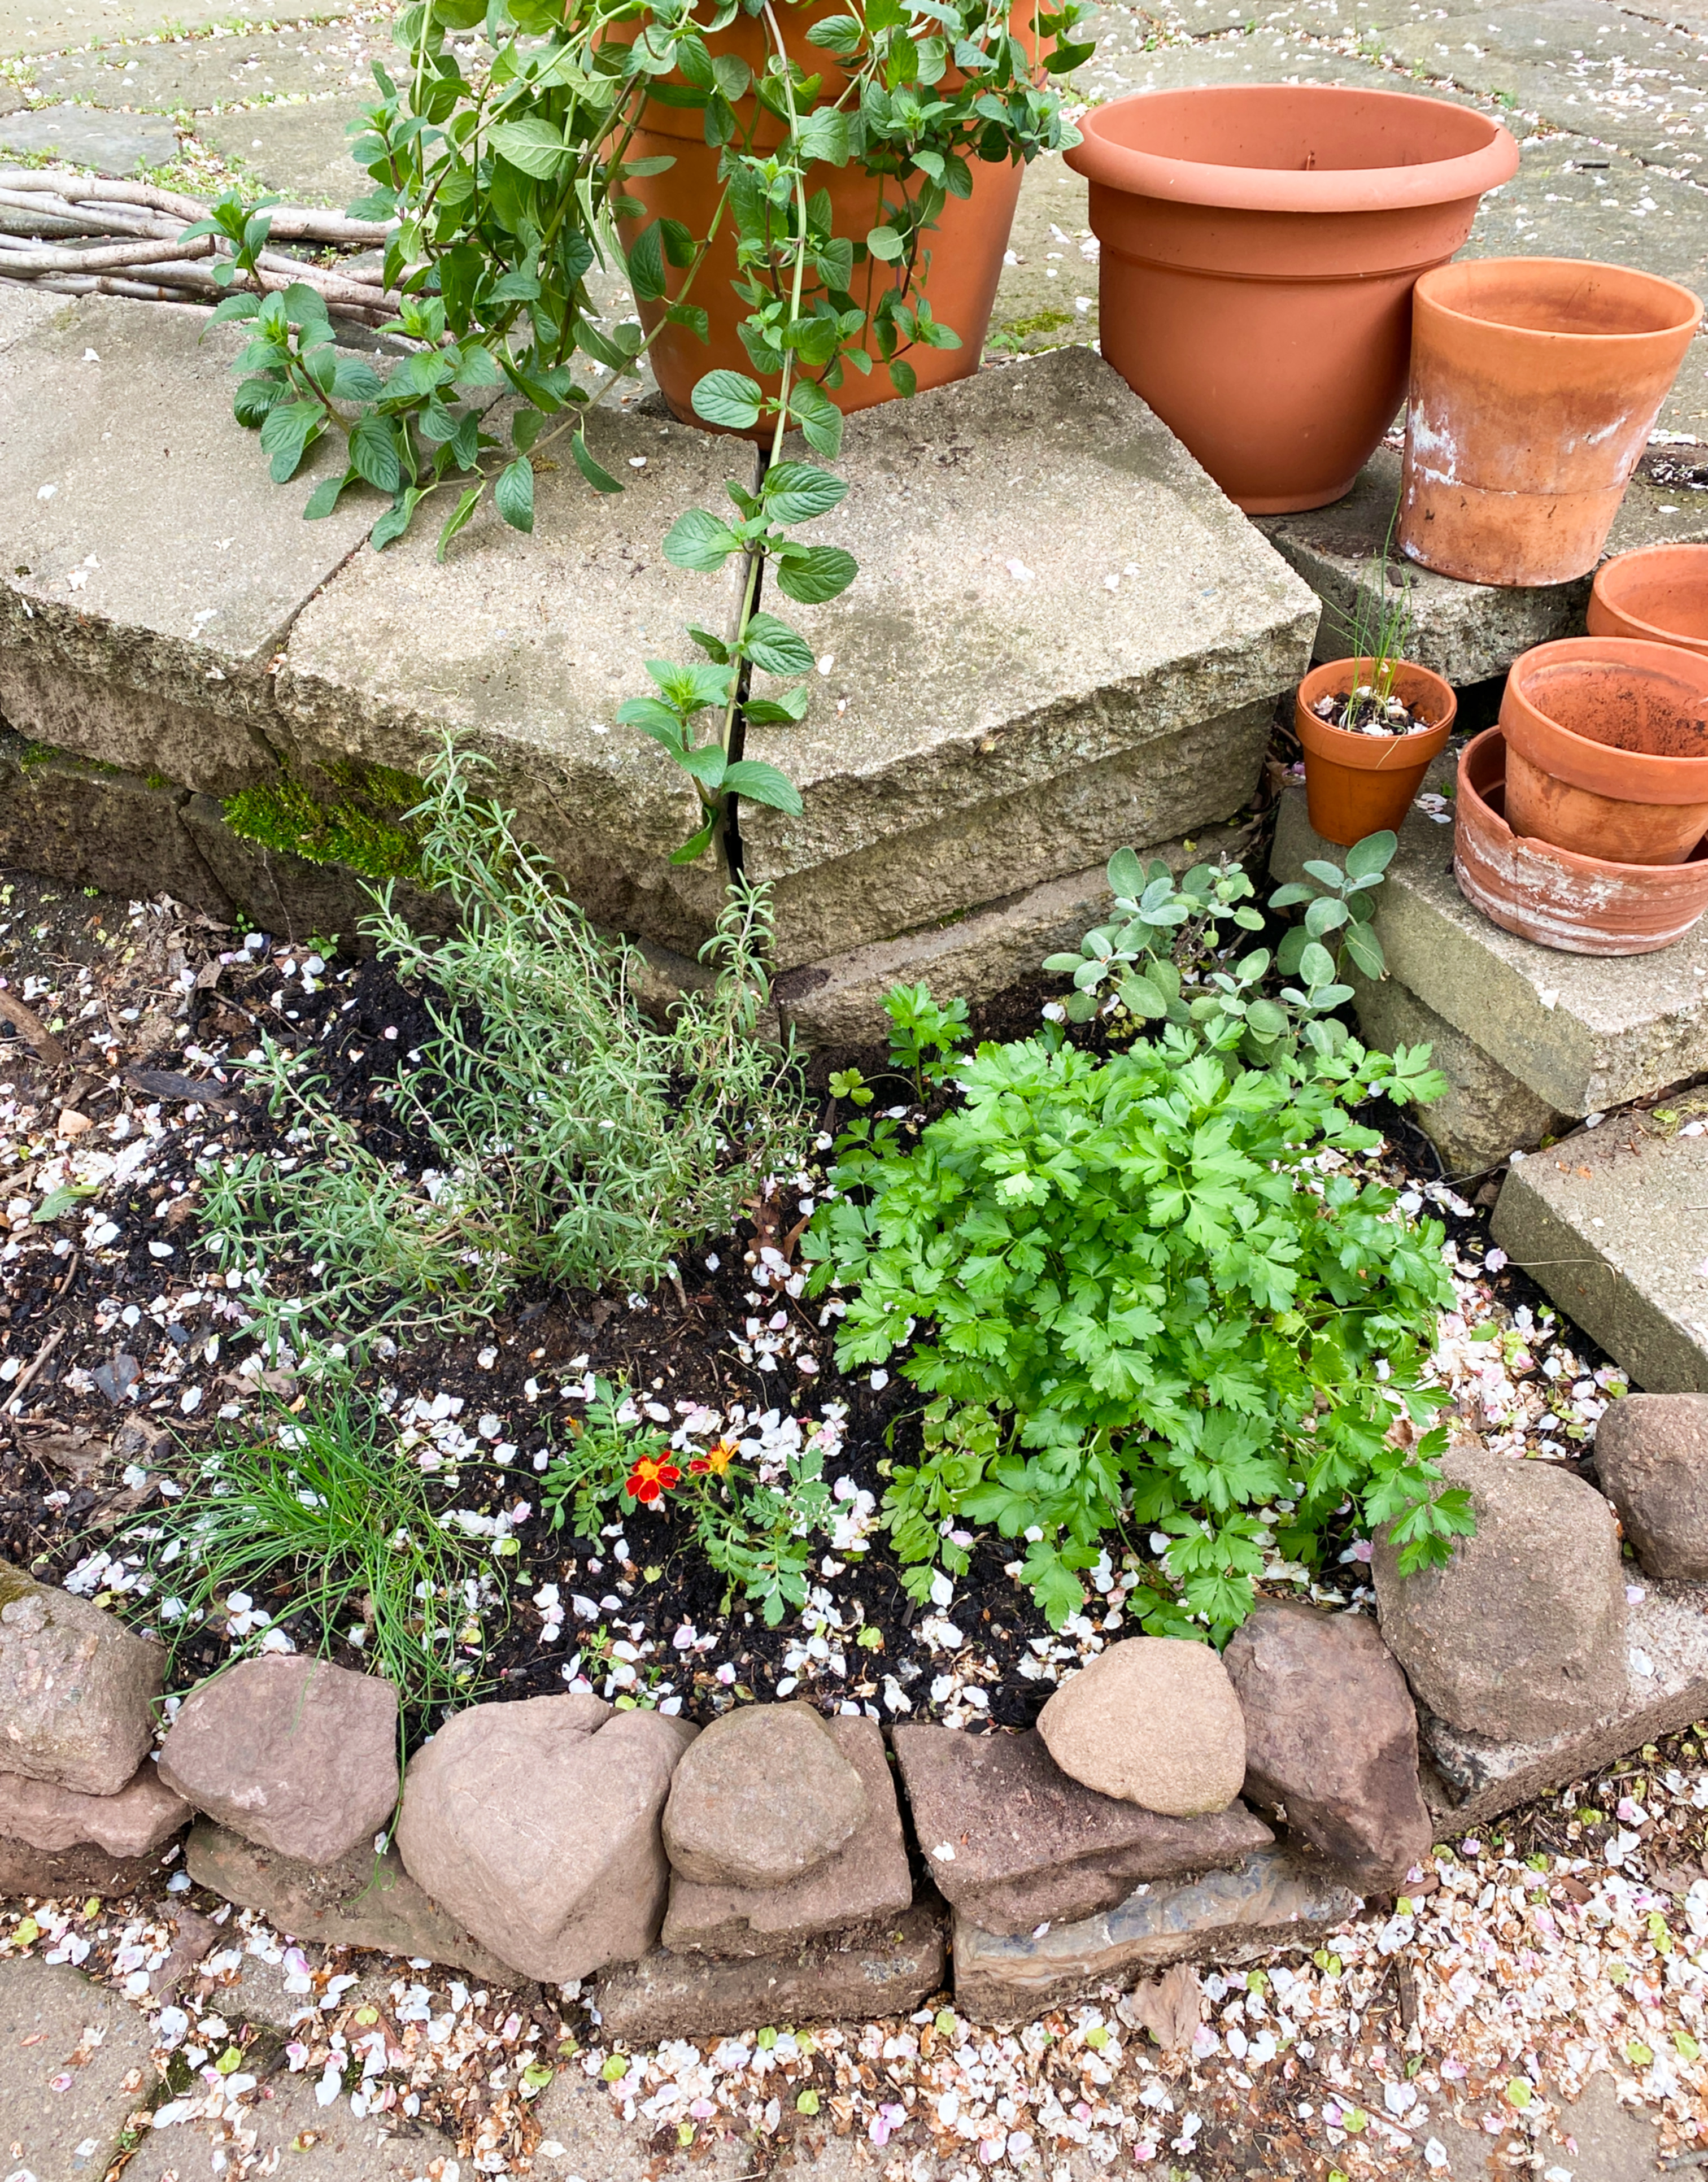
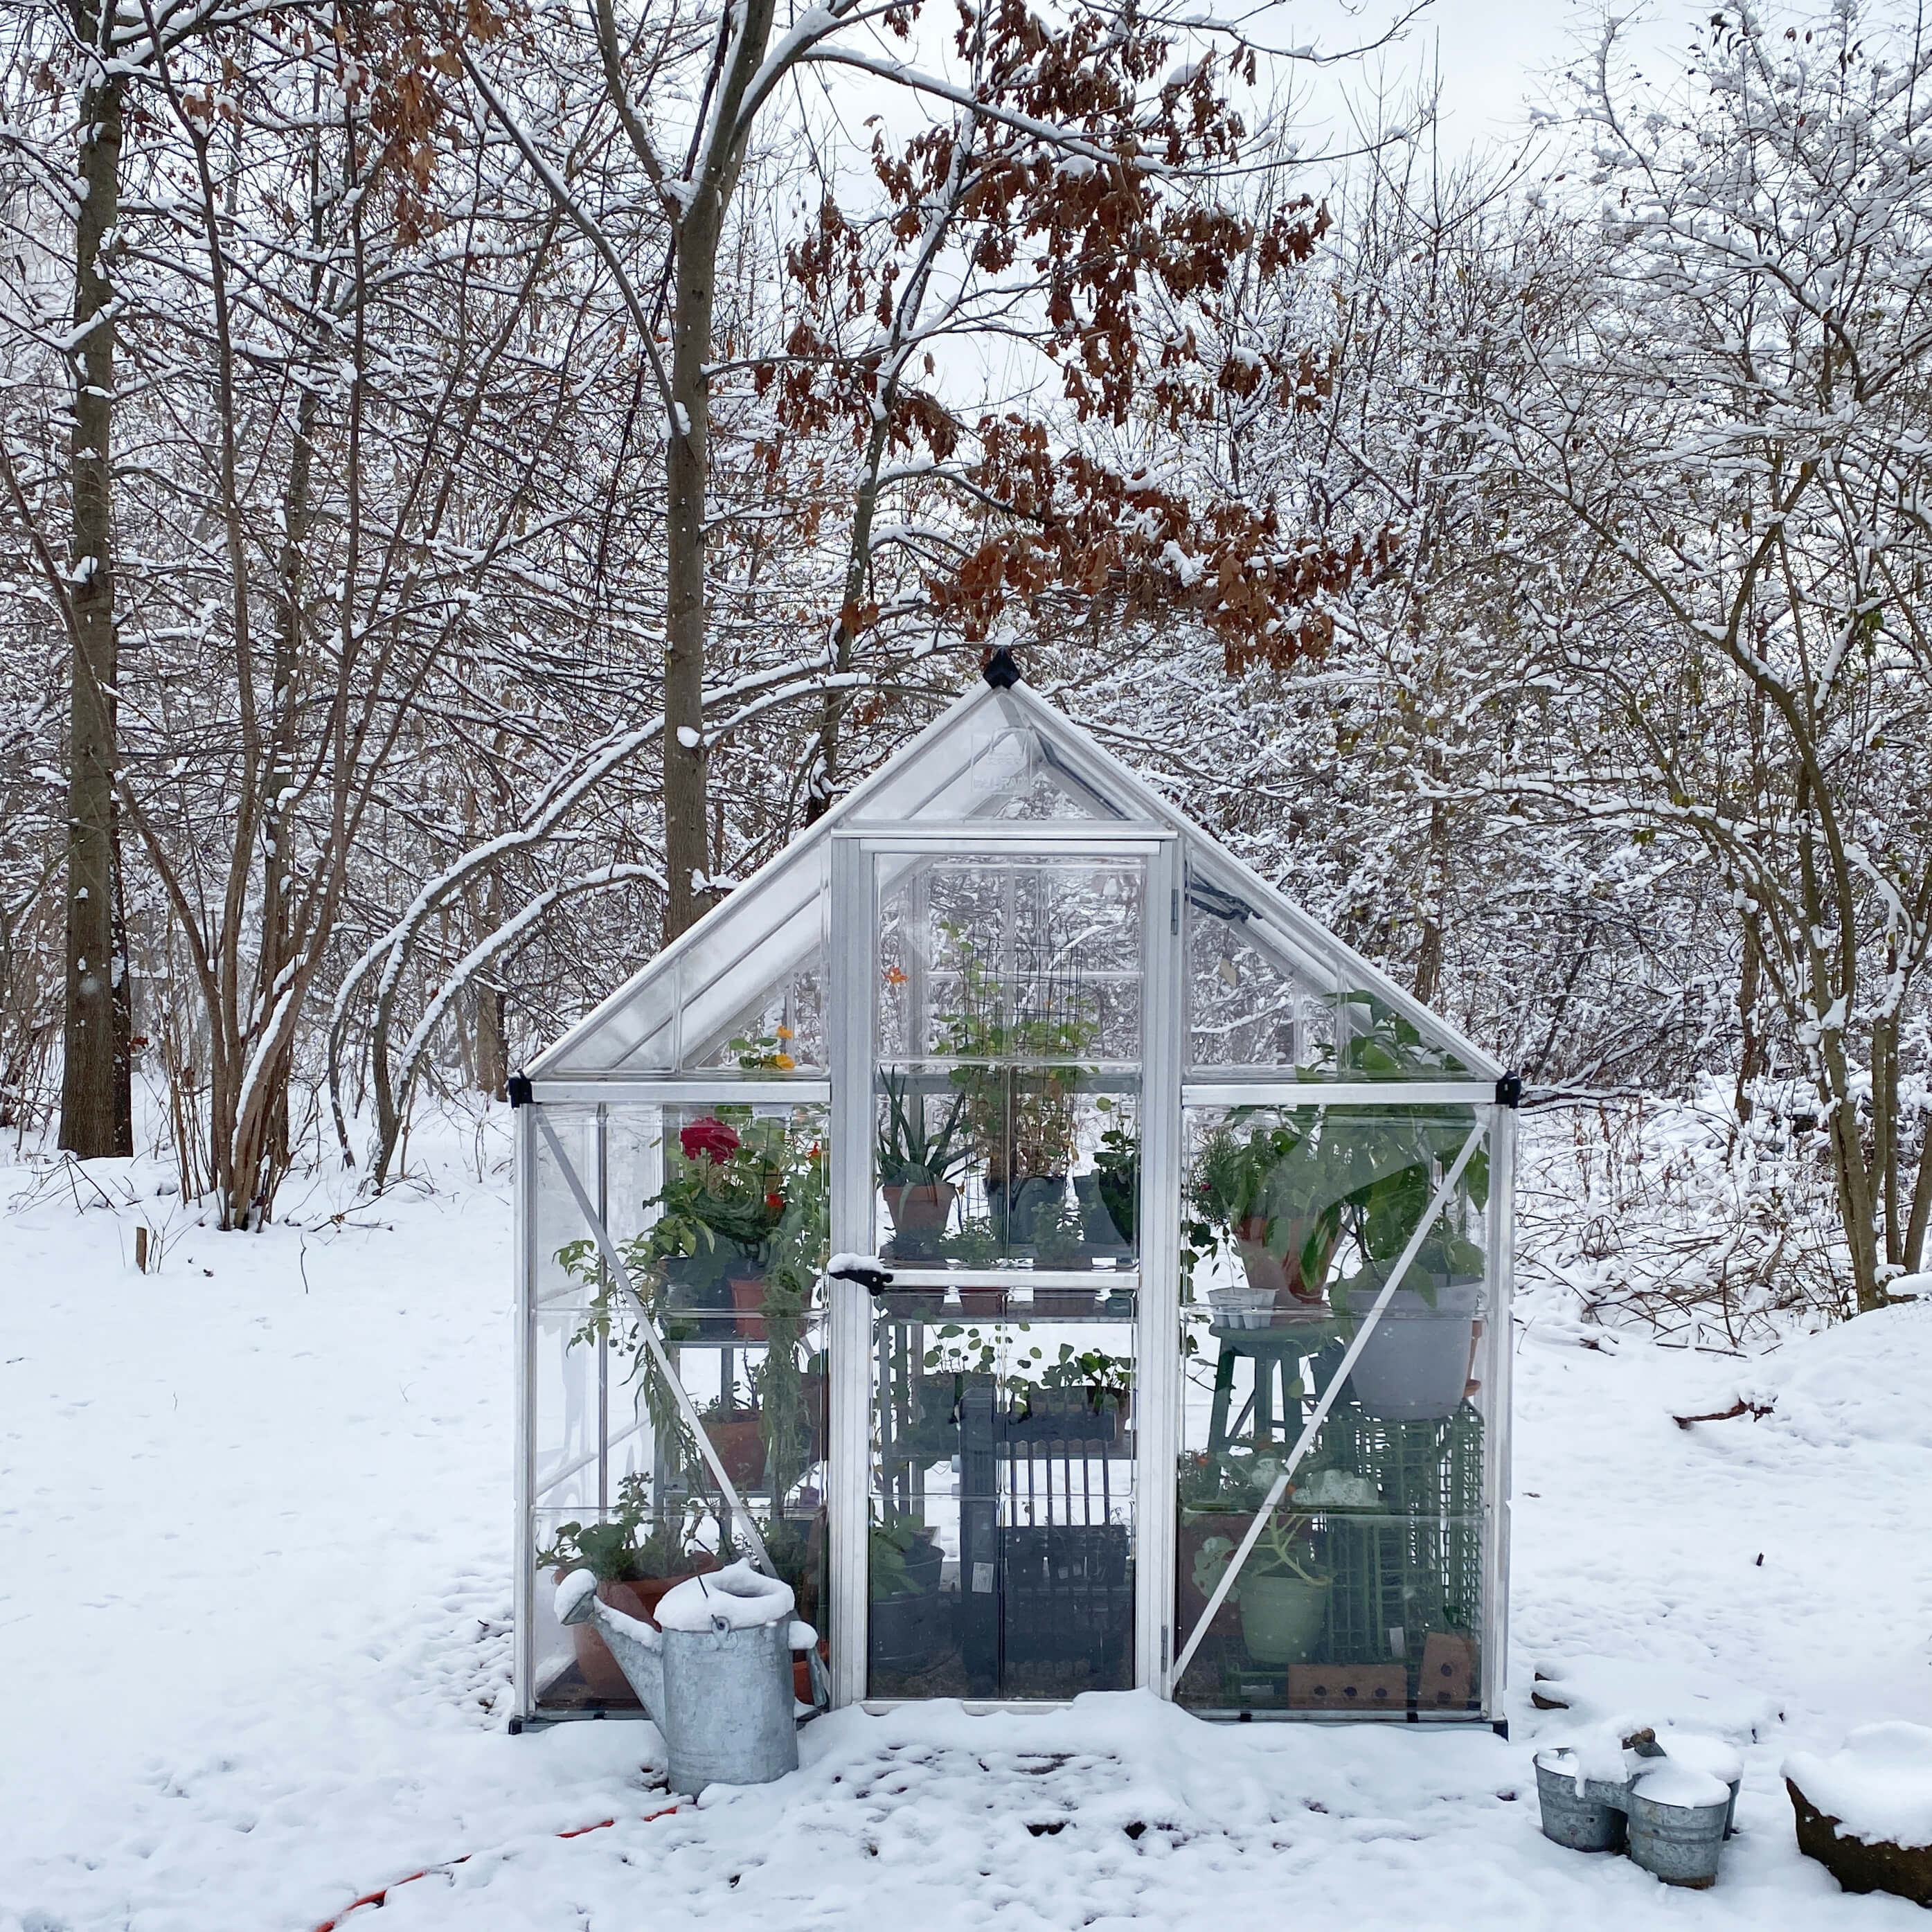
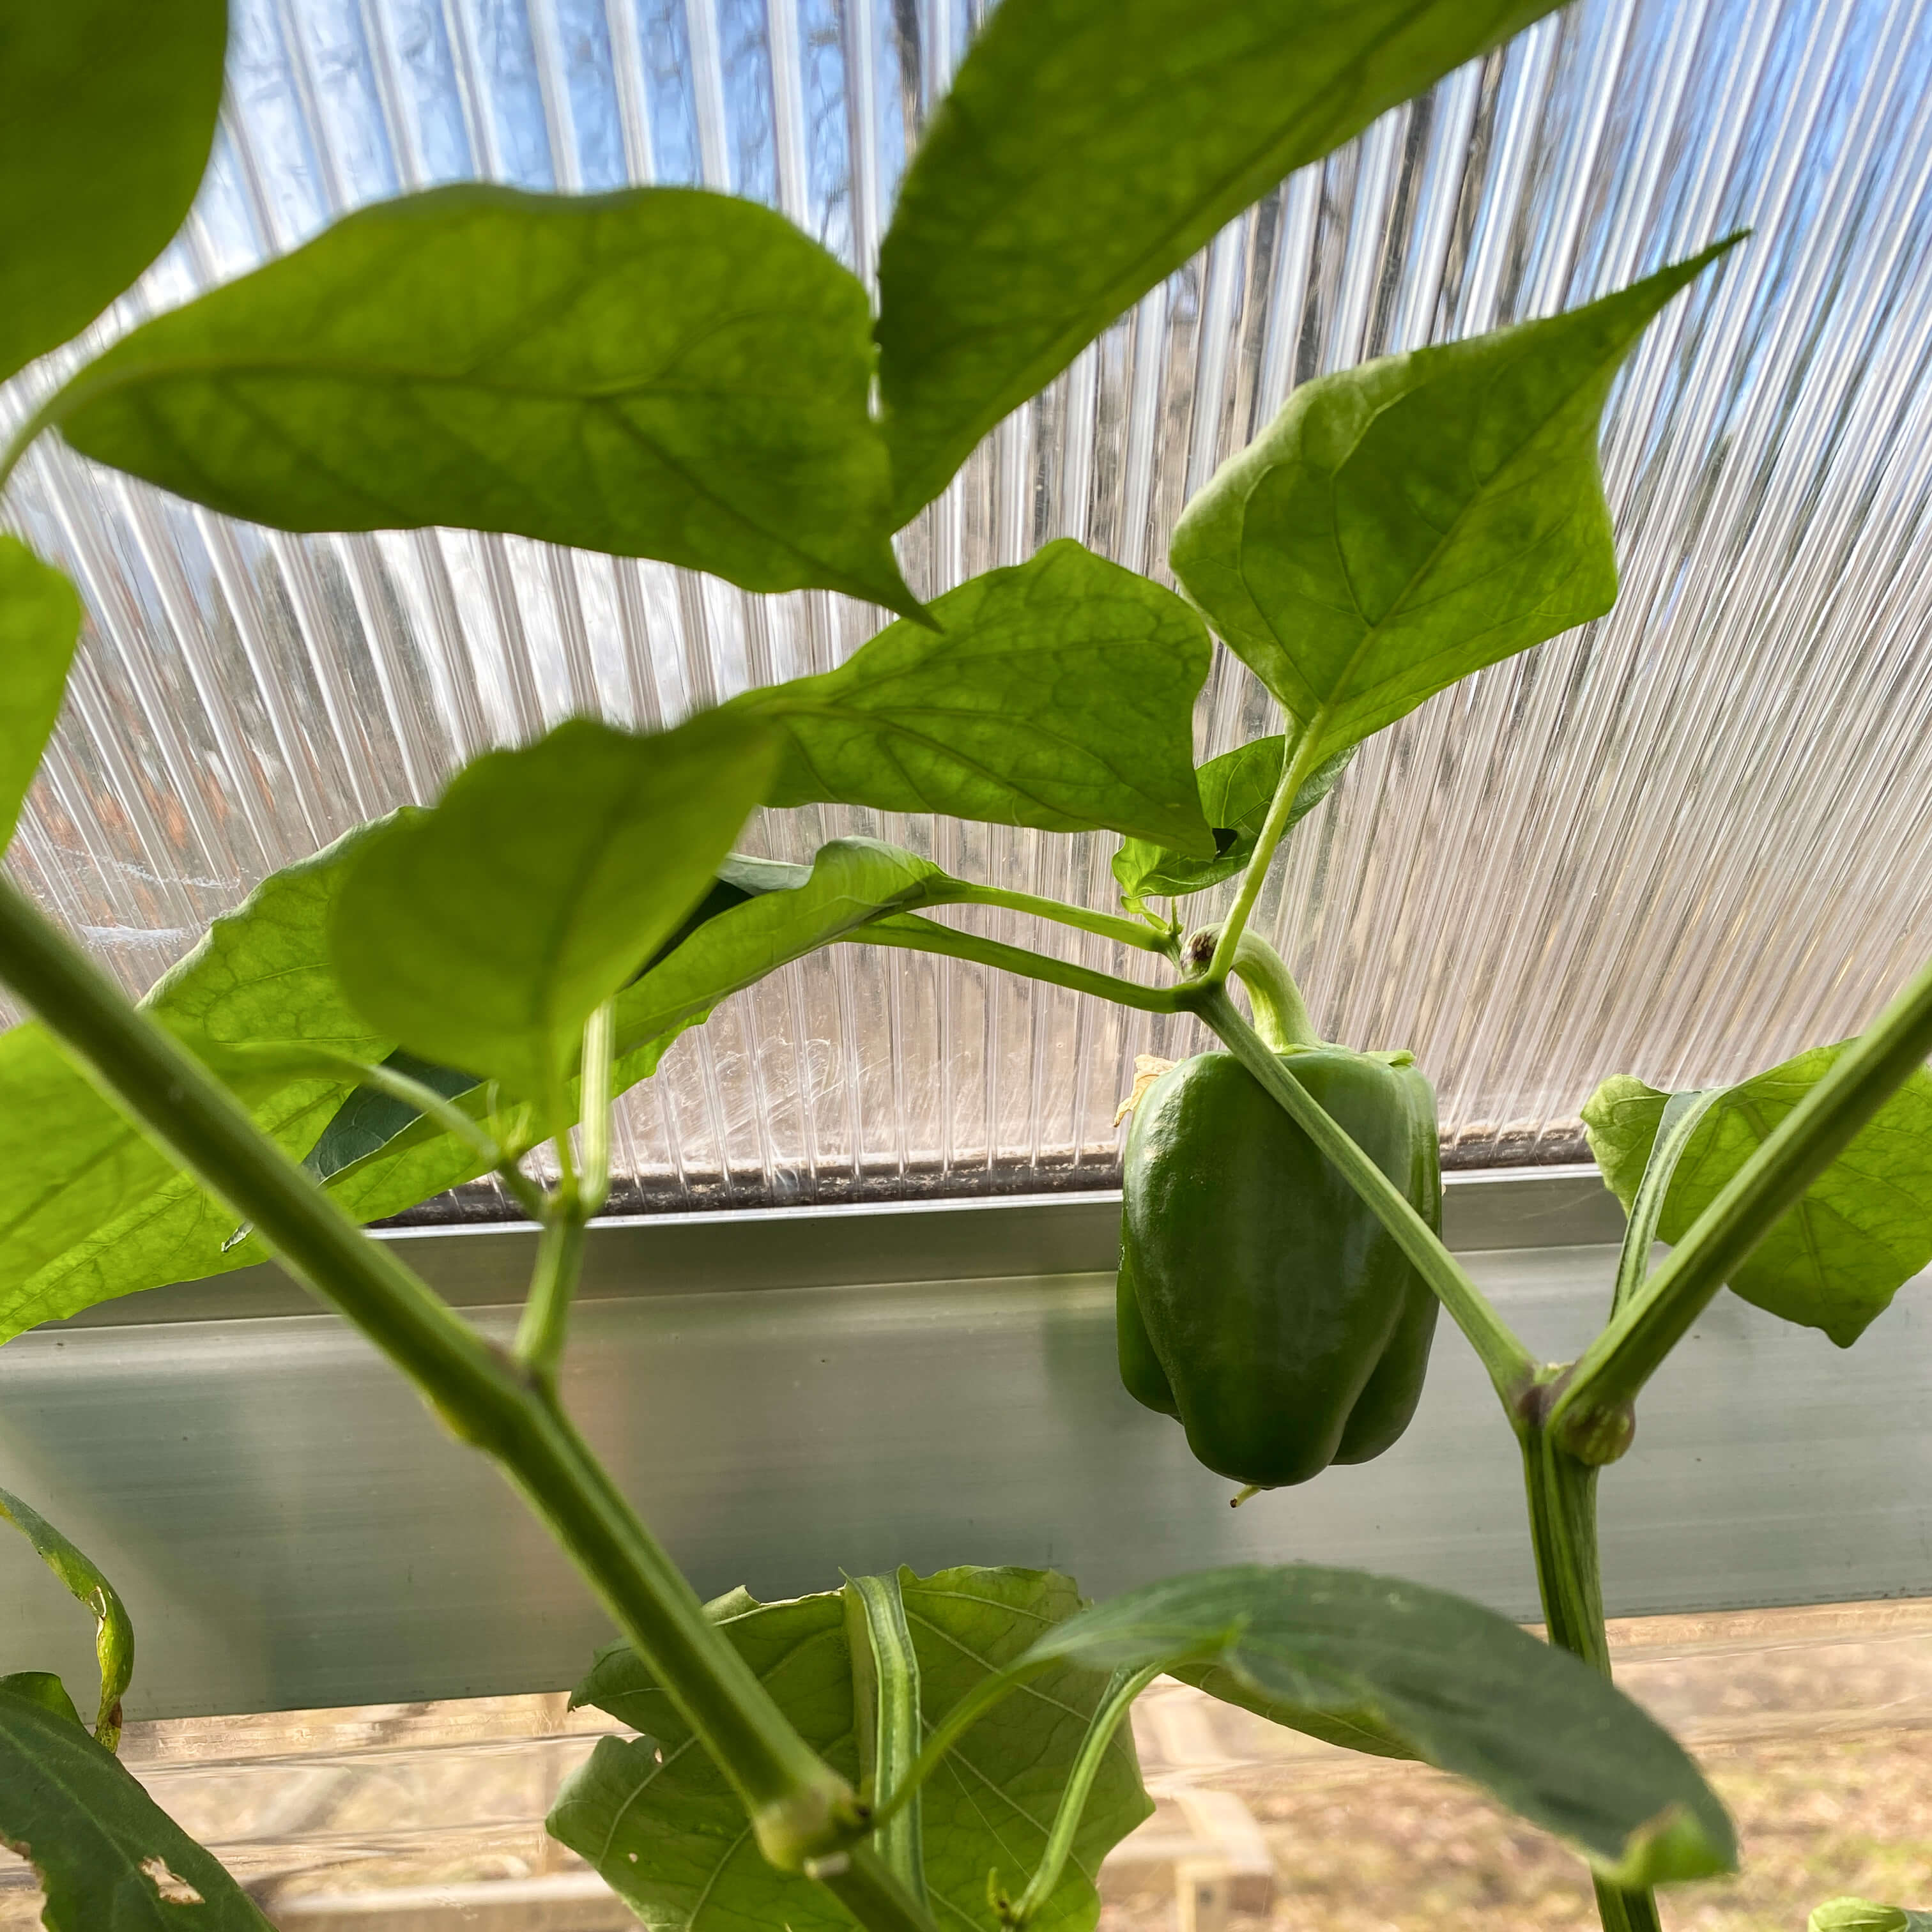
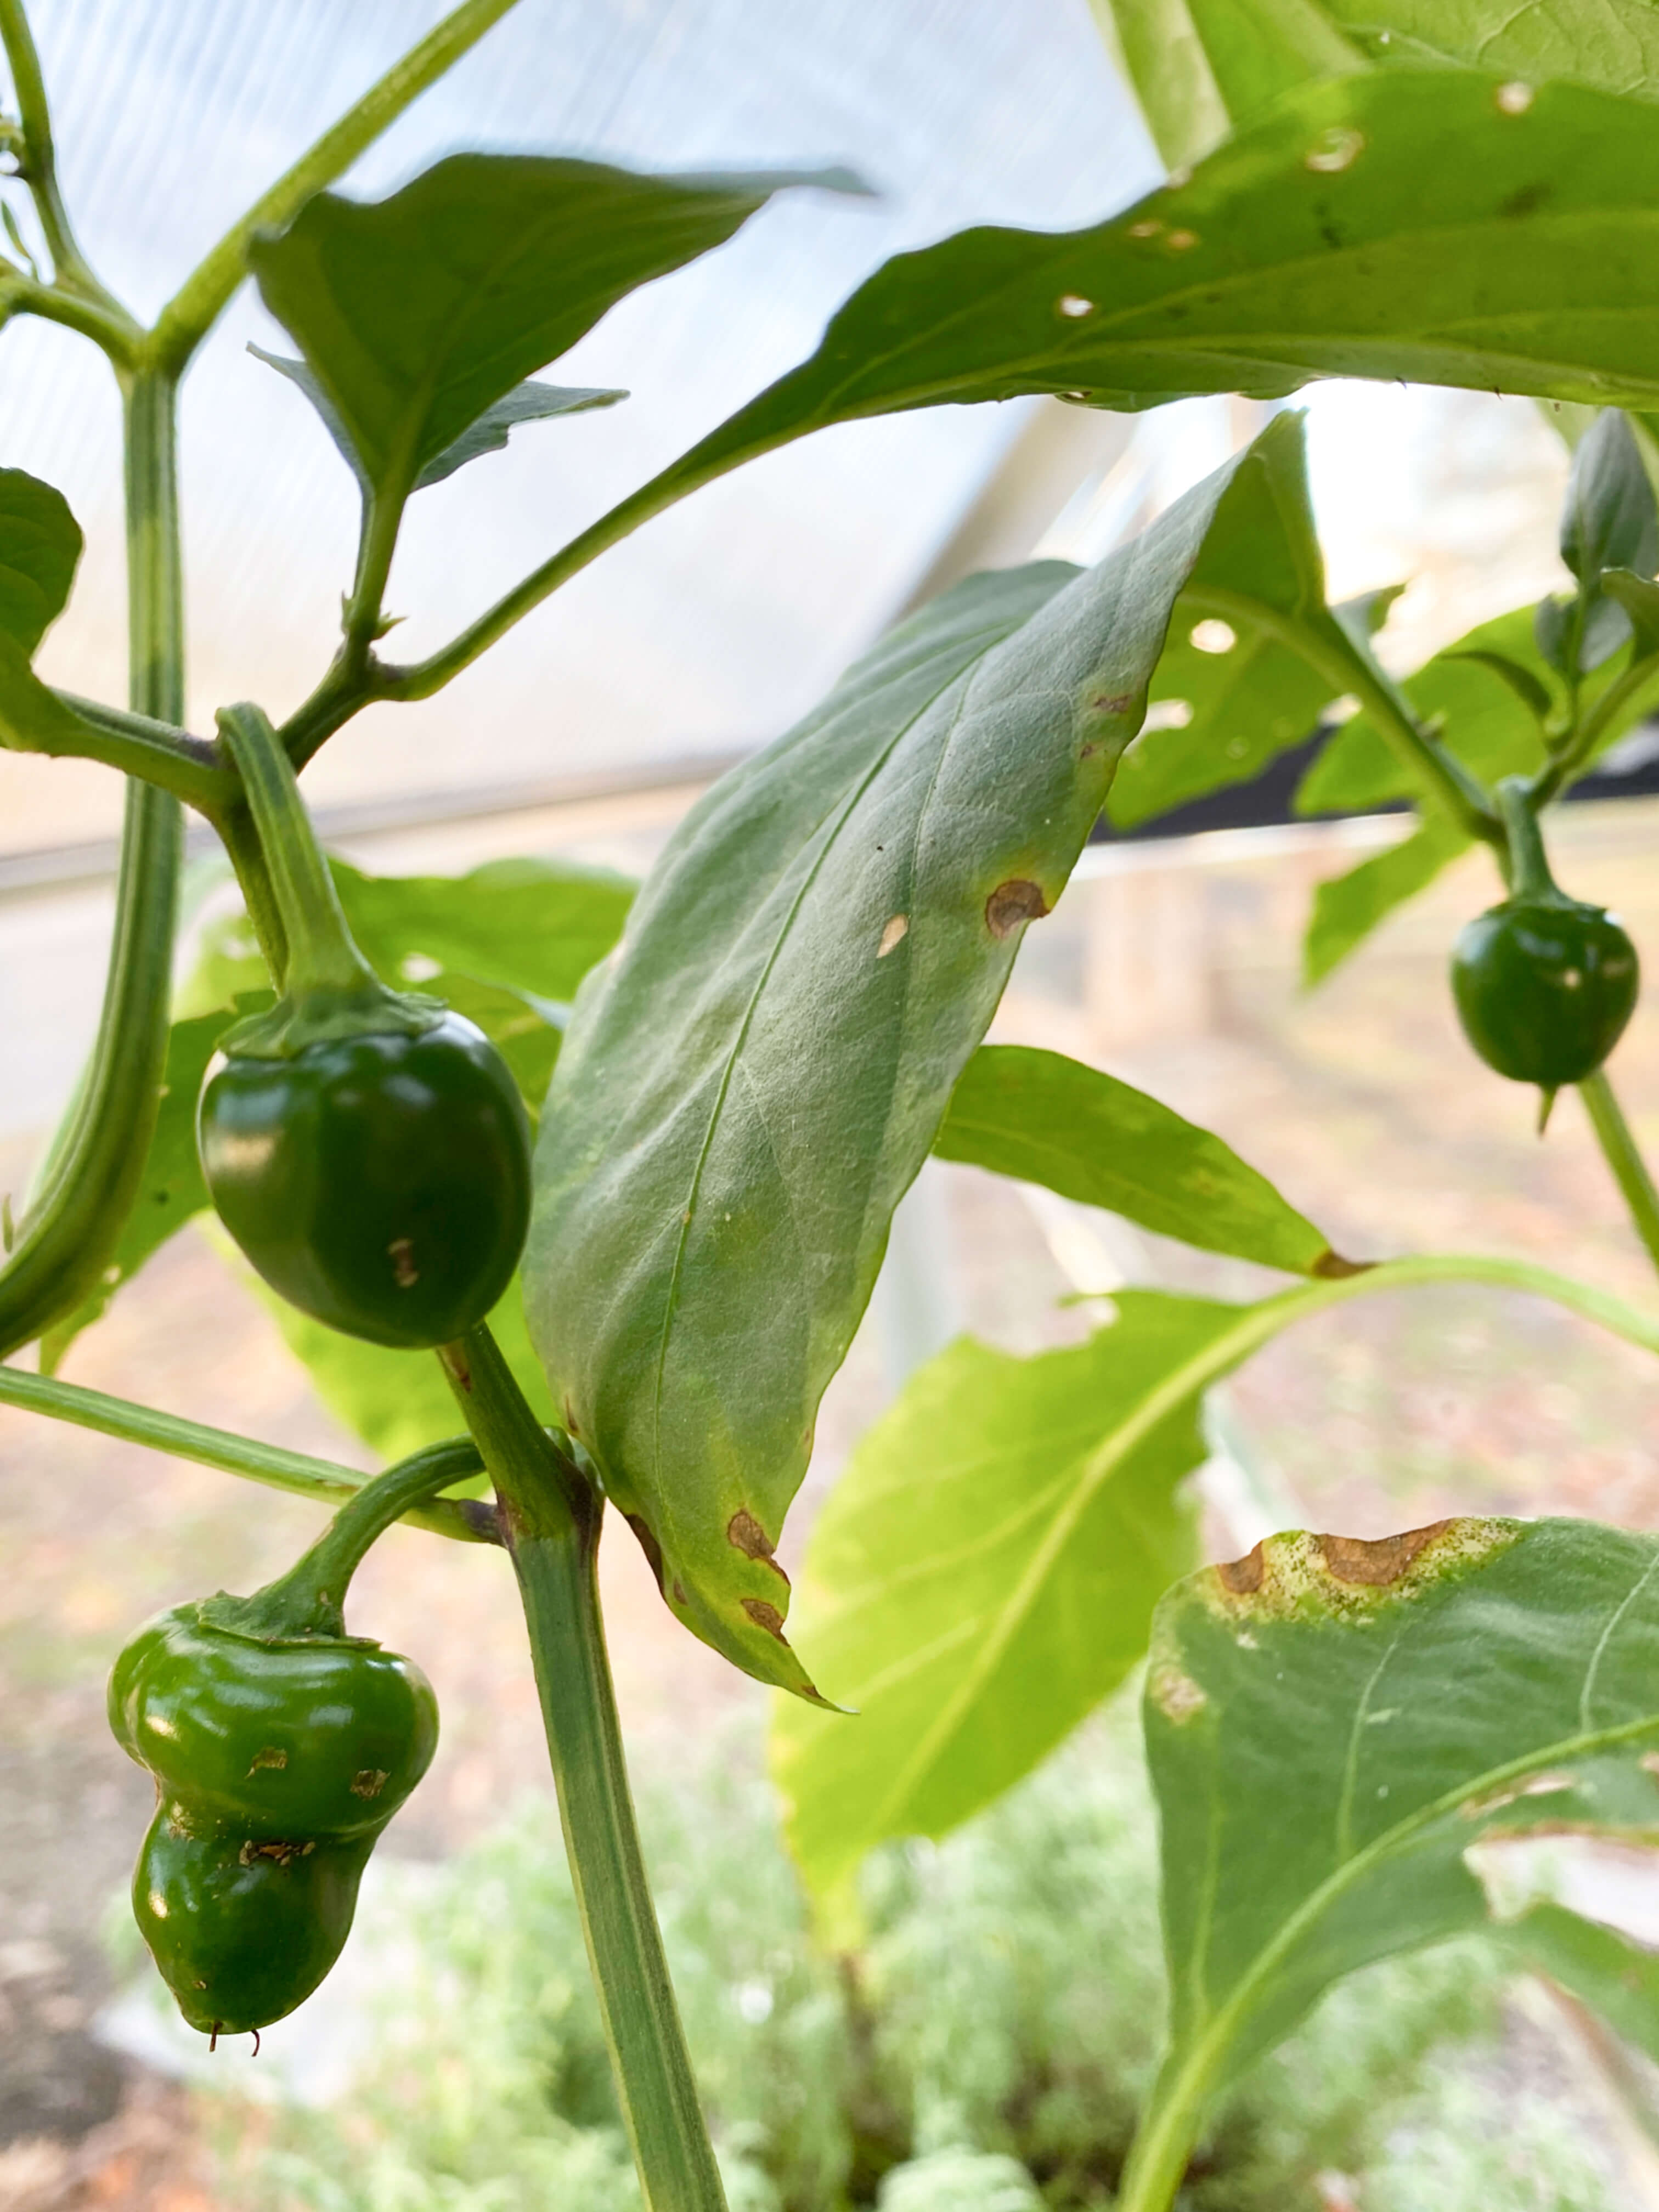
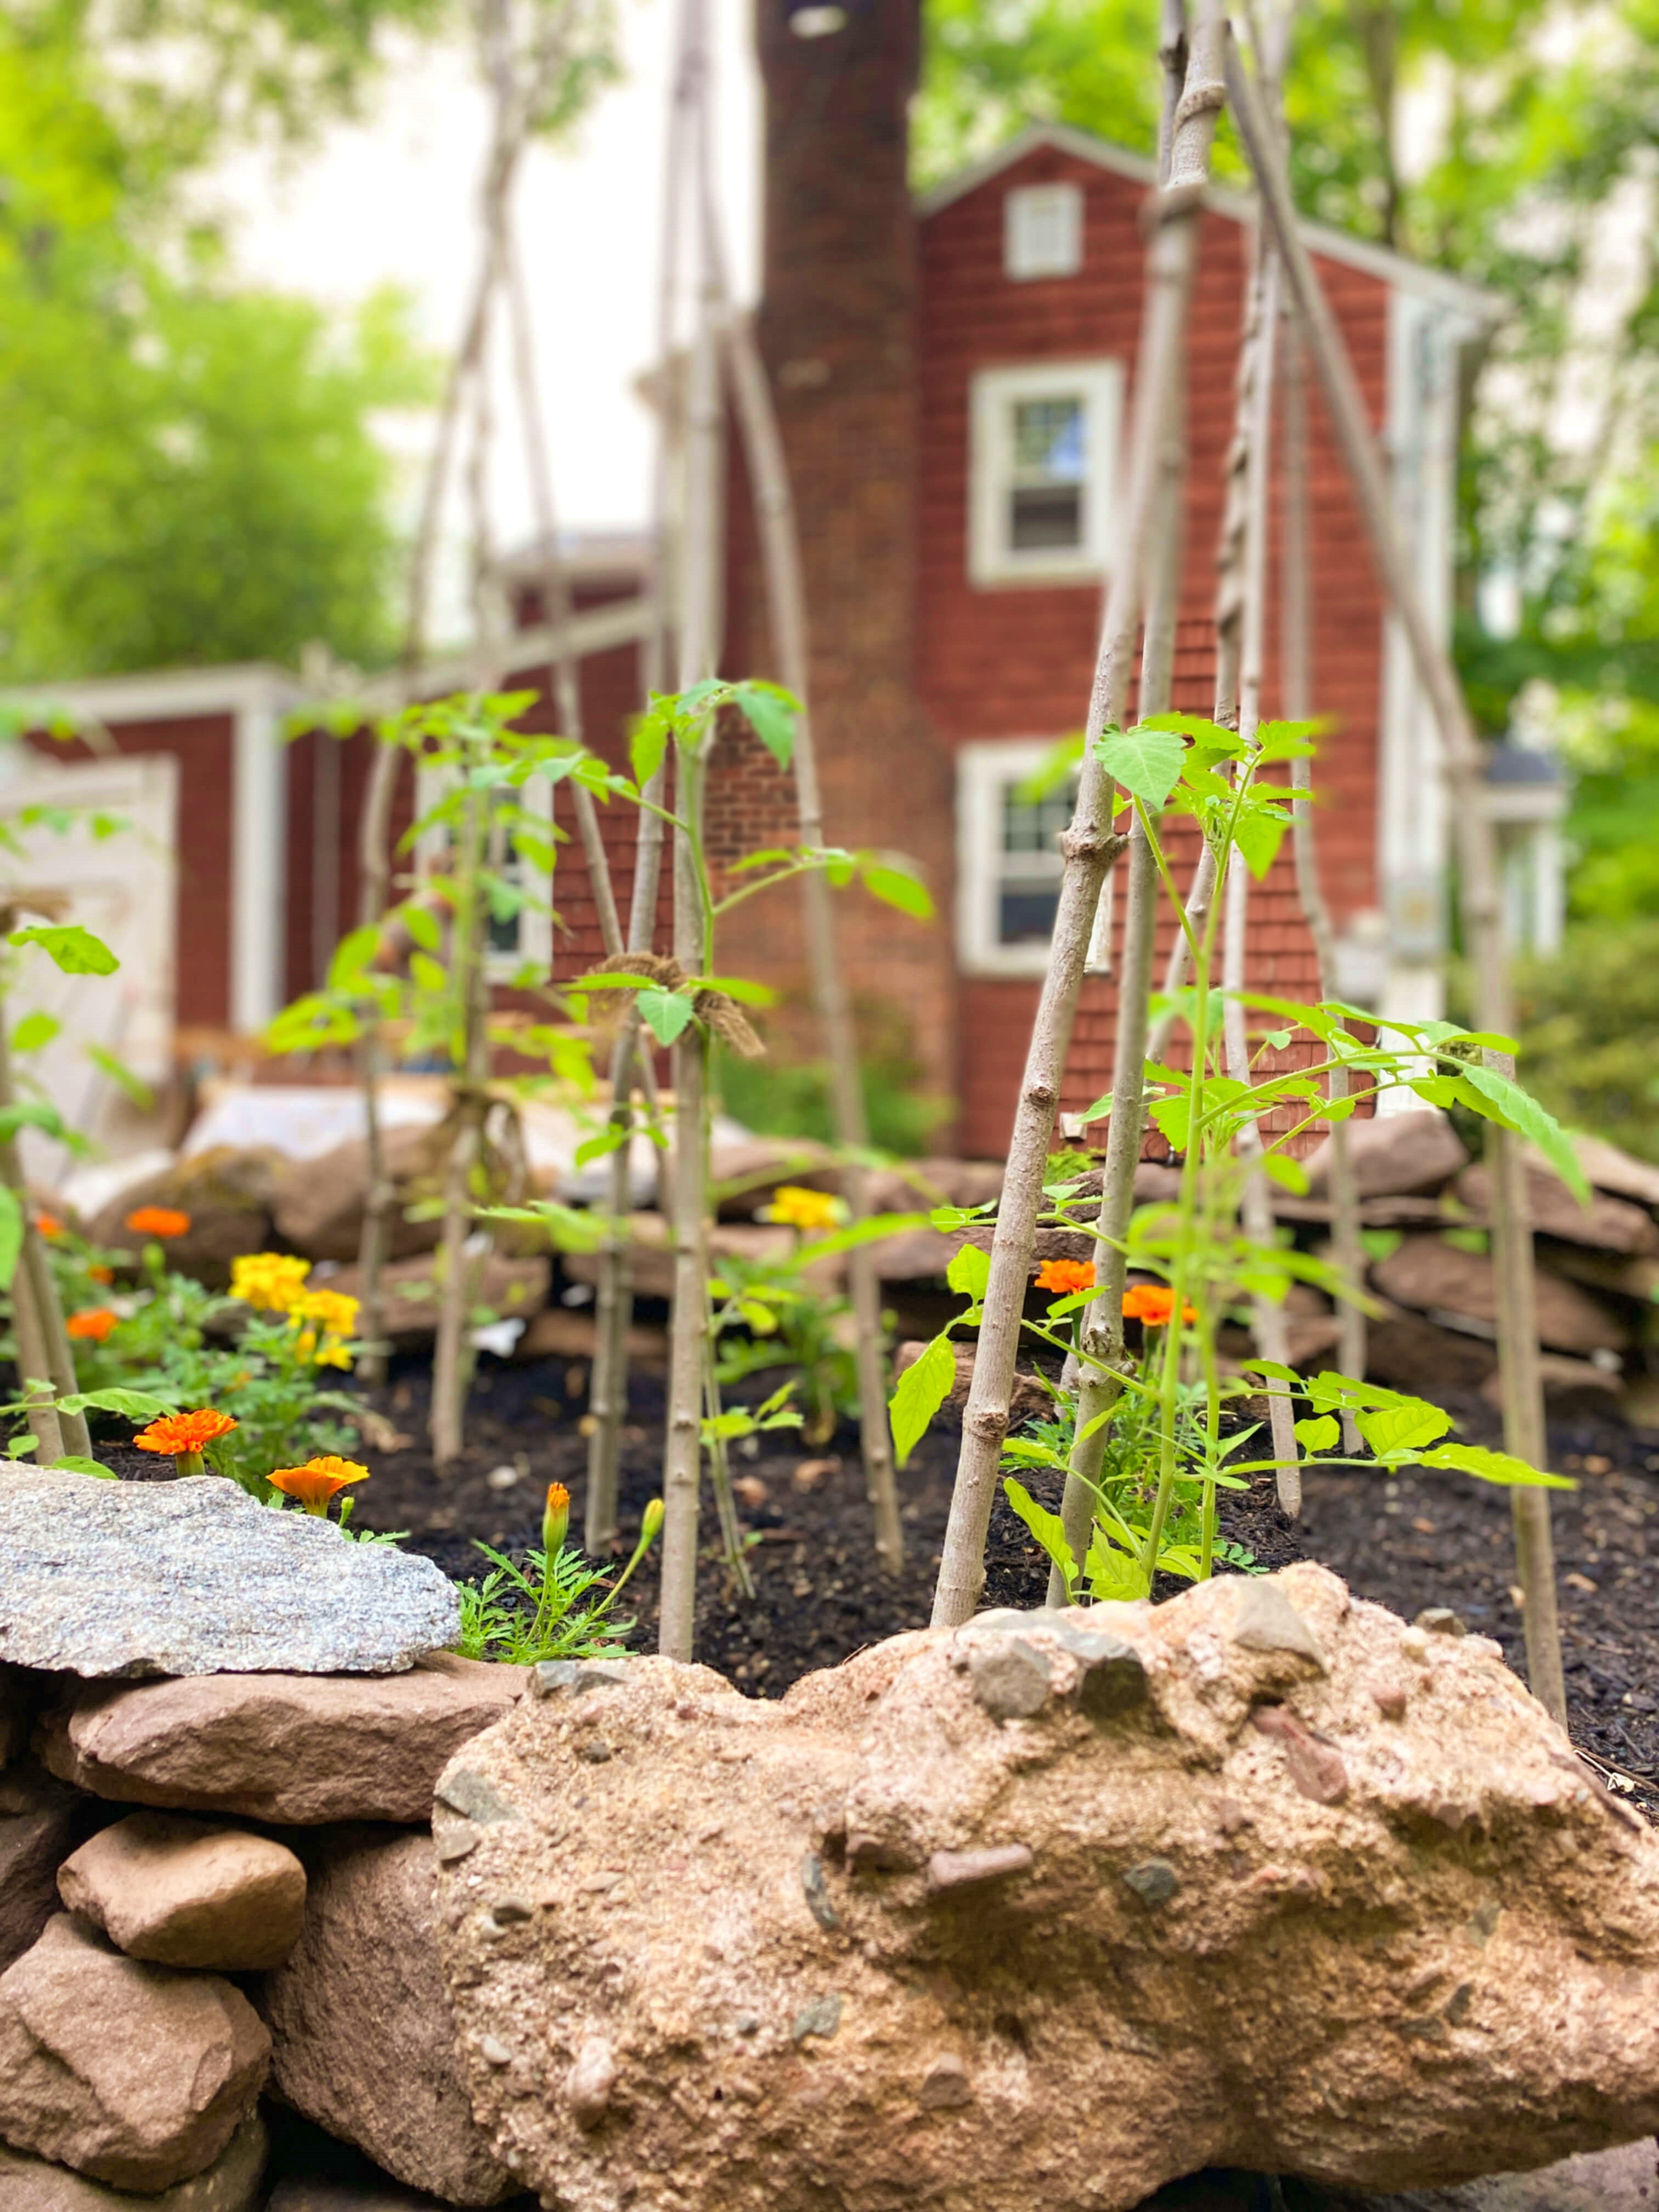
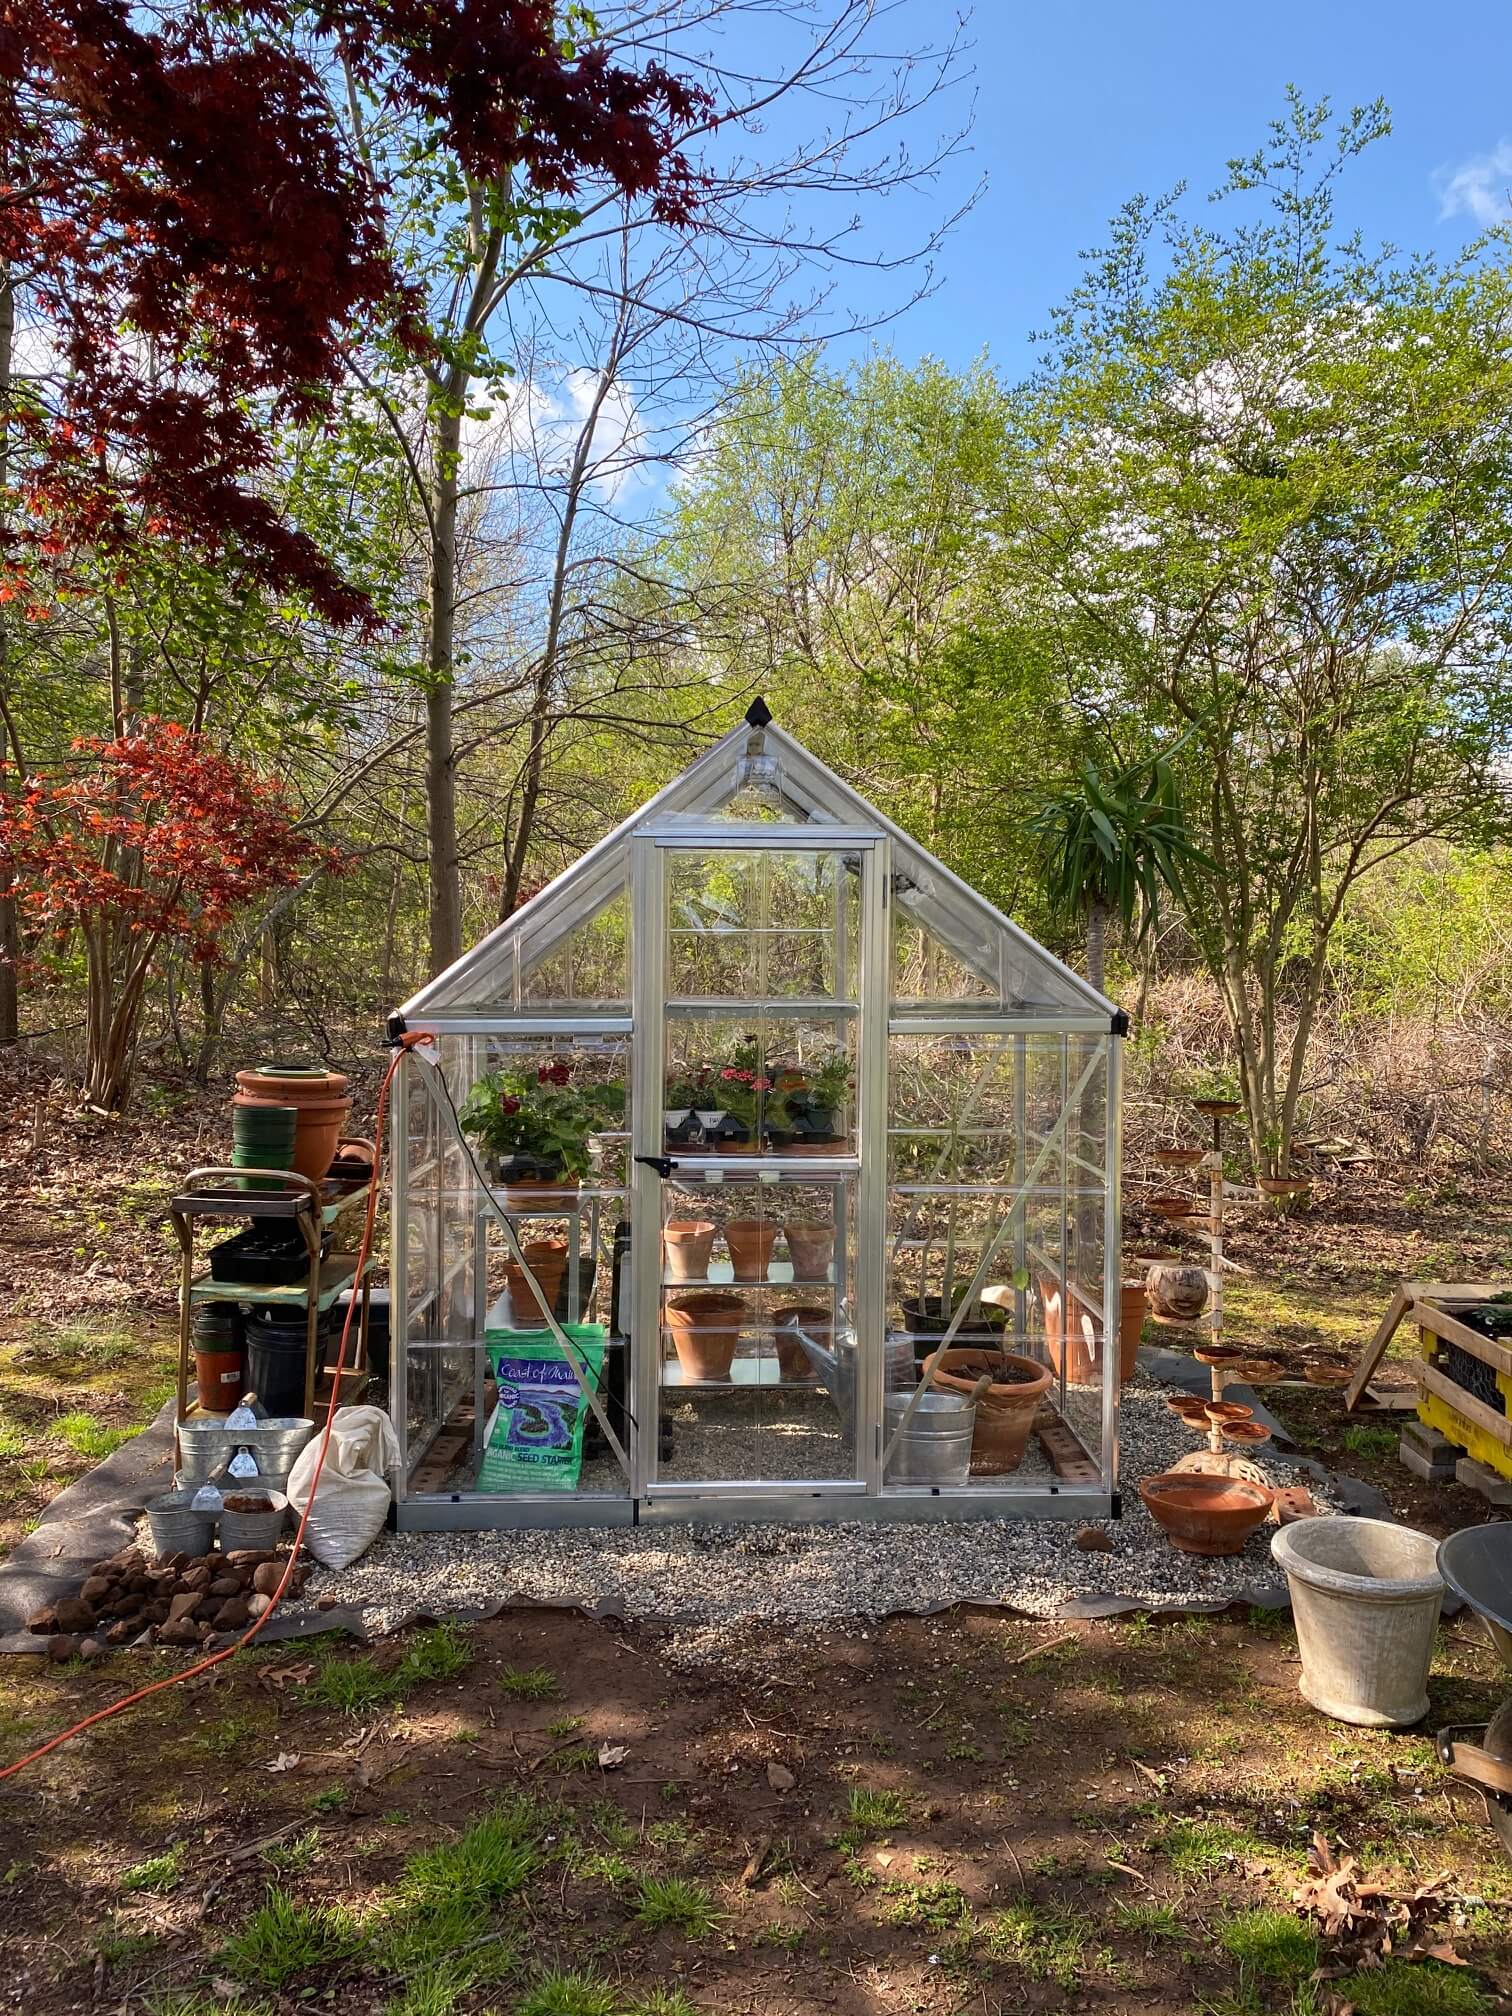
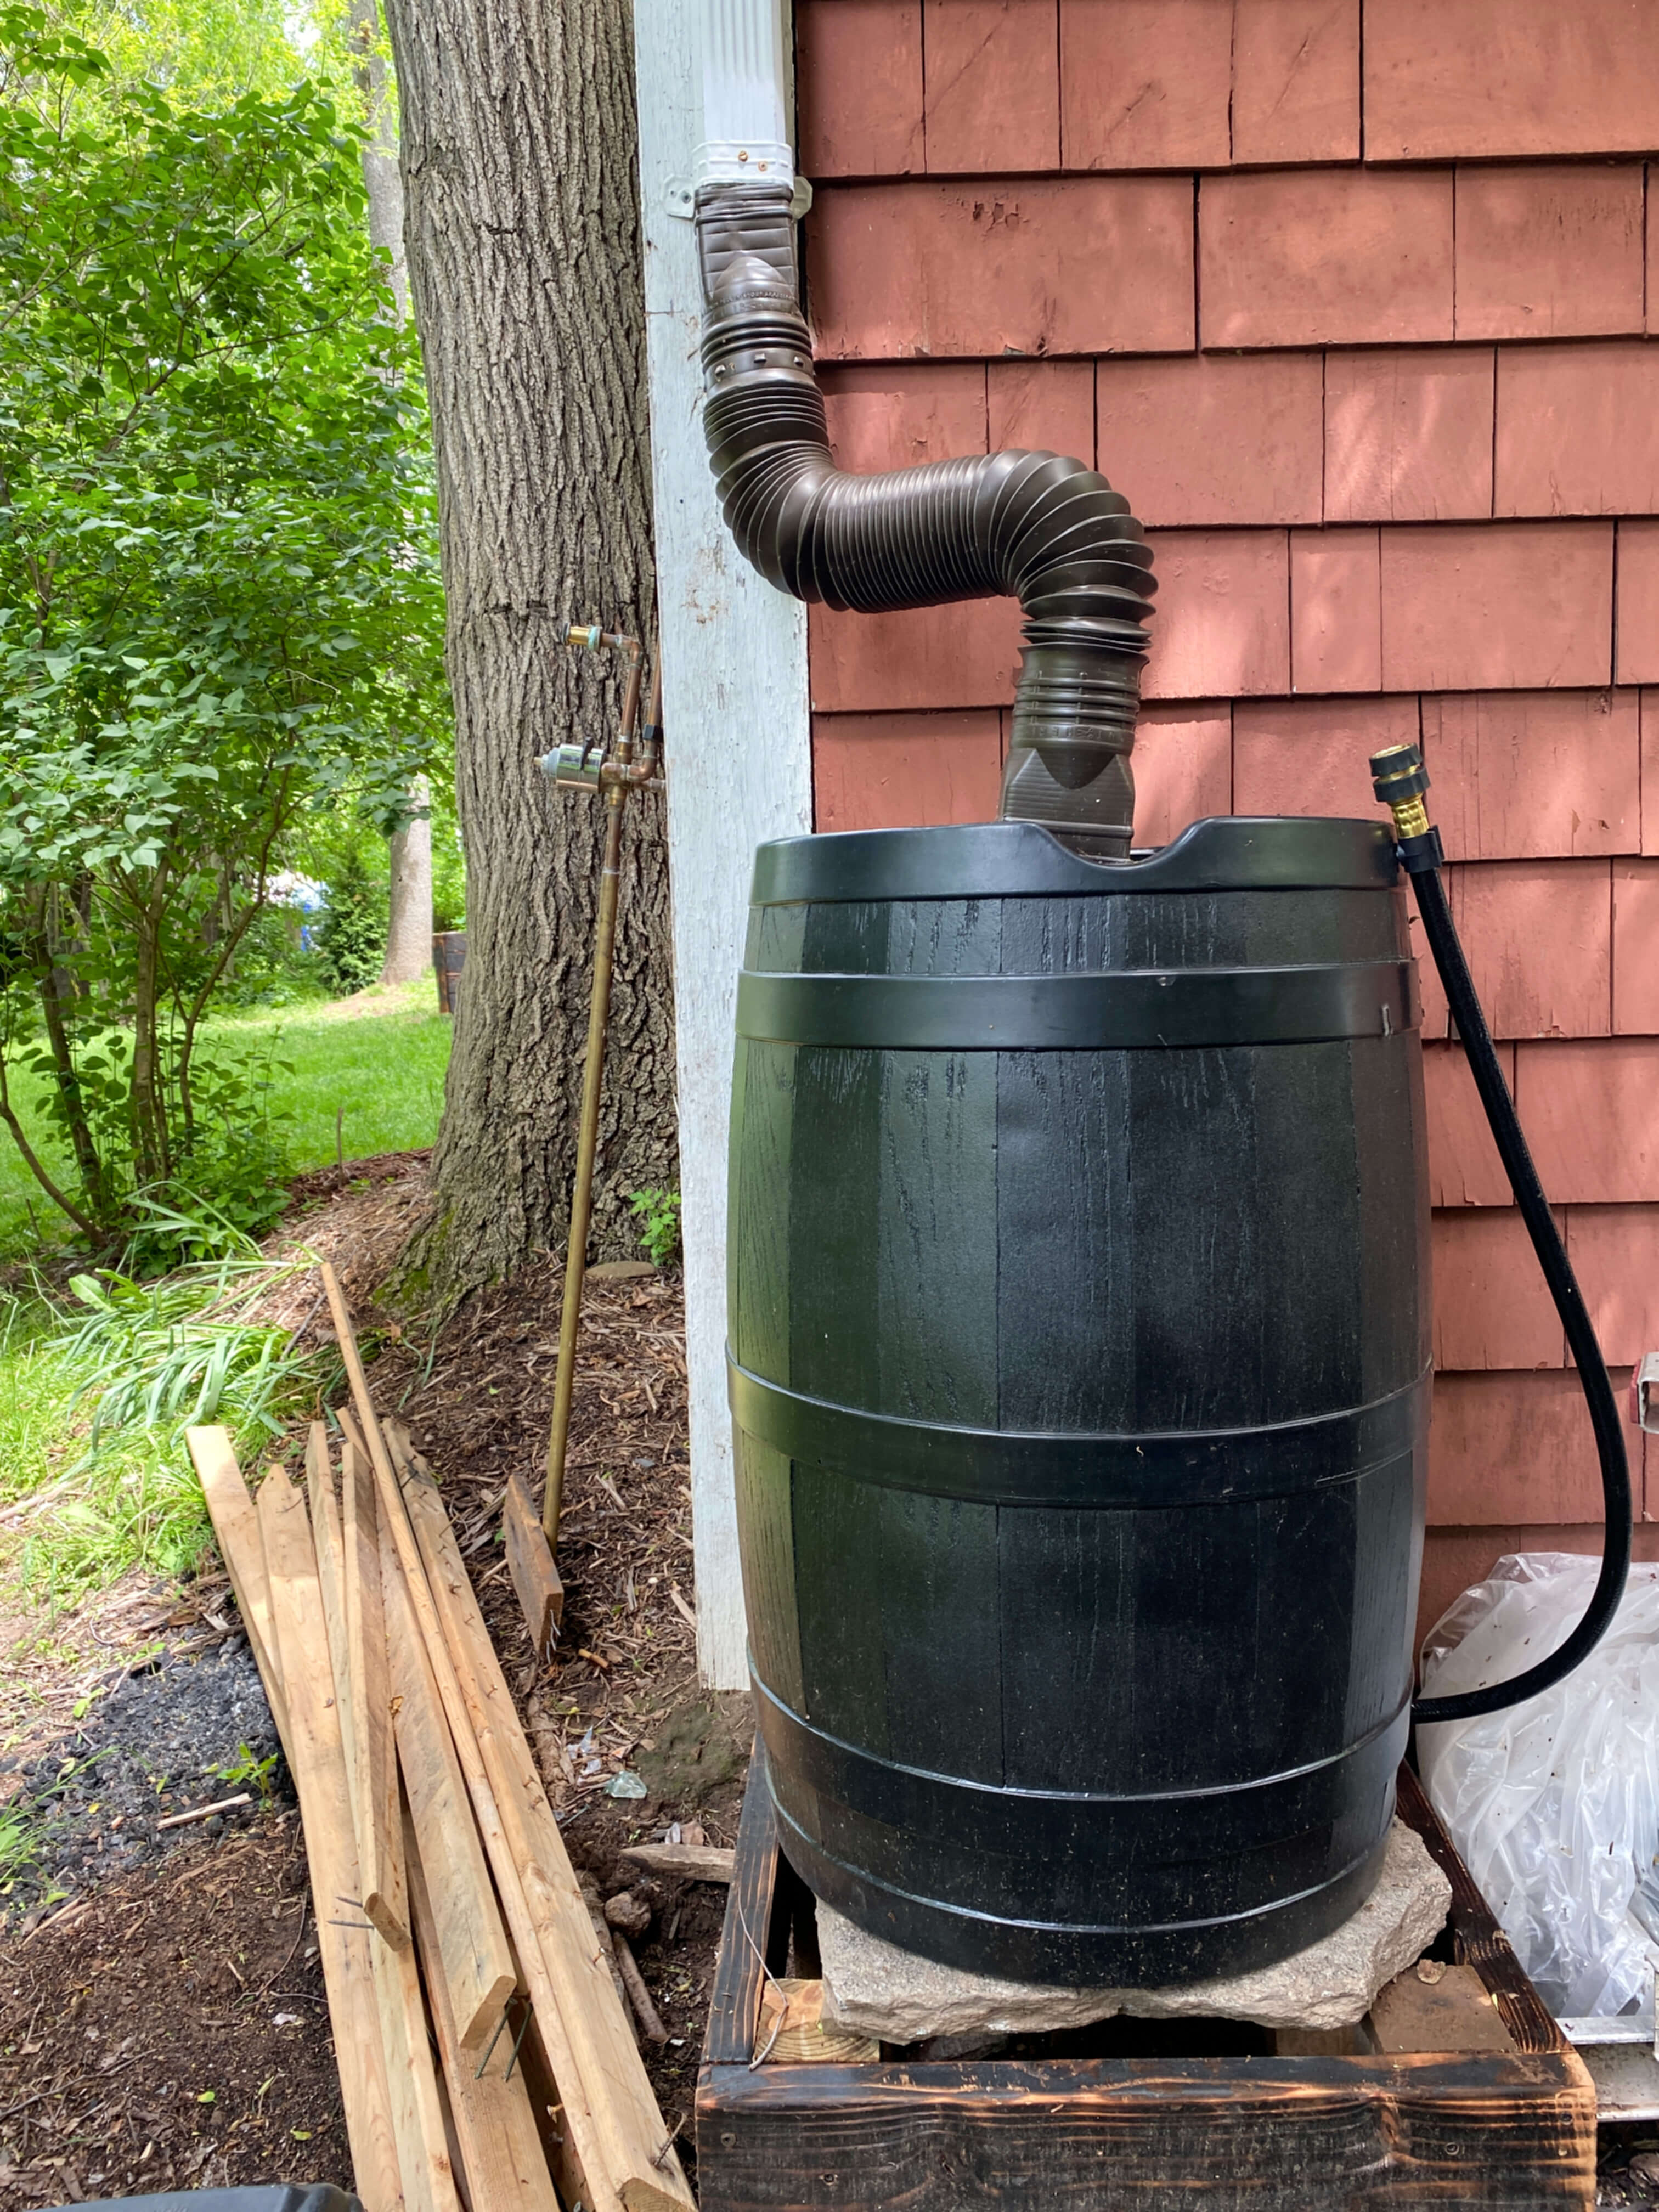
Our greenhouse sits in a southwesterly quadrant in the side yard on a natural slope. It’s bathed in sunlight from October through the end of May, but then, due to tree cover becomes partly shady in the summer. This is not ideal for sun-loving Mediterranean herbs like thyme, oregano, and basil, so they’ll have a designated bed near the veggies up front in full sunlight. But this area around the greenhouse gets all sorts of dappled light throughout the day, and I’ve always envisioned the garden beds in this spot to be full of flowers and native plants.
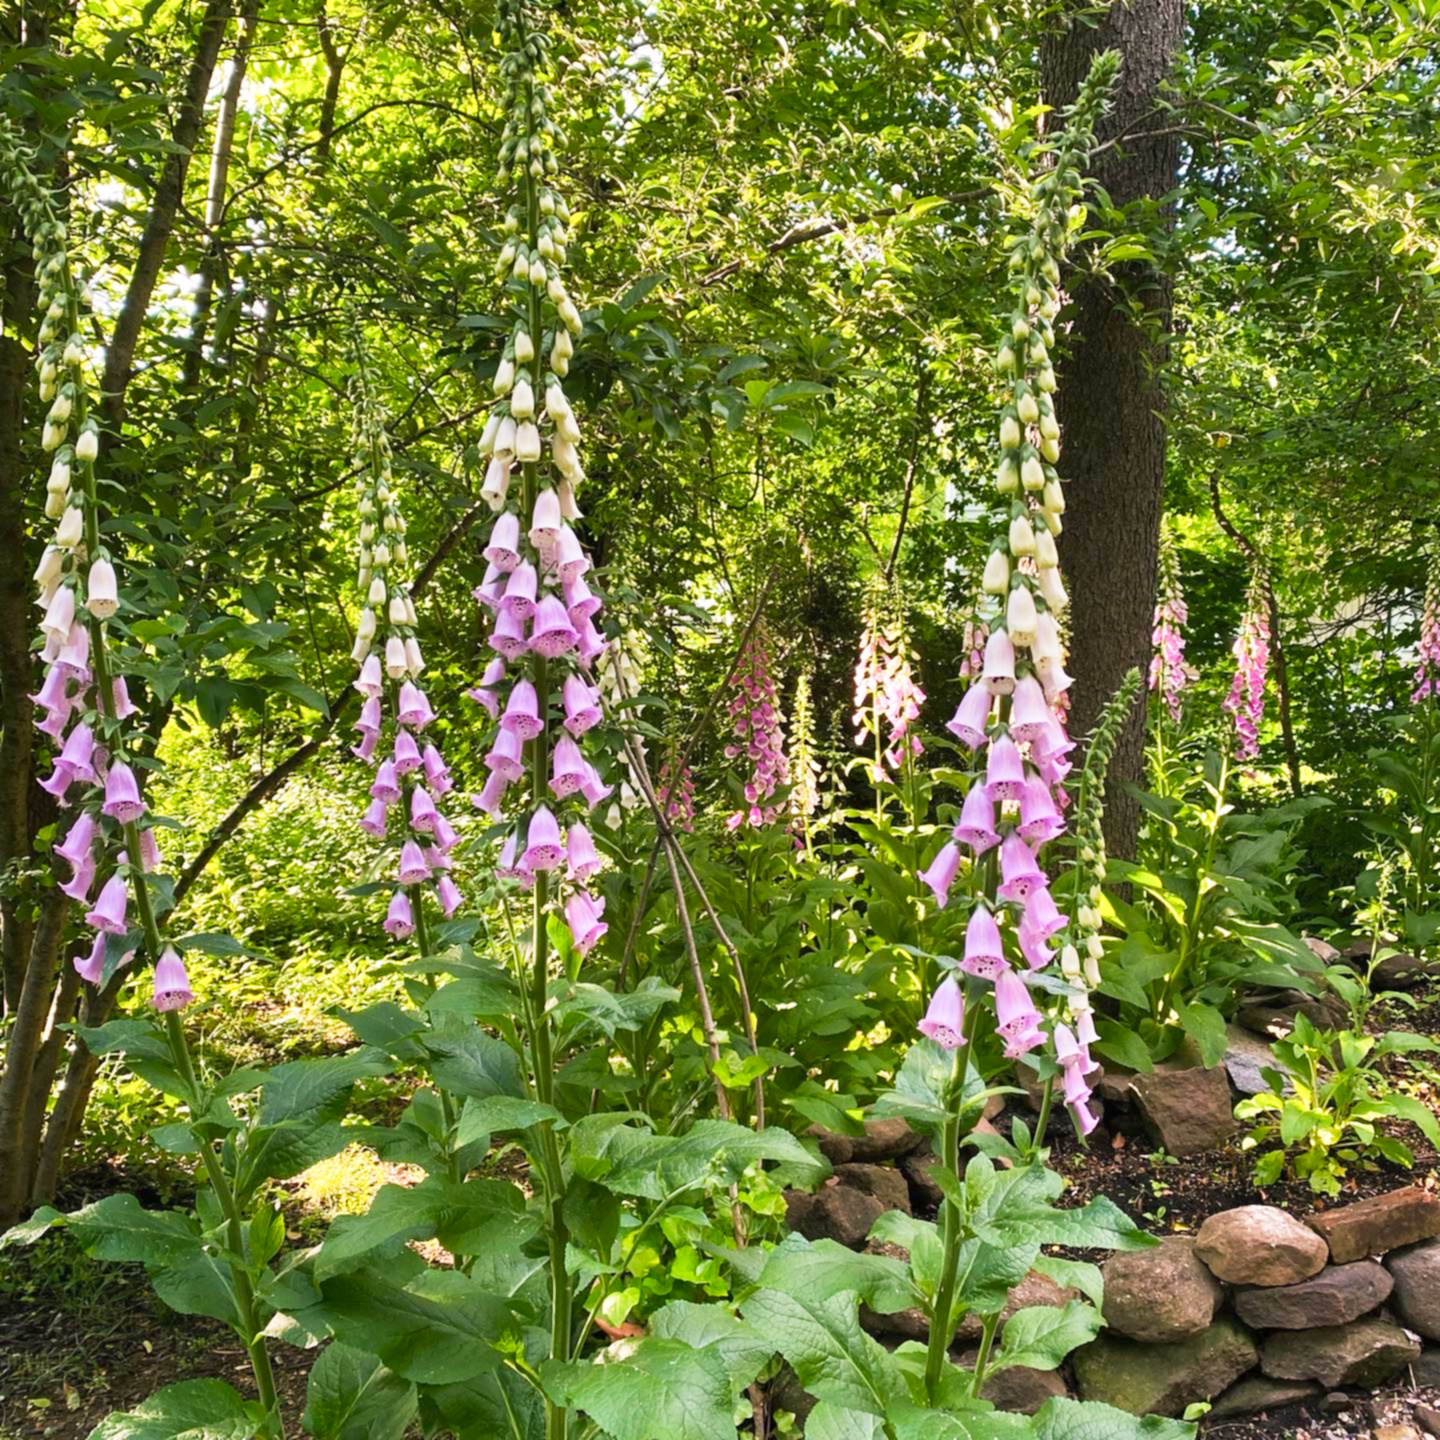
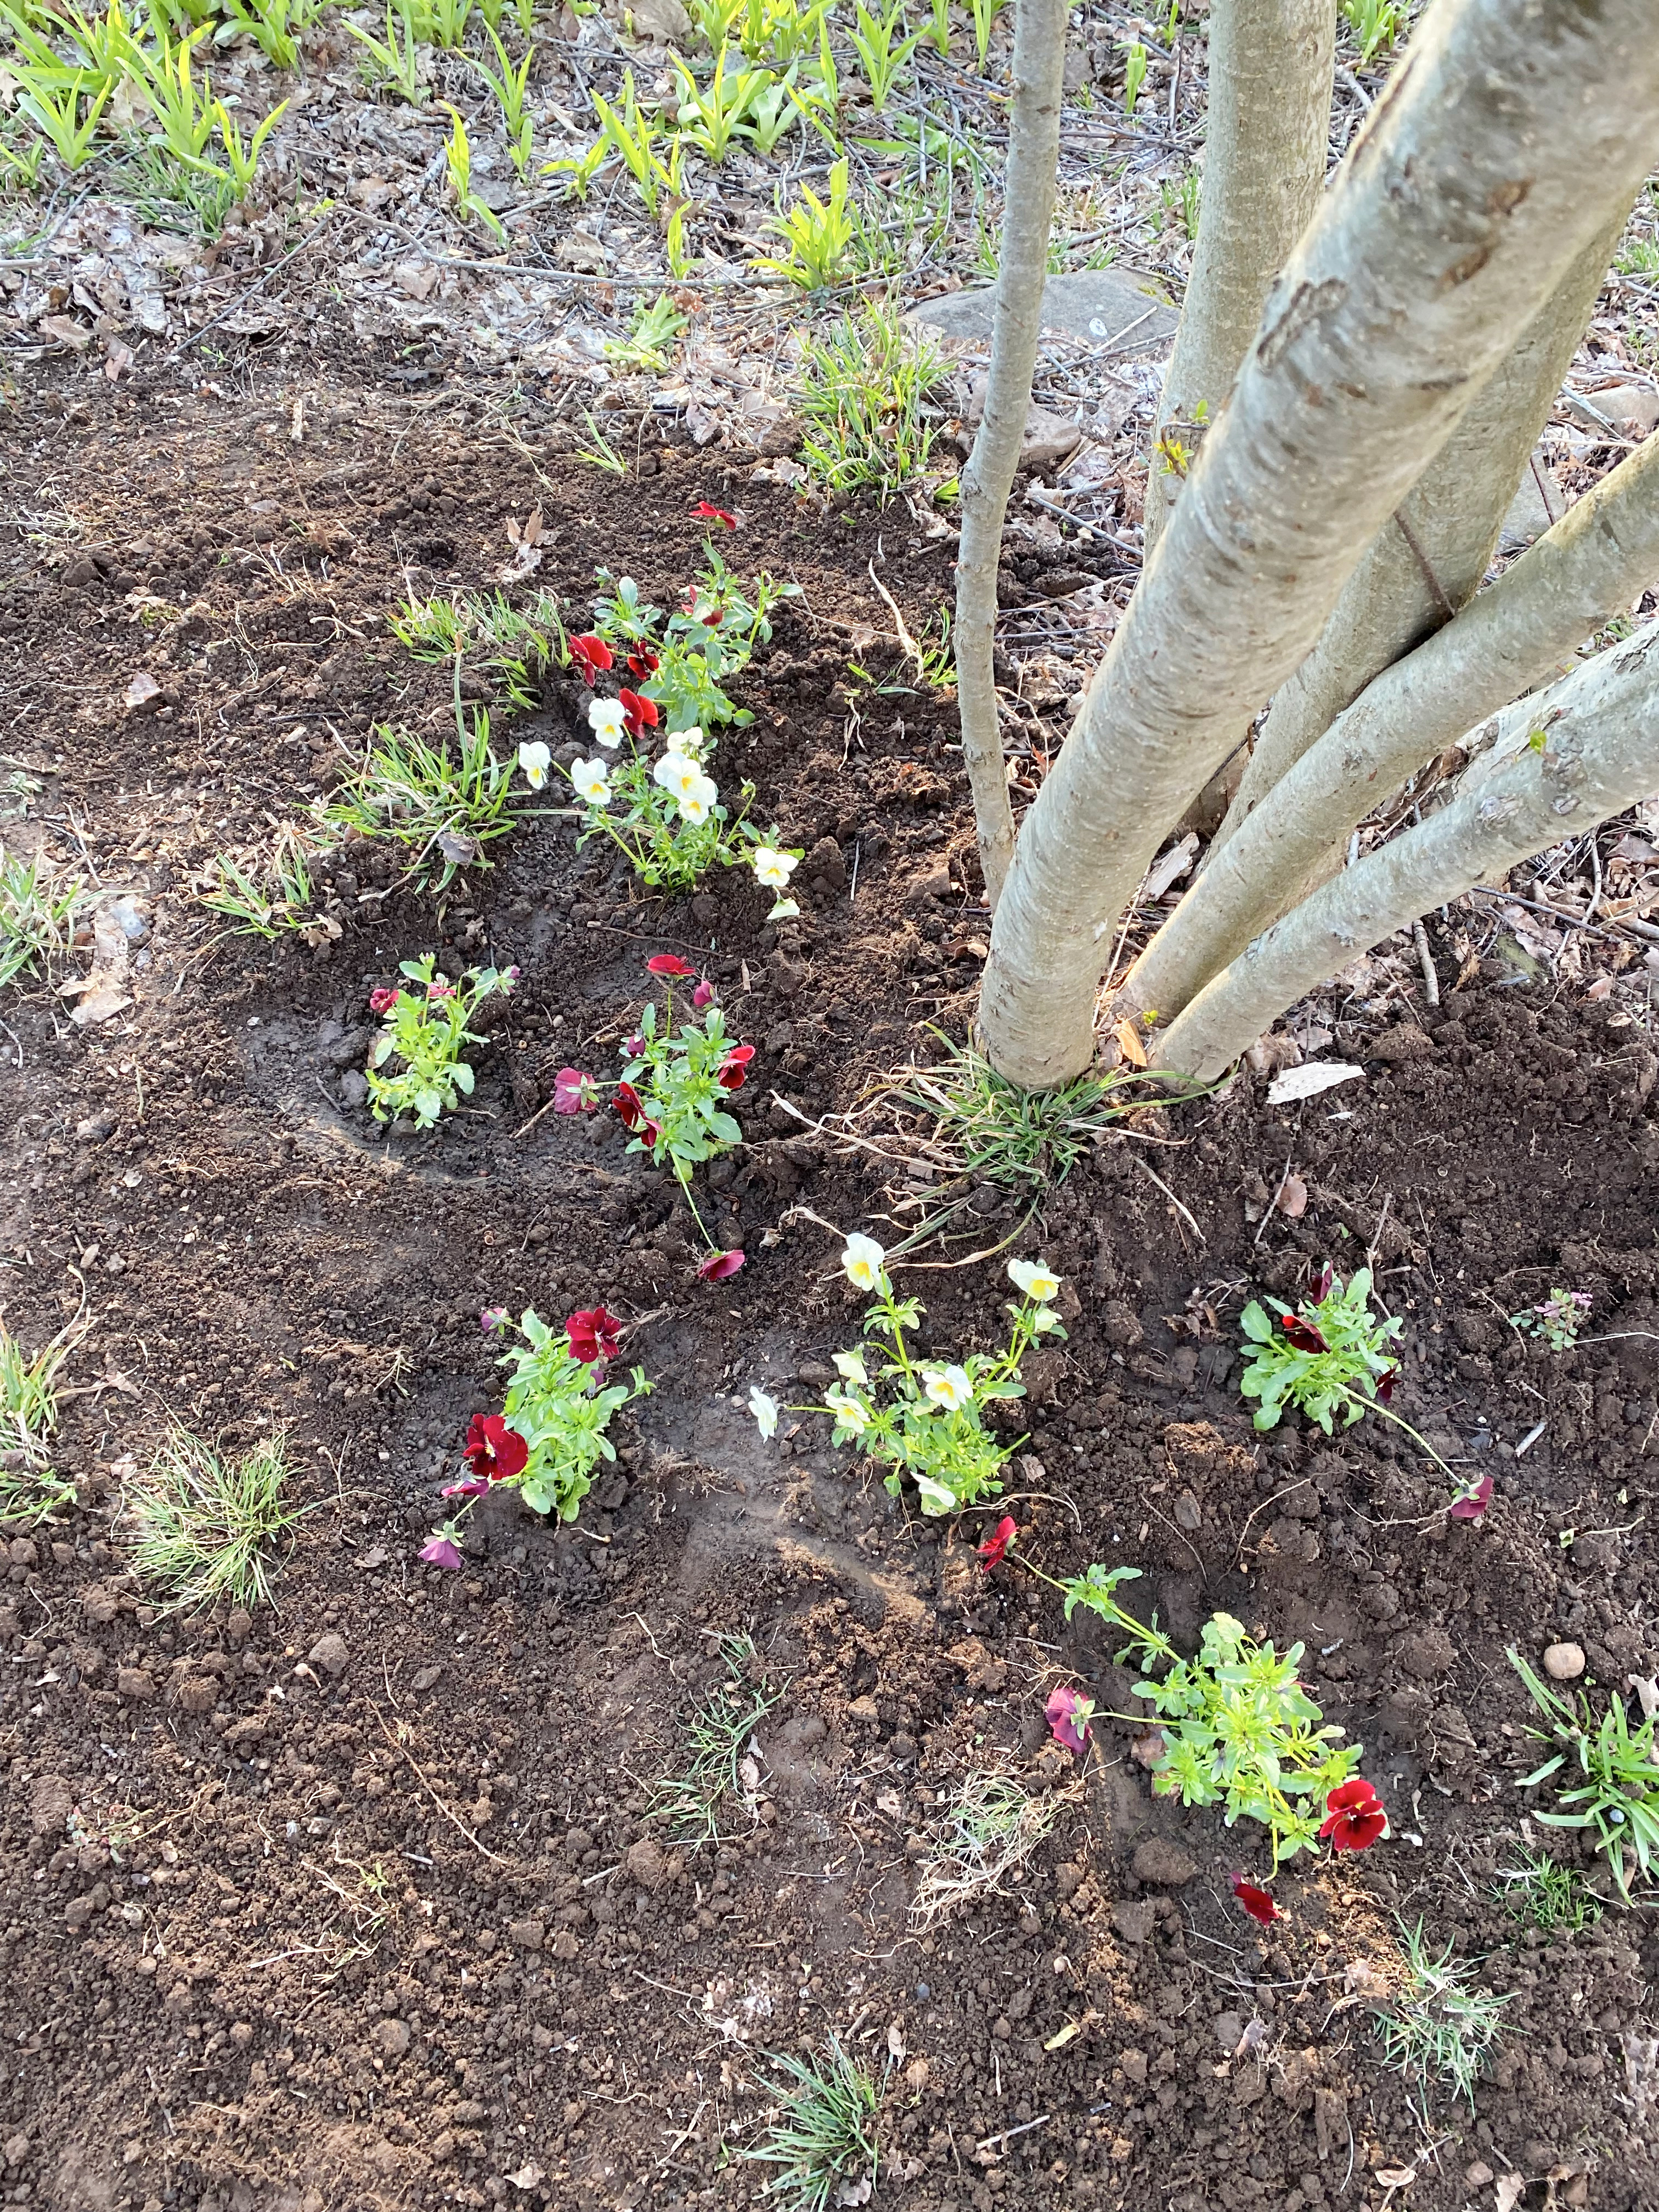
There are already a few permanent residents in-ground at the greenhouse – last year’s foxglove starts, two Windflower anemones, a newly established hydrangea, and a burning bush. The burning bush was here when we moved in, and the hydrangea was propagated last summer via a clipping from a friend’s garden. Given how well the foxglove seeds grew on the opposite side of the yard throughout 2023-2024, they’ll be a mainstay in the herb garden too to help attract pollinators and add some overall height to this rather flat patch of ground. Otherwise, it’s a blank canvas to cultivate.
Step Three: Decide What To Plant and Gather Your Seeds…
Thoughts From Adelma: For you, herbs will be green medicines, fragrances, seasoning magic, soft tones and muted colors, textures pleasant to the touch, and names that are good to hear and bear much repeating. (page vi)
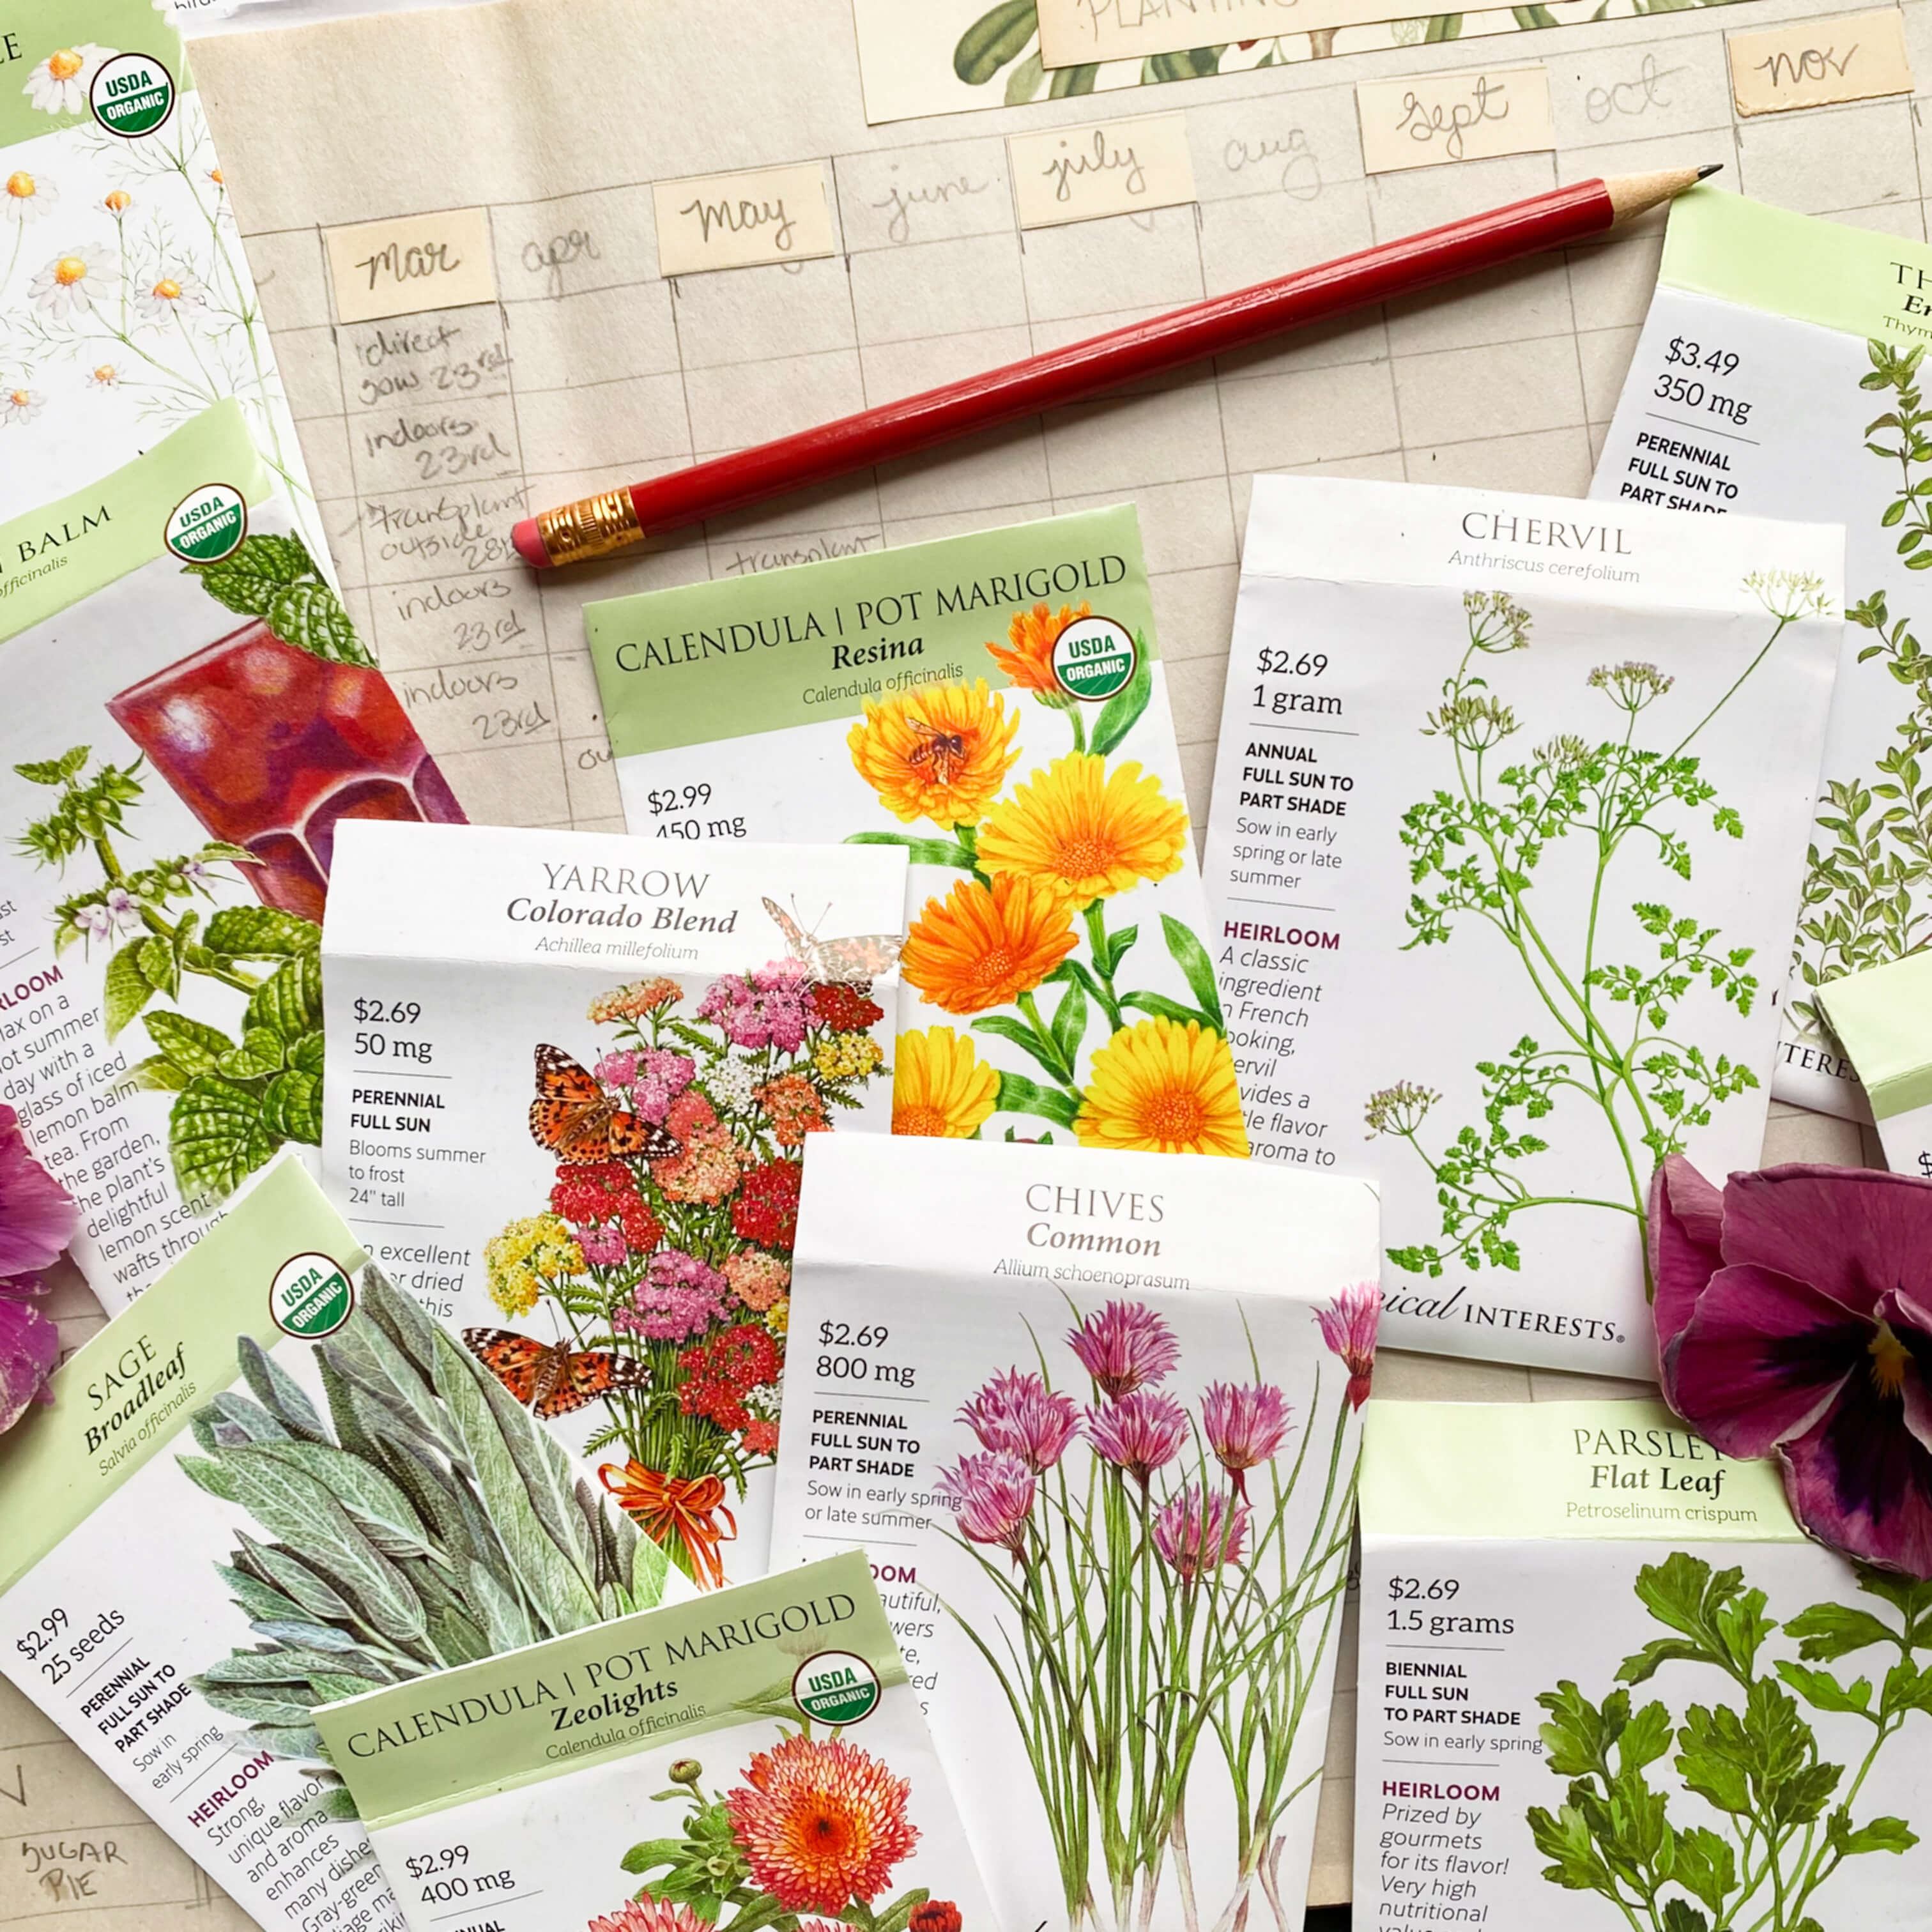
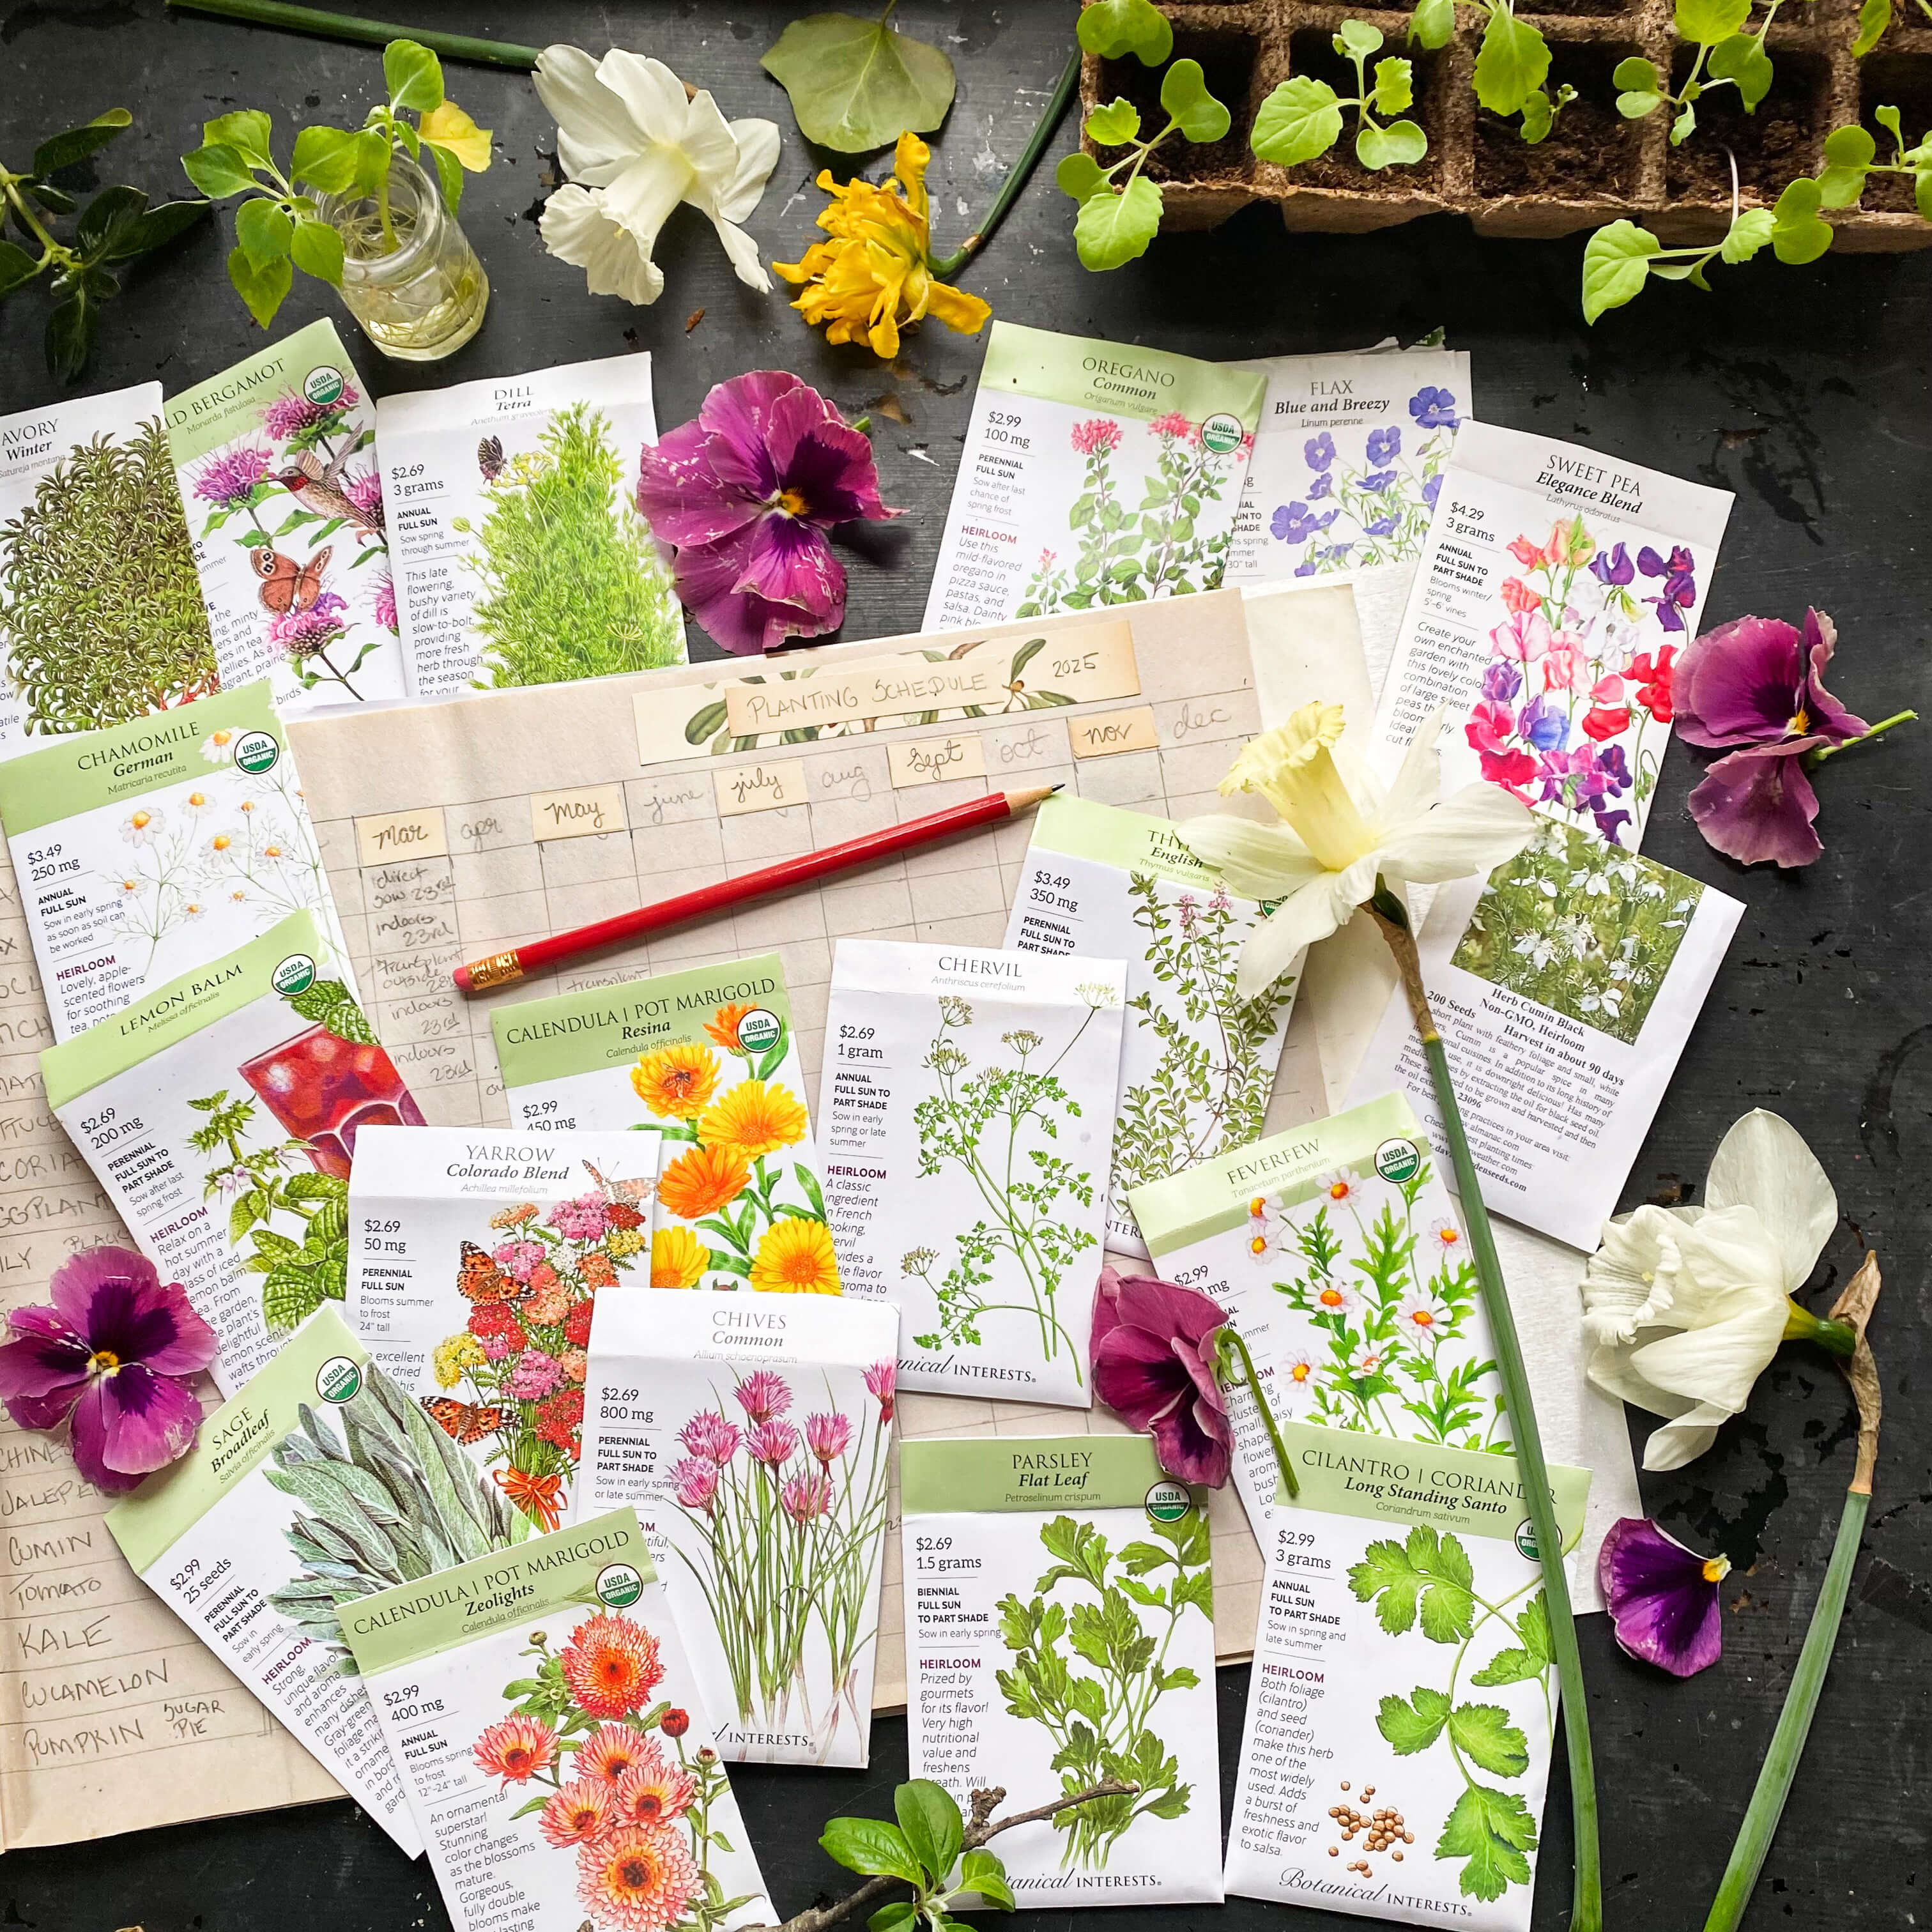
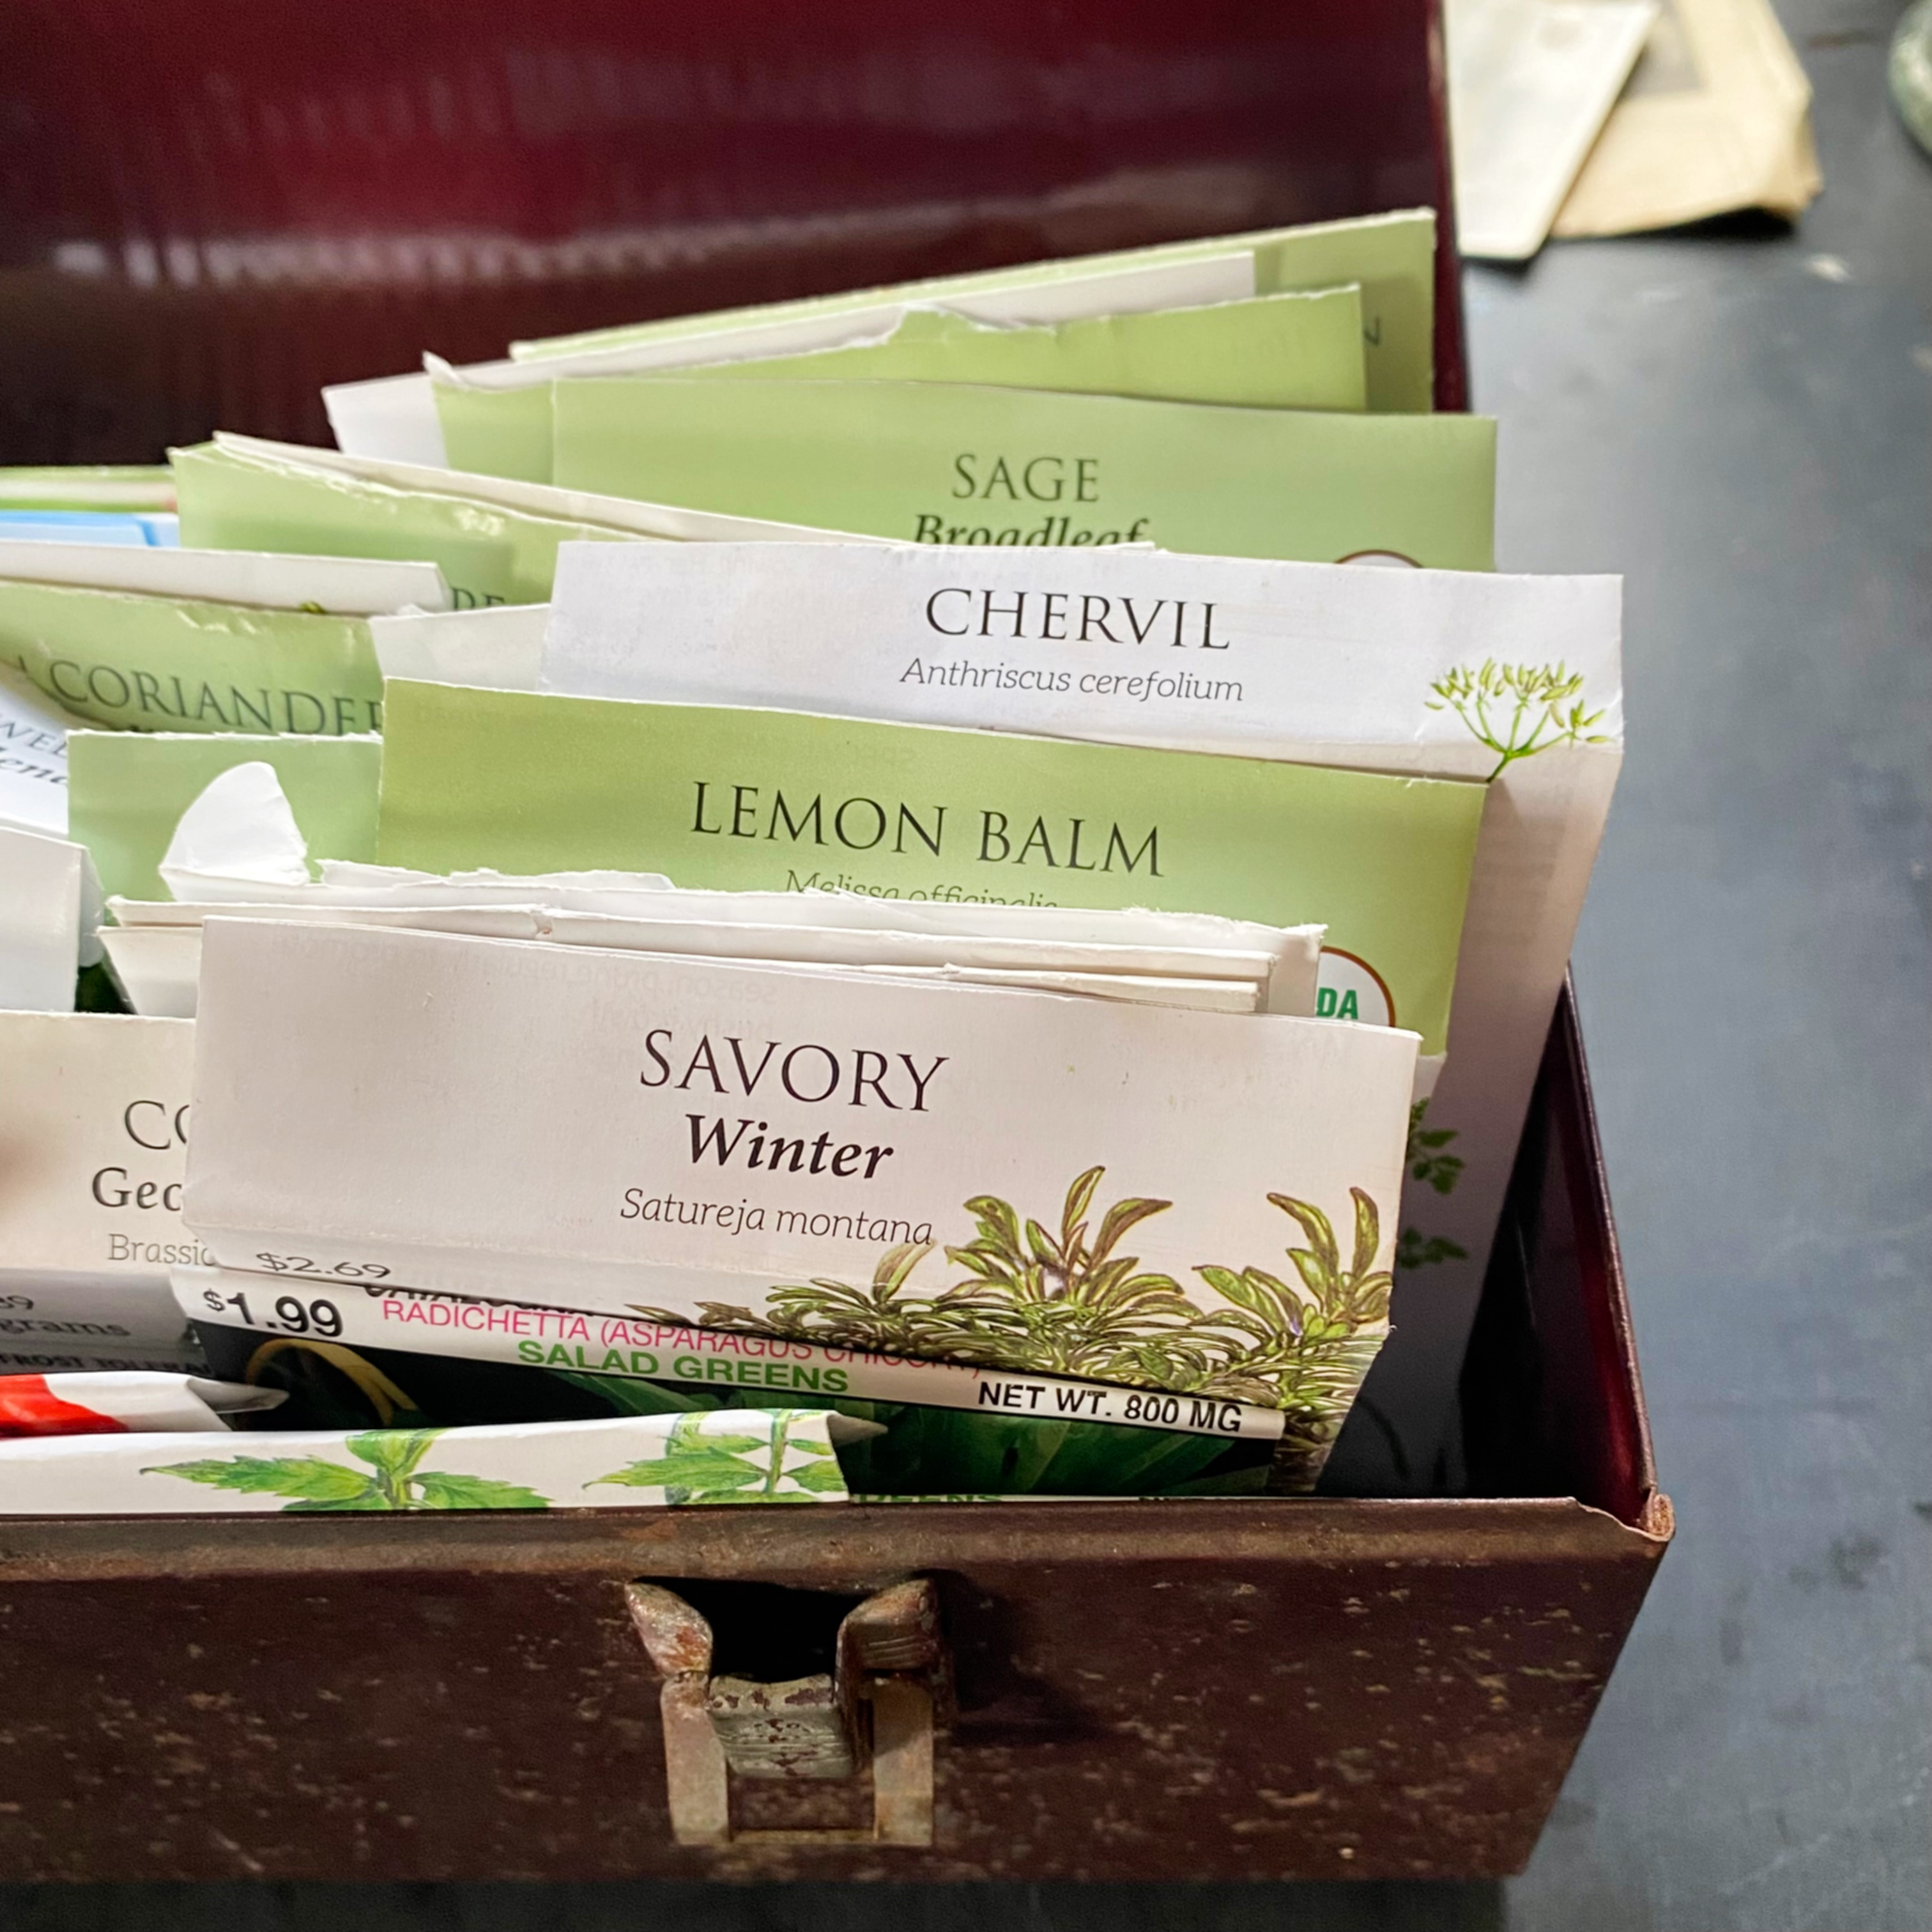
Location and personal preference will determine your selection of seeds, of course, and climate will determine your timing of when to plant what where. Since we are focusing on a larger shady herb garden with a much smaller full-sun patch and generally would like to grow herbs for cooking and drying, I followed Adelma’s list for shade-tolerant varieties.
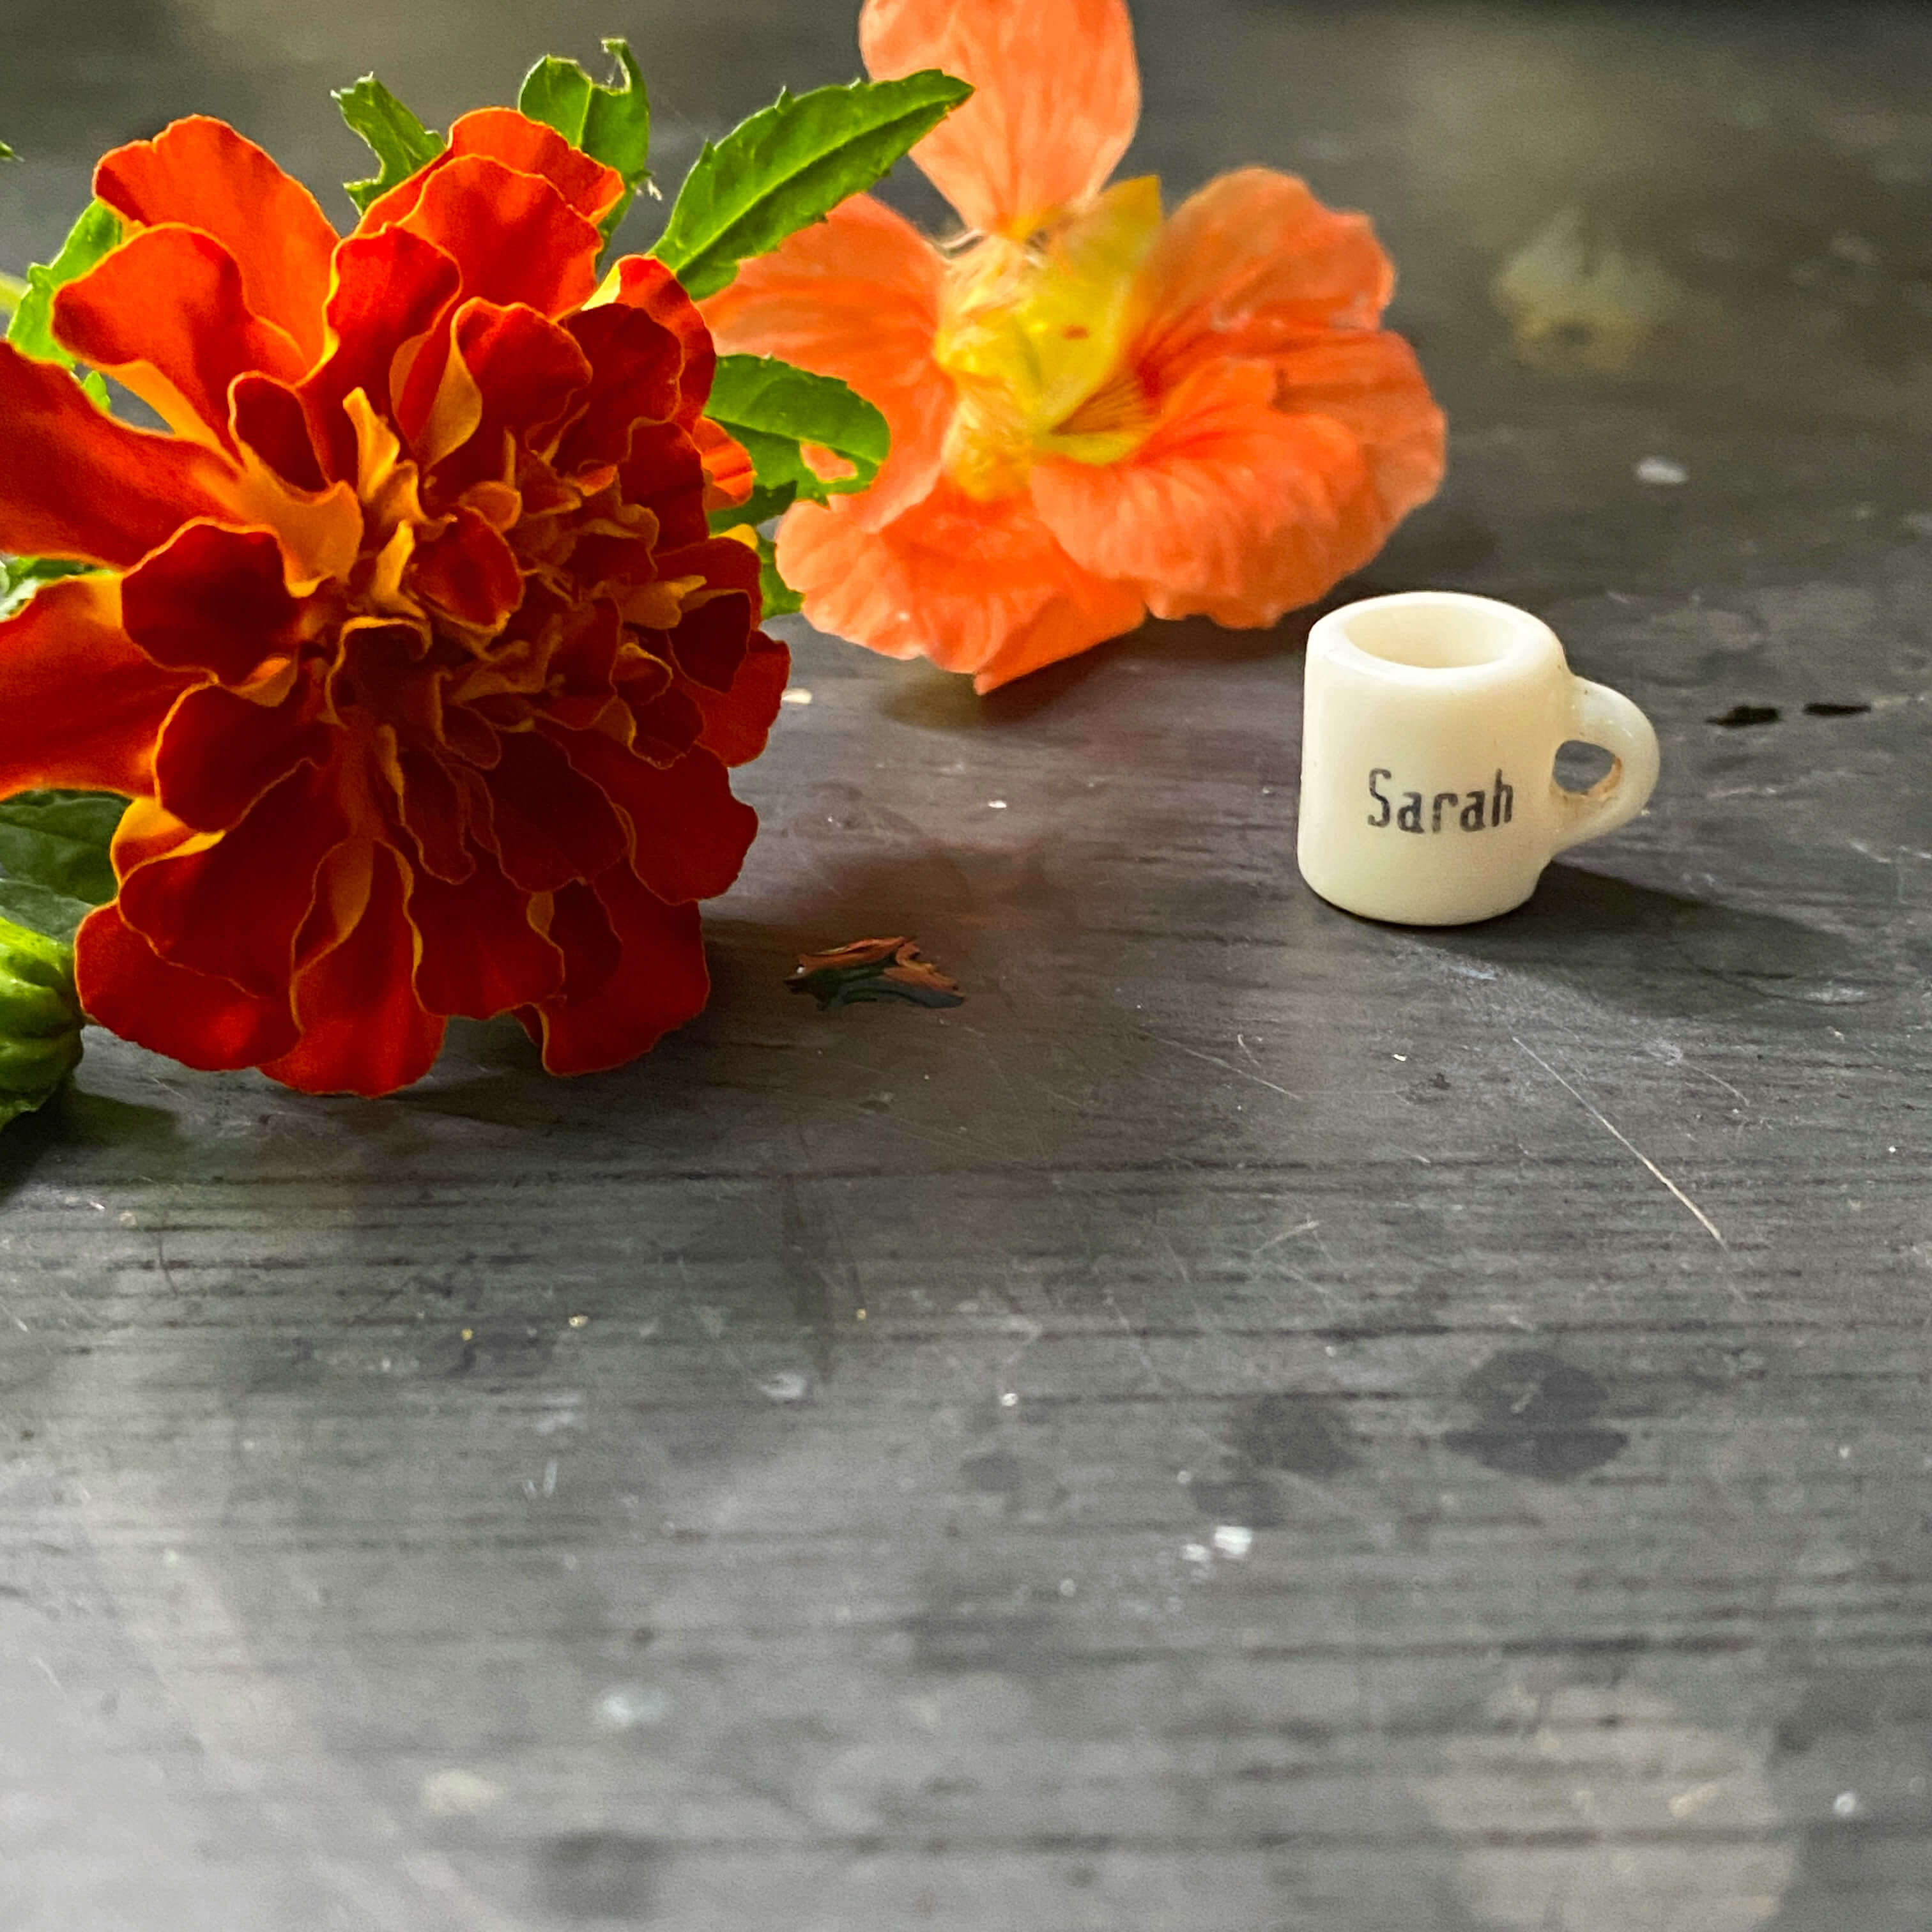
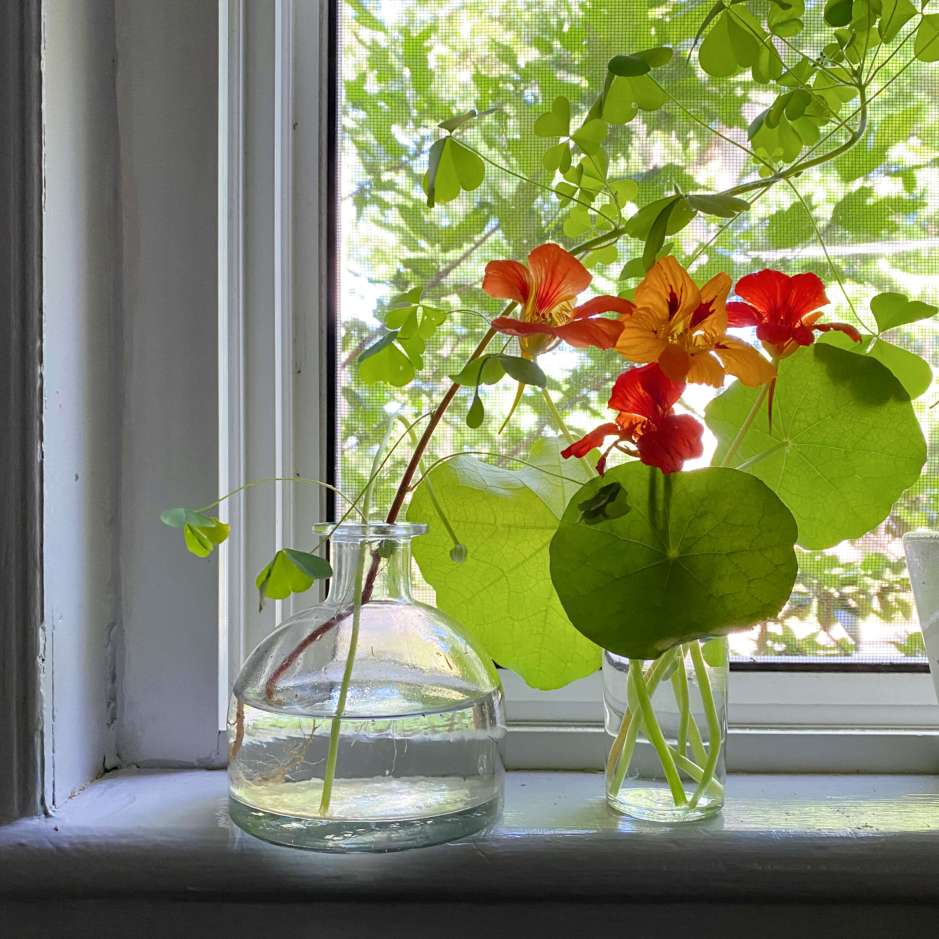
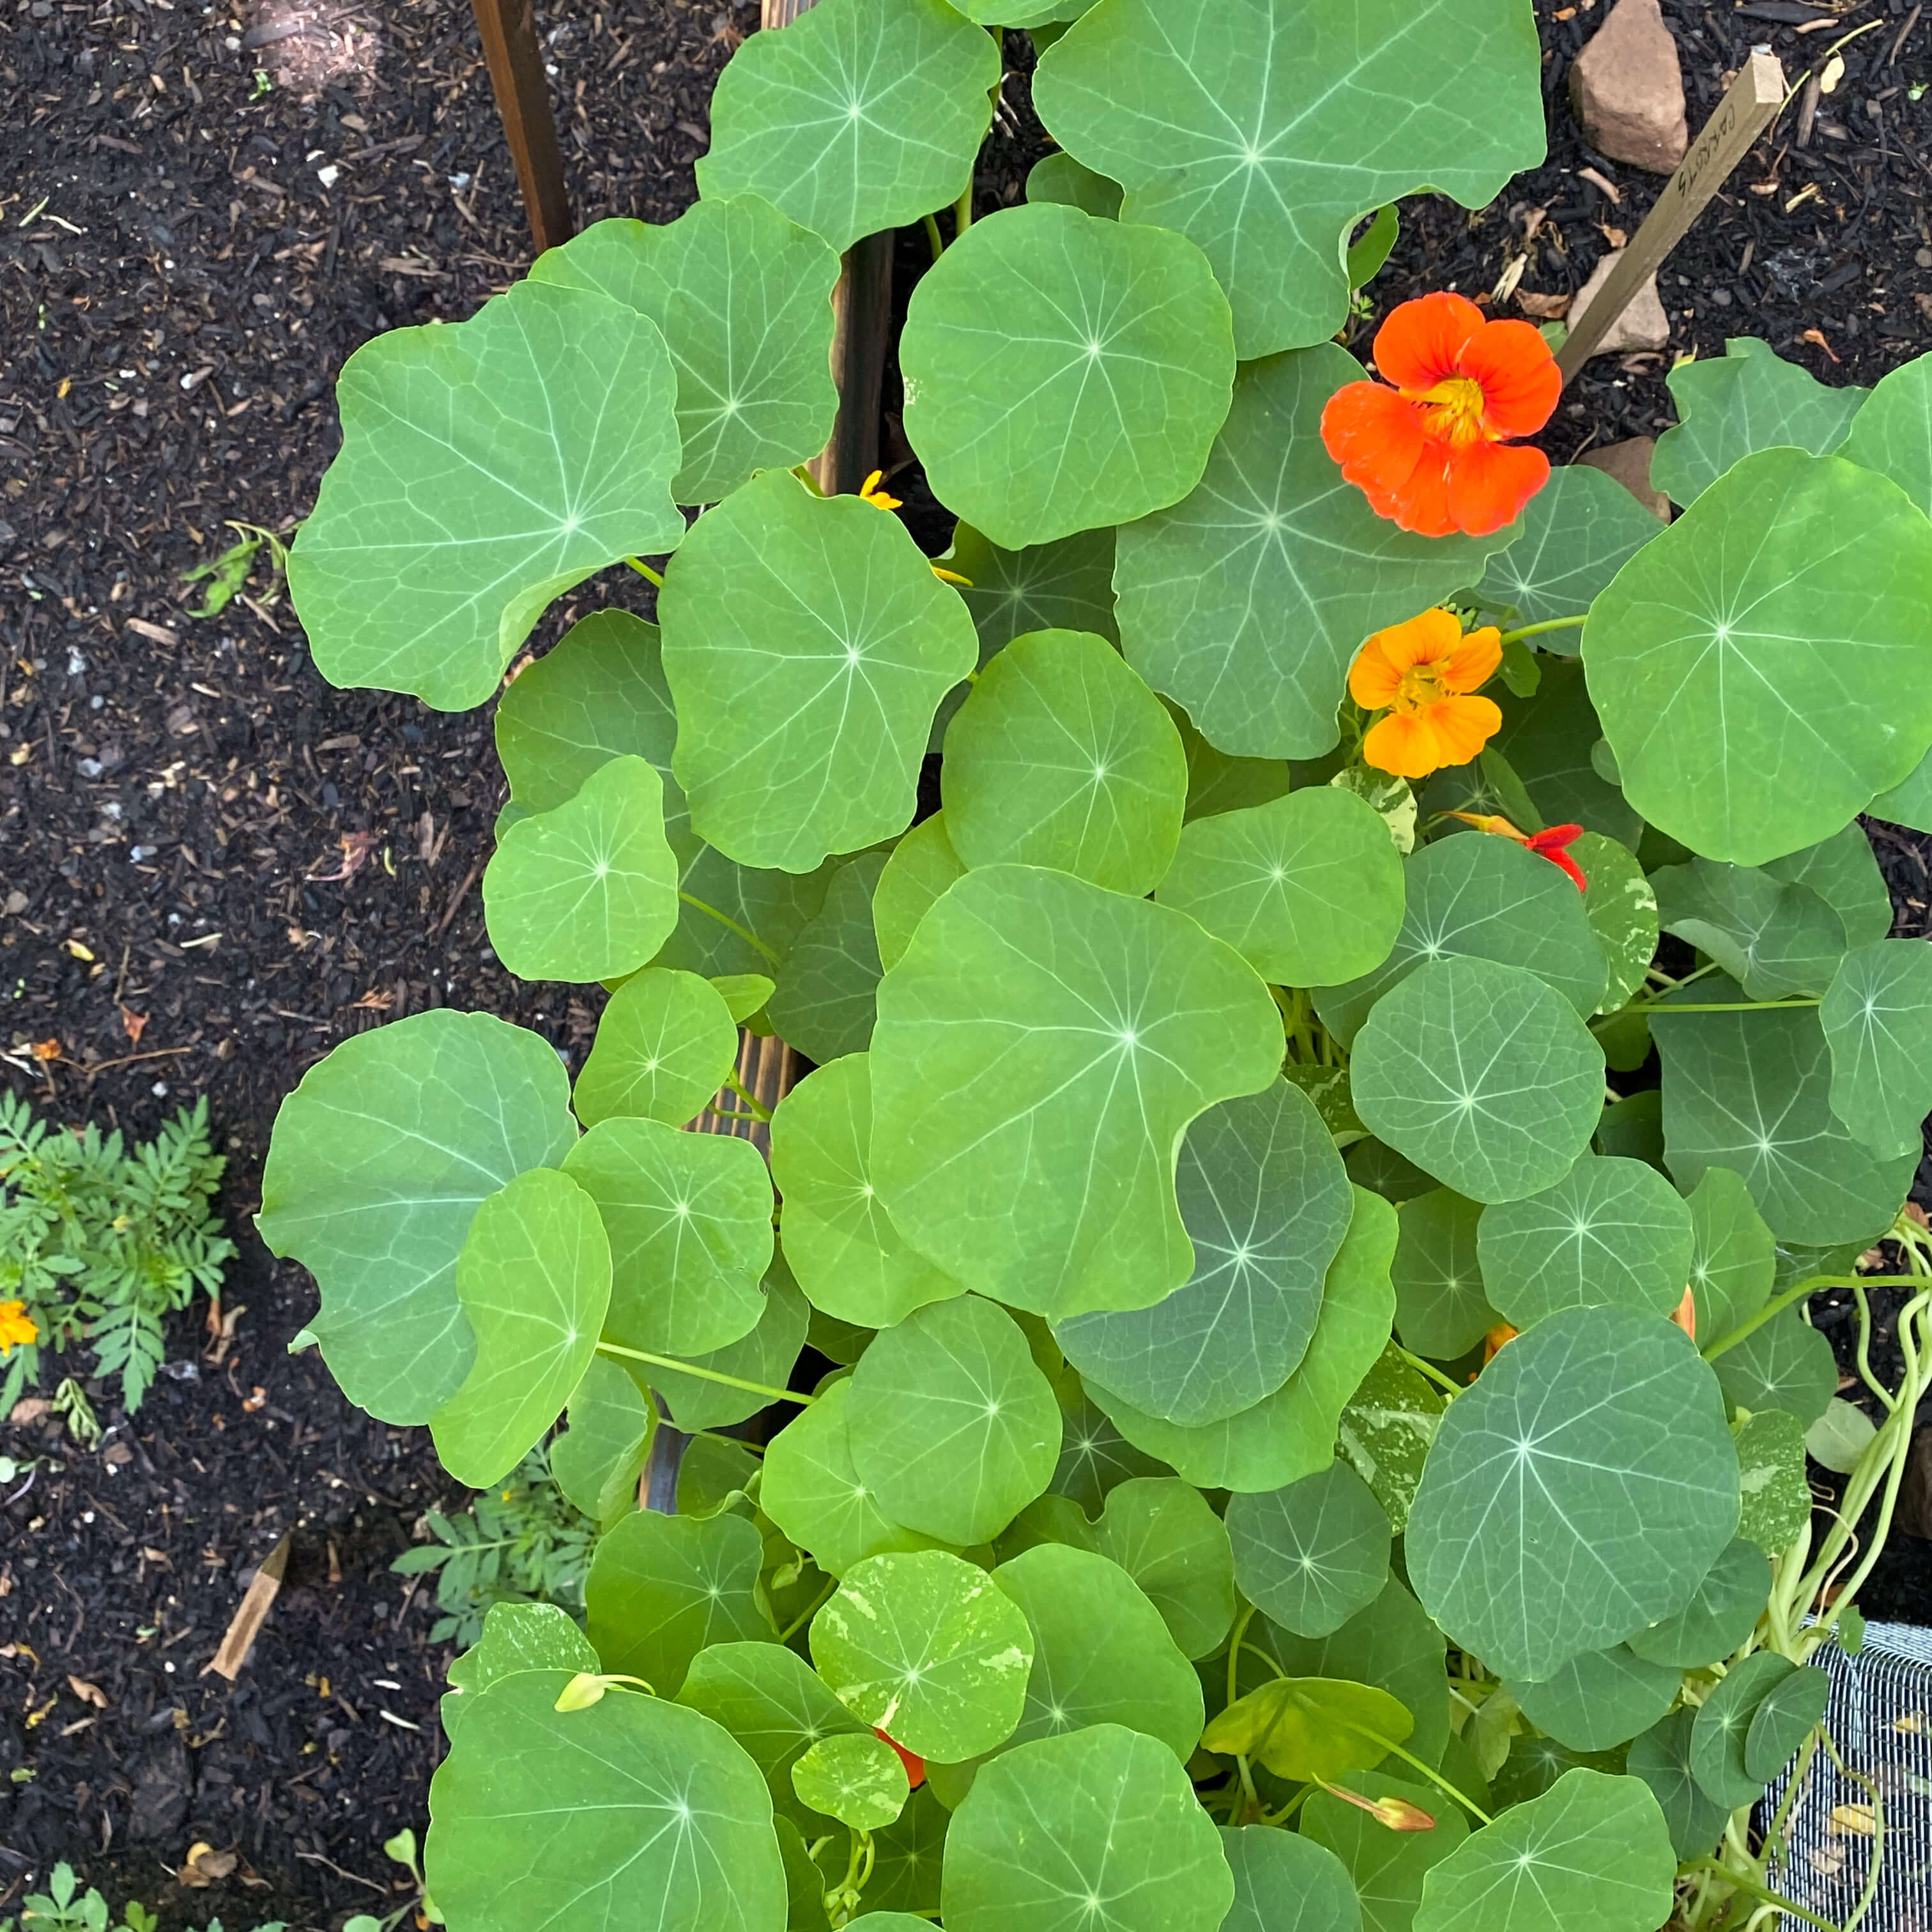
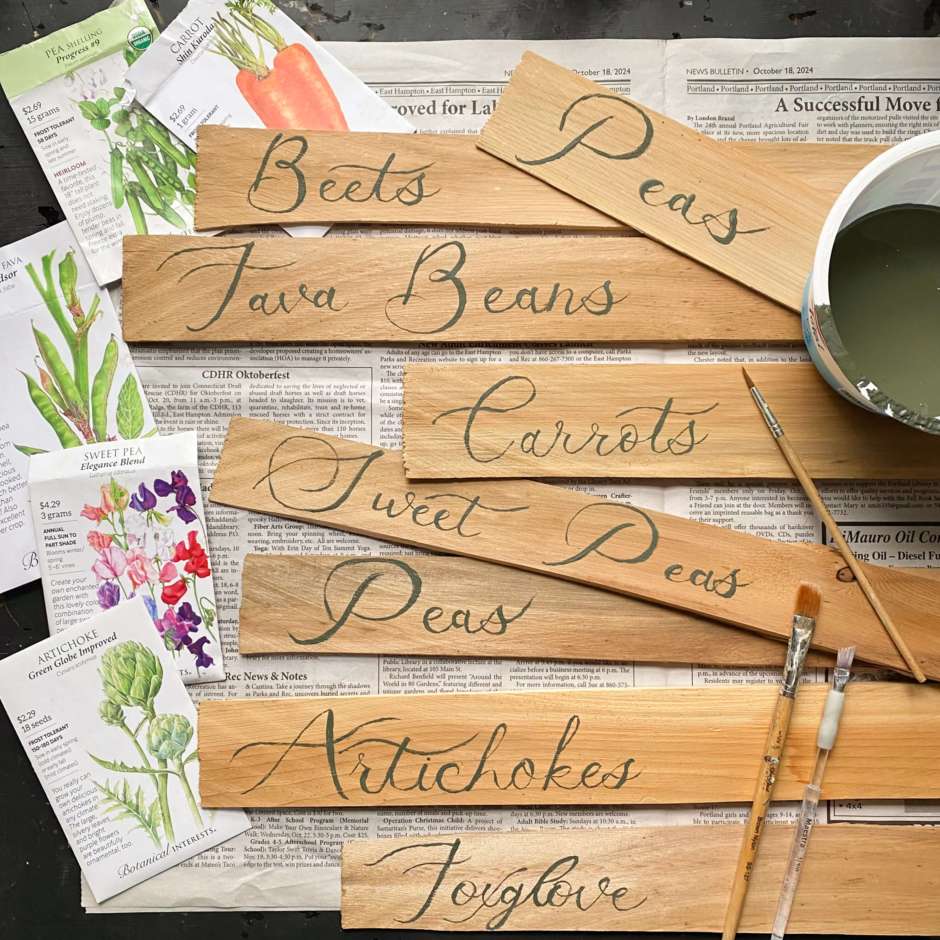
This year our herb garden will include forget-me-nots, feverfew, wild bergamot, lemon balm, flax, dill, basil, nasturtiums, chervil, cilantro, parsley, oregano, echinacea, winter savory, English thyme, German chamomile, sweet peas, chives, sage, rosemary, yarrow, lavender, phlox and two different varieties of calendula. Everything highlighted in bold will go in the shade garden, the rest will be tucked into the full sun spots in the garden bed up front. Half of this list is a new, first-time growing experience for me, which makes this gardening project an exciting one on all fronts.
Step Four: Create a Planting Map
Thoughts from Adelma: Let the herb garden throughout look old, peaceful and nostalgic with quiet colors and soft textures. (page 17)

When it comes to the planting decisions of what goes where, I recommend sketching all this out on paper with a pencil. At this stage, there is a lot of penciling in and erasing out, second-guessing and revising, dreaming and deciding. Color, size, height, light, and soil requirements are all things to be considered as well as companion plant pairings and general overall garden aesthetic, plus any decorative items or accessories you may want to include. After months of fiddling on paper, my garden layout finally came together. Adelma can rest assured now. I have a plan.
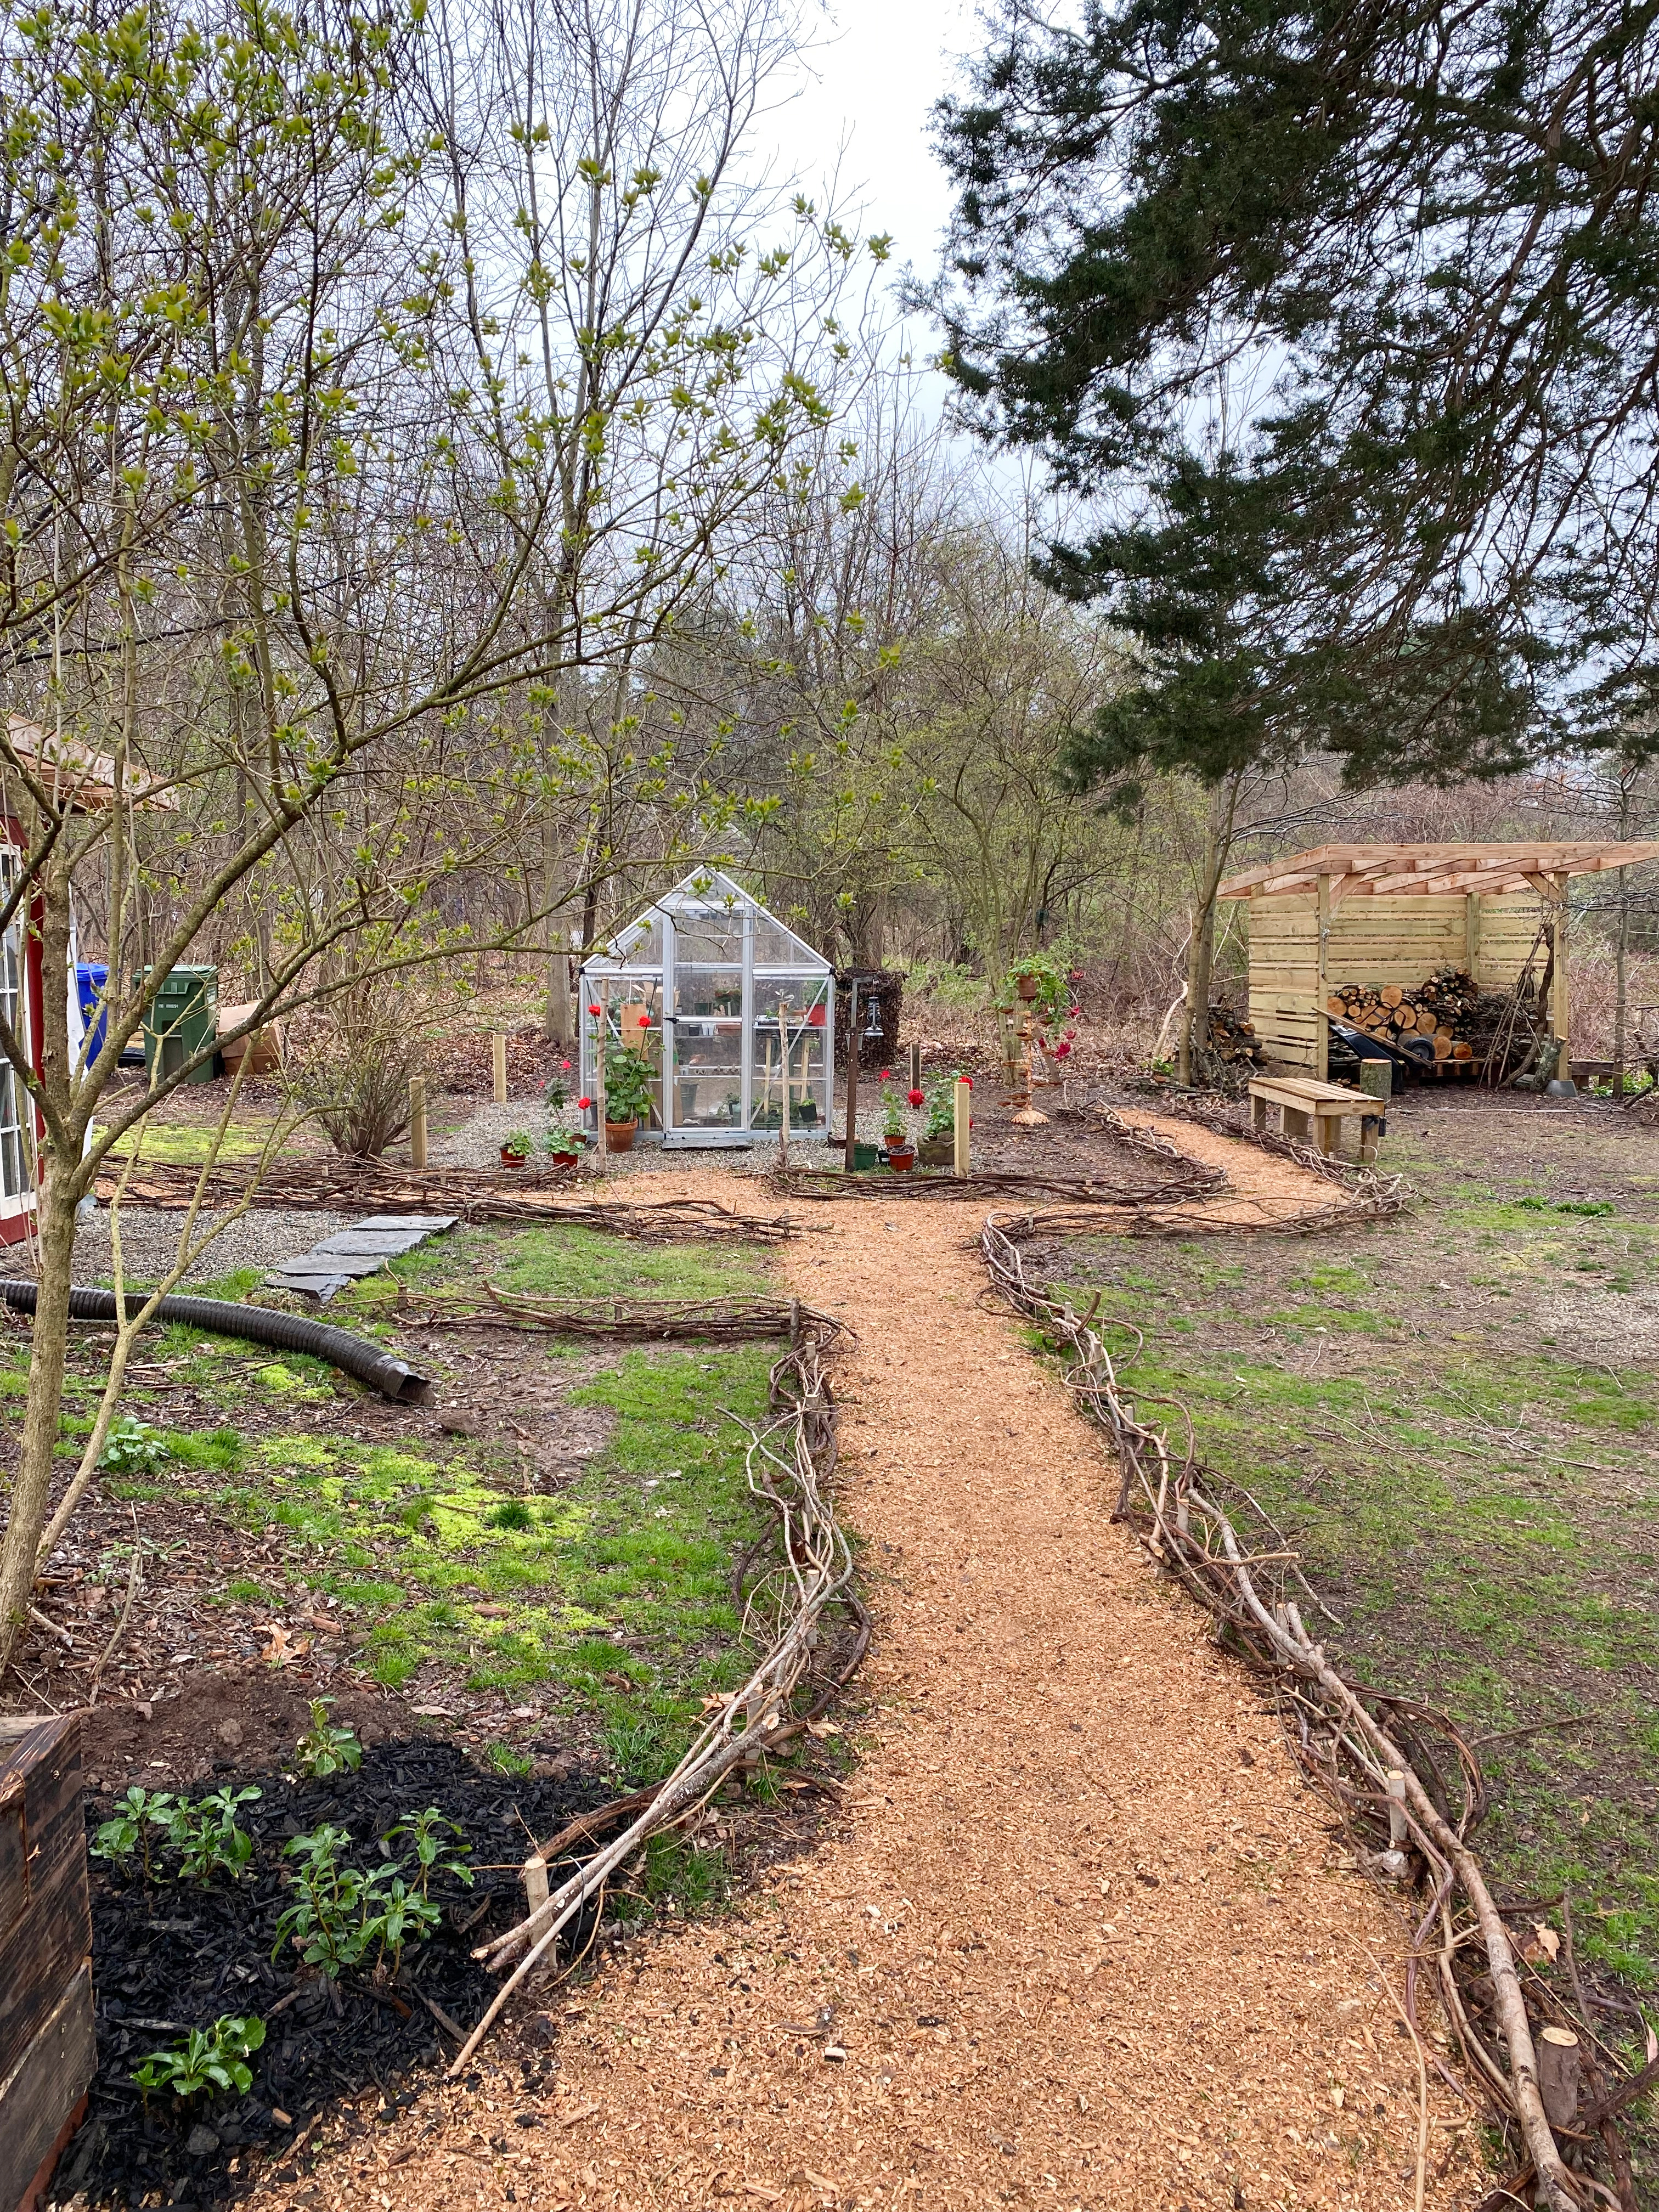
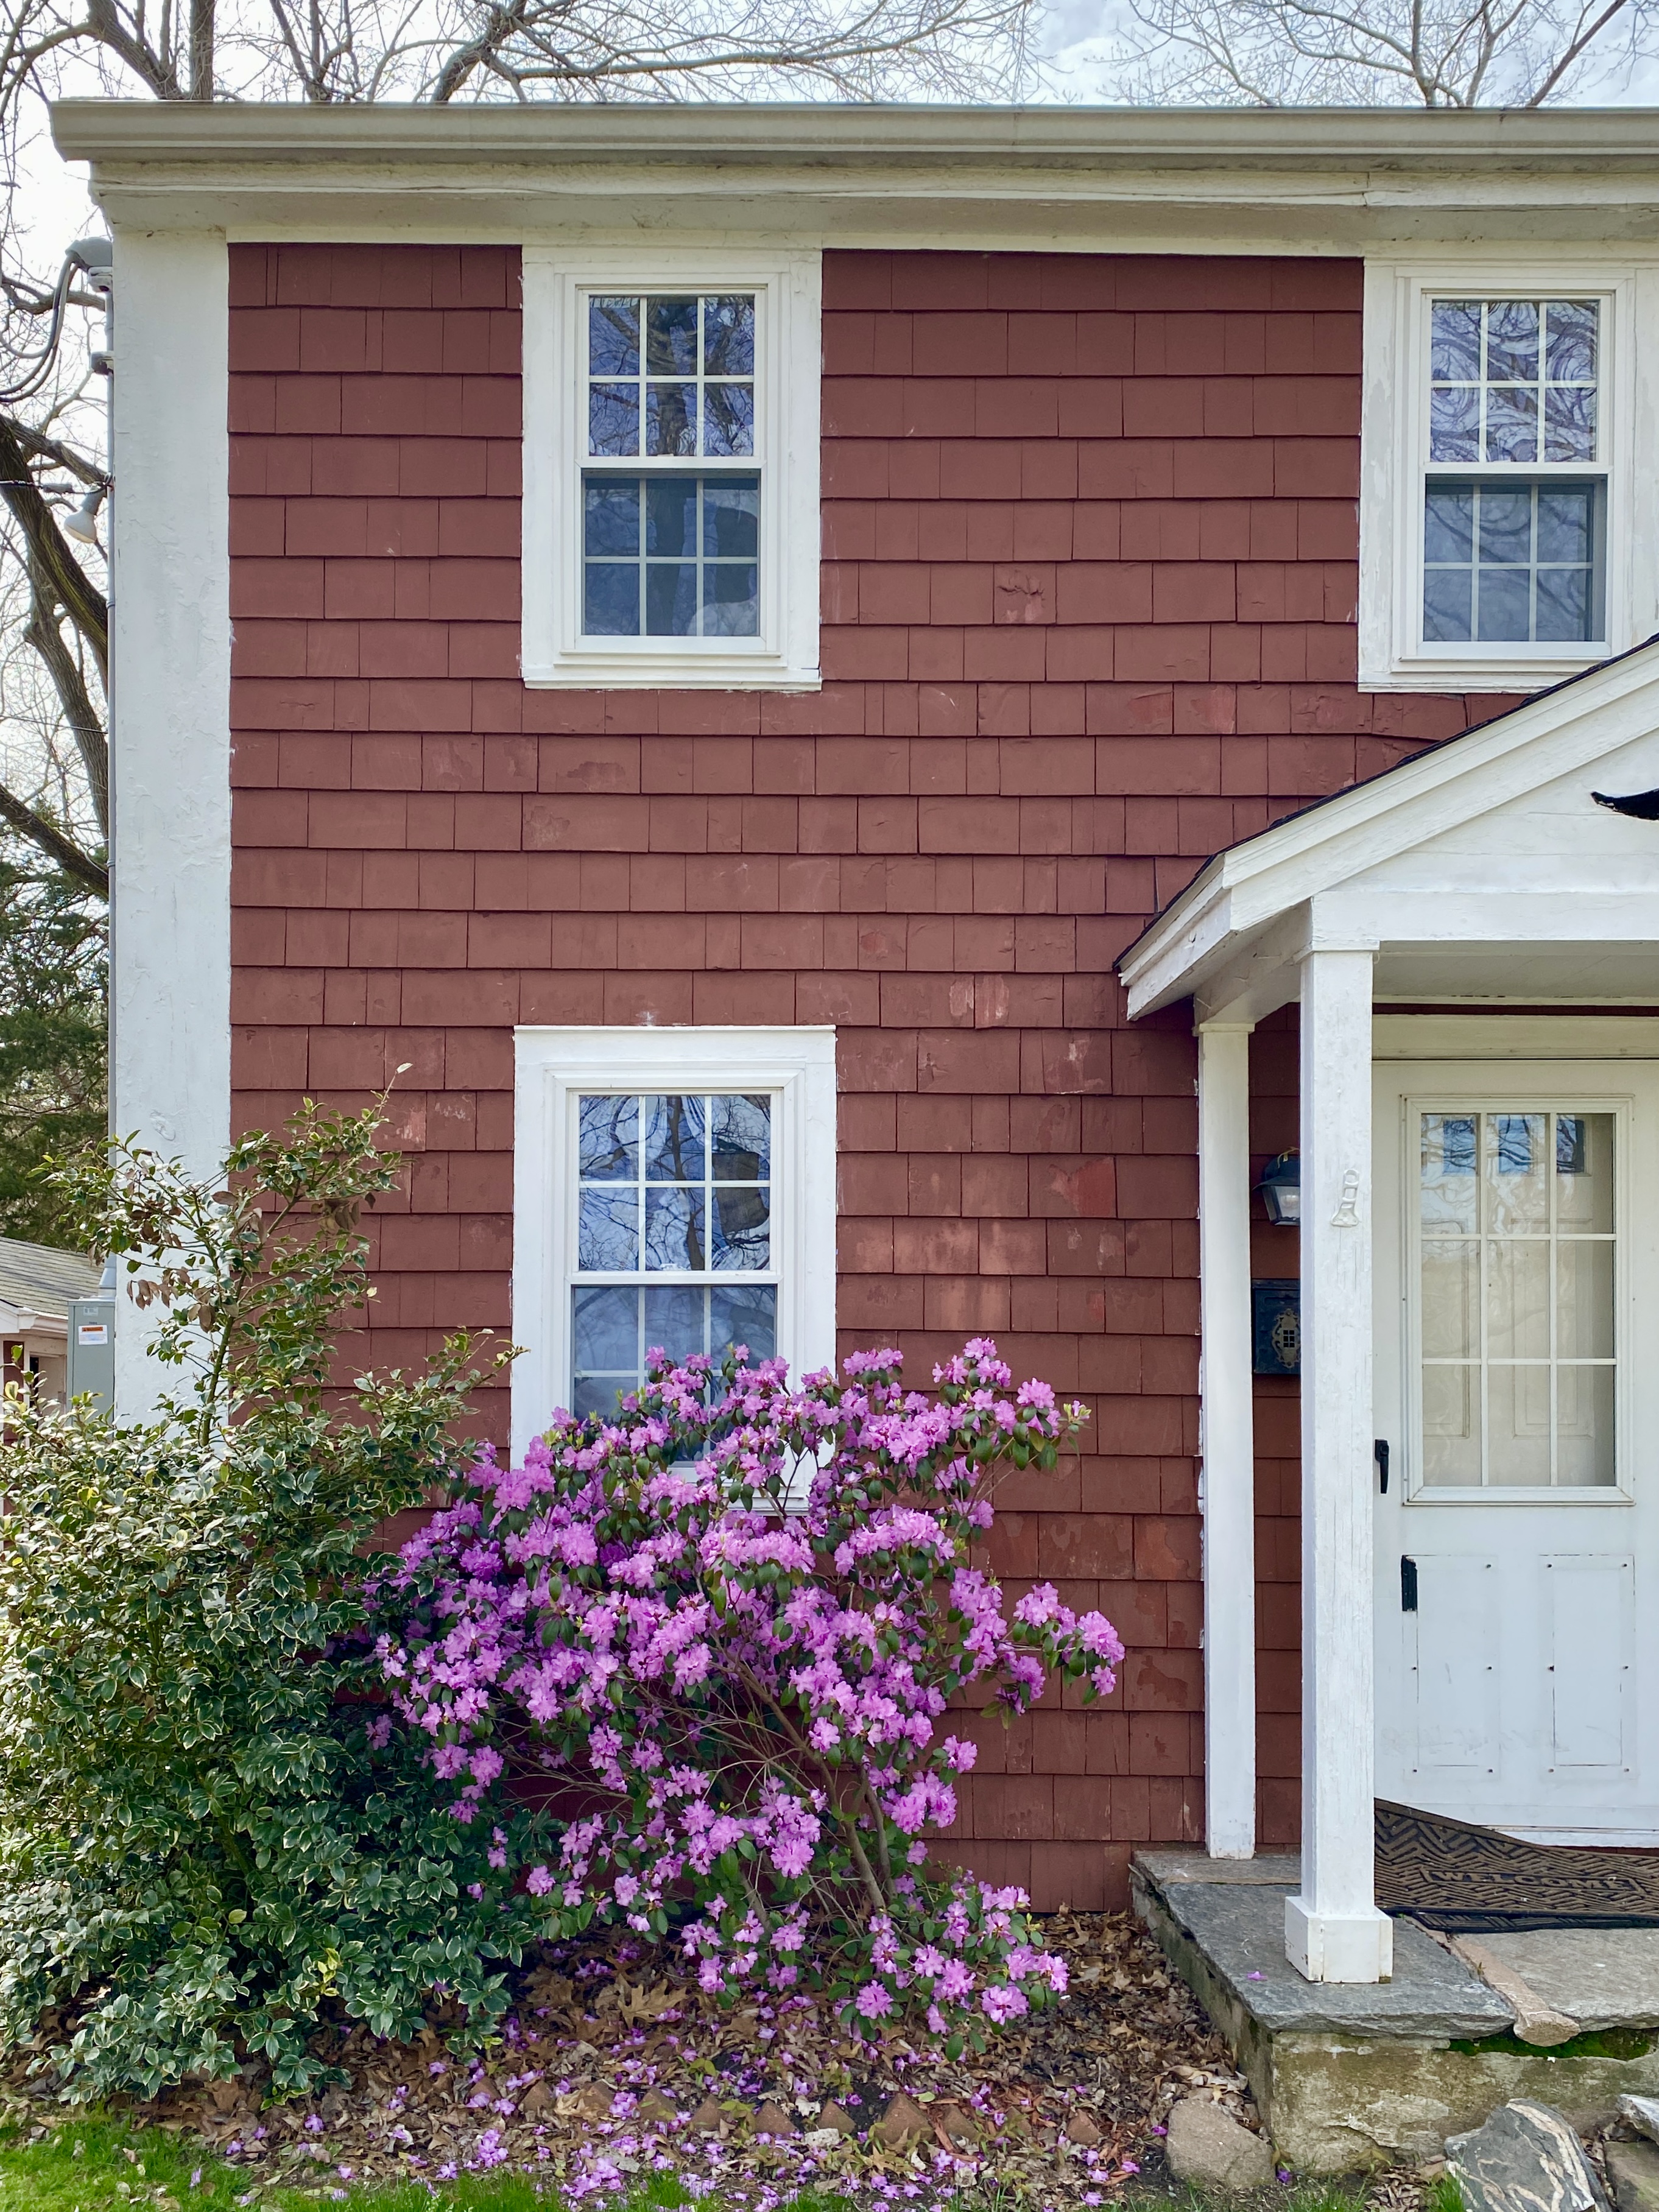
Ideally, I’m striving for a cottage-style herb garden that is full, colorful, and graduated in size. The greenhouse will act as the central focal point, the pea gravel between the fence and the greenhouse will act as a pathway and giant field stones will become stepping stones in the garden beds. To make it visually interesting beyond texture and flower shape, I’ve selected varieties in the pink, purple, blue, white and yellow families to create a unifying color palette that ties in shades from the front gardens as well as a bit of symbolism.
In addition to practical how-to instruction, one of the most interesting aspects of Herb Gardening in Five Seasons is that it is also peppered with stories about folklore and symbolism surrounding herbs throughout history. If you communicated in the language of flowers, it is entirely possible to grow a garden full of patience (chamomile), virtue (mint), everlasting love (baby’s breath), good wishes (basil), humility (bluebell), courage (edelweiss), and ambition (hollyhock). For a complete list of flower symbolism, visit here.

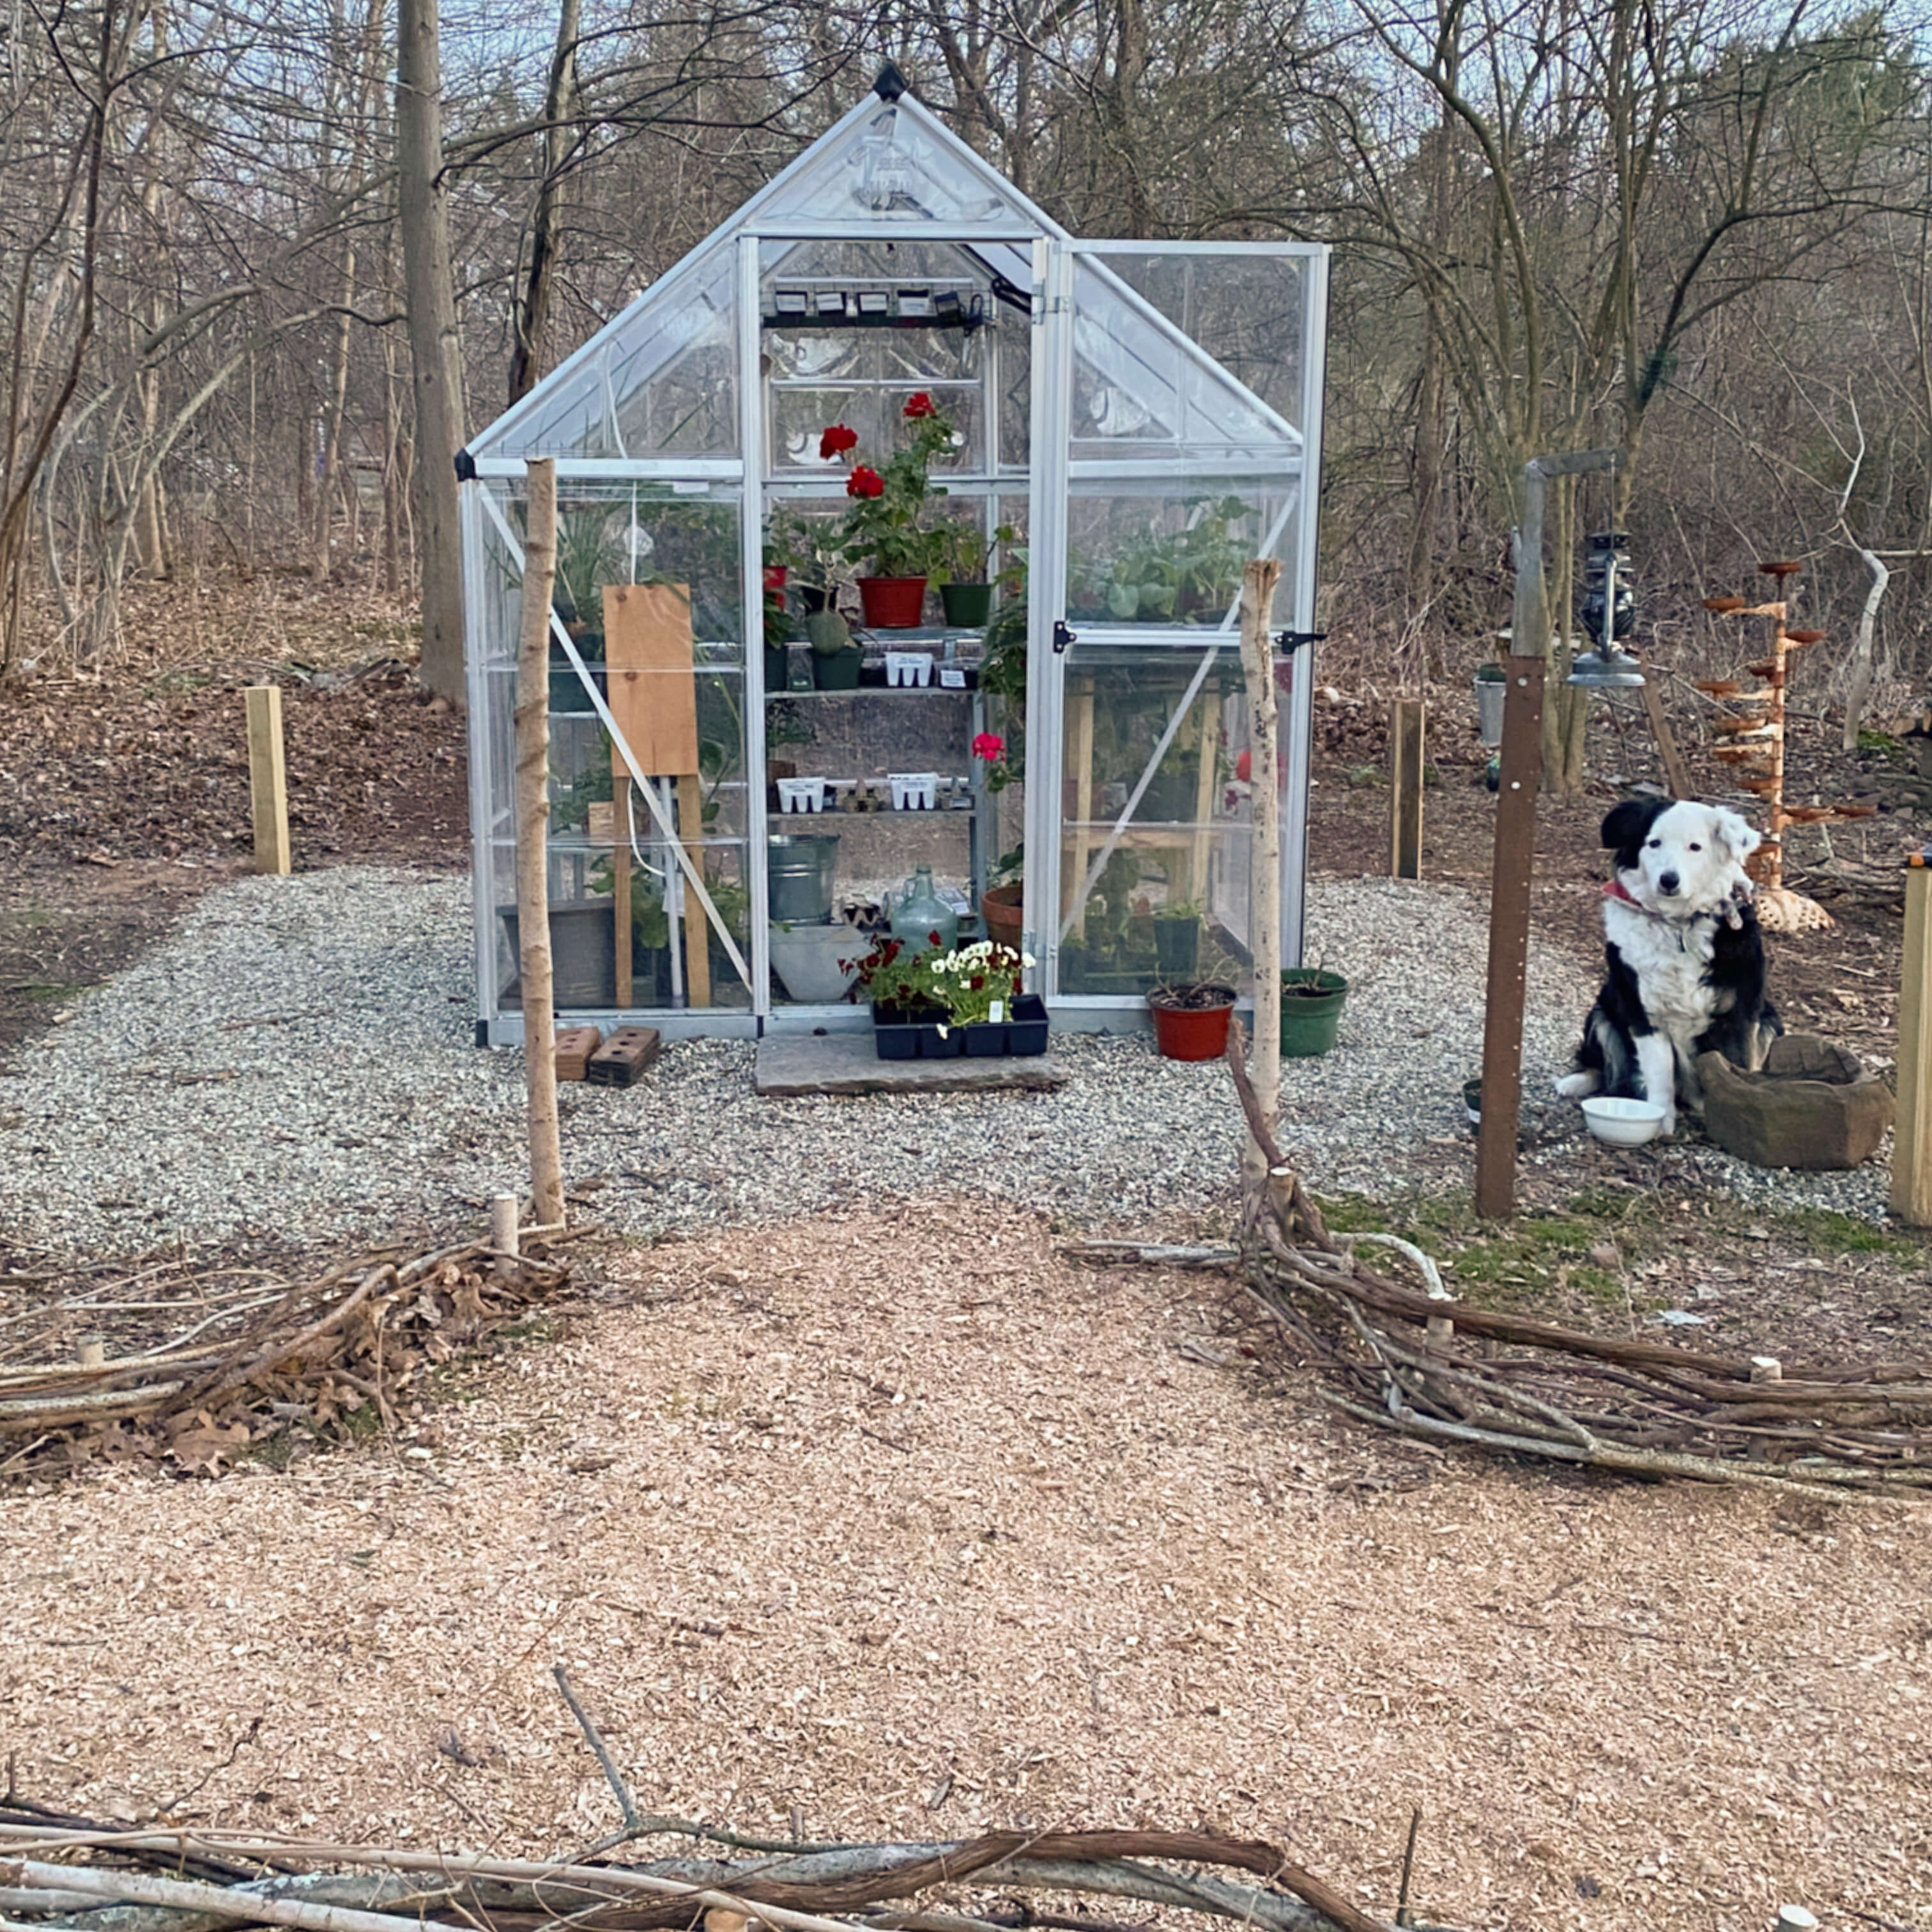
This year, I’m incorporating a specific symbol in the garden – several patches of perennial forget-me-nots for one special reason. They are the flowers that symbolize memories of enduring love, lasting love, tender love. They will be planted all around our pup, Indie, who was buried in one of the beds next to the greenhouse last September. Her unexpected death left a big hole in our lives and in our hearts for sure. I still find myself looking down one of the long paths towards the woods, thinking that she’ll come around the corner any minute like she did a thousand times before after a good chase with a squirrel or two. She was such a big presence here at 1750 House, especially in the yard, we wanted to make sure she was forever a part of the property’s history.

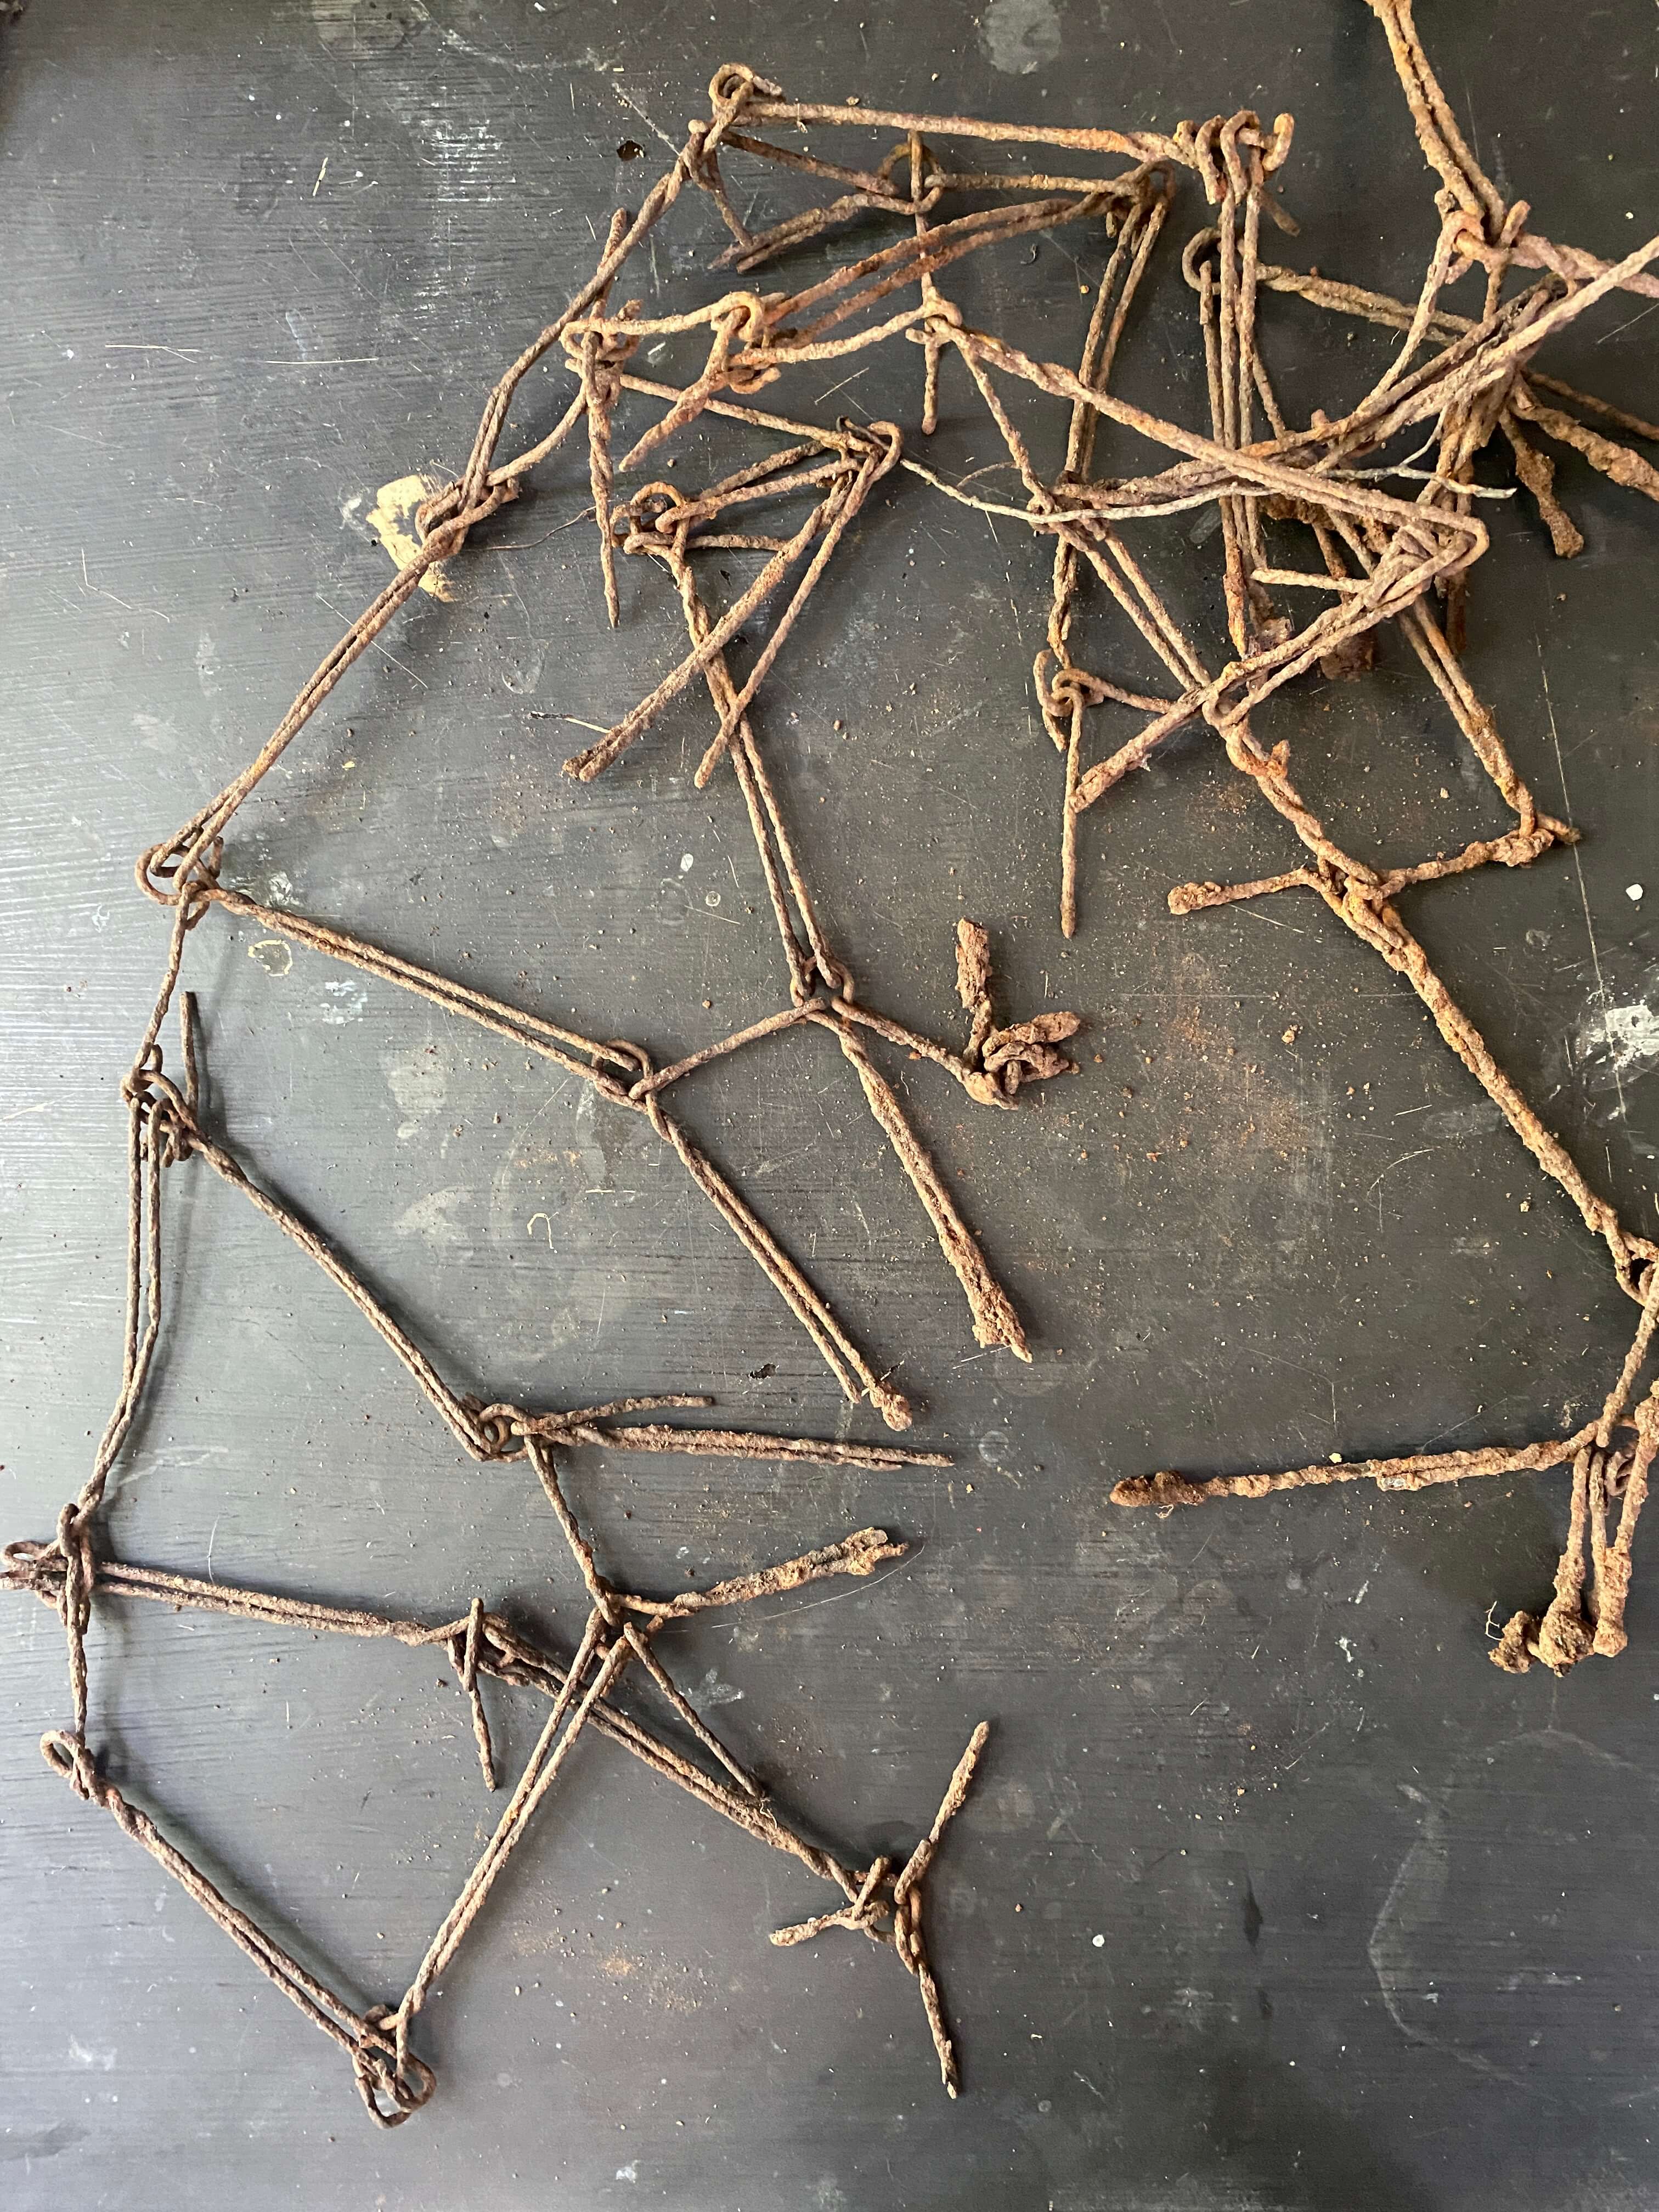
It’s so strange to think that exactly one year ago, on a warm spring evening, not unlike the ones we have been experiencing lately, long before we added the wooden fence around the greenhouse, we were experimenting with building a wattle fence. Indie kept us company all evening that night, watching over our endeavors, sitting pretty much in the same spot where she would come to be buried four months later. I like to think that she is still sitting there just like in the photo, watching over us and the greenhouse and the garden. If I learned anything about colonial gardening in America in the 17th and 18th centuries, it was that American garden design is rooted in nostalgia and a longing for what once was. Like Indie, the forget-me-nots will forever be woven into the fabric of the garden from here on out, self-seeding our little secret language of love and friendship year after year.
Step Five: Start Your Seeds
Thoughts from Adelma: The business of planting seeds should be a simple process, as natural as nature. (page 58)
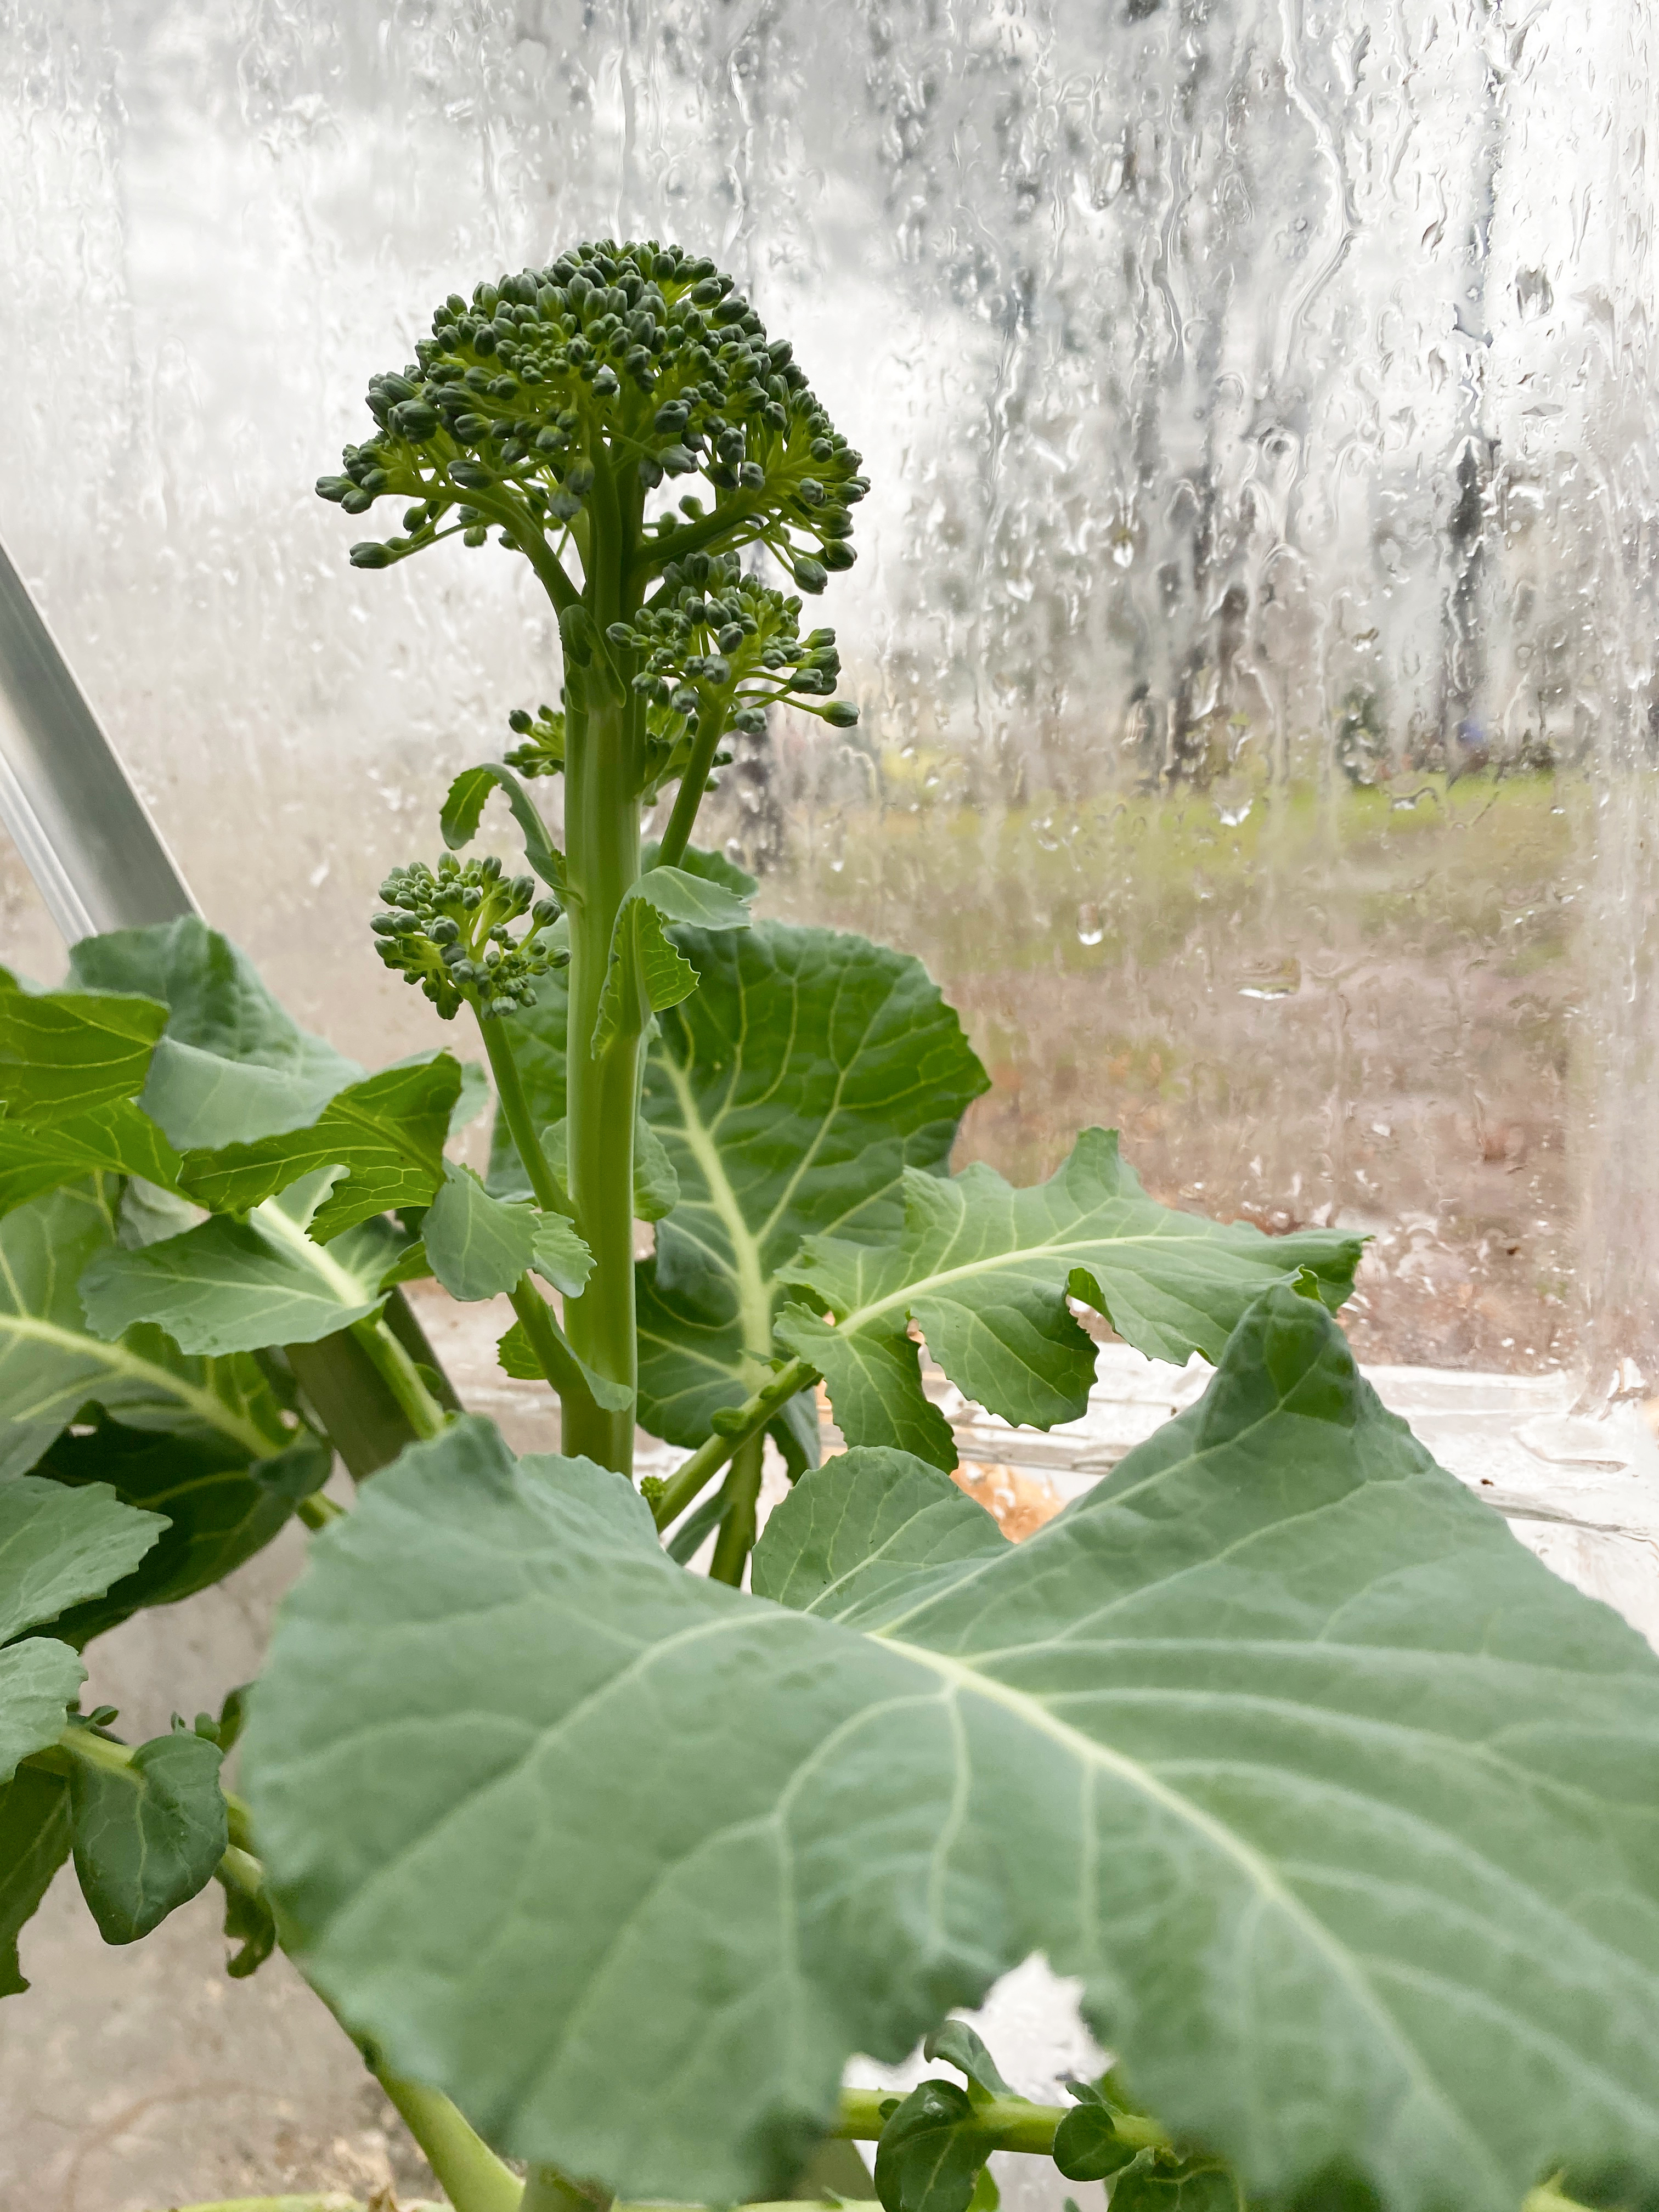
Adelma recommends seed starting outdoors when the weather is appropriately suited, but she also understands the rush and excitement of trying to get a head start indoors or in a greenhouse. Either way, she’s a fan of keeping the germination stage on the slightly cooler side with nighttime temps between 50-60 degrees. She also recommends as much time outdoors in the fresh air as possible to encourage strong, healthy growth.

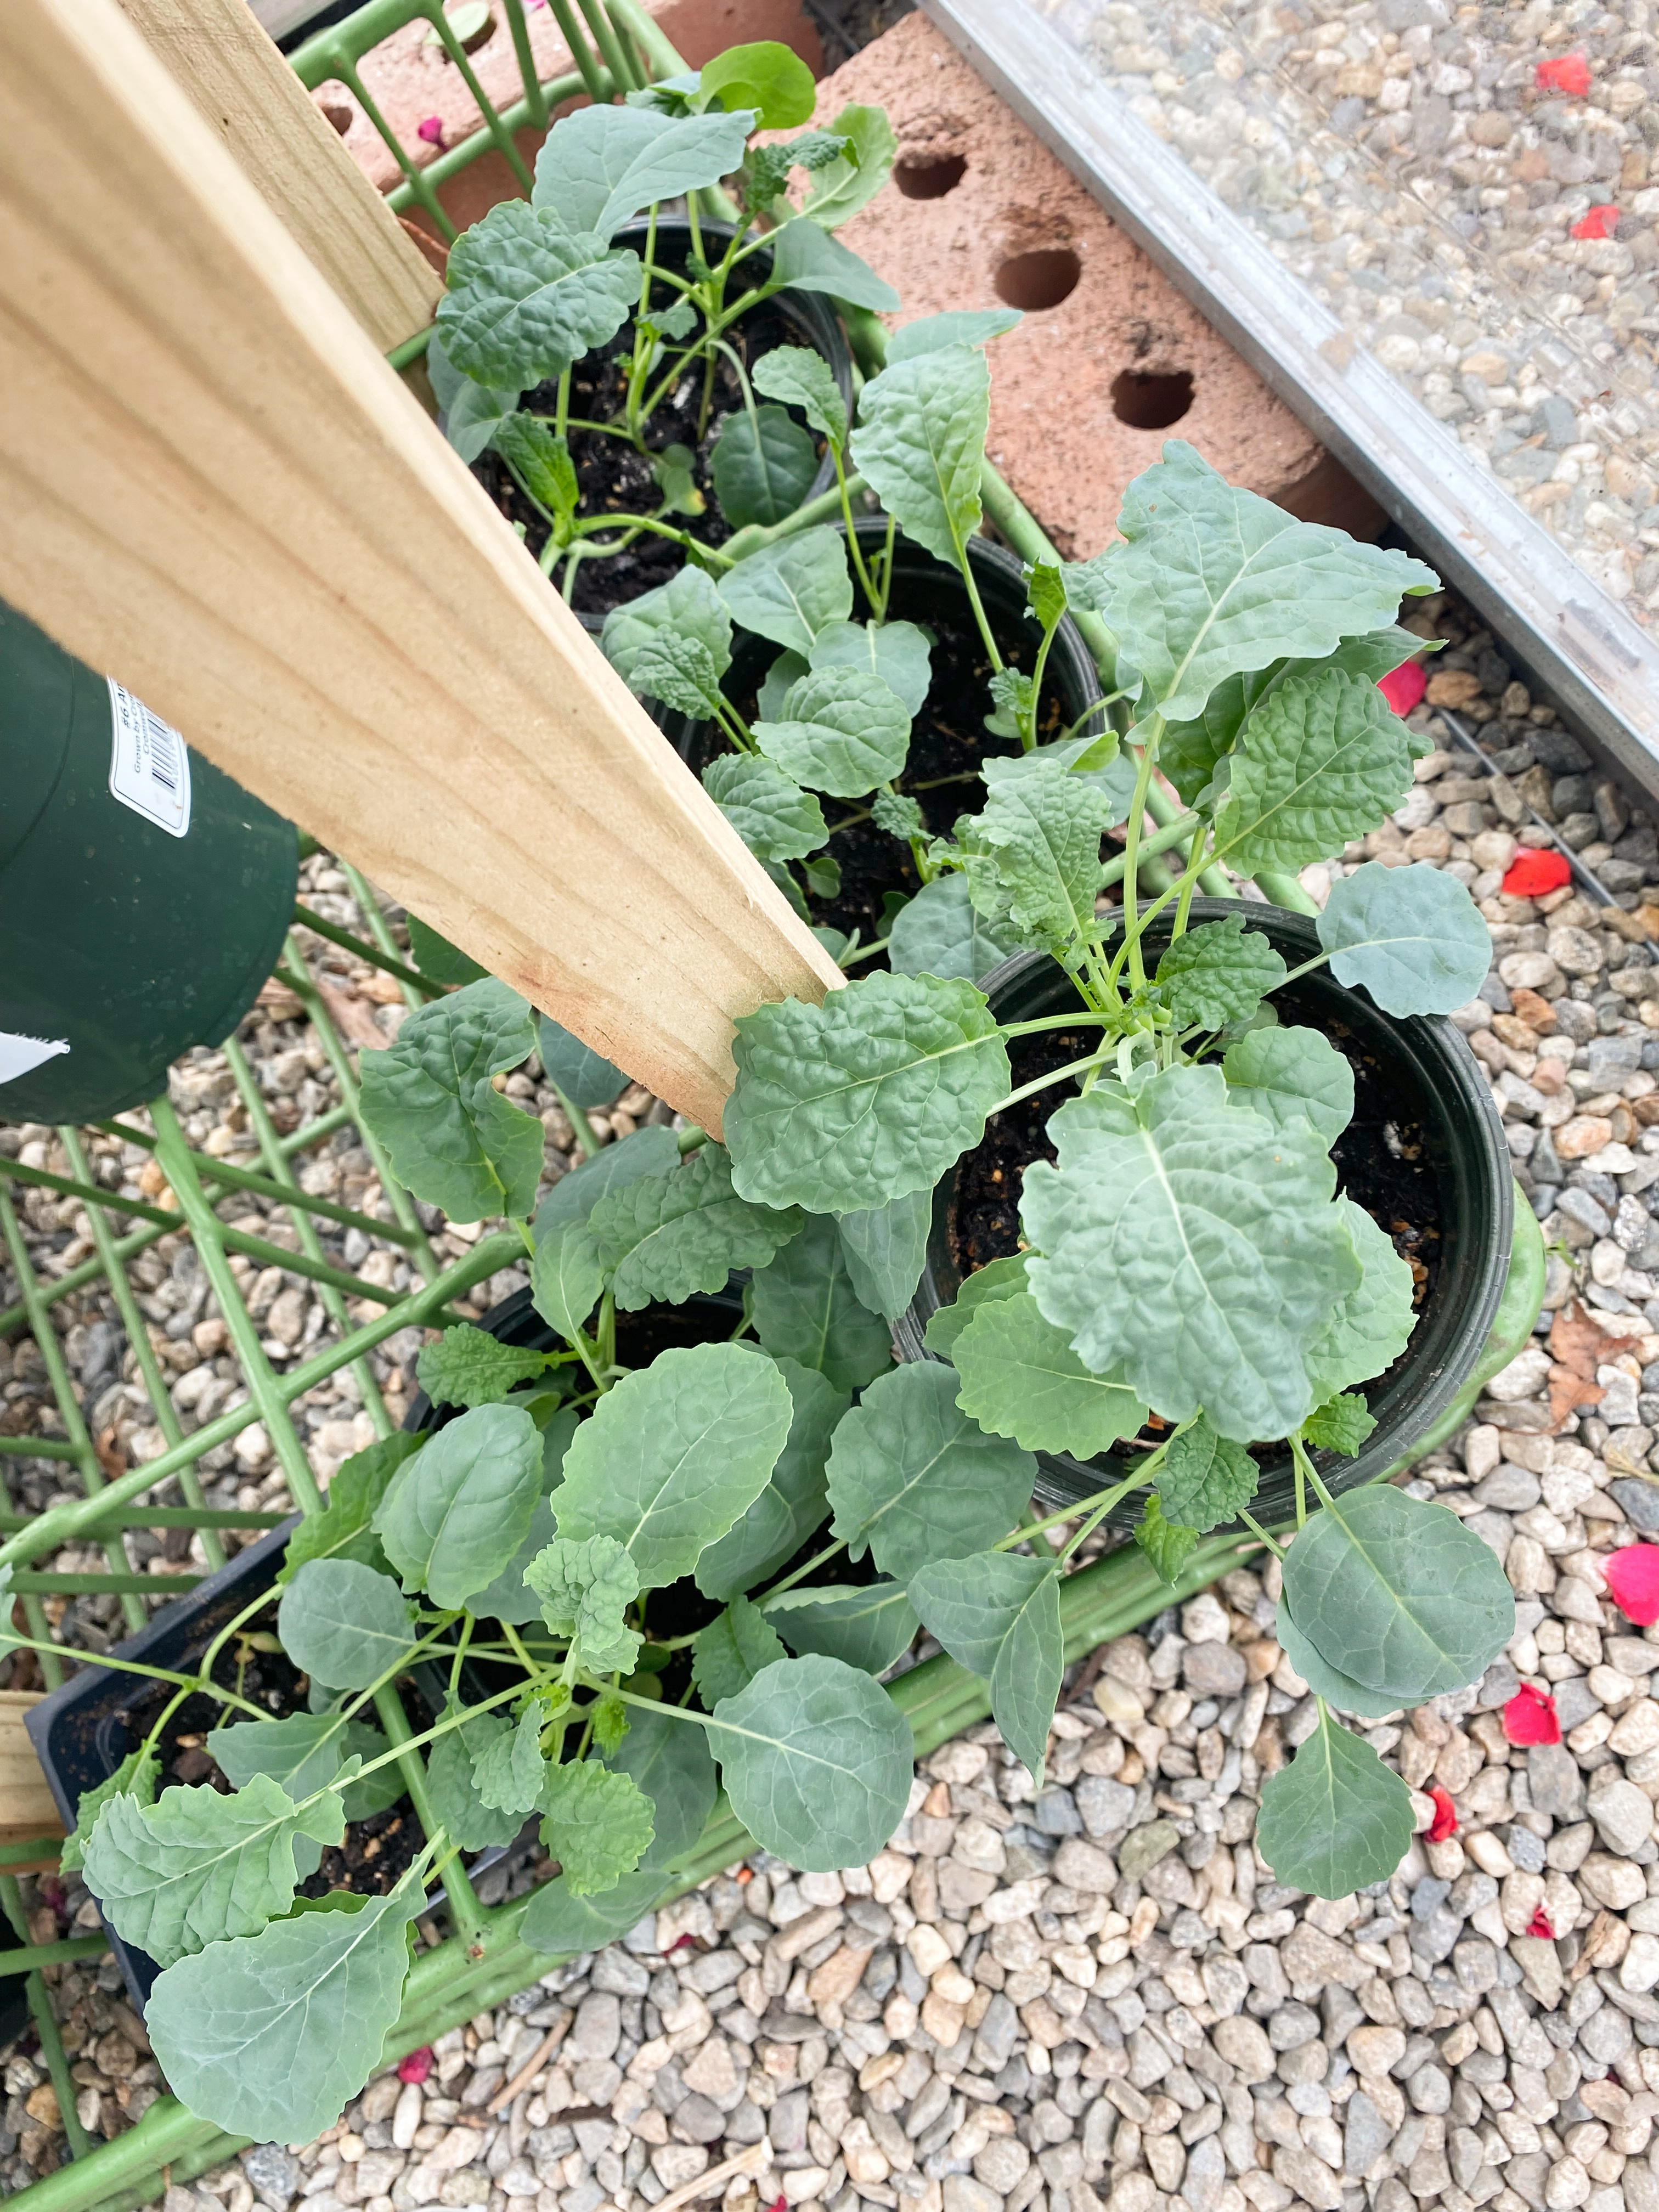
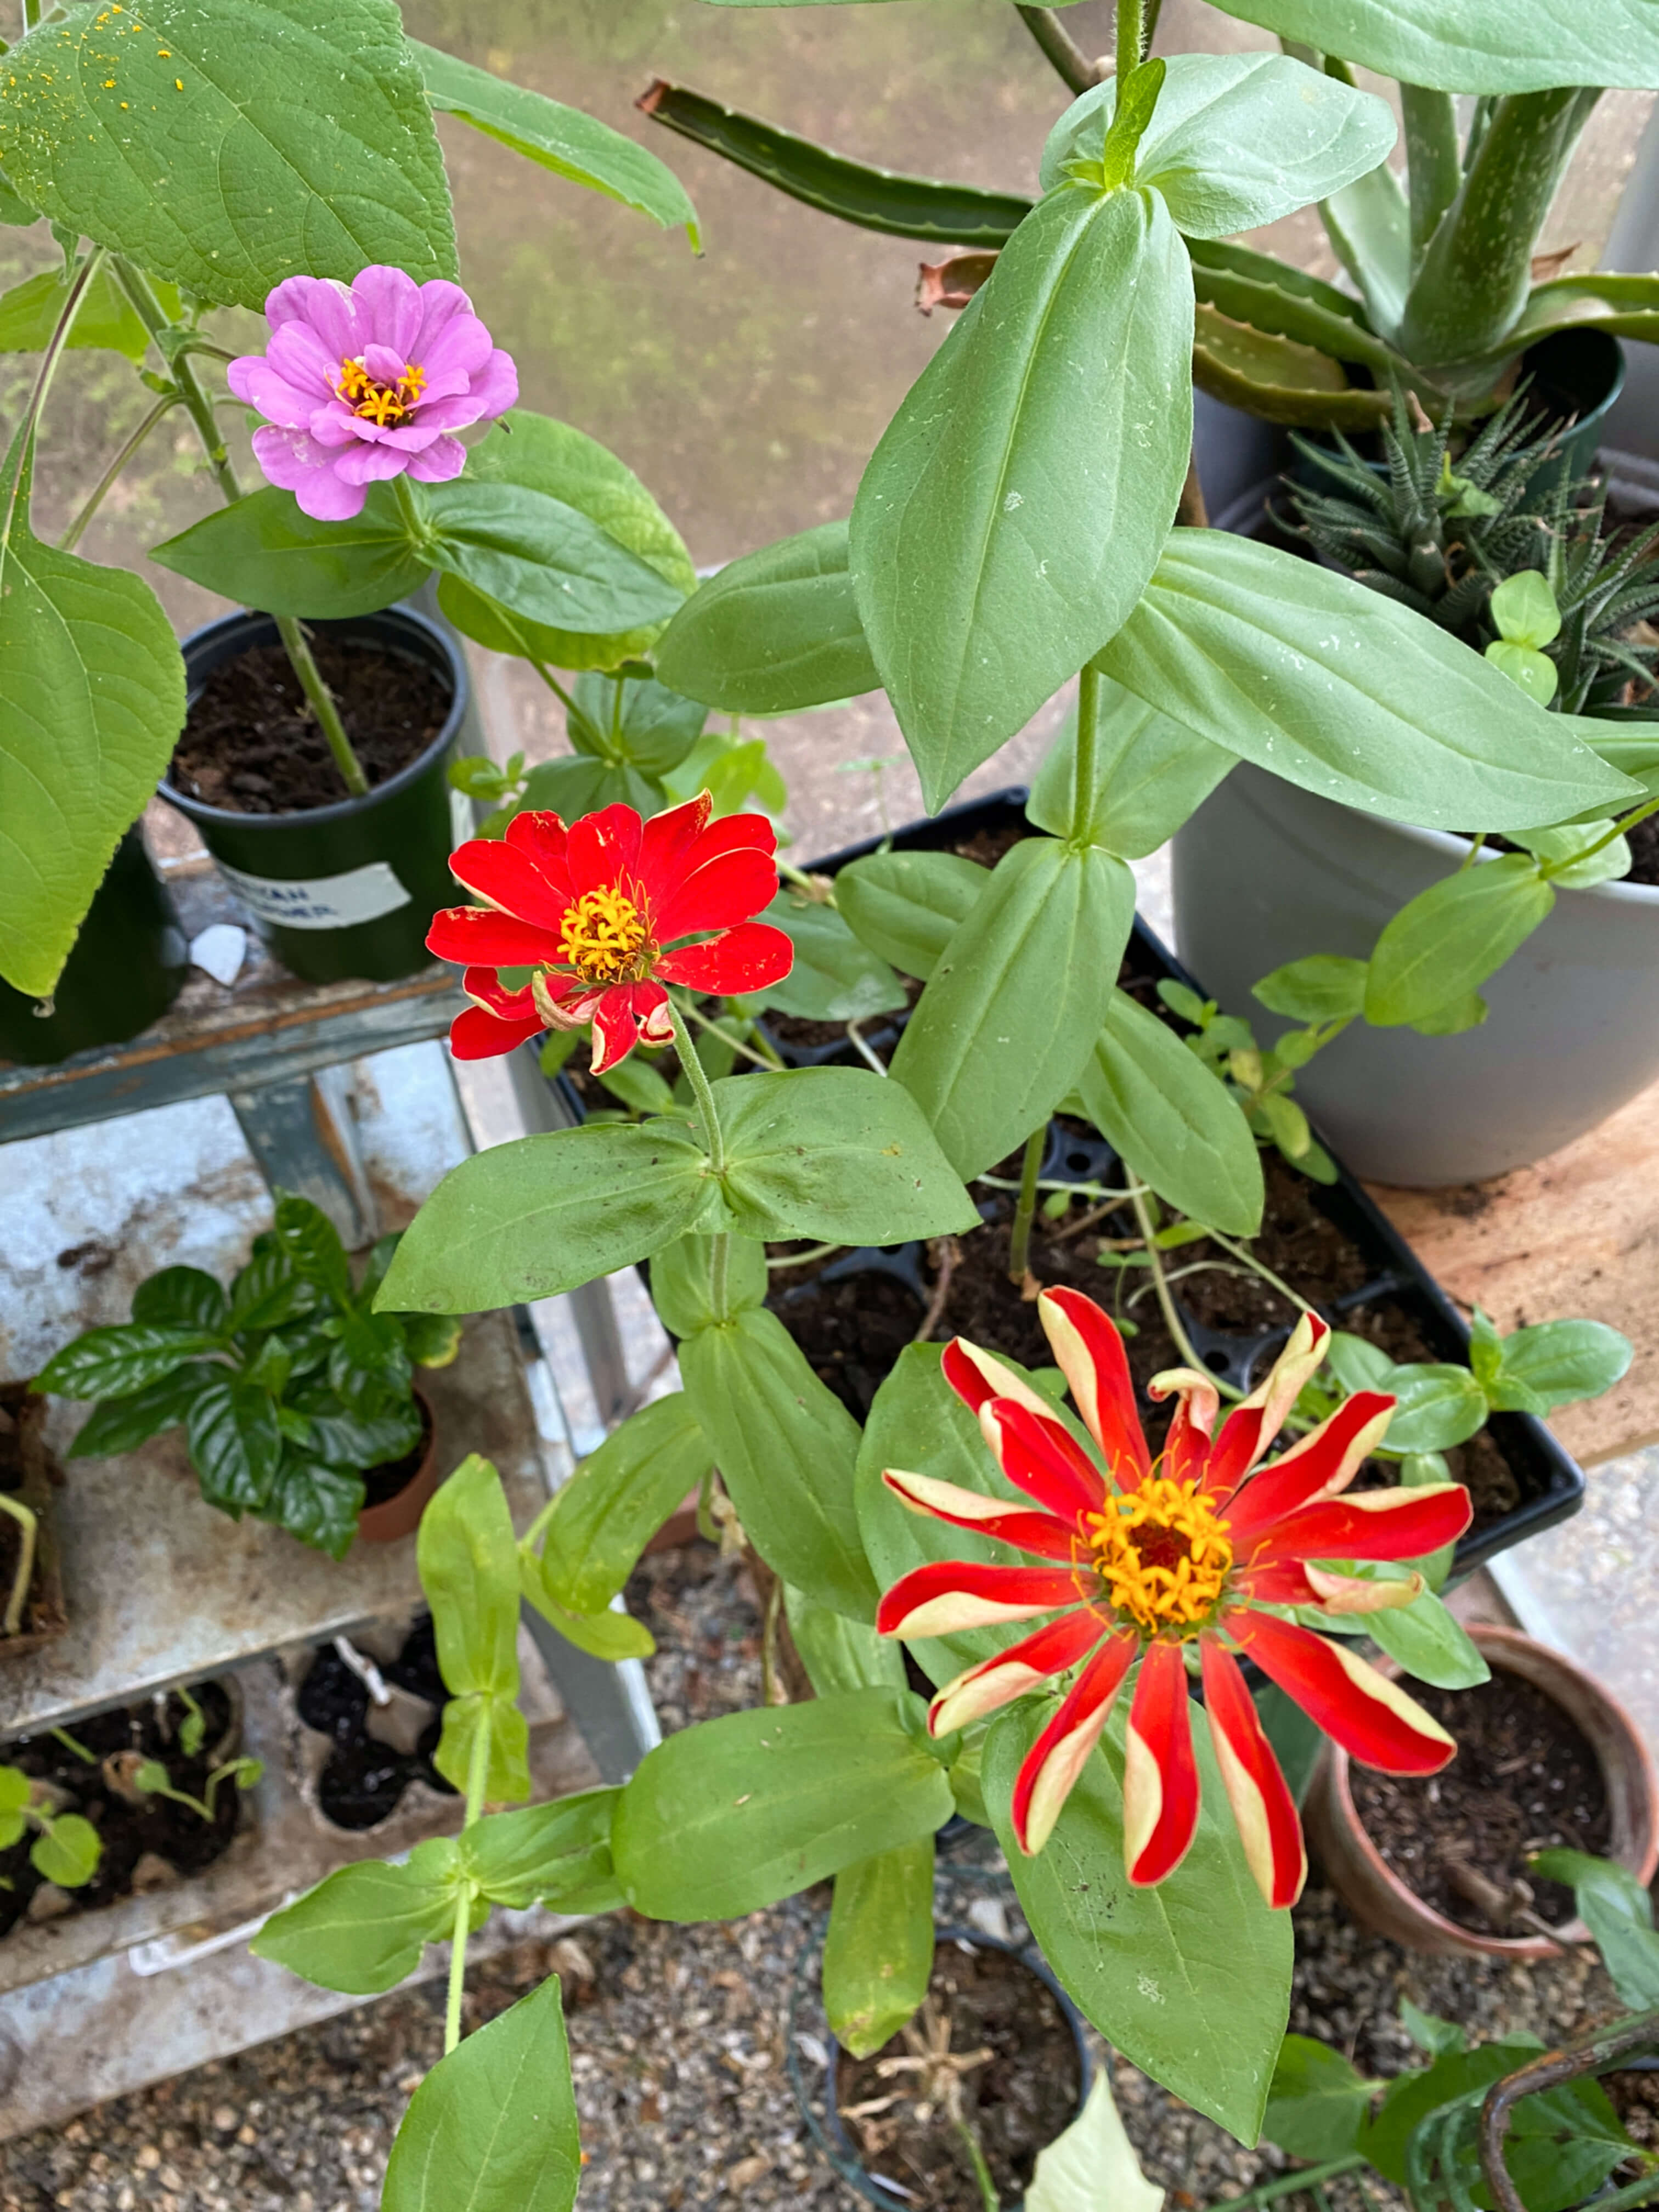
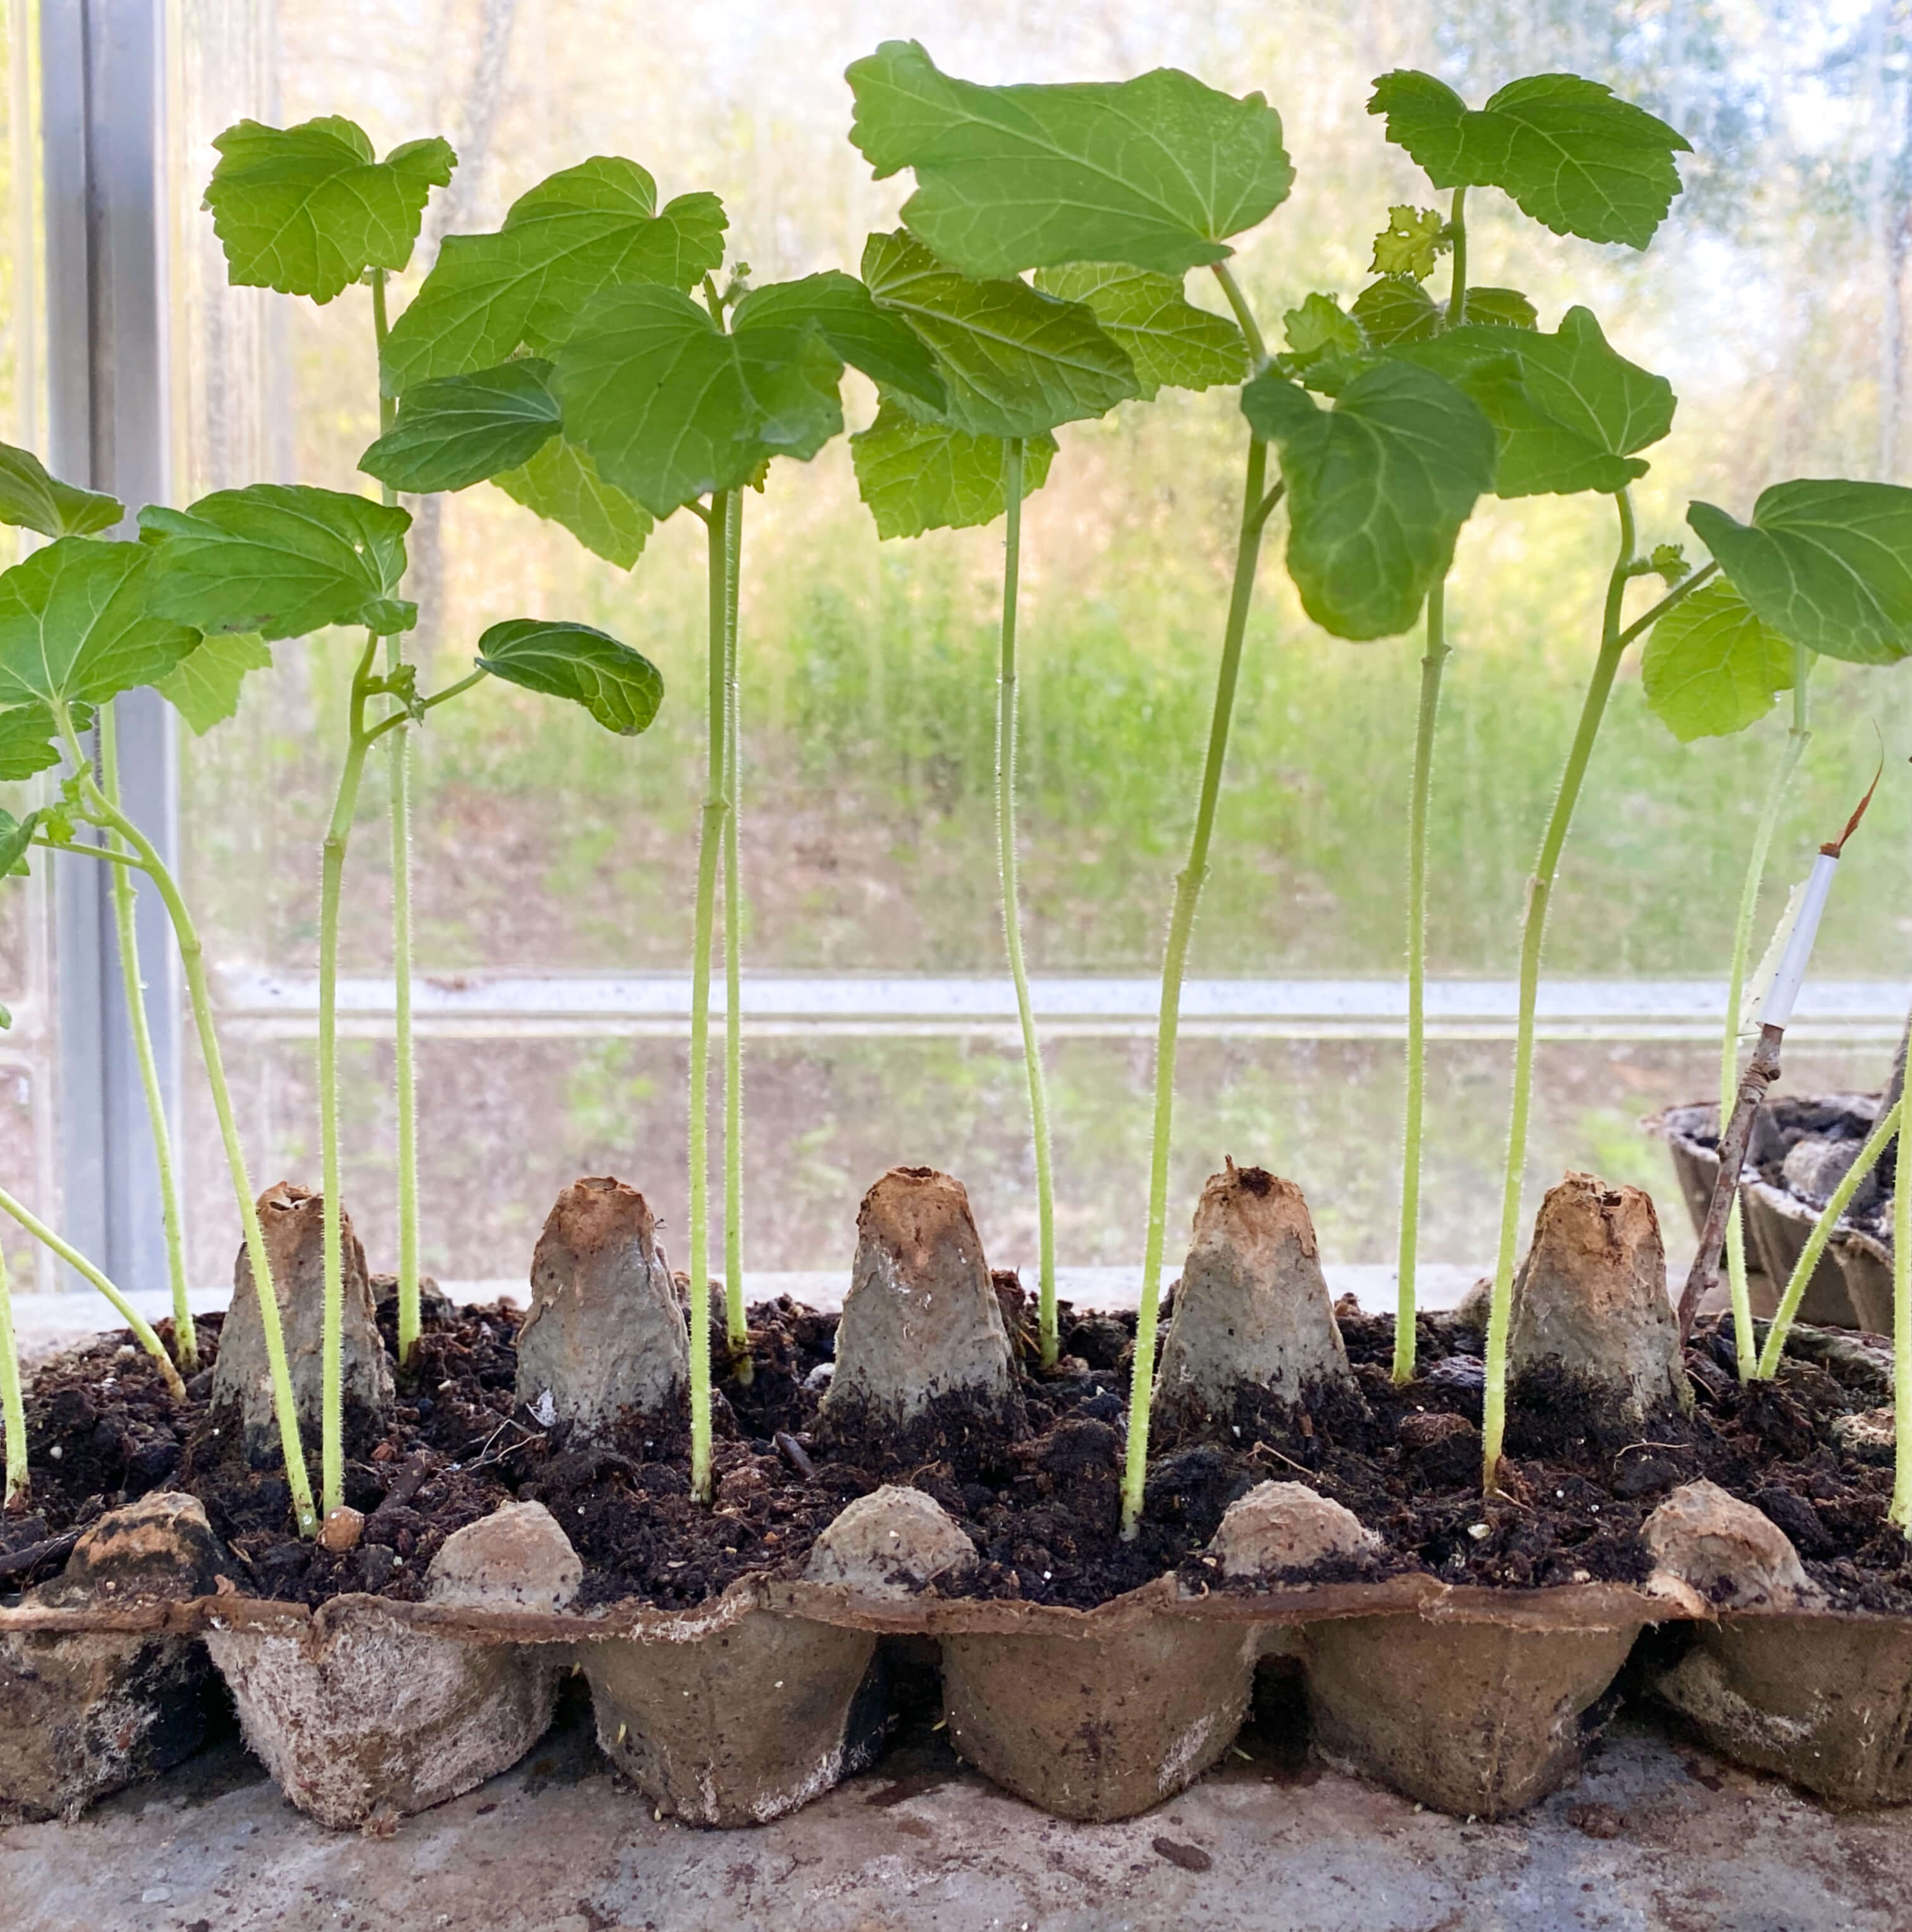
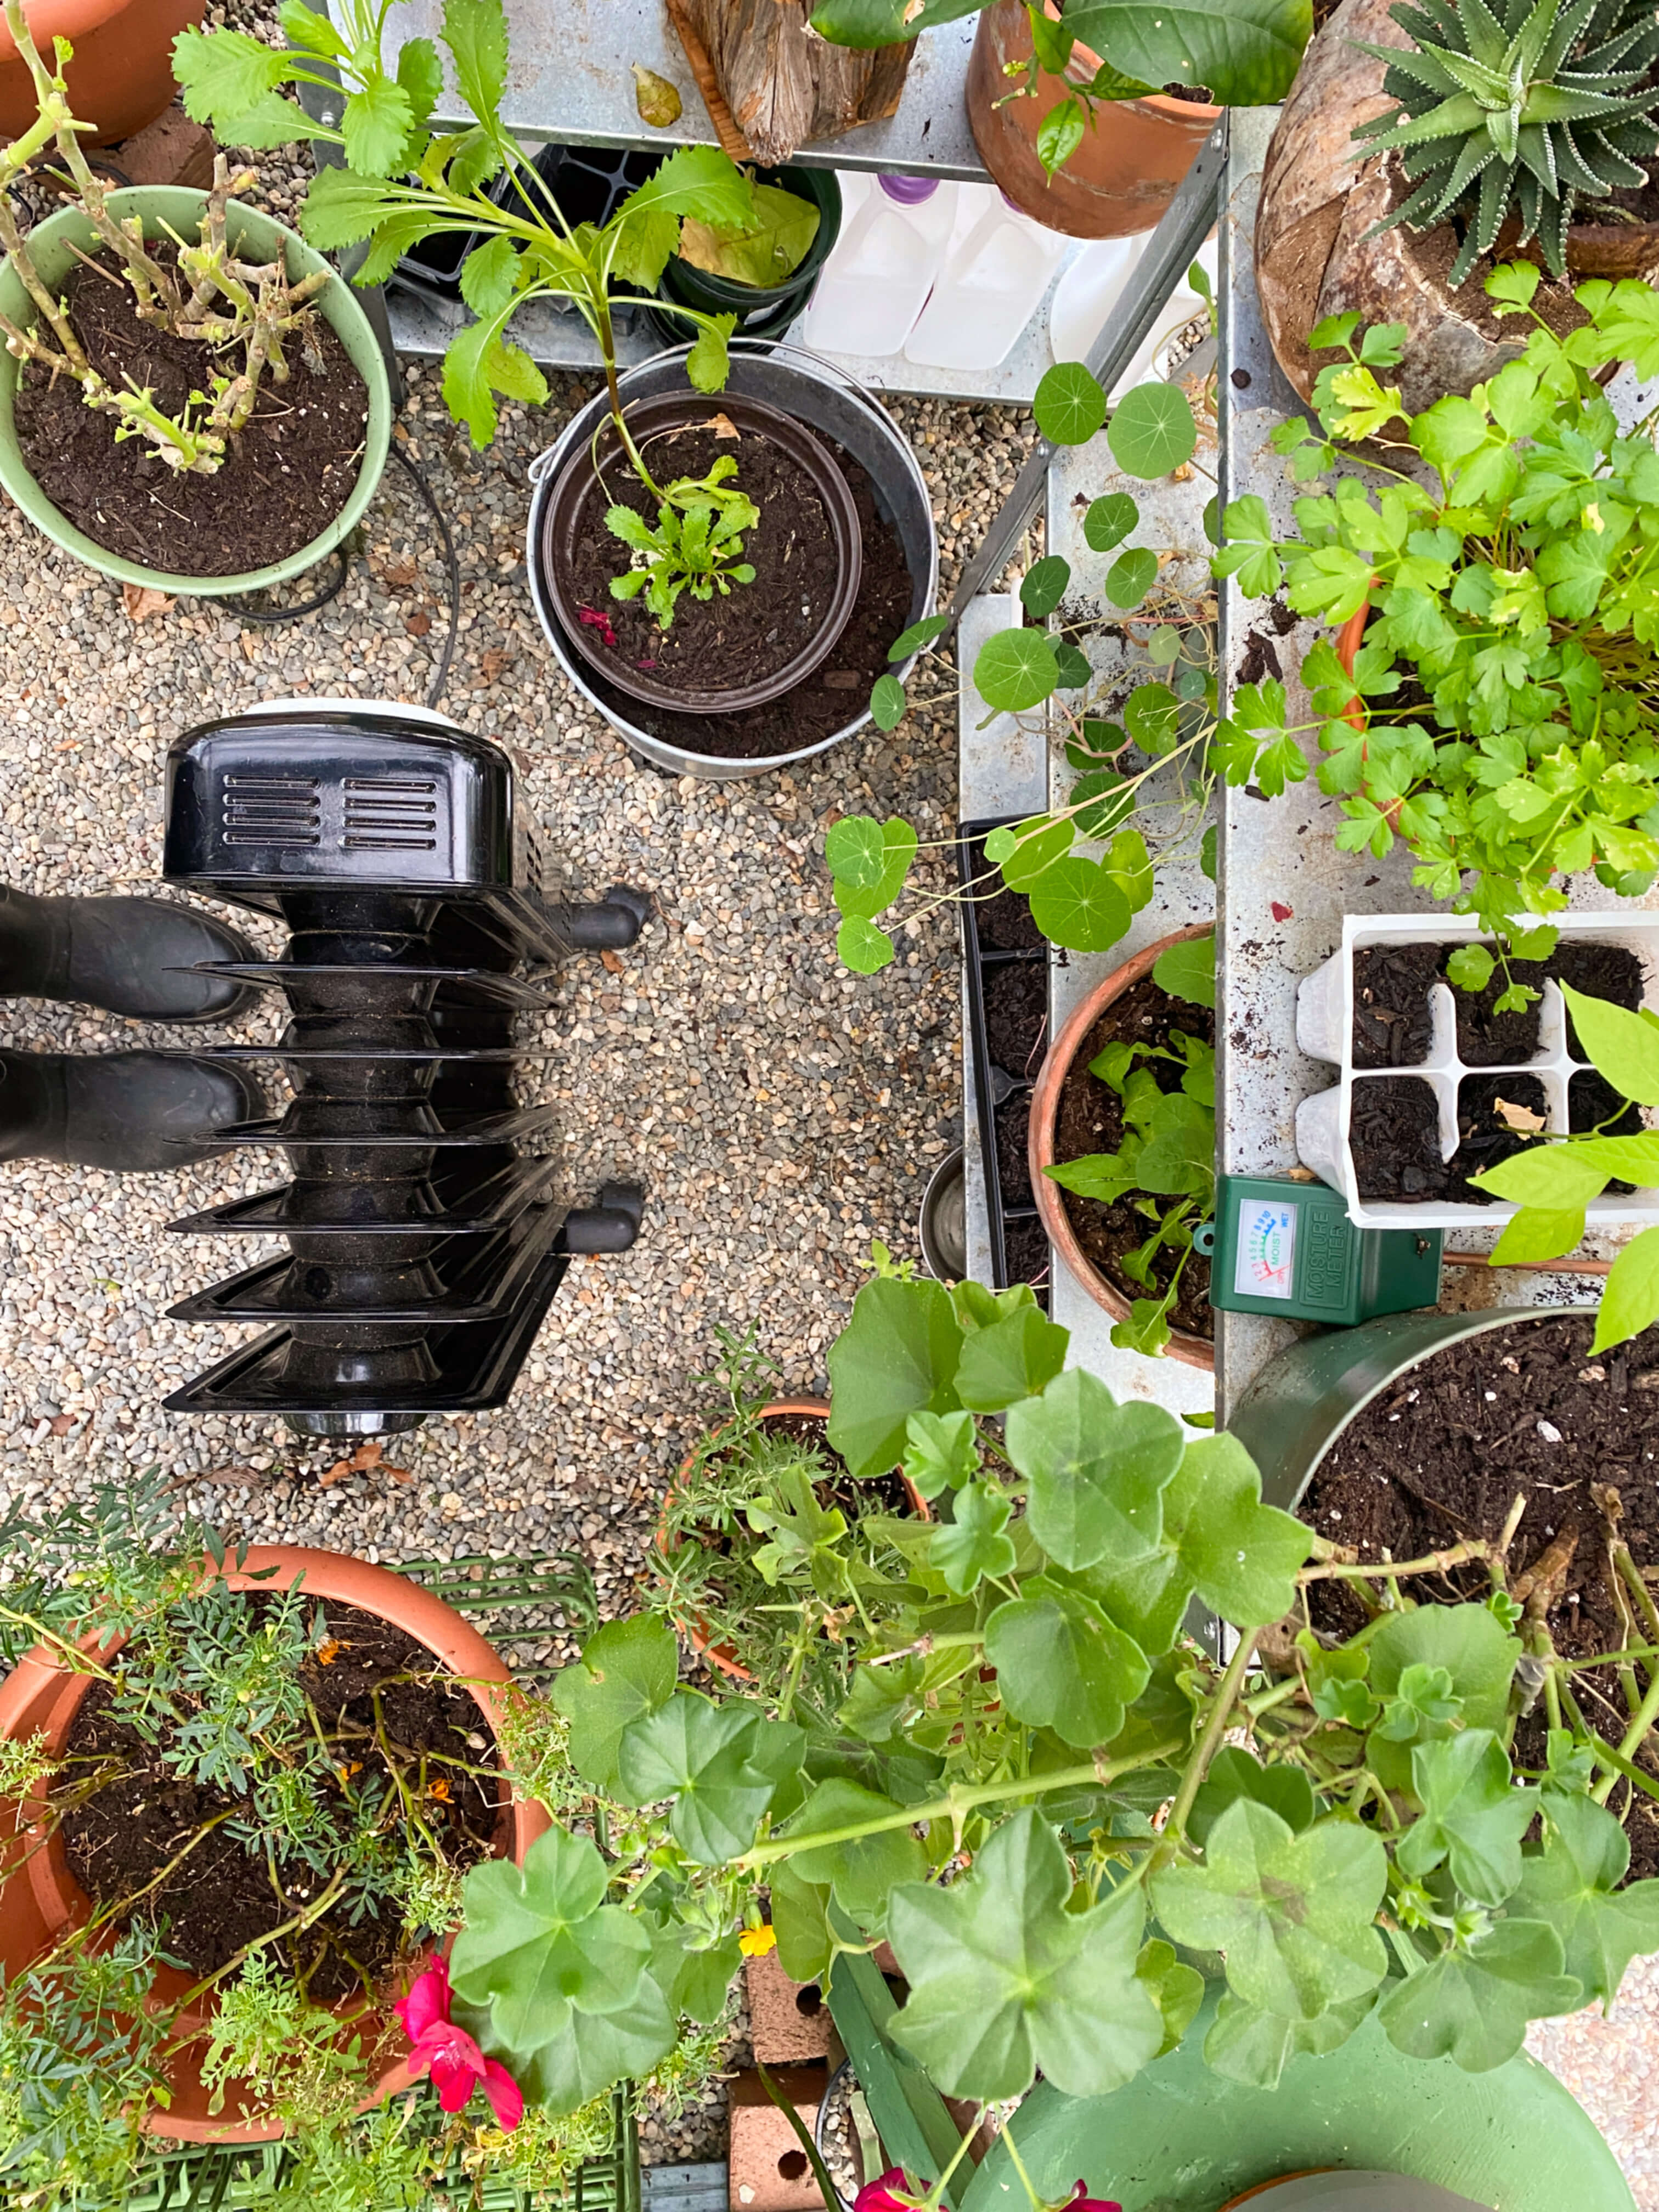
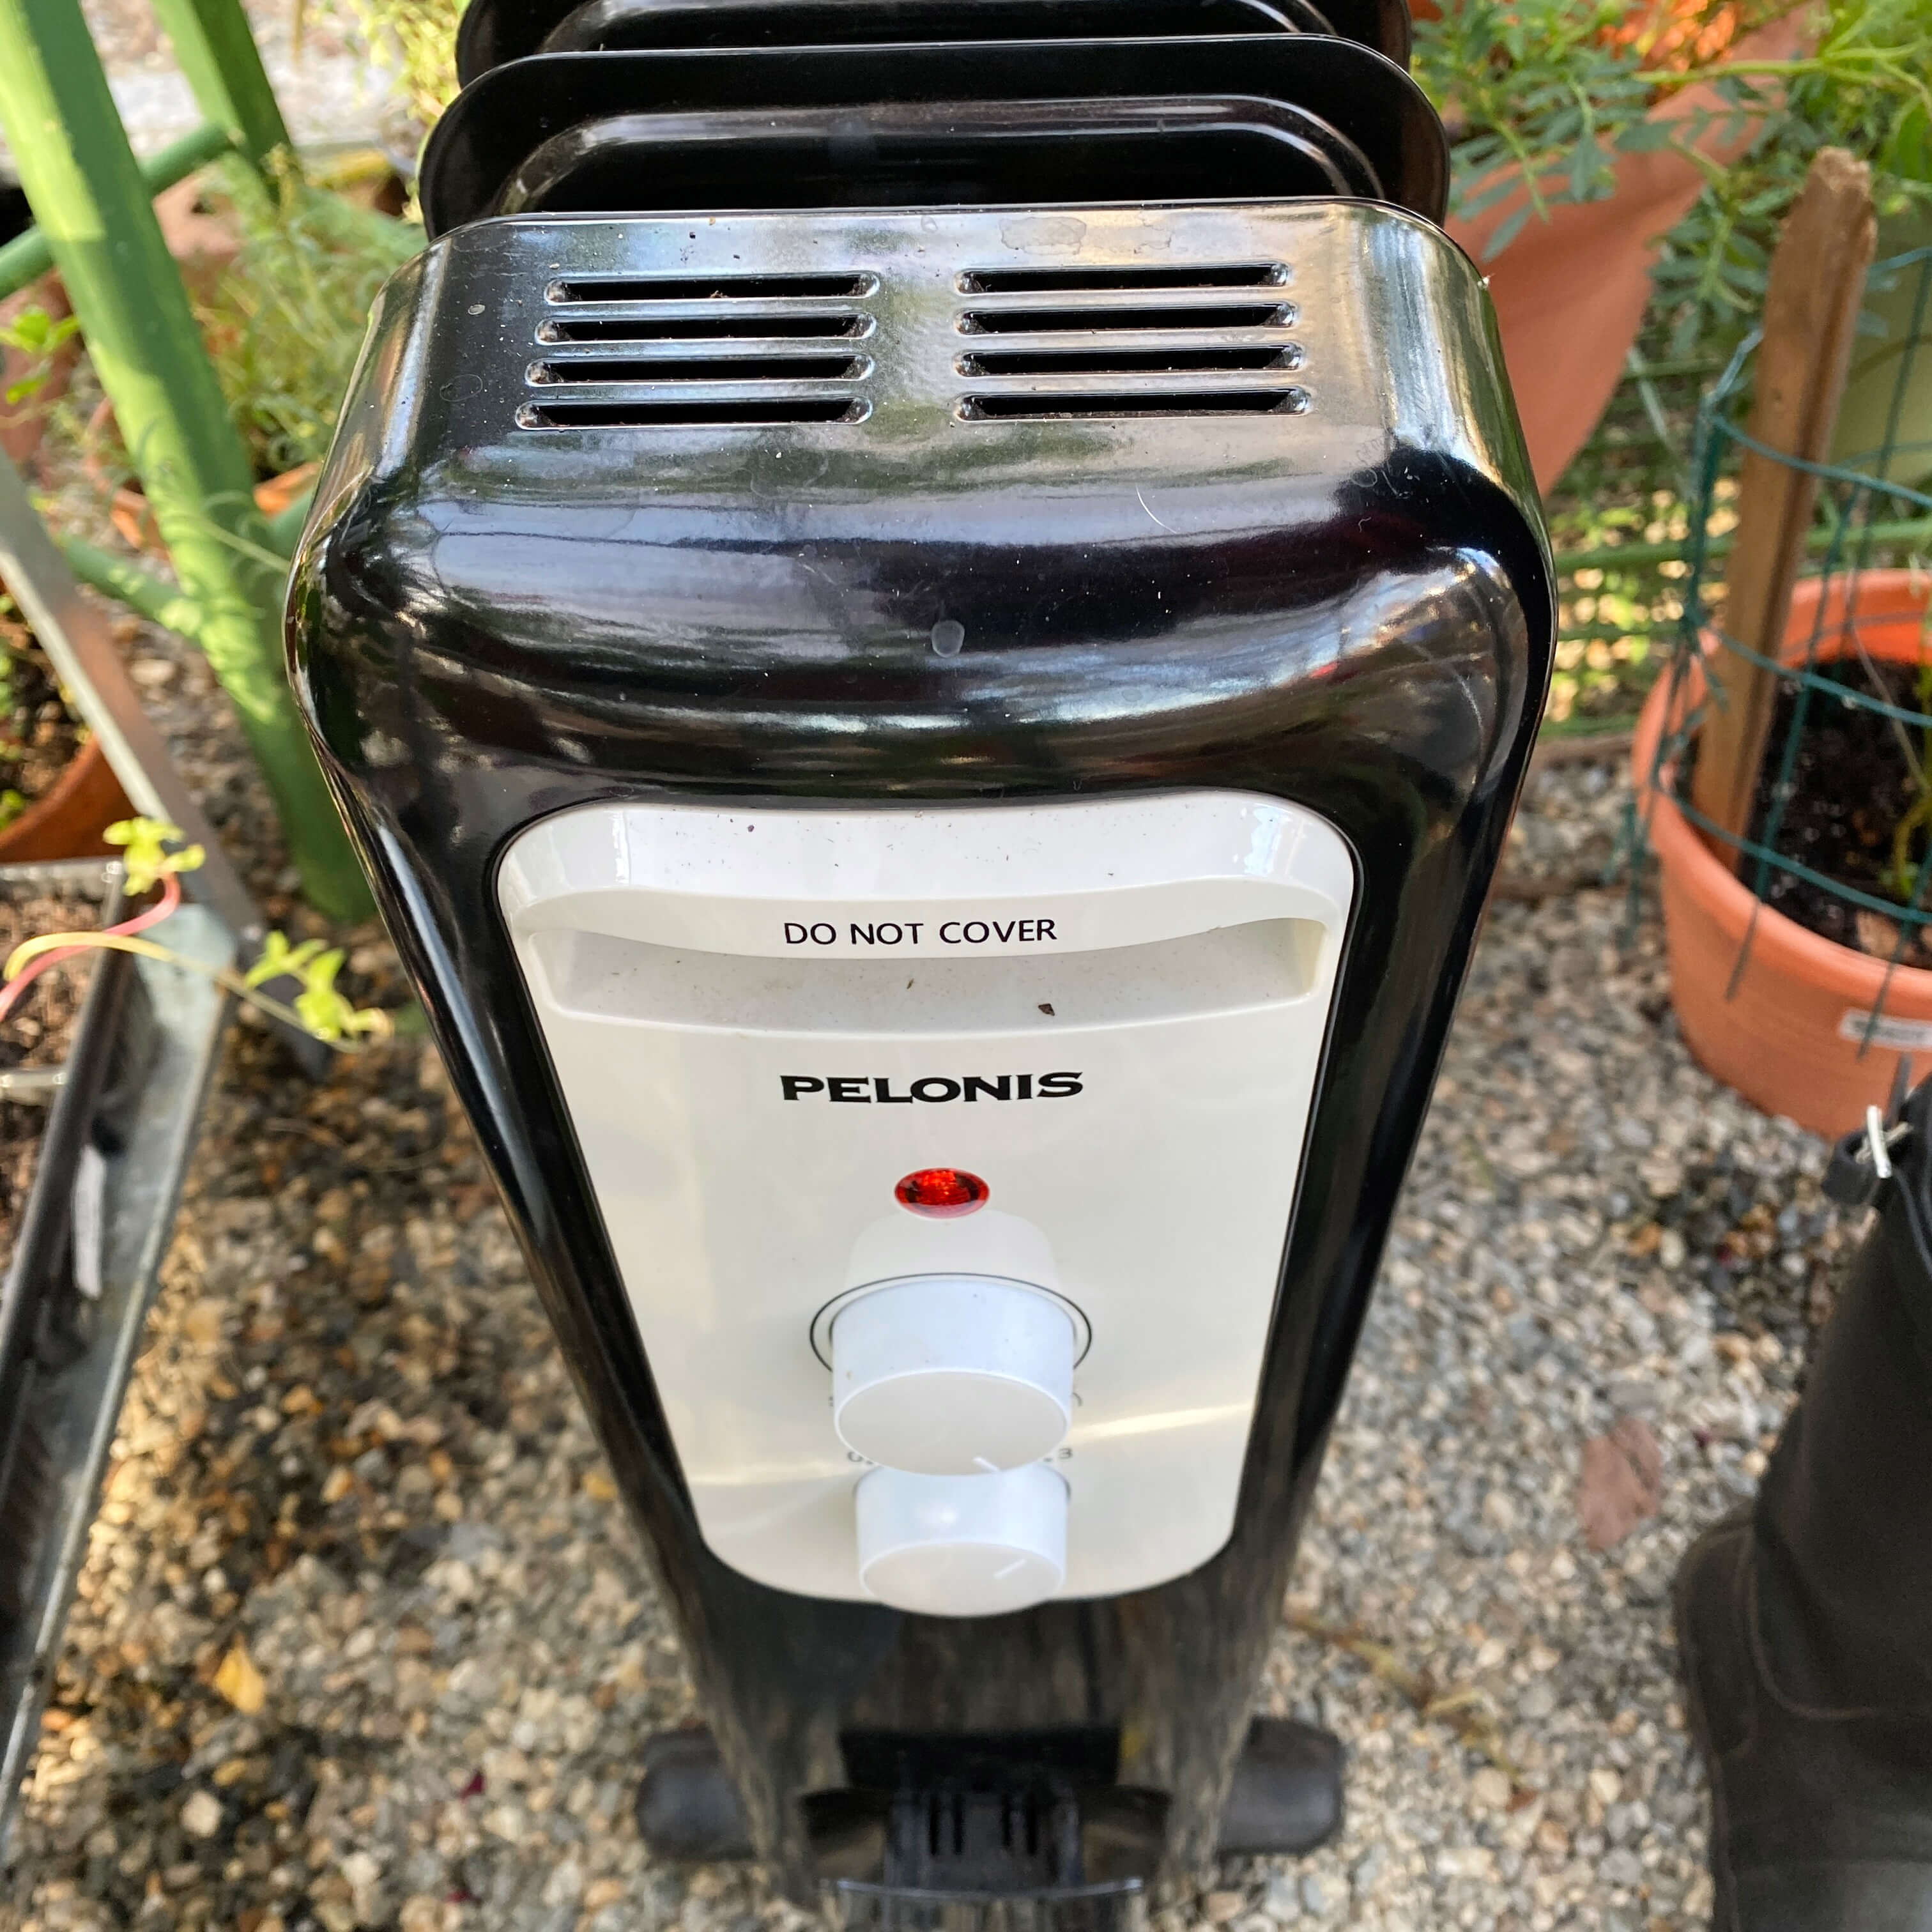
Since our experiments of trying to grow cool weather crops in an unheated greenhouse this past winter flopped, instead of pulling out the greenhouse’s winter coat of plastic and outfitting it with a heater rather late in the season, I opted to start everything indoors in a closet that has a lot of natural light and a fair amount of sun thanks to a big window in a small space. I kept the room temperature between 55-65 degrees during the whole germination process, and all the seeds sprouted like the magical little champions that they are. For the past month, almost daily (depending on the outdoor temperature), I transported all the seedlings out to the greenhouse where they could capture the light and a little extra balmy warmth generated by the sun before bringing them back in when the temp dropped below 55.

Now that our last frost date has just passed on Wednesday, most of these seedlings will be heading out to the garden within the next week or two. They are a bit smaller in size than if I had started them in the greenhouse over winter with the heater, but like Adelma suggested, this cooler germination method might make them a bit more resilient to fluctuating temperatures as the season gradually warms up and we round the corner into May.
Step Six: Prepare the Garden Beds
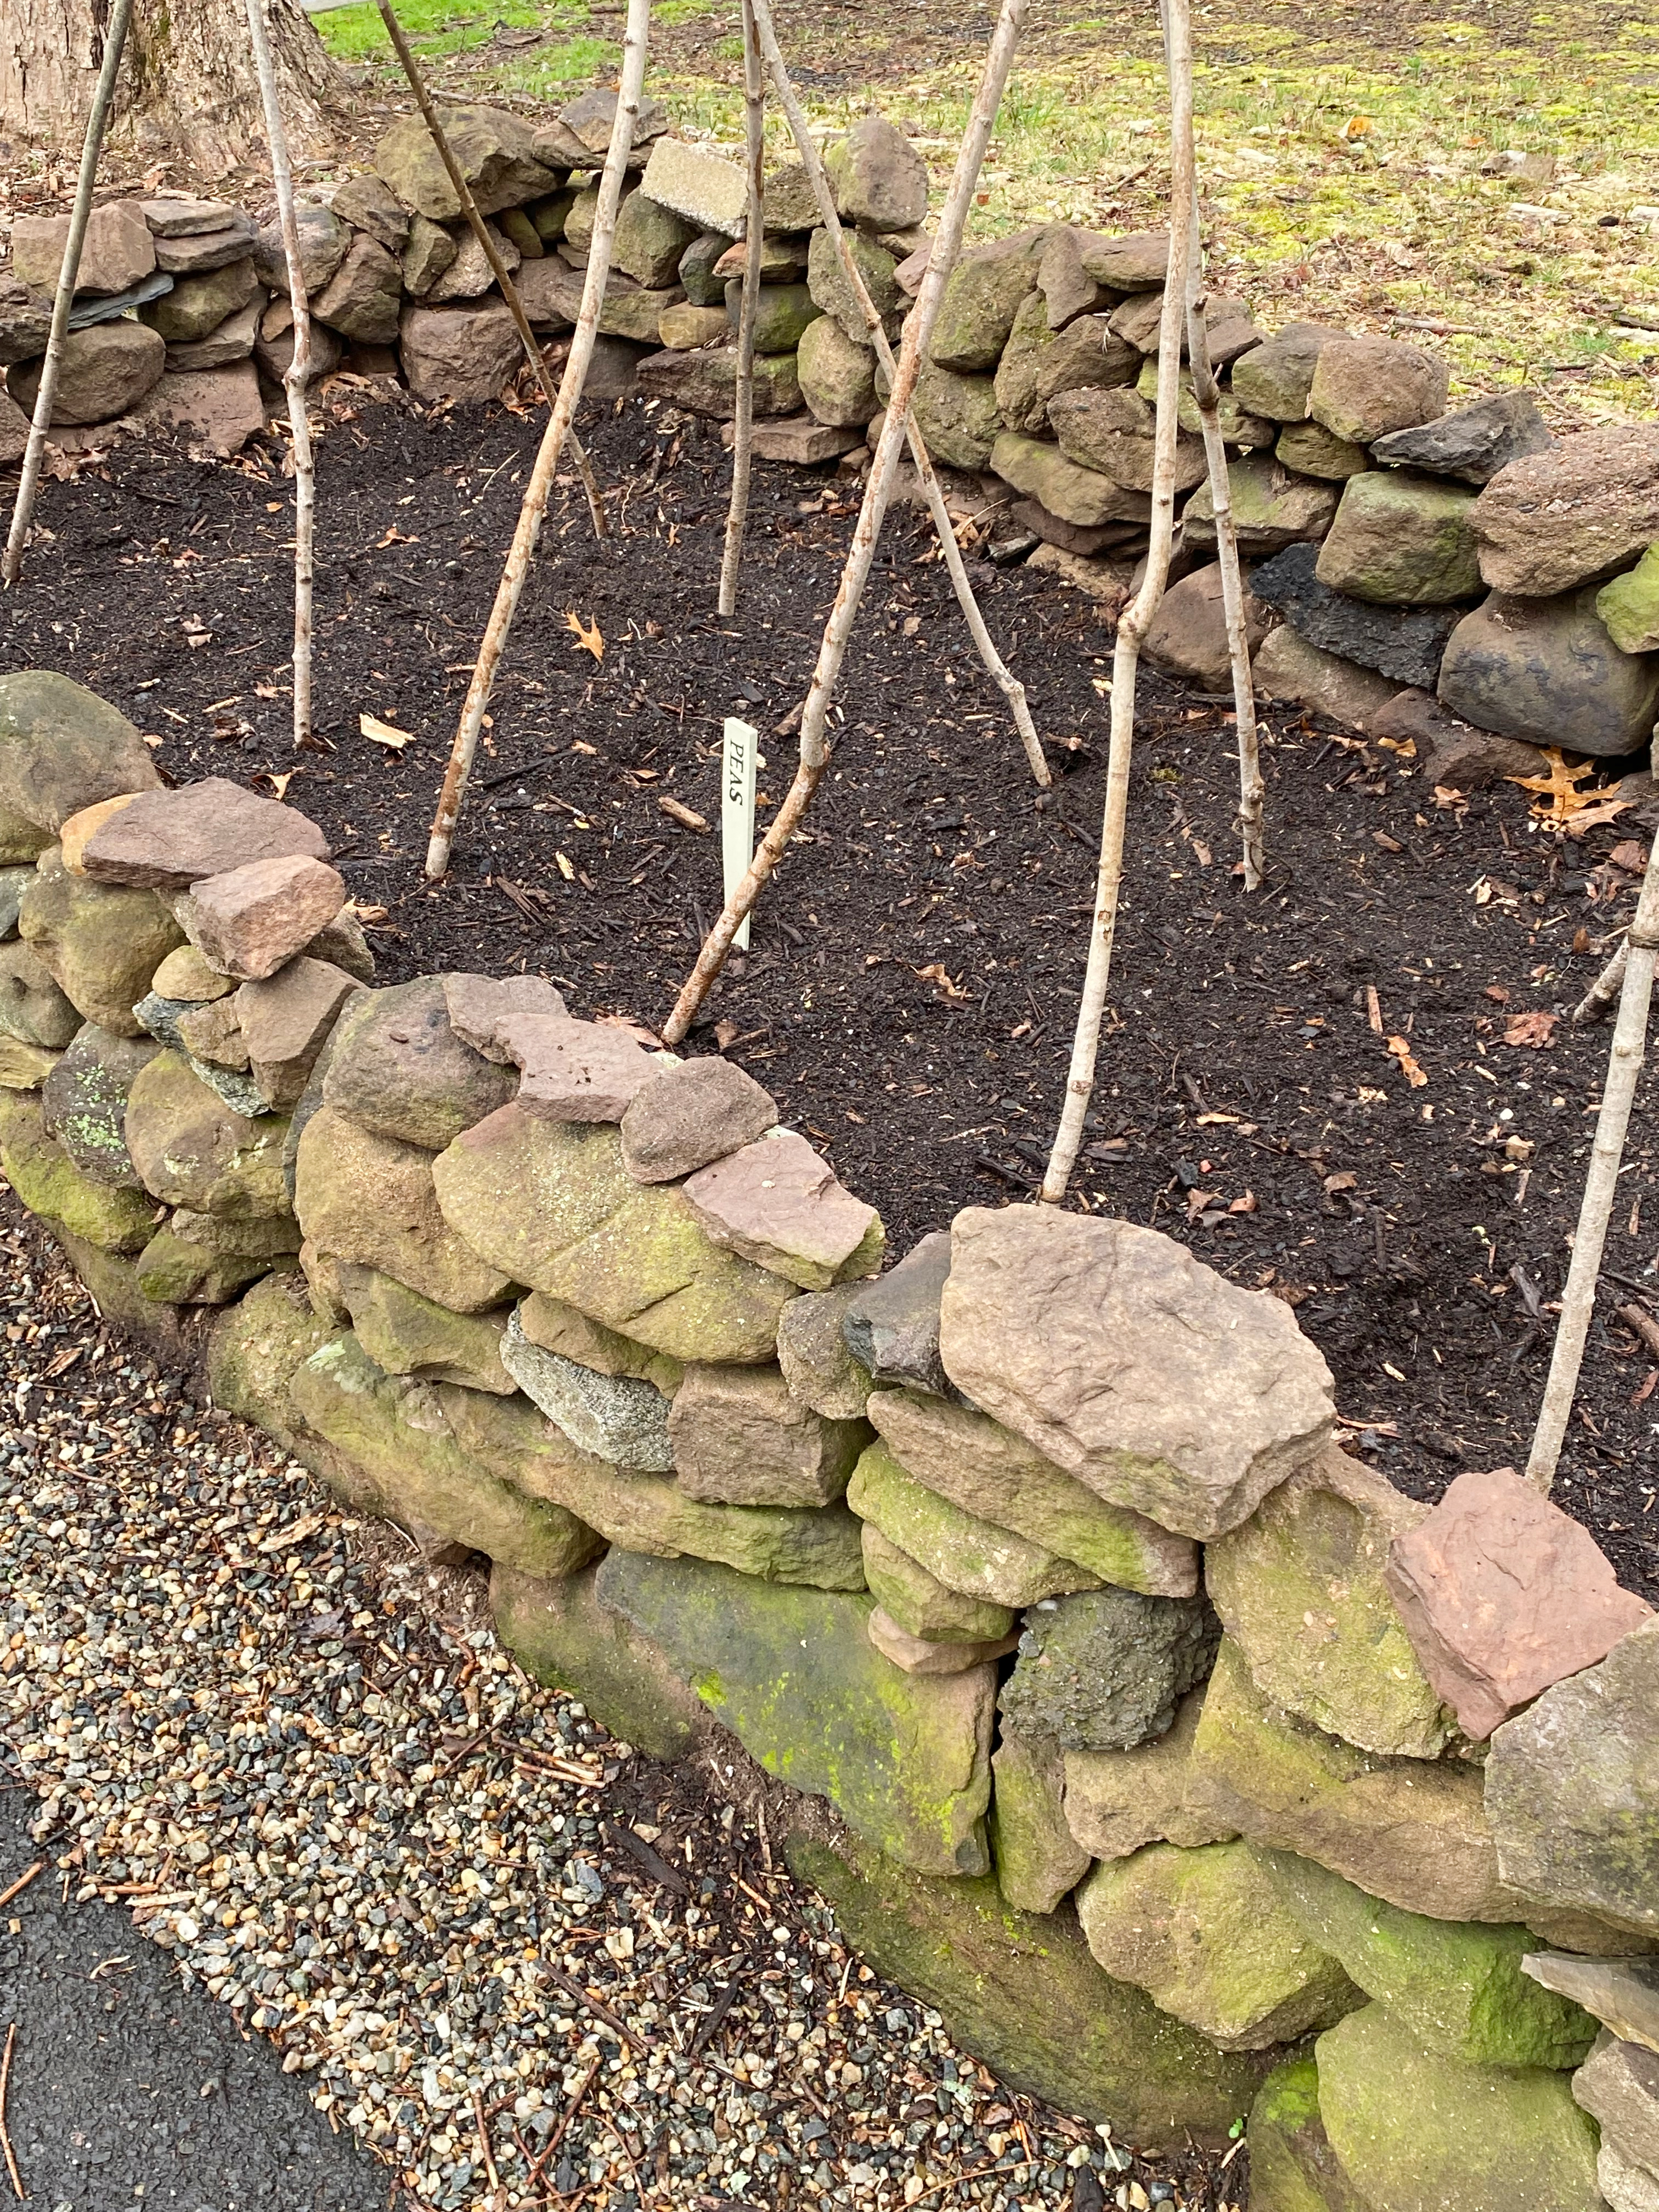
Thoughts from Adelma: Work up the soil to a depth of 12 inches using a rototiller or a spade. I recommend three rotillings or diggings: the first to remove the sticks and stones; the second to incorporate well-rotted compost or well-decayed cow manure in soil lacking humus; the third to mix in the garden lime spread on top until the ground is nearly white. (page 55-56)
It’s important to know the acidity level of the soil you are working with since that will determine if you are going to blend in any additives. Adelma recommends turning over the dirt no less than three times and removing all the sticks and rocks that might be present. If your garden beds need some amending, lime and compost are two great additives that will improve the growth of your herbs and strengthen the soil. Compost can be added anytime of year, but Adelma recommends adding lime in the fall otherwise, it could stunt the growth of the plants if added in spring.
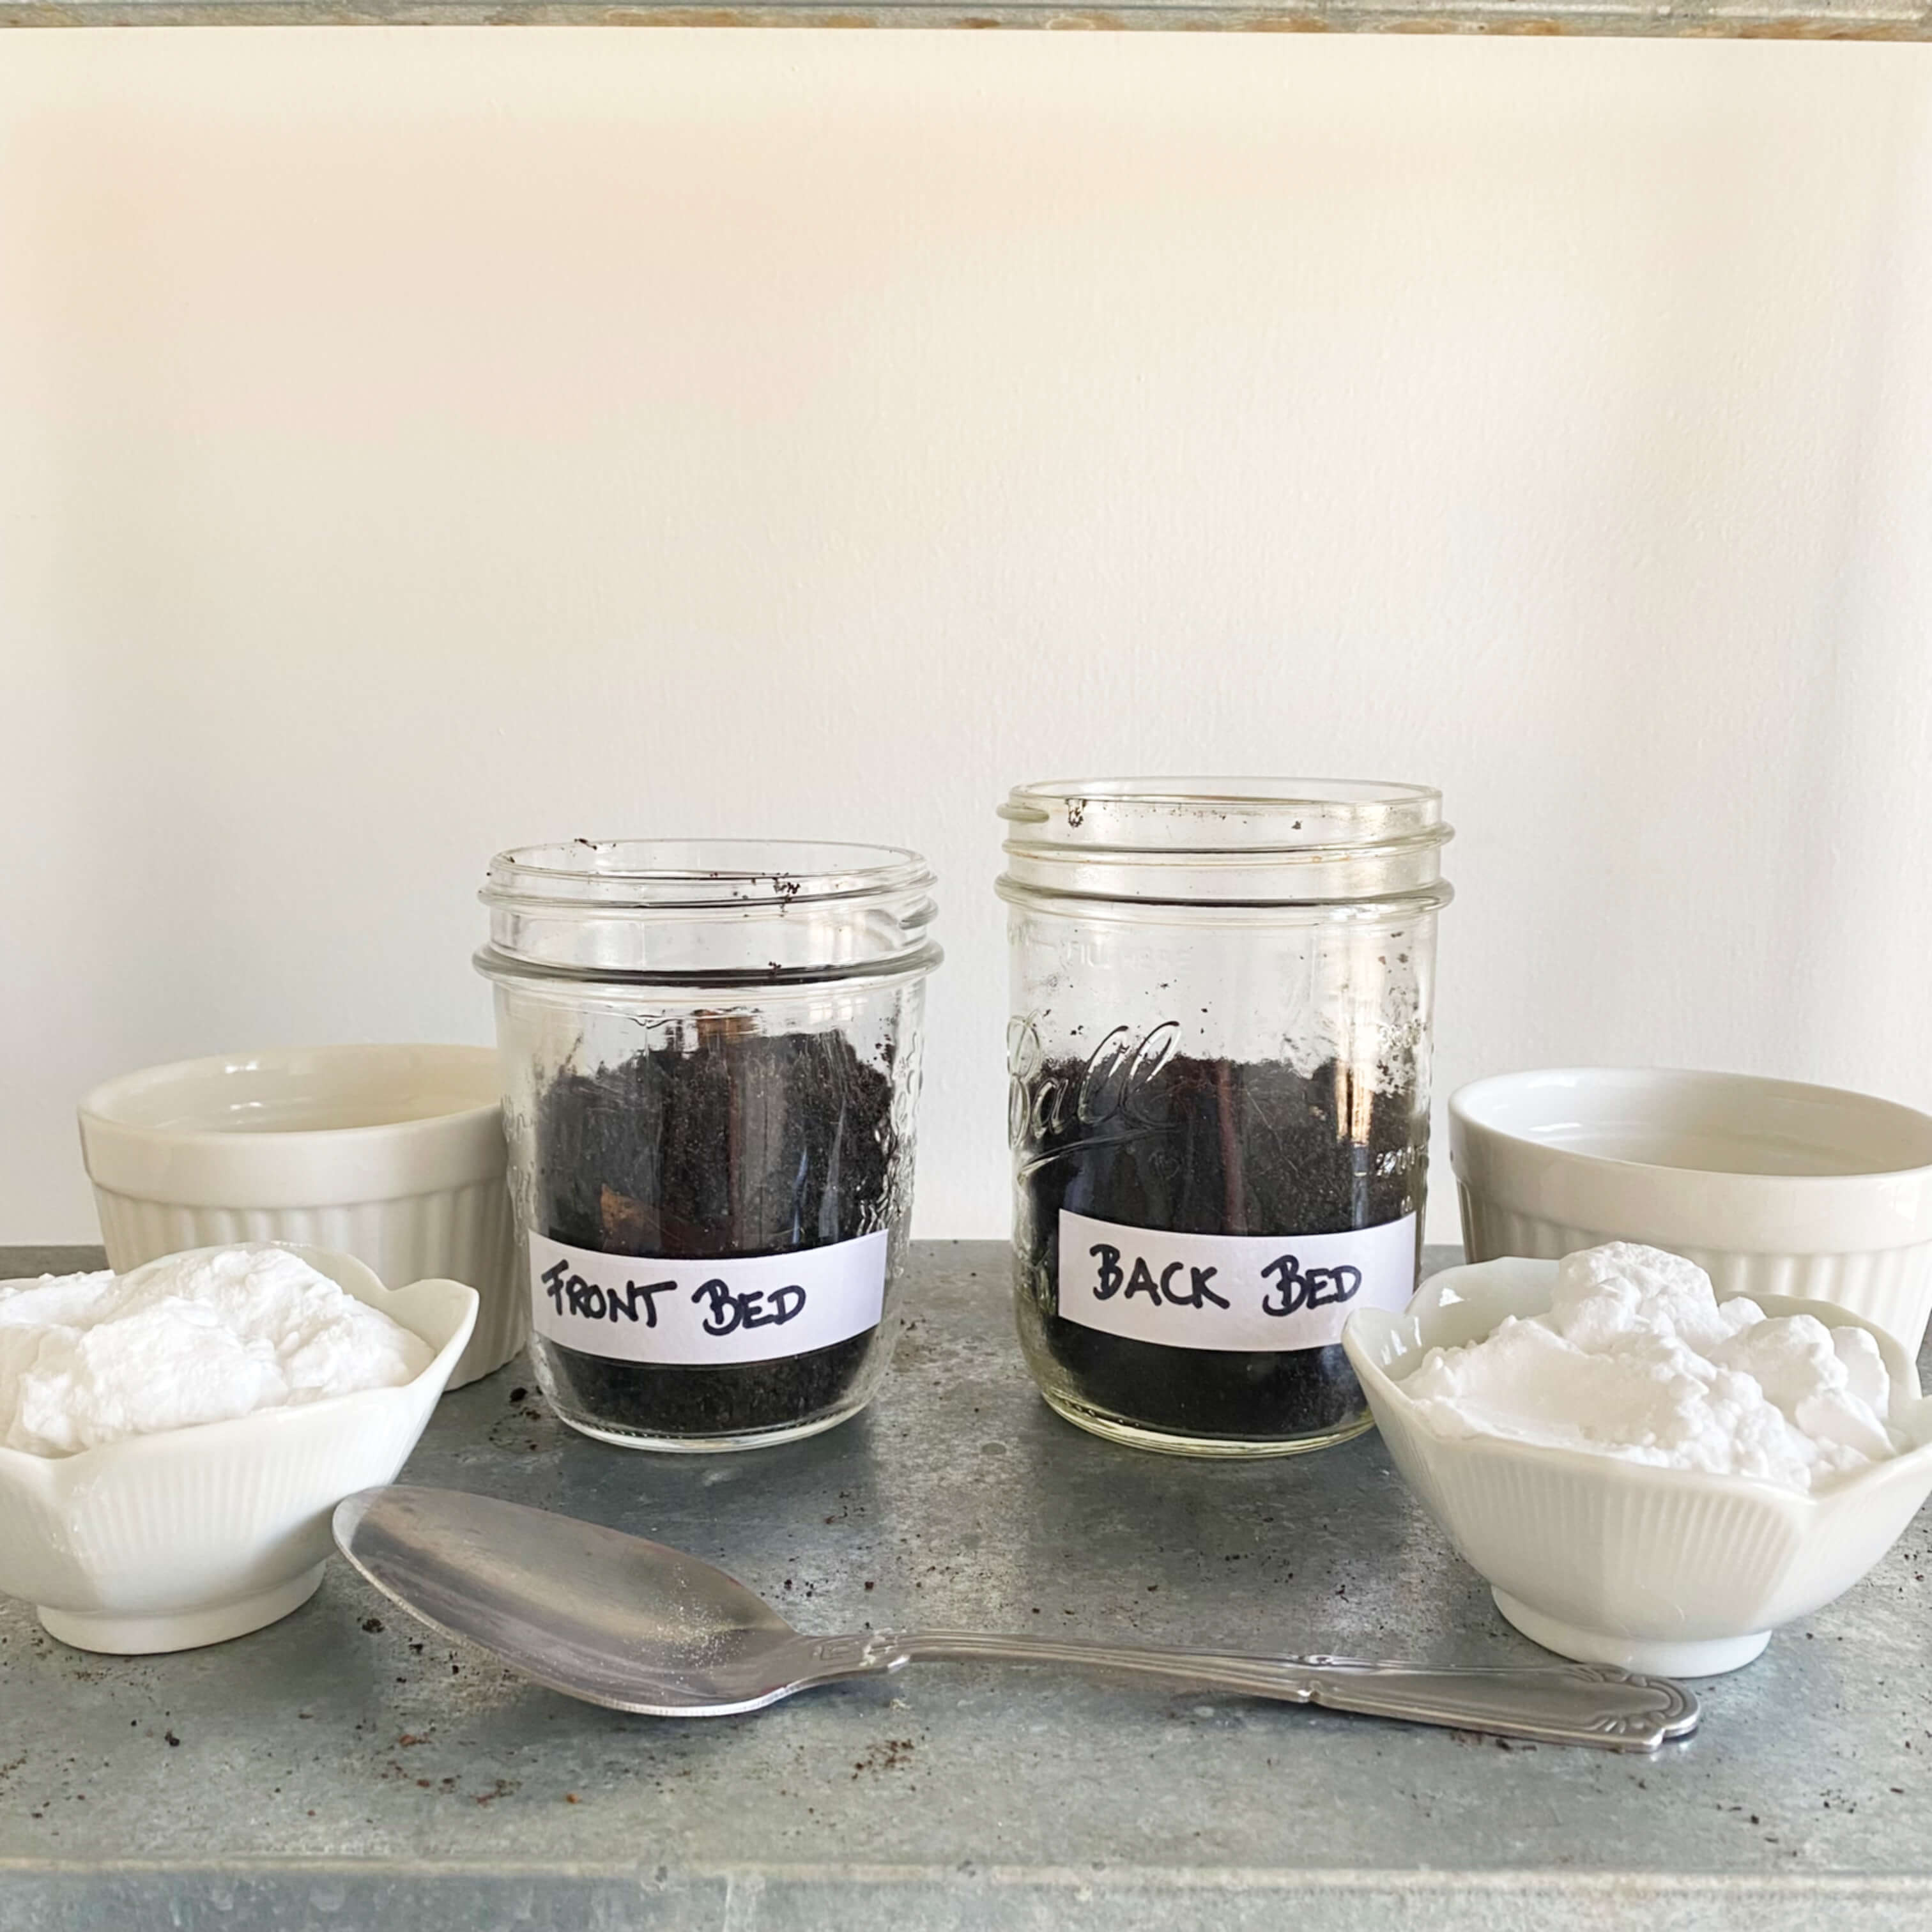
Back in mid-March, I did a home soil acidity test recommended by The Spruce, utilizing the baking soda/vinegar method. I’m not sure how accurate this test is, but apparently, if you have acidic soil, the combination of baking soda, vinegar, distilled water, and dirt will cause the samples to really bubble up. Not much happened during my test…


From what I’ve gathered so far, our soil at 1750 House is fairly neutral and, if anything, leans toward a slight acidity, which most plants love. So I’m not adding lime this year. But we did order four yards of organic compost from a local nursery.
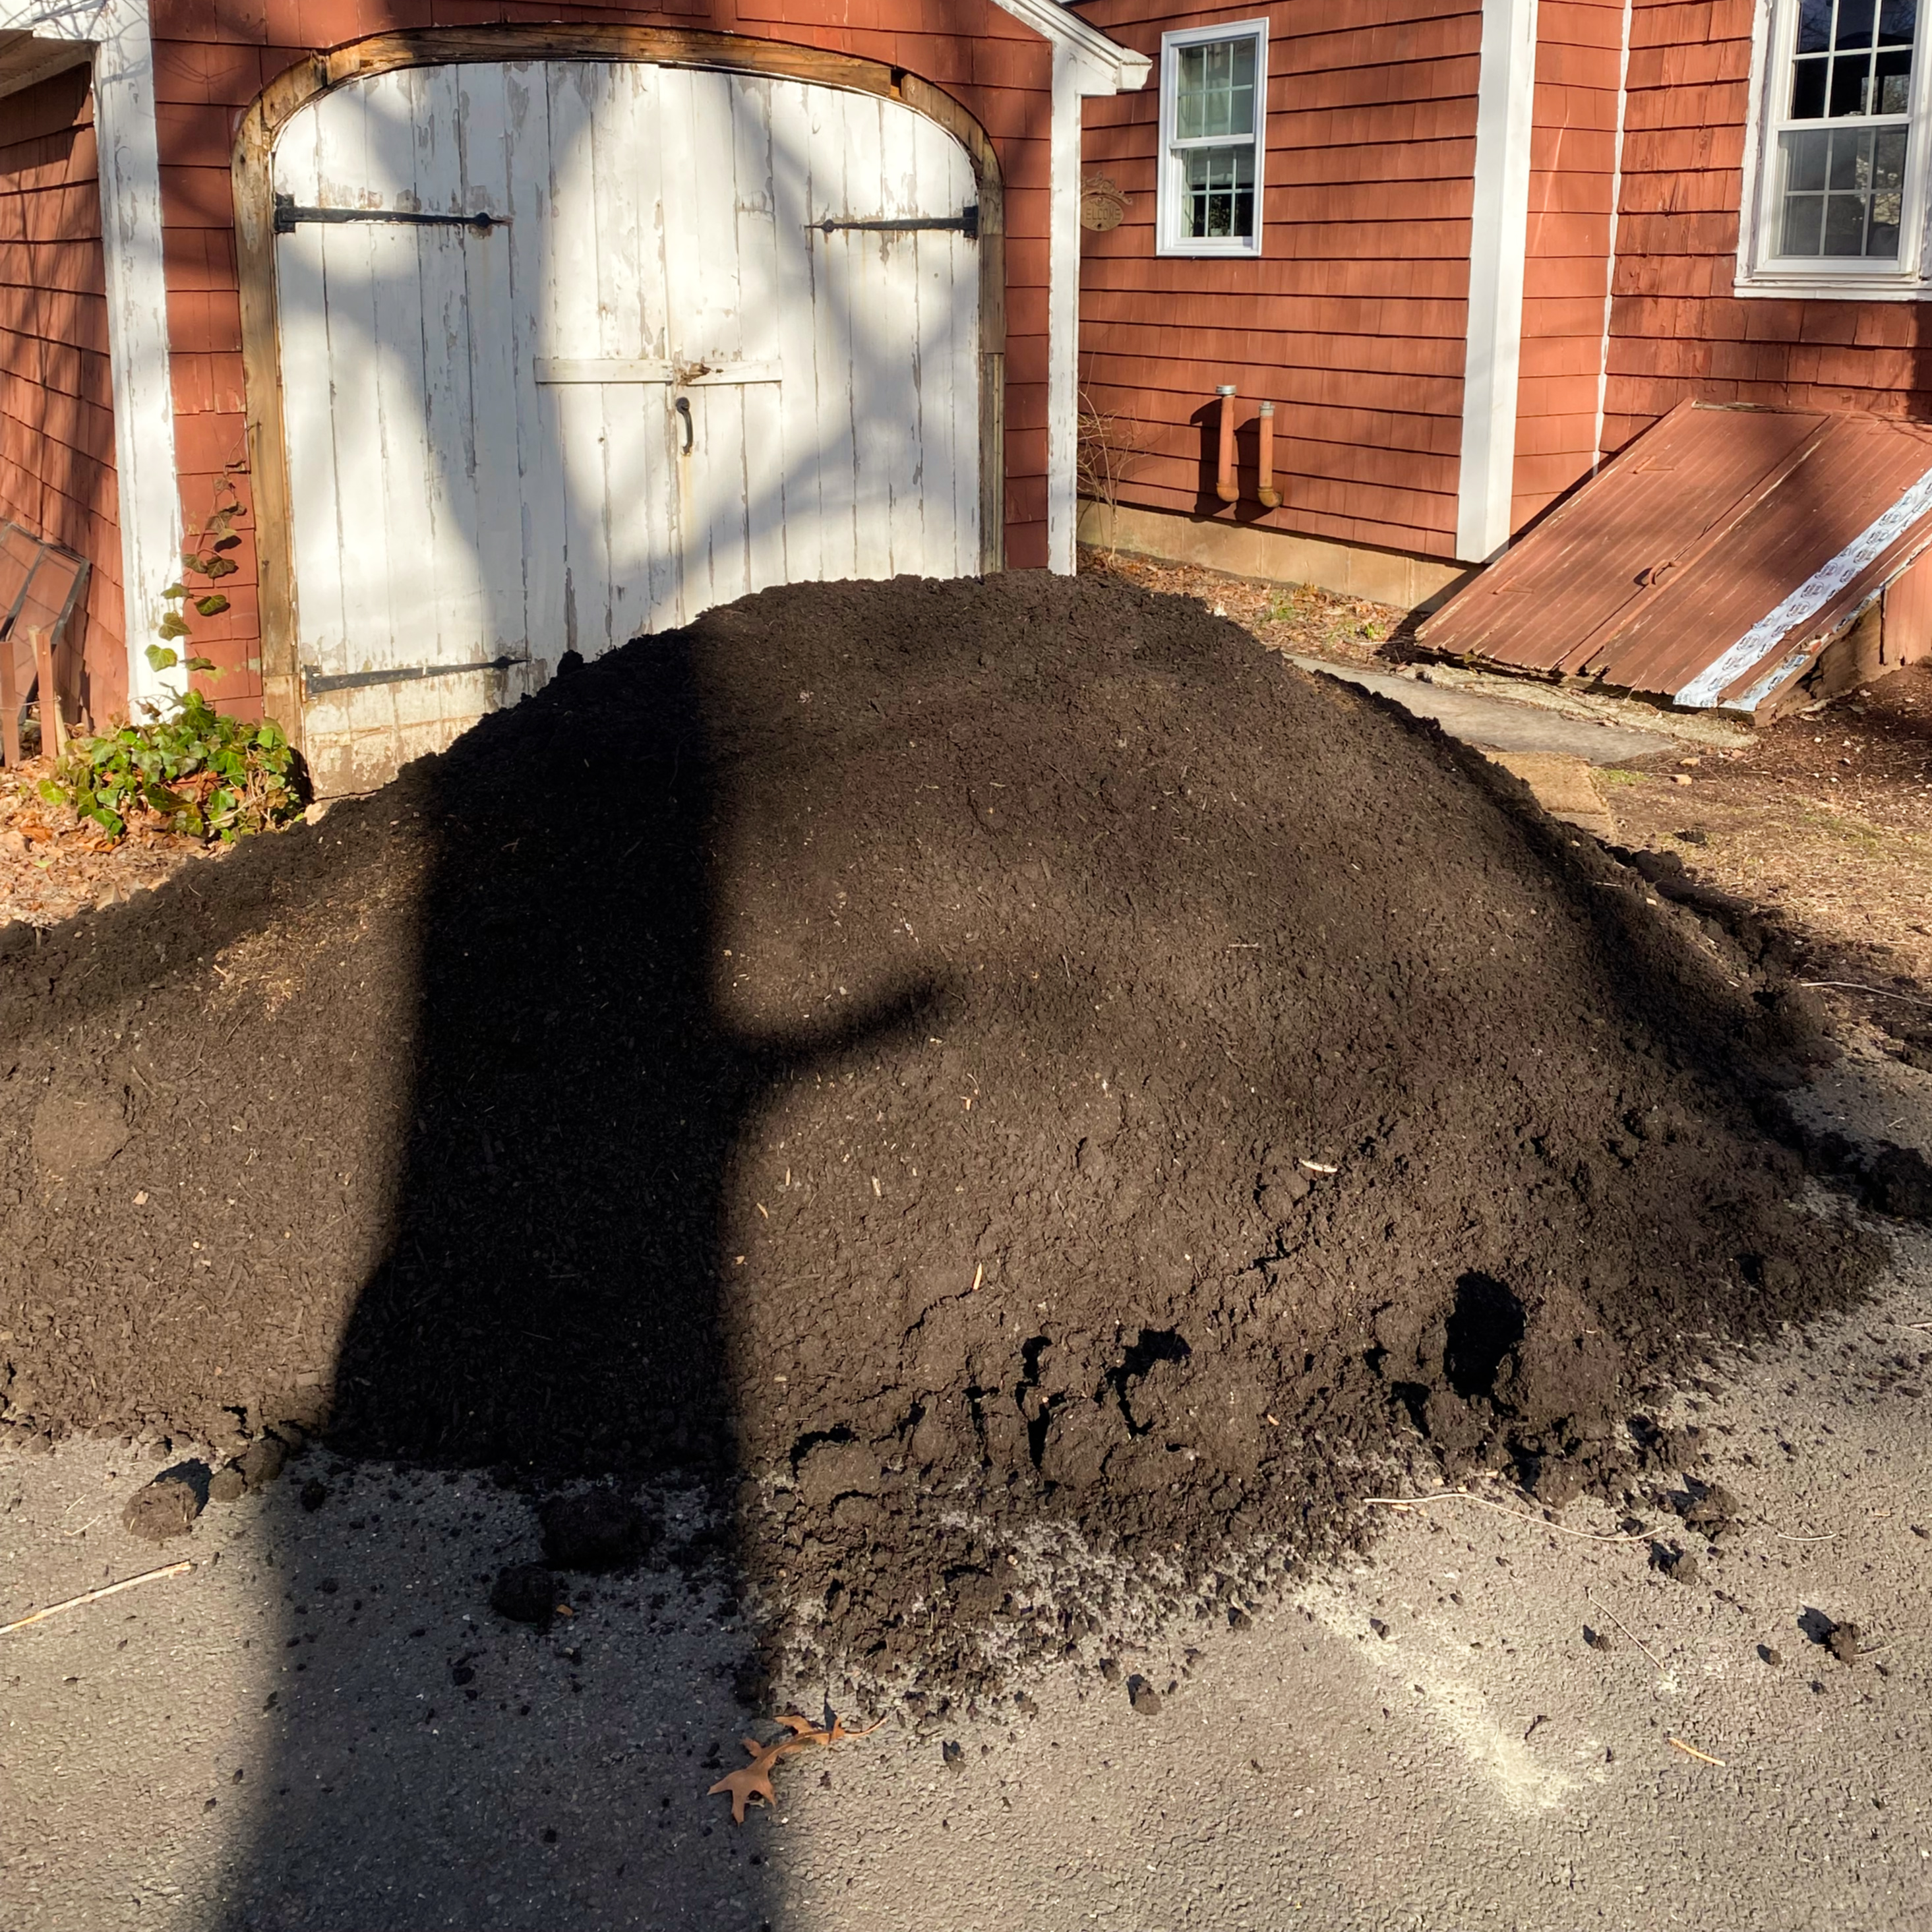
Each garden bed received four inches of fresh compost. I’m hoping that will be enough nutrients to start the seedlings off on a good footing. Later in the season, depending on how well everything grows up, I might also add in a seaweed fertilizer and some bone meal. But for now, we’ll see how everything grows in this next month or two before anything else is added.

Step Seven: Enlist Your Helpers
Thoughts from Adelma: “A pleasant summer sound is the hum of bees above a flowering bank of thyme. It is truly the bee’s plant…” (page 67)
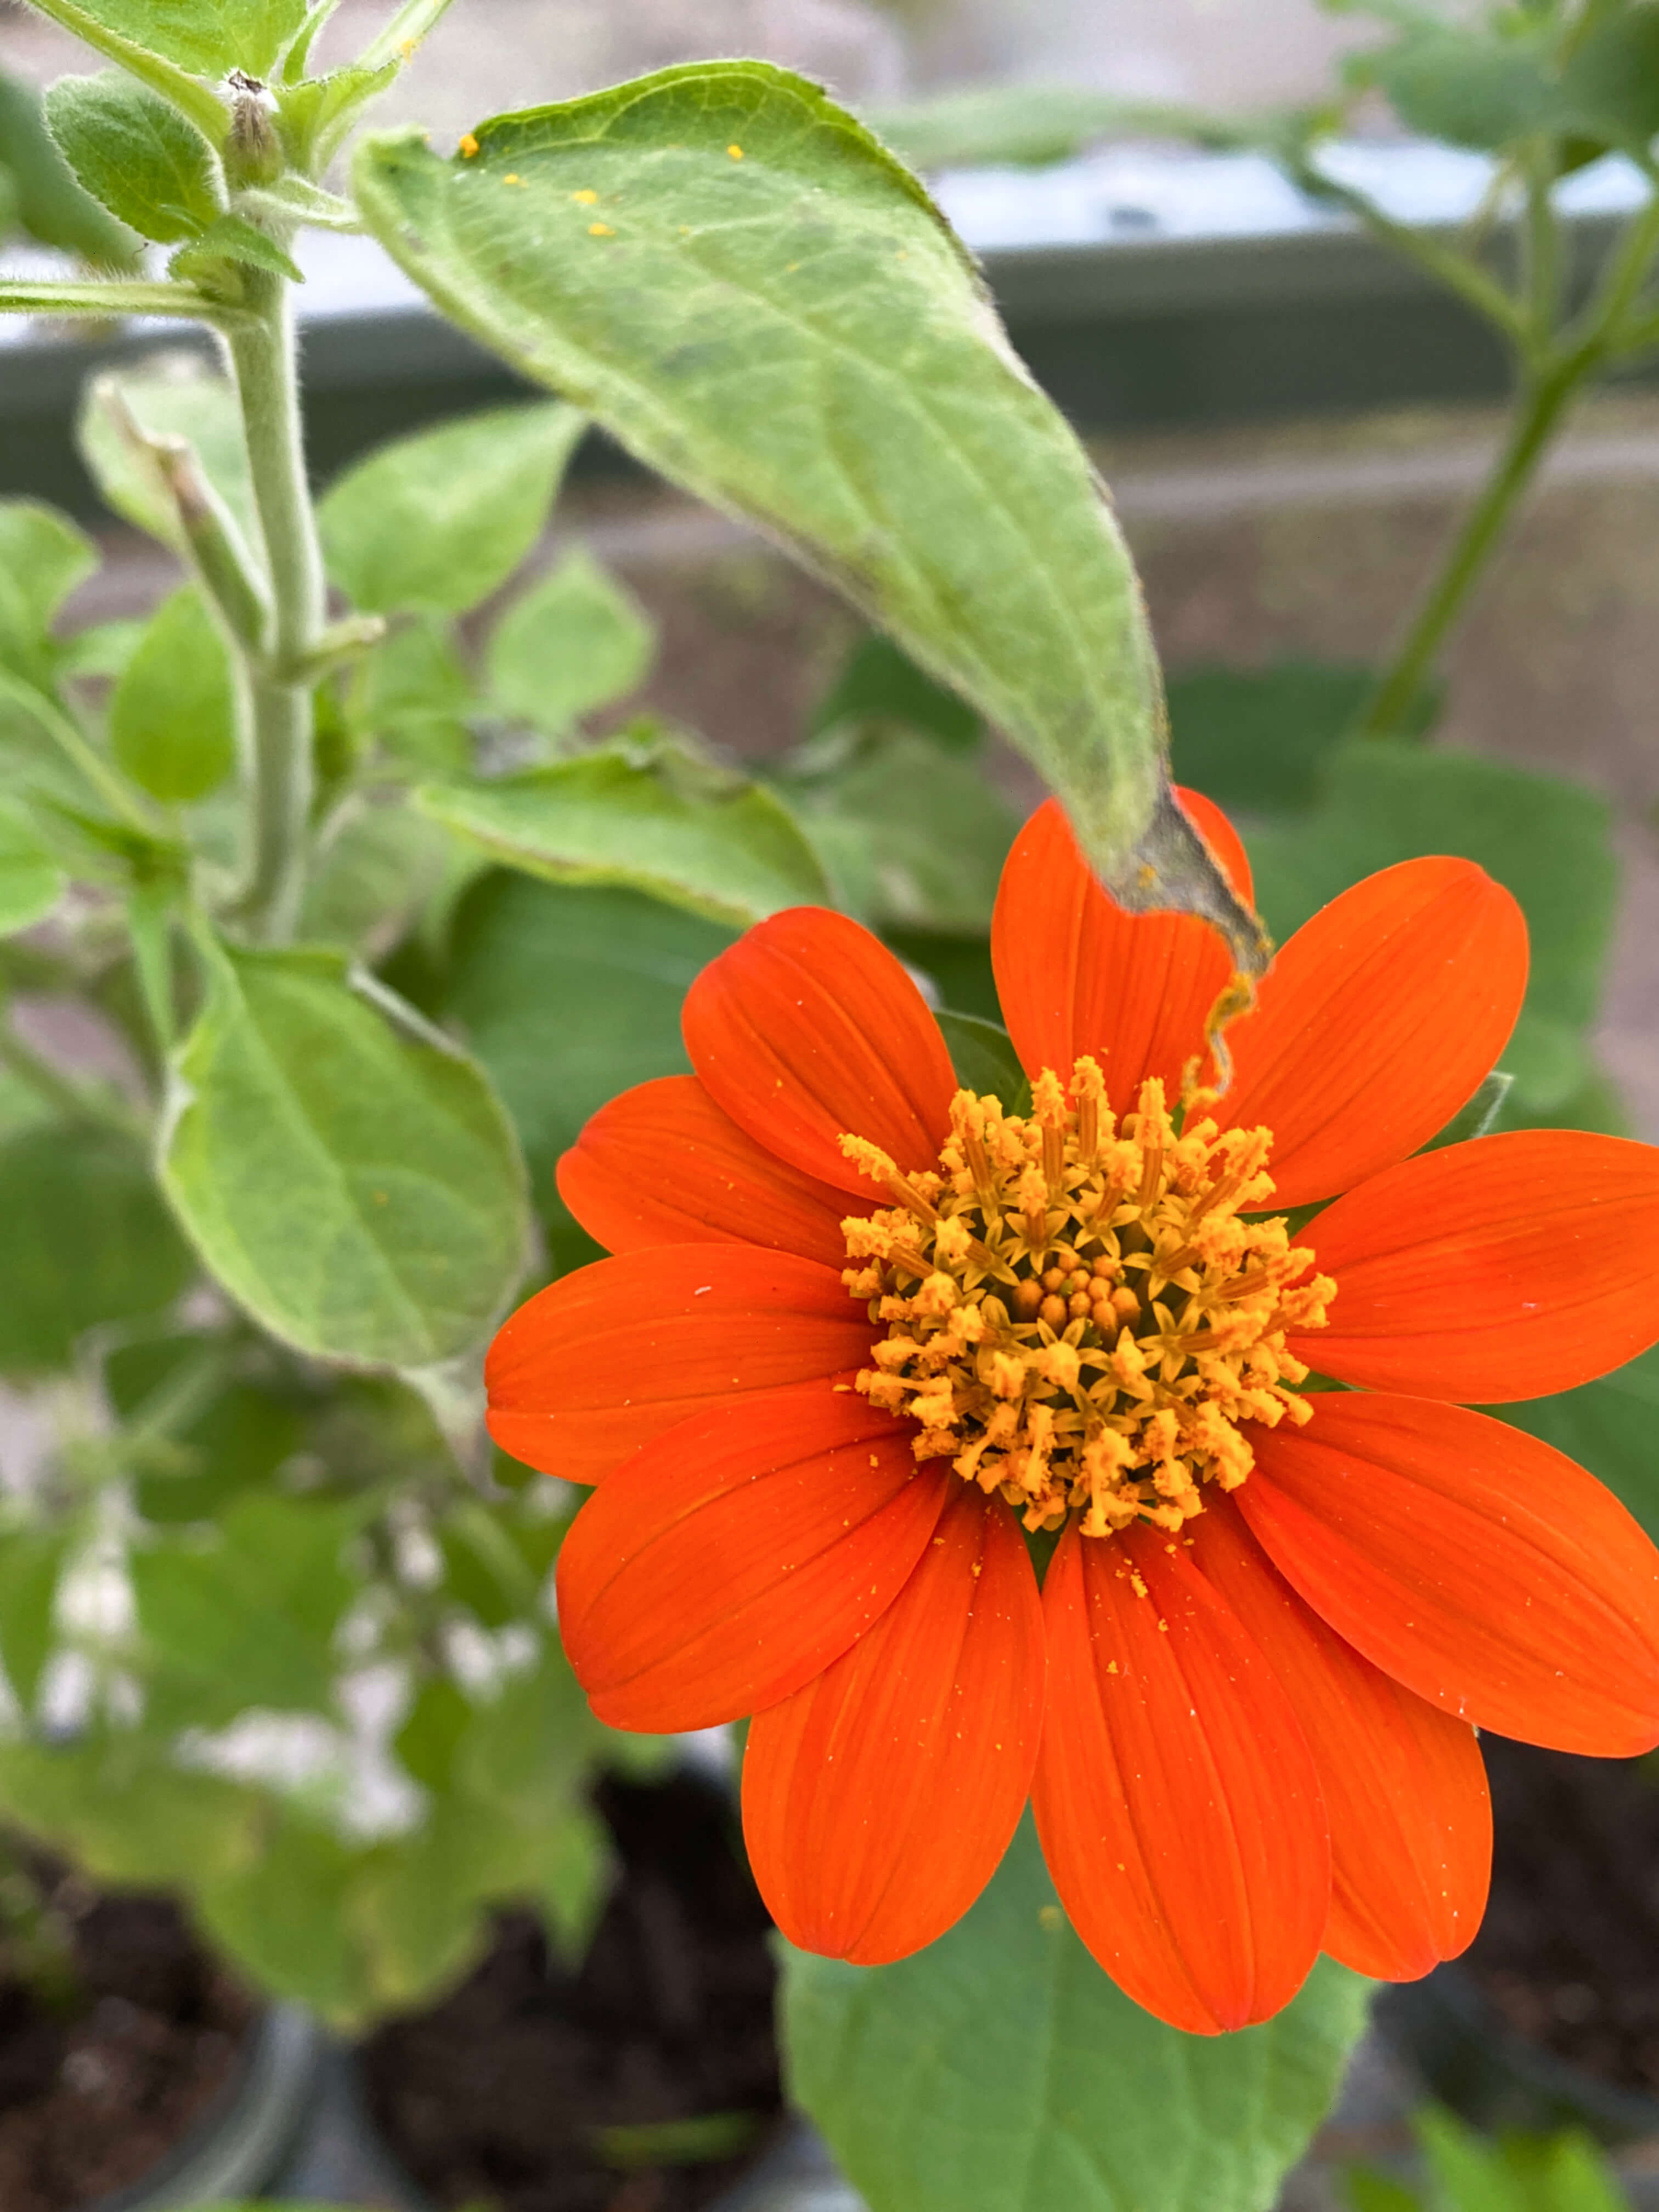
Other than a few mentions here and there, Adelma doesn’t discuss the benefits of wildlife much in Herb Gardening in Five Seasons, but as I learned from reading all those gardening books over winter, pollinators depend on all sorts of herbs to help get them through their seasonal travels. Likewise, the herbs depend on them to grow and thrive.
The same goes for the birds. I read recently that the best pest control you can have for your garden is an ample assortment of wild birds. A pair of nesting sparrows alone can eat up to 30,000 insects a week. Just the kind of appetites you want to encourage to help eradicate an overabundance of aphids, scale, beetles, grubs, and a whole host of other winged things that would normally munch on your plants.
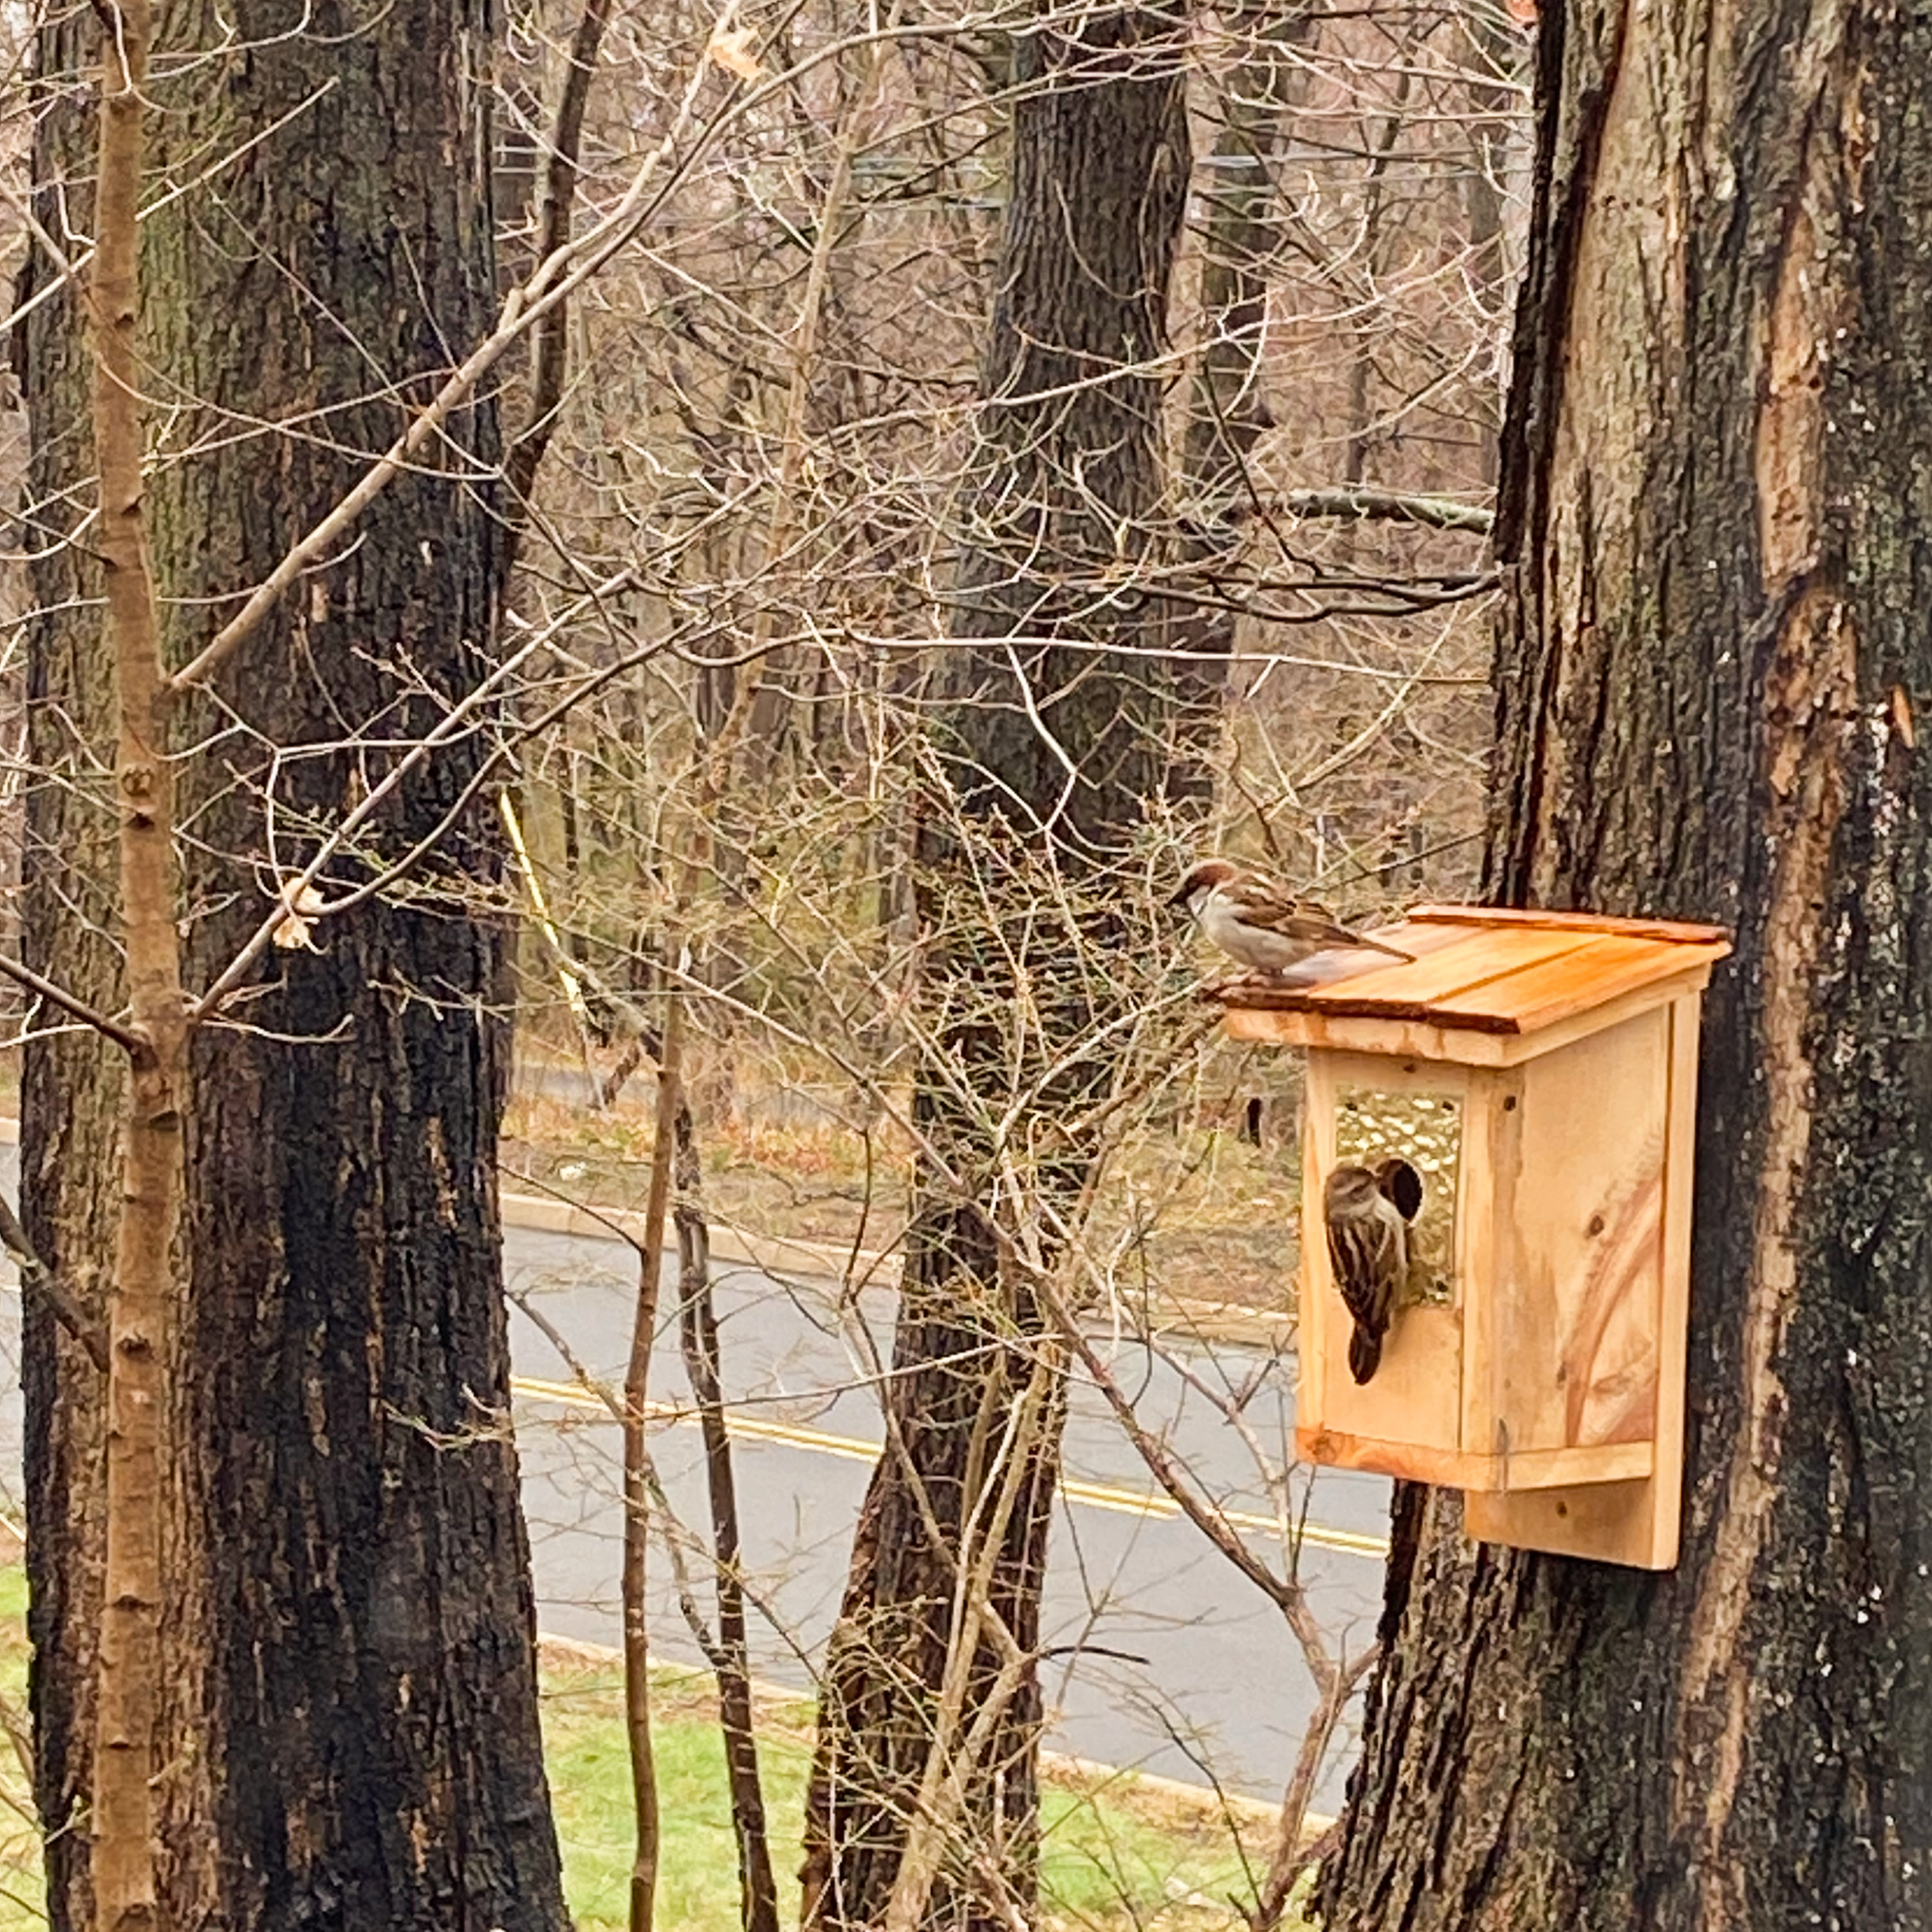
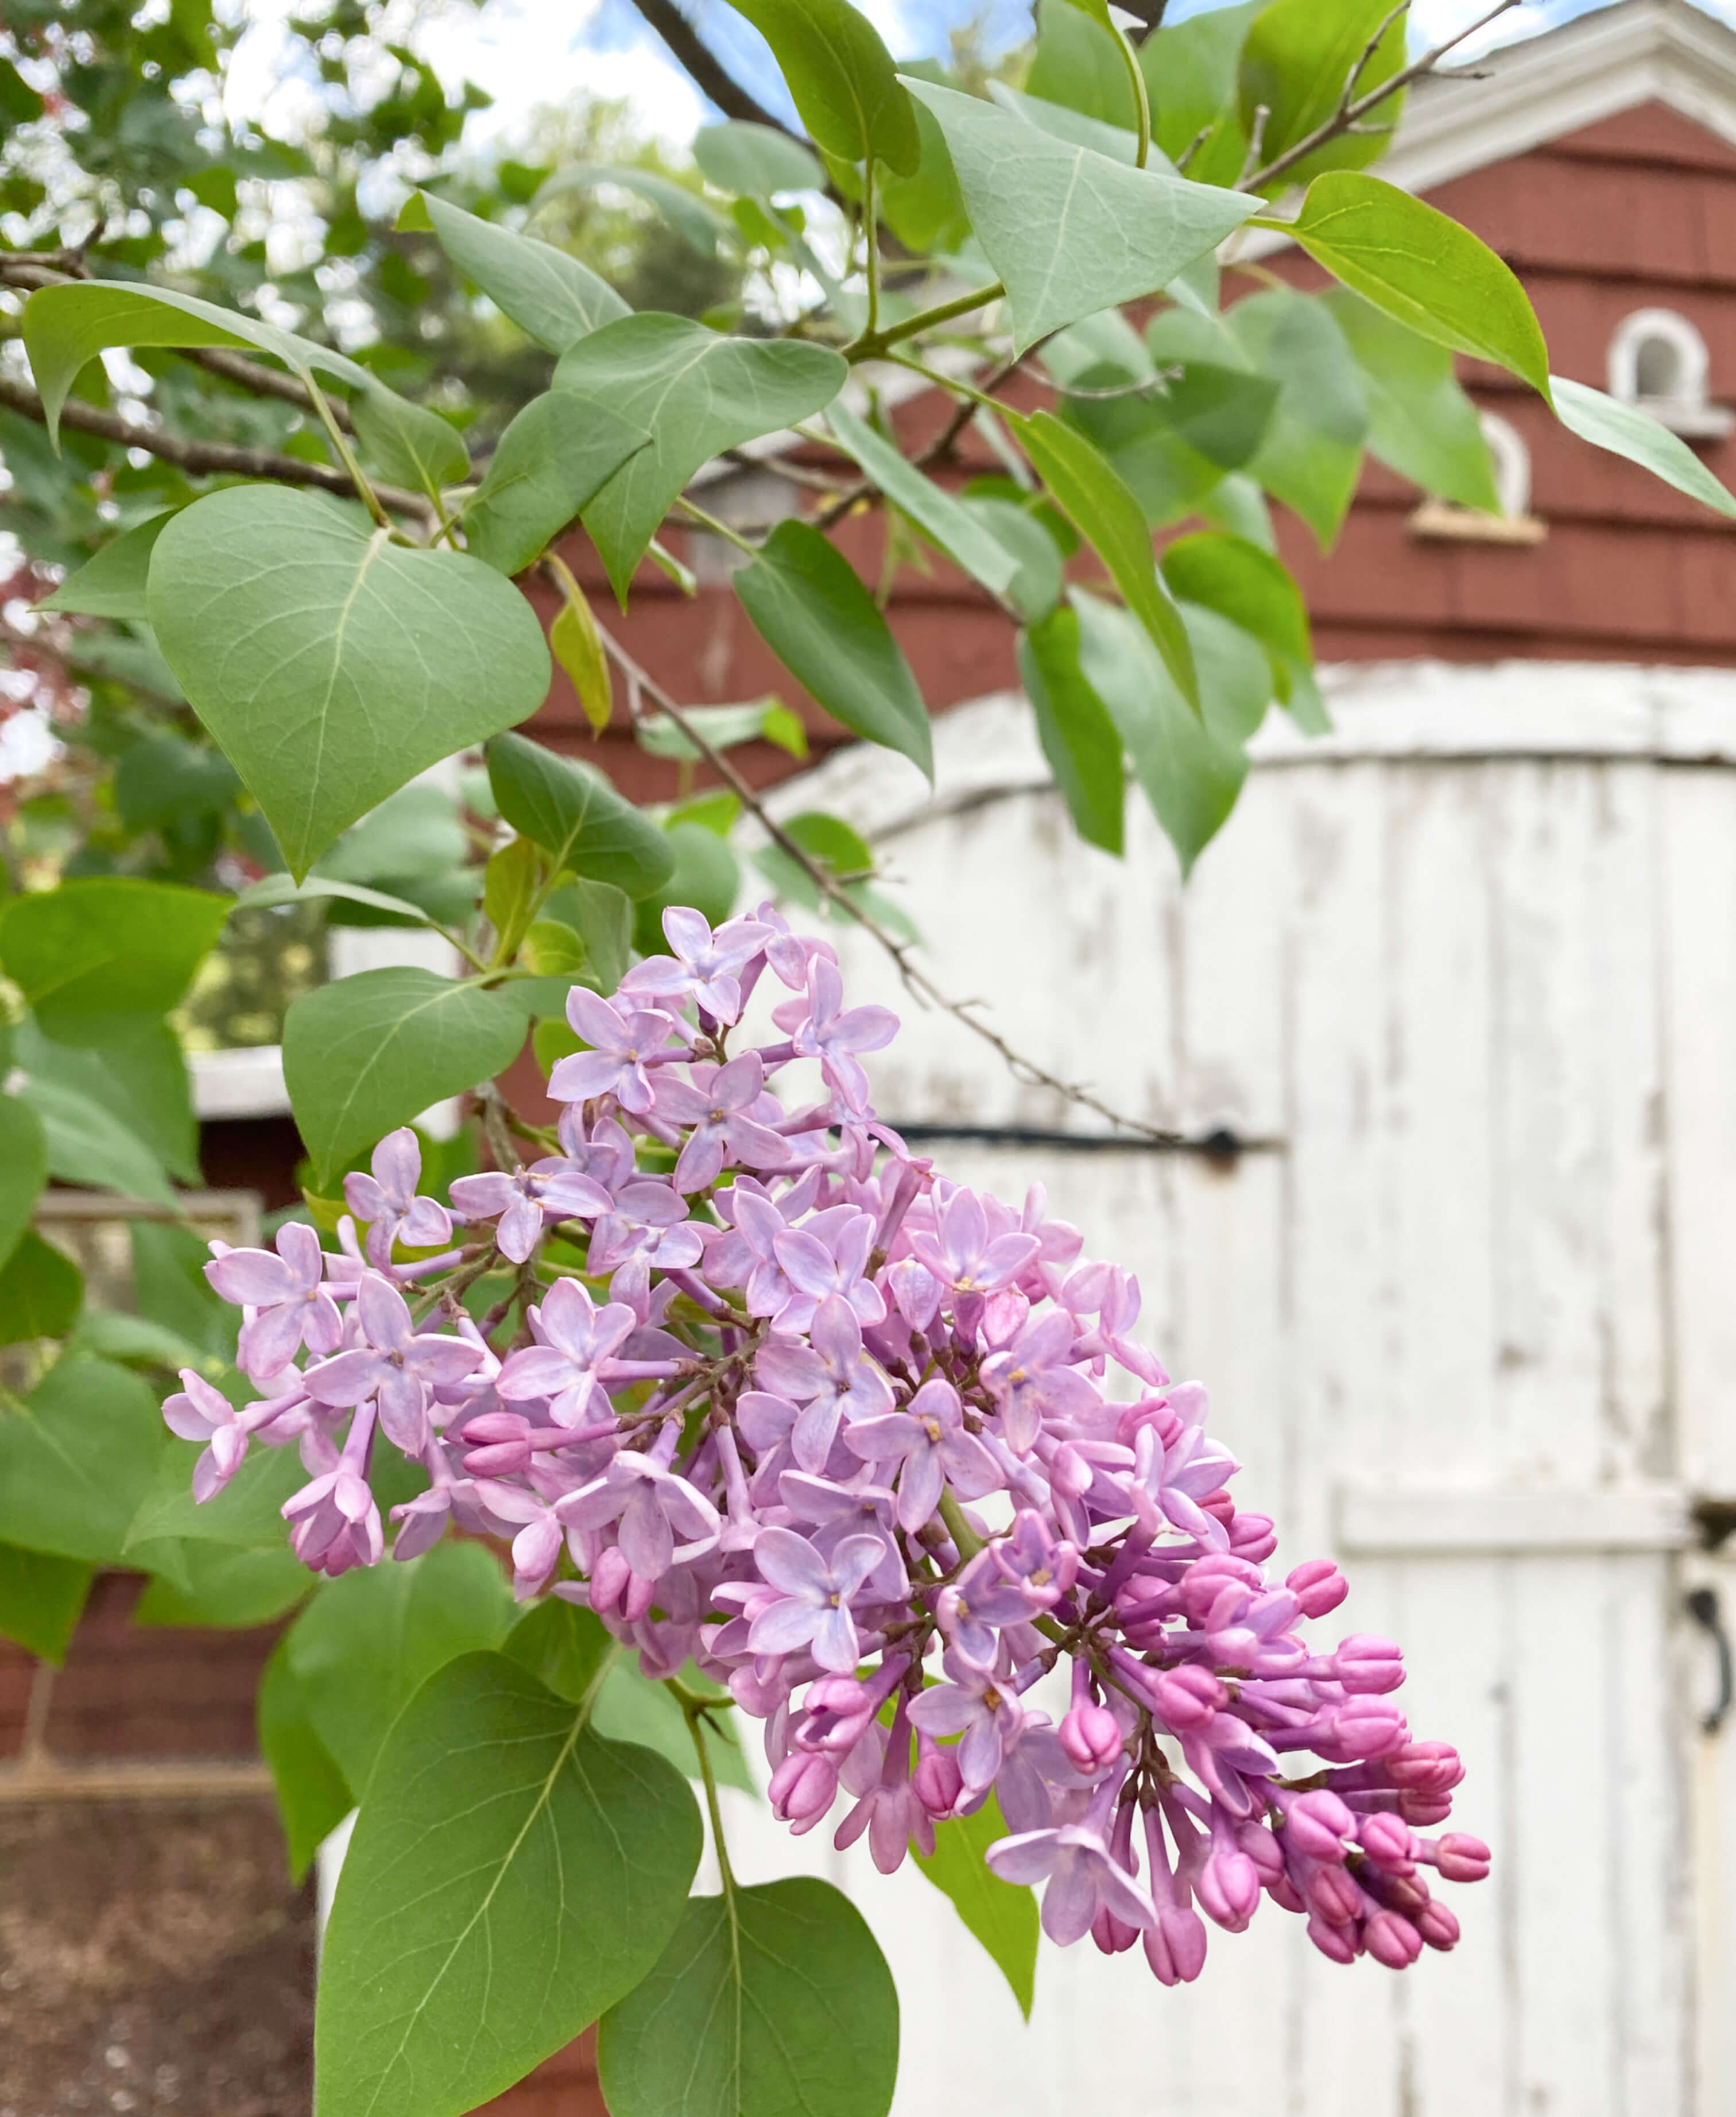
We’ve been feeding the birds ever since 2022 here at 1750 House, but last fall we added two new bird feeders and built three new nest boxes this spring to keep encouraging our wild flock. Within a week of putting the nest boxes up, all three houses were occupied by sparrows. It’s so fun to watch them claim their new homes and poke their heads out of the entry holes each morning.
Besides the sparrows, our yard has quite an active bunch of cardinals, mourning doves, chickadees, blue jays, woodpeckers, titmice, nuthatches, bluebirds, juncos, robins, hawks, crows, and occasionally a wild turkey or two. In a future post, later this summer I’ll introduce you to Red, our most sociable cardinal who waits every morning at the feeder for me along with Audi, the one-eared squirrel.

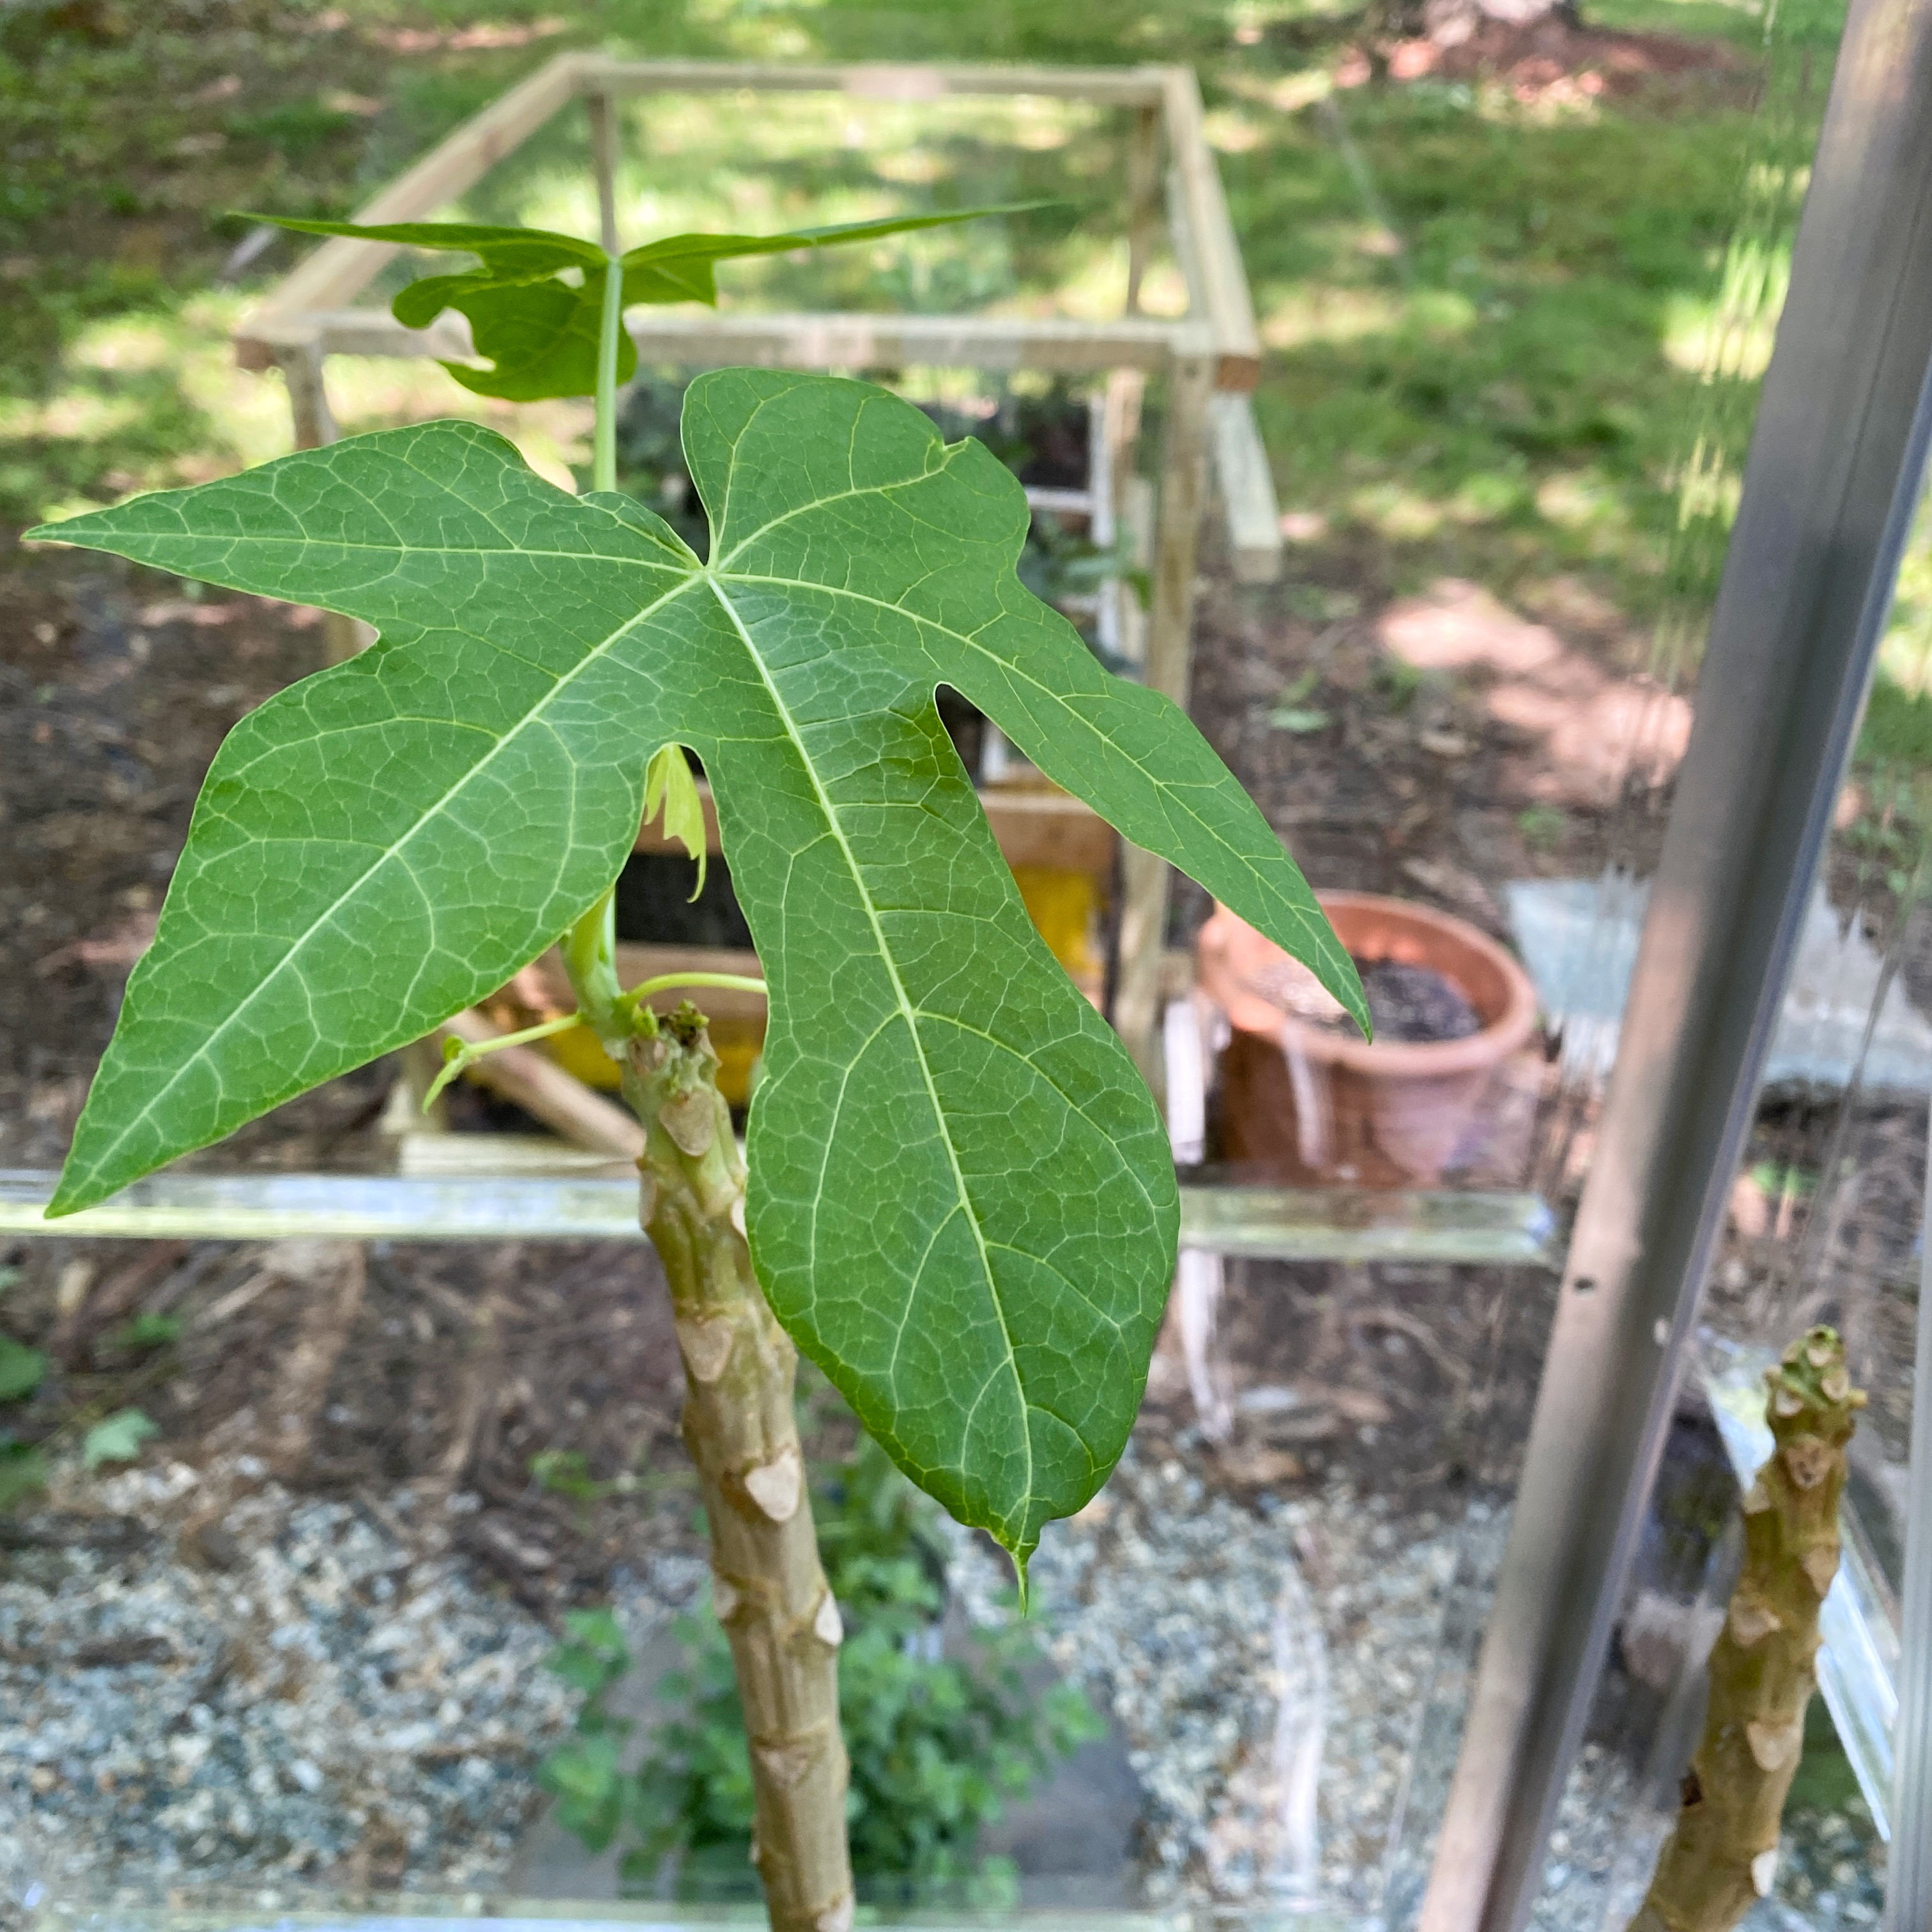
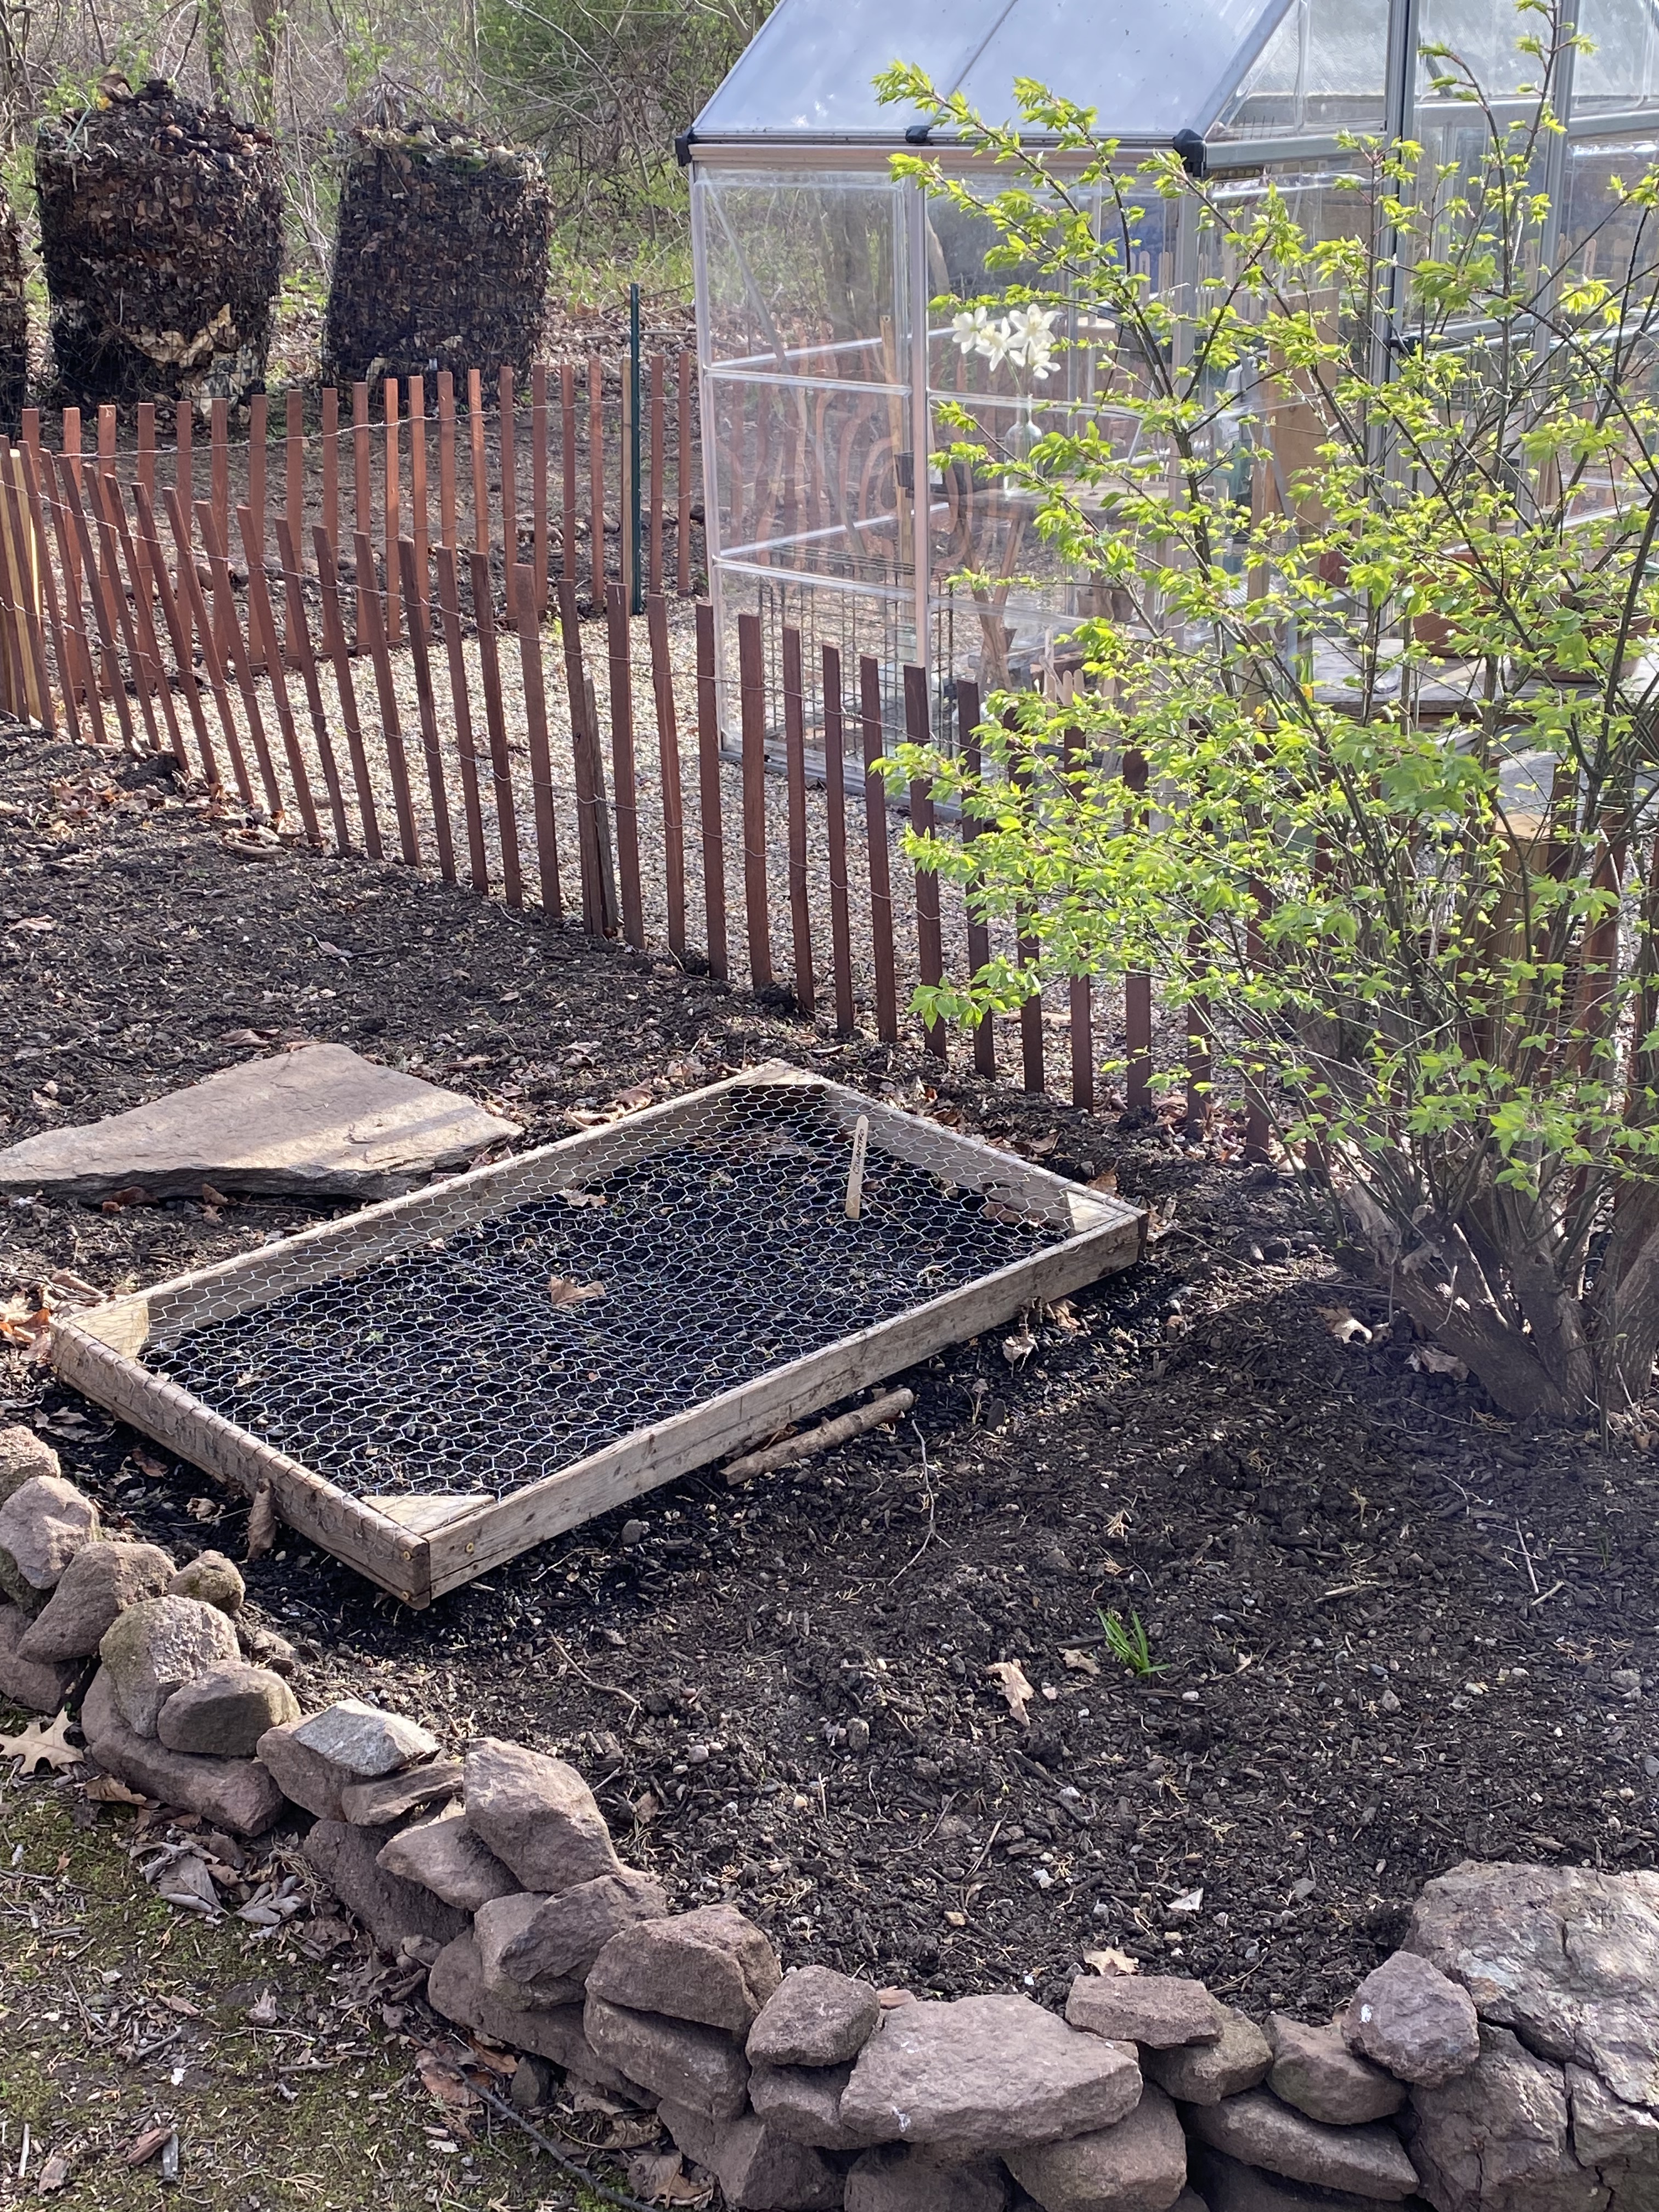
As of today… the sweet peas are up, the nasturtiums have been transplanted, and the cilantro and echinecea seeds are just starting to sprout under their protective wire covers. My husband built an array of these wire covers in all different sizes and shapes to keep the birds and squirrels from eating the seeds that are directly sown. So far so good.

The preface of Herb Gardening in Five Seasons is titled Herbs are Forever – And For All. I love that turn of phrase. It is such a fitting way to describe the appeal, universality and allure of these tried and true garden reliables. No matter where you go in the world, you can find an herb garden and someone who tends it. Perhaps that is why they are such enduring components to the garden landscape. In the same way, Adelma’s mark on herb gardening has endured too. Long after her death, memories of the beautiful gardens she created at Caprilands still find a place in contemporary conversation. I hope our little herb garden at 1750 House has such a lasting effect. A 275-year-old house deserves the pretty partnership of a timeless garden to travel the years with.

“Fortunately, the study of herbs touches all aspects of our lives, at all ages, under all conditions. What was rigorous physical experience in youth and middle age may become an absorbing study for the armchair gardener, who halted in activities by age or physical handicap, can still enjoy a fascinating world of legend and history.” Adelma Grenier Simmons, 1964
In the next installment of the Greenhouse Diaries, we will make a spring recipe straight from Adelma’s own kitchen and check in on the seedlings to see how they are growing. In the meantime, cheers to Adelma, to her helpful guidance, and to the act and art of growing a garden.