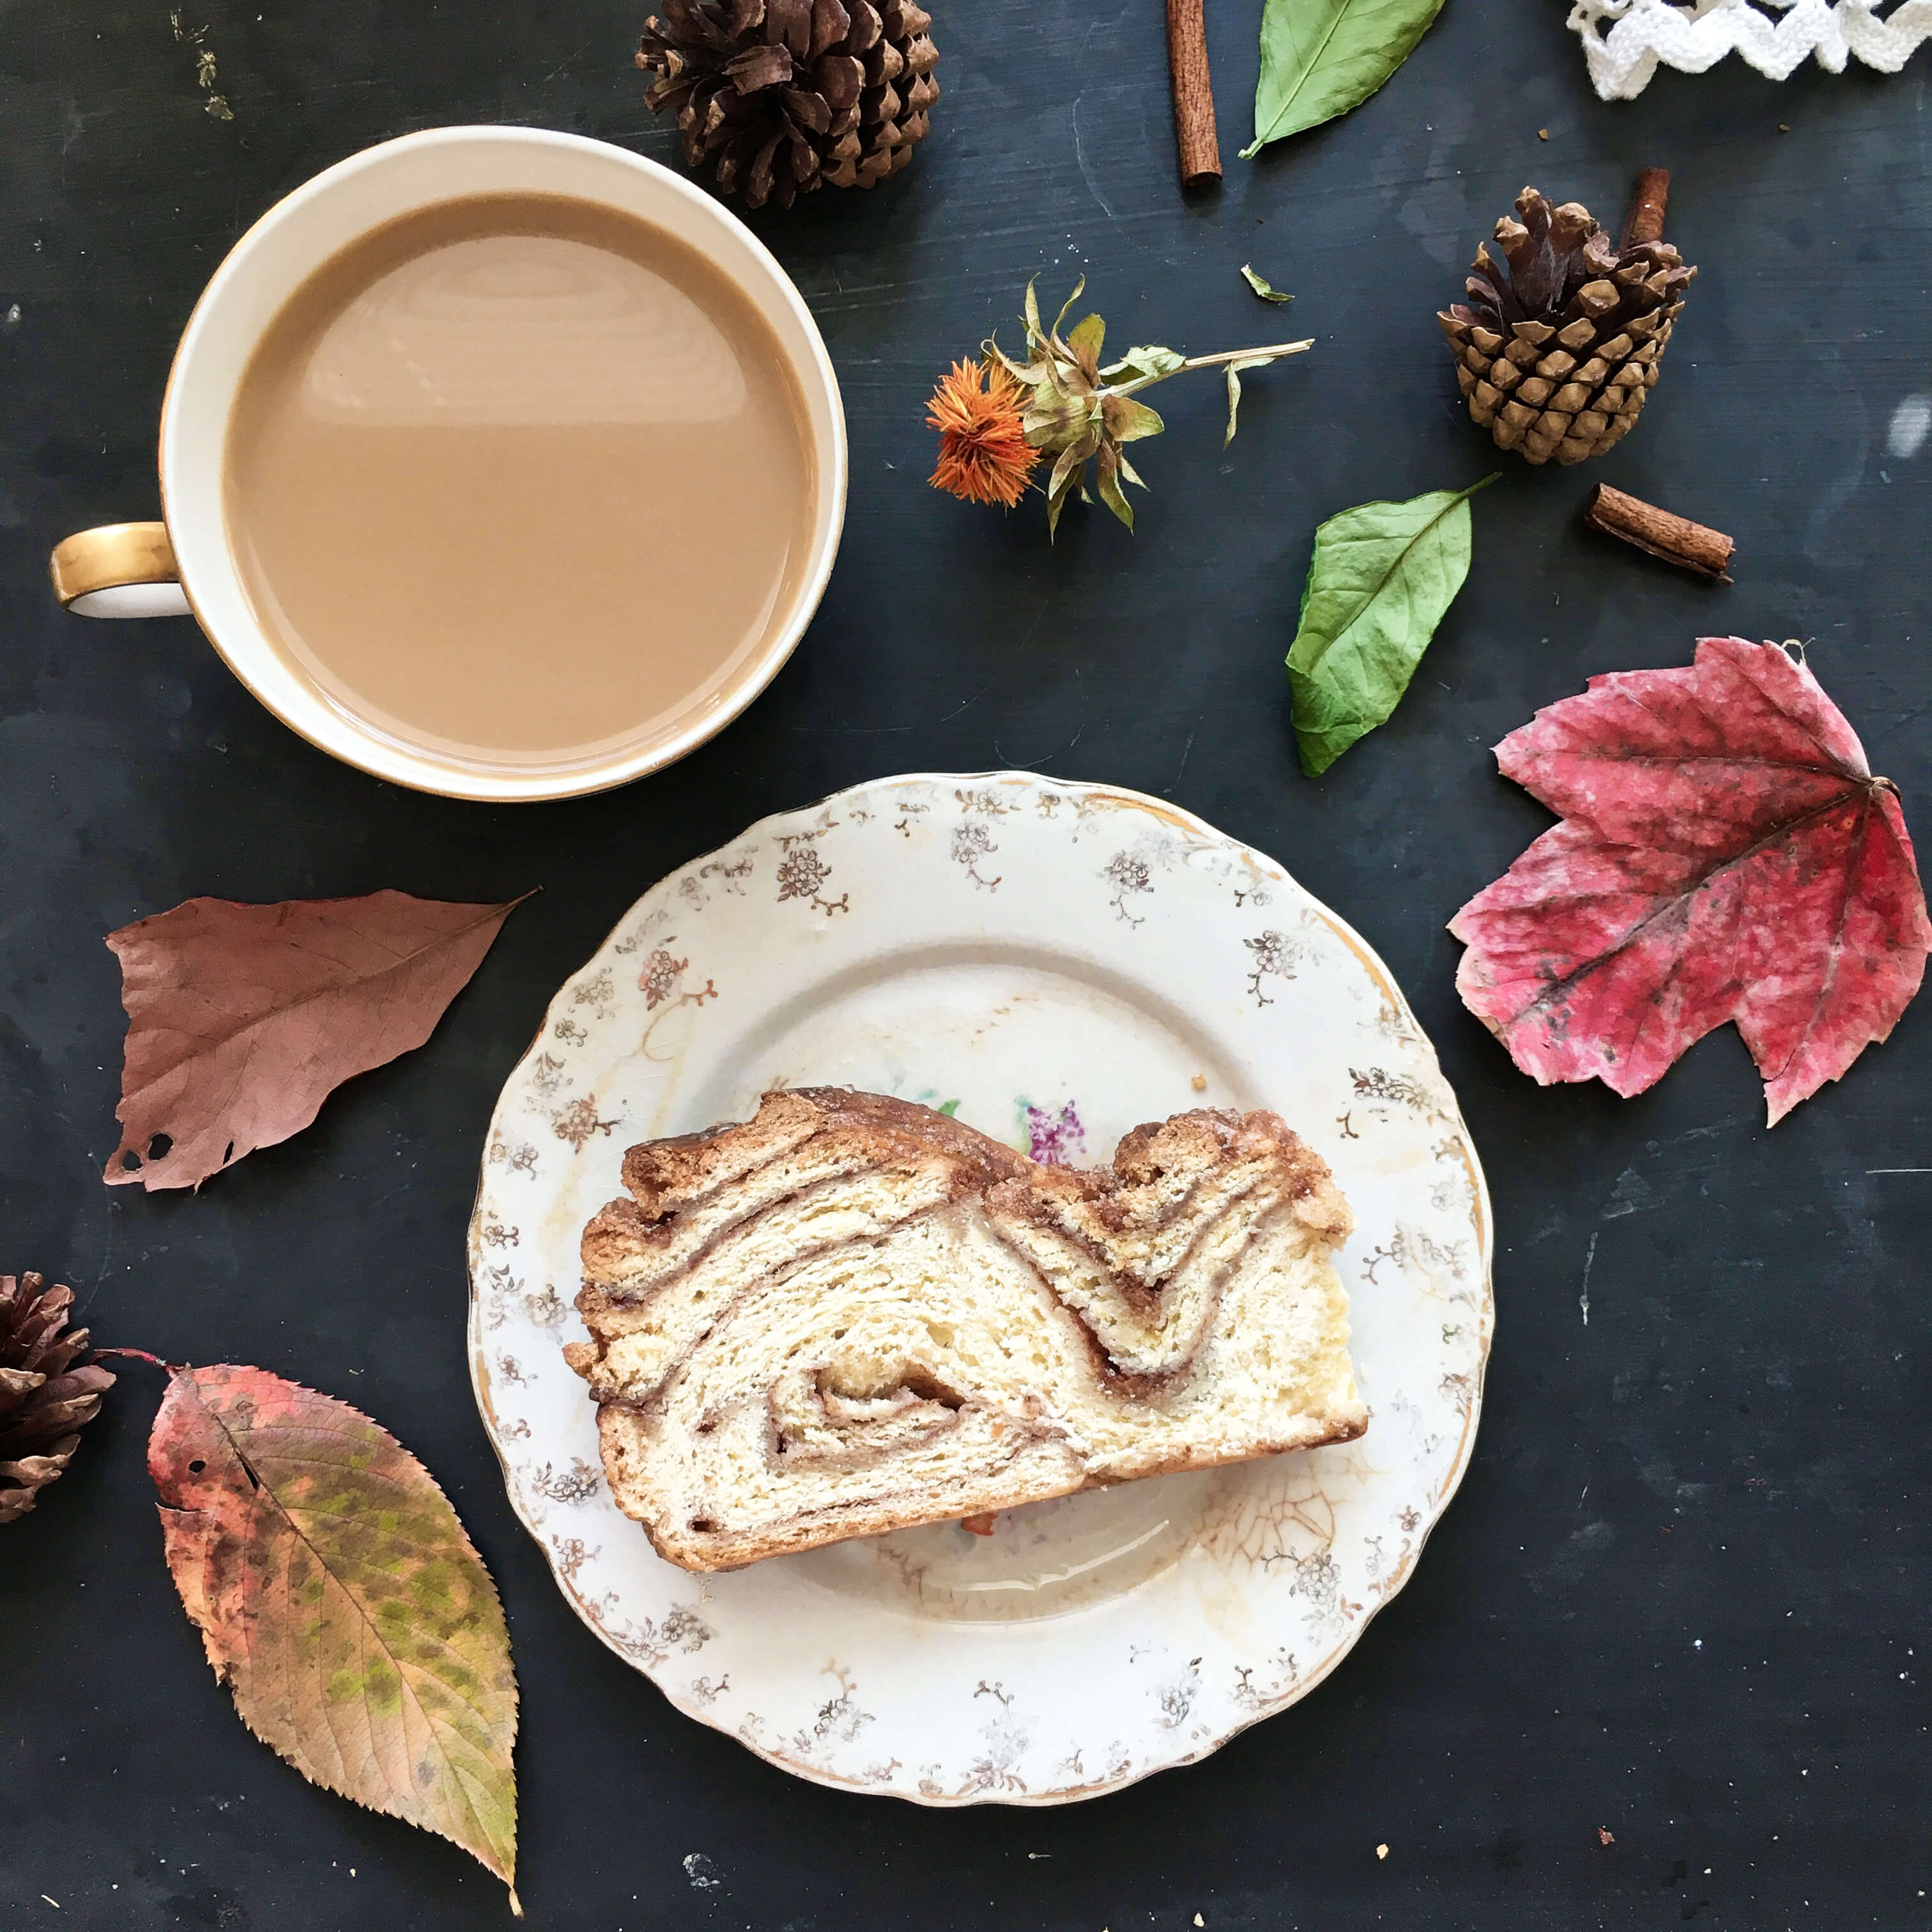
When it comes to dessert at Christmastime, an infinite loop of baking options never fails to greet us at every source. From chocolate to candy canes, cookies to confections, the holiday peppers its sugar plums and santas with all the sweet-natured hallmarks of the baking season. Every year, we are spritzed and sprinkled, fluffed and frosted, whipped and whirled into a cacophony of holiday creativity that delights the eye and feeds the algorithms until it seems like the world might just burst from an overload of sugar-fueled enthusiasms.
Amidst all this intrepid merry baking and decorative dalliances, there’s a favorite holiday cake that stands out. One that’s traveled time and trend for over 100 years, it’s a humble unsung hero of holiday celebrations that requires little effort but packs a lot of flavor and a festive color palette.
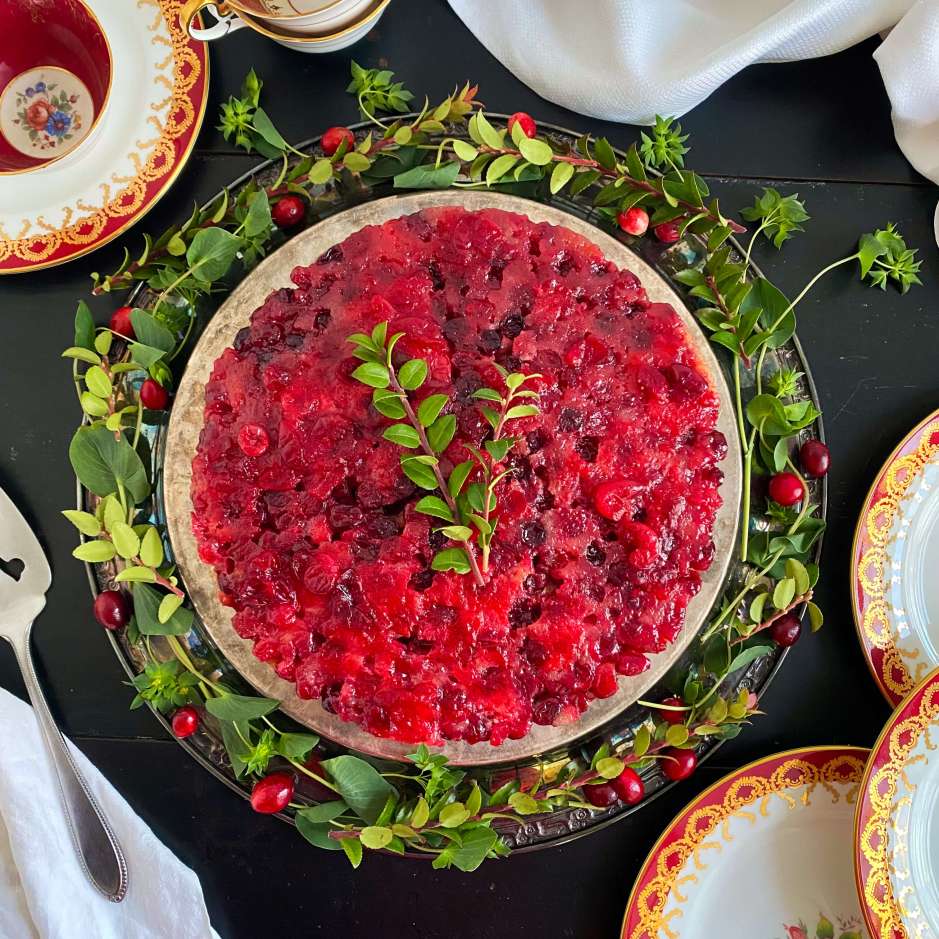
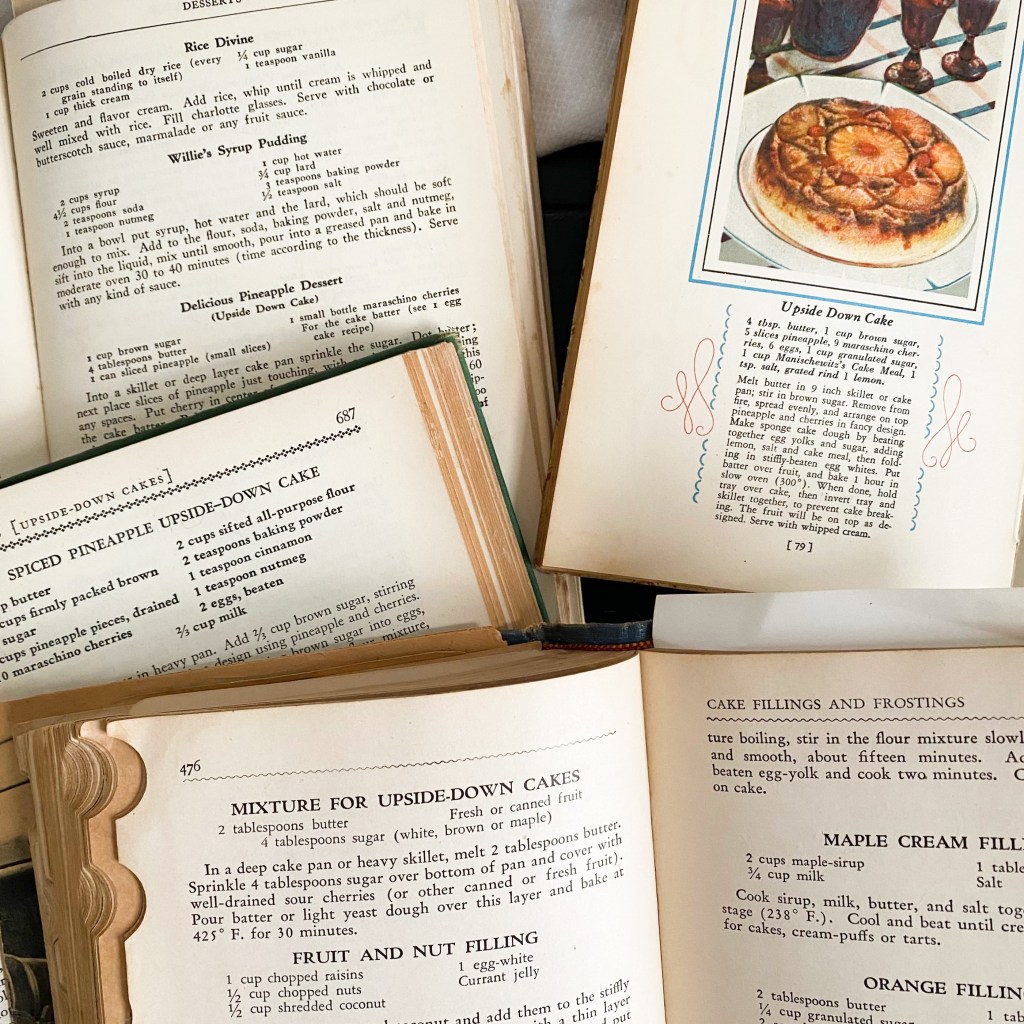
In today’s post, we are making a vintage recipe for cranberry upside-down cake. It’s a cousin cake to the more well-known Pineapple Upside-Down Cake which has graced dessert tables for most of the 20th century. But unlike that golden-circled and amber-shaded citrus cake, the cranberry upside-down version is a deep red, a fitting choice for the colors of the season.
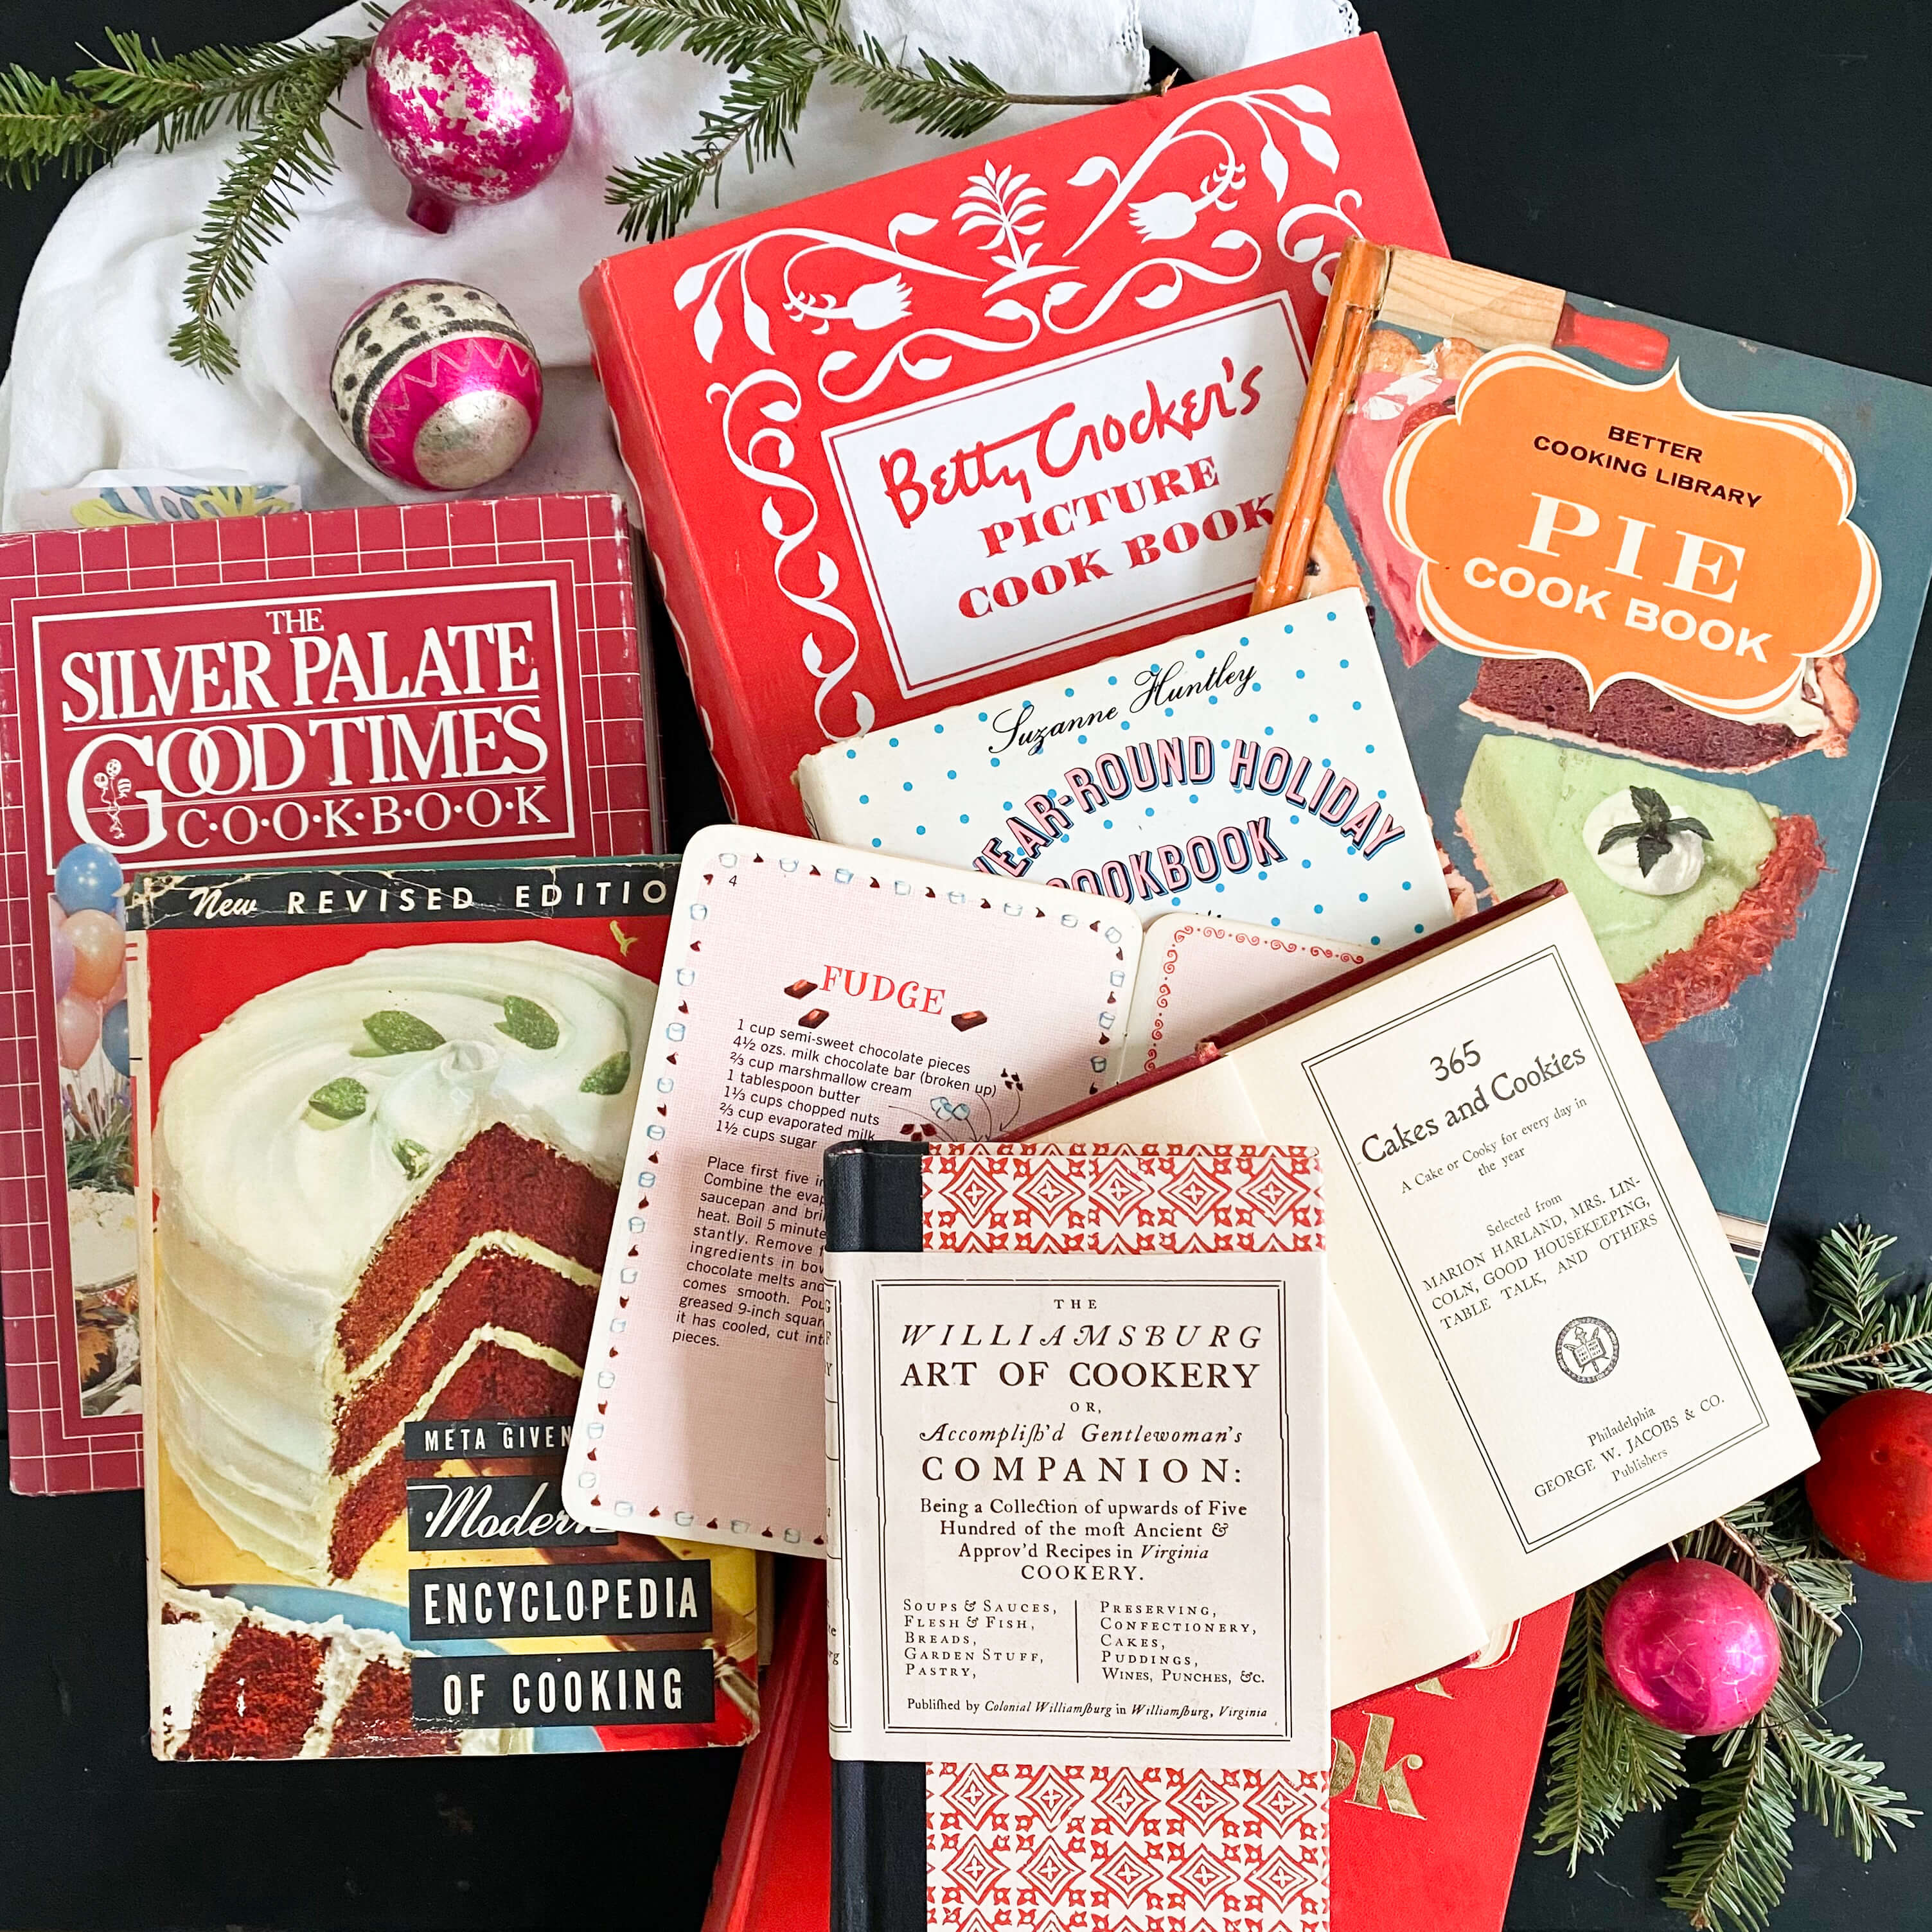
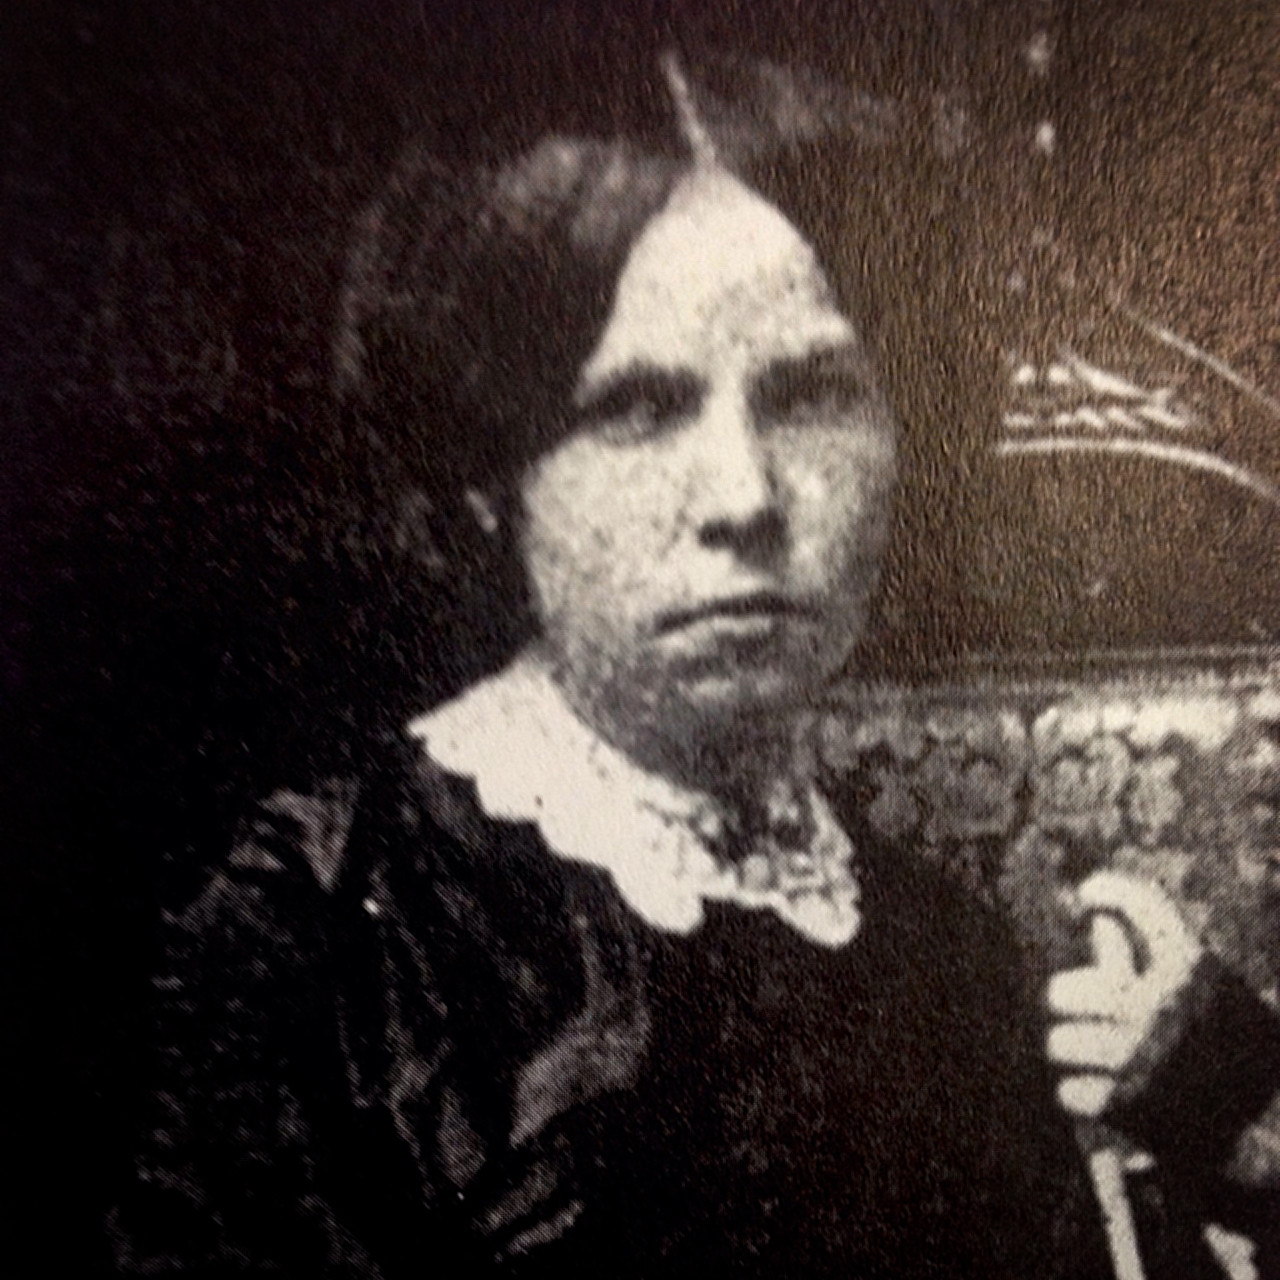
Growing up my mom made this recipe almost every Christmas, or if for some reason she missed serving it over the holidays, it would appear on the dessert table further along in winter for Valentine’s Day or a special dinner or event. Traveling around all the kitchens of my family, both on the East Coast and the West Coast, it’s been a favorite for two generations, and usually makes the list each year when discussing options of what to make and bake for the holiday season. Part of the reliable tried and true batch of recipes that my mom included in a homemade cookbook that she made for me and my sisters and my brother many years ago, it’s got her firm seal of approval for holiday baking.

This note of praise doesn’t come lightly. My mom is very particular when it comes to scrutinizing a recipe. In order for her to recommend one, it has to continuously perform well, time and time again before it makes her tried and true list. The first time she made this cranberry upside-down cake recipe, she loved it for its presentation and its bright red color on the Christmas table. Years into making it, beyond its delicious taste, she loved it even more for its reliability, its sense of the unusual in that not many guests at her table had had it before, and she loved it for the fact that it traveled well in the car so she could easily tote it along to a party. As a kid, I loved this recipe for its sweet tart taste and its syrupy sticky top. I thought it looked beautiful on the table too. As an adult, I still love it for all those same reasons. But now I also appreciate the complimentary marriage of its flavors that blend so well with many lunch, brunch, and dinnertime menus. Especially ones that stretch from Thanksgiving all the way through the end of winter.
Recently, when I asked my mom where she found the recipe, she couldn’t remember. It was over 40 years ago that she first made it and in her defense she’s tried thousands of recipes between then and now. But my sister thinks, she may have pulled it from the pages of Gourmet magazine sometime in the late 1970s or early 1980s. I couldn’t find any reference online linking Gourmet and this recipe together, but the exact origin story of upside-down cakes in general is a bit elusive, so perhaps it is fitting.
As far as its vague history goes, the earliest mention of an upside-down cake recipe dates back to the late 1800s, the decade when flipped and fruited cakes started creeping into the popular dessert category in kitchens and cookbooks. Sometimes called spider cakes or skillet cakes, they were thought then to possibly have originated from pioneer days when much American cooking was done in a skillet or a frying pan over an open fire or on the stove top. Some culinary historians by-passed this notion and attached upside-down cakes to menus of the Middle Ages, when fruit laden desserts were part of feast days and banquet dinners. Another source, a journalist in the 1920s, credited this style of cake baking to Gail Hamilton (aka Mary Abigail Dodge), a 19th century New England journalist, feminist, and suffragette. But I couldn’t find any correlation to Gail and cooking.
Regardless of when and where upside-down cakes came from, this one pan wonder has always been a marvel for home bakers. Since it had already contained a jam like top, there was no need for frosting or additional decorating. One flip of the cake pan after cooling, and your baked masterpiece was ready to serve.

The 1920s proved to be a pivotal decade for the upside-down cake launching it into popularity again by touting its enticing apperence, as well as its economy and effortlessness to a whole new set of bakers. In that decade, apple, peach, apricot, and pineapple were the precursor fruits to cranberry upside-down cake, with each one having their own singular moment in the spotlight. Although upside-down cakes have remained popular every decade since, it was the pineapple version that’s had the most longevity and garnered the biggest fan base.
Not as expensive to make as a multi-tiered layer cake, not as heavy to eat as pie, and not as time-consuming to bake as cookies, upside-down cakes are an ideal, elegant, no-fuss wintertime dessert, especially at Christmas when schedules can be harried and baking tasks multiplied. The coming together of this simple dessert requires no more than 90 minutes in the kitchen from gathering of ingredients to finished product.
Over the past century, there has been many different recipes for creating an upside-down cake, each with their own twists and tweaks, but the main cooking principles are always the same: a layer of butter on the bottom of the pan, then a layer of sugar, then fruit, then cake batter. Once finished and flipped, the result is a buttery cake topped with caramelized fruit jam.

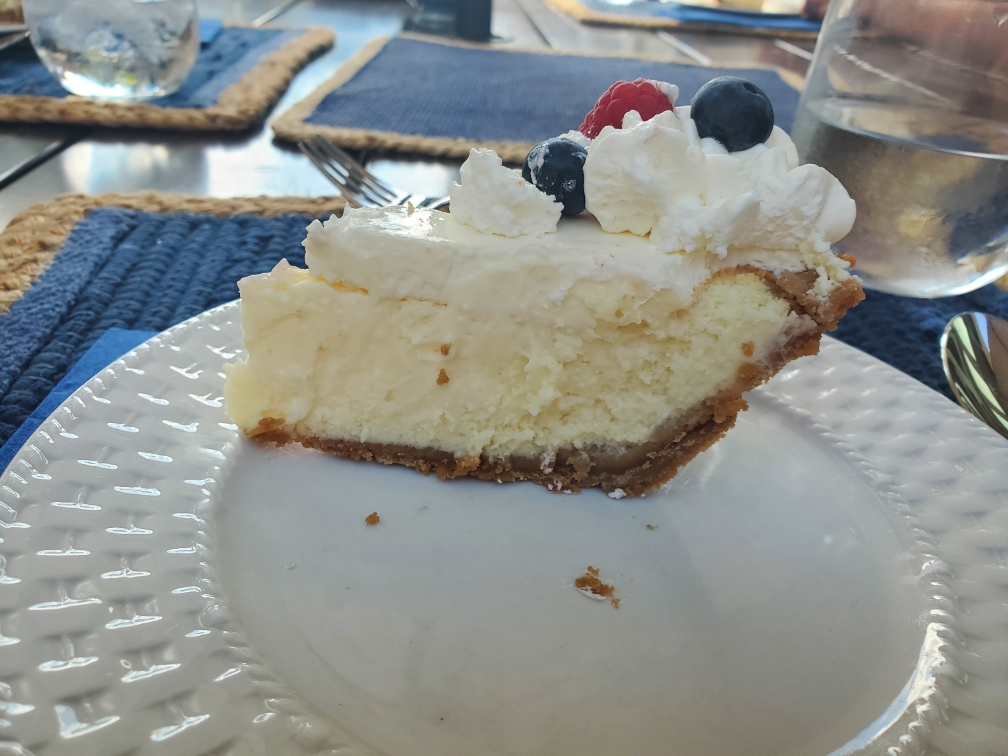
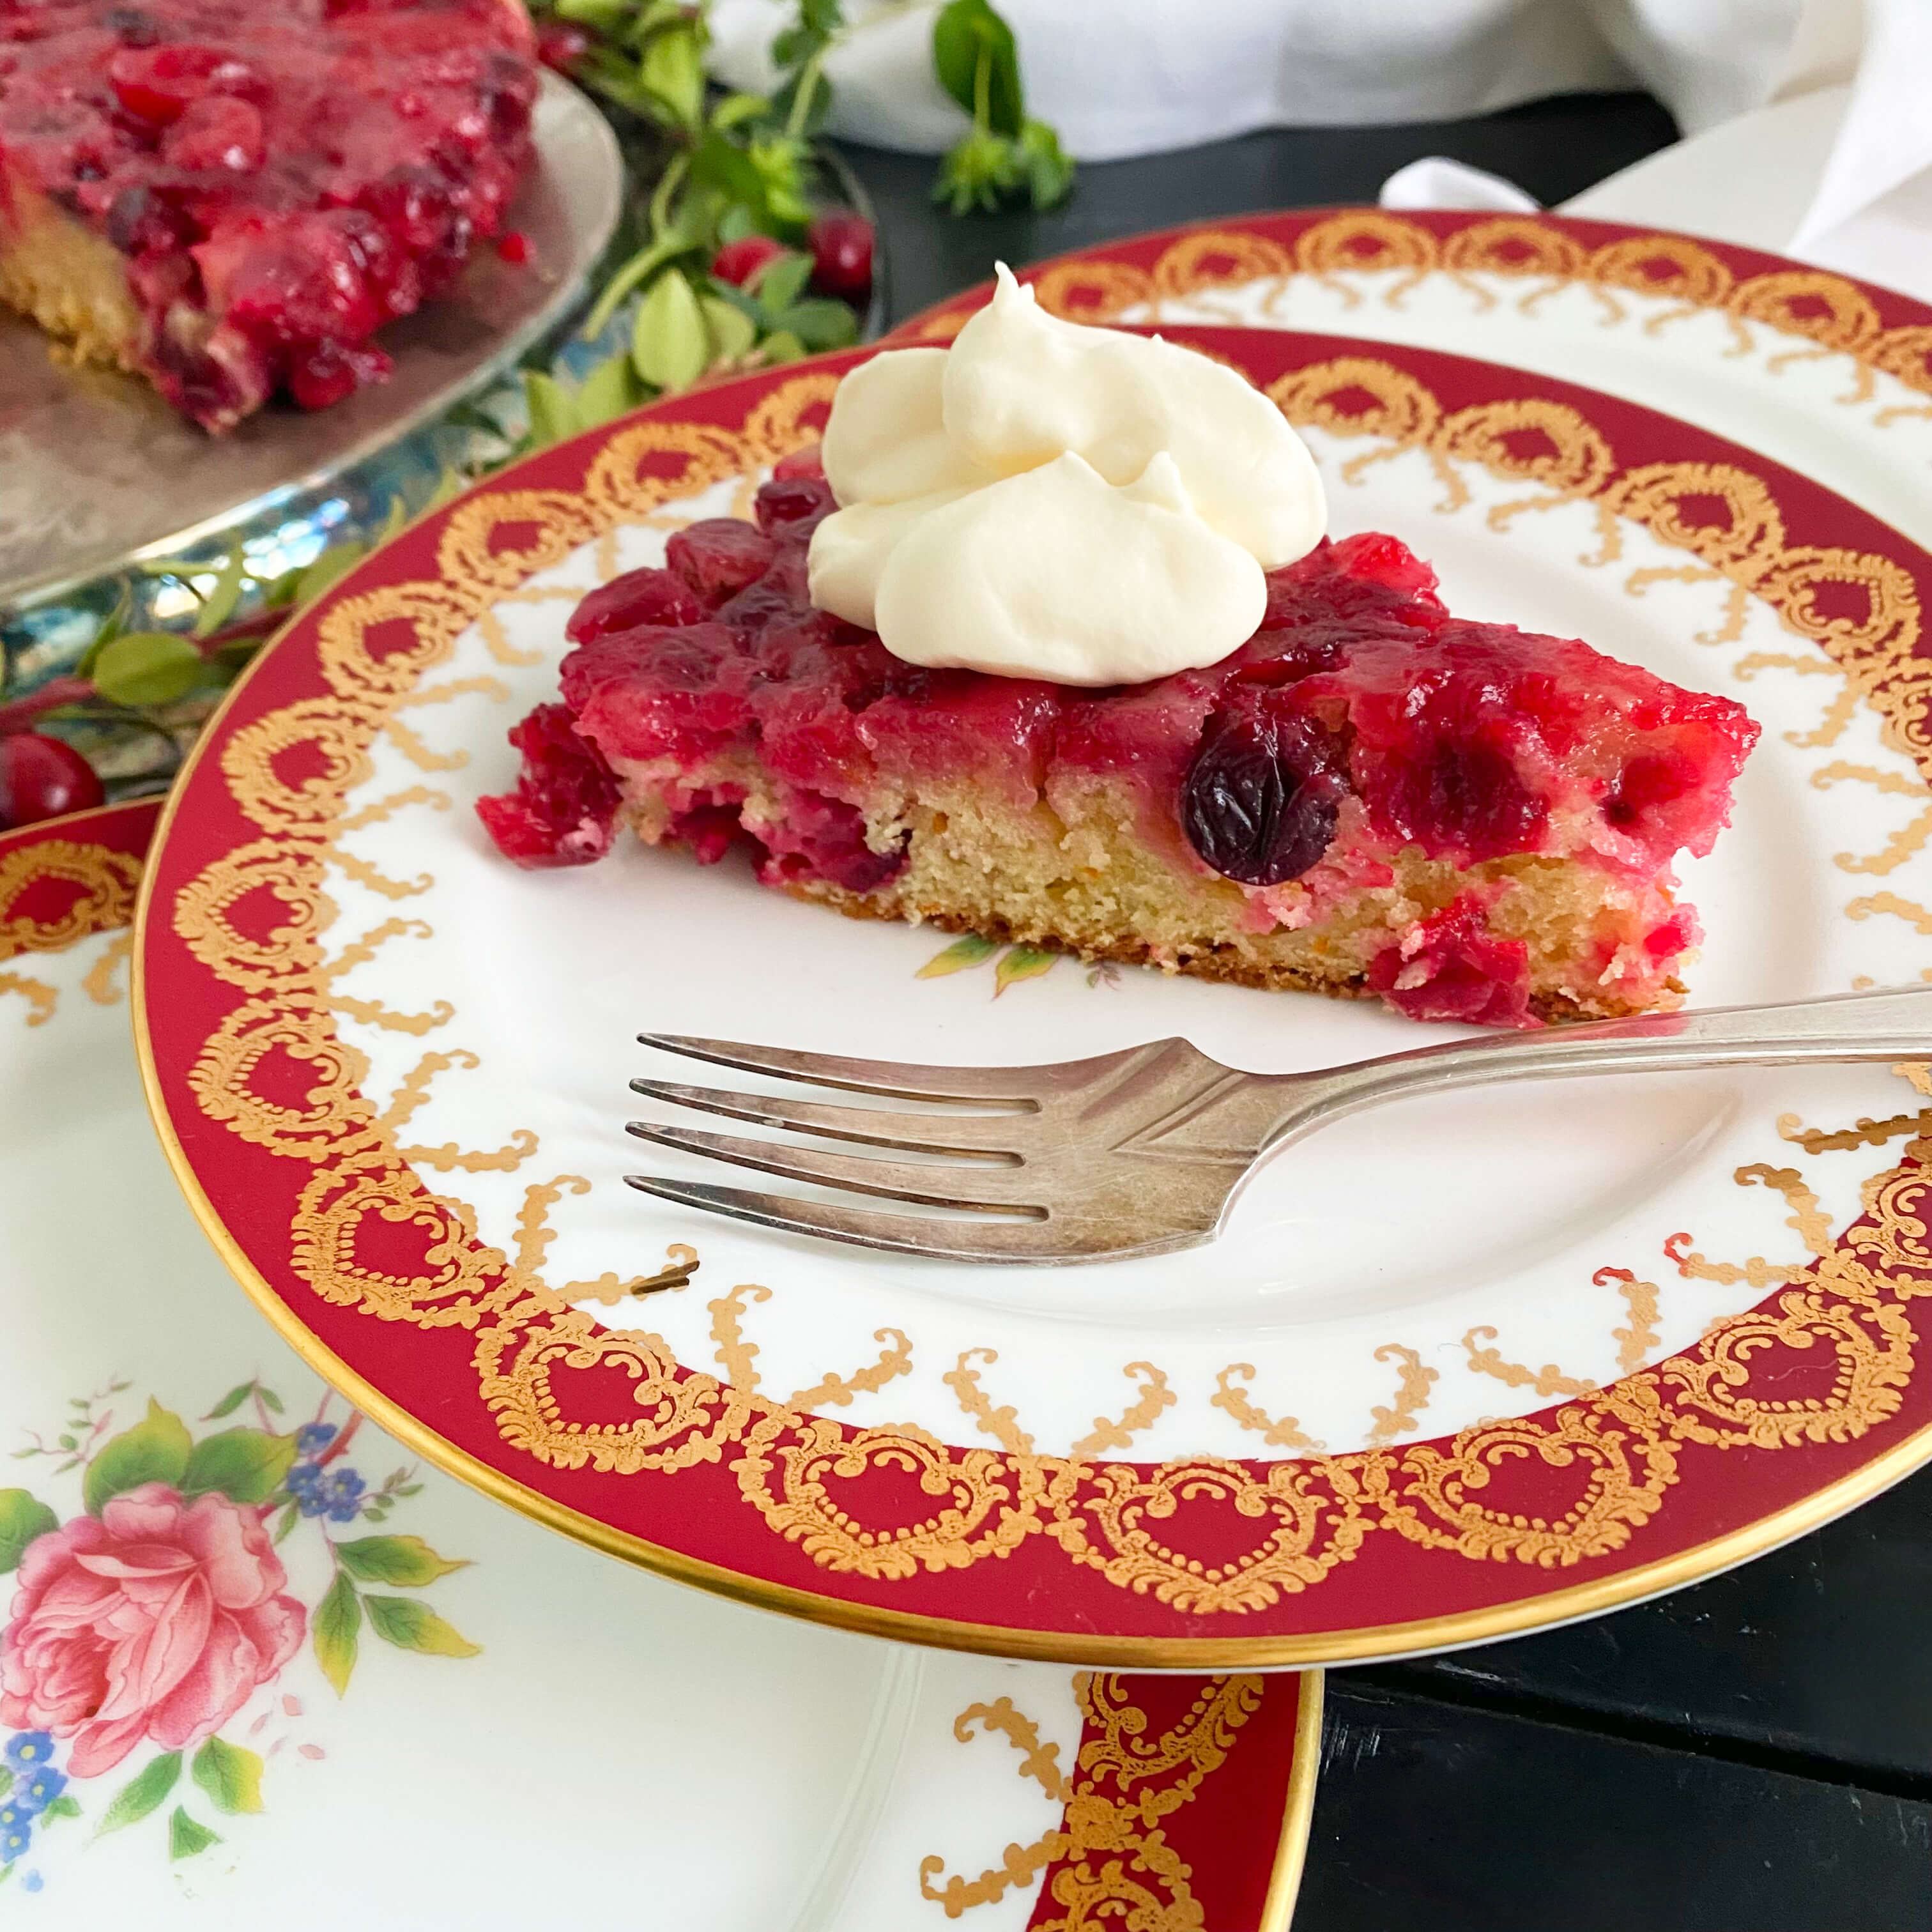
Ideally, the fruit is fresh and either added whole or halved, but the cake part of the recipe can be made many different ways. Some recipes call for boxed cake mixes, some add extra spices like cinnamon and nutmeg, or a boozy bit of rum or fruit liqueur. And some recipes incorporate canned fruit or fruit filling. The cake consistency varies too. Some cakes yield textures that are spongy, springy, crumbly or dense in texture. Some cake batters call for cornmeal, whole wheat flour, pulverized oatmeal, all-purpose flour, or the inclusion of crushed almonds or citrus peel. I’m sure all who love cranberry upside-down cake have their own favorite ingredient combinations, as it is easily adaptable to creative cookery. The one my family likes best includes fresh orange rind in the batter, fresh cranberries on the bottom, and a dollop of homemade whipping cream on top prior to serving.
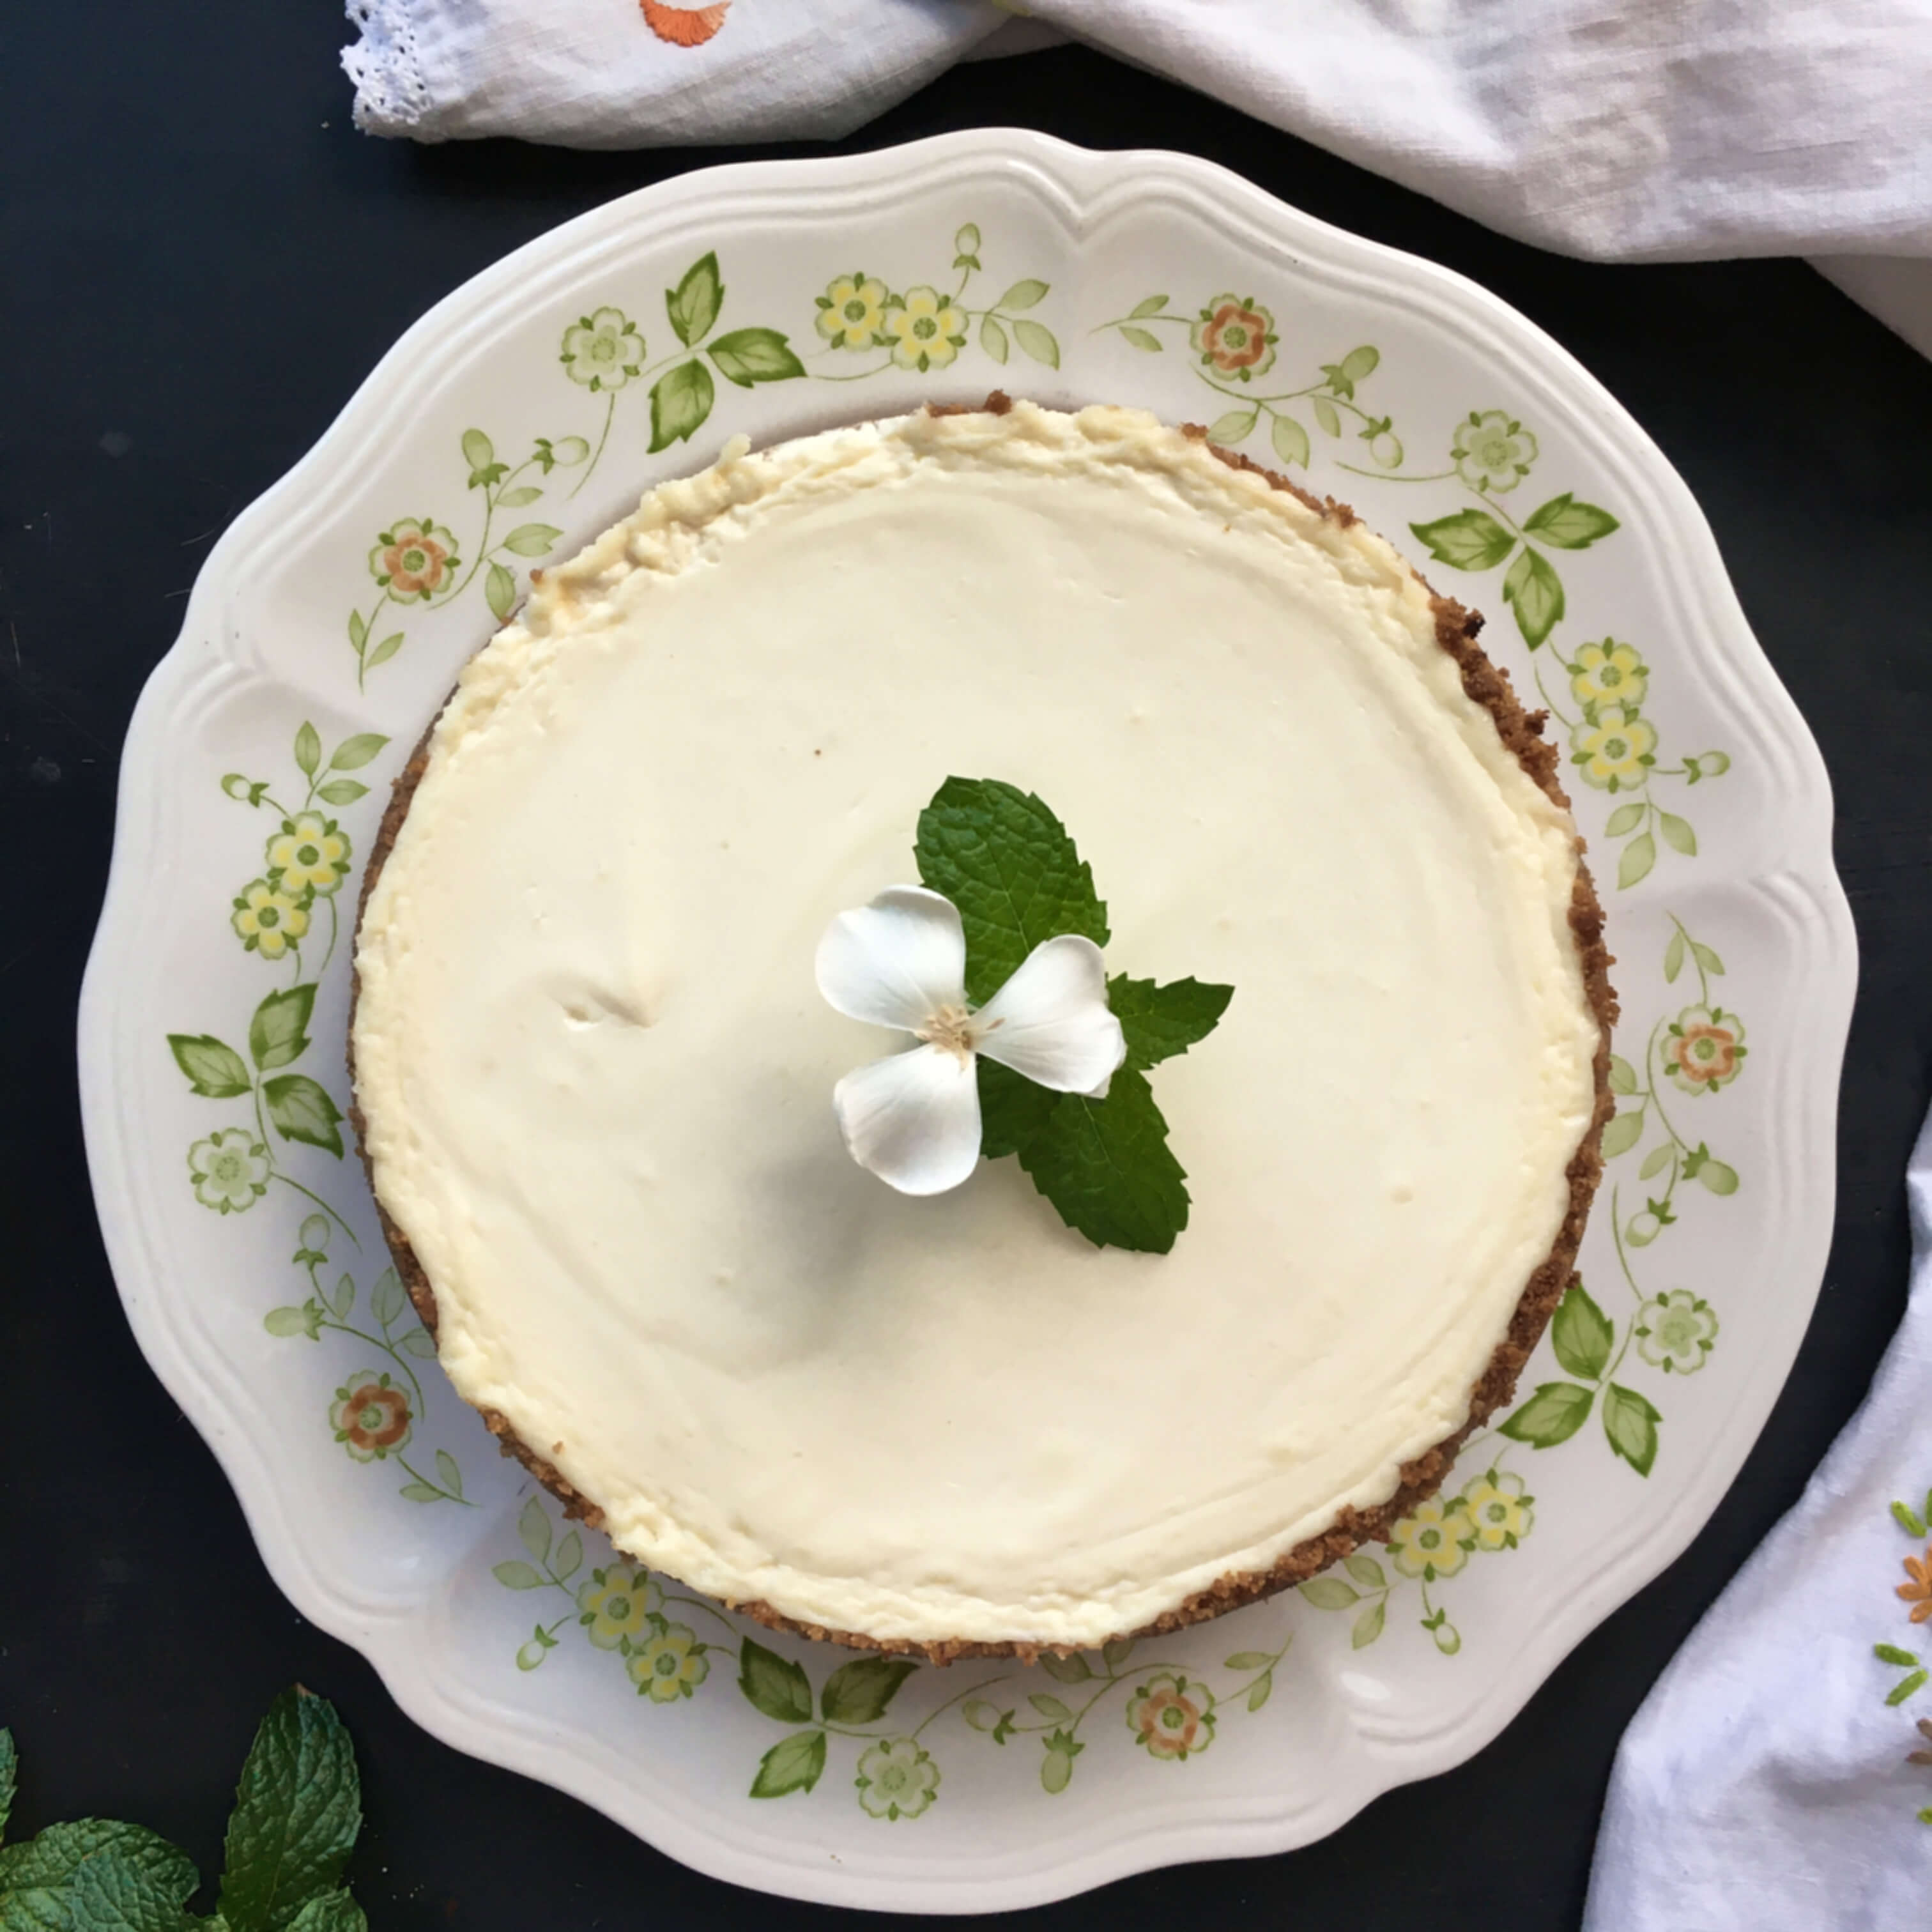
In making this recipe for the blog, I used a 10.25″ inch cake pan. The recipe calls for a 9″ inch pan which will yield a slightly taller cake than what the photos show here. Although not by very much. Similar to a tart, the cake portion of this upside-down creation is a compact layer, not tall and fluffy like a multi-layered birthday cake. Instead, this dessert is thin and delicate with concentrated flavor. A single slim slice offers just the right amount of everything.
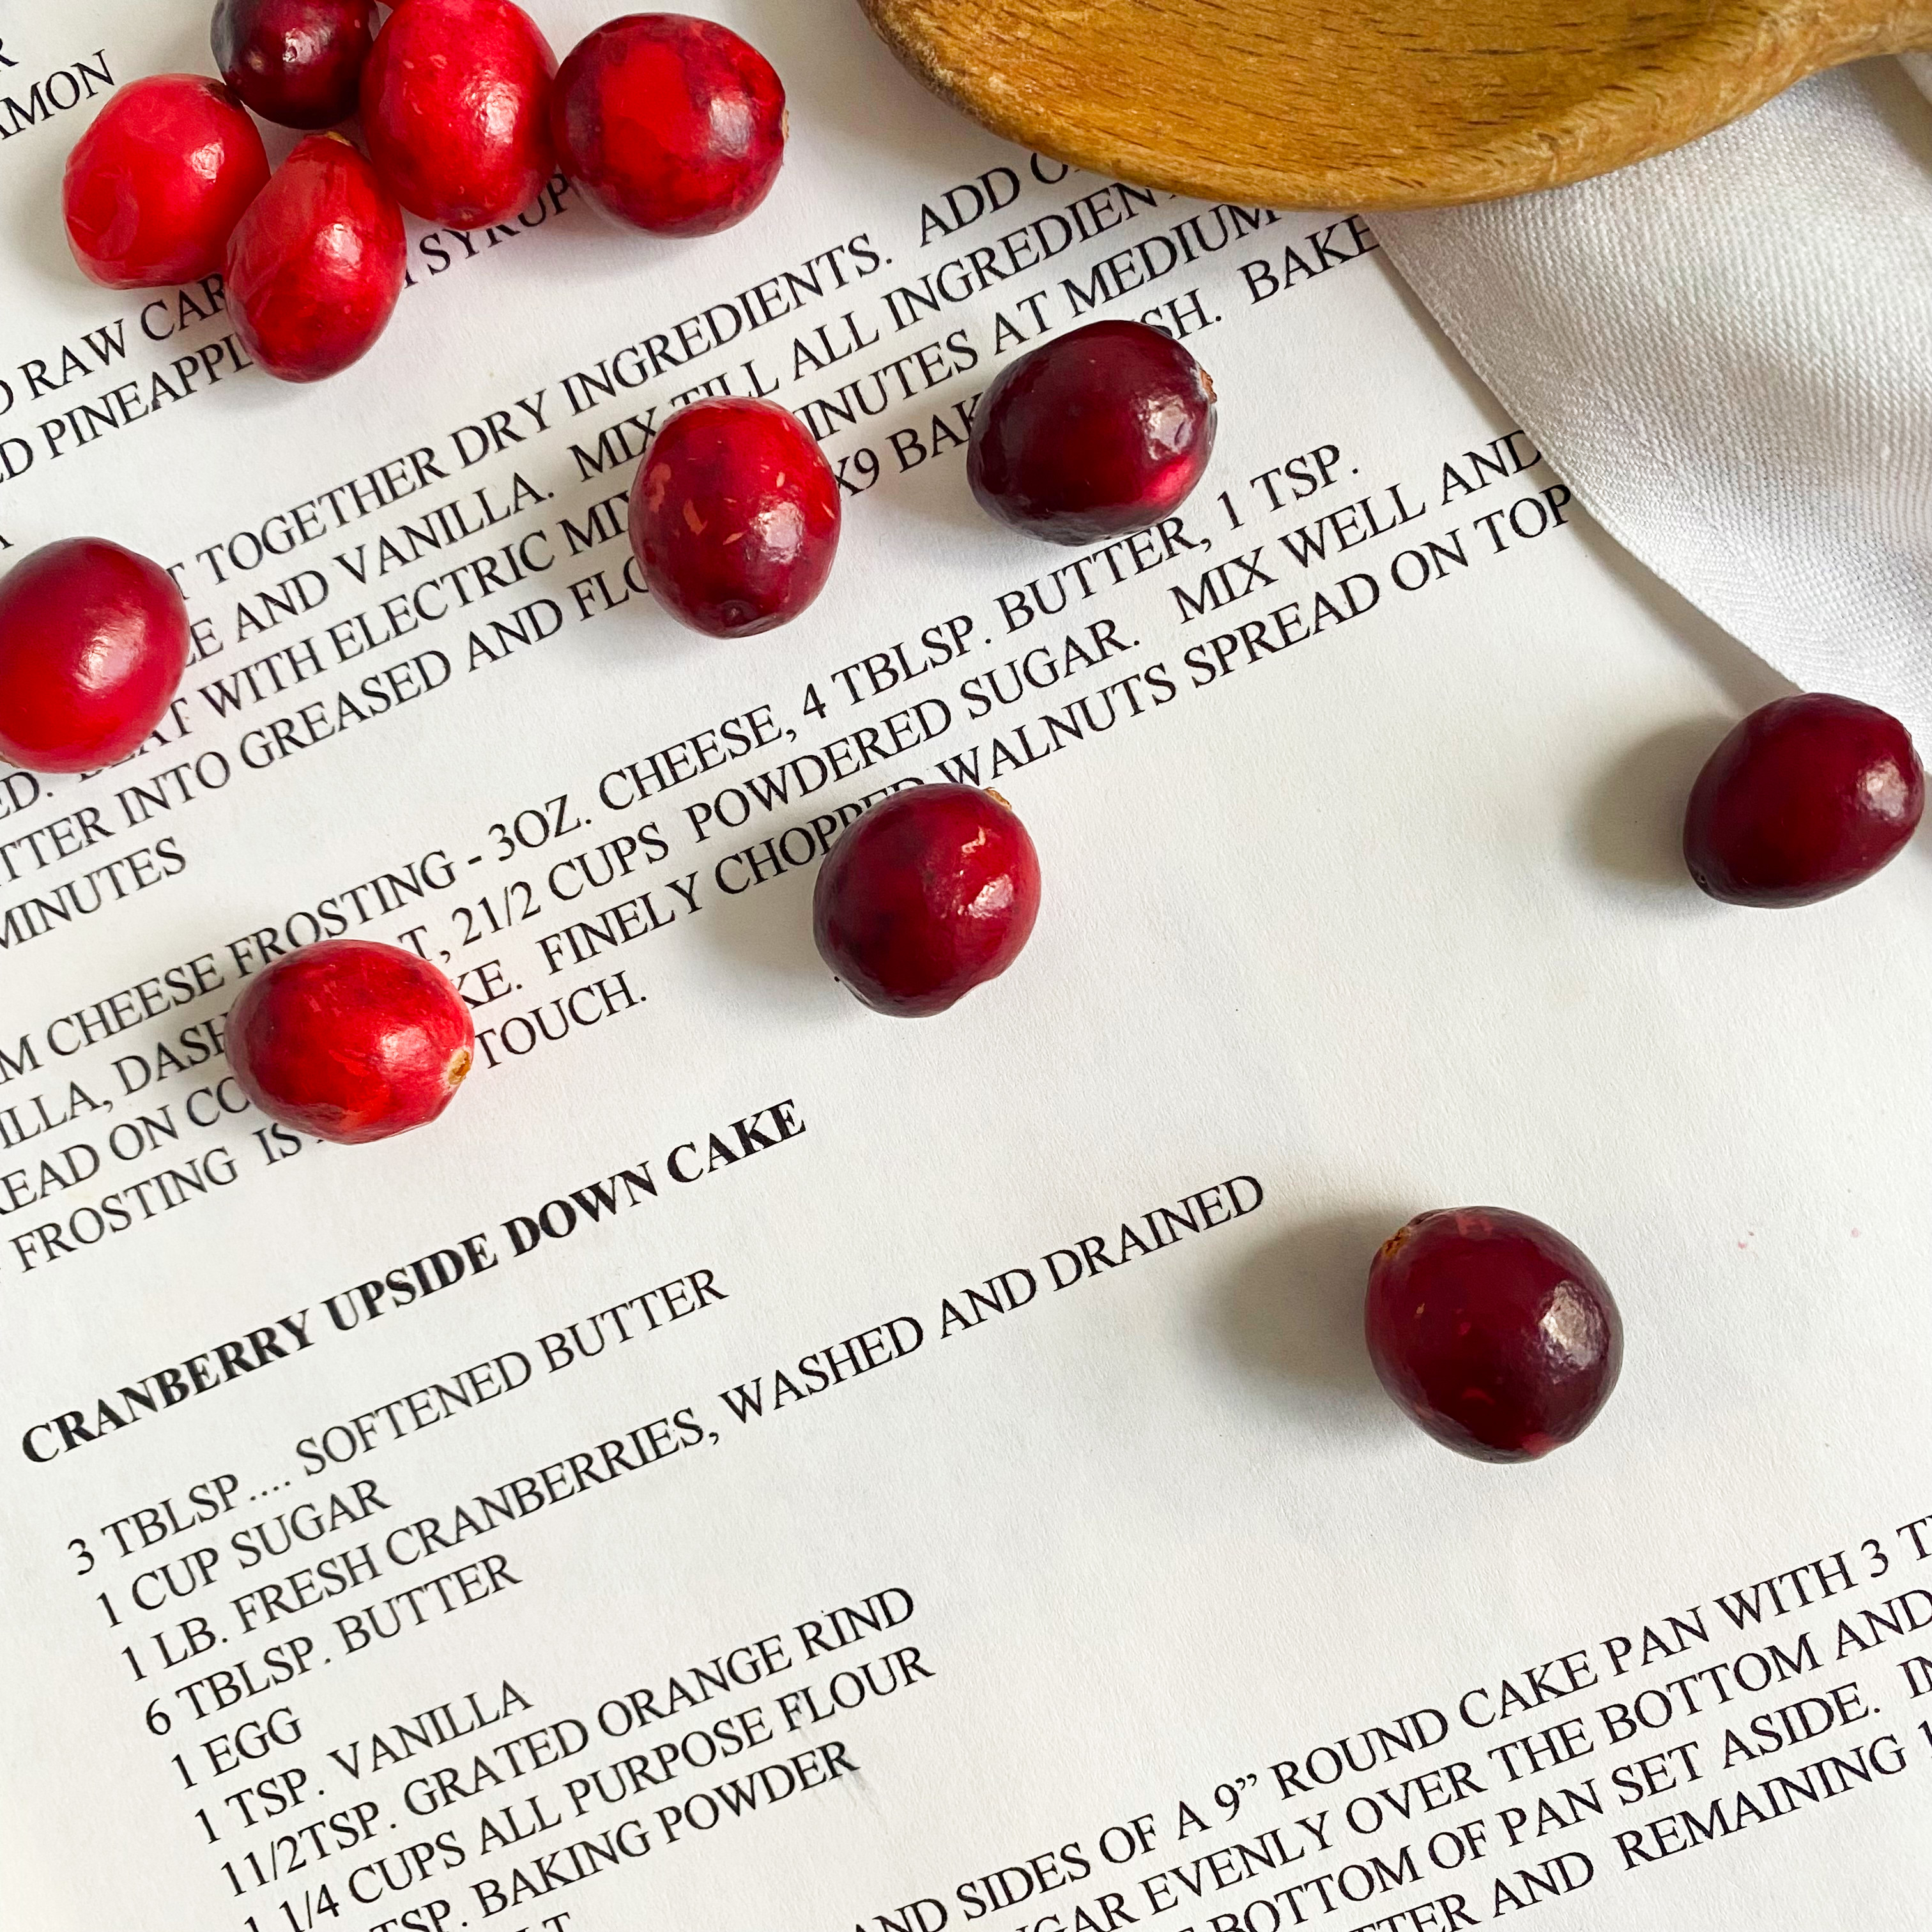
Cranberry Upside-Down Cake
Serves 8
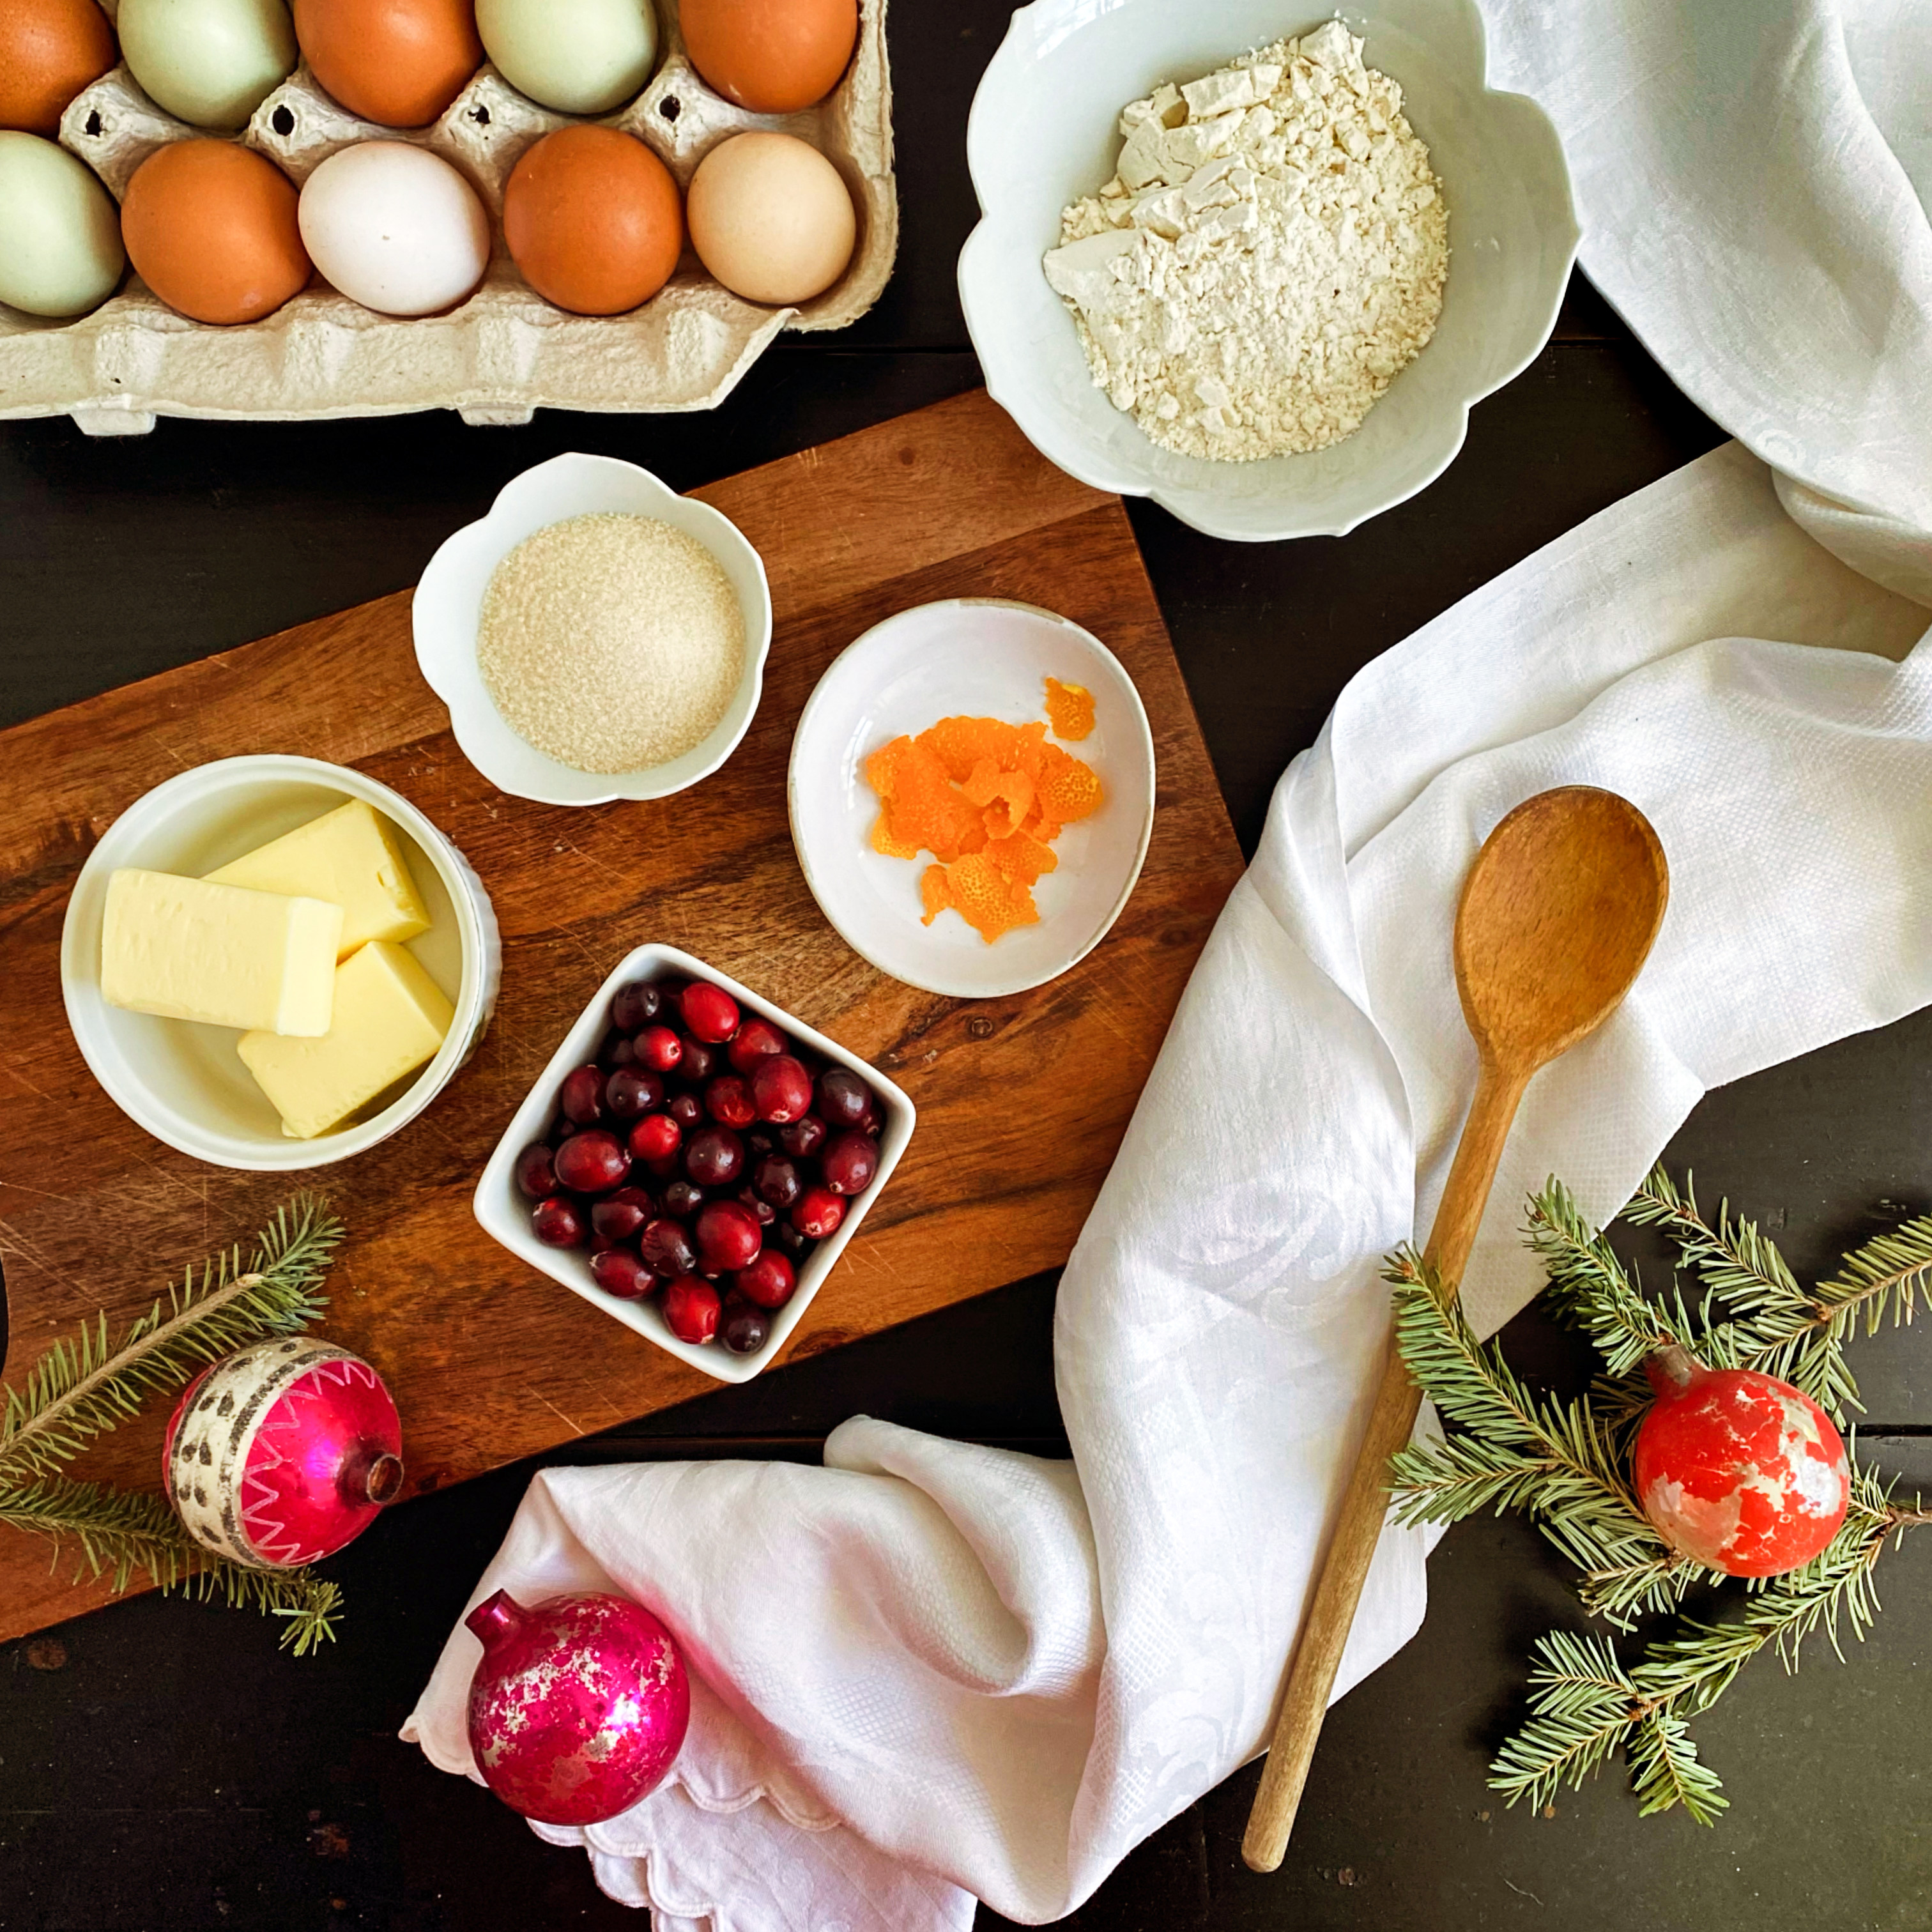
9 tablespoons butter (divided)
1 cup sugar (divided)
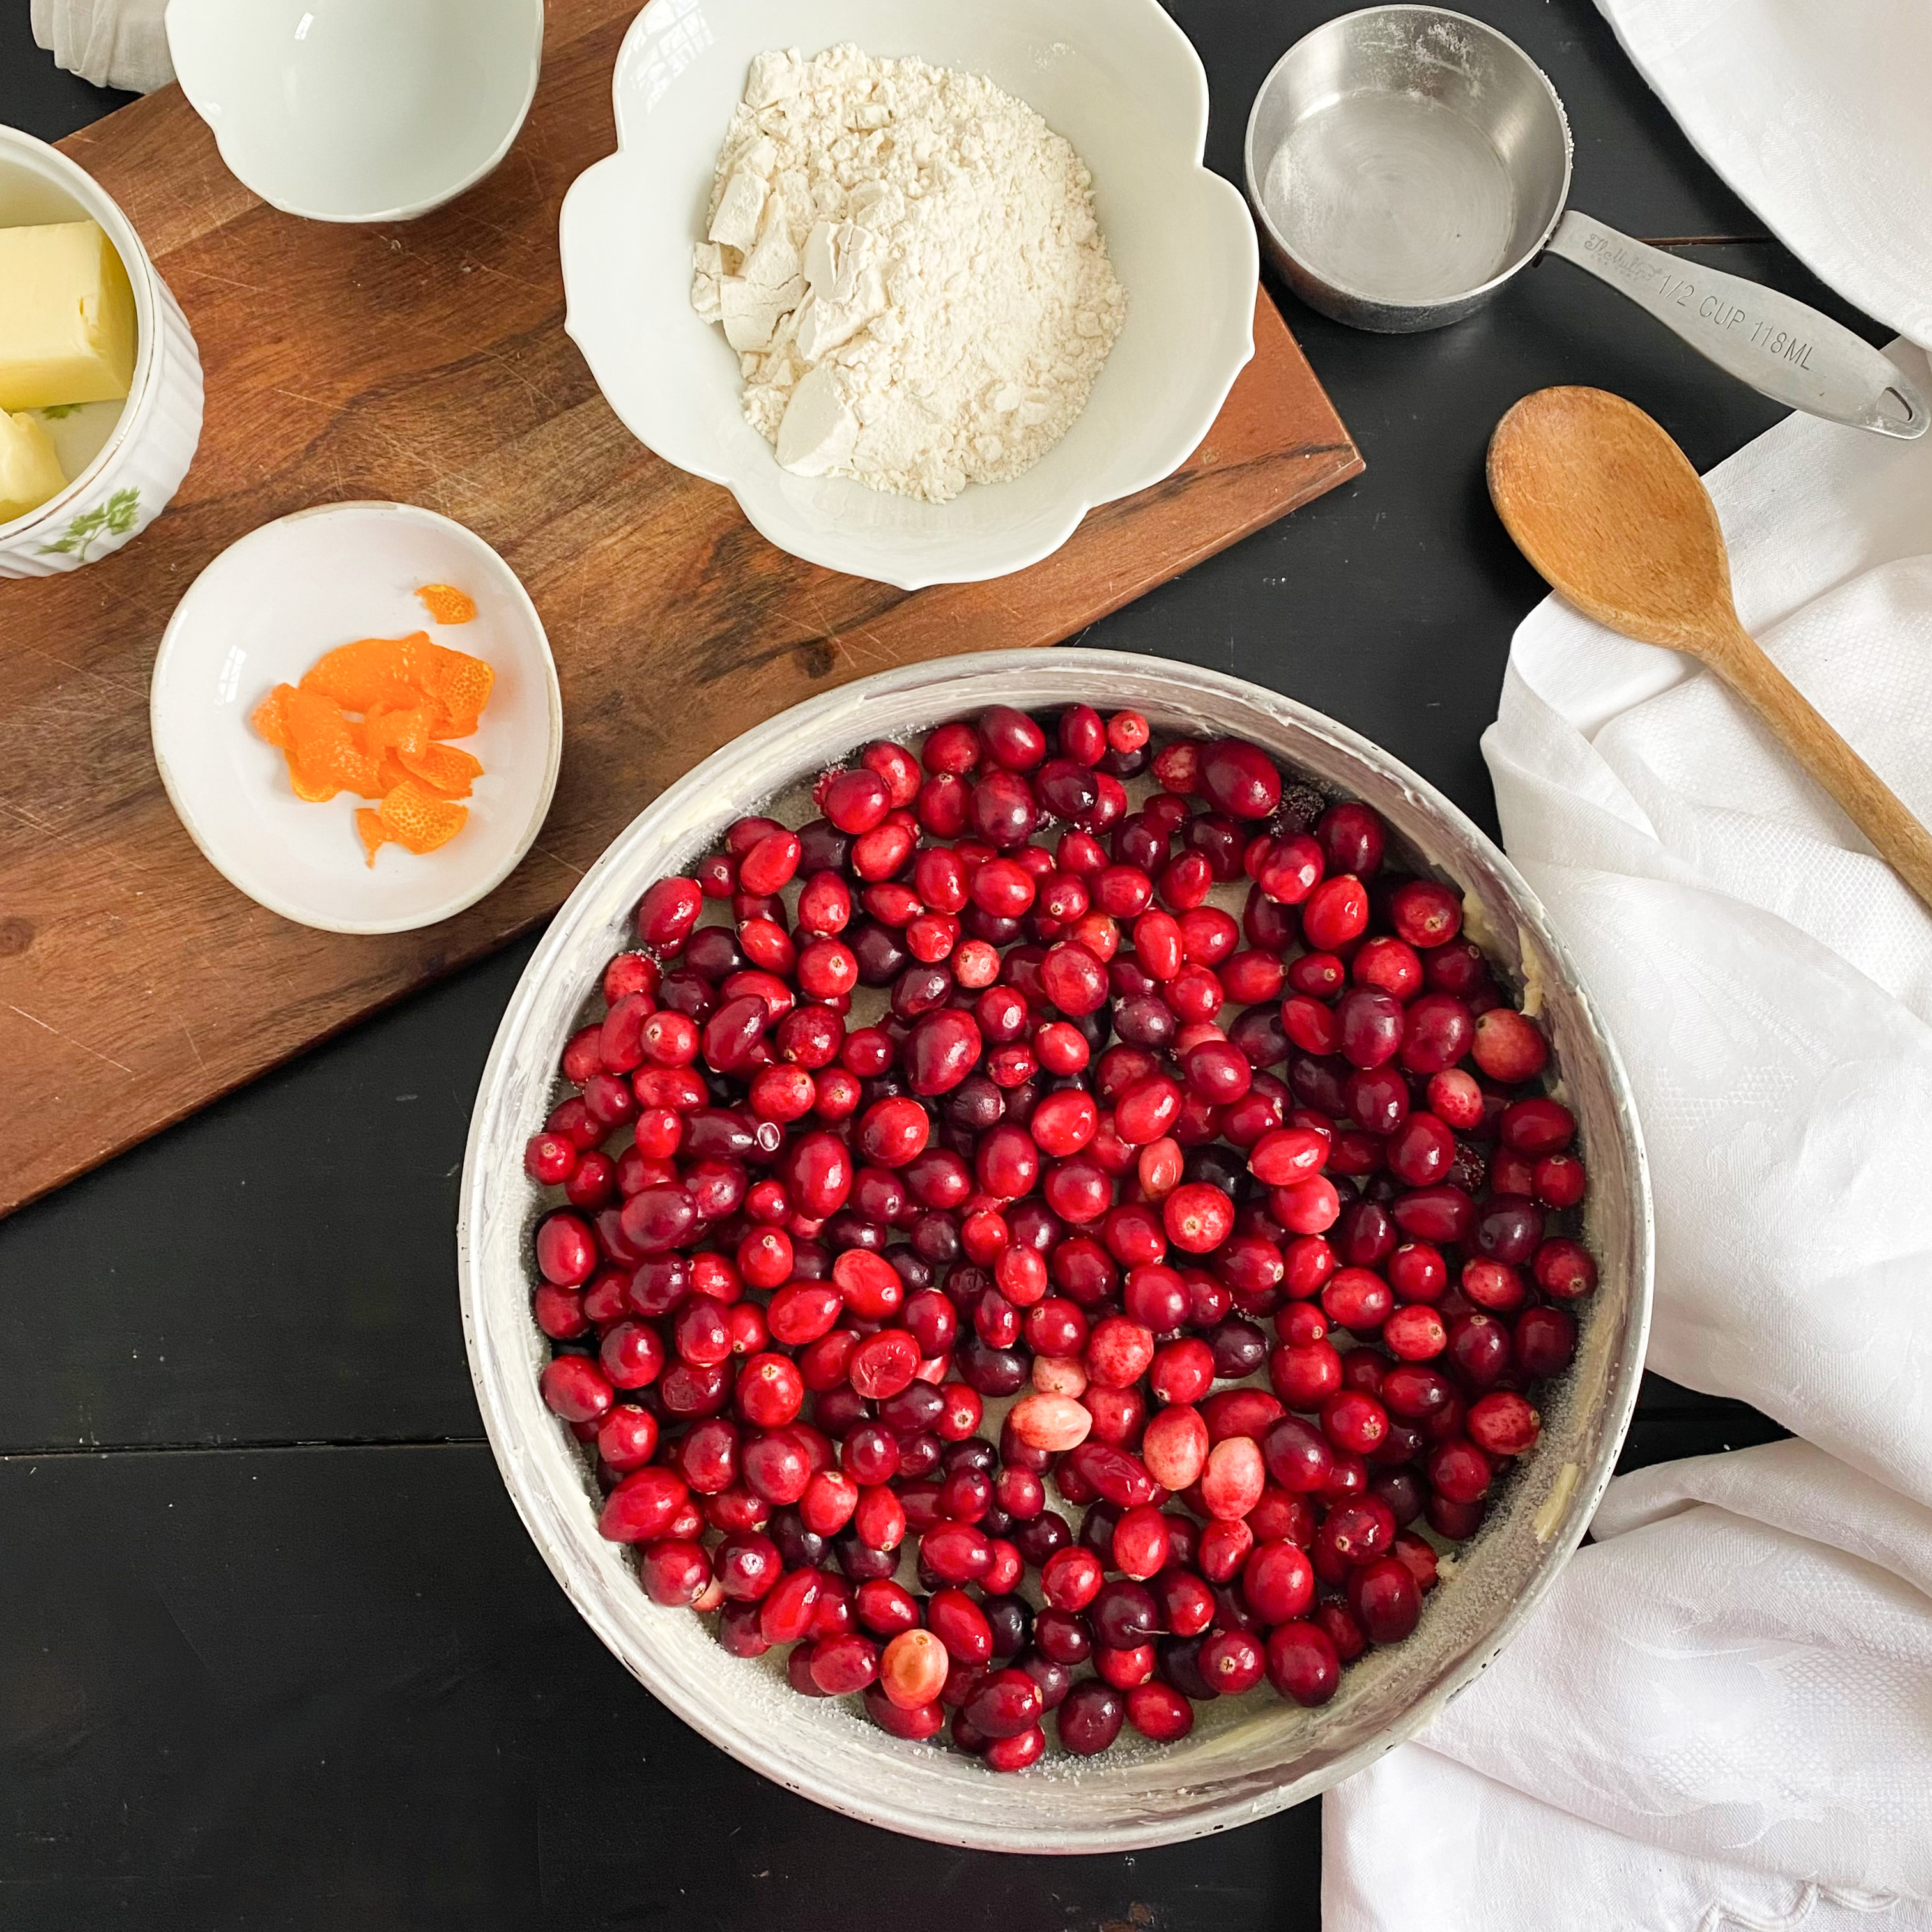
1 lb fresh cranberries (plus extra for garnish)
1 large egg
1 teaspoon vanilla
1 1/2 teaspoons freshly grated or minced orange rind
1 1/4 cups all-purpose flour
1 1/2 teaspoons baking powder
1/4 teaspoon salt
1/2 cup milk (either whole or 2%)
Fresh whipping cream
Optional garnish step (please see note below)
1/2 cup fresh cranberries
1/3 cup water
2 tablespoons sugar
Preheat the oven to 350 degrees. Butter the bottom and sides of a 9″ inch round cake pan with 3 tablespoons of butter. (Note: this is going to seem like an excessive amount of butter but be sure to use all 3 tablespoons).
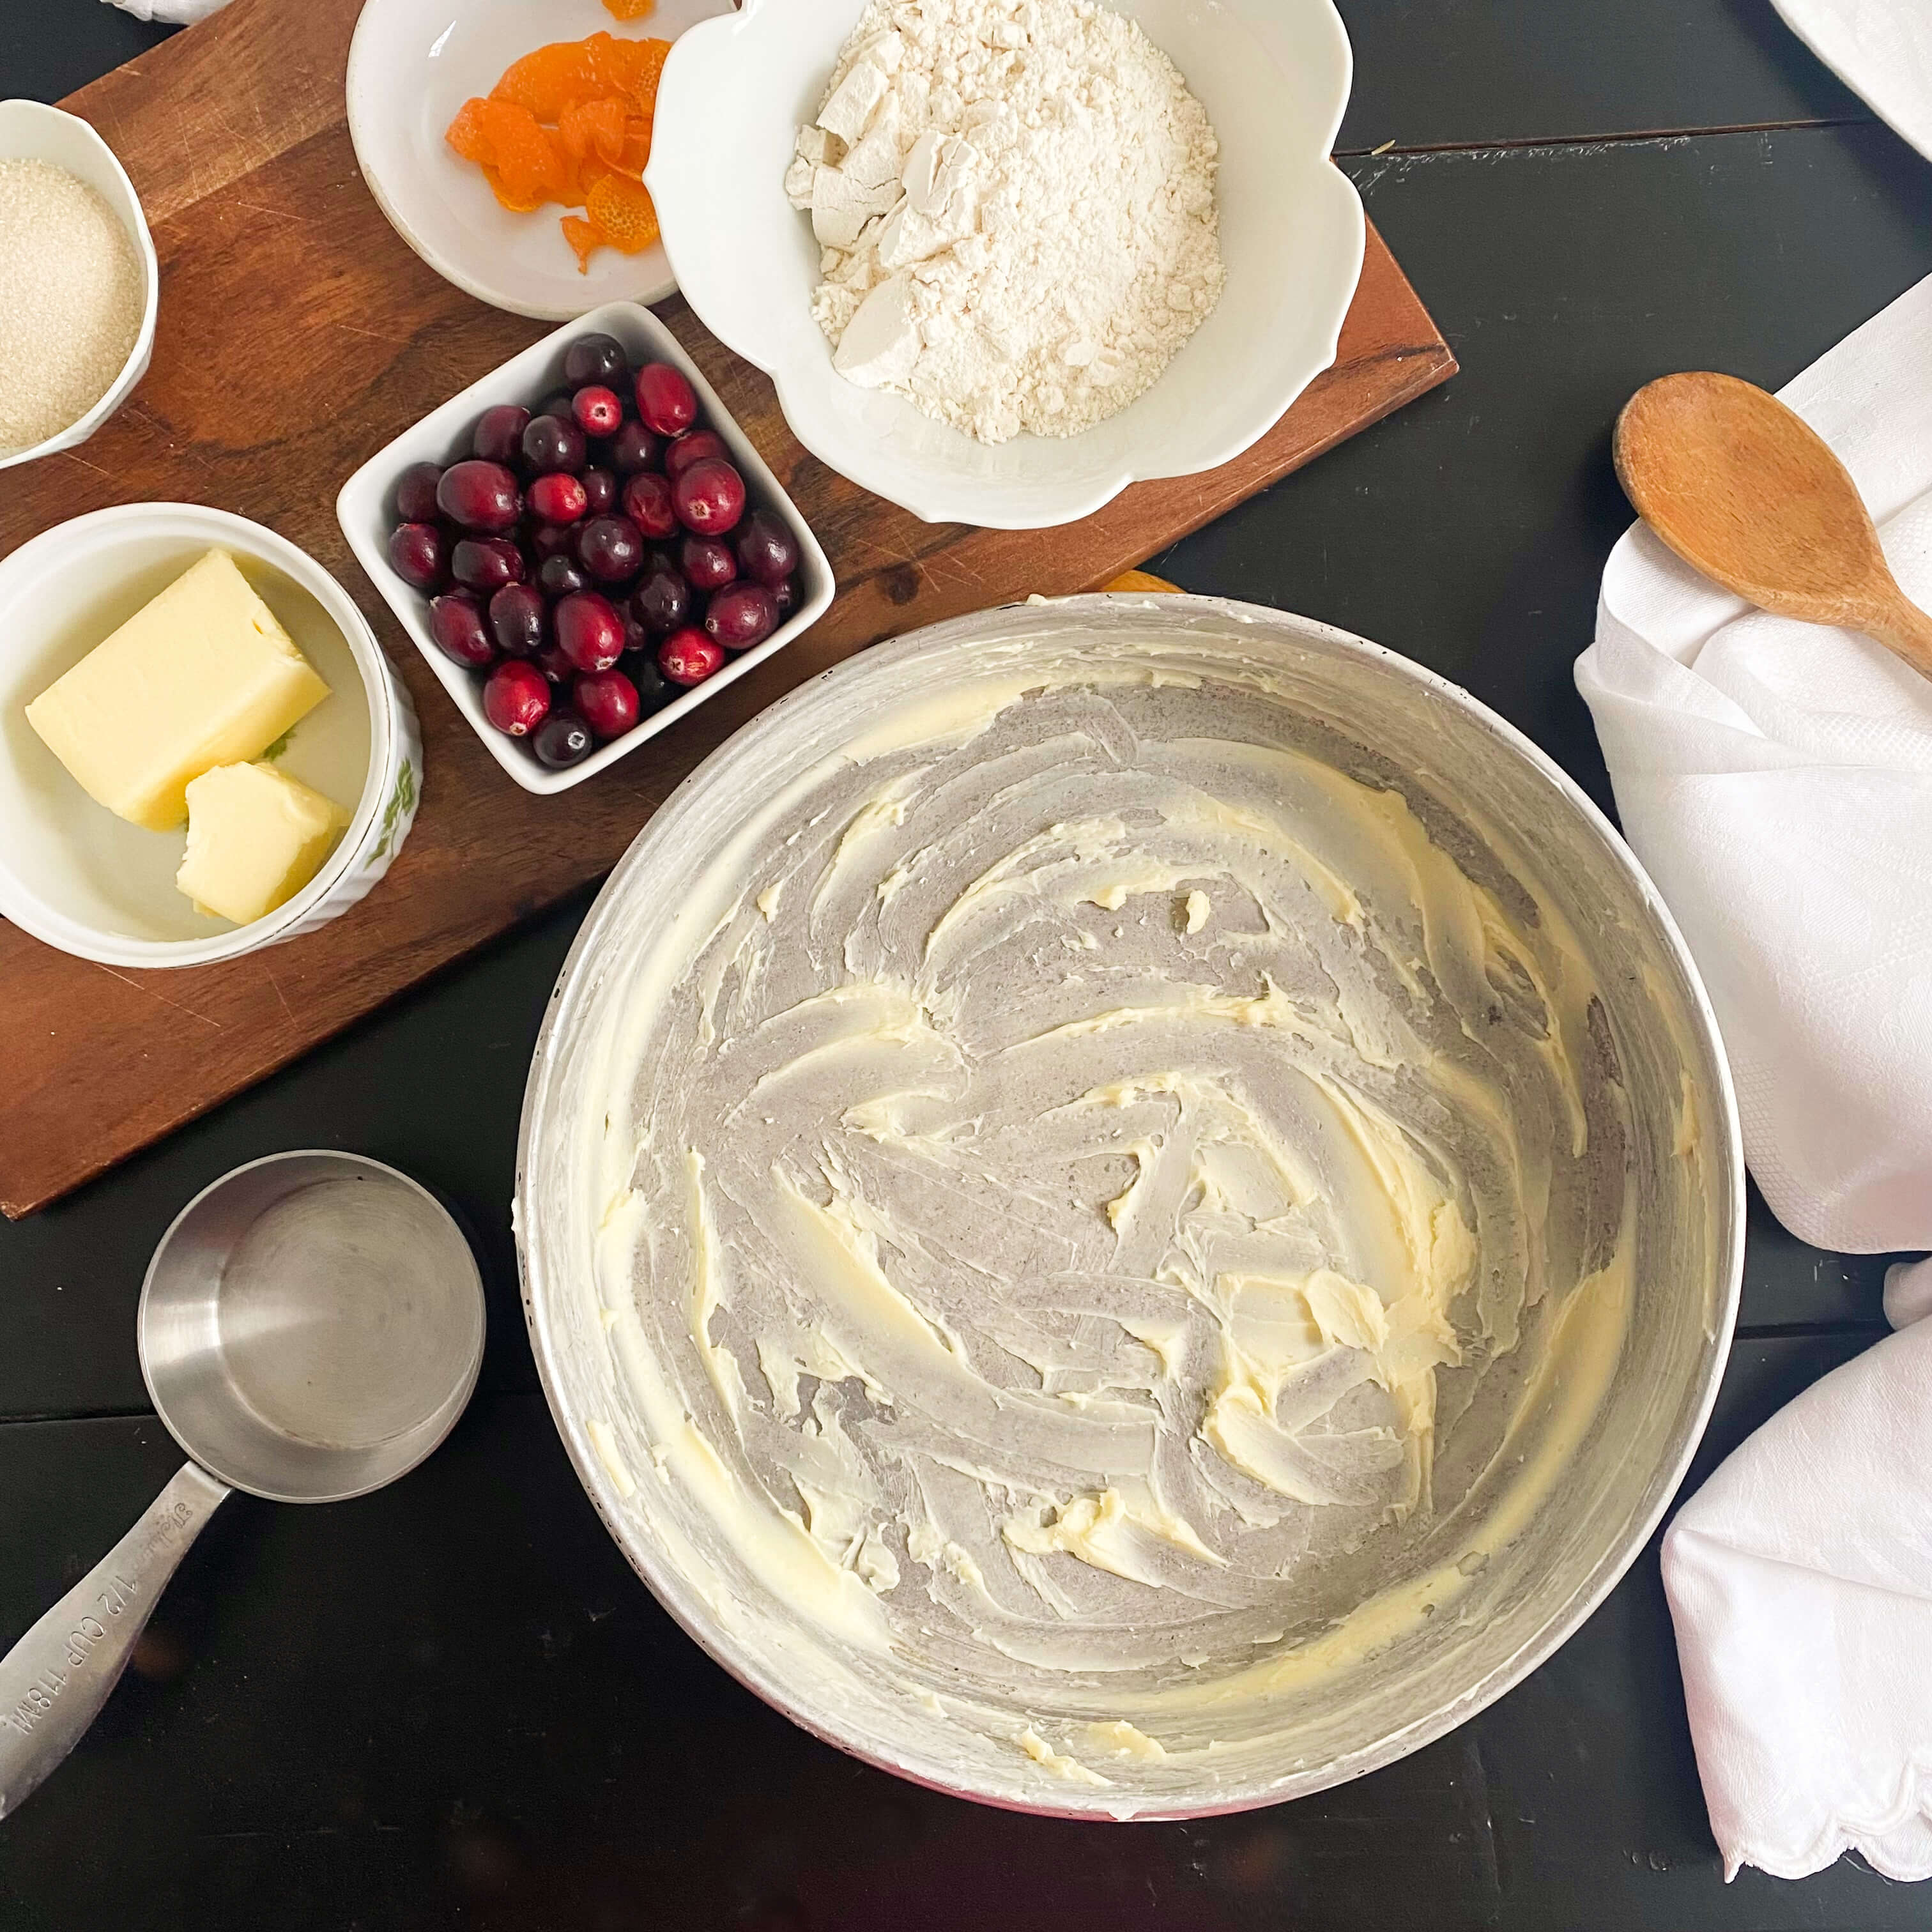
Sprinkle 1/2 cup of sugar evenly over the bottom and pour the cranberries on top, making sure they are evenly settled in the pan.
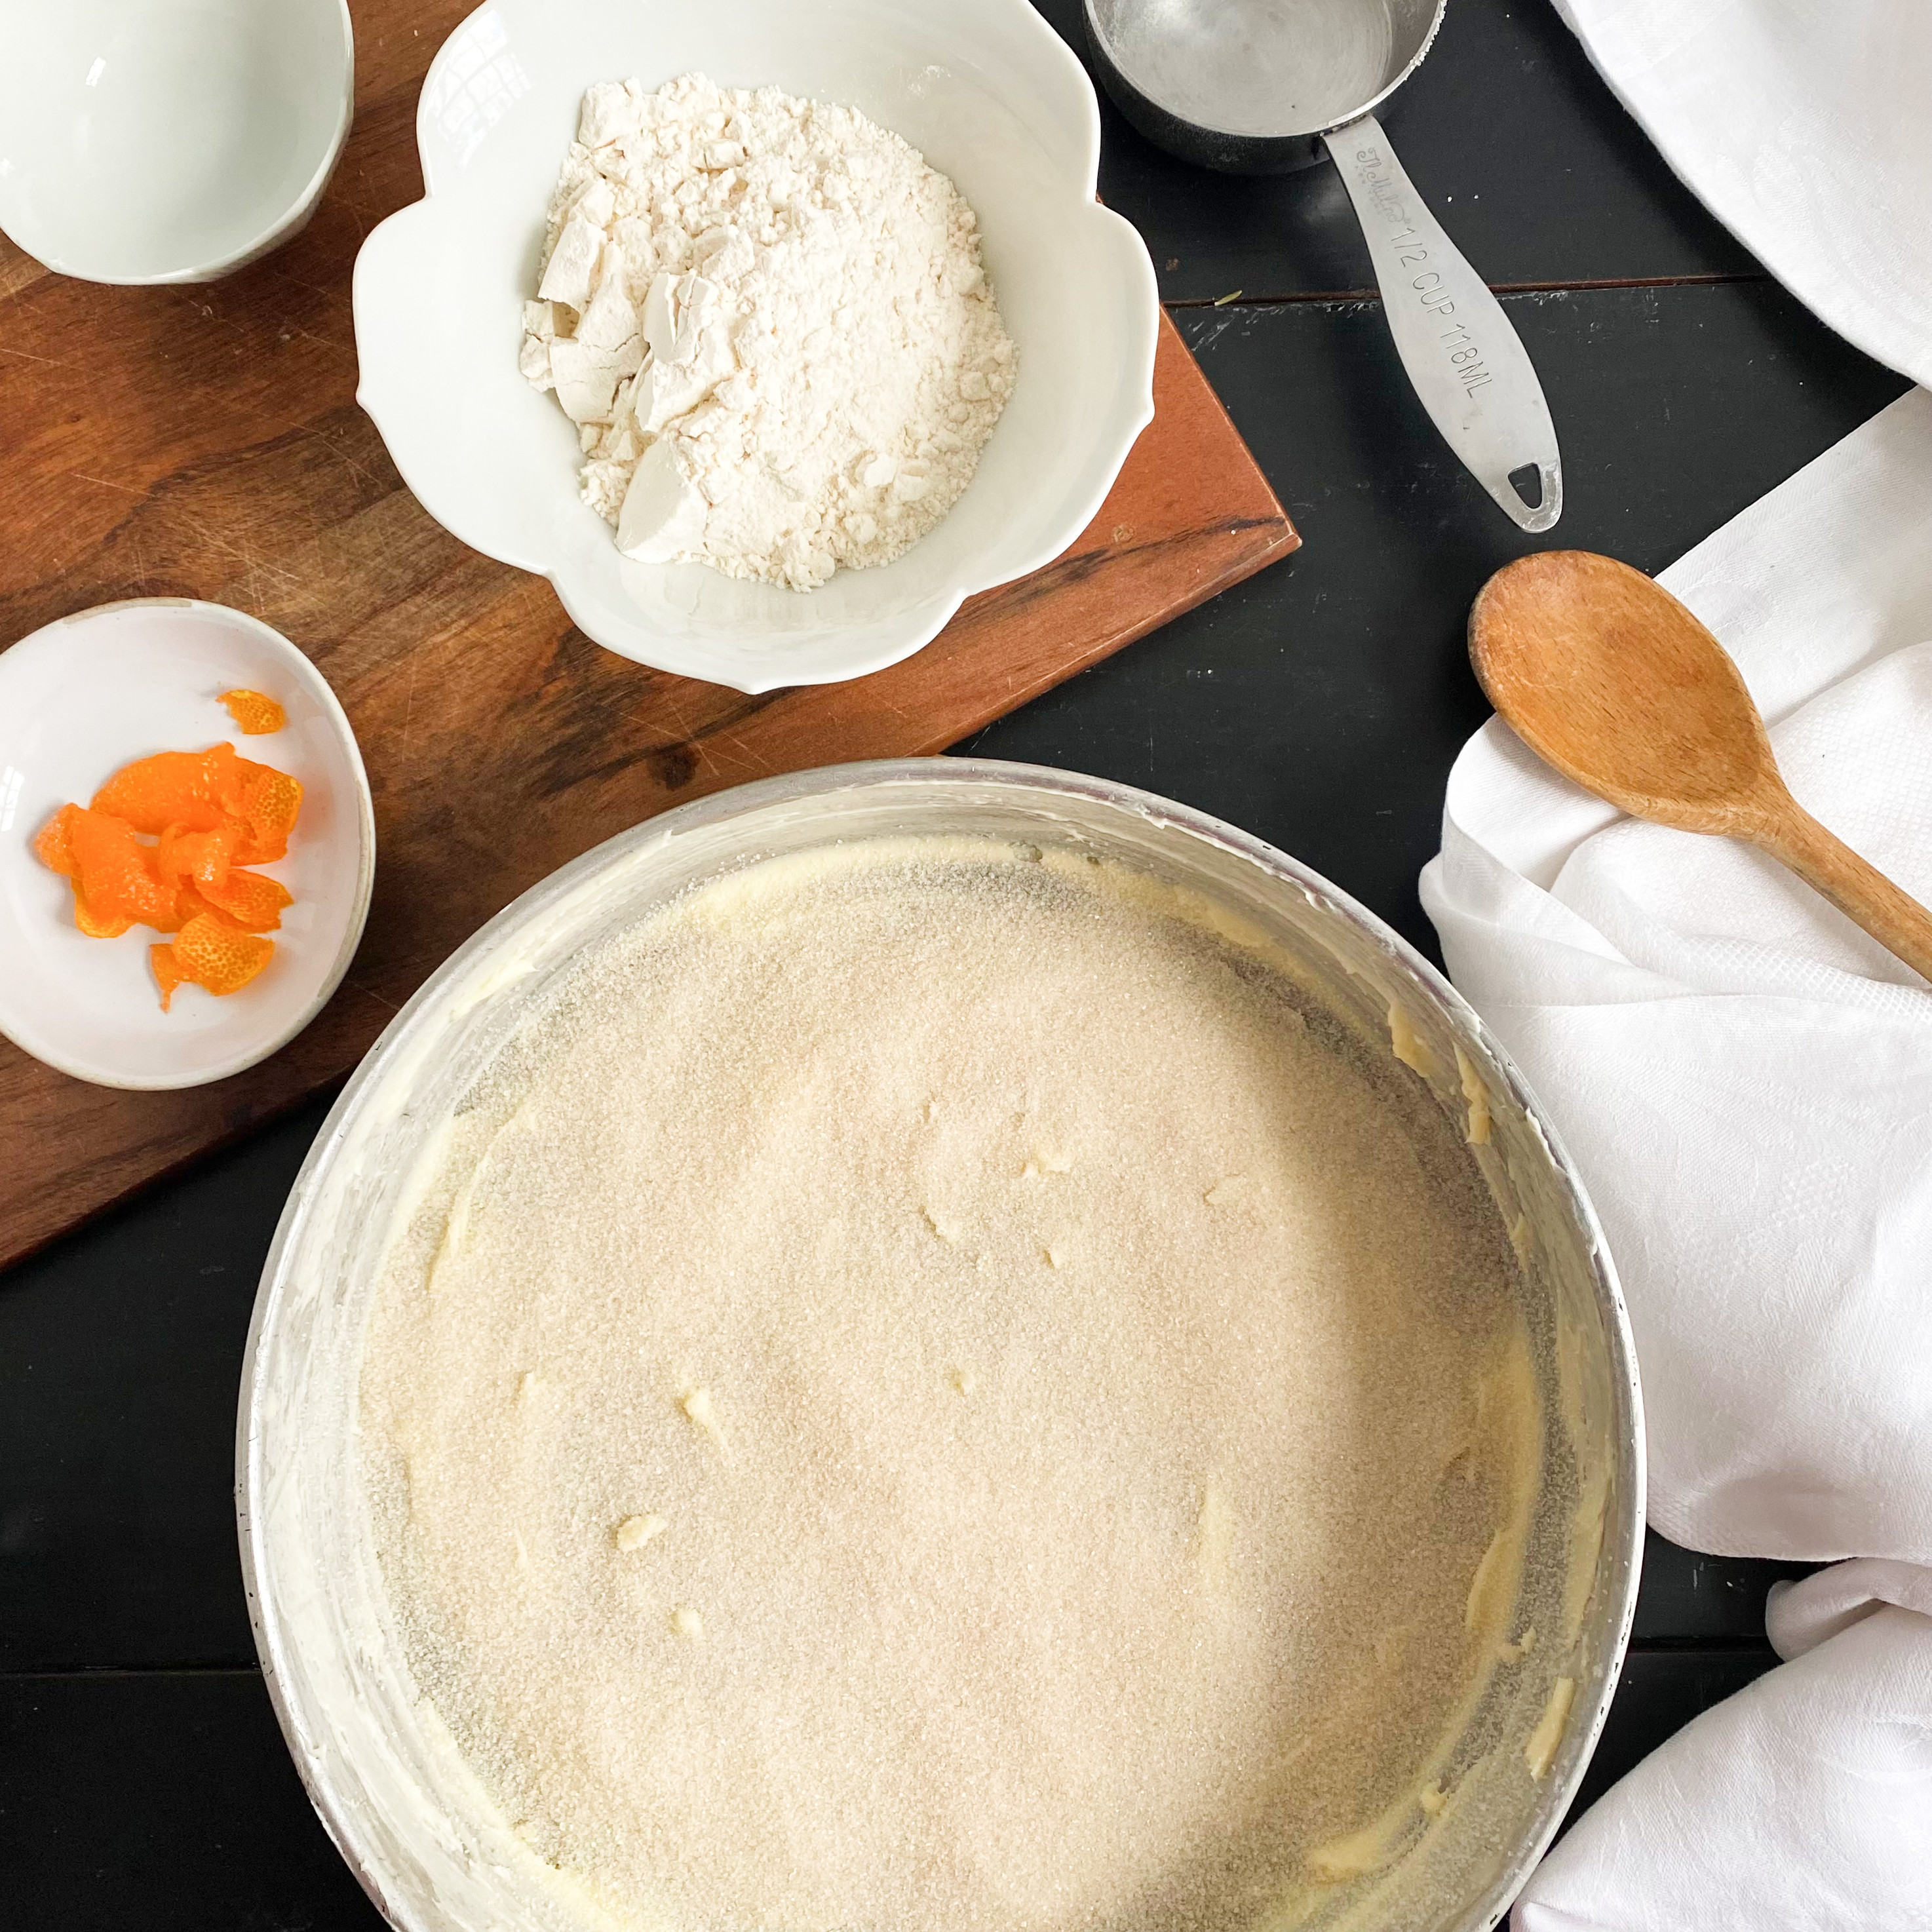

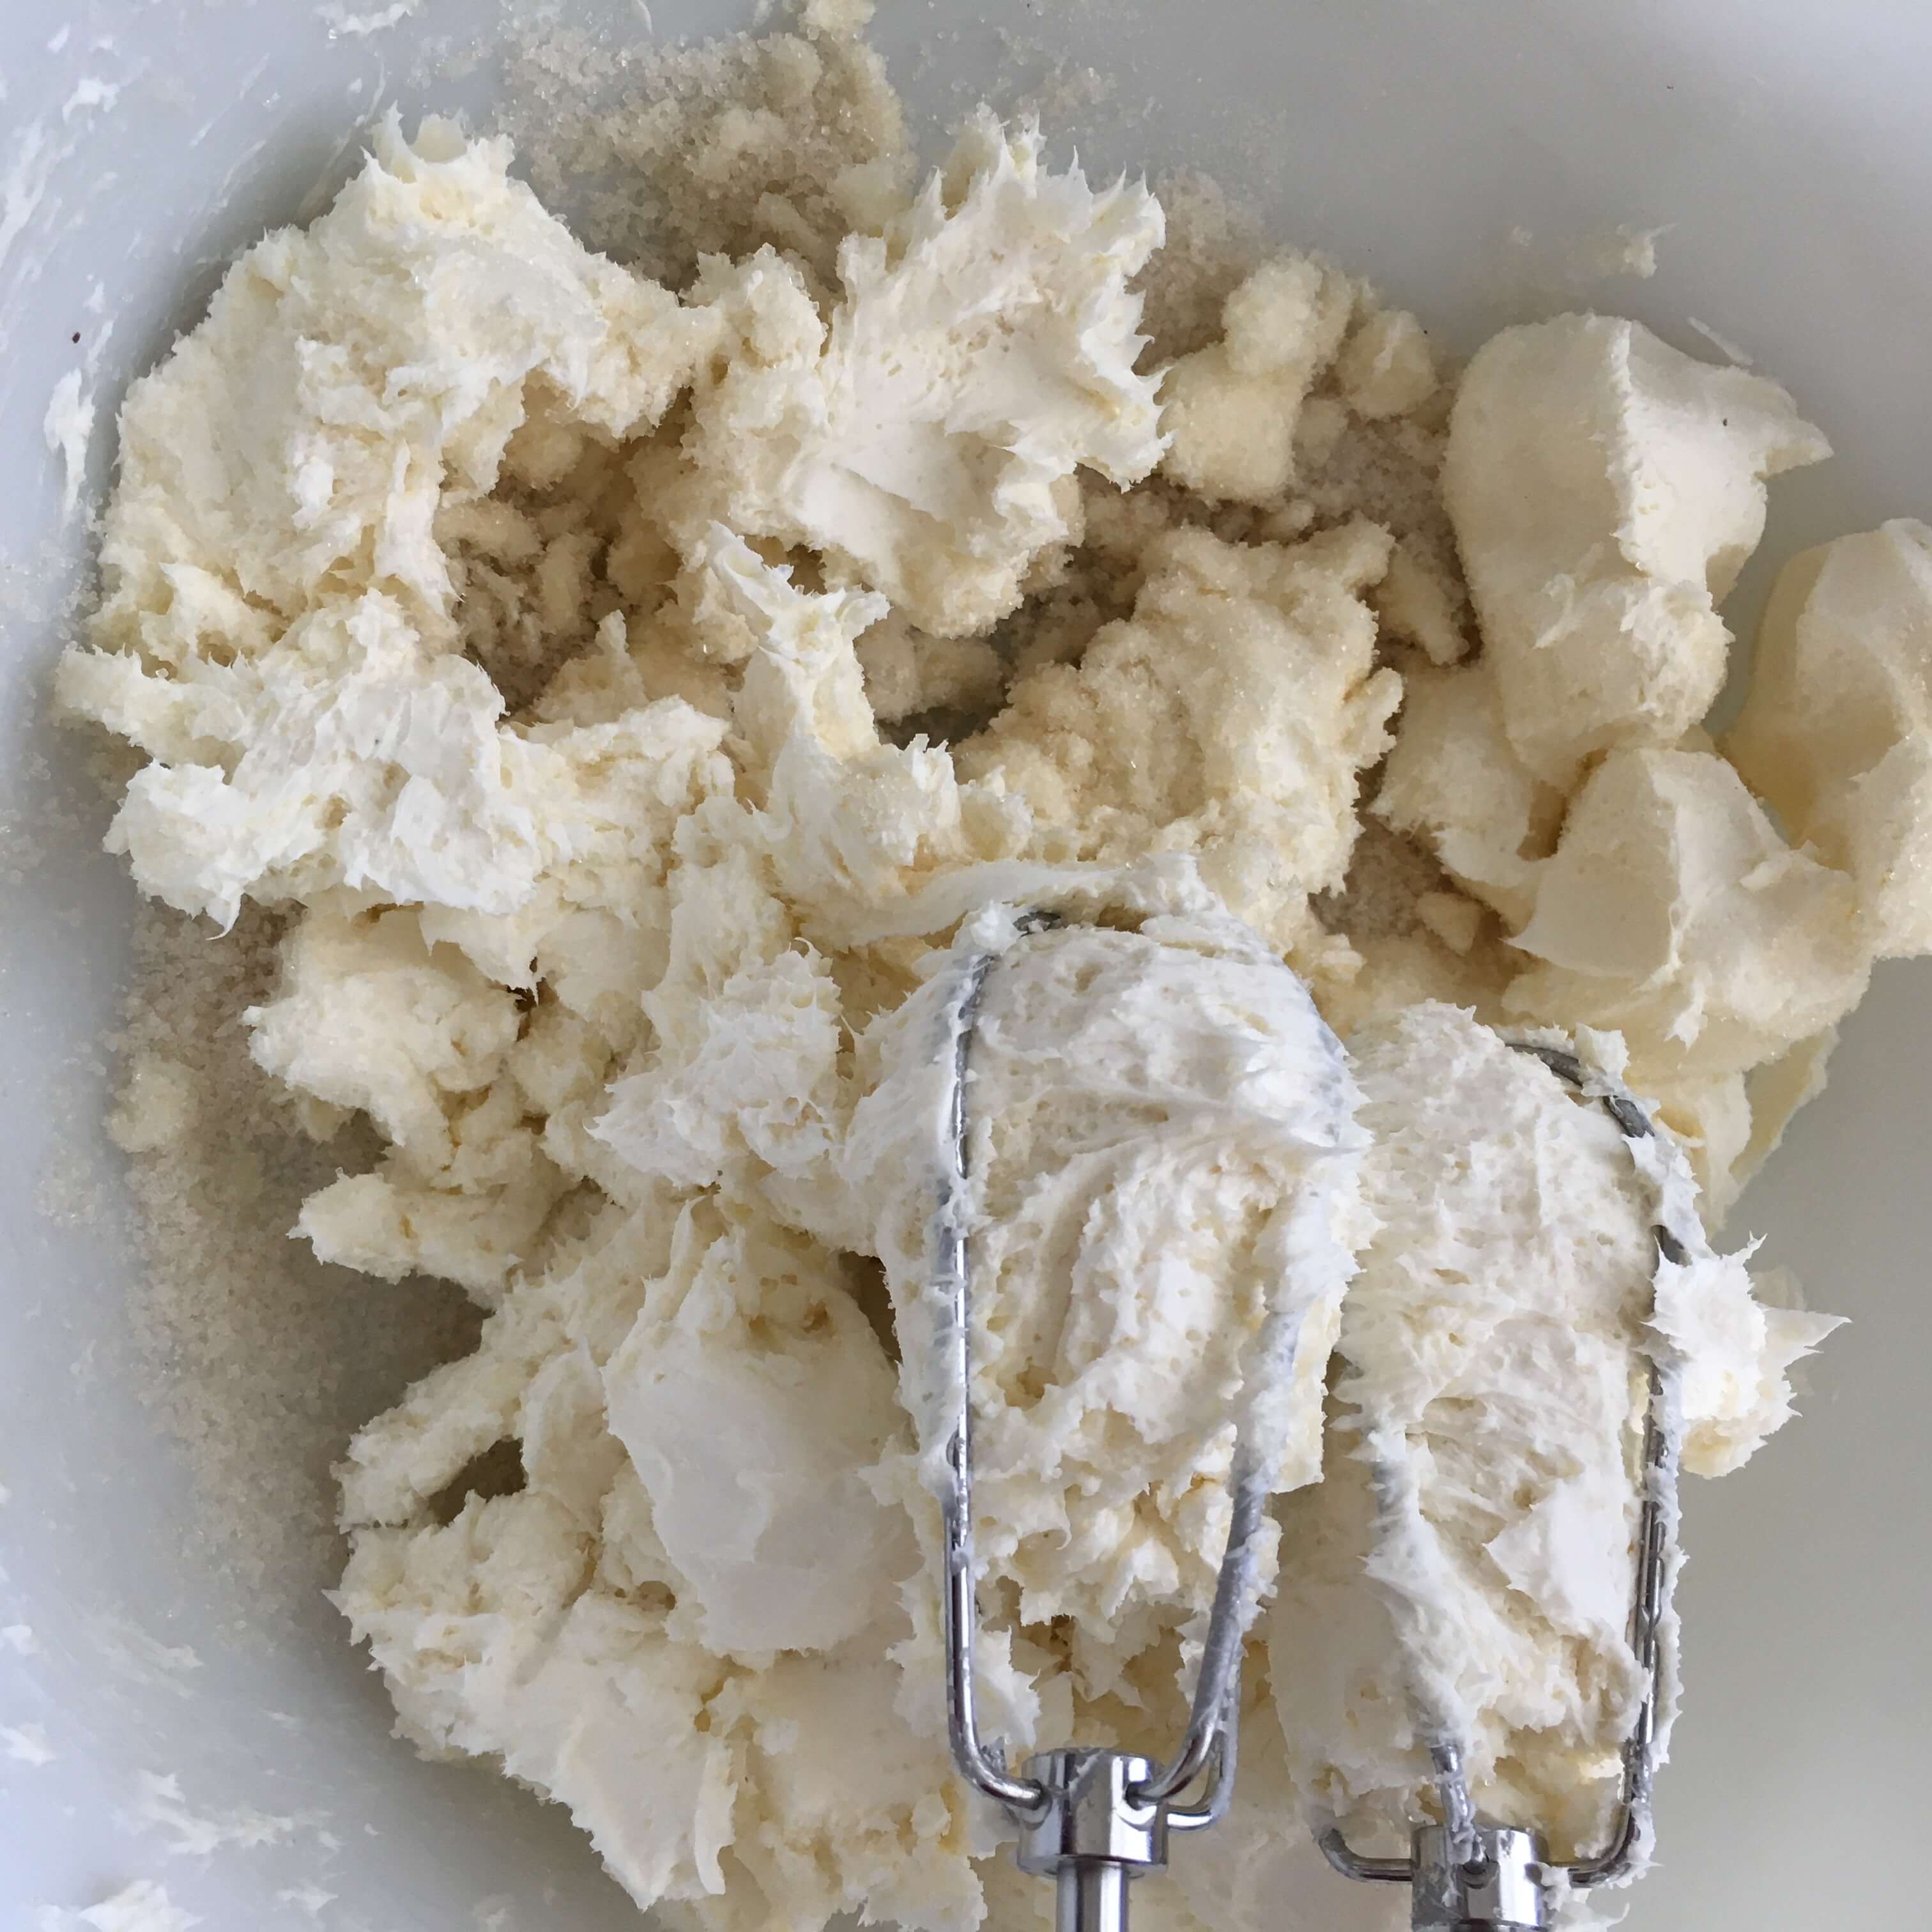
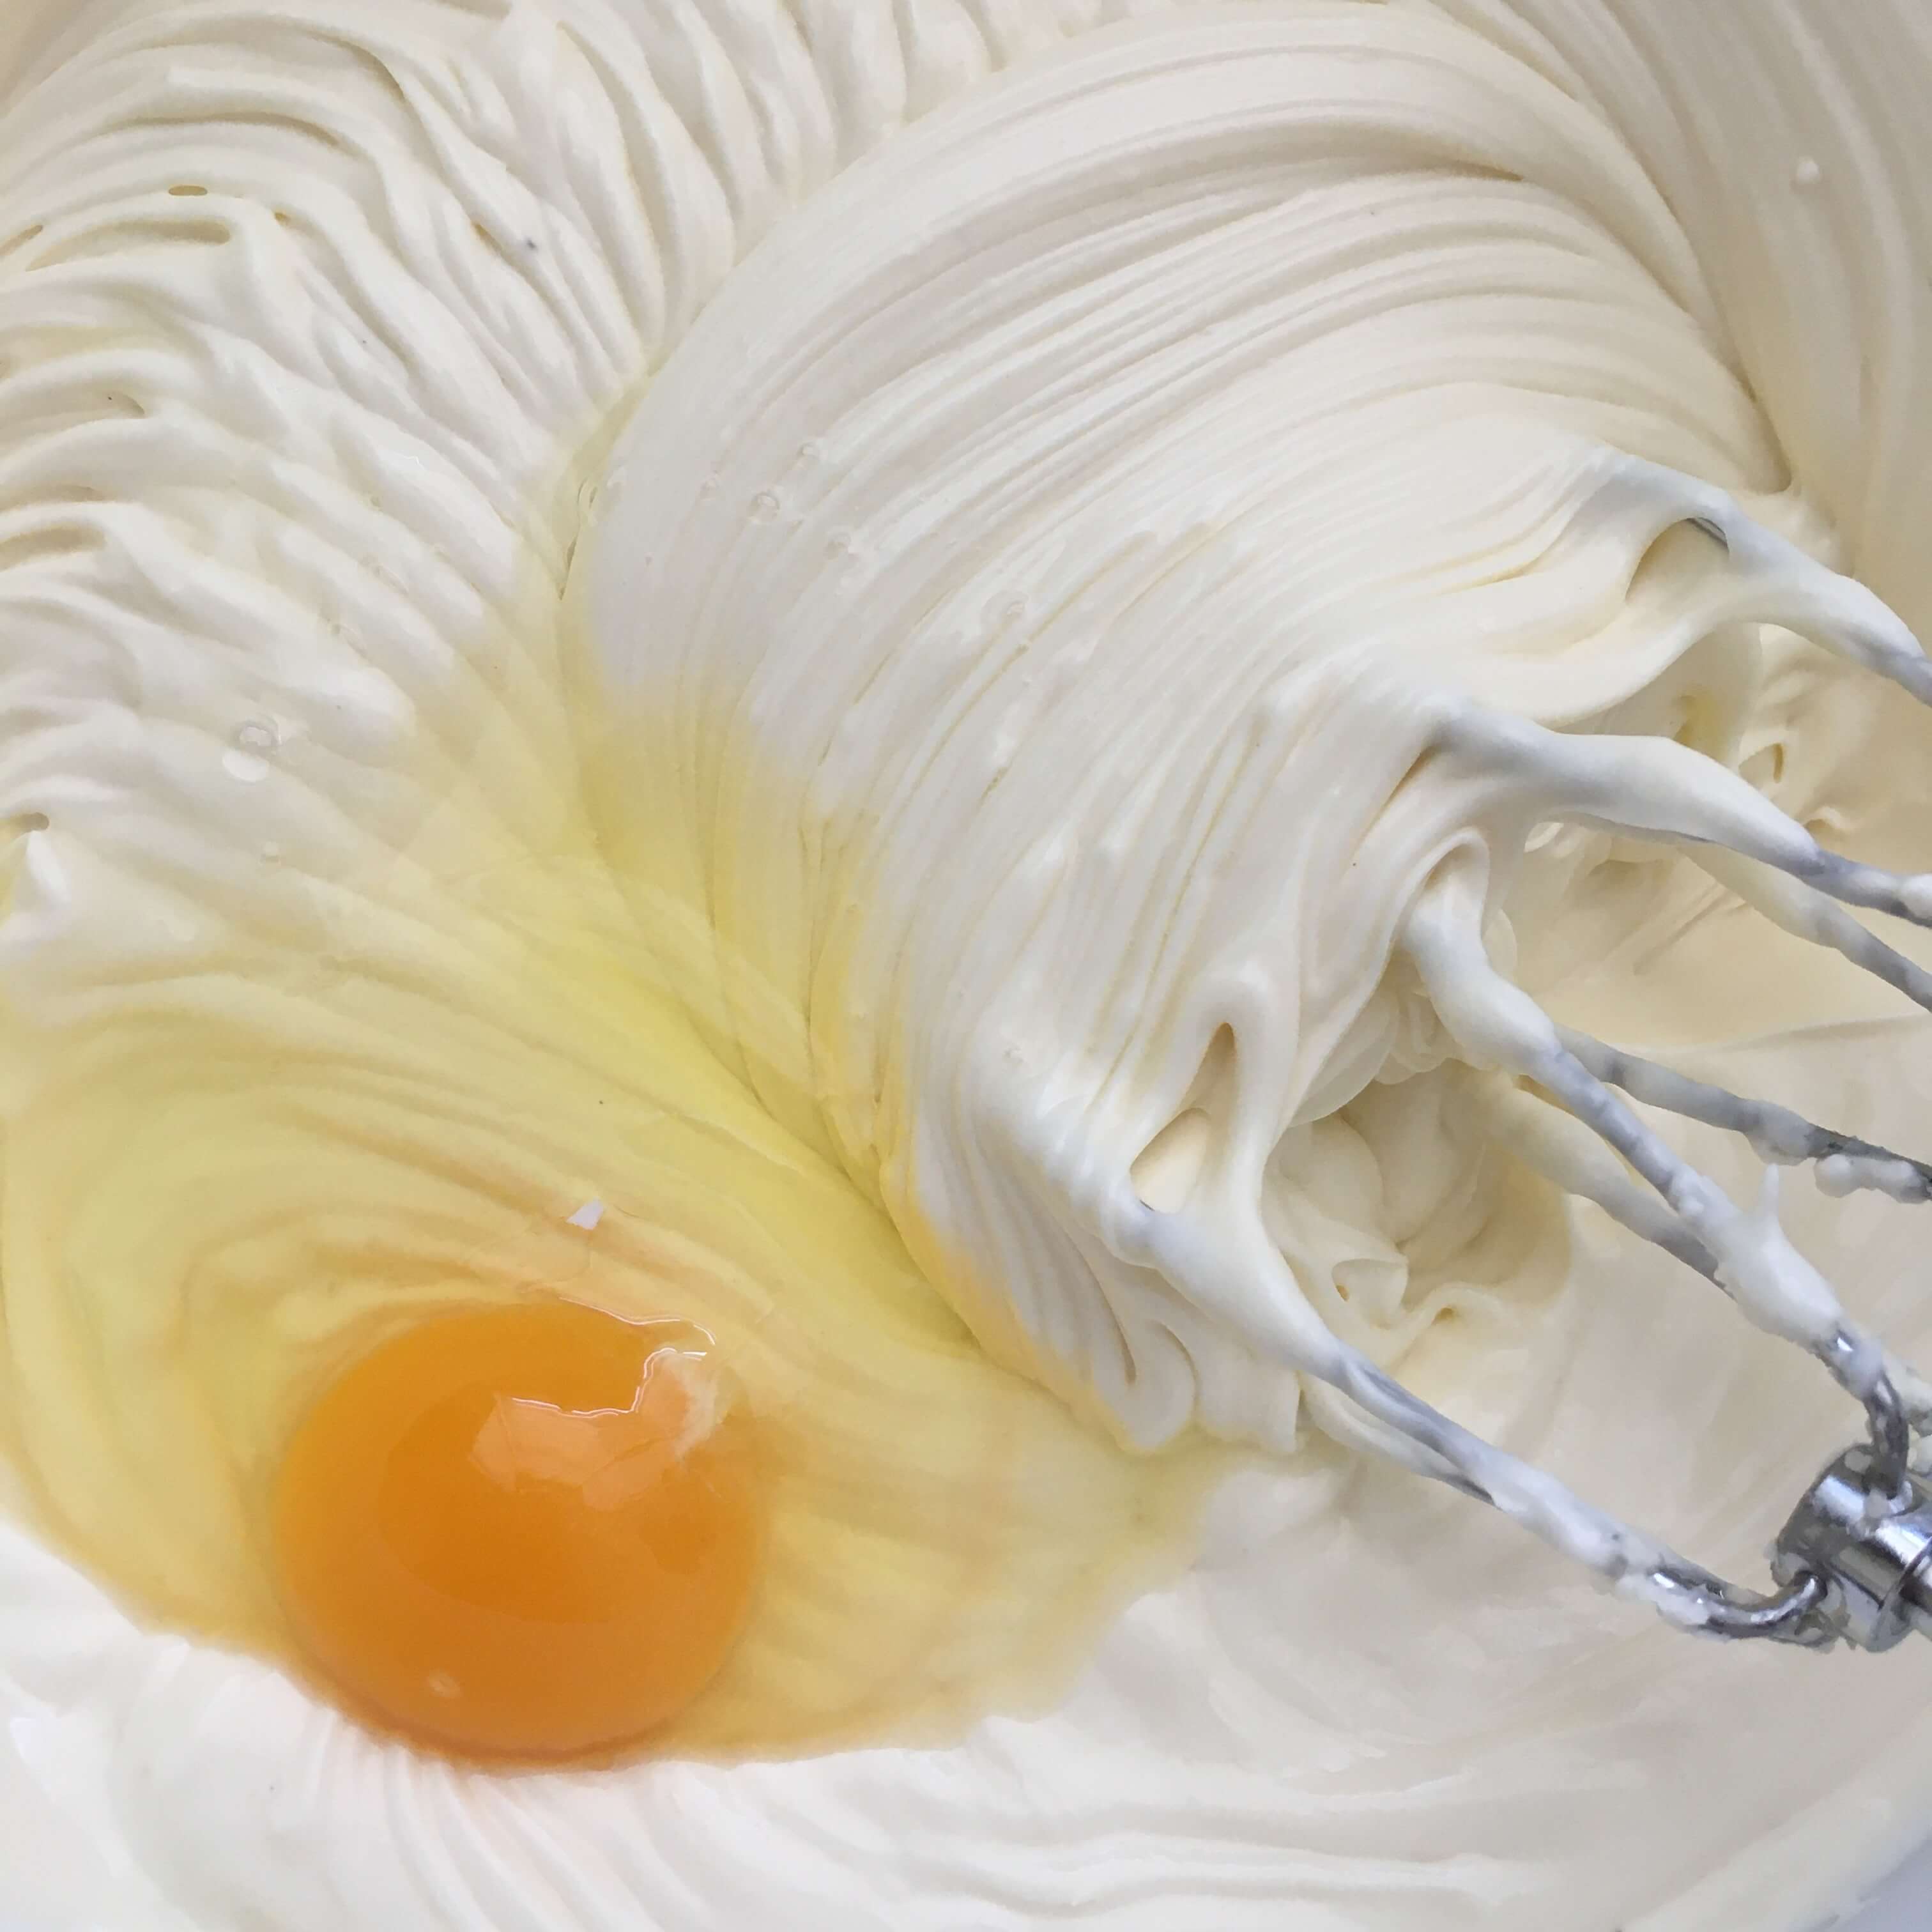
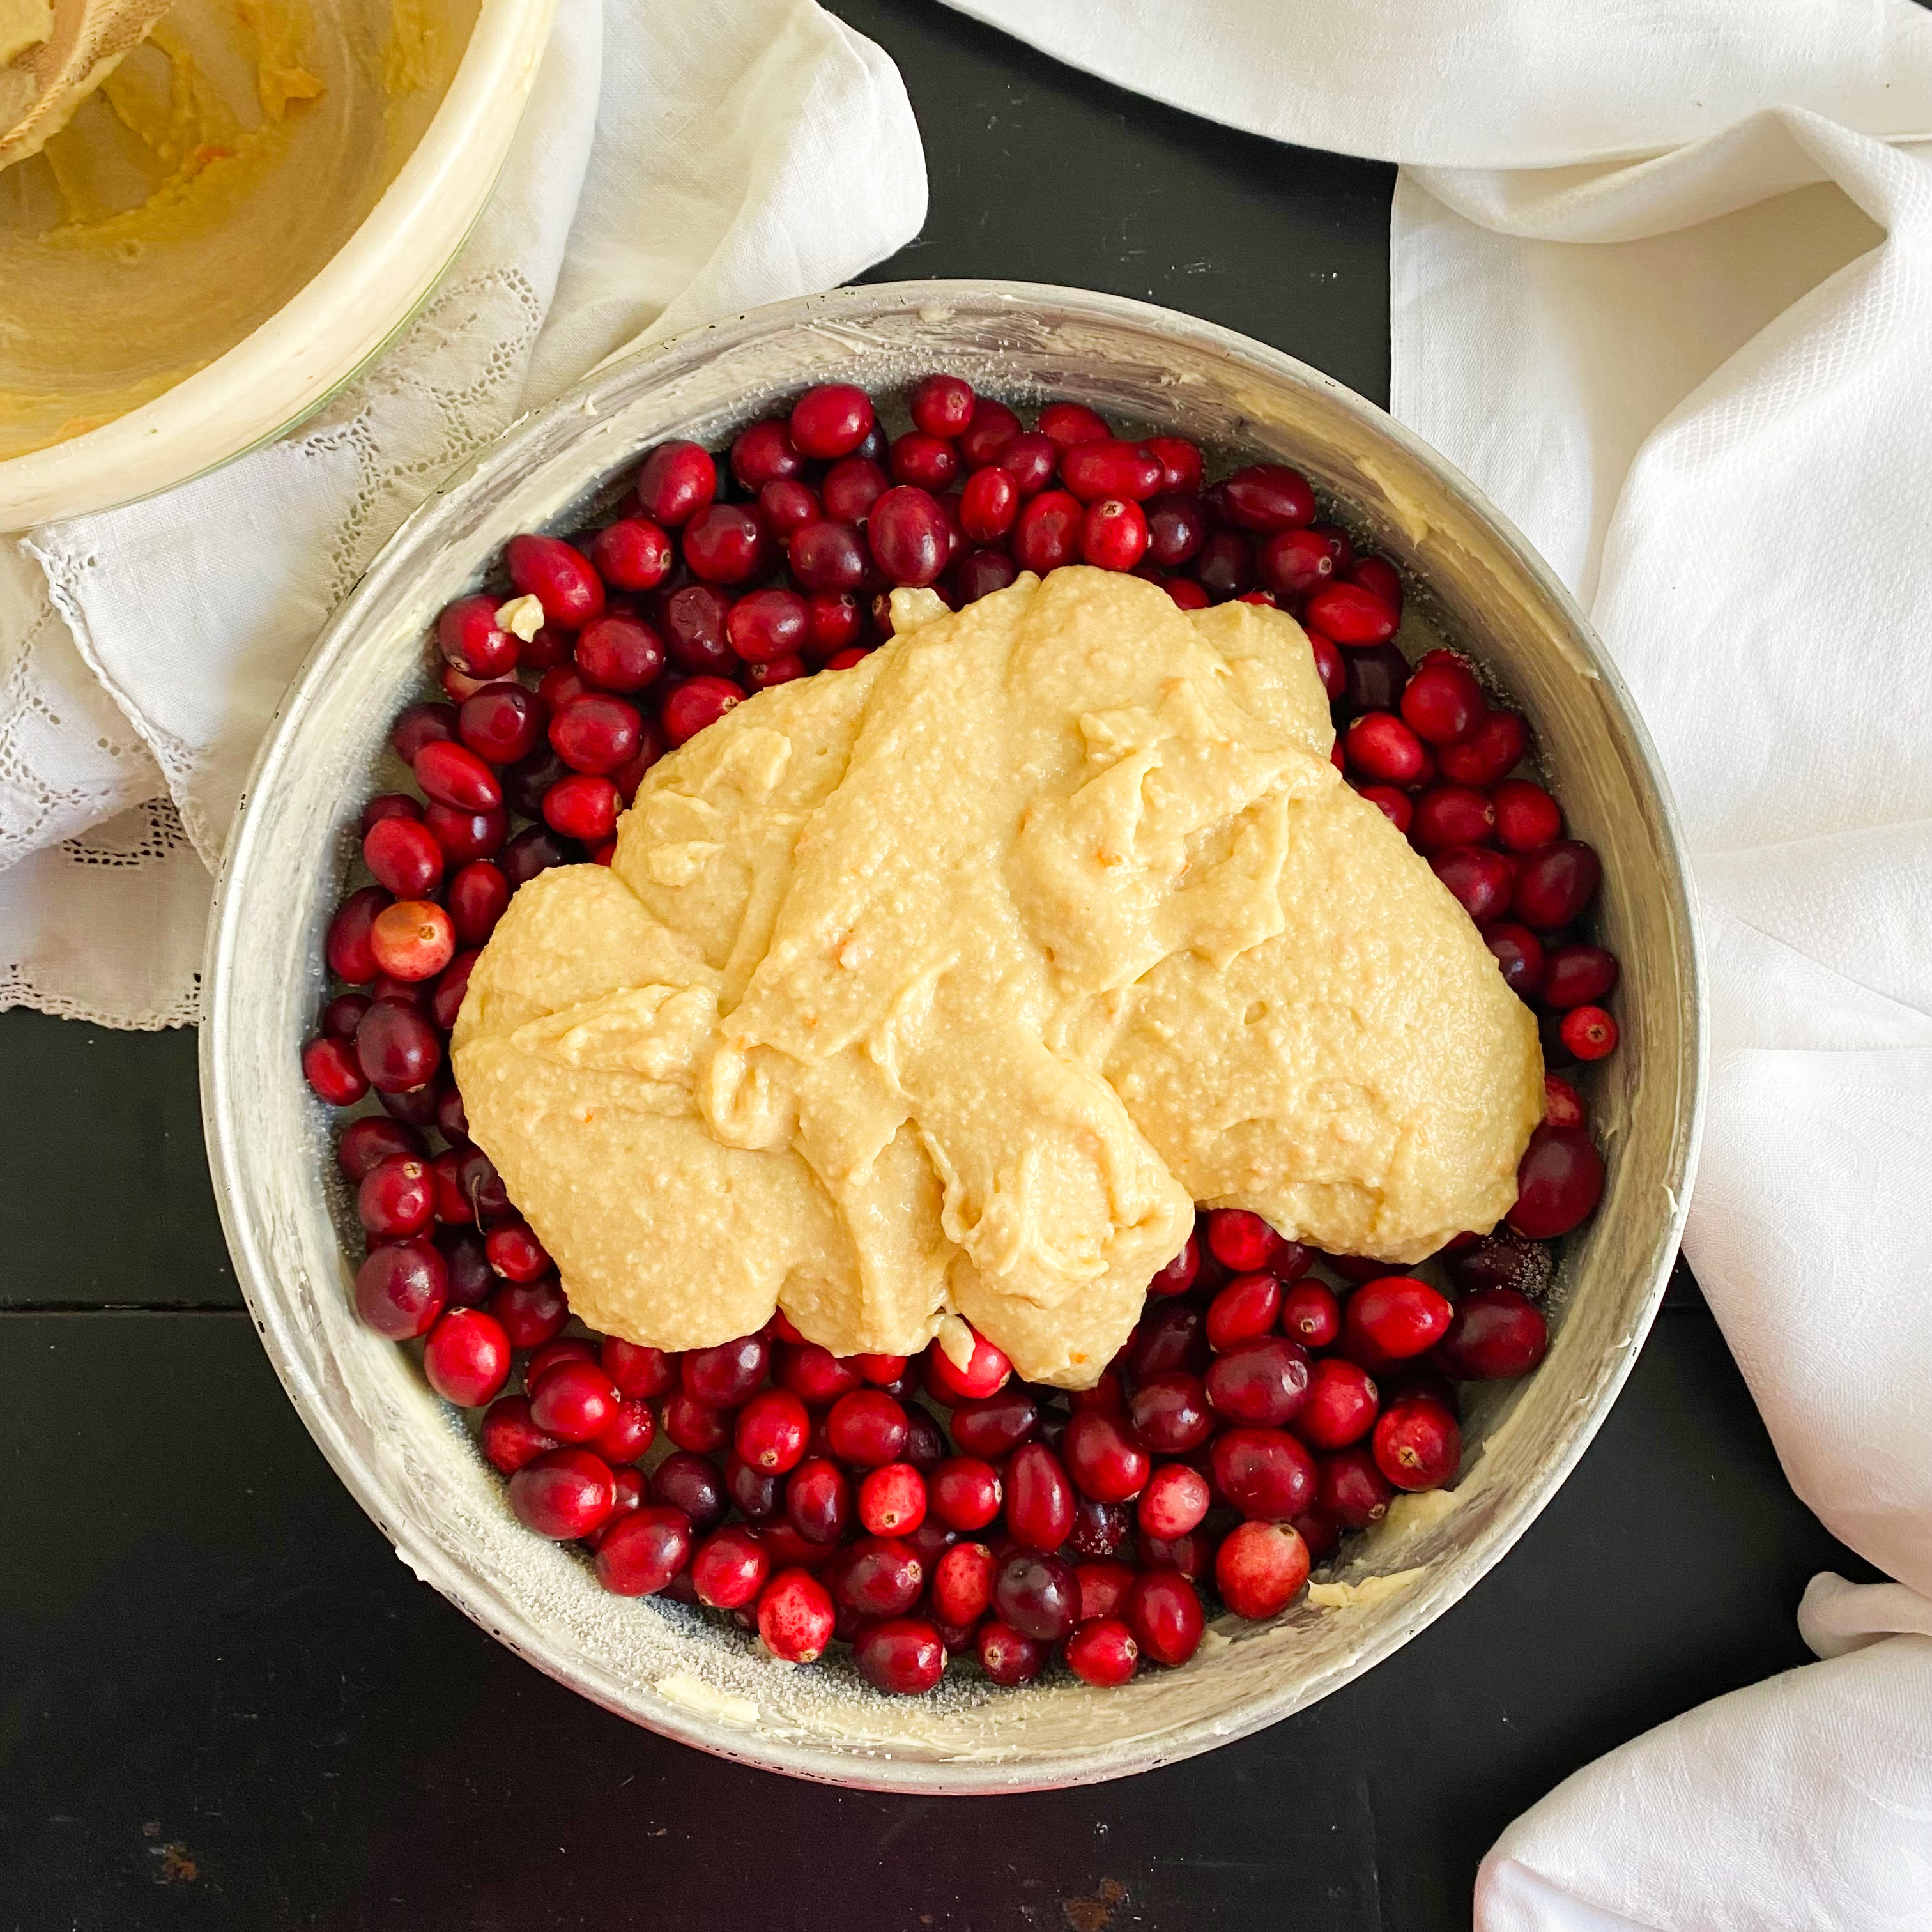
In a bowl, cream together the remaining 6 tablespoons of butter and the remaining 1/2 cup of sugar. Add the egg, vanilla and orange rind. Beat until well combined.
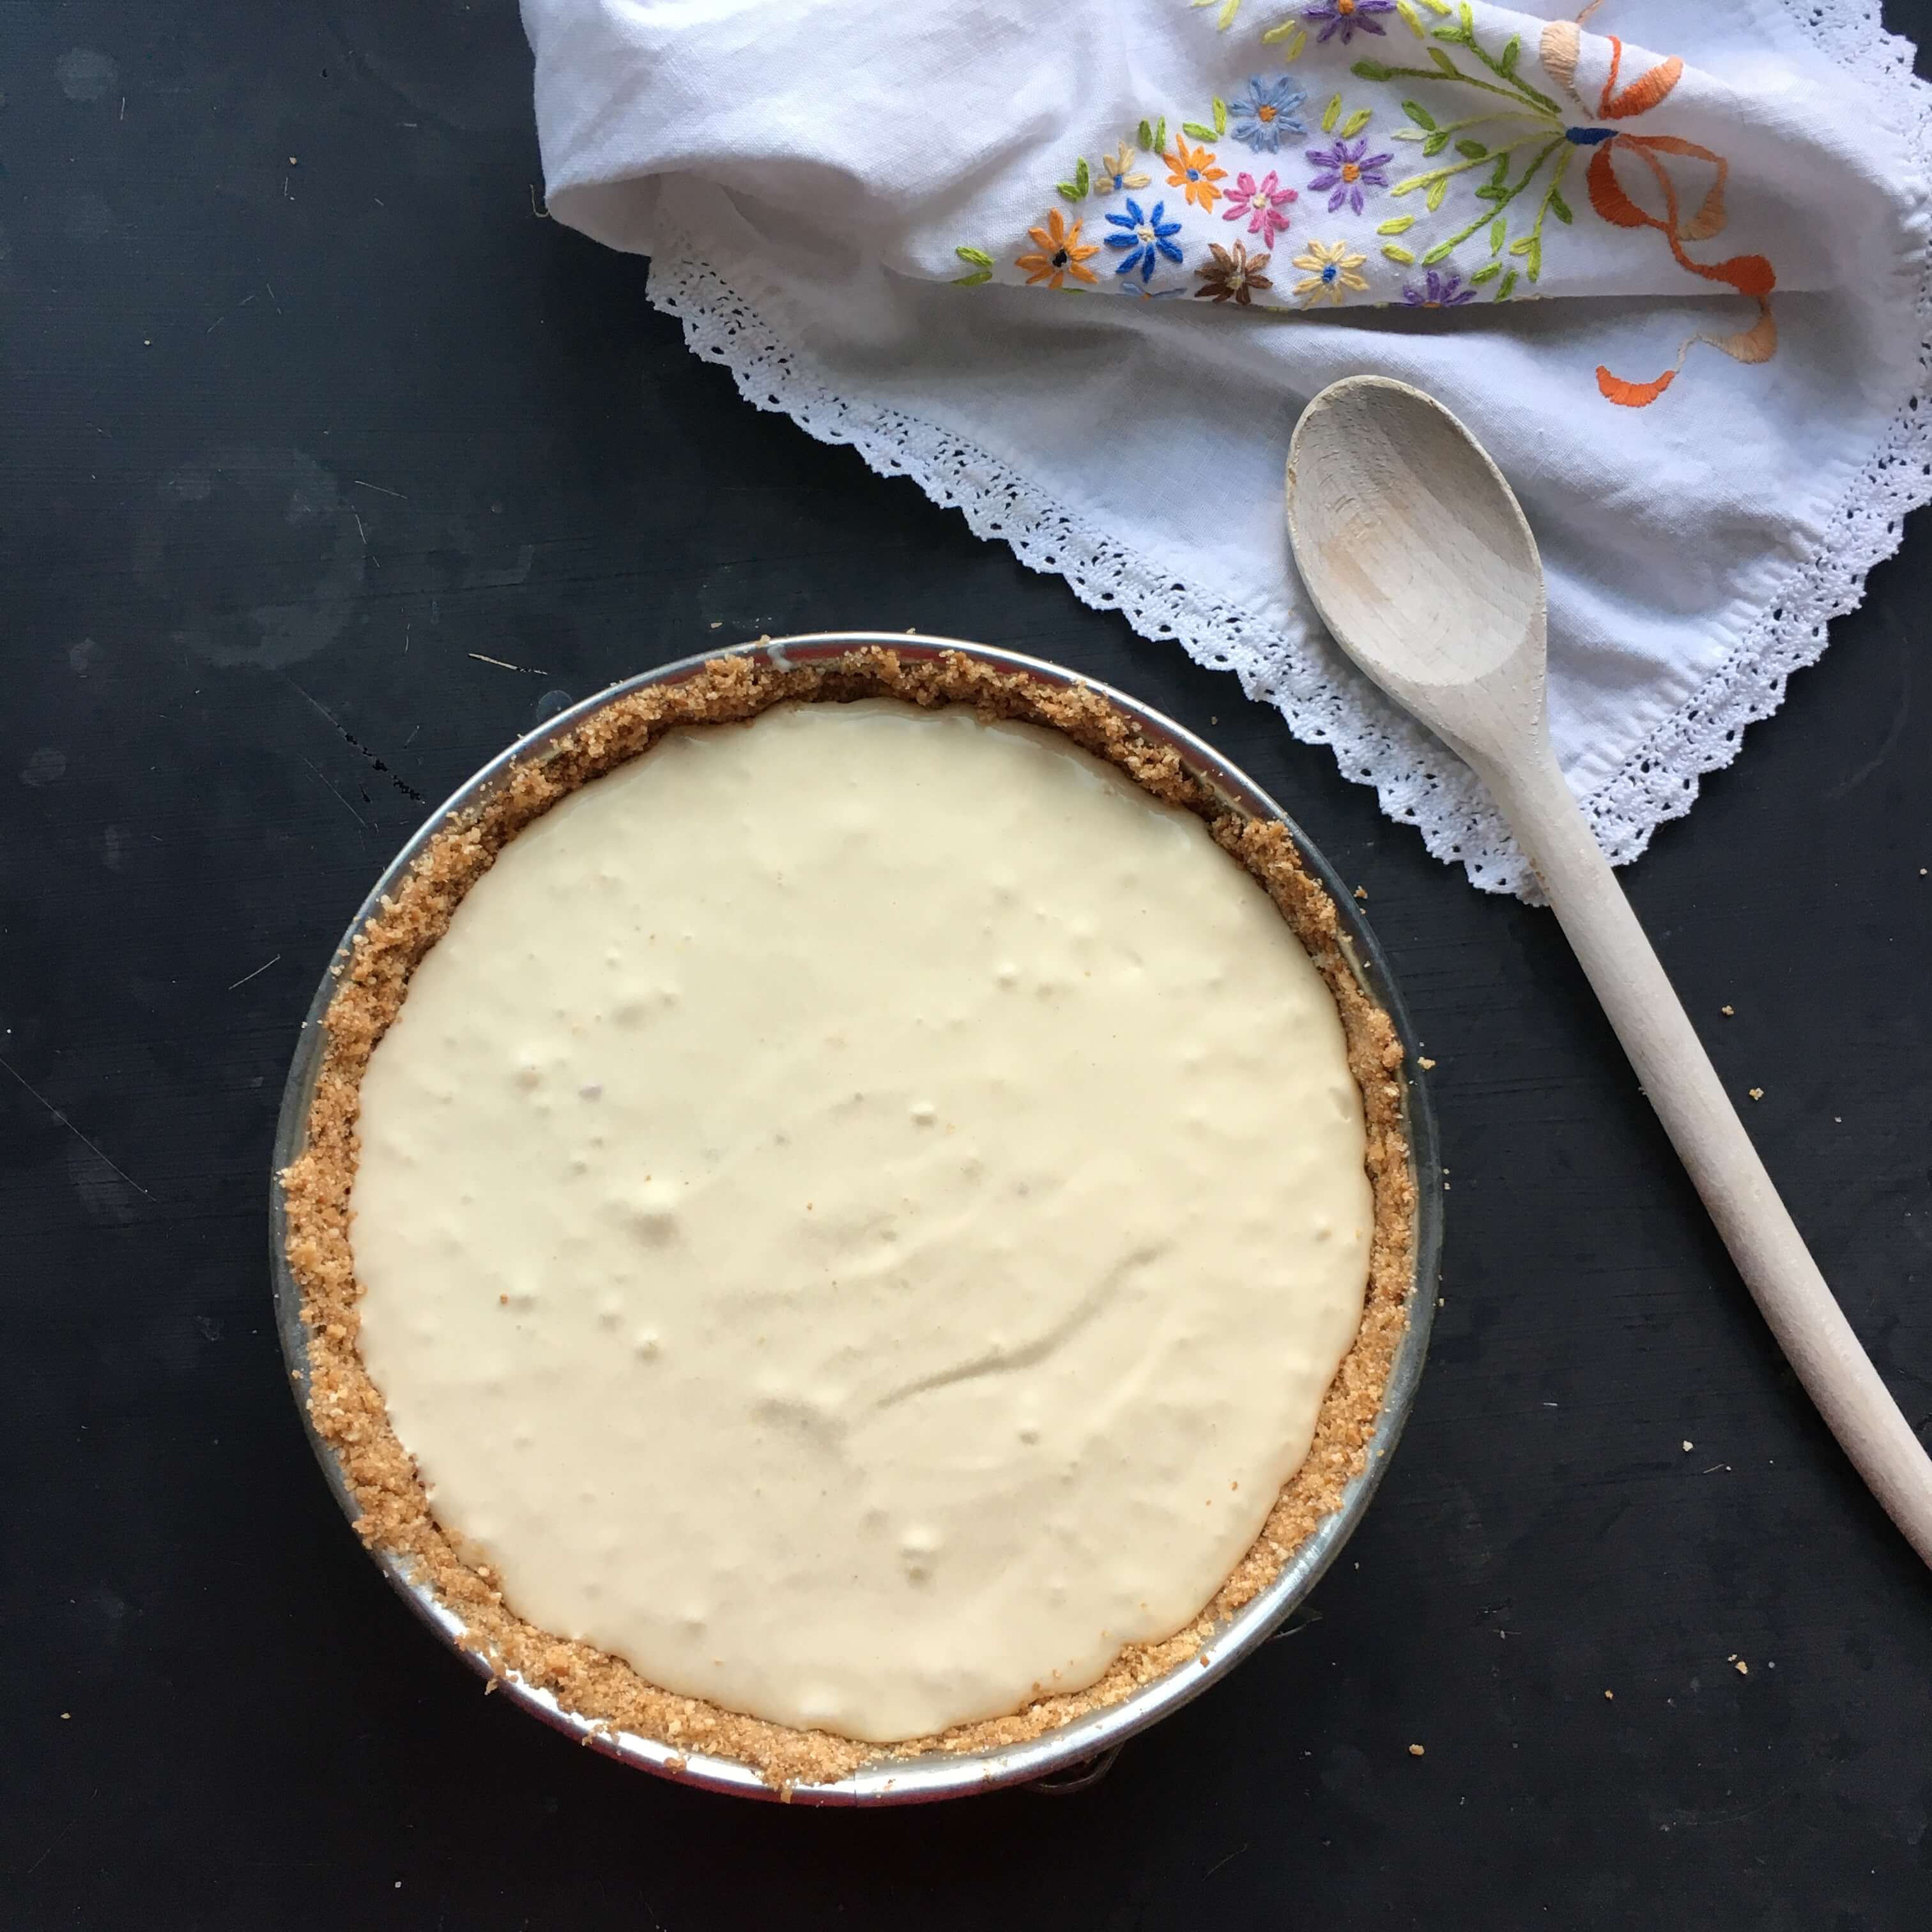
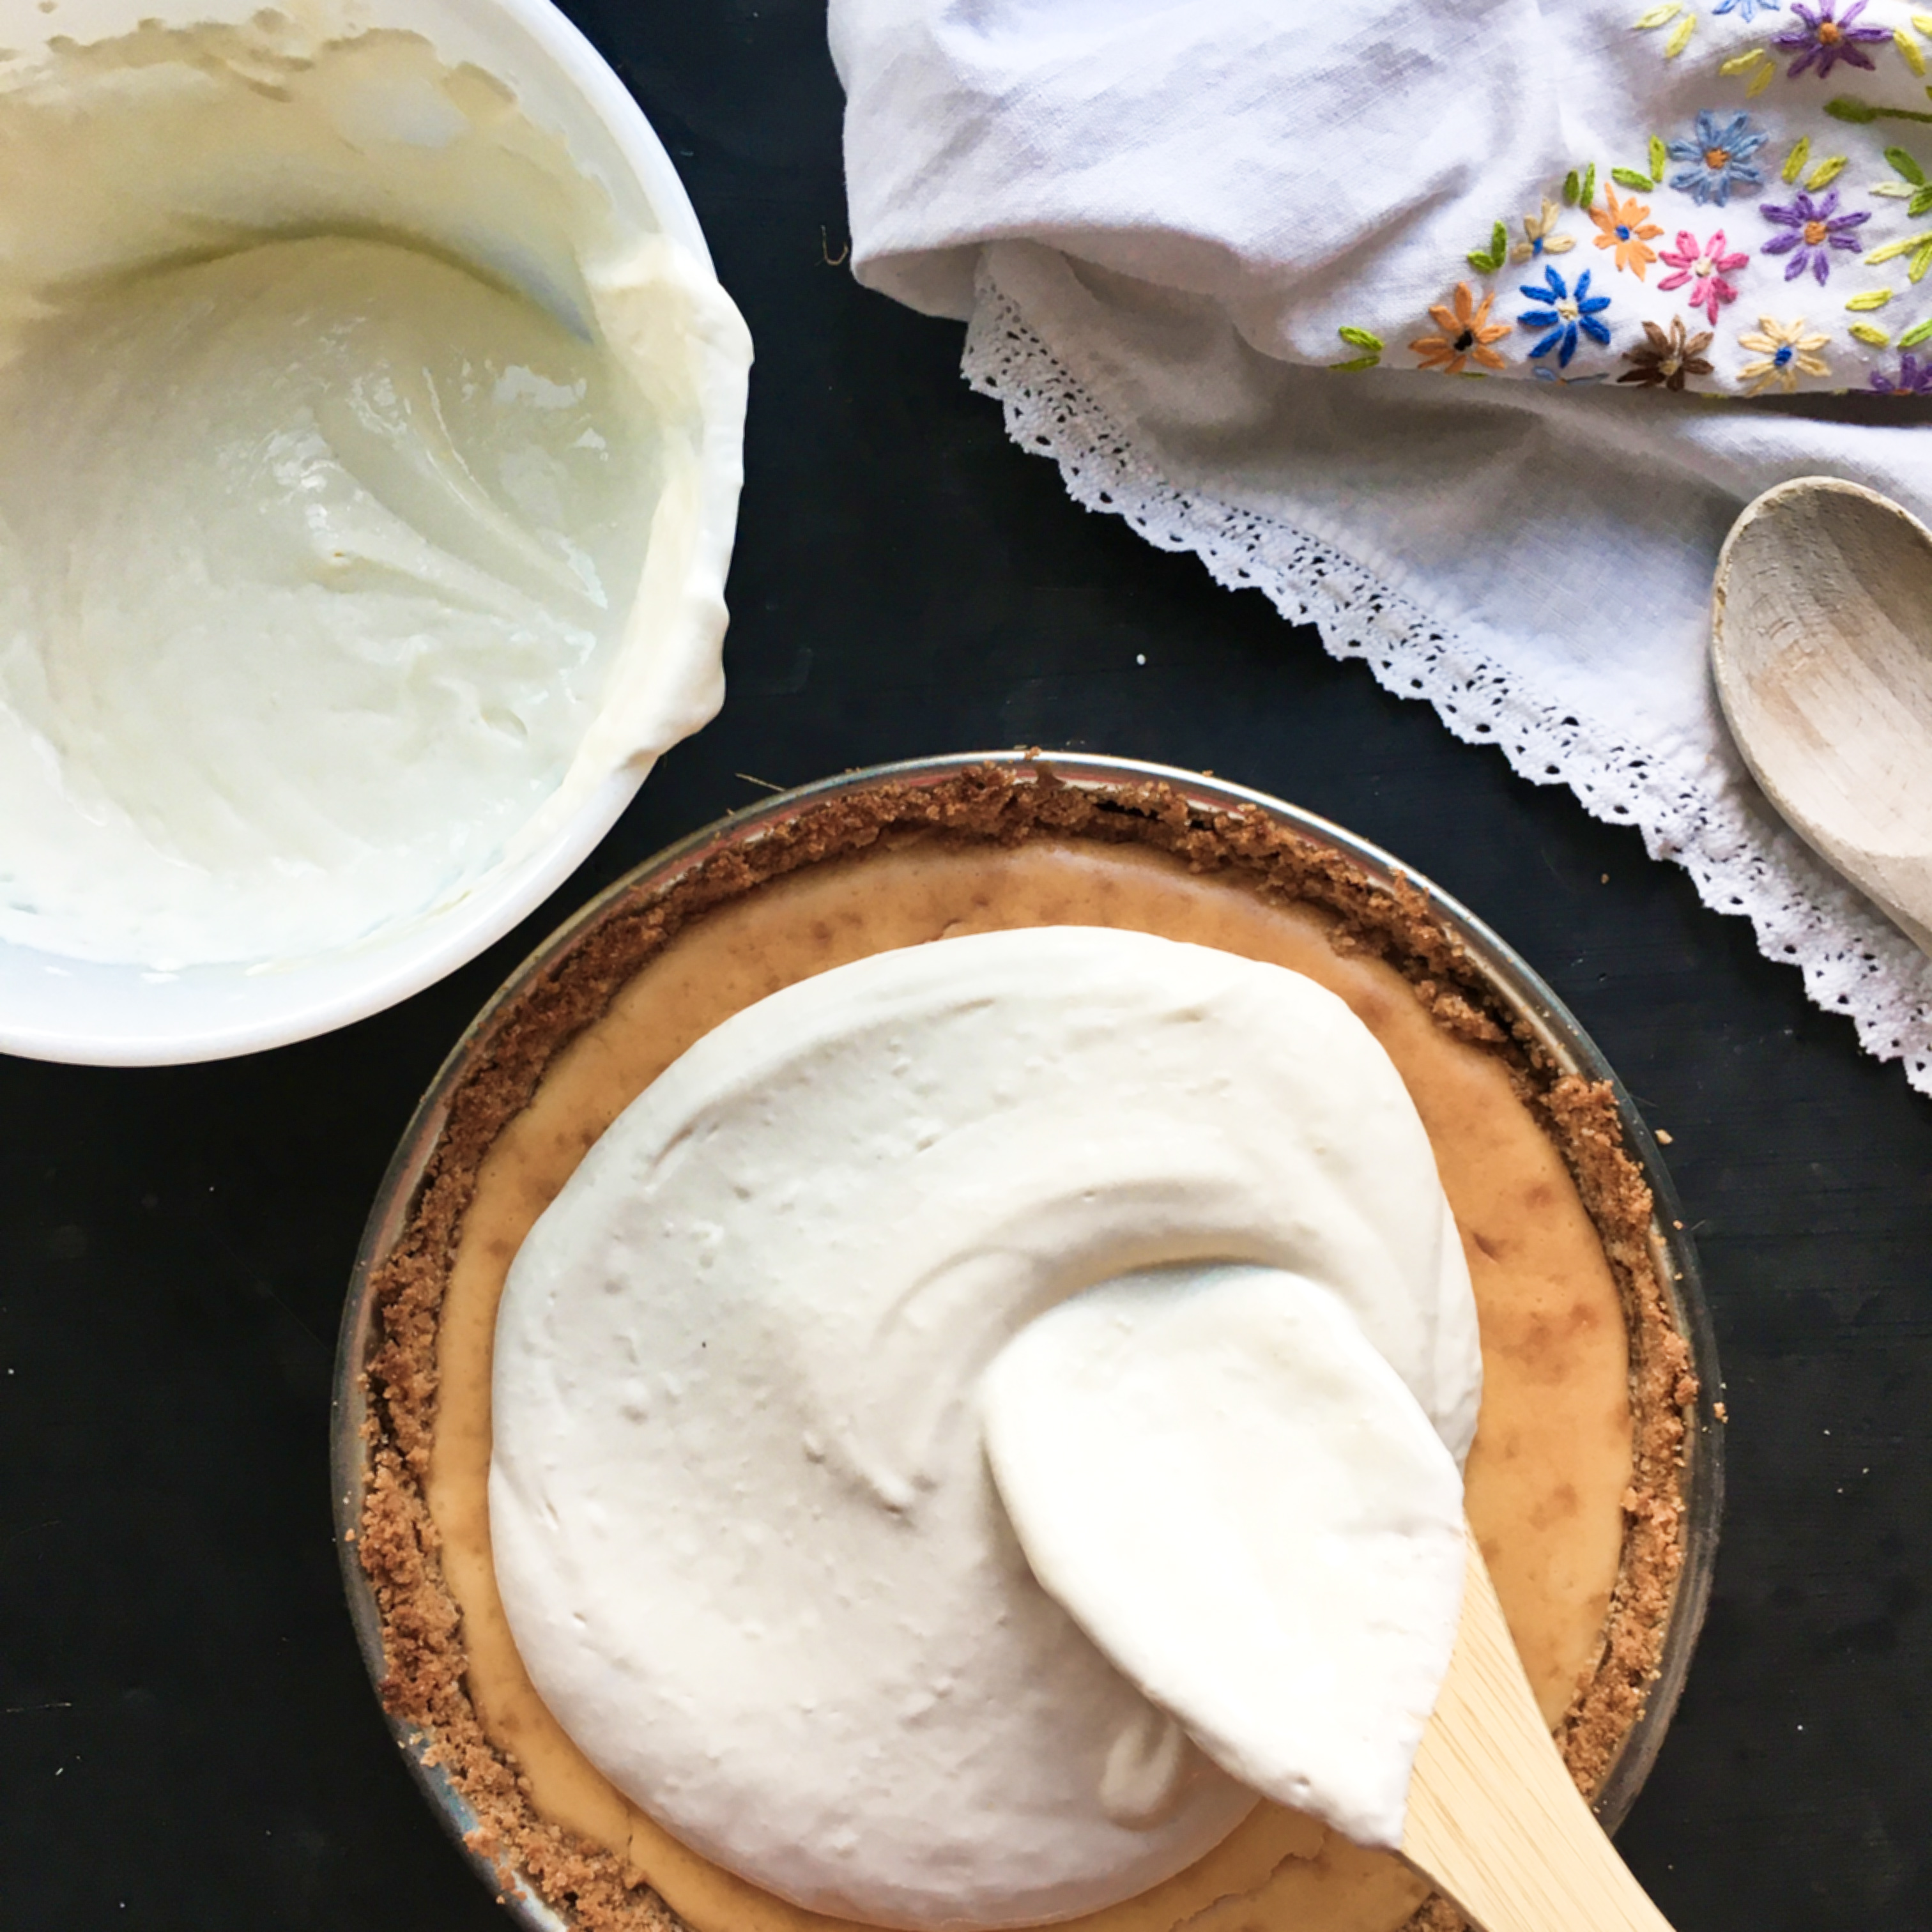
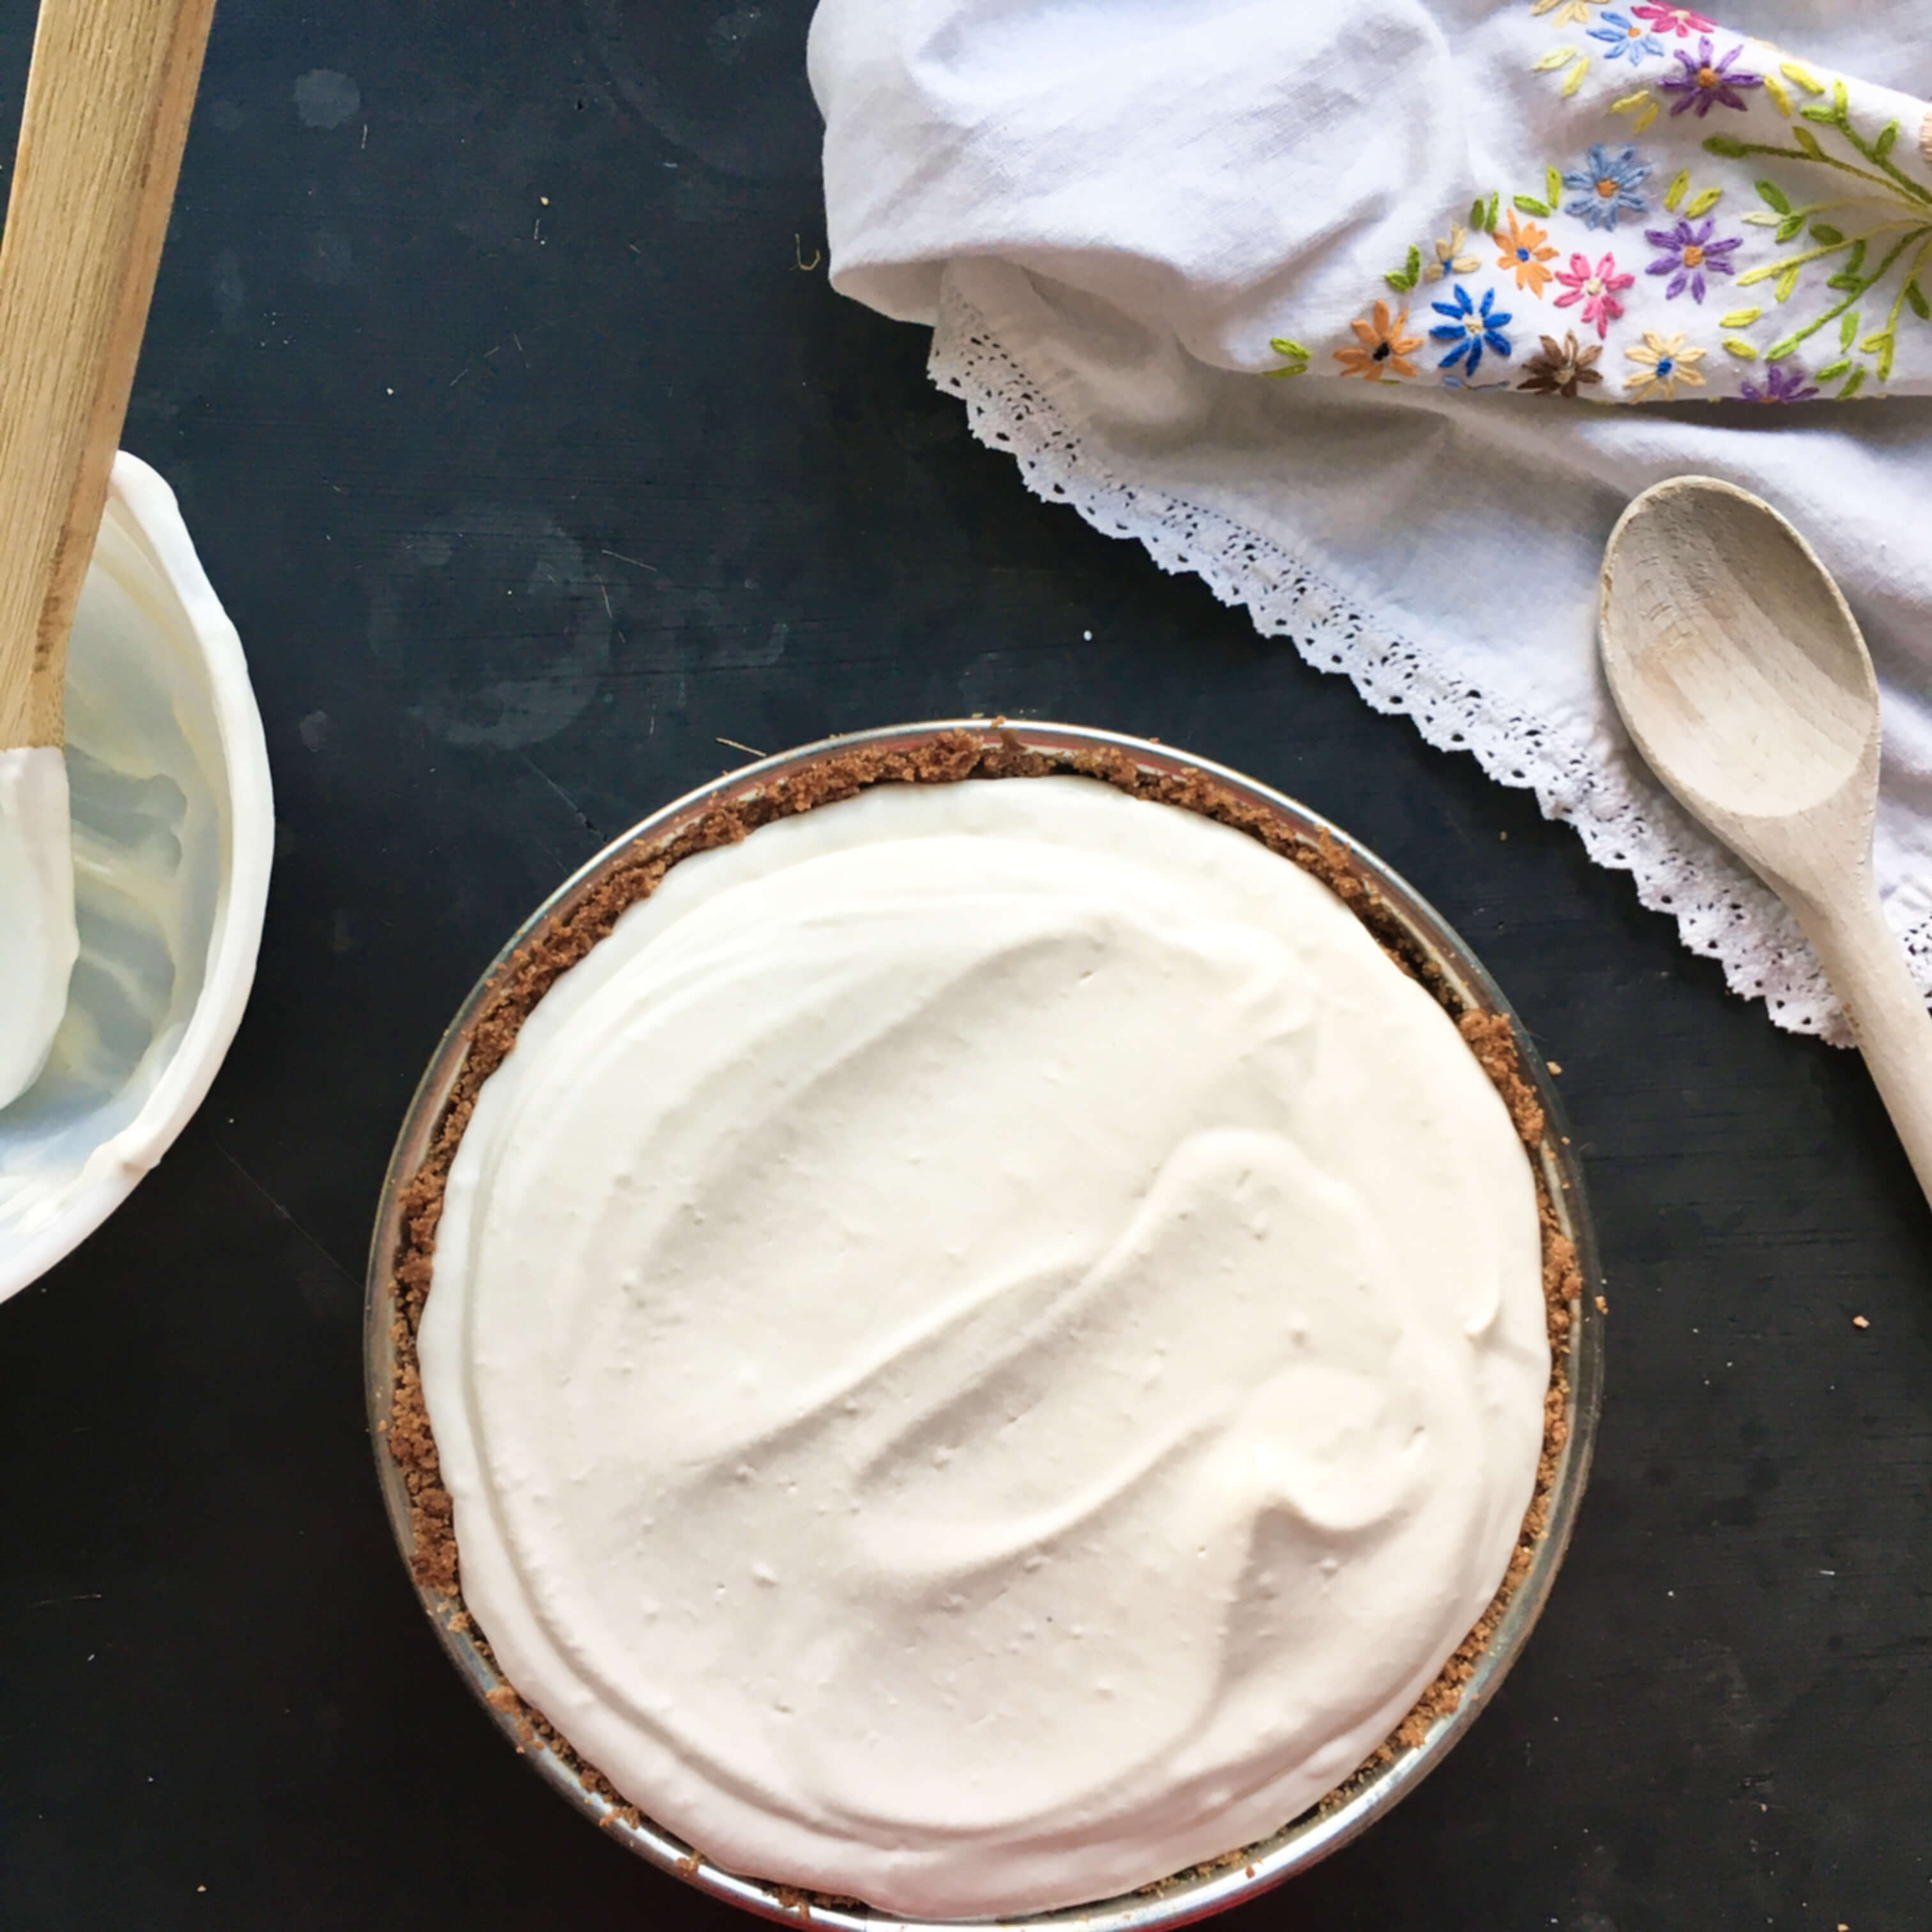
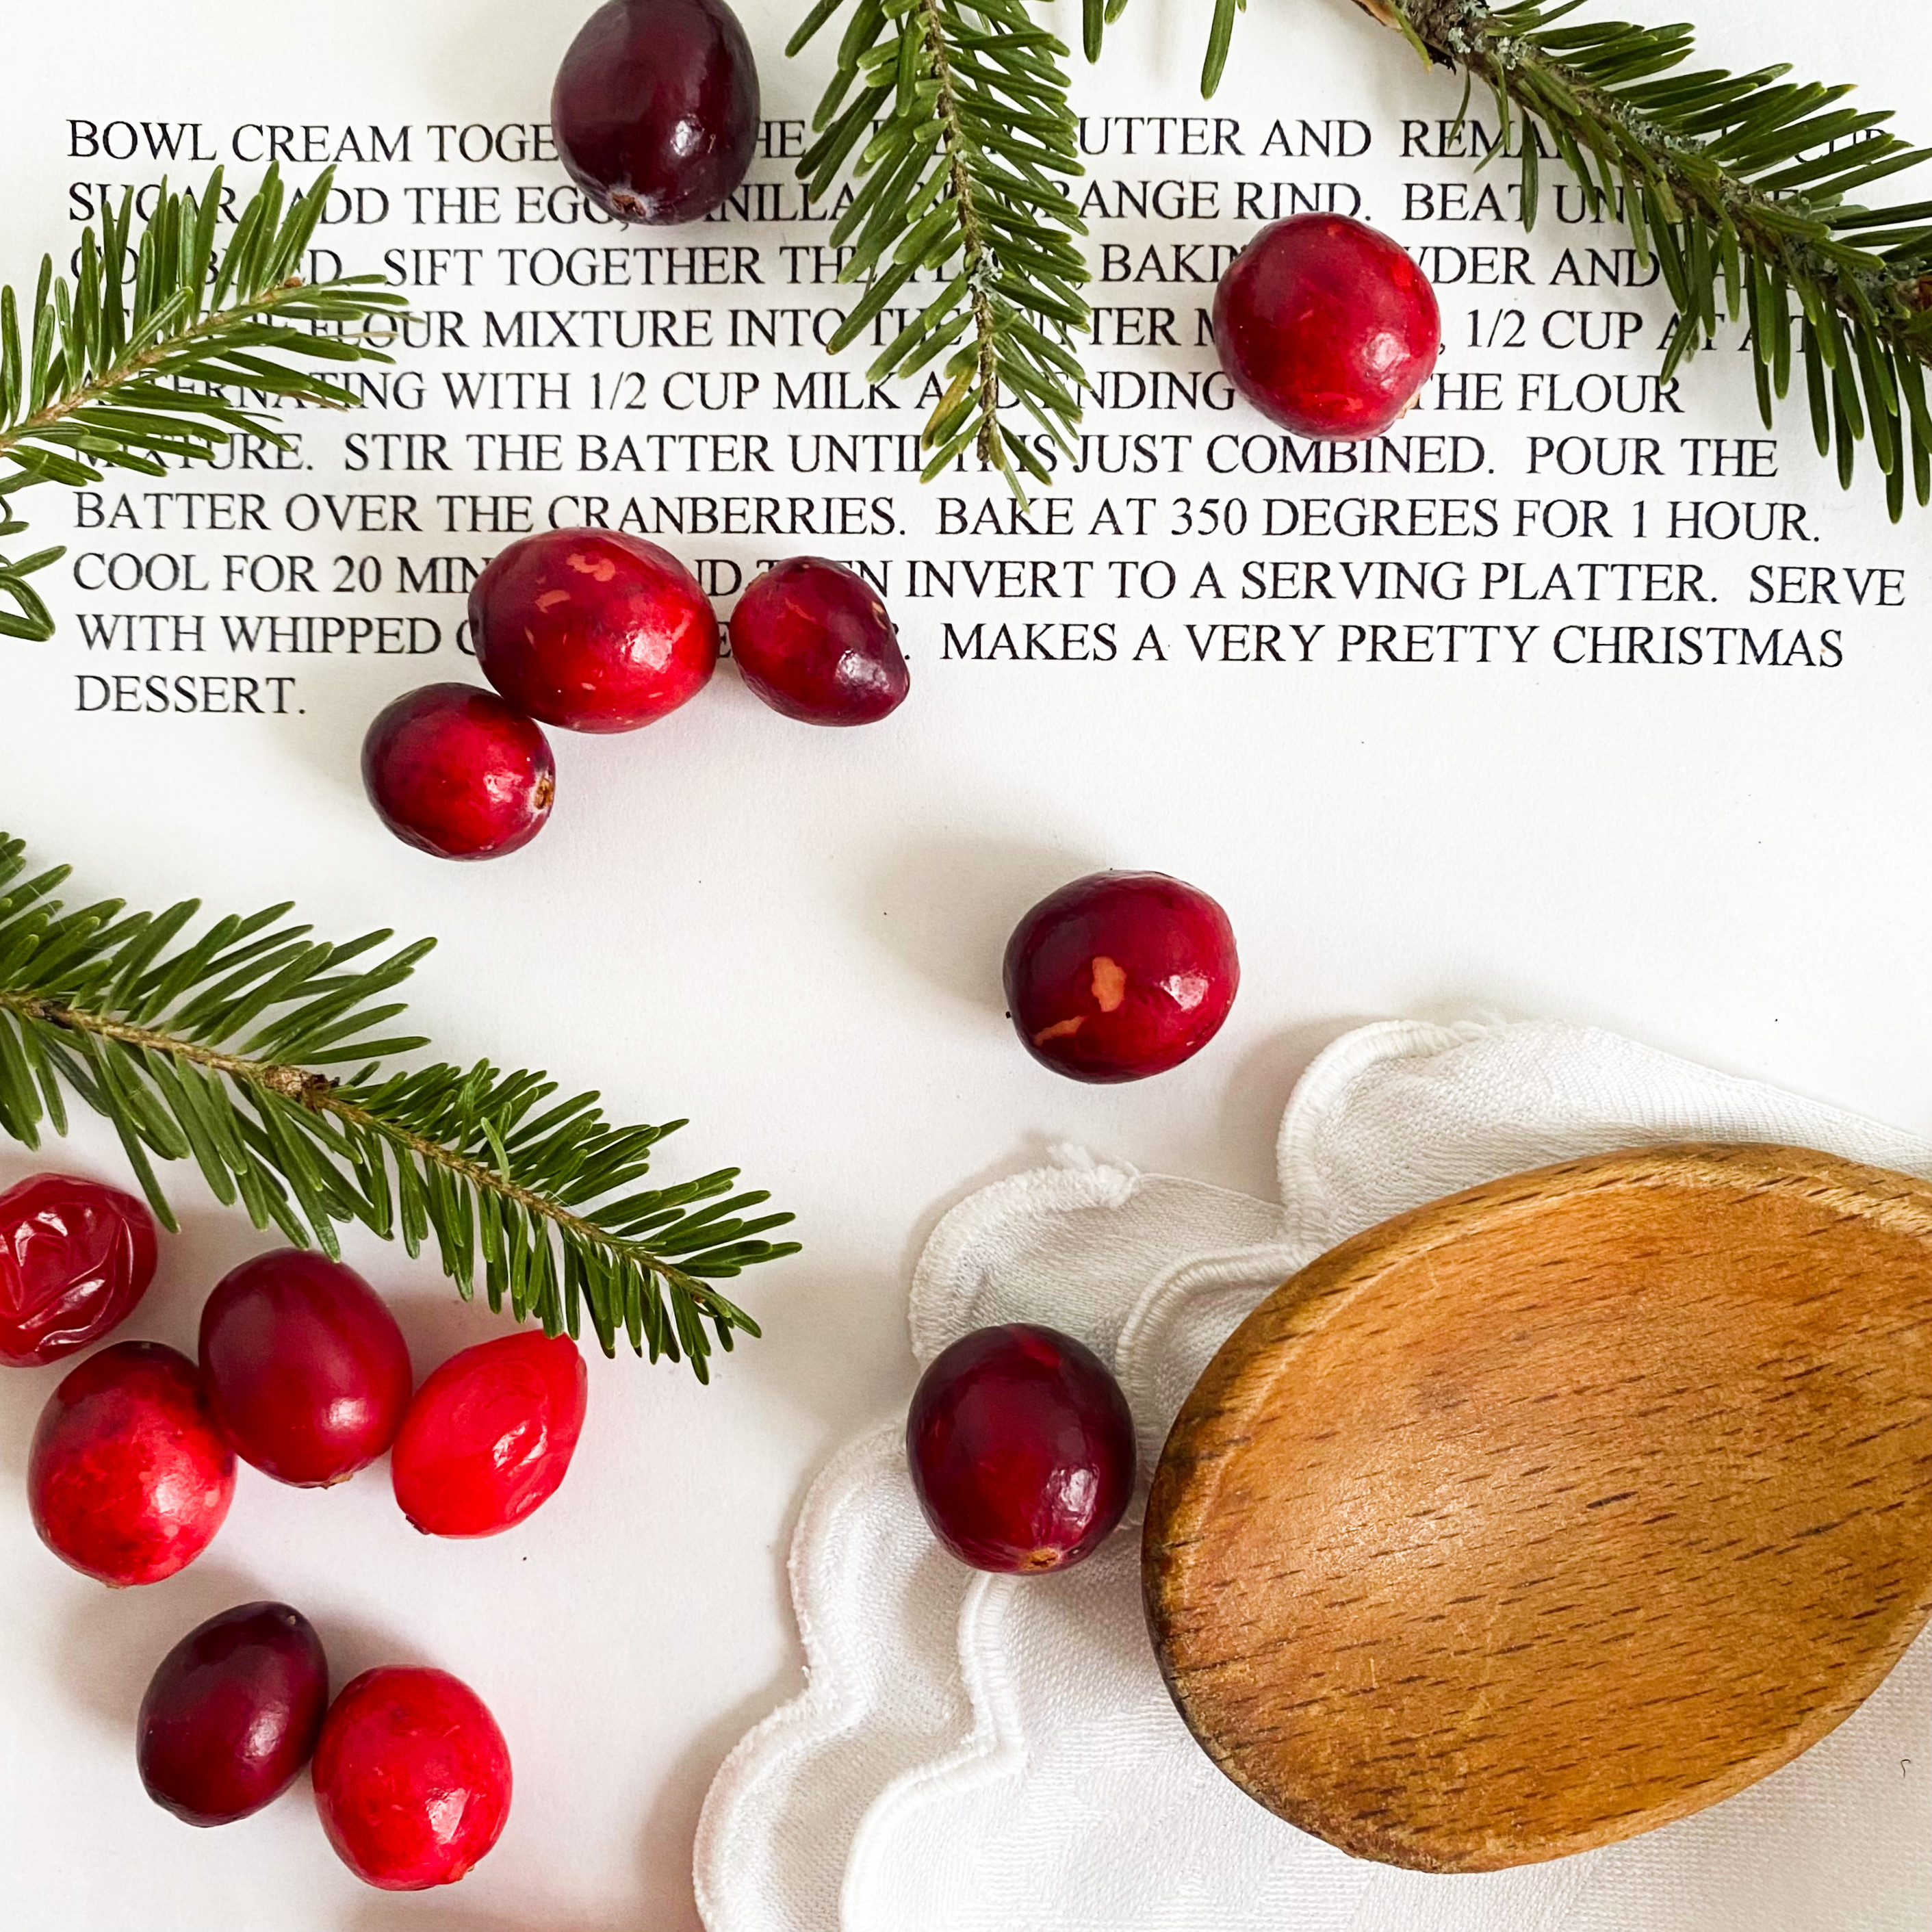
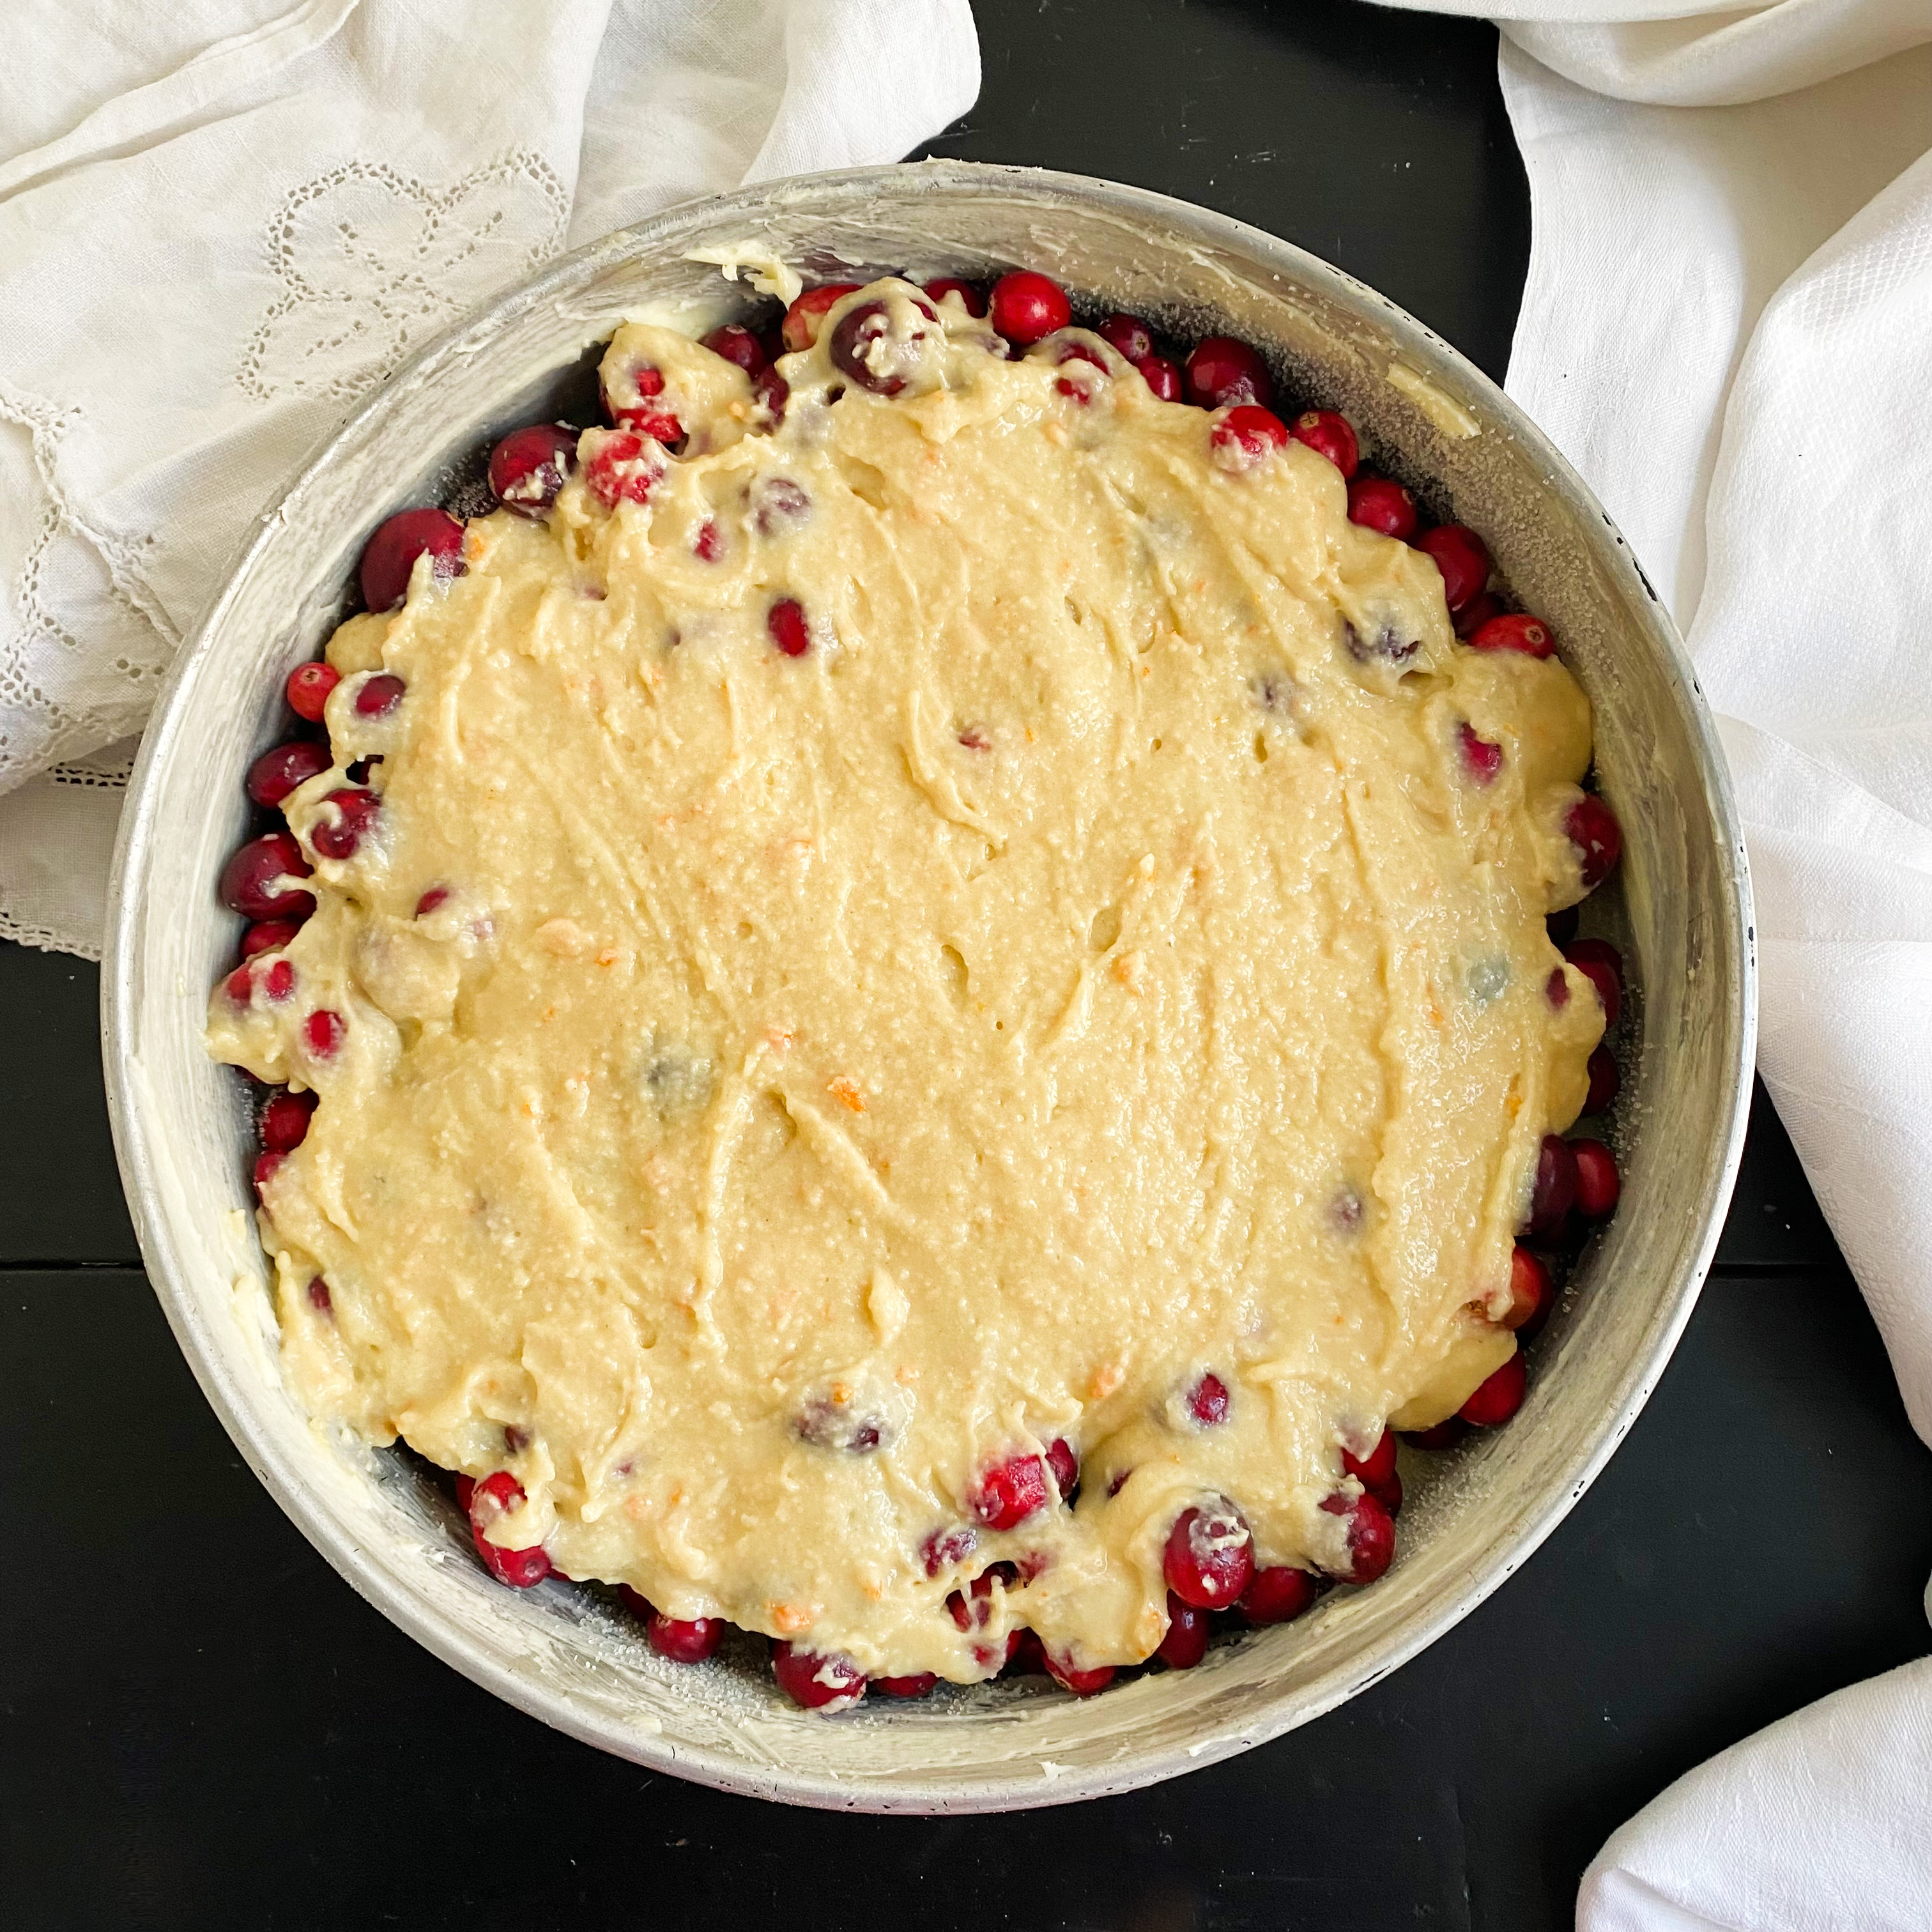
In a separate bowl, sift together, the flour, baking powder, and salt. Stir the flour mixture into the butter mixture 1/2 cup at a time, alternating with 1/4 cup of milk at a time, and ending with the flour mixture. Stir the batter until it is just combined. Pour the batter over the cranberries, spreading and smoothing it around the pan with the back of a spoon.
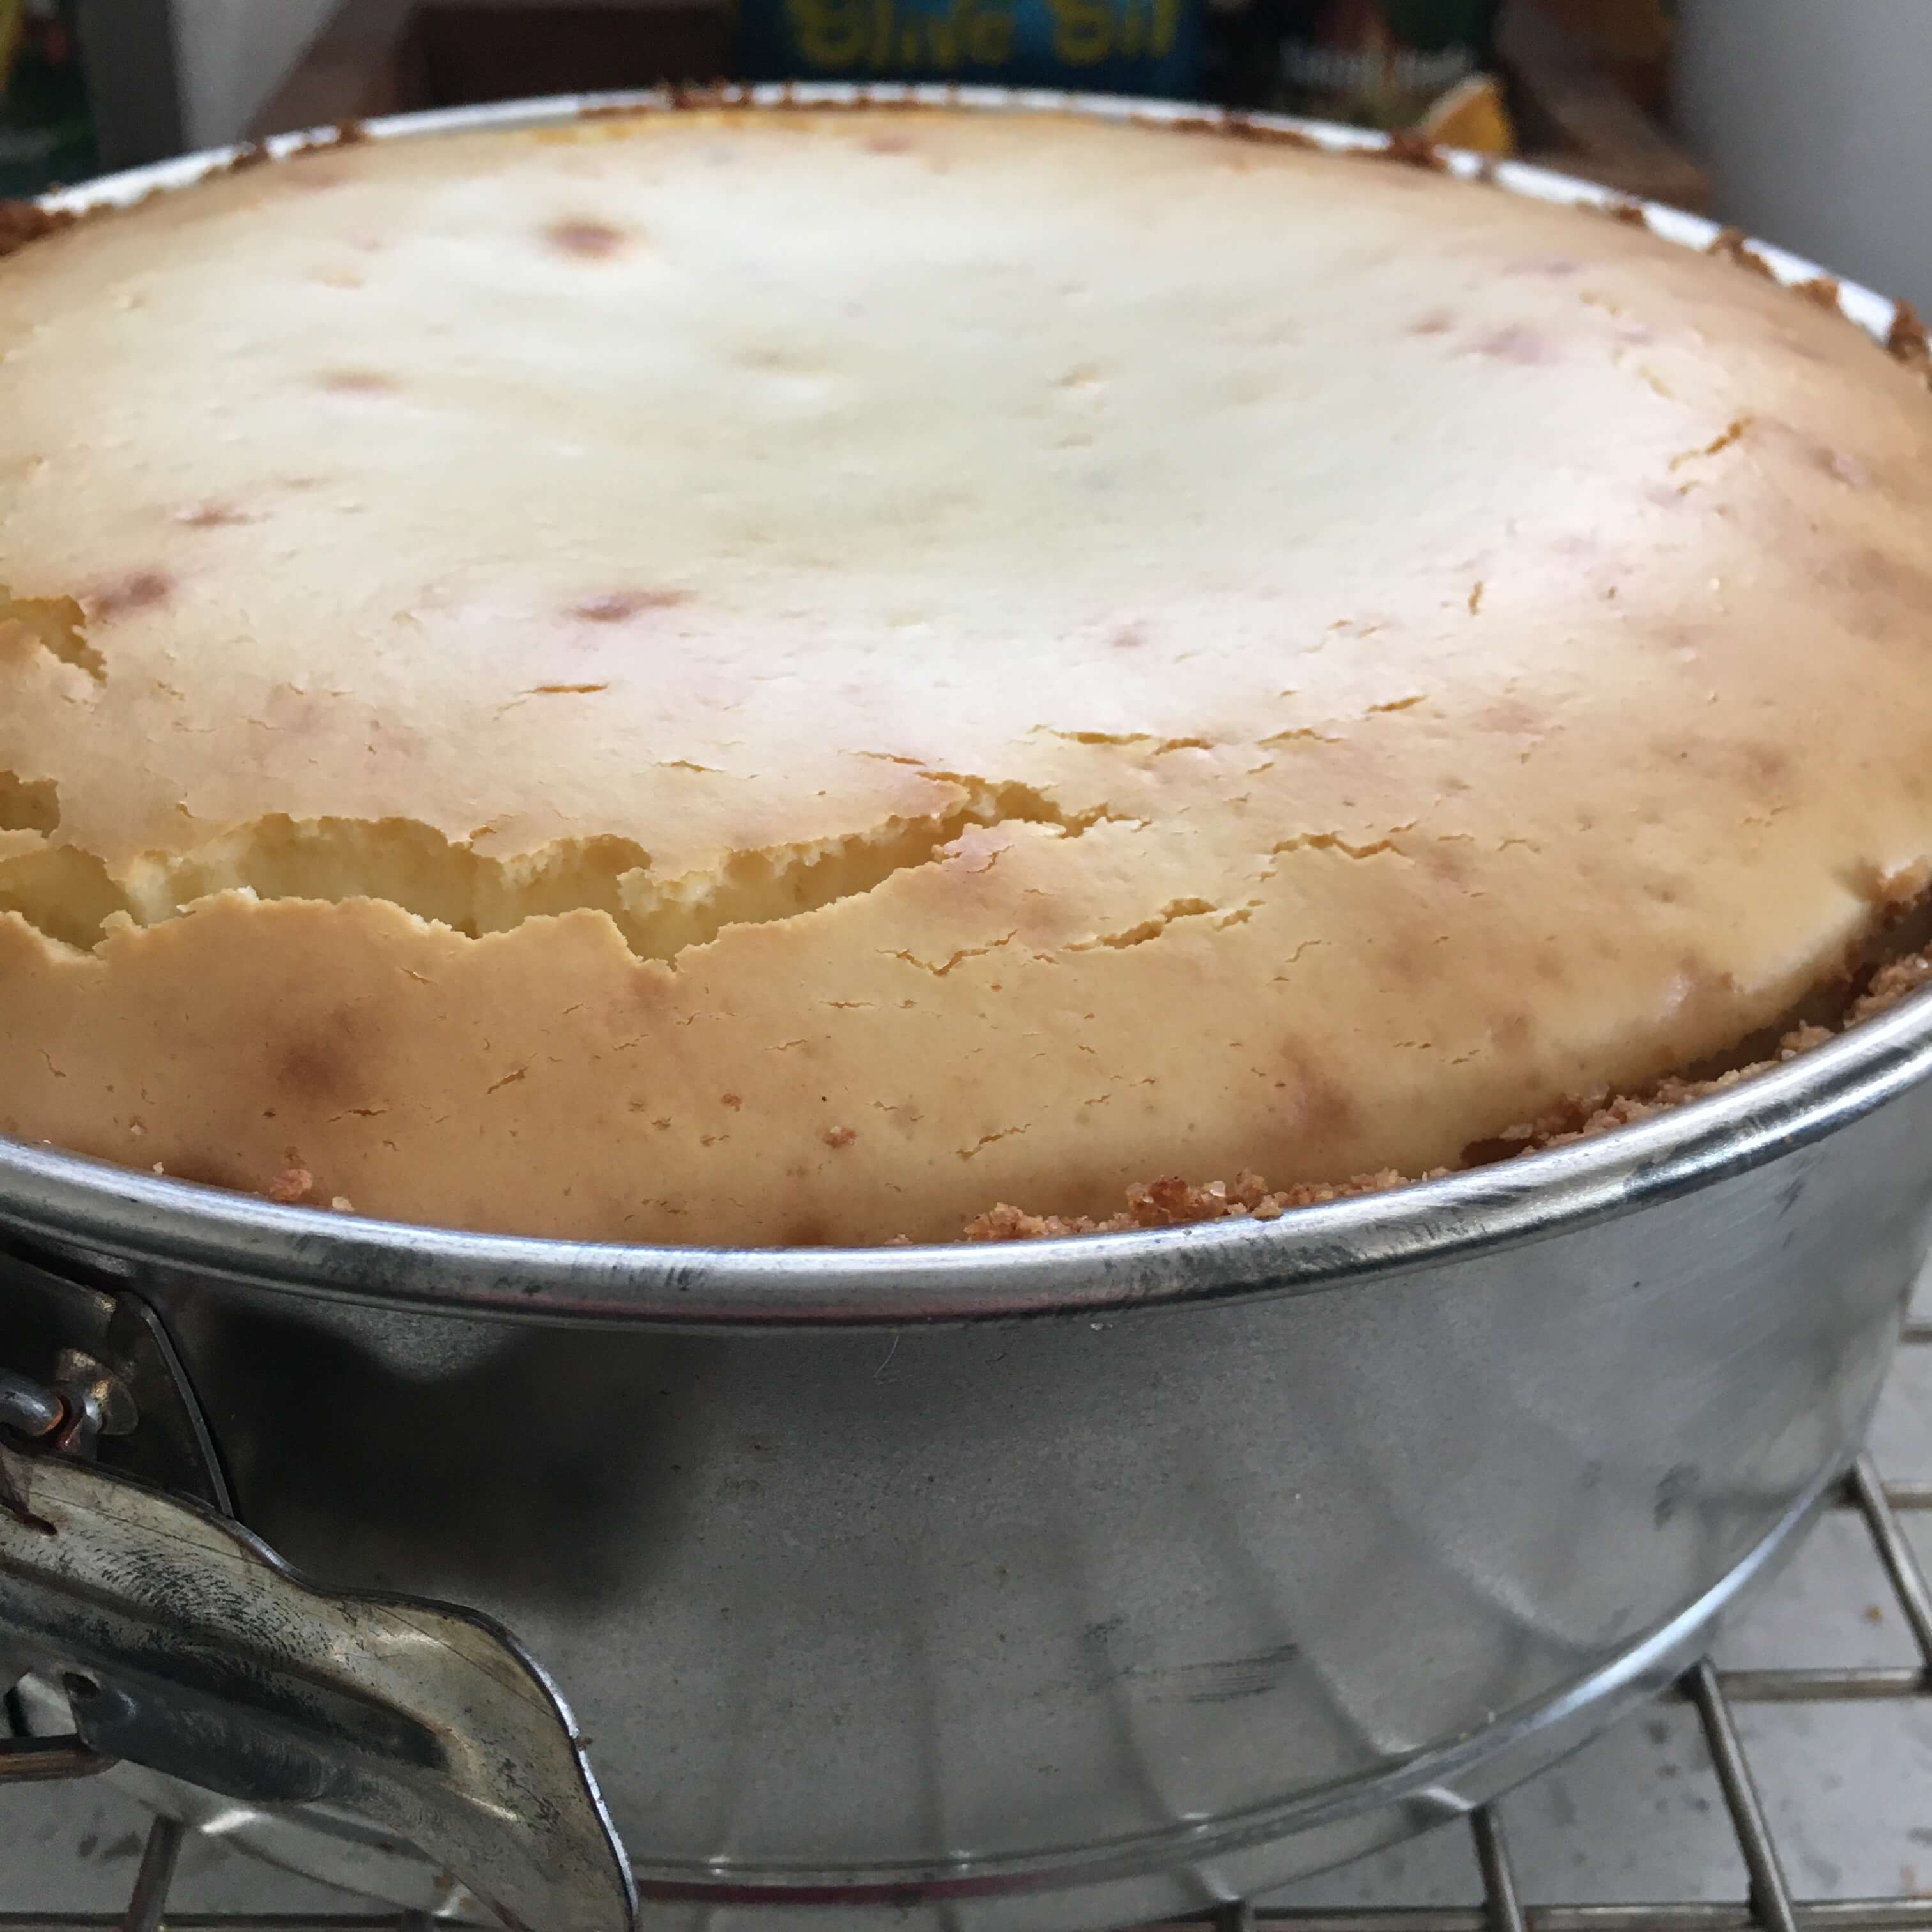
Place the pan in the oven and bake at 350 degrees for 1 hour.
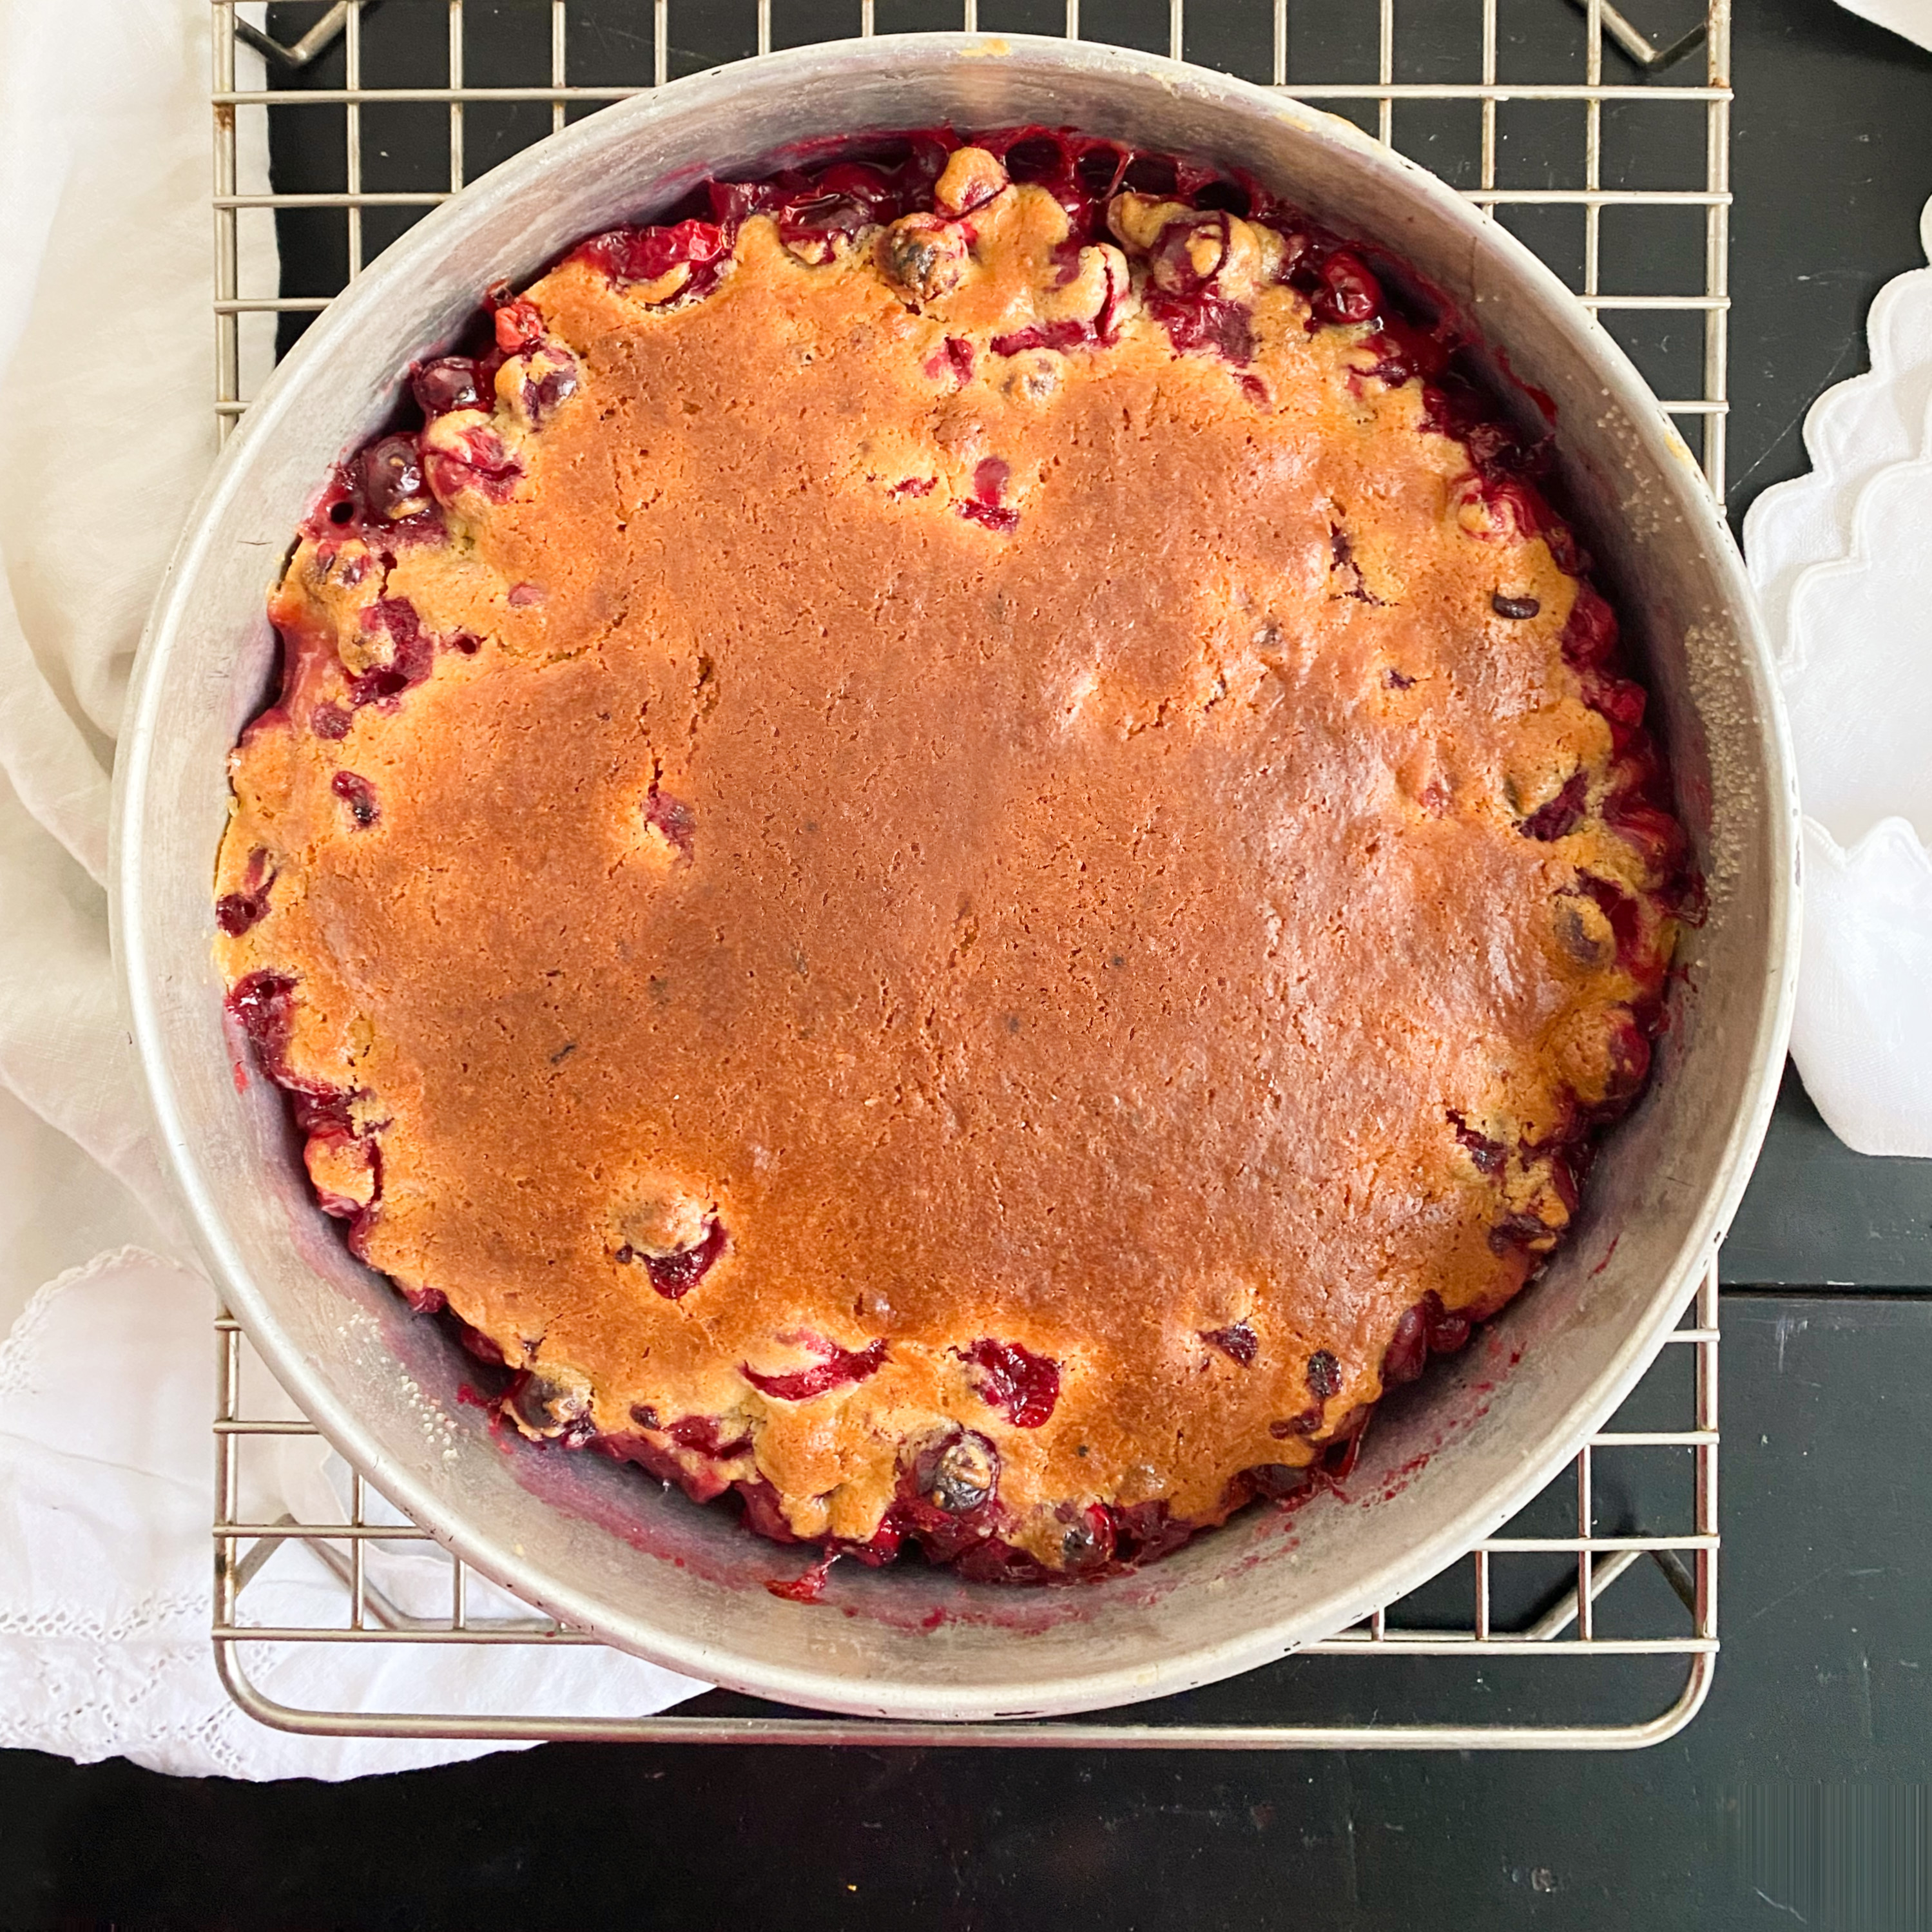
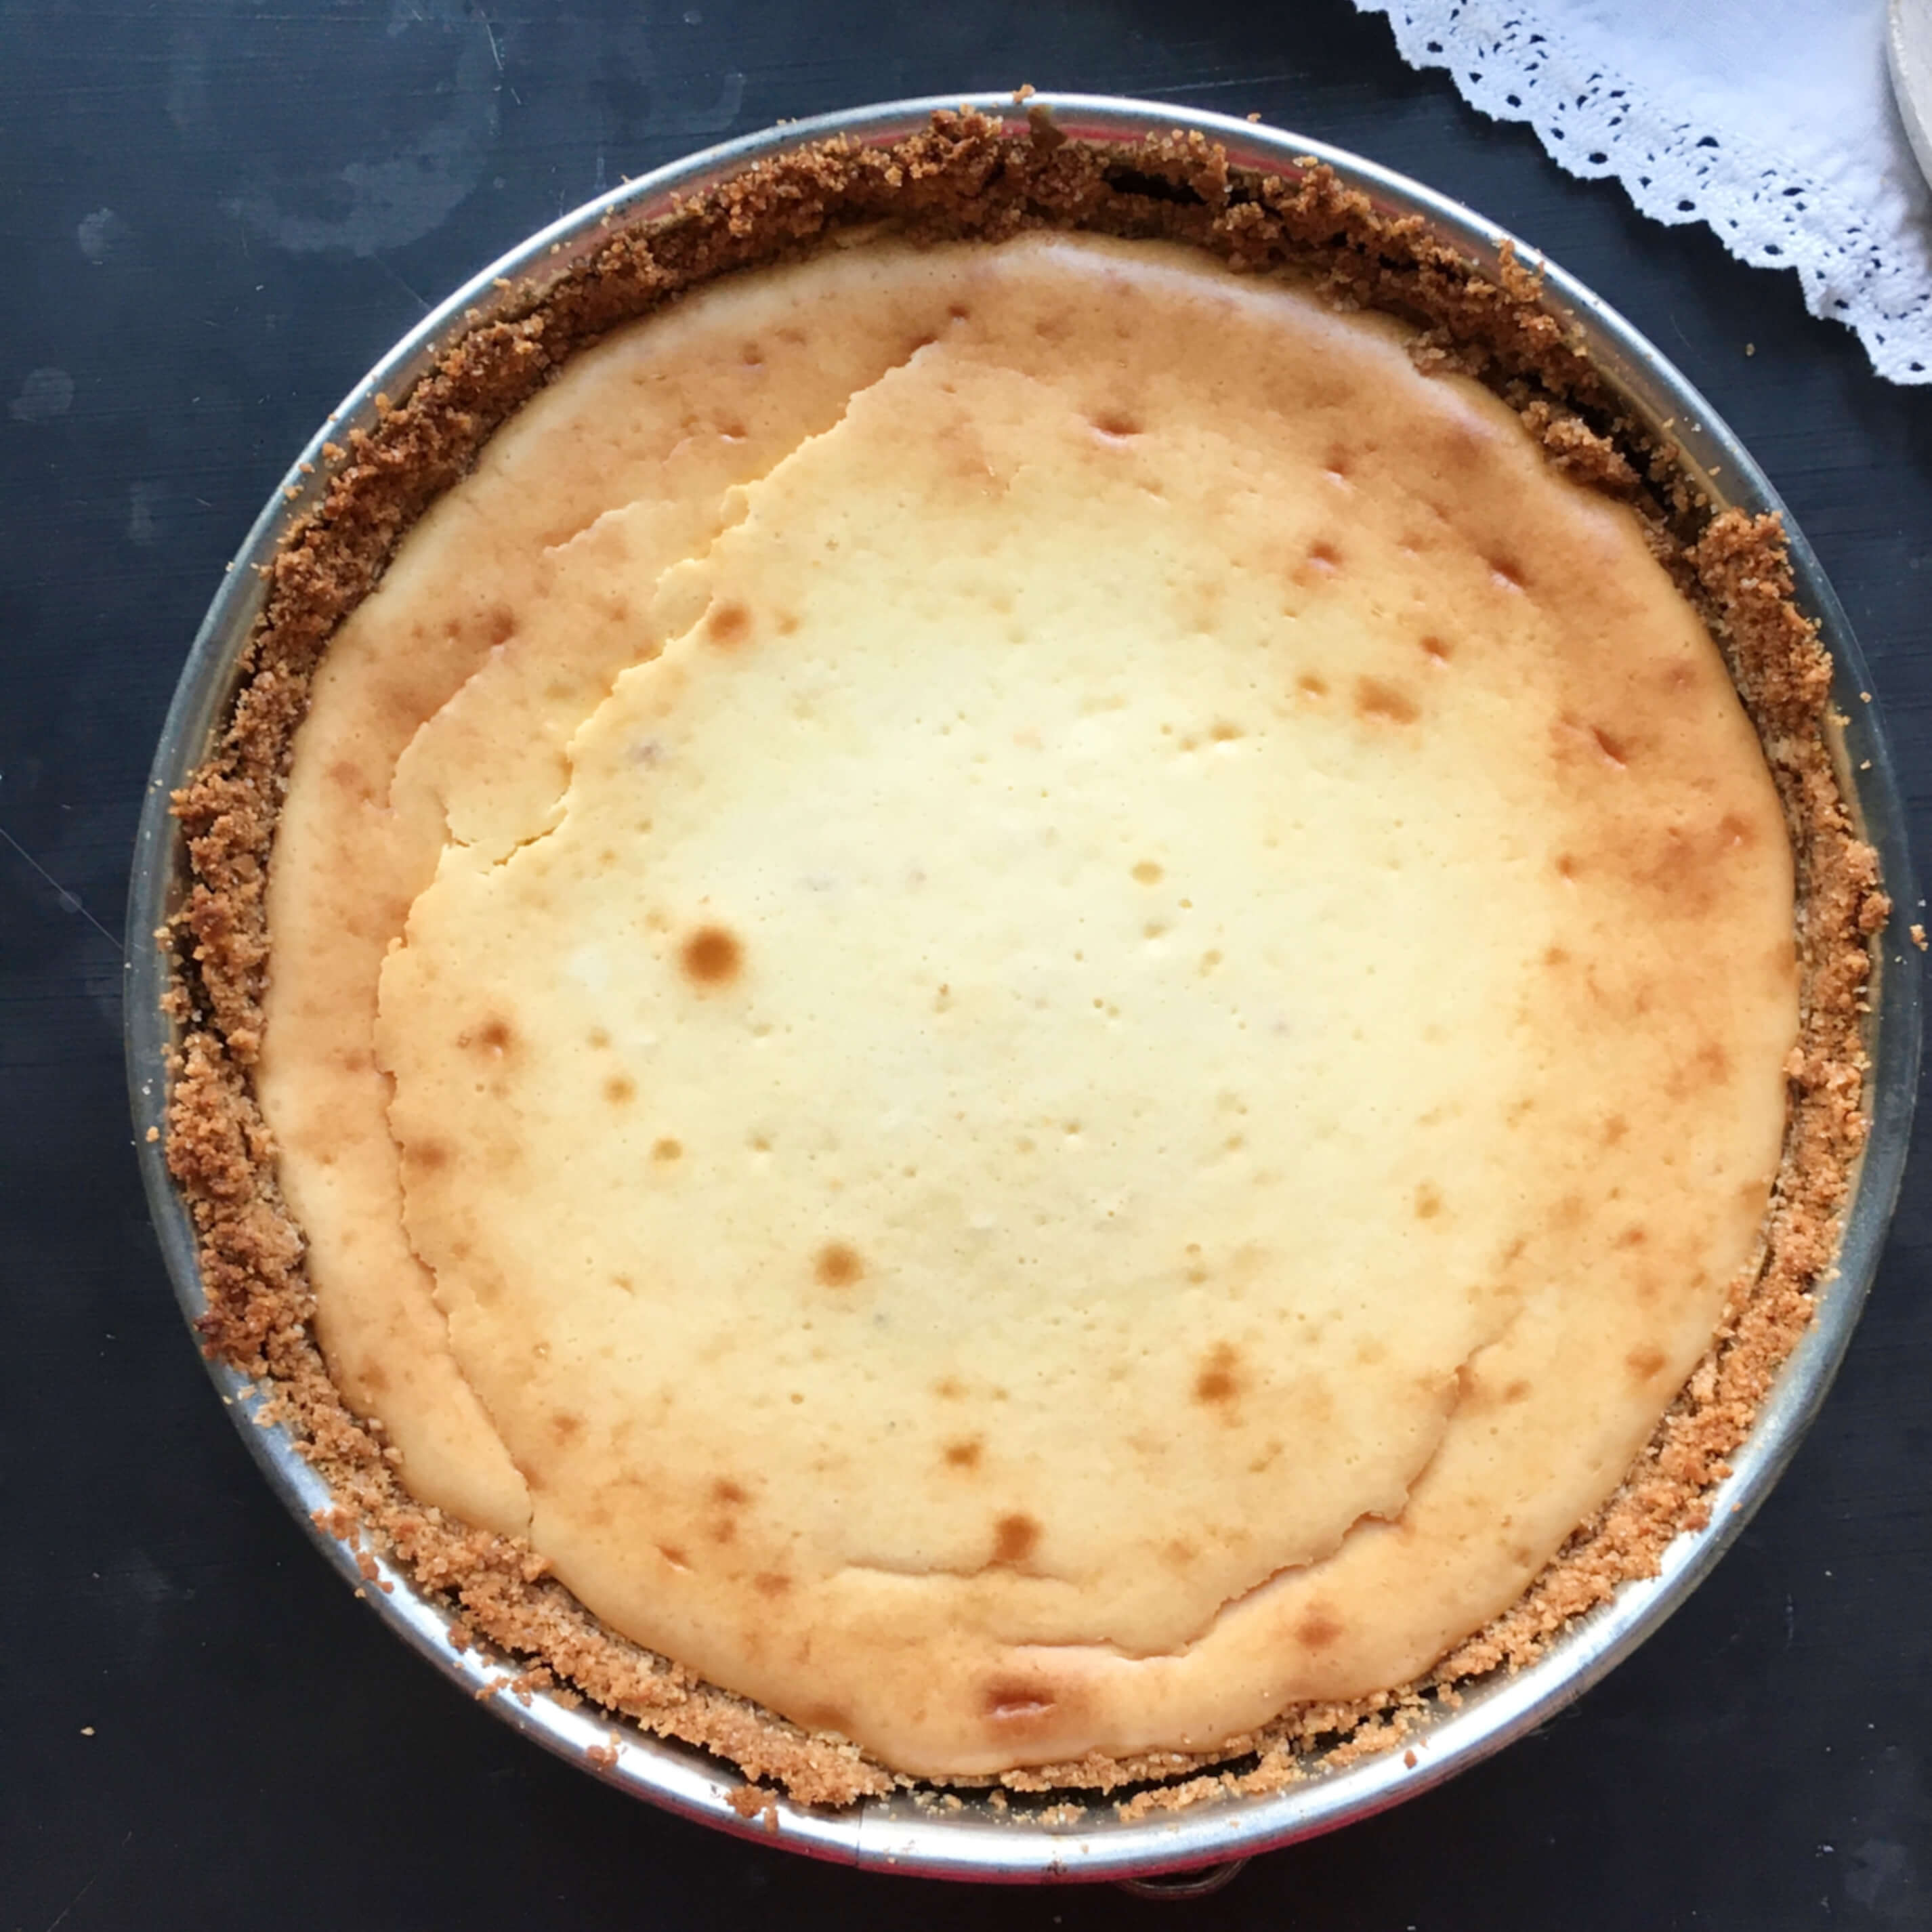
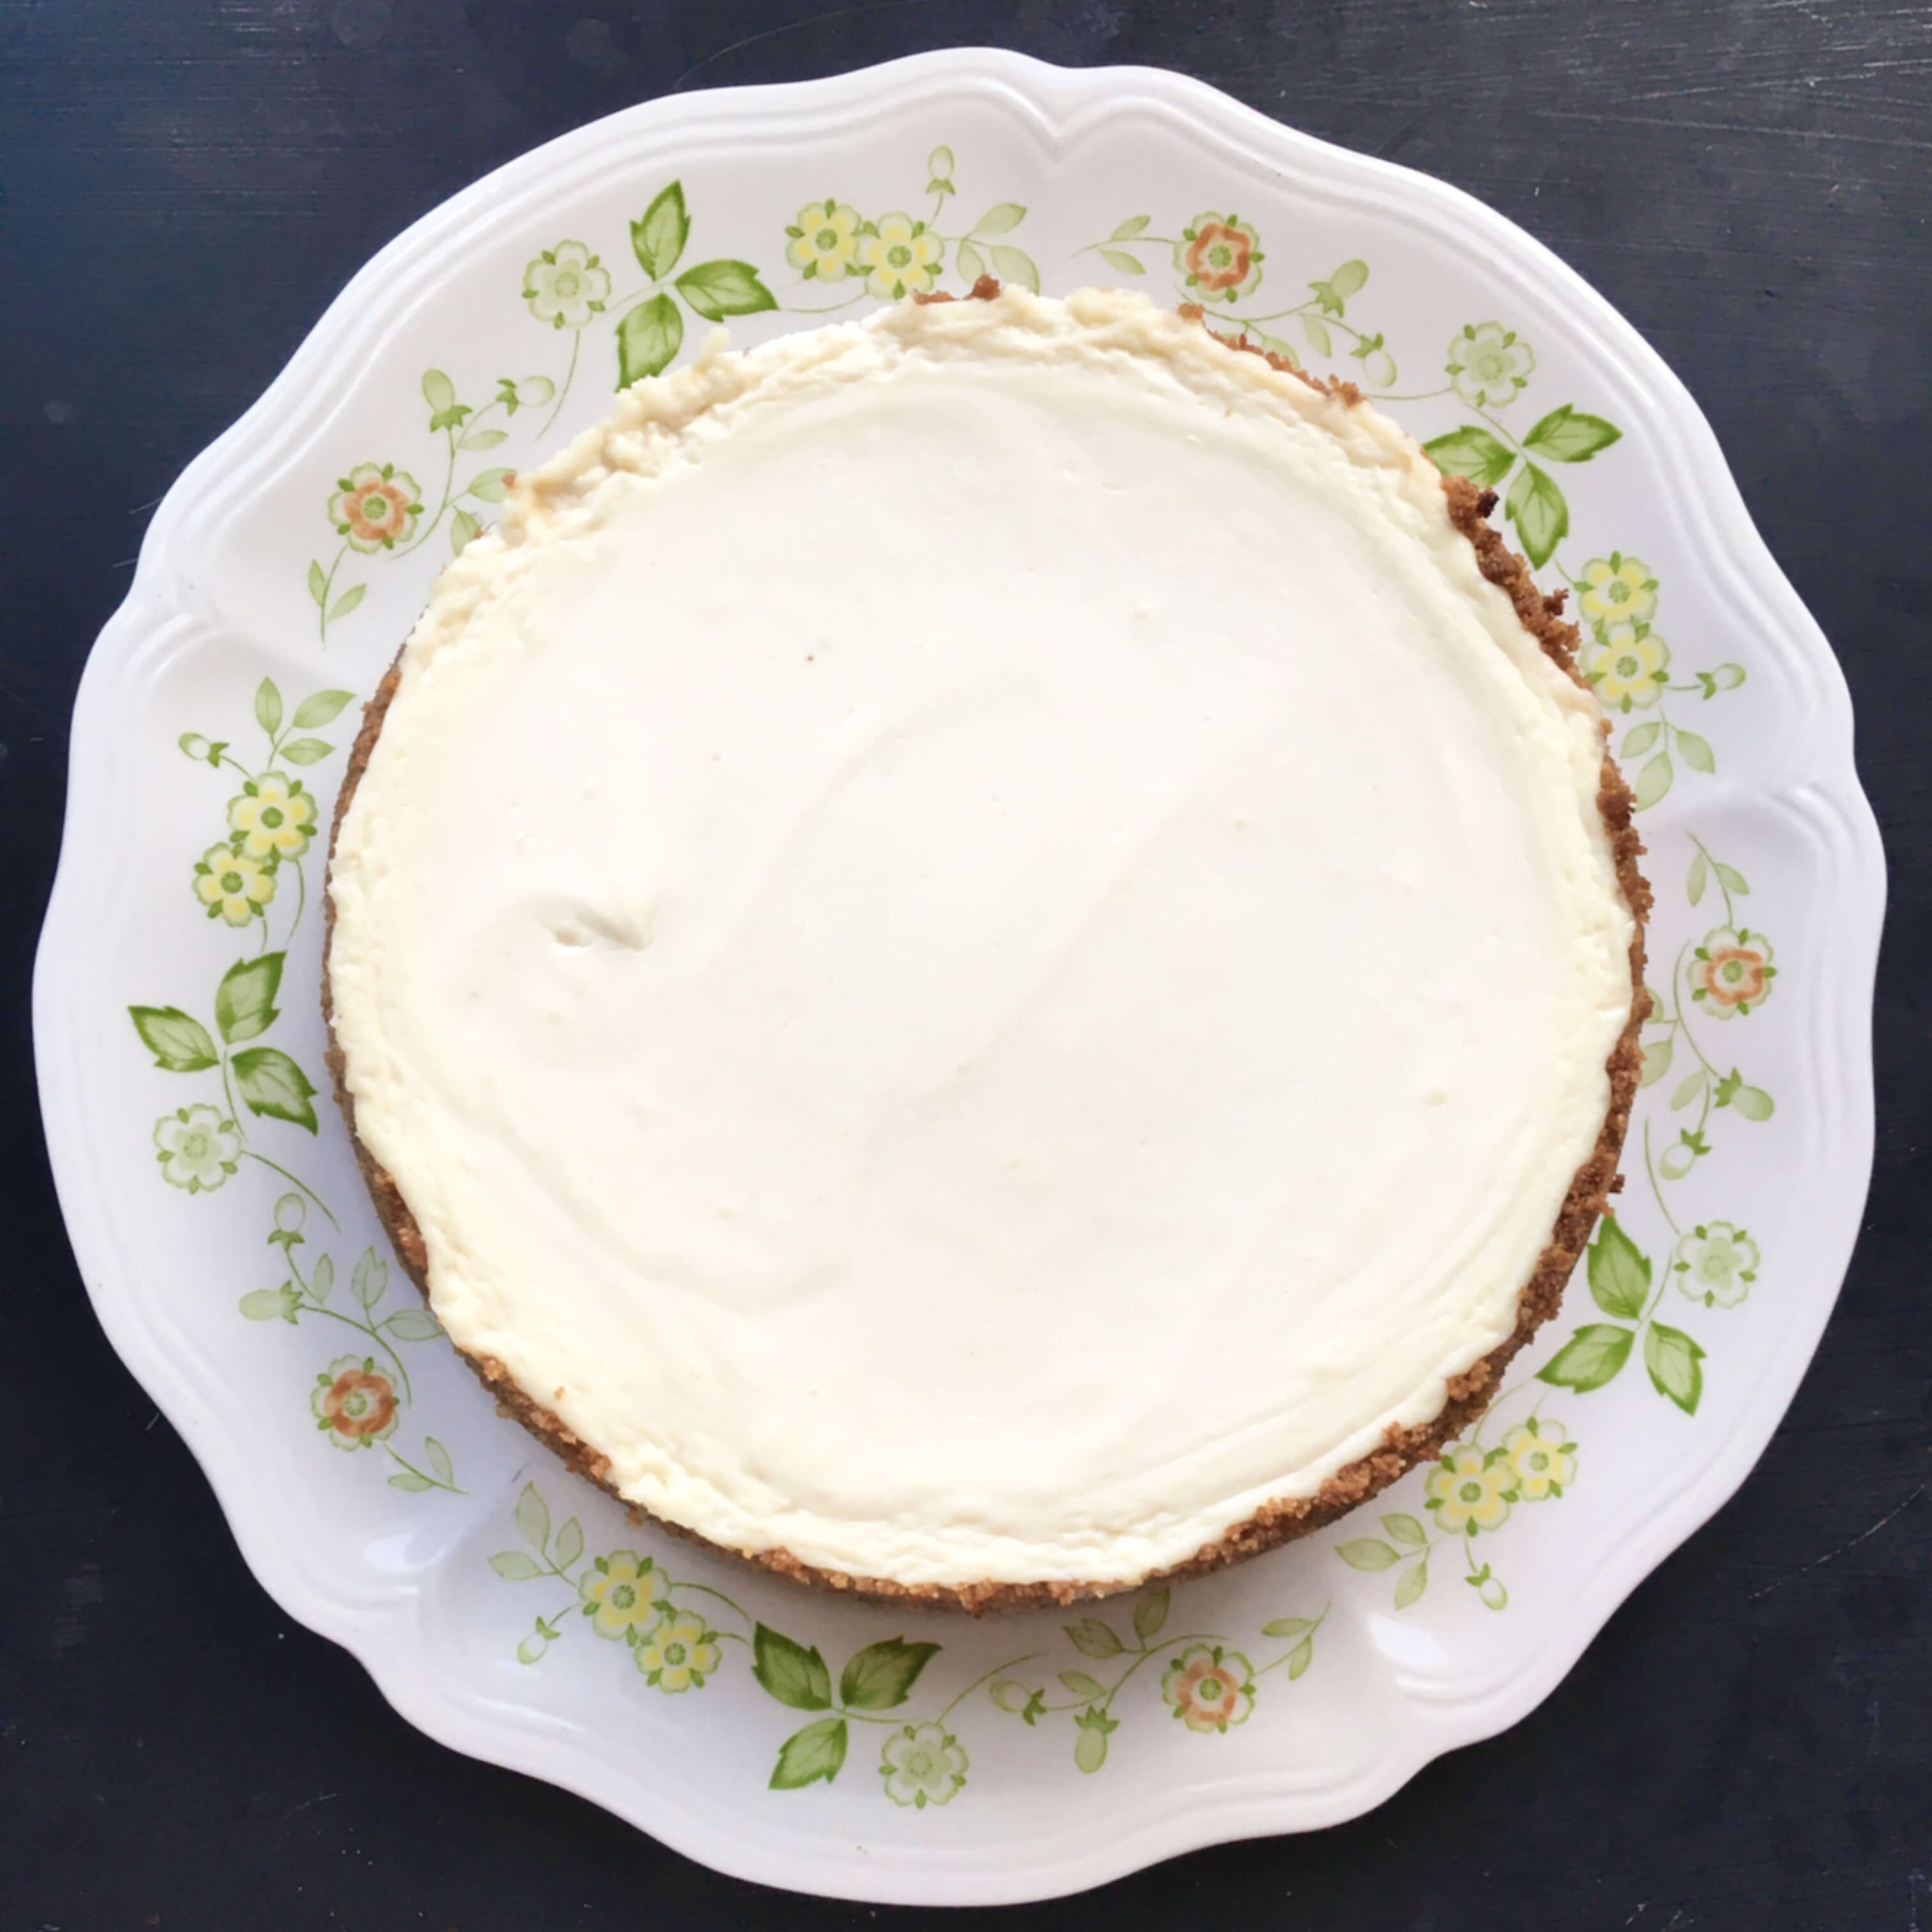
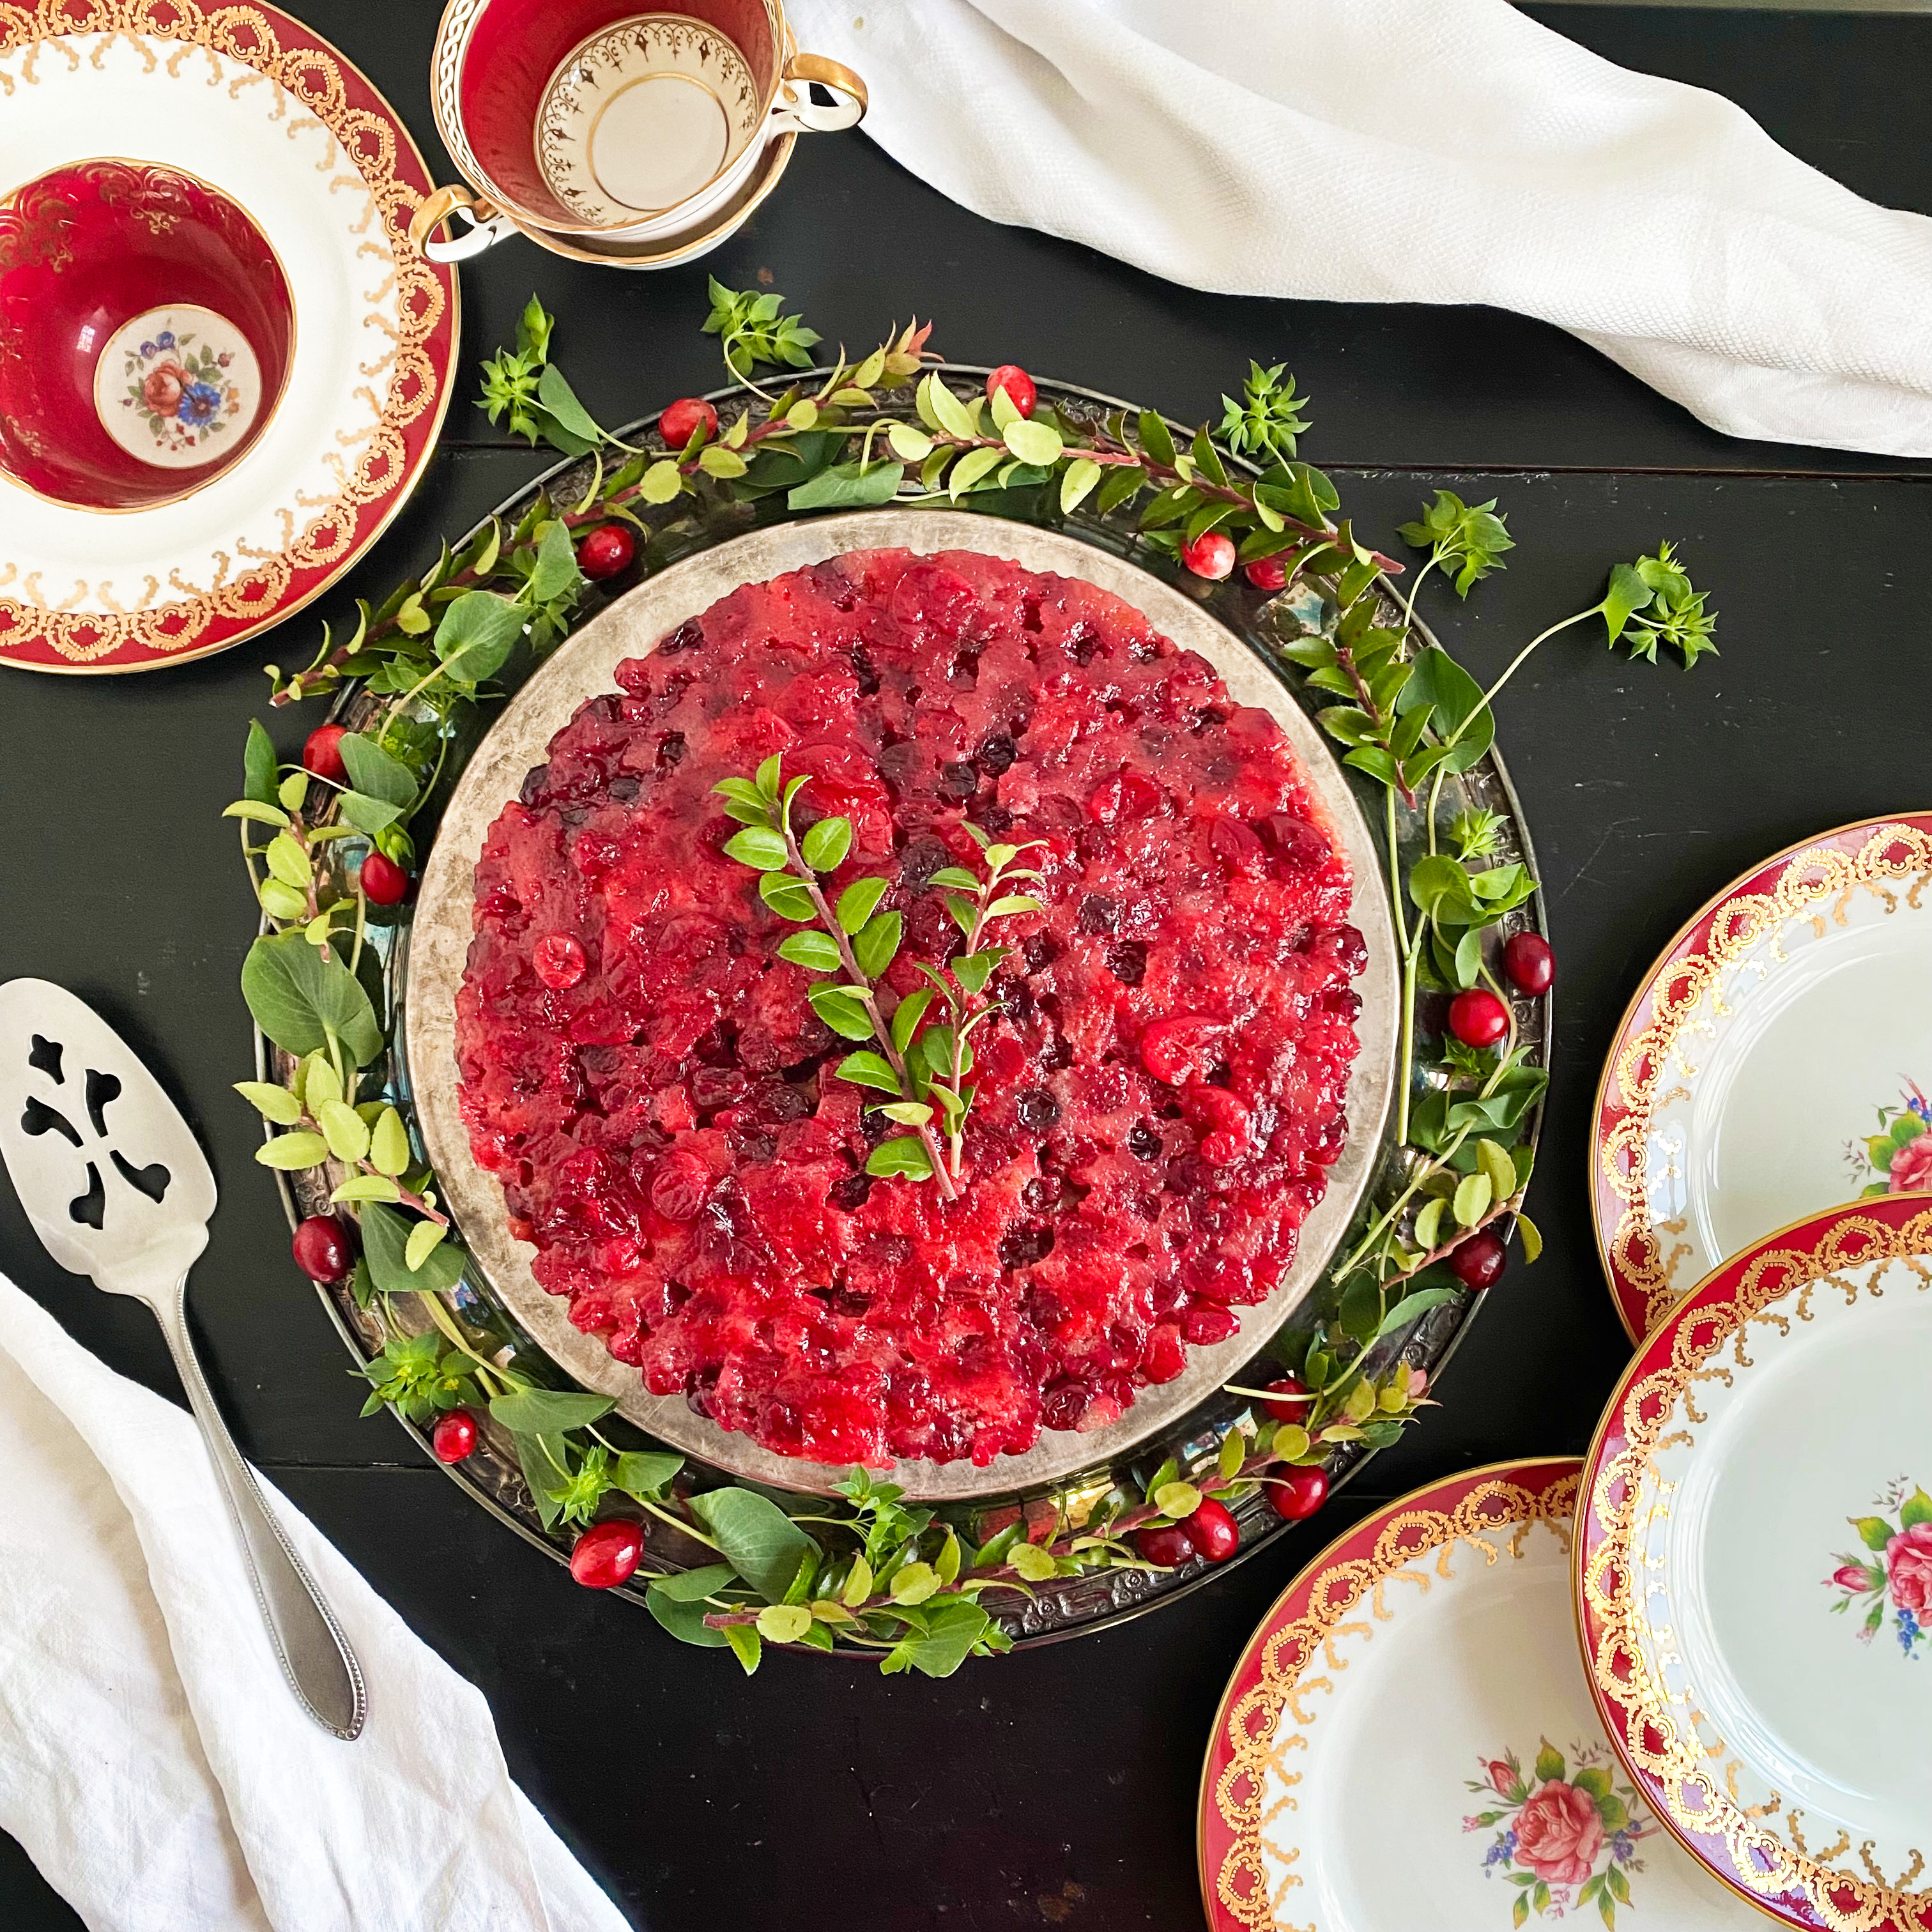
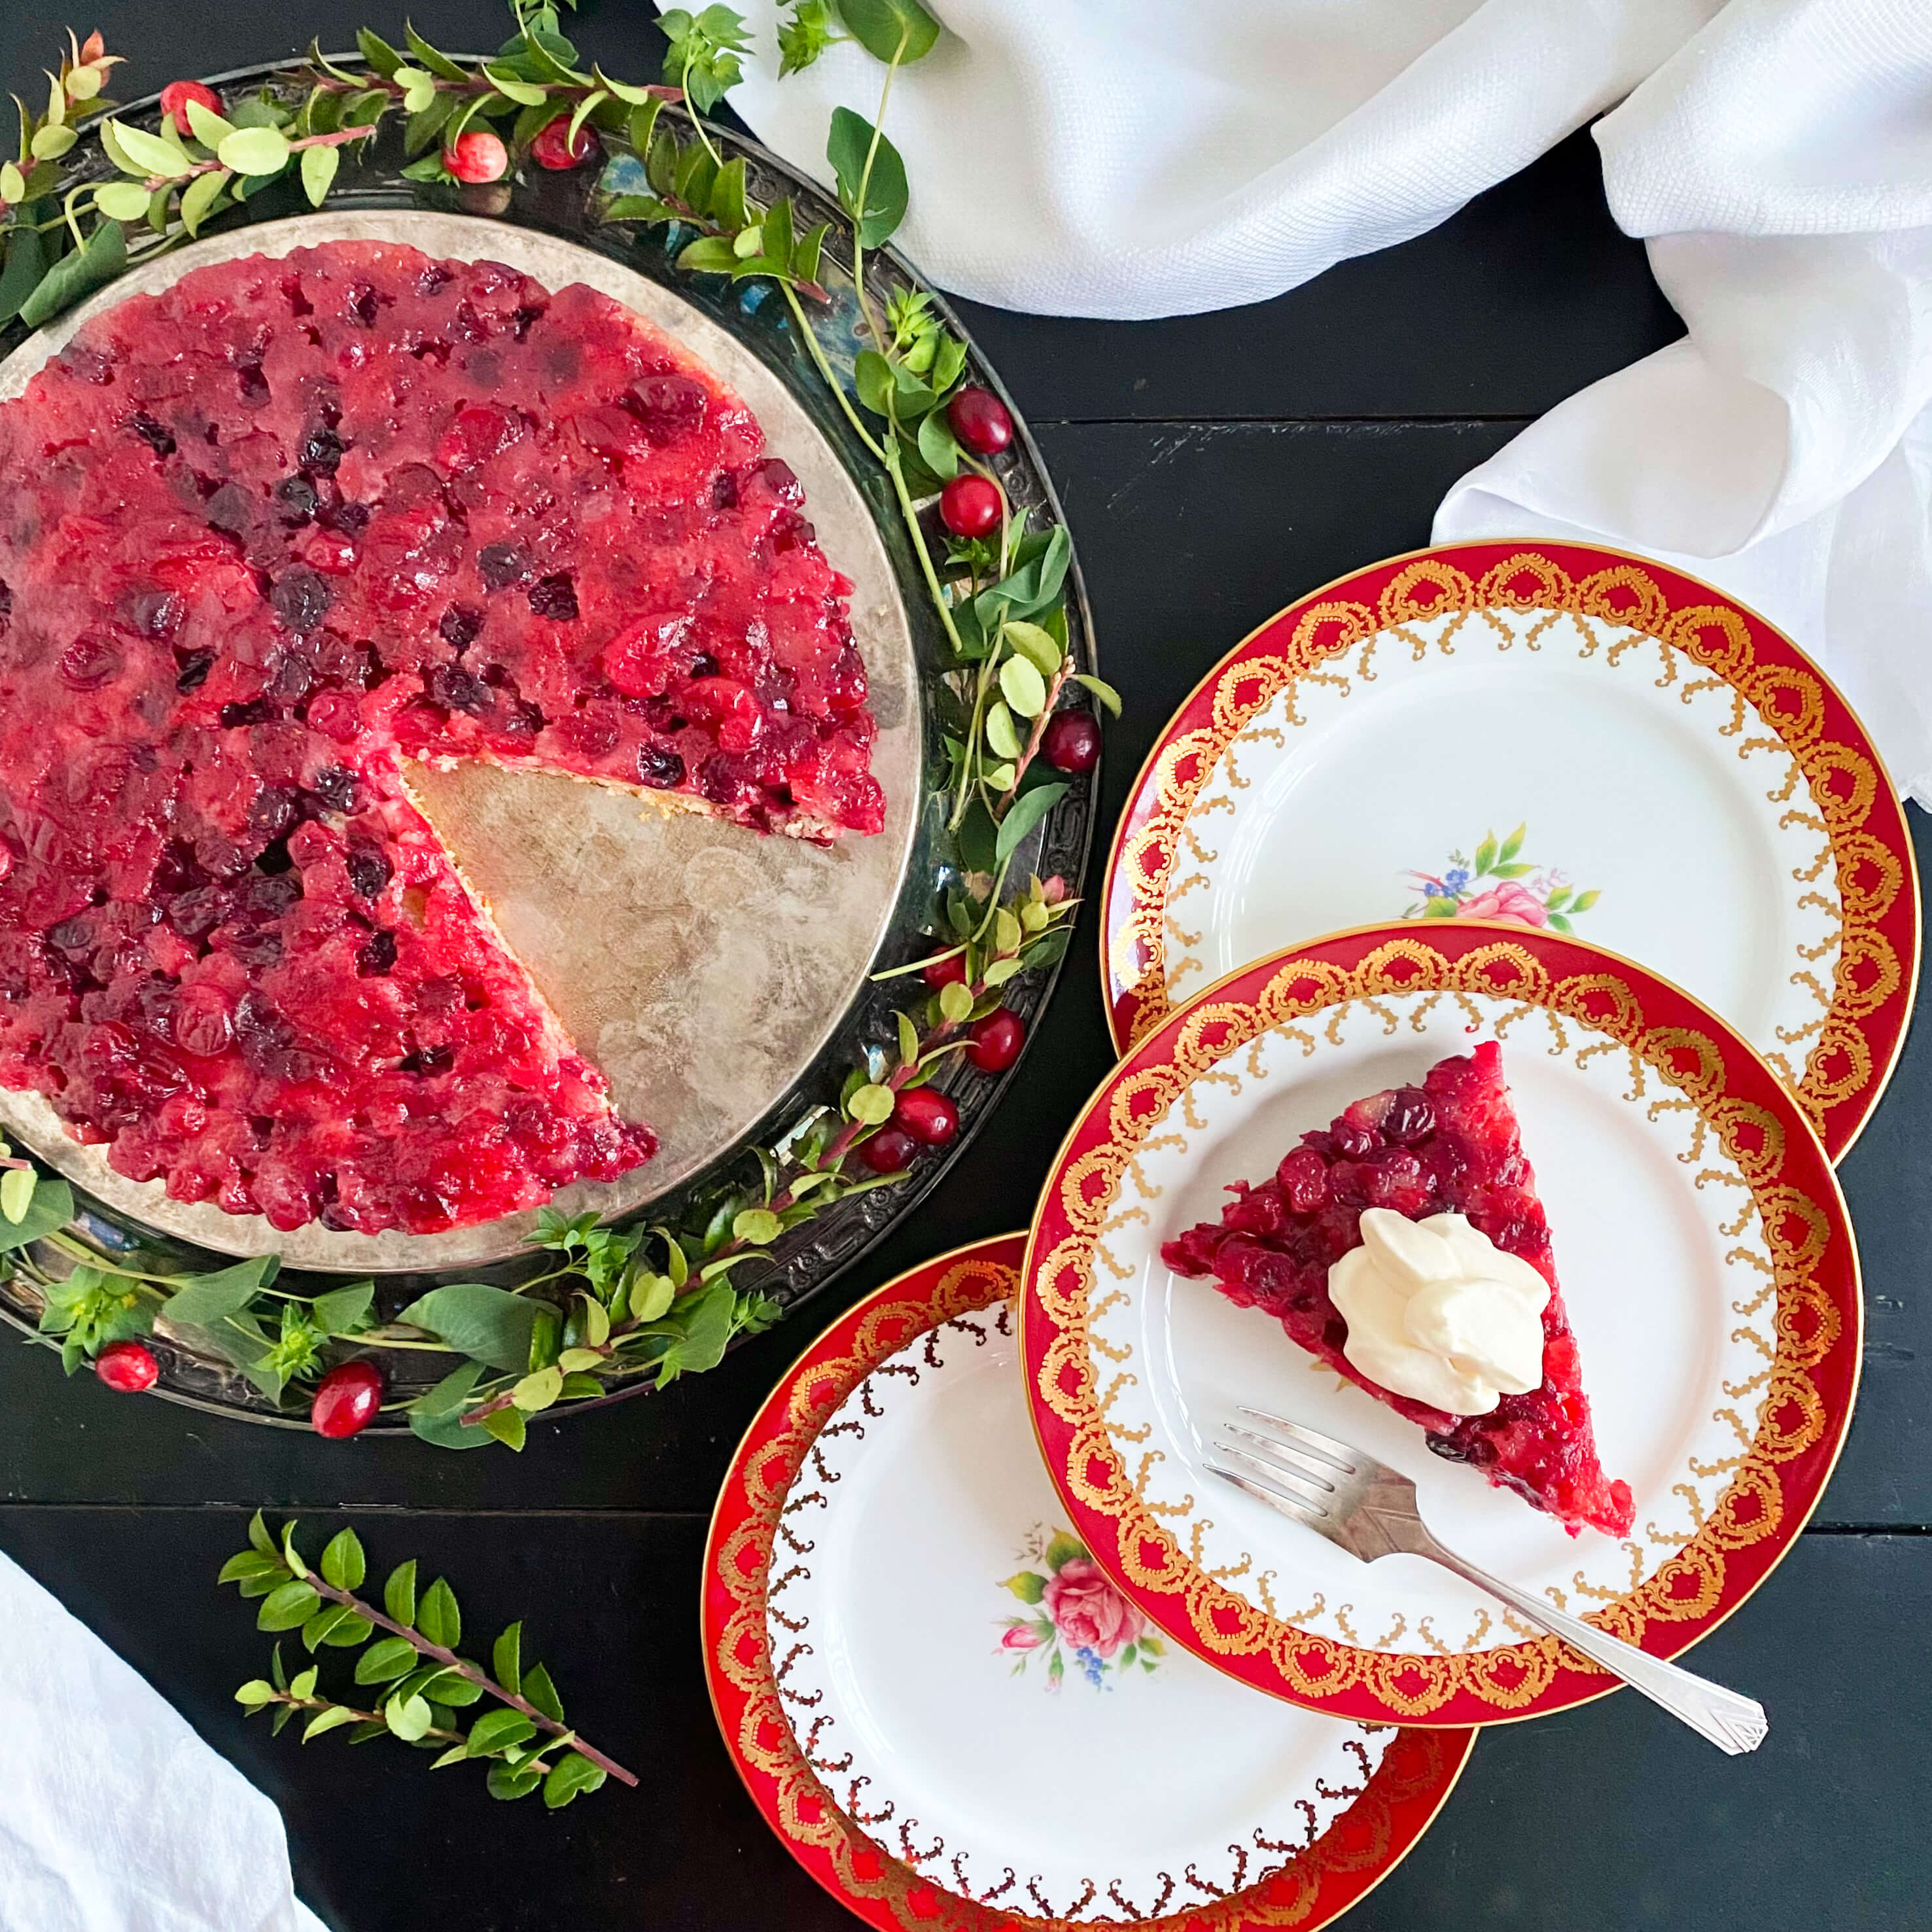
Remove from the oven and let cool on a baking rack for 20 minutes, and then invert the cake pan onto a serving platter in one quick motion.
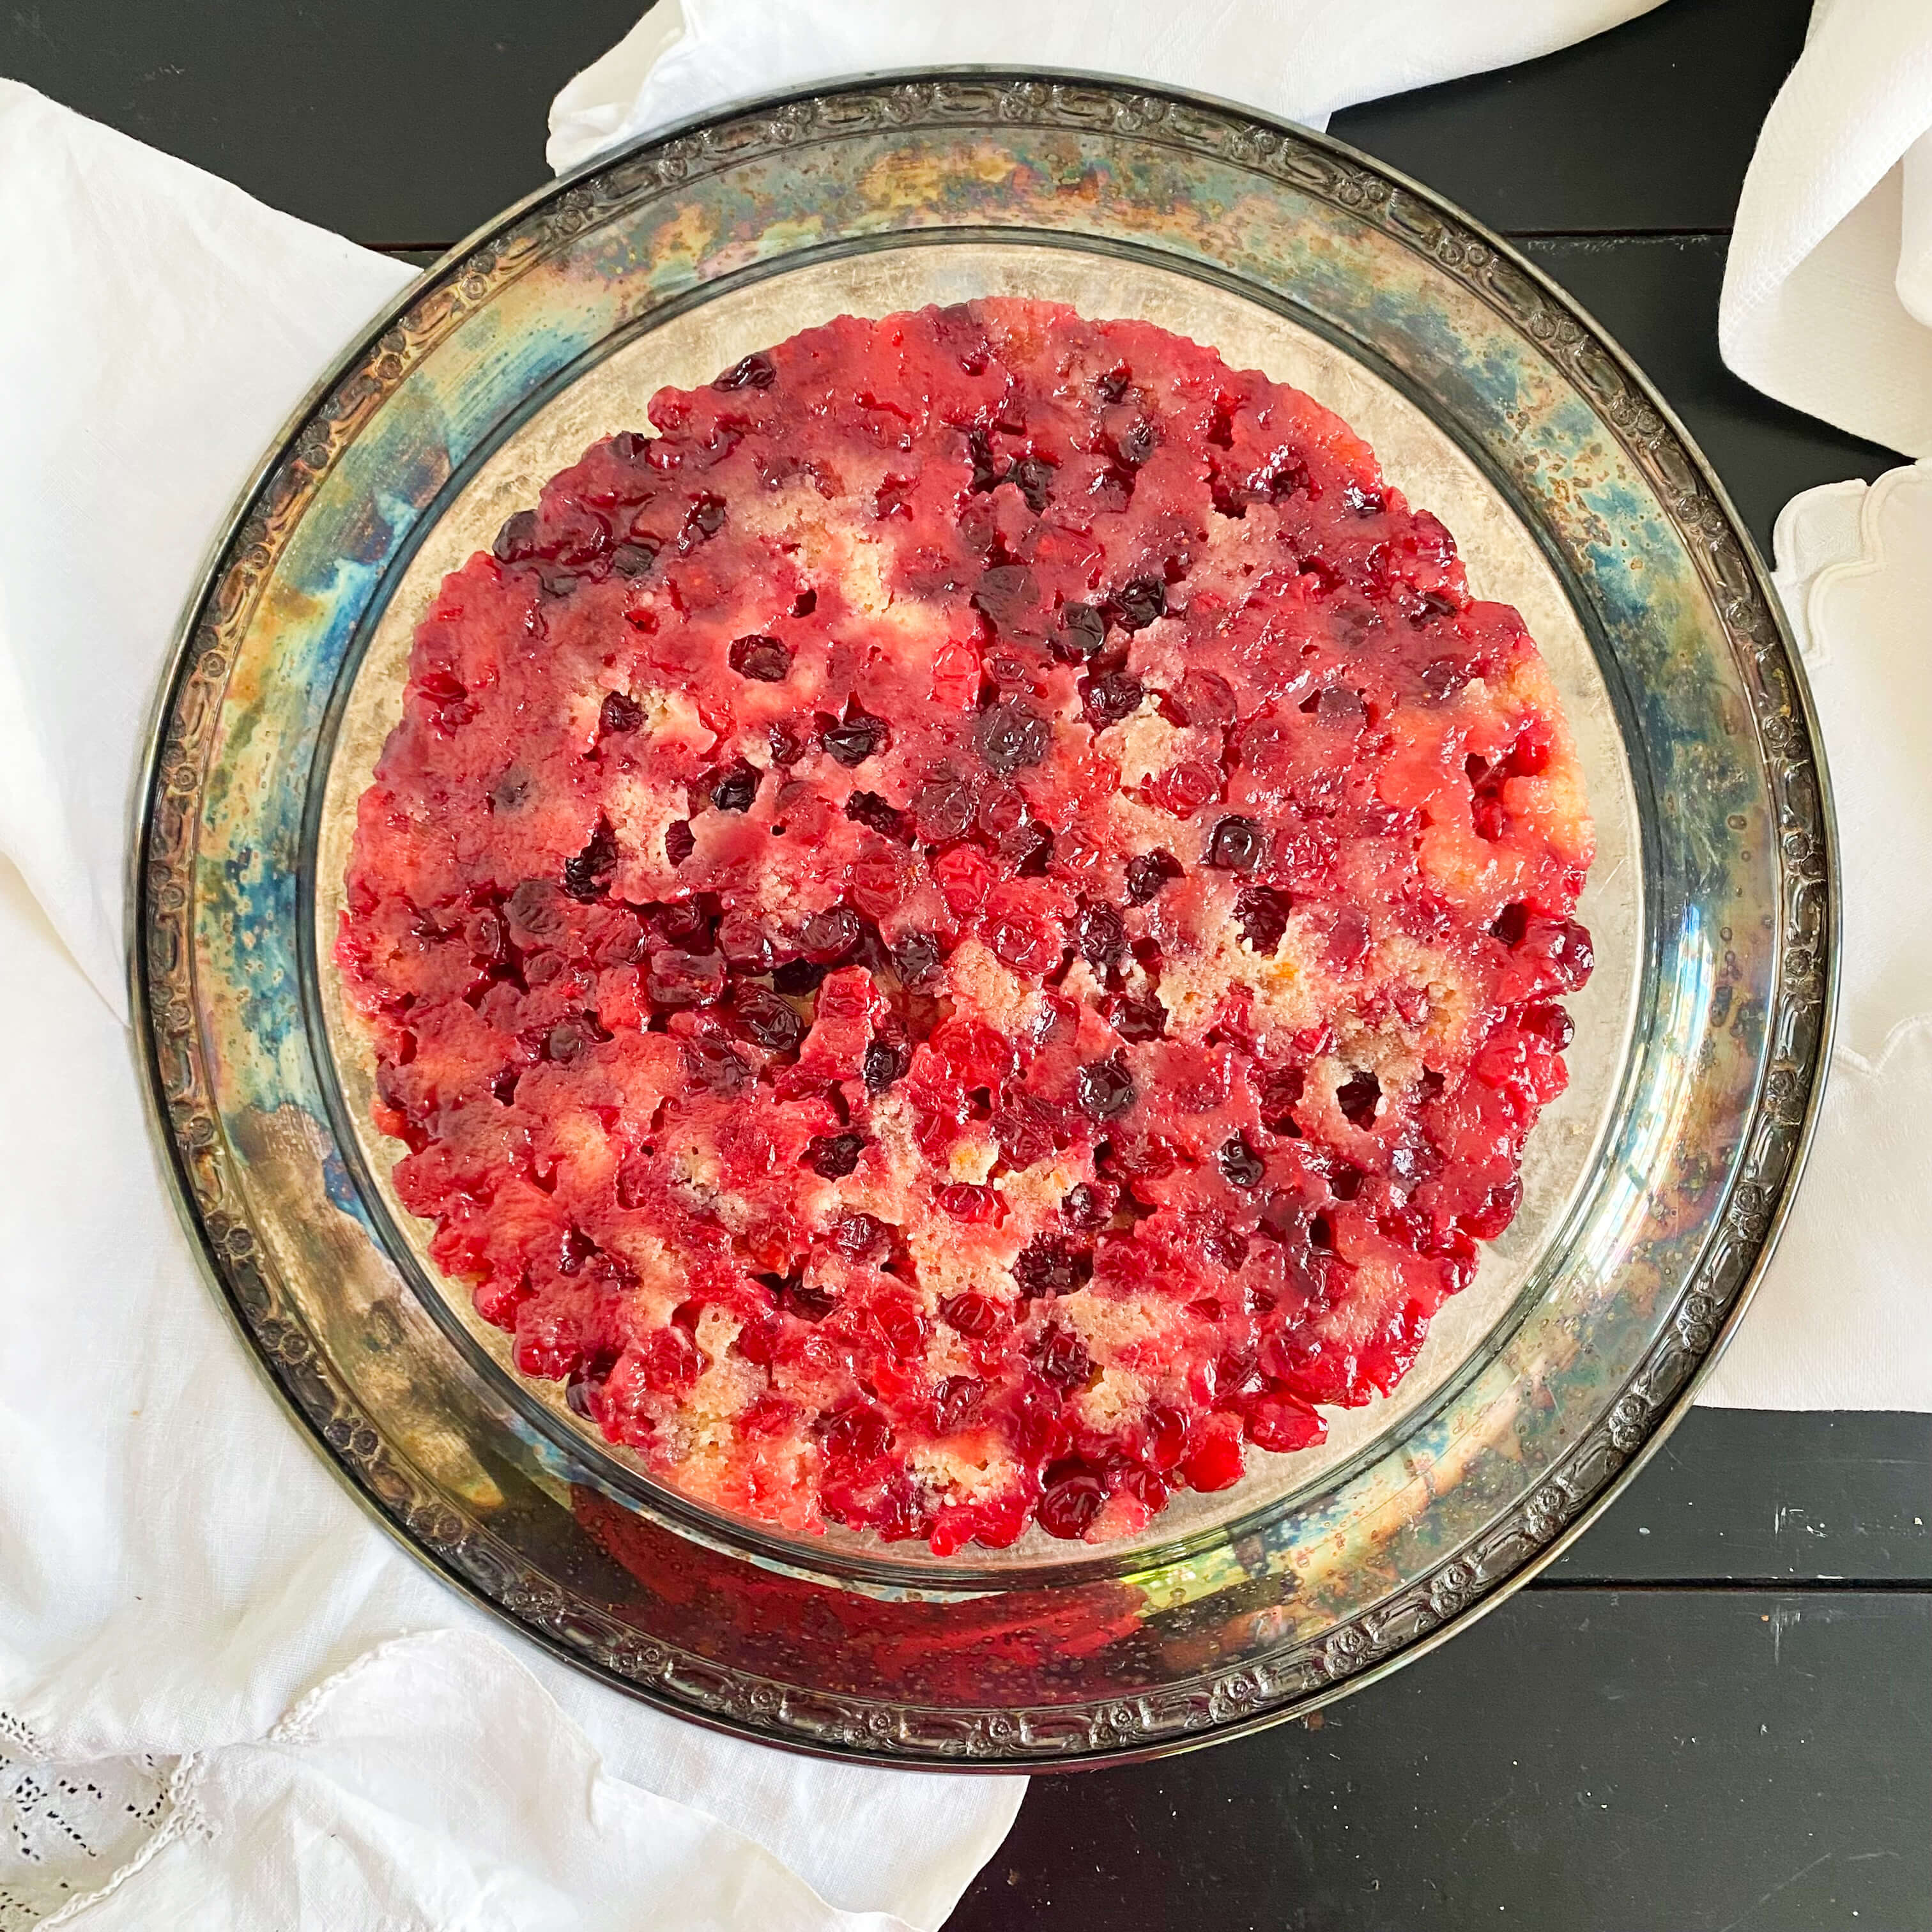
Sometimes, during the baking process, the cranberries will leave little pockets of empty space as they settle and reduce in the oven, as seen above. This is perfectly normal. The cake batter naturally fills in those gaps and forms a completely flat top when flipped over.

You can serve the cake just like this and it will taste great, but if you want to fill in those bare spots with a little more cranberry color, follow the simple steps below to make your cake extra rosy.
Special note: This extra step takes no longer than 15 minutes.
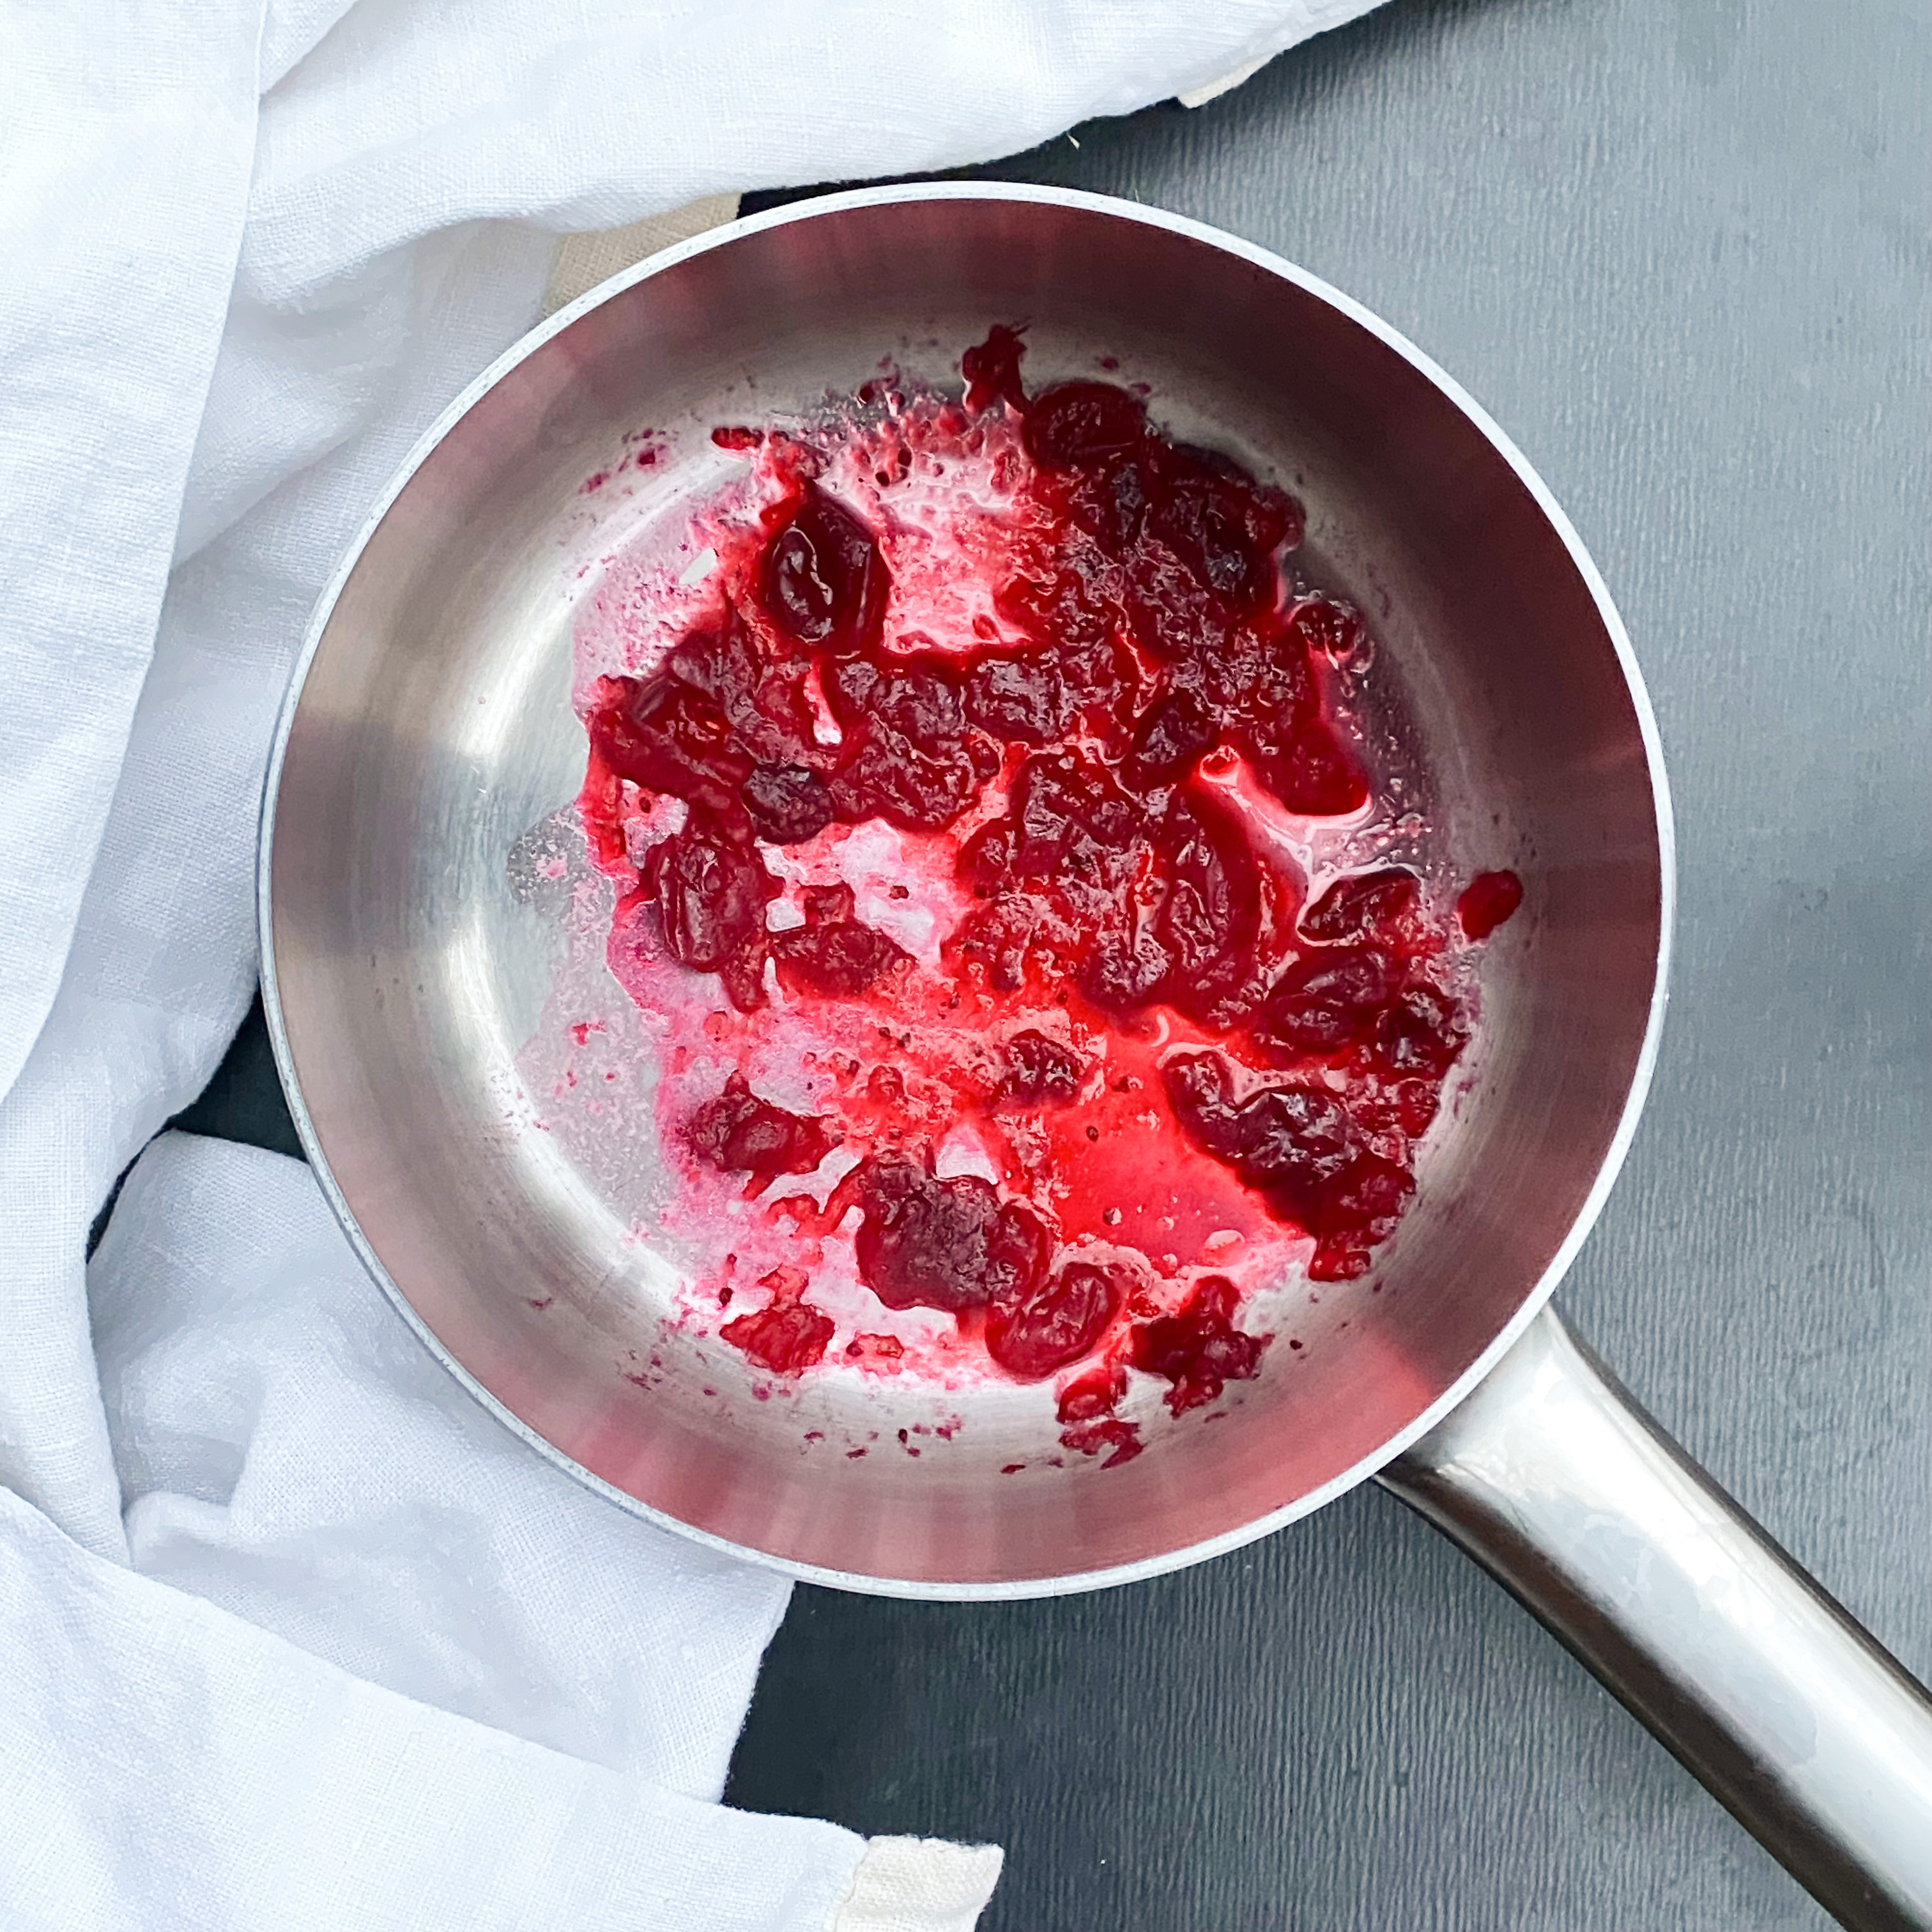
Add 1/2 cup fresh cranberries to a small sauce pan along with 1/3 cup cold water. Bring to a boil and simmer until cranberries begin to pop and soften. Add in 2 tablespoons of sugar and continue to simmer until enough liquid evaporates to form a syrupy consistency with the soft cranberries still somewhat intact or in a semi-crushed state. Remove from heat and let cool for 5 minutes. Then fill in the bare areas on the cake using a soup spoon.
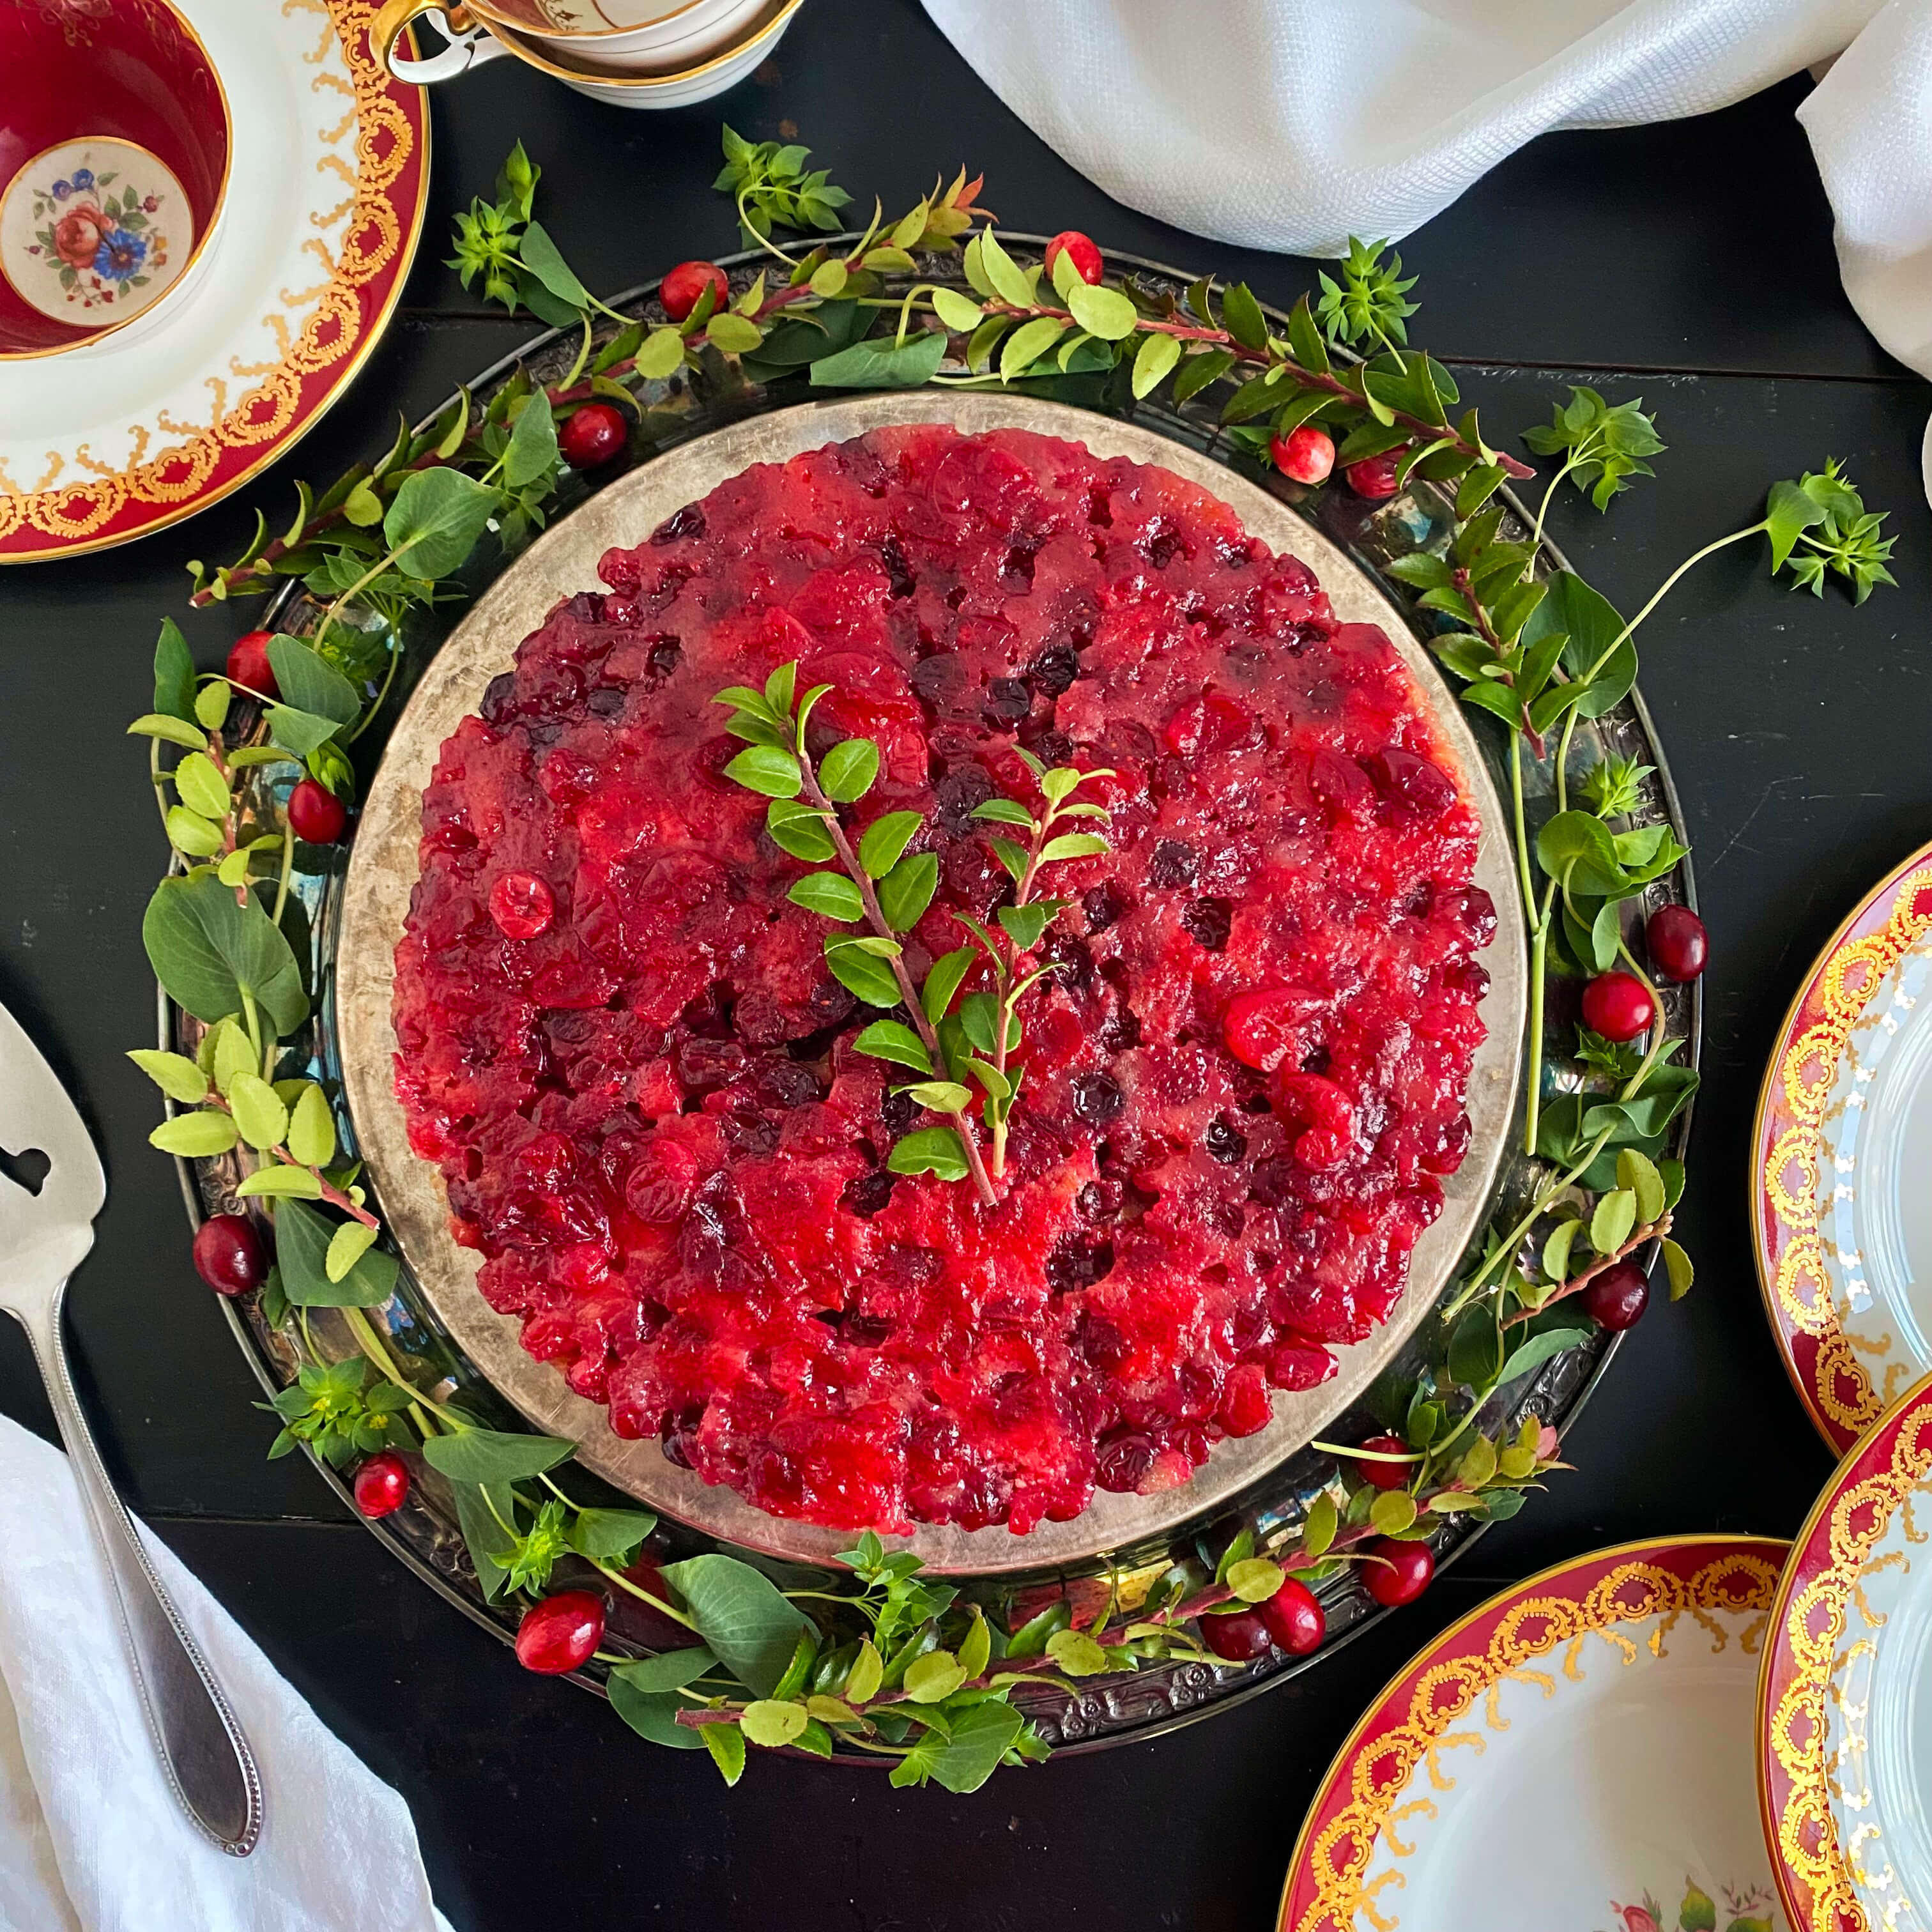
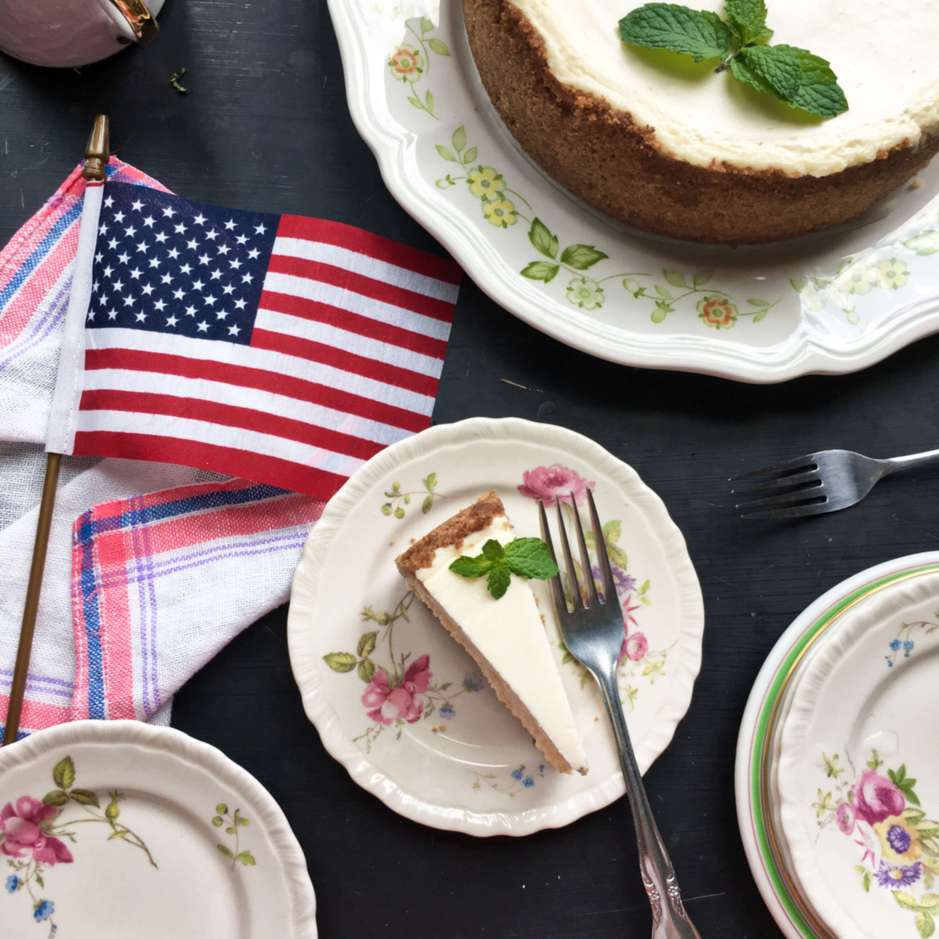
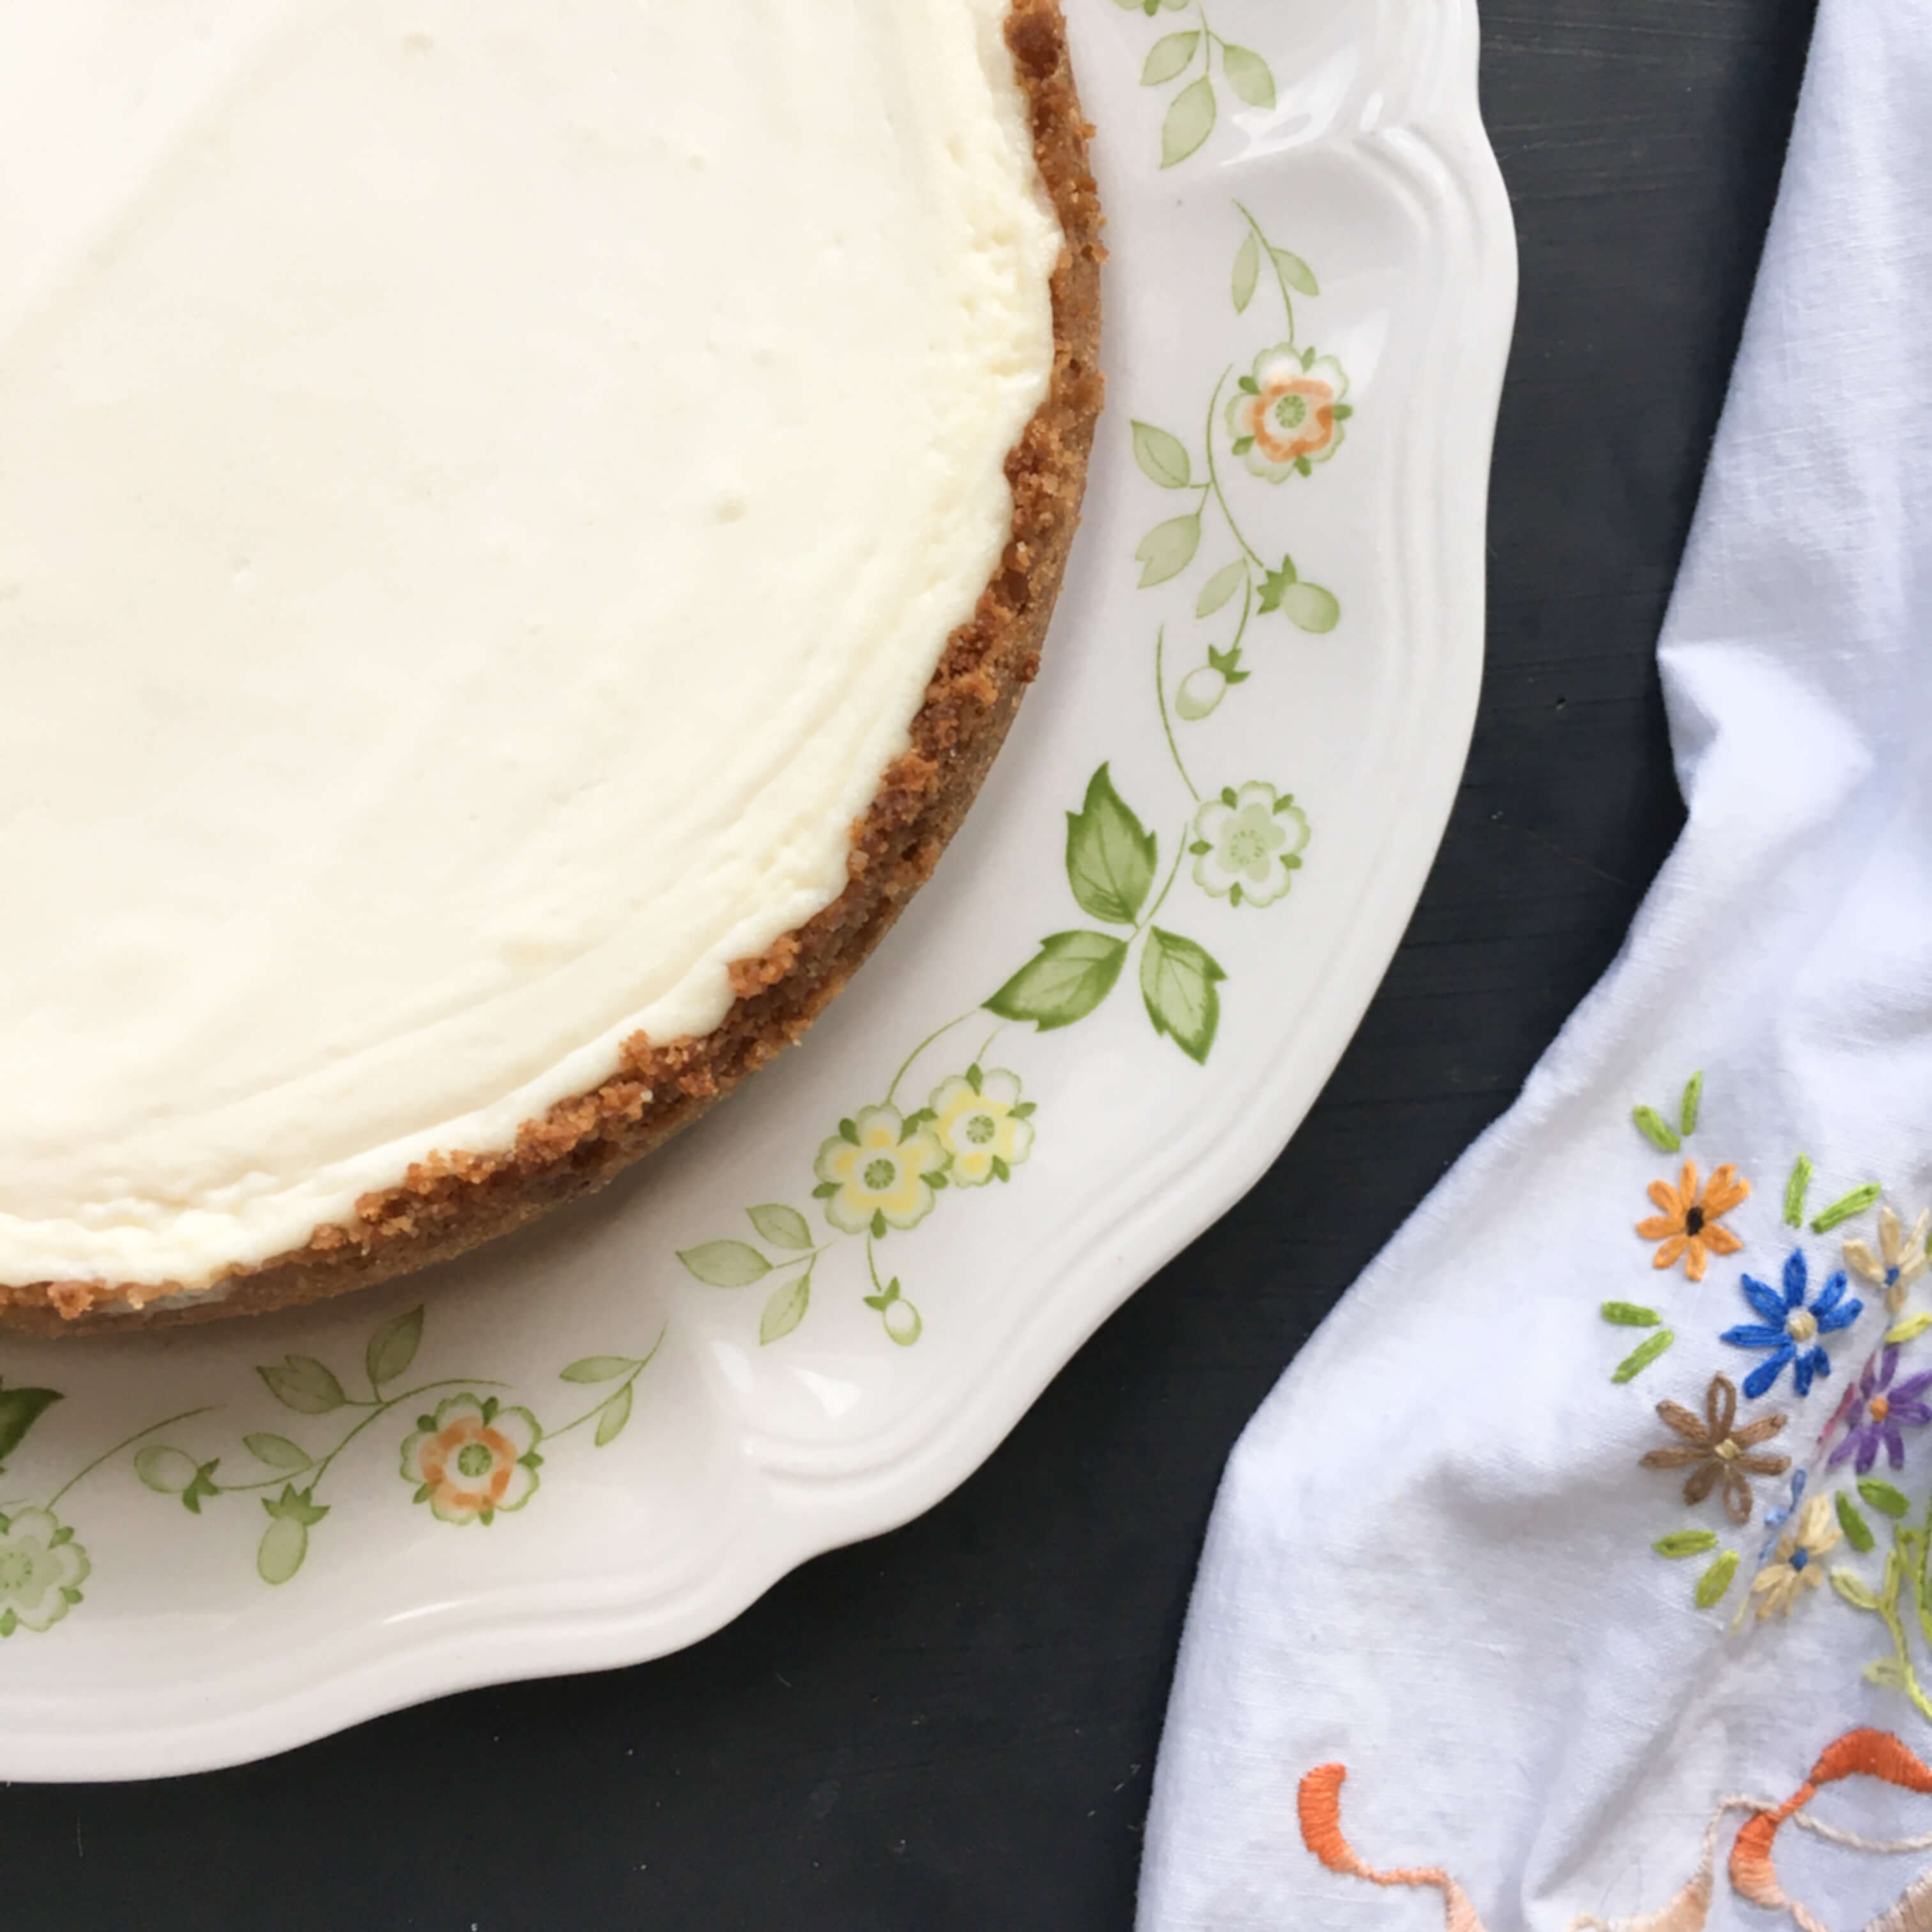
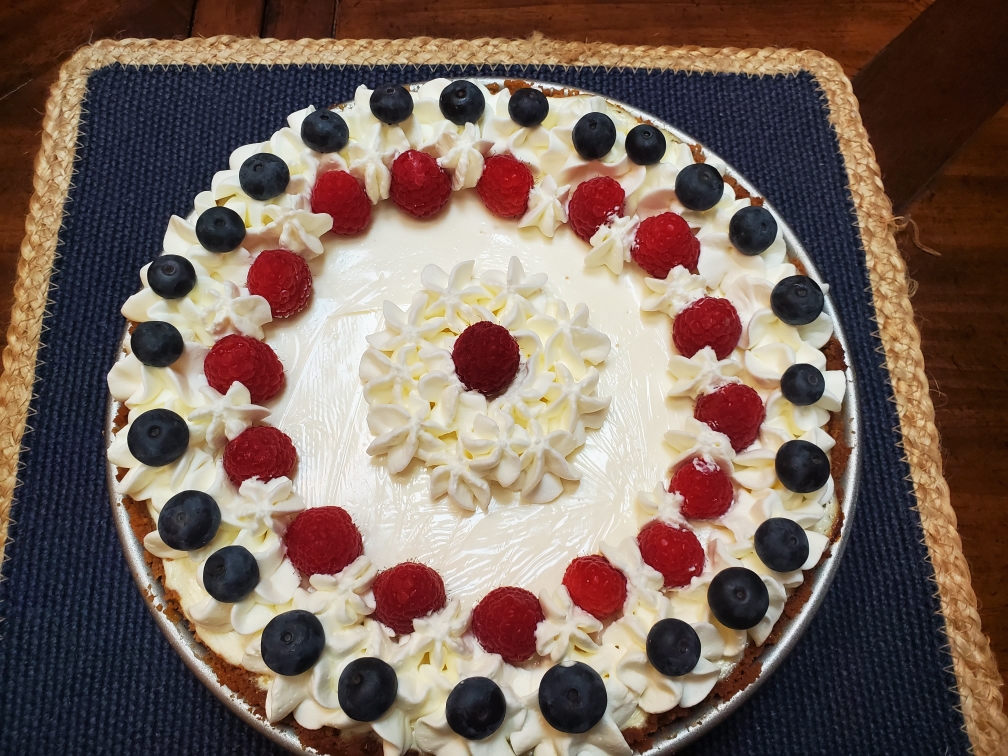
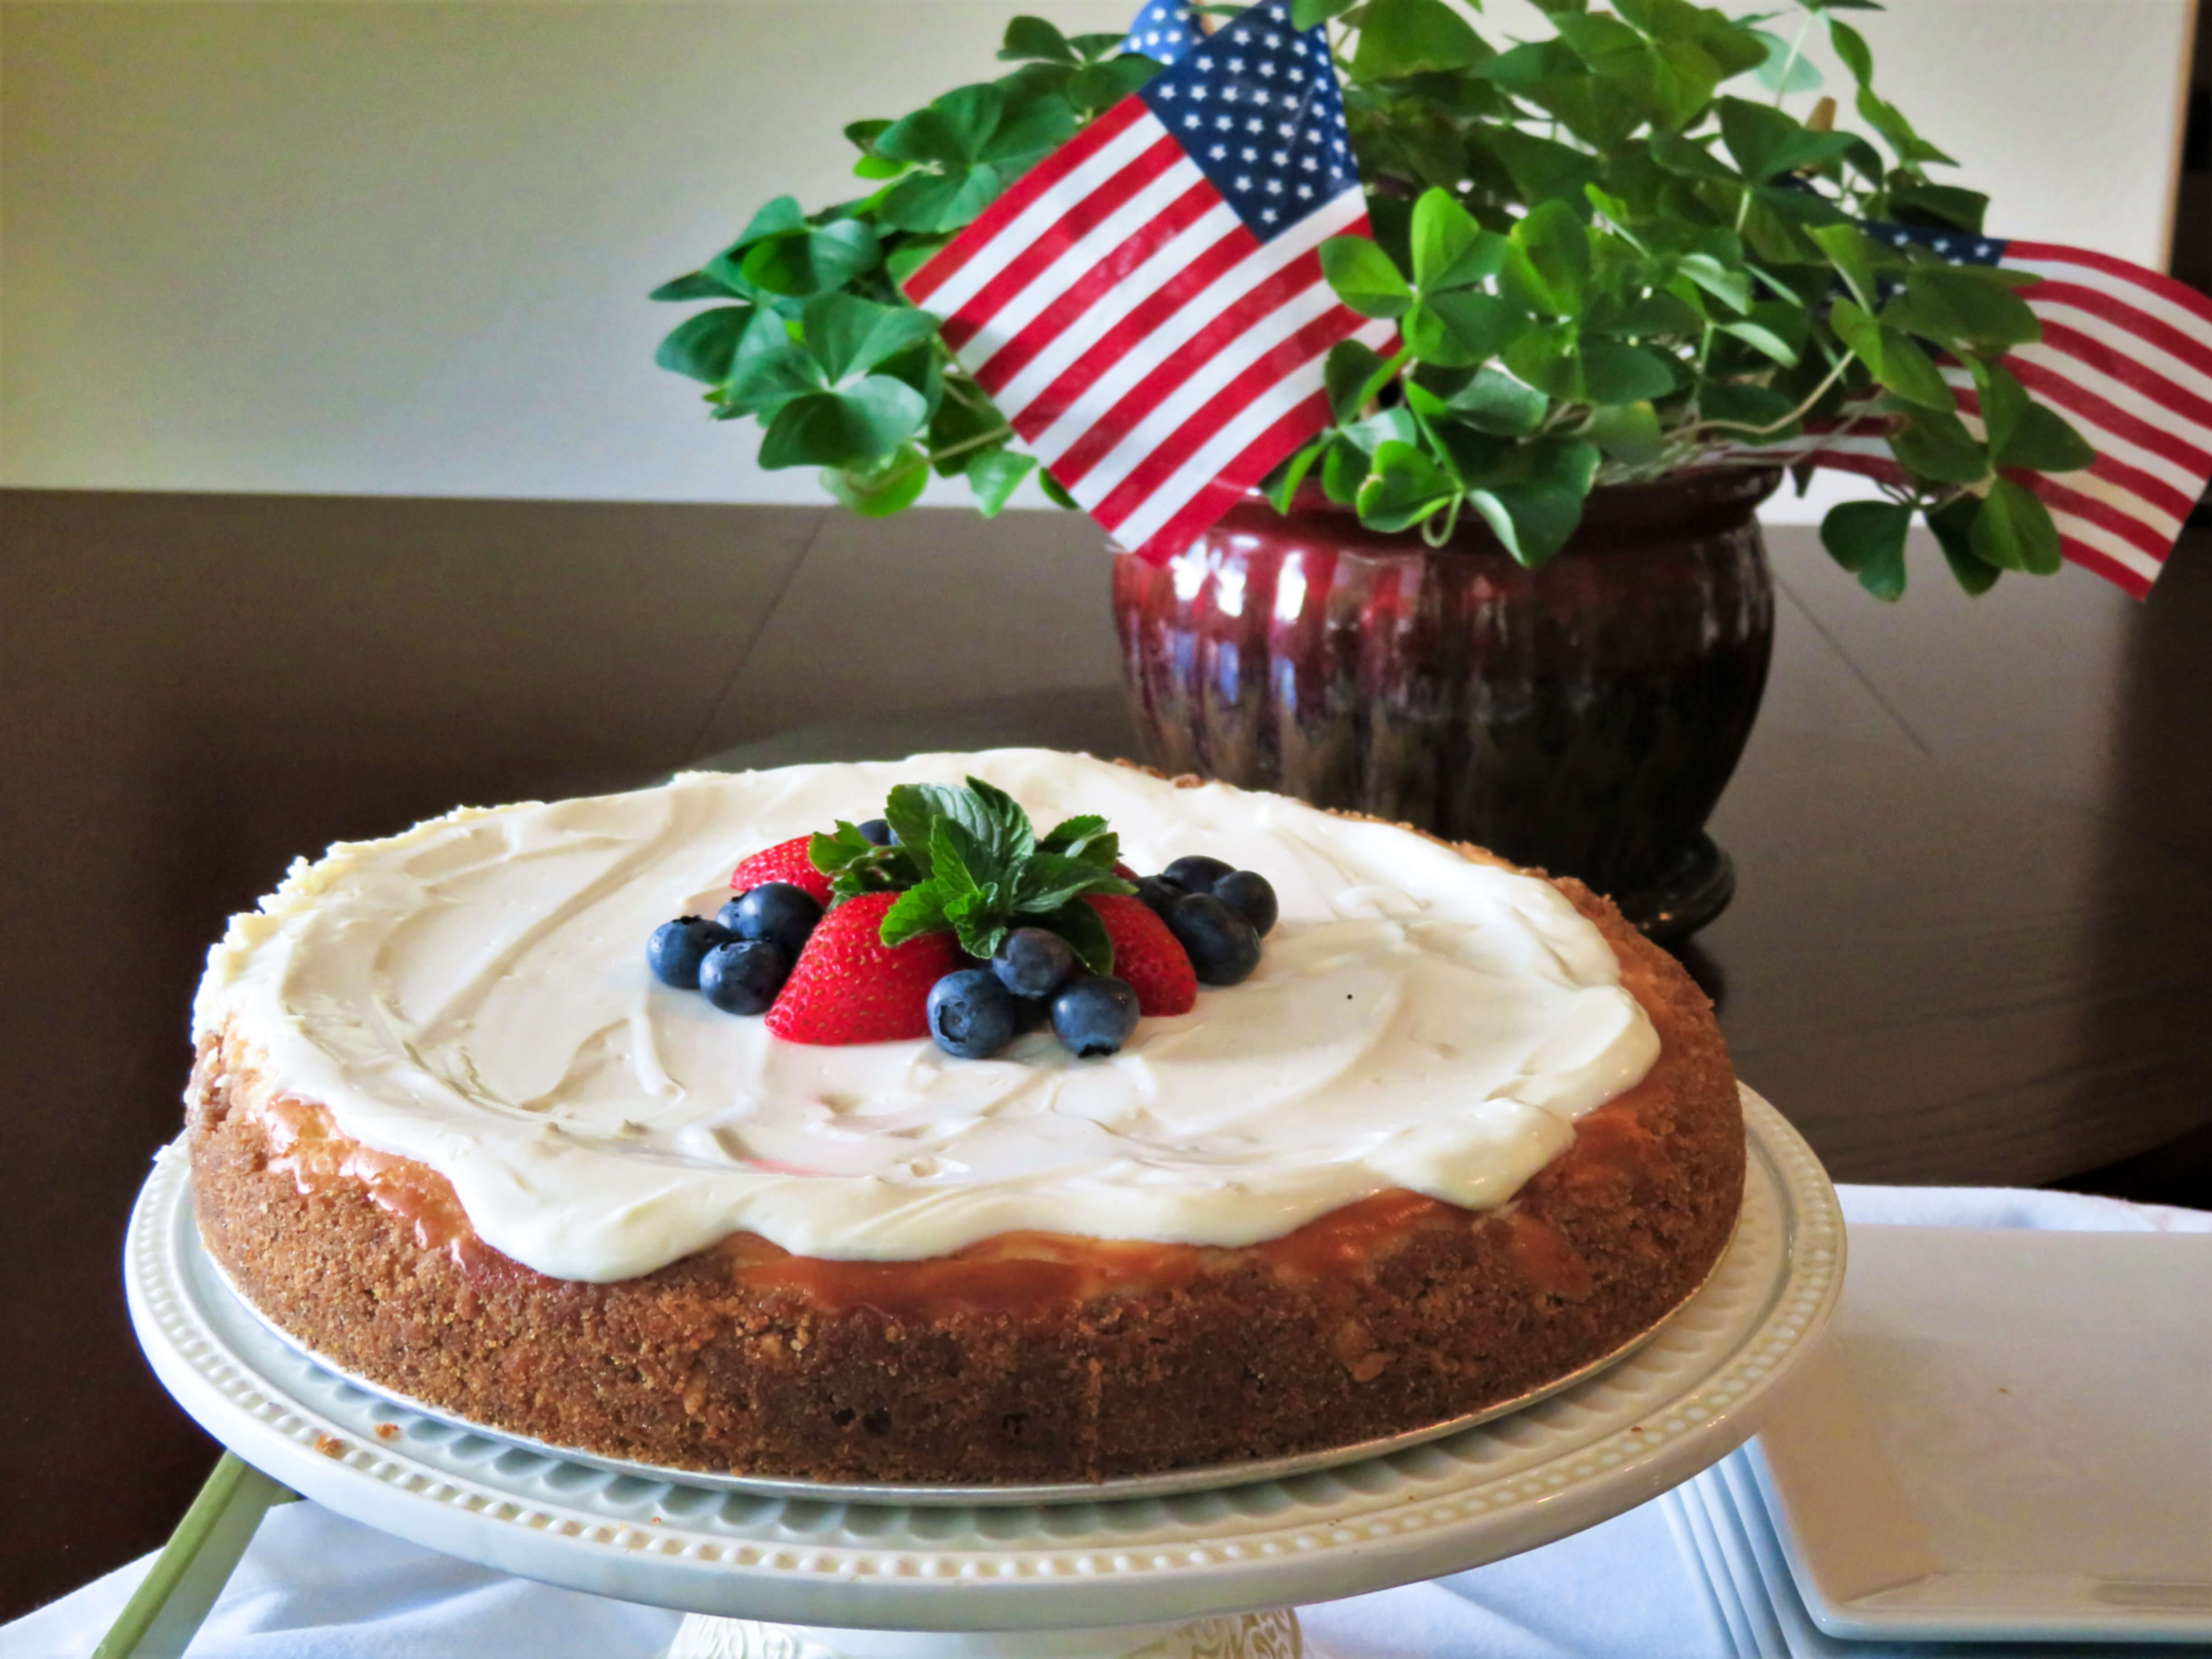
I always like to garnish the platter with a bit of greenery and fresh cranberries for centerpiece presentation at the table. Slice and serve each piece of cake with a dollop of freshly made whipped cream.
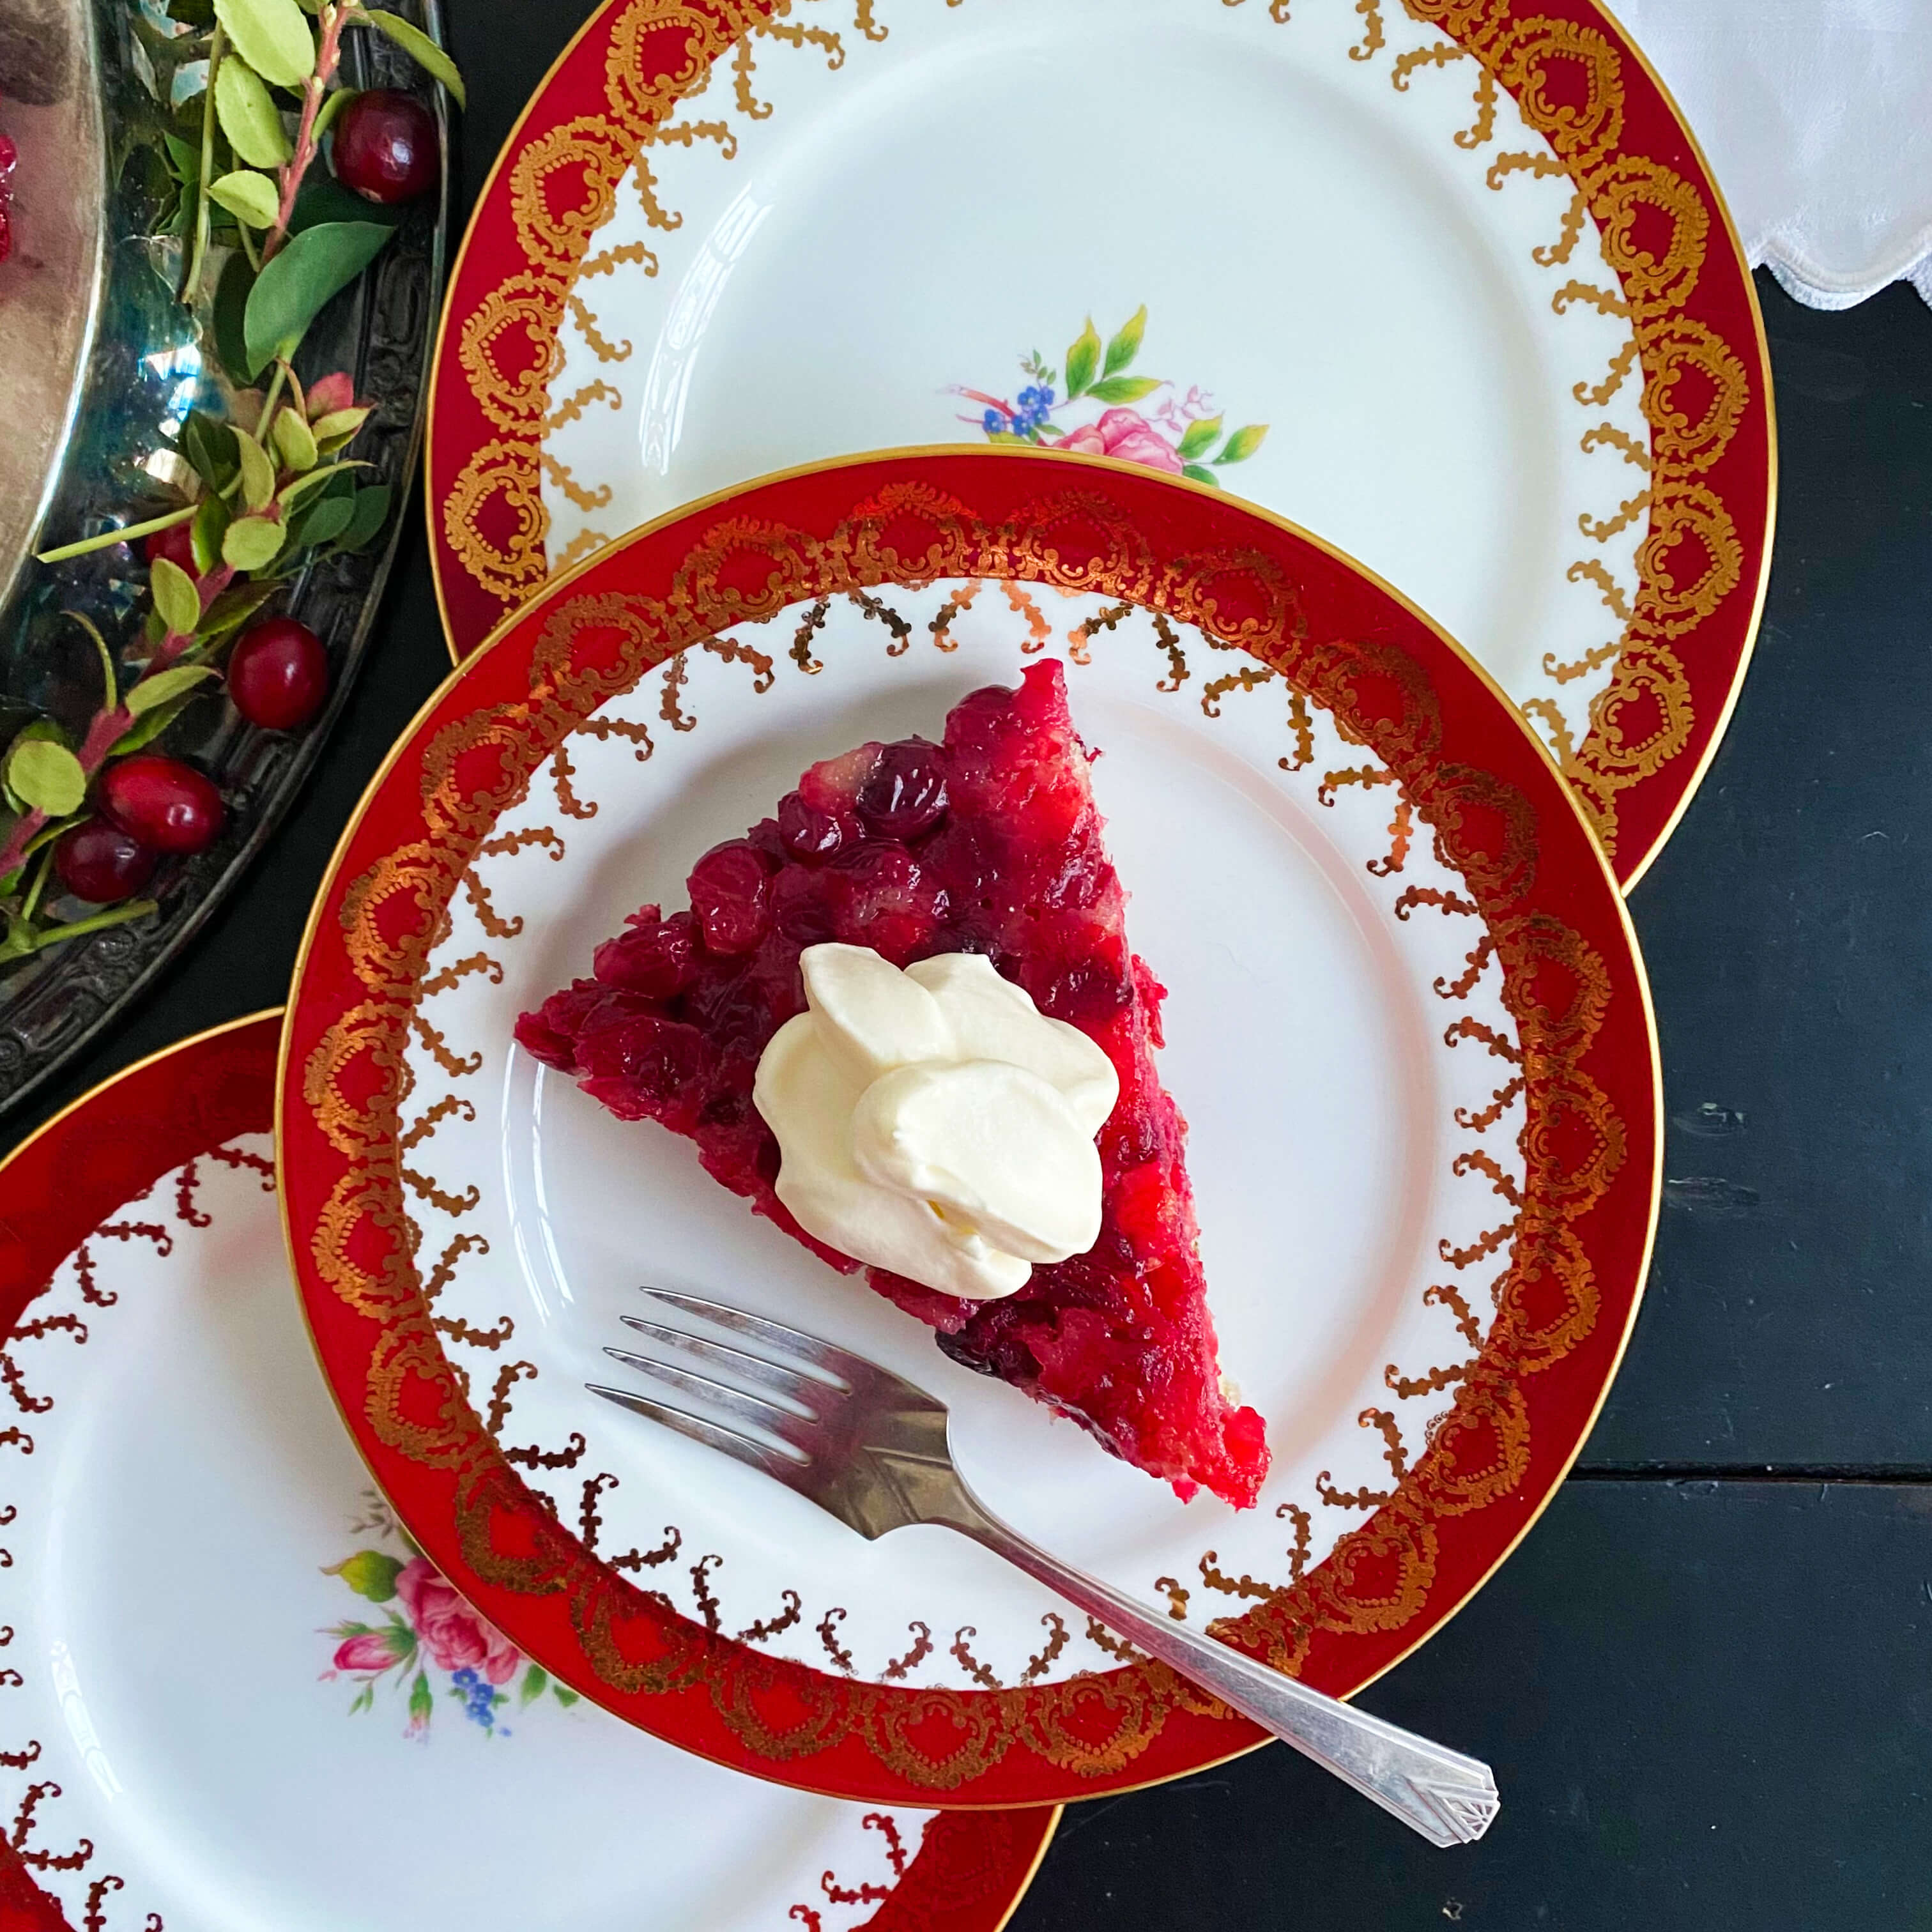
The texture of my family’s version of this recipe is thin on thre cranberry topping with a more substantial cake, similar to the density of banana bread or the top of a muffin that is chewy with a slight crunch to it. Since this recipe does not call for a lot of sugar, it offers a lovely sweet-tart flavor profile thanks to the cranberries. The orange rind adds a delicate dose of fresh citrus to brighten the flavor of the fruit and balance the butter. Definitely do not forget to serve it with homemade whipped cream. I like to whip the cream to a consistency of soft peaks rather than firm peaks for this recipe, so that the cream lightly sits on top of each slice of cake like a cloud.
Although Cranberry Upside-Down Cake is the simplest of desserts, it carries intense flavor. If you can find local cranberries, eggs, butter and milk, all the better. Living in New England, I was able to source local Connecticut cranberries and eggs for this recipe, but grocery prices being what they are today, one of the distinct joys of this dessert has always been its economy, so incorporate the best ingredients that you can afford. It will turn out wonderfully regardless of budget.
This cake easily serves eight people, but you can also stretch it to 16 if you slice the pieces thinly. When it comes to a flavorful cake like this one, a petite slice can sometimes feel even more indulgent than a big slice. Portion size aside, it’s great served warm, at room temperature, or cold straight from the fridge, and it is especially lovely when paired with a cup of hot coffee or tea.
A centuries-old symbol of peace and friendship, cranberries were an important part of life amongst the indigenous tribes of early America. I like to think they still carry that same power via recipes we make today. I couldn’t think of a more symbolic fruit to wrap up the end of the year with than this small, sweet, tart, hearty, and humble marble of a bright red berry. I hope this recipe brings a sense of calmness and ease to your holiday kitchen and delight to your dining table and all the companions that surround it.
Cheers to a lovely holiday, to the new readers we have welcomed to the blog this year, to my mom for introducing this favorite, and to our entire culinary community. May peace, friendship, and memorable meals swirl around your kitchen throughout all the days of the new year to come.
Happy Holidays!
UPDATE – January 2026
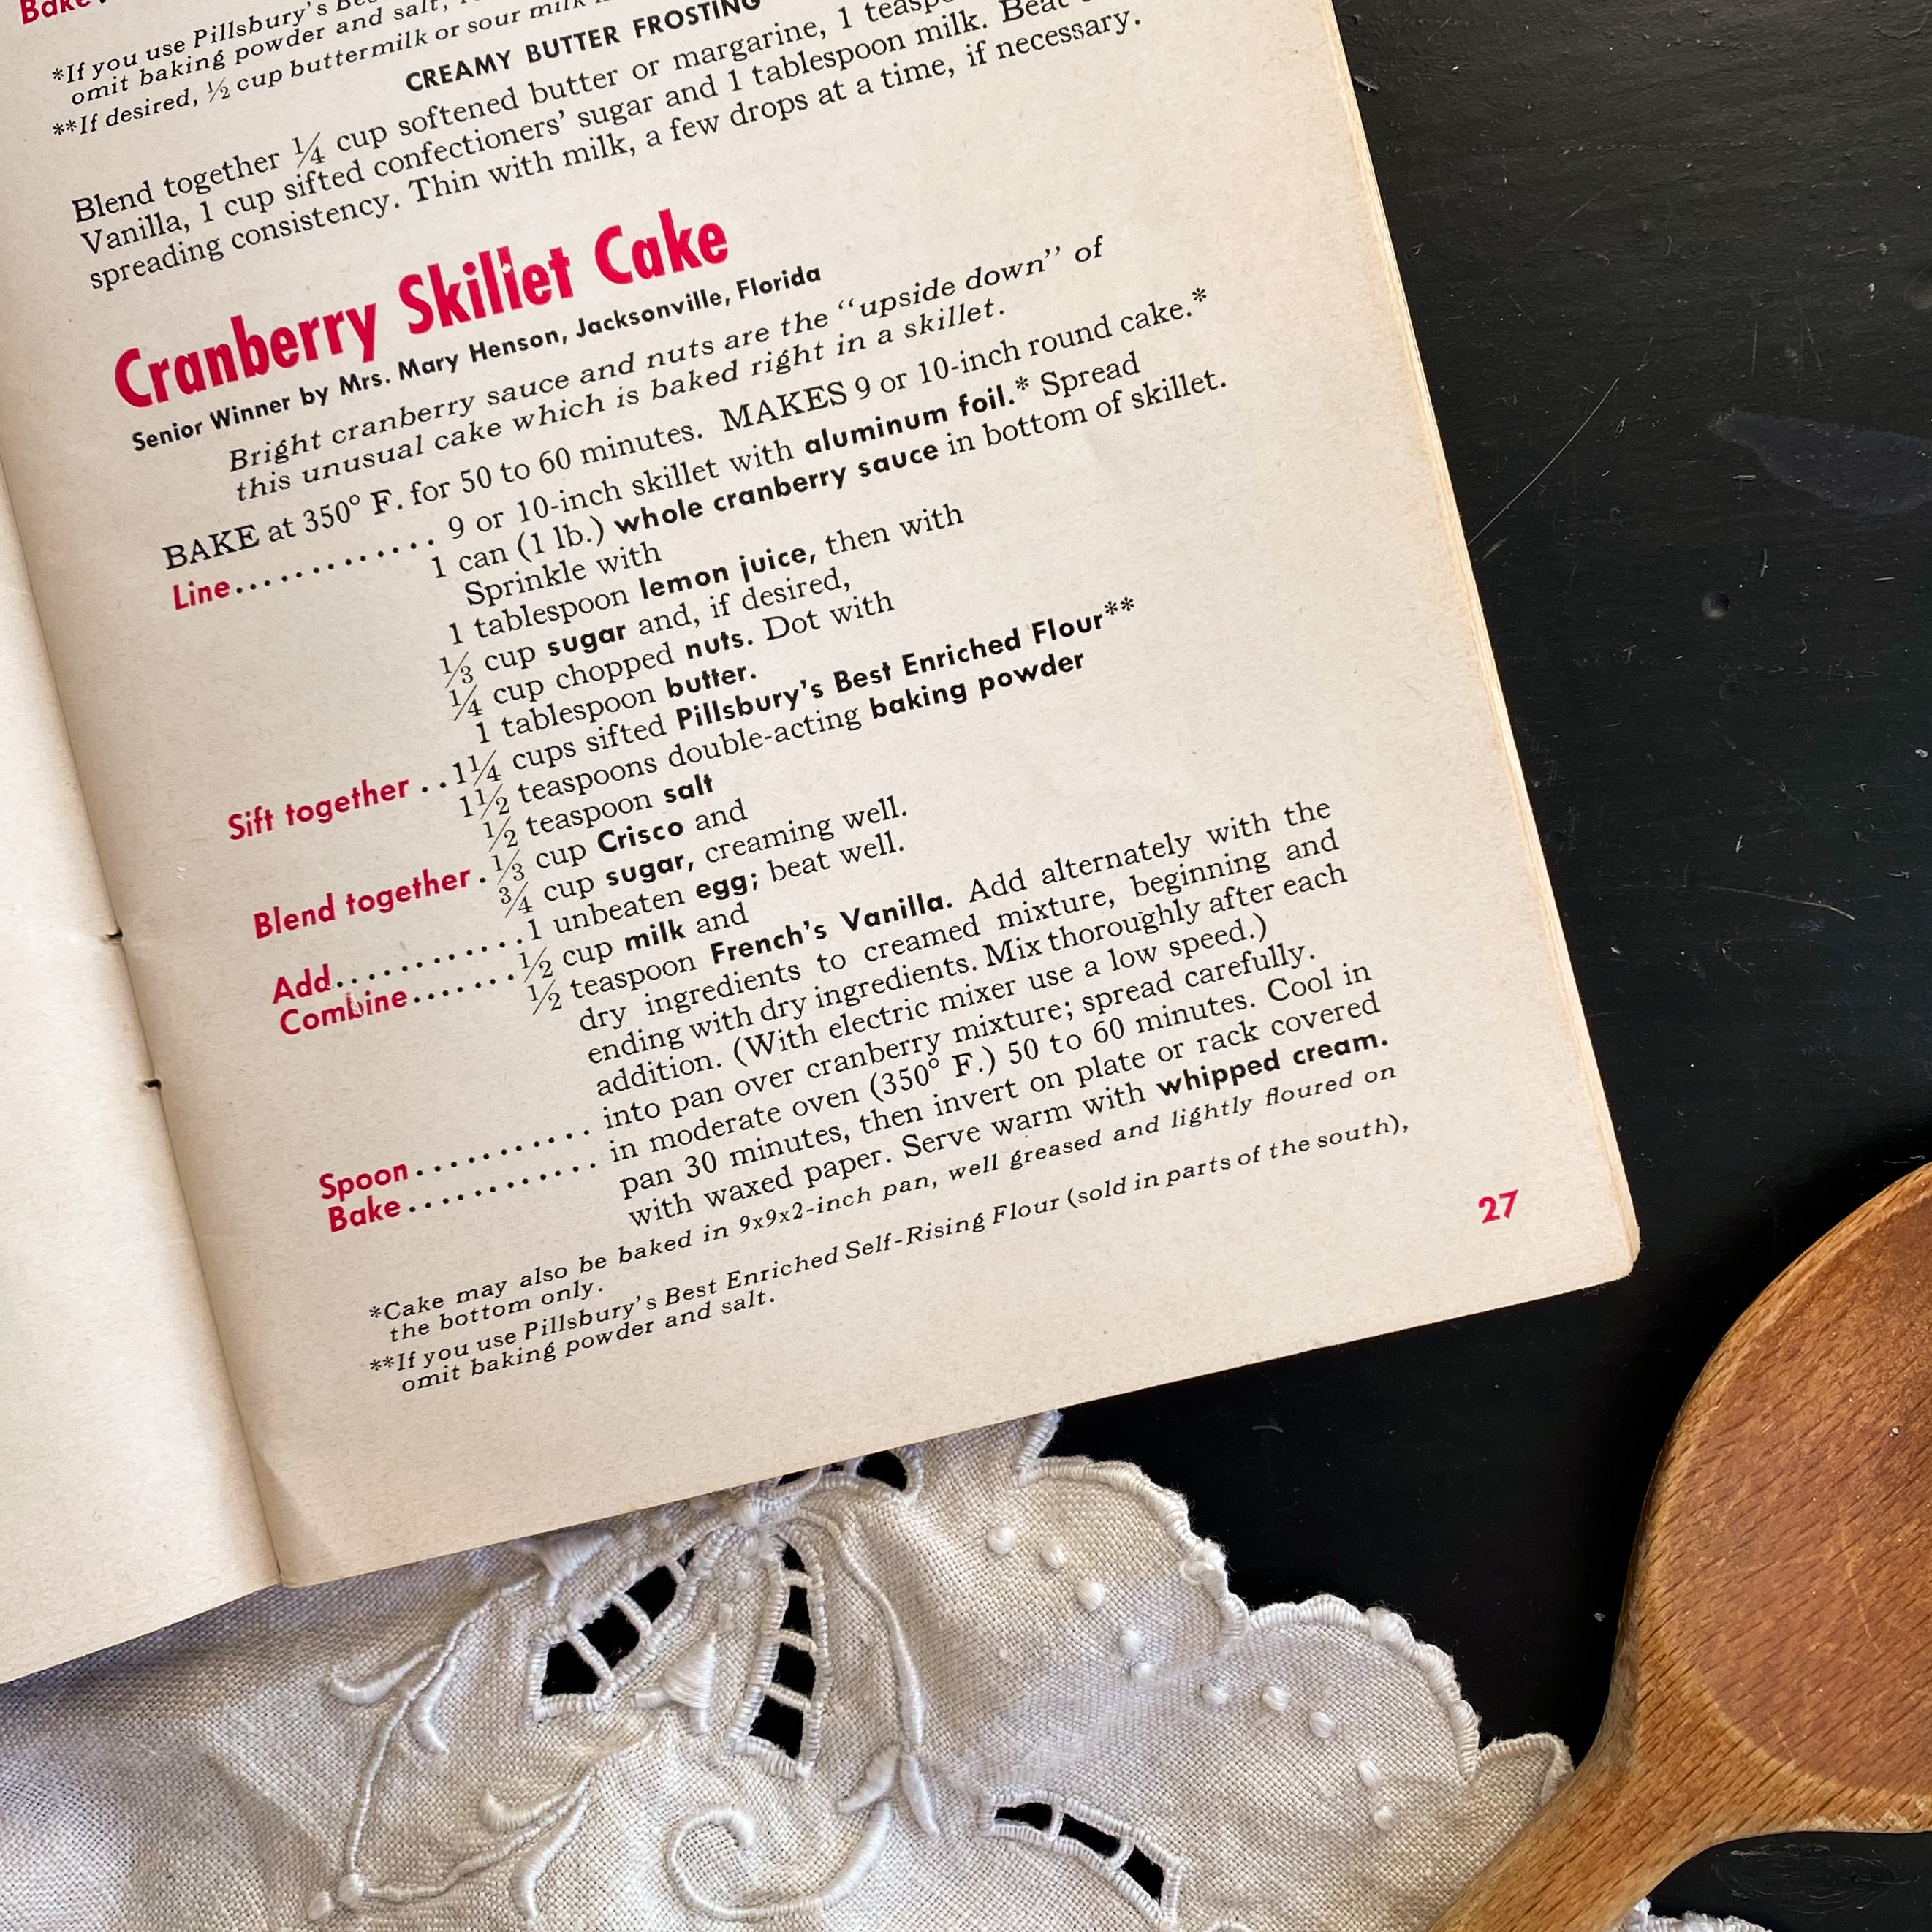
Thanks to a comment from one of our readers, we were able to find a similiar 1950s recipe for Cranberry Skillet Cake – a prize winning recipe by Mrs. Mary Henson of Jacksonville, Florida, who won the senior cake category of Pillsbury’s 6th Grand National $100,000 Recipe and Baking Contest in 1955.
We couldn’t find any additional information about Mary or her origin story of the cake, but we are including her recipe here for comparison. Similiar to our Cranberry Upside Down cake, Mary’s cranberry cake was baked in a skillet and utilized canned whole cranberry sauce, chopped nuts, and shortening in place of butter.