
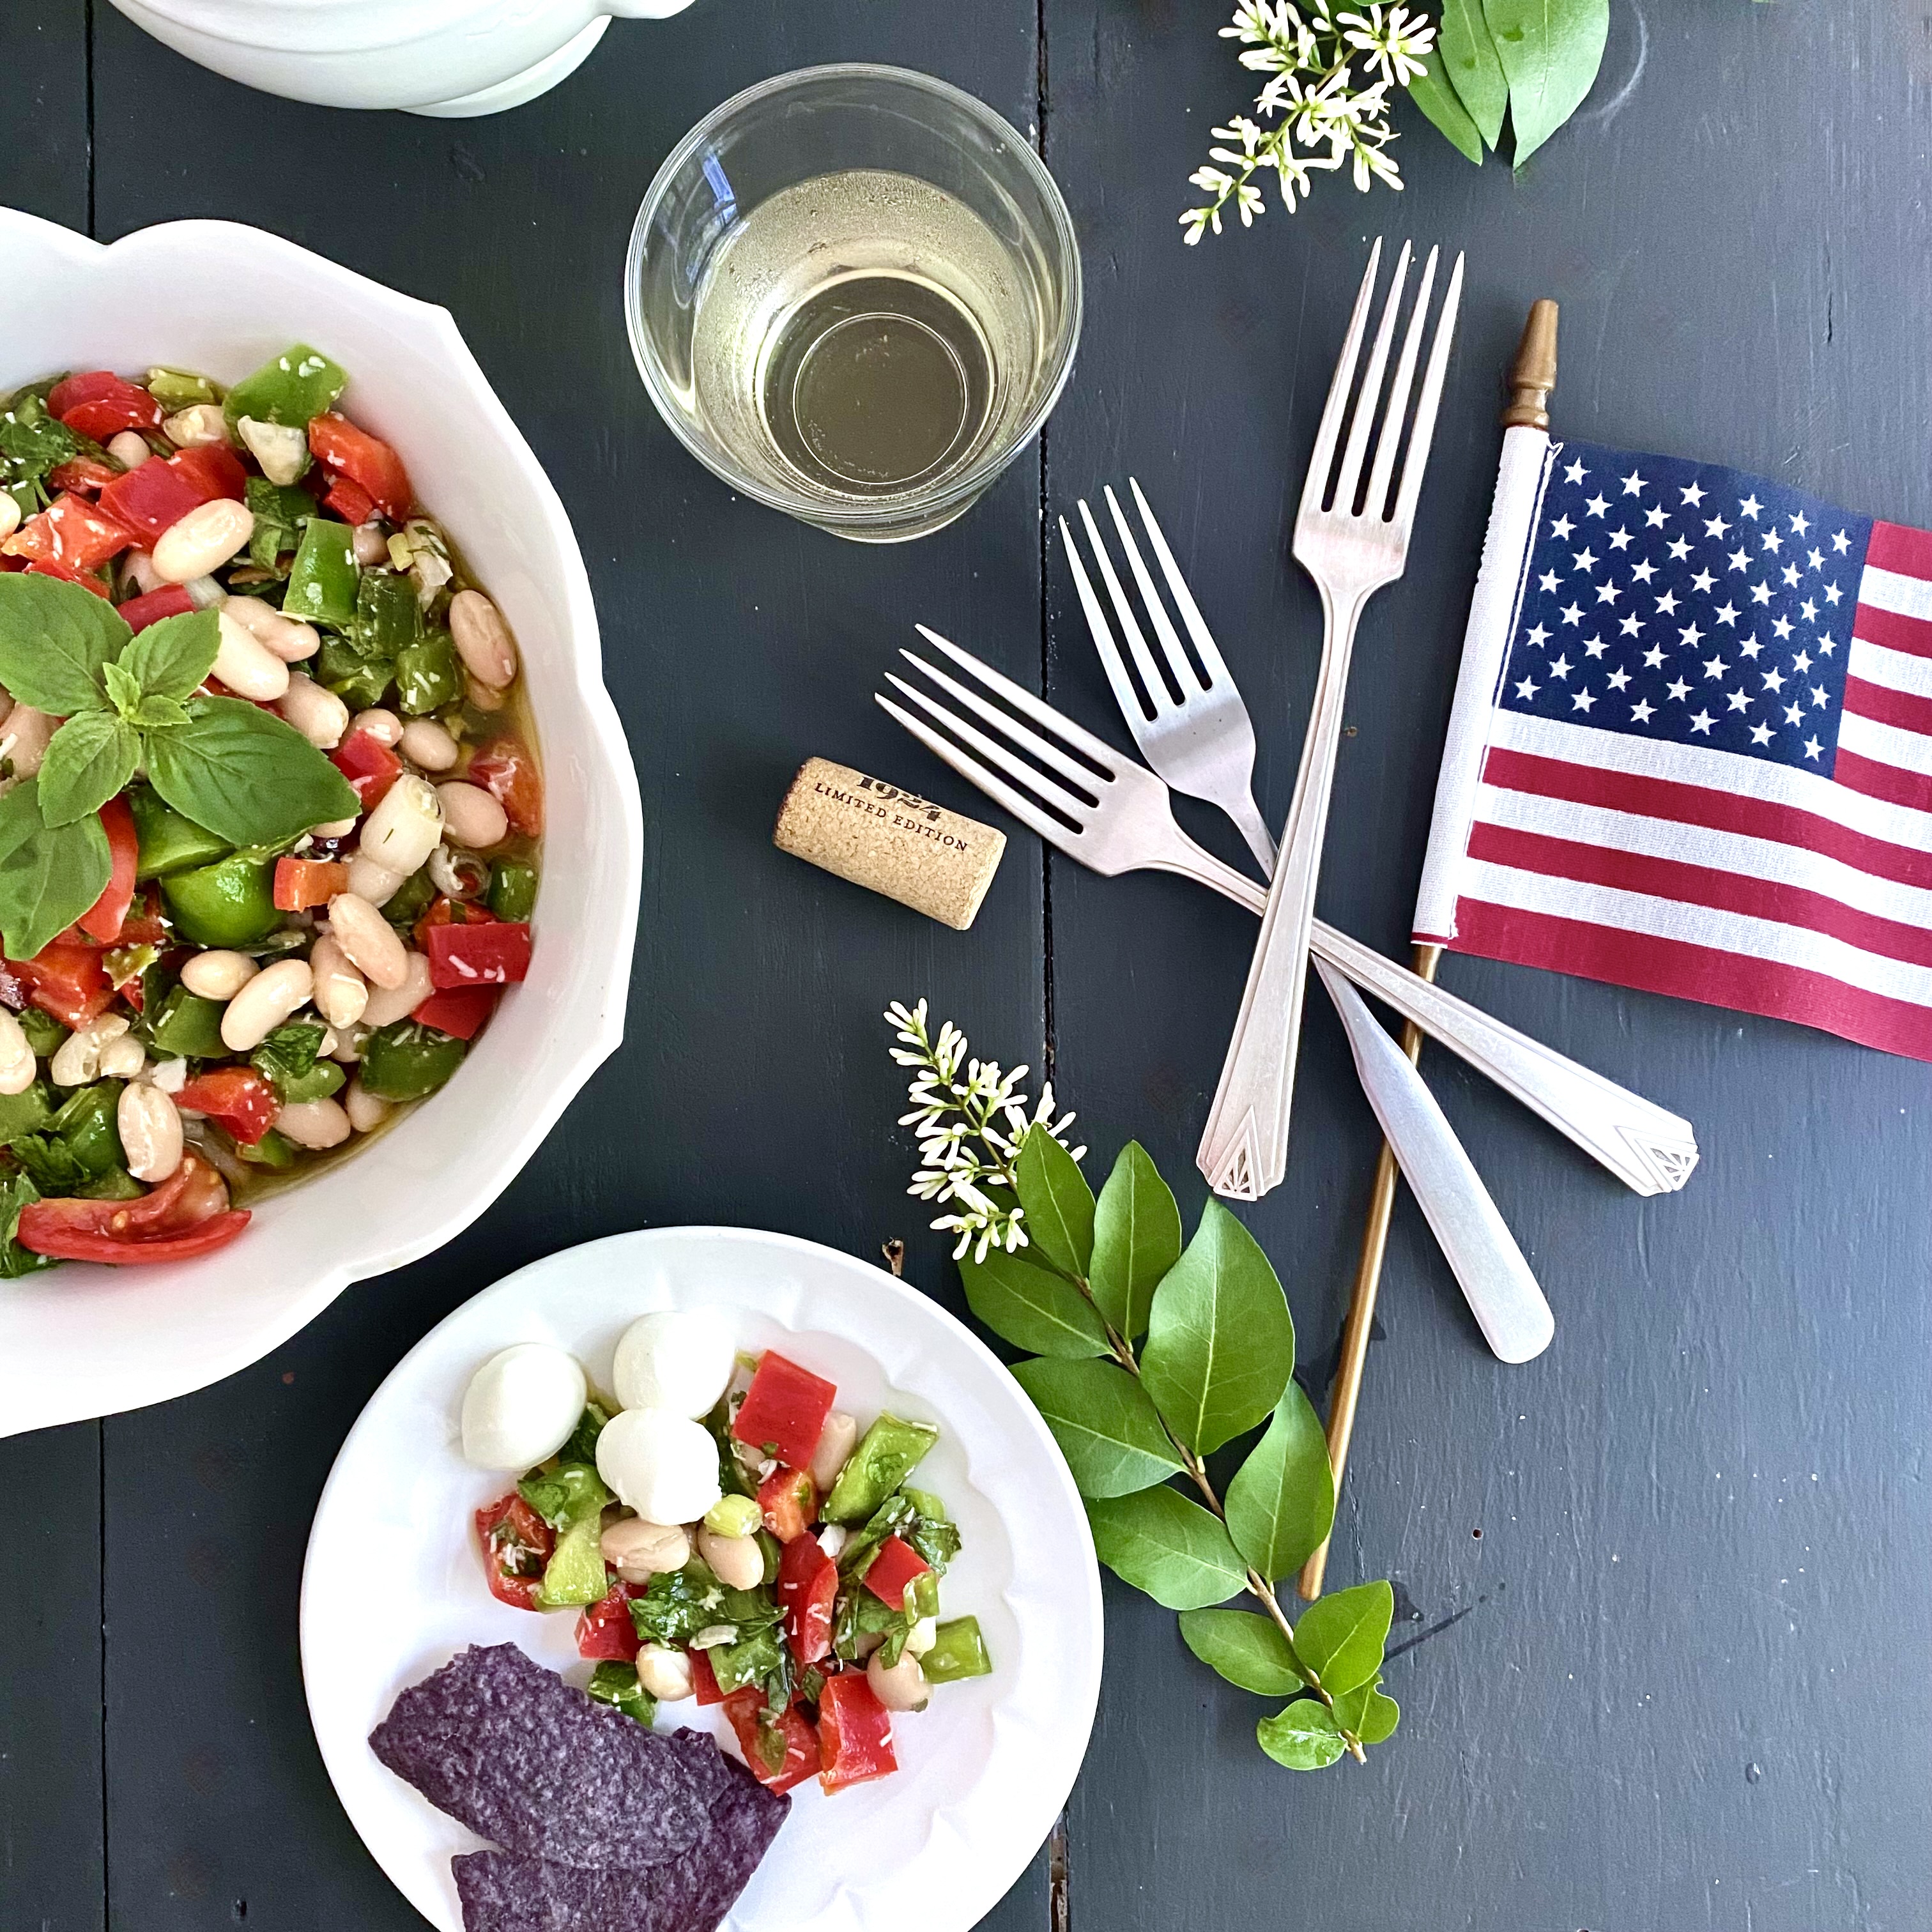
Here we are on the eve of the Fourth of July and America’s big birthday. The outdoor temps have risen to the occasion. 97 degrees with a feels-like temp of 100 can be an intimidating atmosphere for any cook in any decade, let alone any century, but a short-term heat spell doesn’t mean that you have to shy away from cooking something festive for the hot holiday weekend ahead.
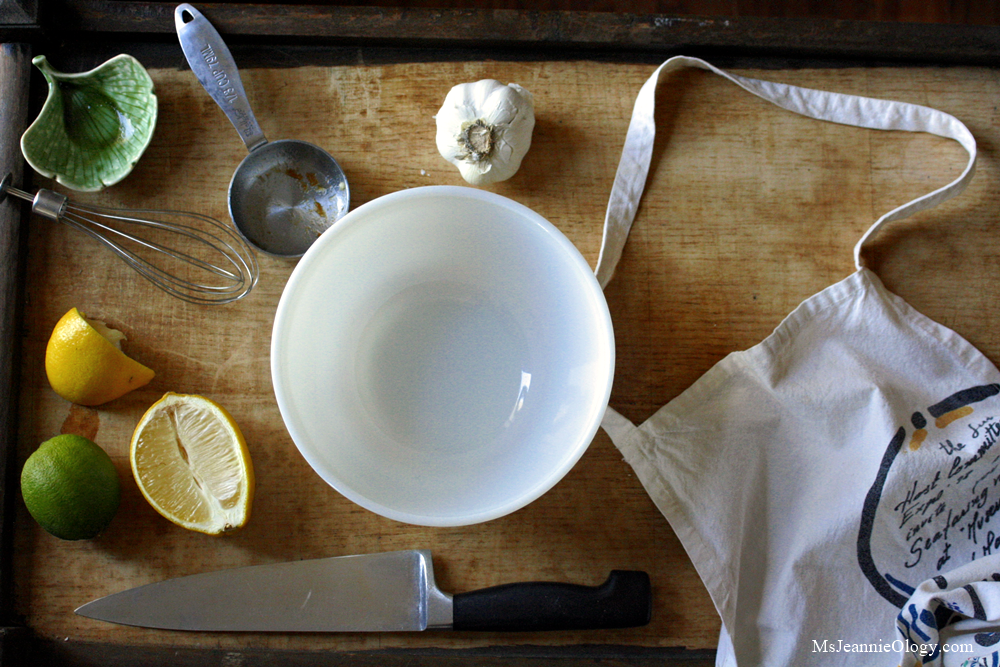
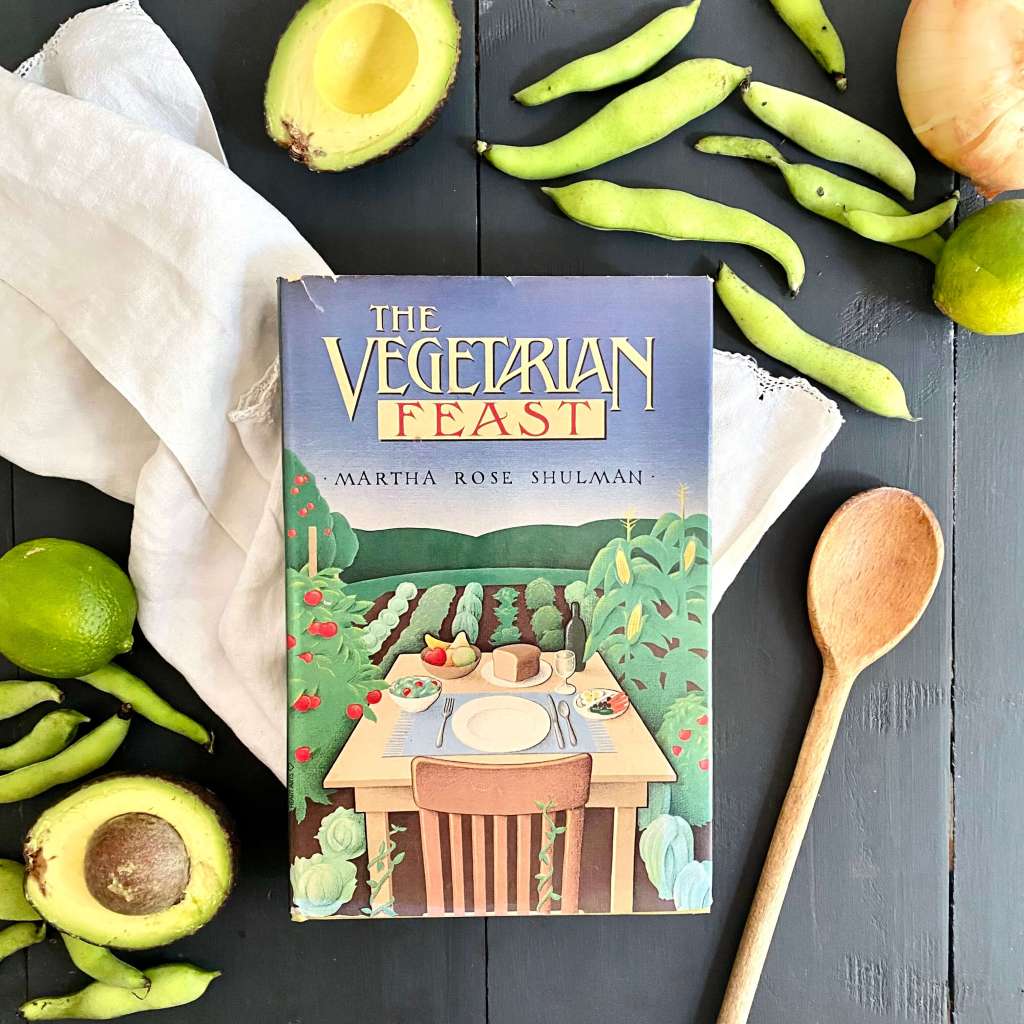
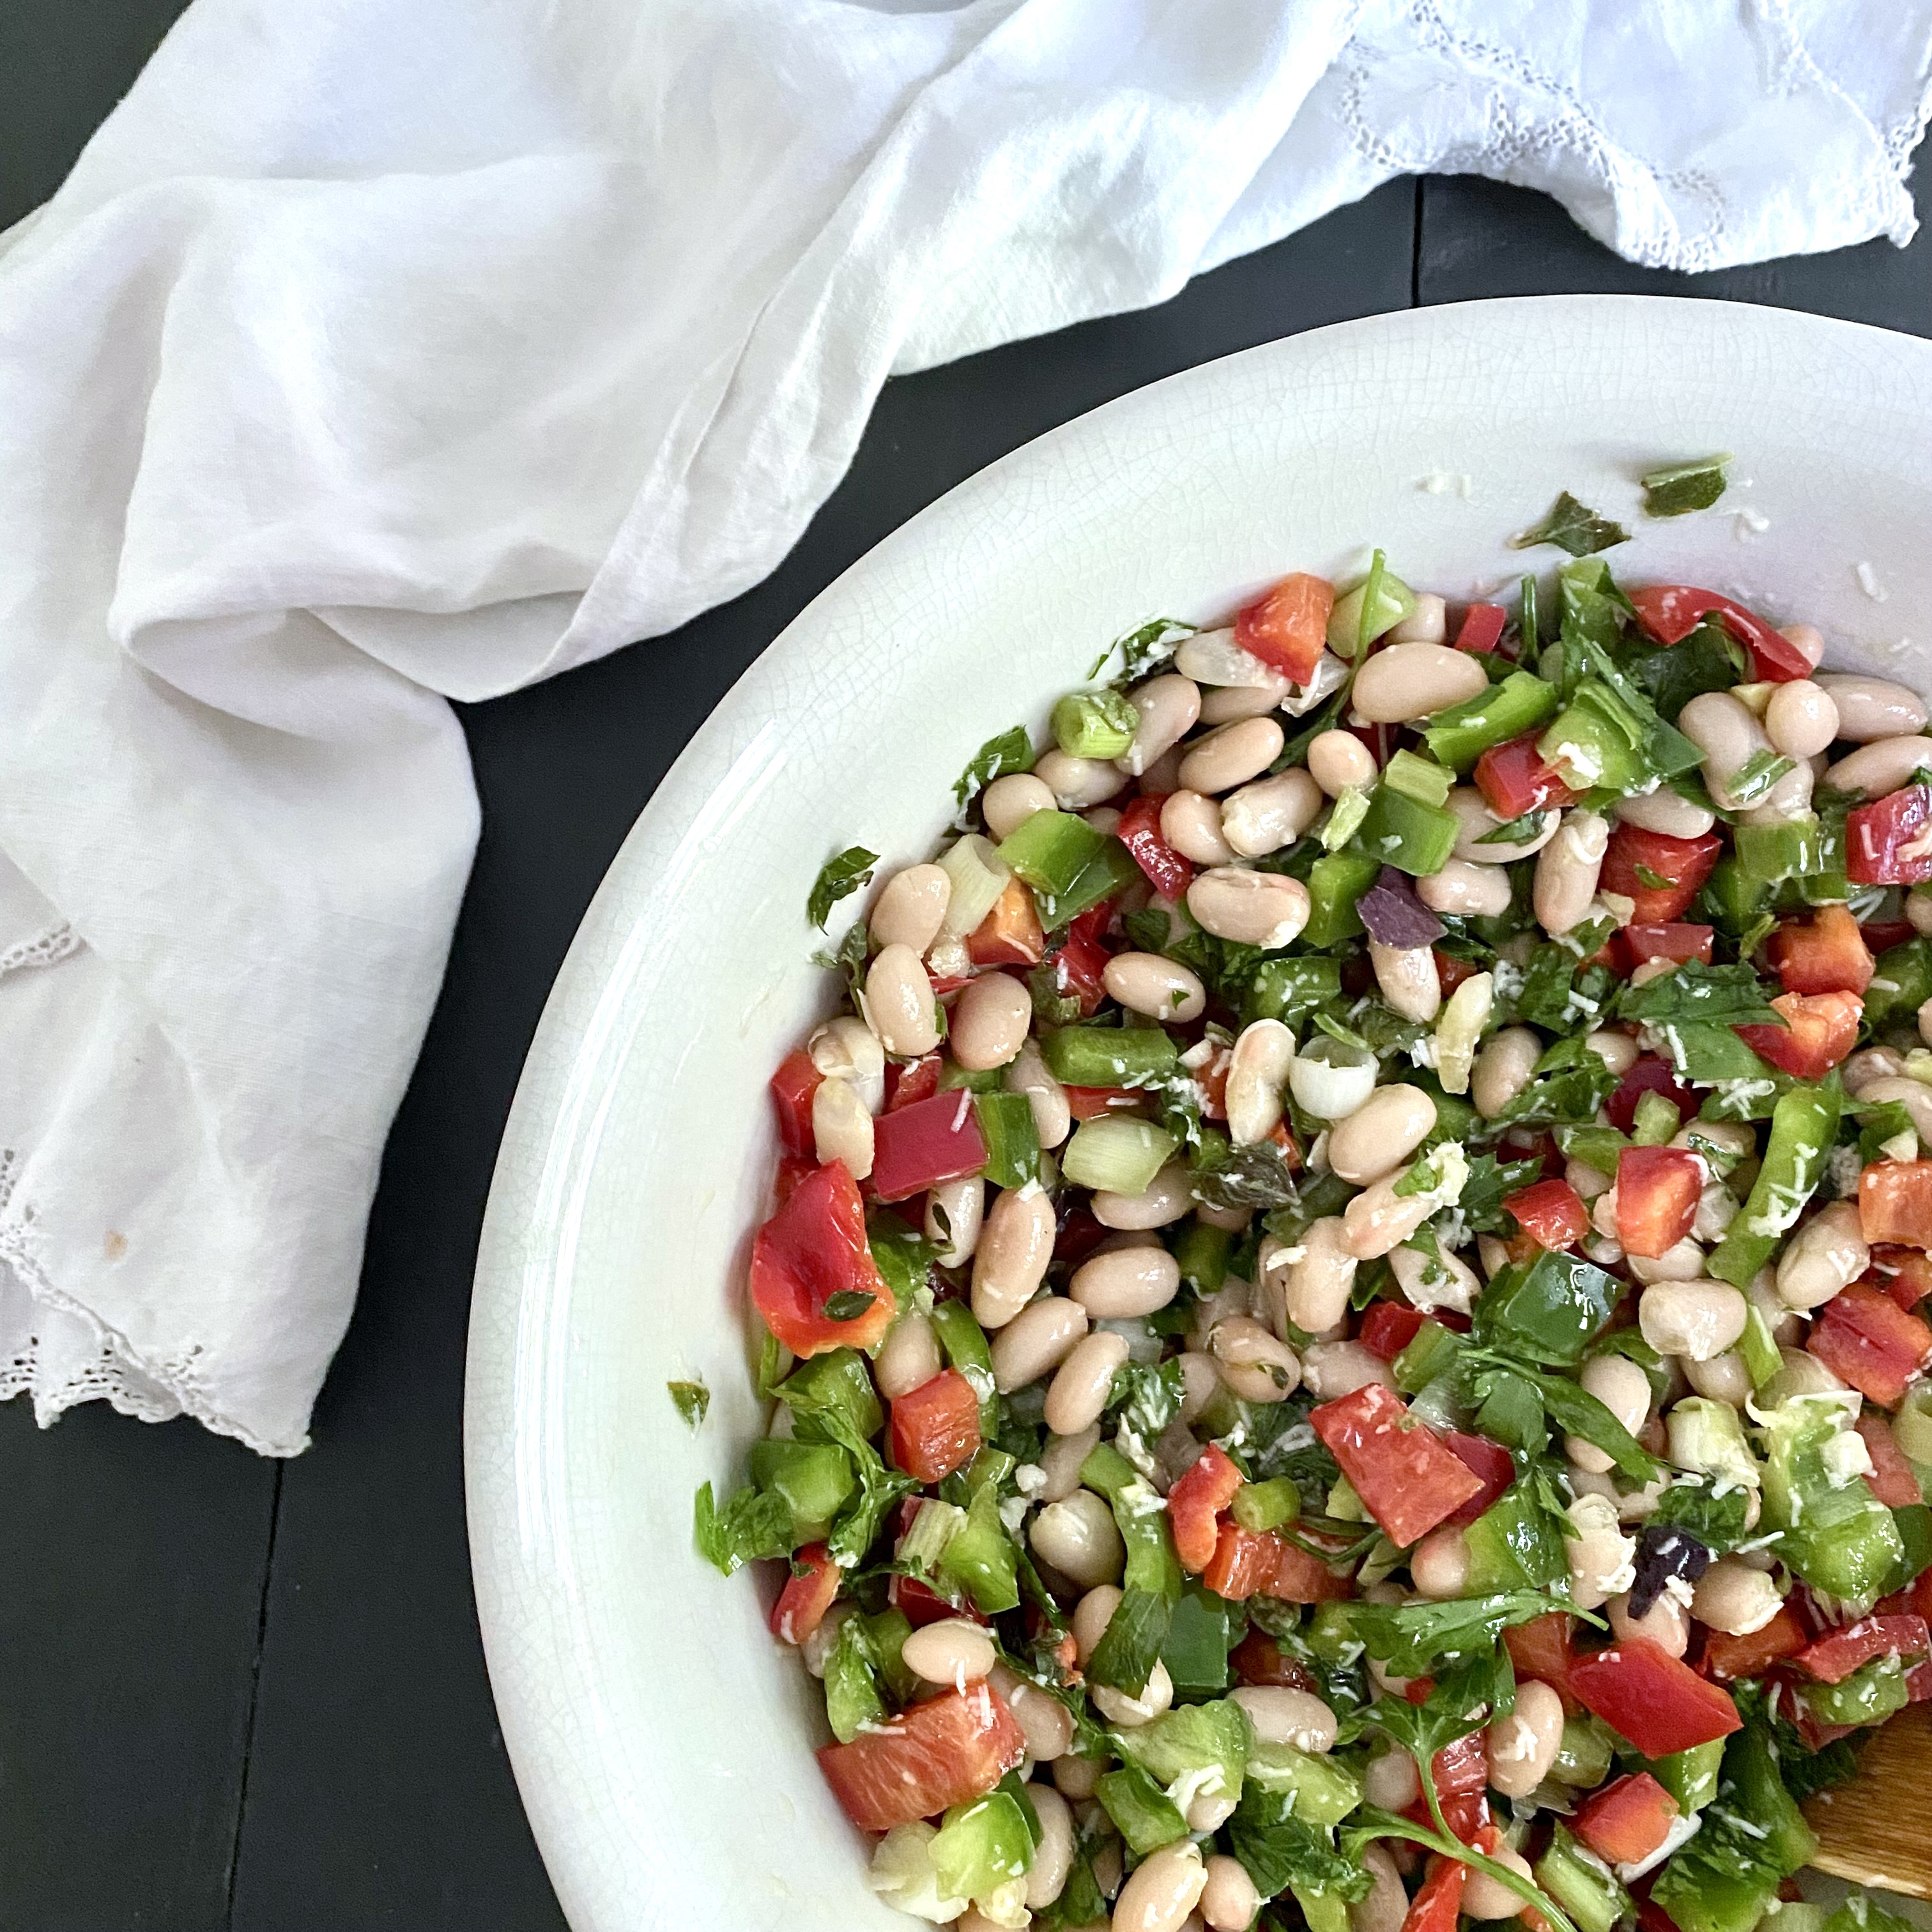
Today’s post features a 1970s vegetarian summer salad that’s been marinating in the fridge for the past two days. Loaded with garden vegetables and fresh herbs, it’s a quintessential easy breezy summer salad packed full of flavor, protein, and color. Light yet filling, it offers the opportunity to serve it in a handful of different ways and in a handful of different situations. From backyard barbeques and potluck parties to beach picnics and road trip car fare, it’s the type of recipe that packs easily, presents well, and only gets better the longer it marinates. On the menu for this hot holiday weekend, it’s Marinated White Beans, a colorful cold salad of chopped vegetables, Great Northern beans, and fresh herbs tossed in a zesty lemony vinaigrette. The recipe comes courtesy of Martha Rose Shulman’s first cookbook, The Vegetarian Feast, published in 1979.
You might already be familiar with Martha’s name today. She’s written over 25 cookbooks and contributed over 1500 recipes to the New York Times Cooking section, mostly on vegetarian cuisine. But before all that, back in the very beginning of her career, Martha found her footing in the landscape of Austin. Texas, in the 1970s, where she was running a catering company and a supper club, teaching vegetarian cooking classes, and writing a food column for the Austin American-Statesman. At the time, she was in her late 20s, nurturing a love of cooking that she first fully embraced as a teenager growing up in New England.
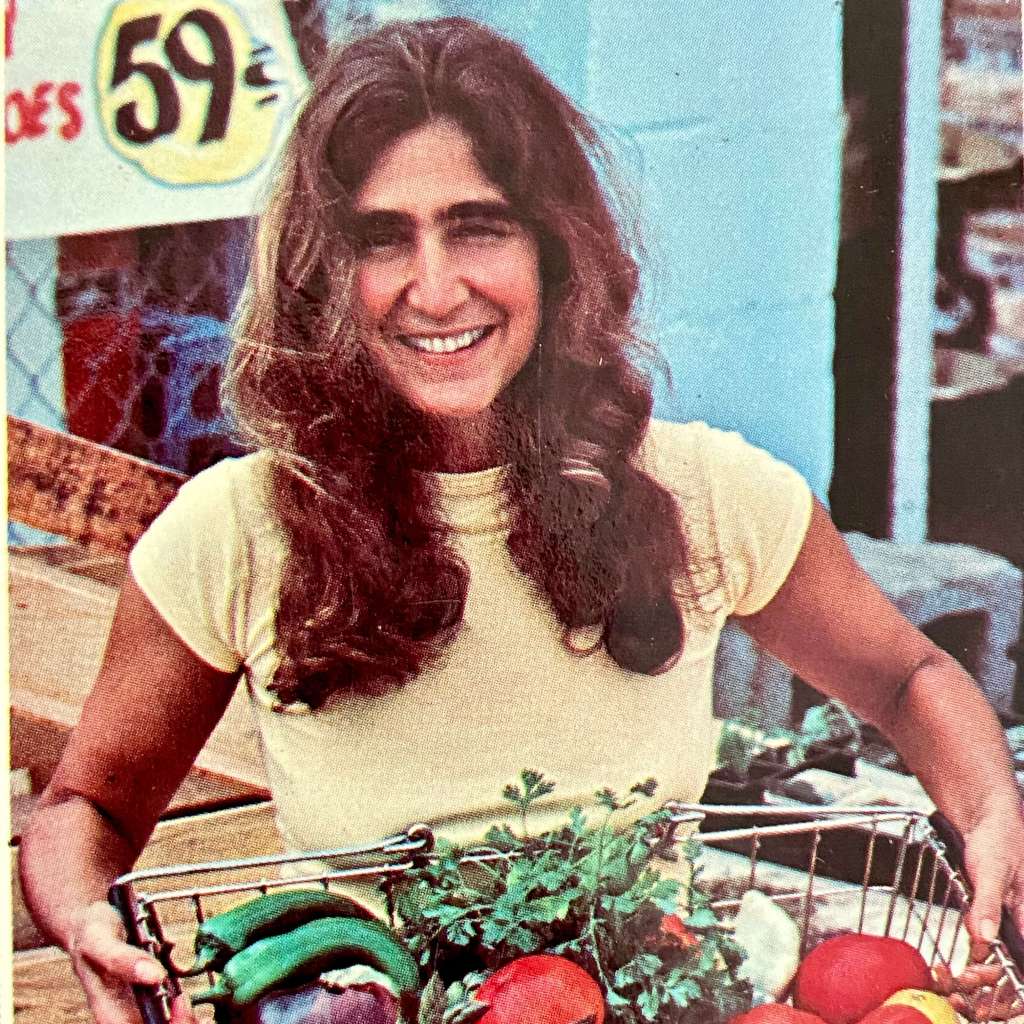
Attune to the early vibrations of the fresh food movement that was just beginning to bubble up in the 1970s, Martha, although not strictly a vegetarian herself, preferred a vegetable-laden diet and a style of cooking that combined fresh local produce with her two favorite international cuisines – Mexican and Mediterranean. As a self-described “chubby child,” she appreciated the health benefits that a plant-based diet yielded in her adult years, but she was too interested in all kinds of food to limit herself to a strictly vegetarian diet. She also liked to socialize and connect with people over meals, preferences aside. If that meant being invited to someone’s house for dinner where steak was on the menu, she’d happily eat it. Such experiences were fuel for her kitchen and her creativity.
As the host, creator, and cook of a supper club, Martha naturally loved to entertain and surprise her guests with unexpected vegetarian dishes that traditionally might have included meat, fish, or poultry. It was this sort of intriguing exercise that tantalized the appetites of her guests and eventually formed the basis of her cookbook. Needless to say, the supper club was booked for two years straight, and Martha had a keen audience happily willing to try out her new recipe creations.
Upon debut, The Vegetarian Feast won the Tastemaker Award (an equivalent to a James Beard Award today) and set Martha on the path to a lifetime career talking, writing, and teaching her three favorite things… vegetables, Mexican food, and Mediterranean cuisine.
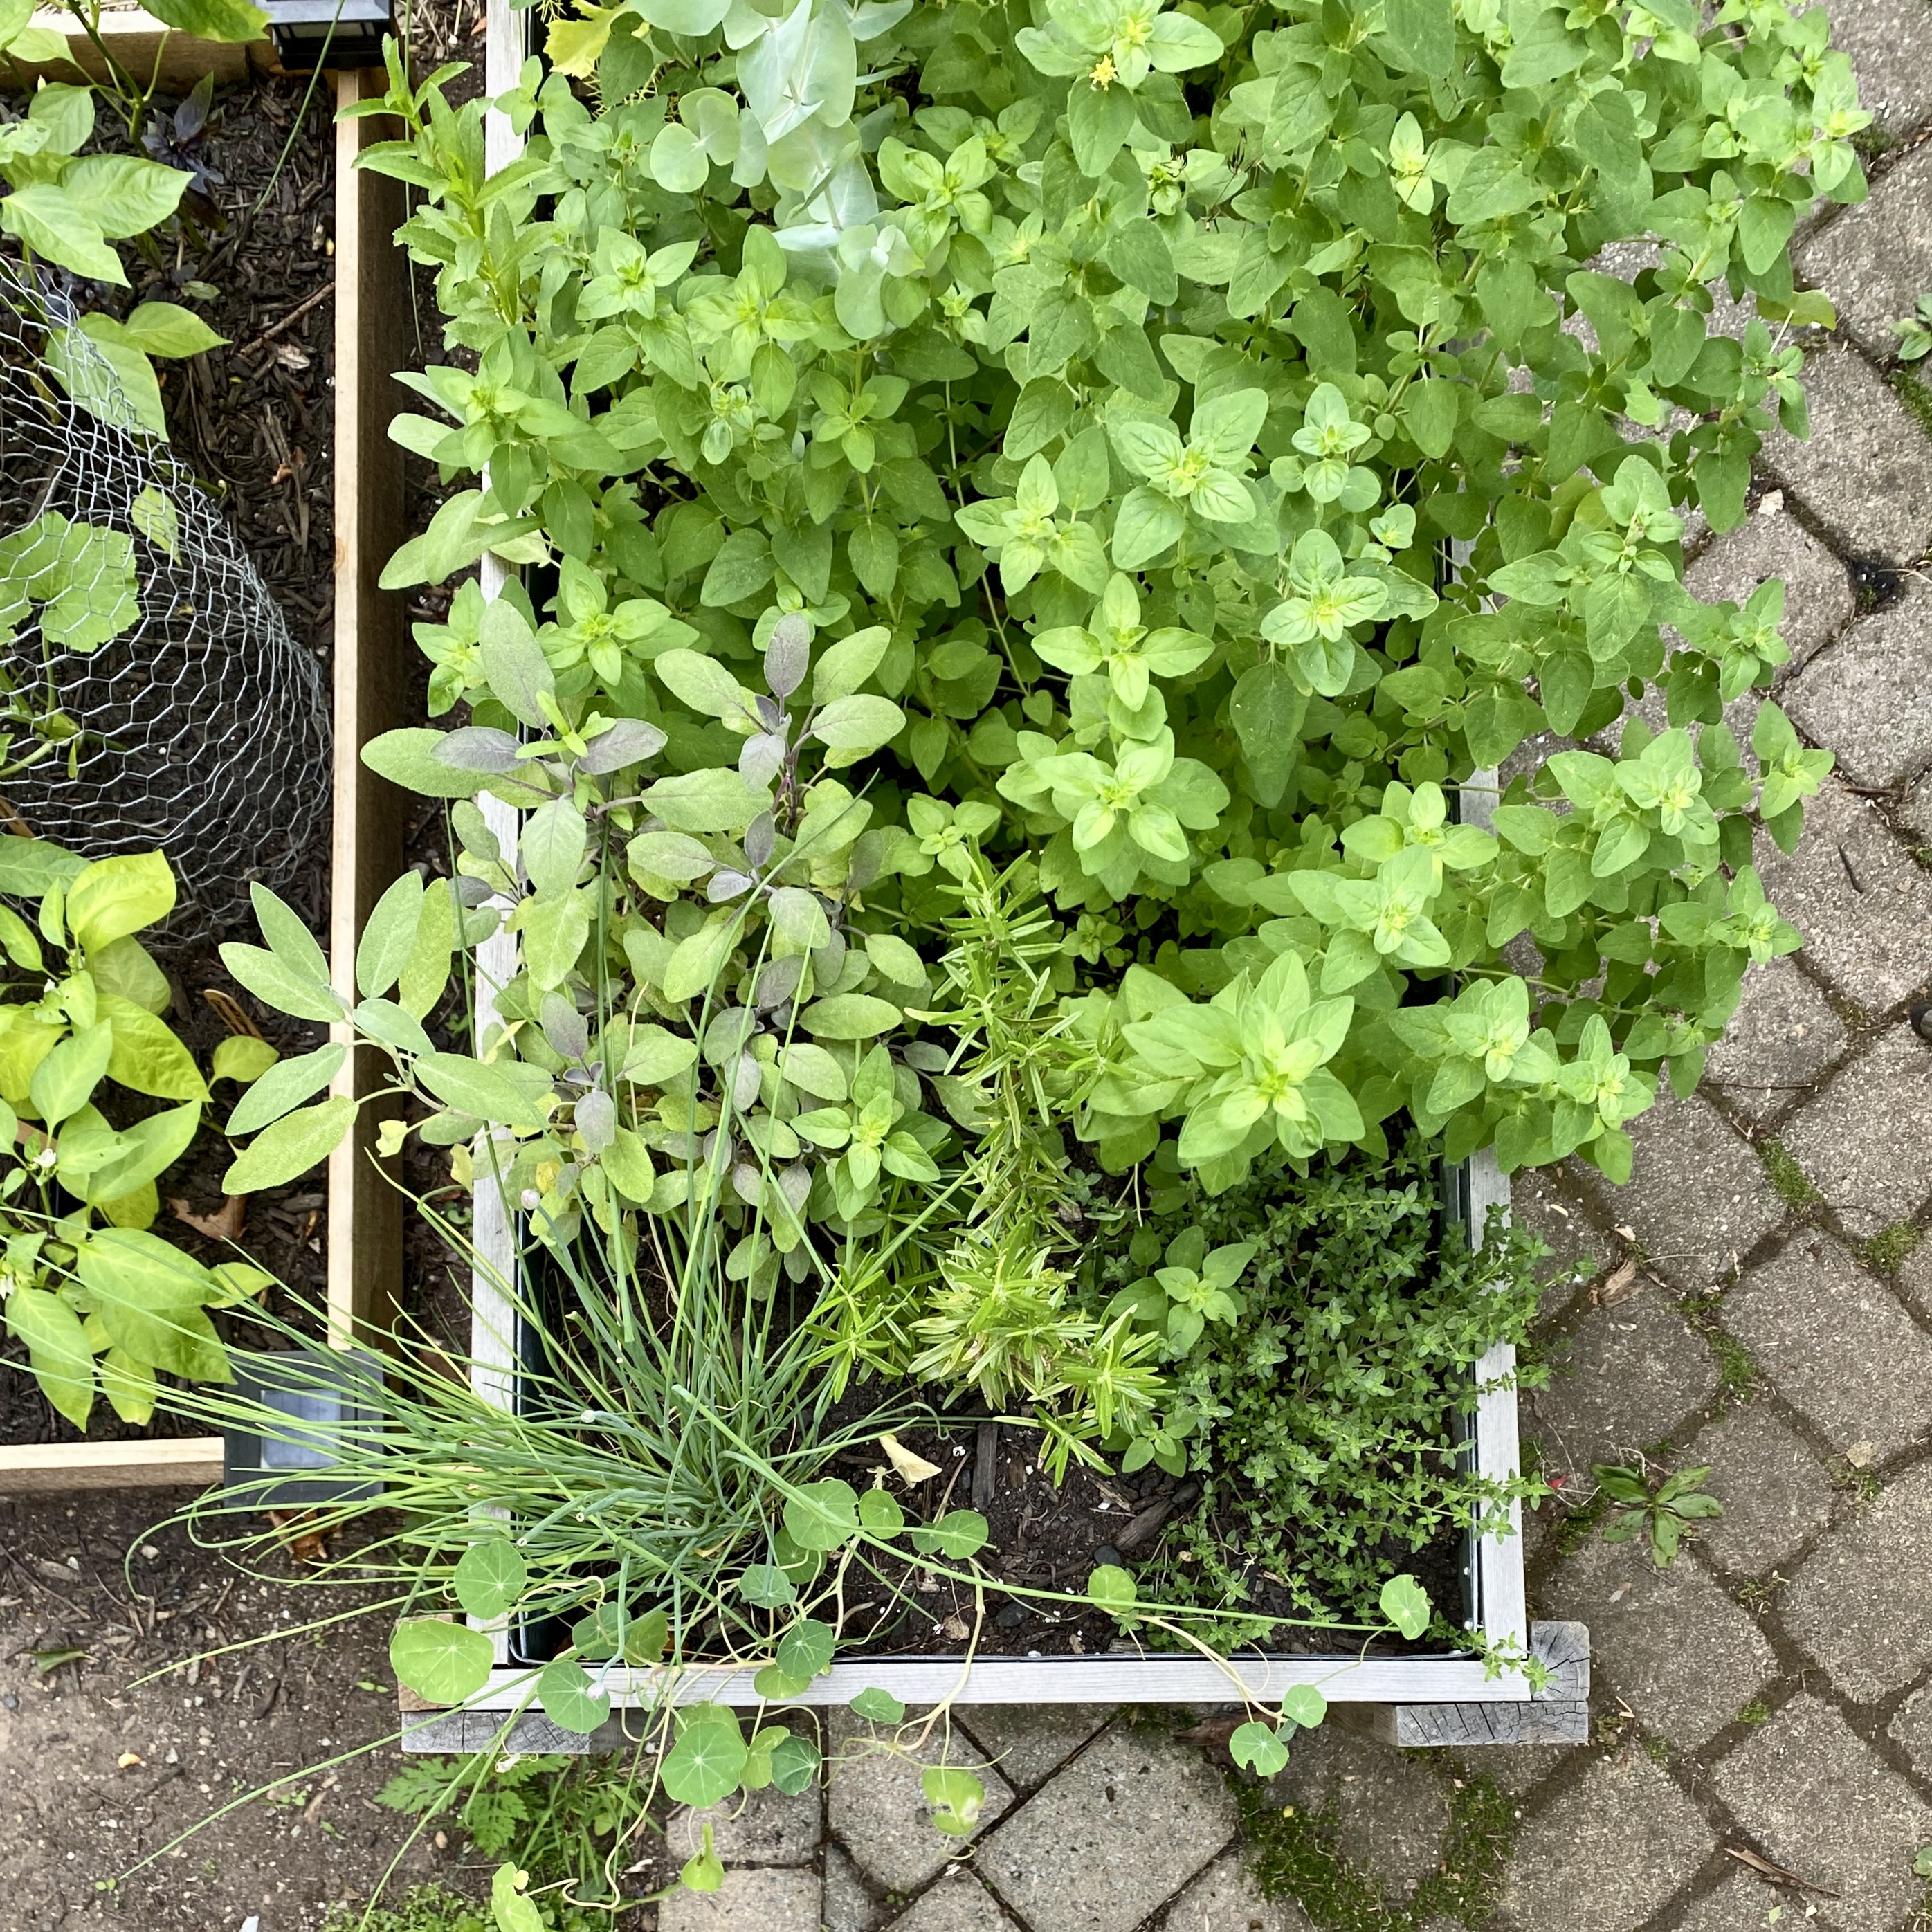
I love that Martha never veered from her favorite types of food and, in doing so, has engineered thousands of recipes throughout the past 40 years, all blended into her signature trifecta of cooking styles. It’s a testament not only to her creativity but also to the wide array of possibilities that a vegetarian diet enhanced by flavors and ingredients from other global cuisines offers. Over the course of her career, she has dispelled two common myths over and over again. One being that vegetarian food is bland and unappetizing-looking. And the other being that vegetarian recipes are chock-full of unusual, hard-to-find ingredients that tend to get used once and then go to waste. What is wonderful about Martha’s recipes is that they are primarily simple, elegant affairs containing ingredients that are both visually appealing and easily accessible via the grocery store, the farmers market, or your own garden. The marinated summer salad featured here is a lovely example. It’s uncomplicated, easy to make, and full of classic summer vegetables and herbs.
Featuring fourteen ingredients in a three-step process, it might seem like a lot of work at first glance of the recipe, but don’t be dissuaded. Once the beans are cooked, the whole salad comes together in less than 30 minutes and marinates in the fridge for a few hours or overnight if you want to plan ahead. And if you don’t have time to soak and cook dried beans, you can skip that whole step and substitute canned beans instead.
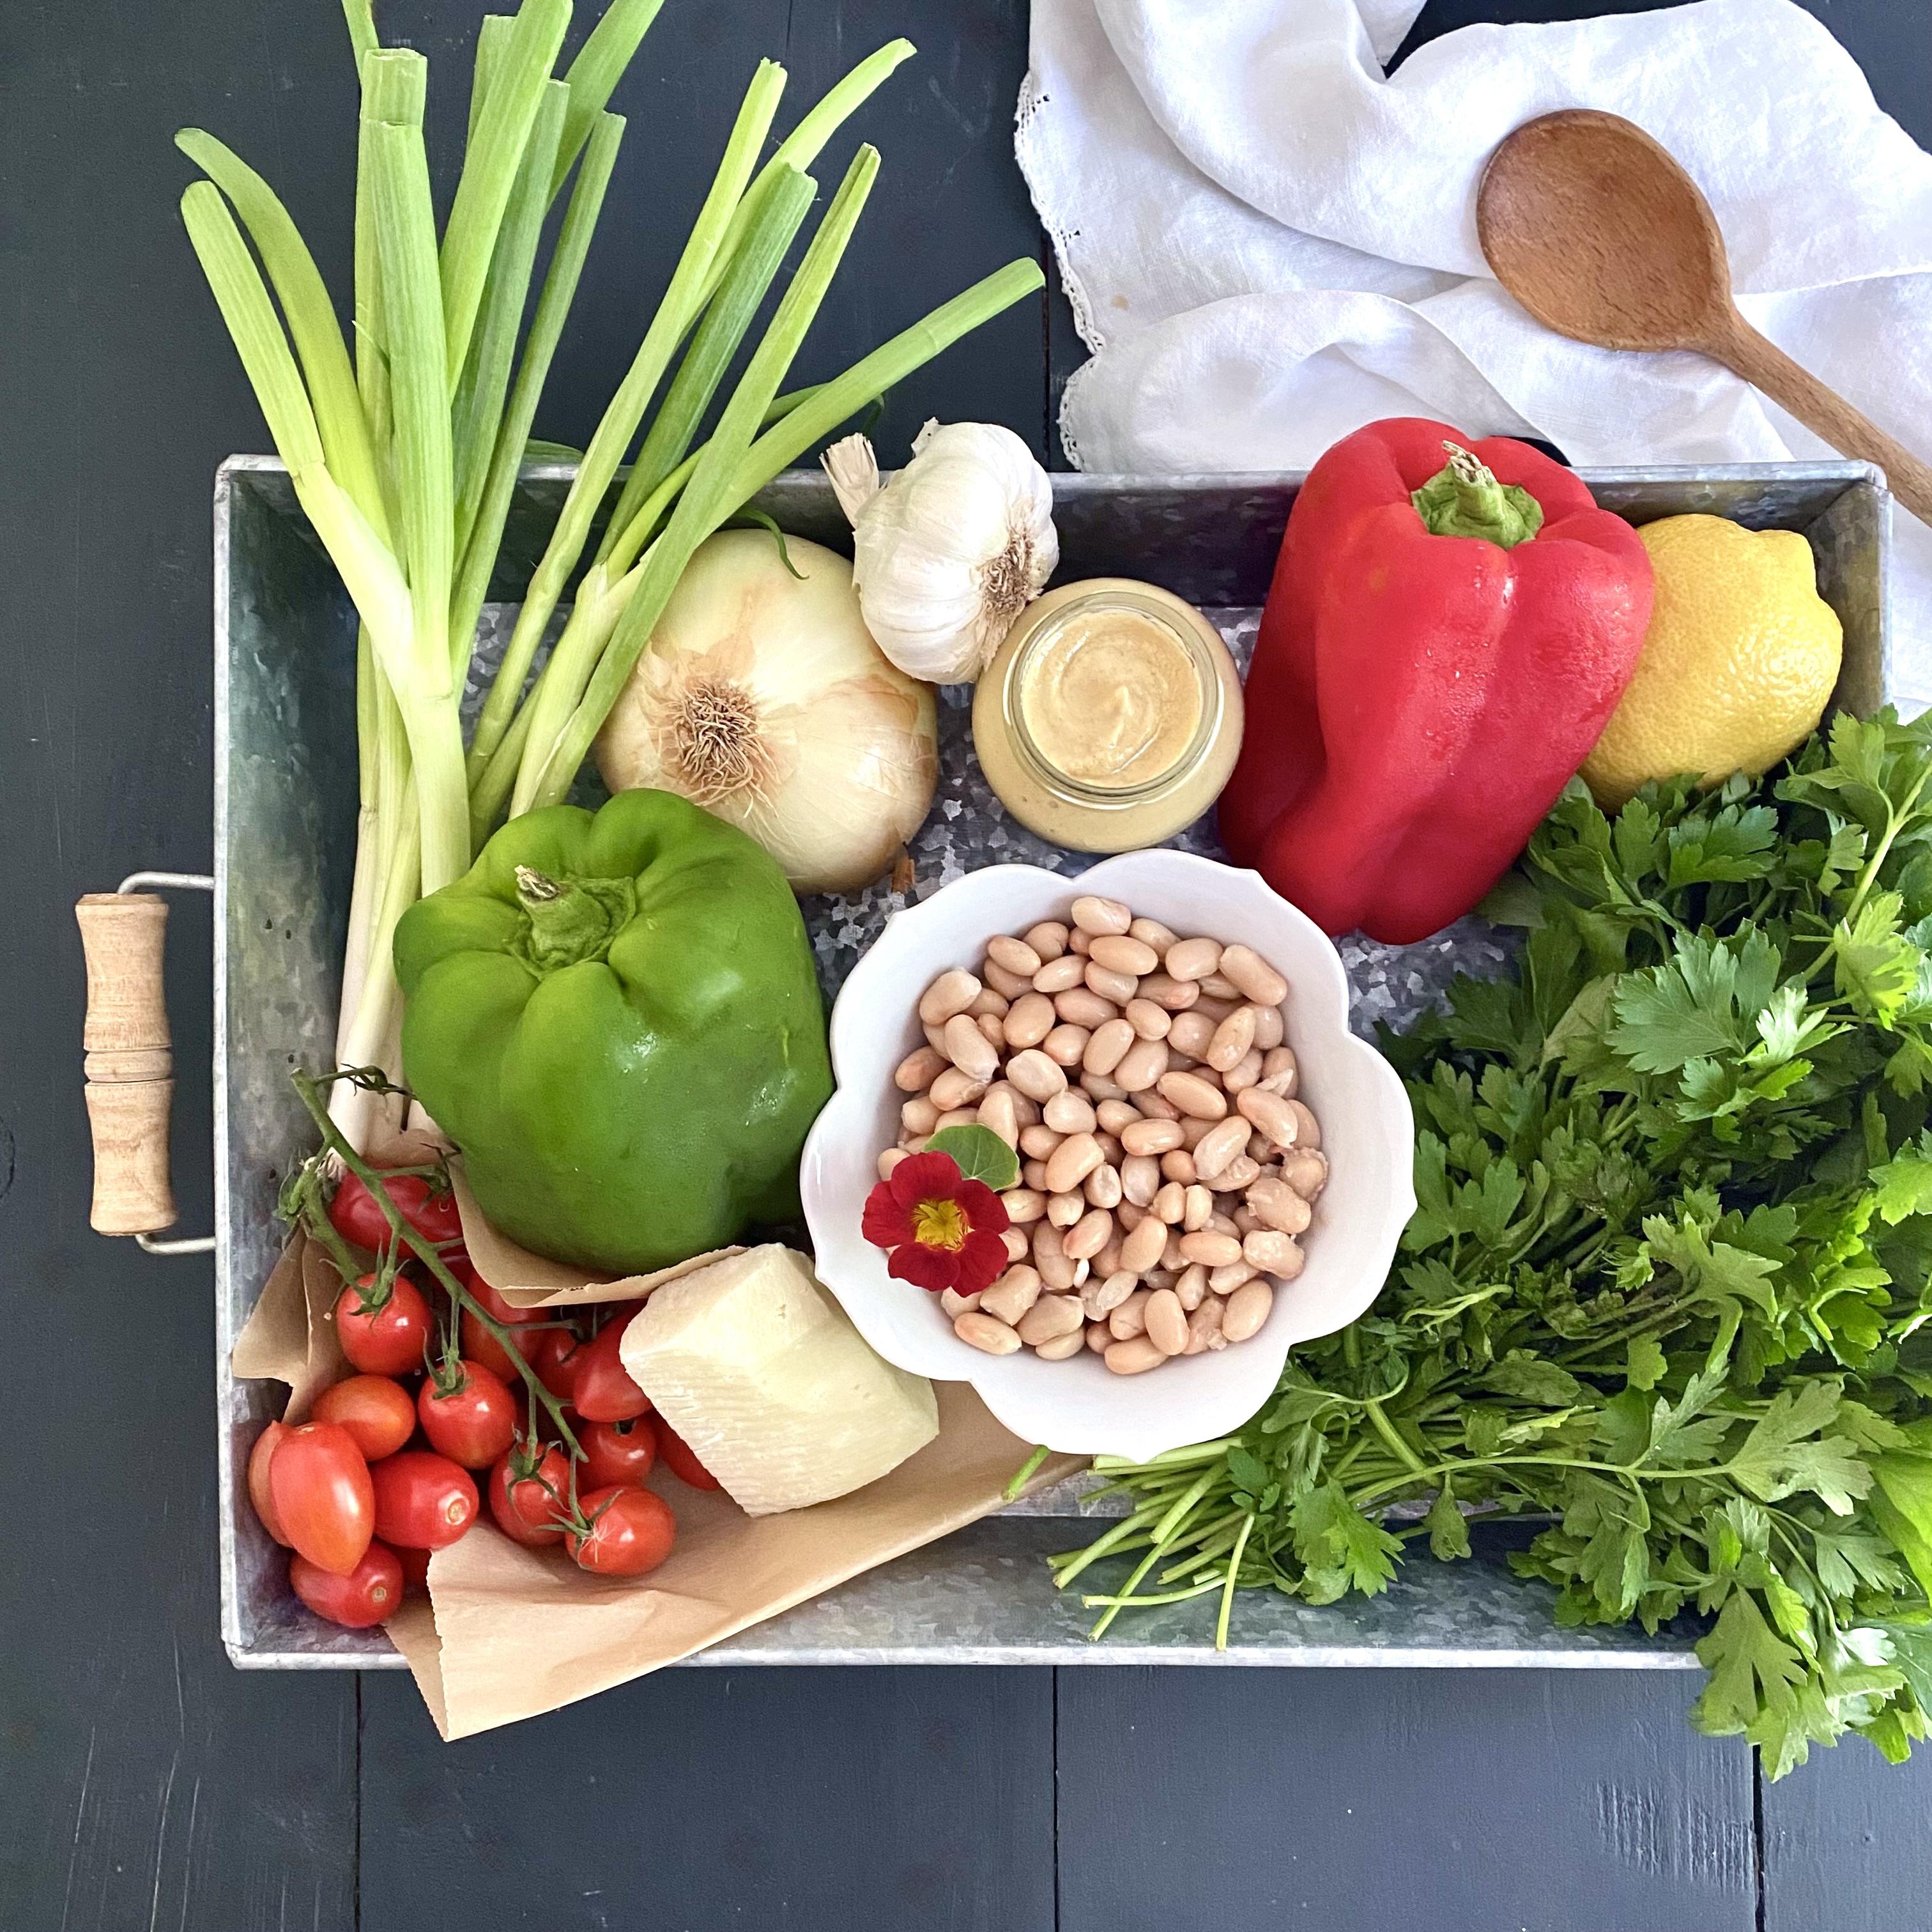
Marinated White Beans
from The Vegetarian Feast by Martha Rose Shulman, 1979
Serves 6-8
For the Beans:
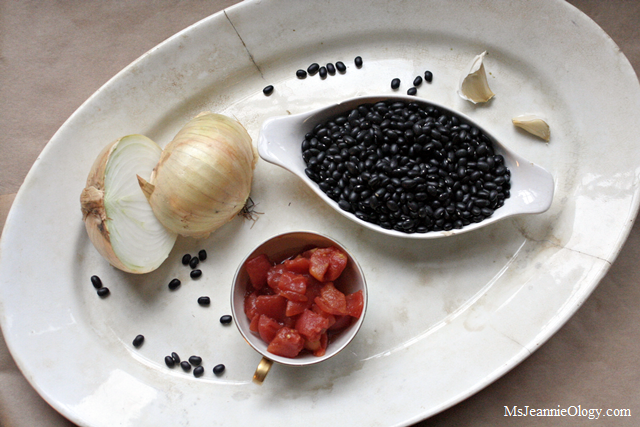
2 cups small dried white beans (ex., Navy beans or Great Northern beans)
1 1/2 quarts water
2 tablespoons olive oil
1 onion chopped
3 cloves garlic, minced
1 bay leaf
1 teaspoon sea salt
Or – eliminate all of the above and substitute two 15 oz cans of Great Northern beans or Navy beans, rinsed
For the Salad:
1/4 -1/2 cup choppd fresh parsley
4 green onions including white and green parts, sliced
2 tablespoons fresh herbs (basil, marjoram, thyme, fennel, chives)
1 green pepper, seeded and chopped into bite size pieces
1 red pepper, seeded and chopped into bite size pieces
1/4 cup freshly and finely grated parmesean cheese
Cherry tomatoes (optional)
For the Marinade:
Juice of 1 lemon
1/4 cup vinegar
1 clove garlic
1 teaspoon Dijon mustard
1/2 teaspoon oregano
1 teaspoon chopped fresh basil or 1/2 teaspoon dried
1/4 teaspoon drid tarragon or 1 teaspoon fresh tarragon
Sea salt and freshly ground pepper to taste
3/4 cup olive oil
If using dried beans… wash the beans and soak in water overnight. In a heavy-bottomed flameproof bean pot or Dutch oven, heat the olive oil and sauté the onion and garlic until the onion is tender. Add the beans, water, bay leaf, and salt. Bring to a boil, then cover, reduce the heat, and cook for one to two hours until the beans are tender but still firm. Remove from the heat, drain, and remove the bay leaf.
If using canned beans…. rinse beans in a colander or strainer and set aside.
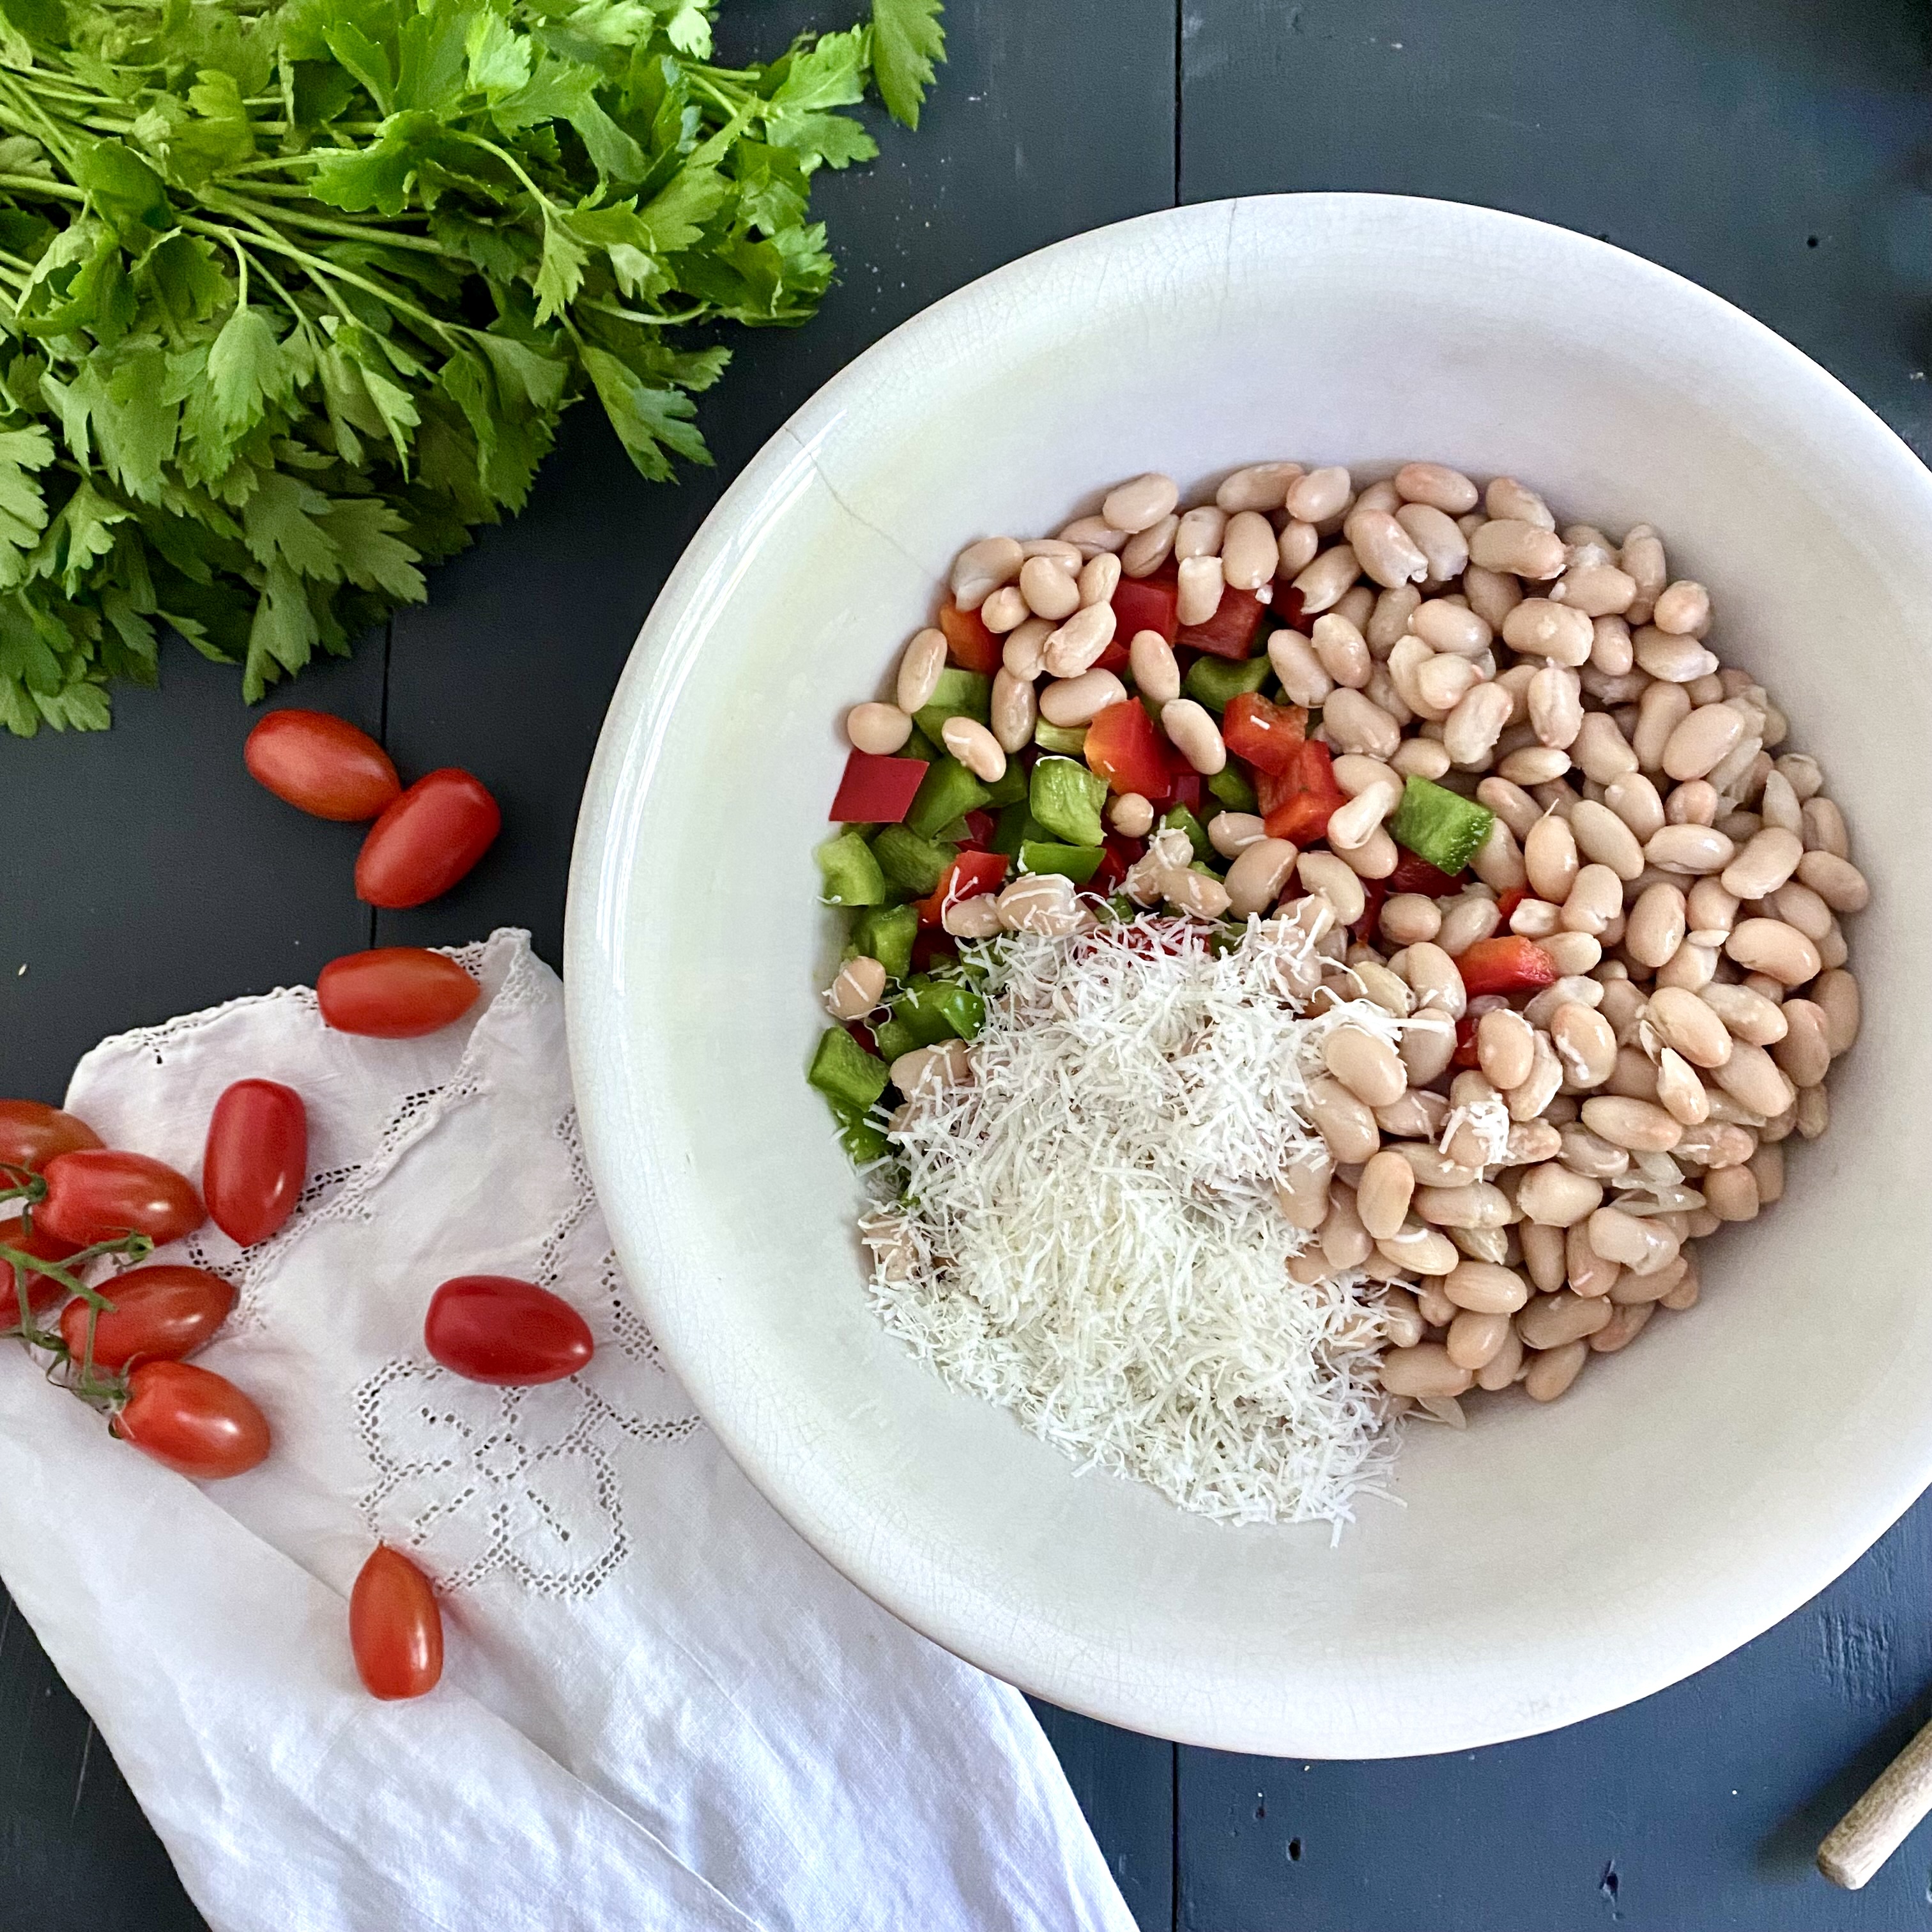
In a large mixing bowl, combine the parsley, green onions, herbs, green and red peppers, and the Parmesan cheese. Mix together. Add the beans and lightly combine so that the beans don’t get crushed or broken. Set aside.

In a small bowl, combine the lemon juice, vinegar, garlic, mustard, and the seasonings. Stir in the olive oil, then toss with the bean mixture and refrigerate for several hours or overnight.
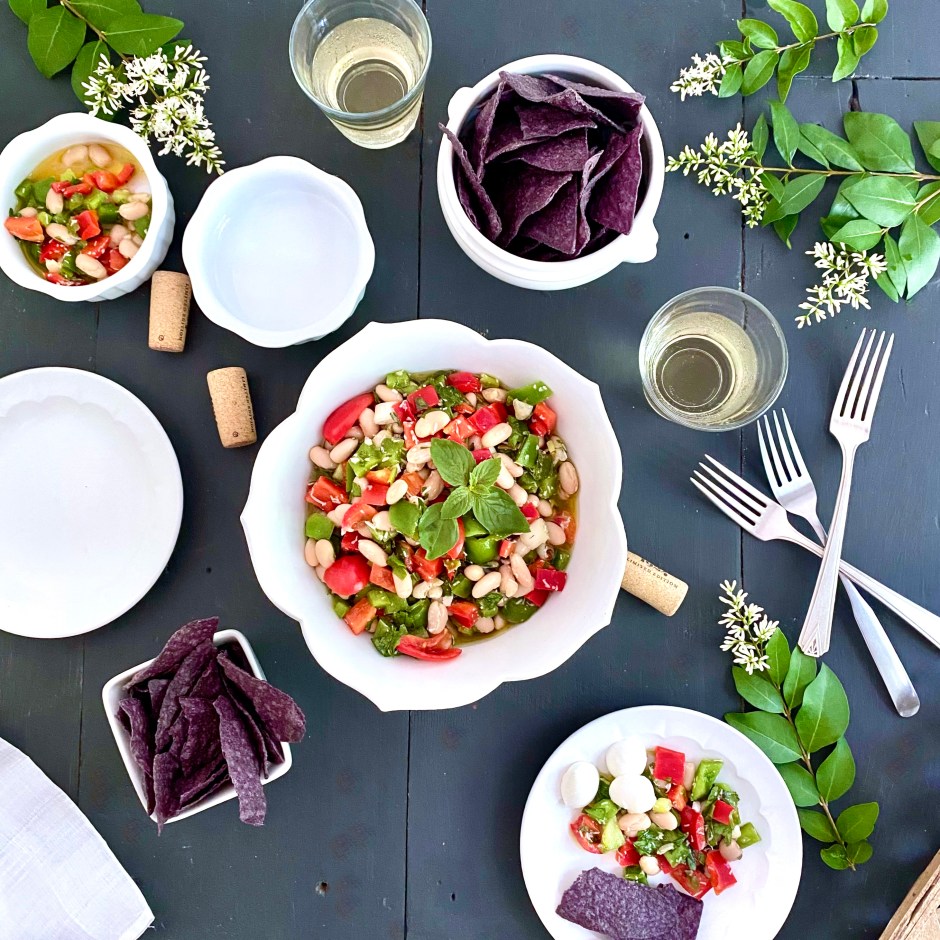
Just before serving remove the salad from the fridge and let it stand at room temperature for a few minutes to loosen the olive oil. Toss once more before garnishing with fresh cherry tomatoes and a basil sprig or two.
Bright, colorful, and full of flavor, this salad is a lovely meal on its own or a zesty side dish that complements a wide array of other foods, including all the traditional holiday grill favorites… chicken, fish, sausages, and burgers. Many of Martha’s recipes in The Vegetarian Feast are foundational building blocks ready to let your own culinary creativity shine.
The green and red peppers add a lovely crunch while the lemony mustard vinaigrette offers an extra bit of dressing that could be soaked up with additional toppings of diced chicken, homemade croutons, sliced avocado, or hard-boiled eggs. Other complimentary sides include grilled corn, hummus and pita chips, guacamole, fish tacos, cheese quesadillas, slices of peasant bread or baguettes, tortellini, devilled eggs, BLT sandwiches… you get the idea.
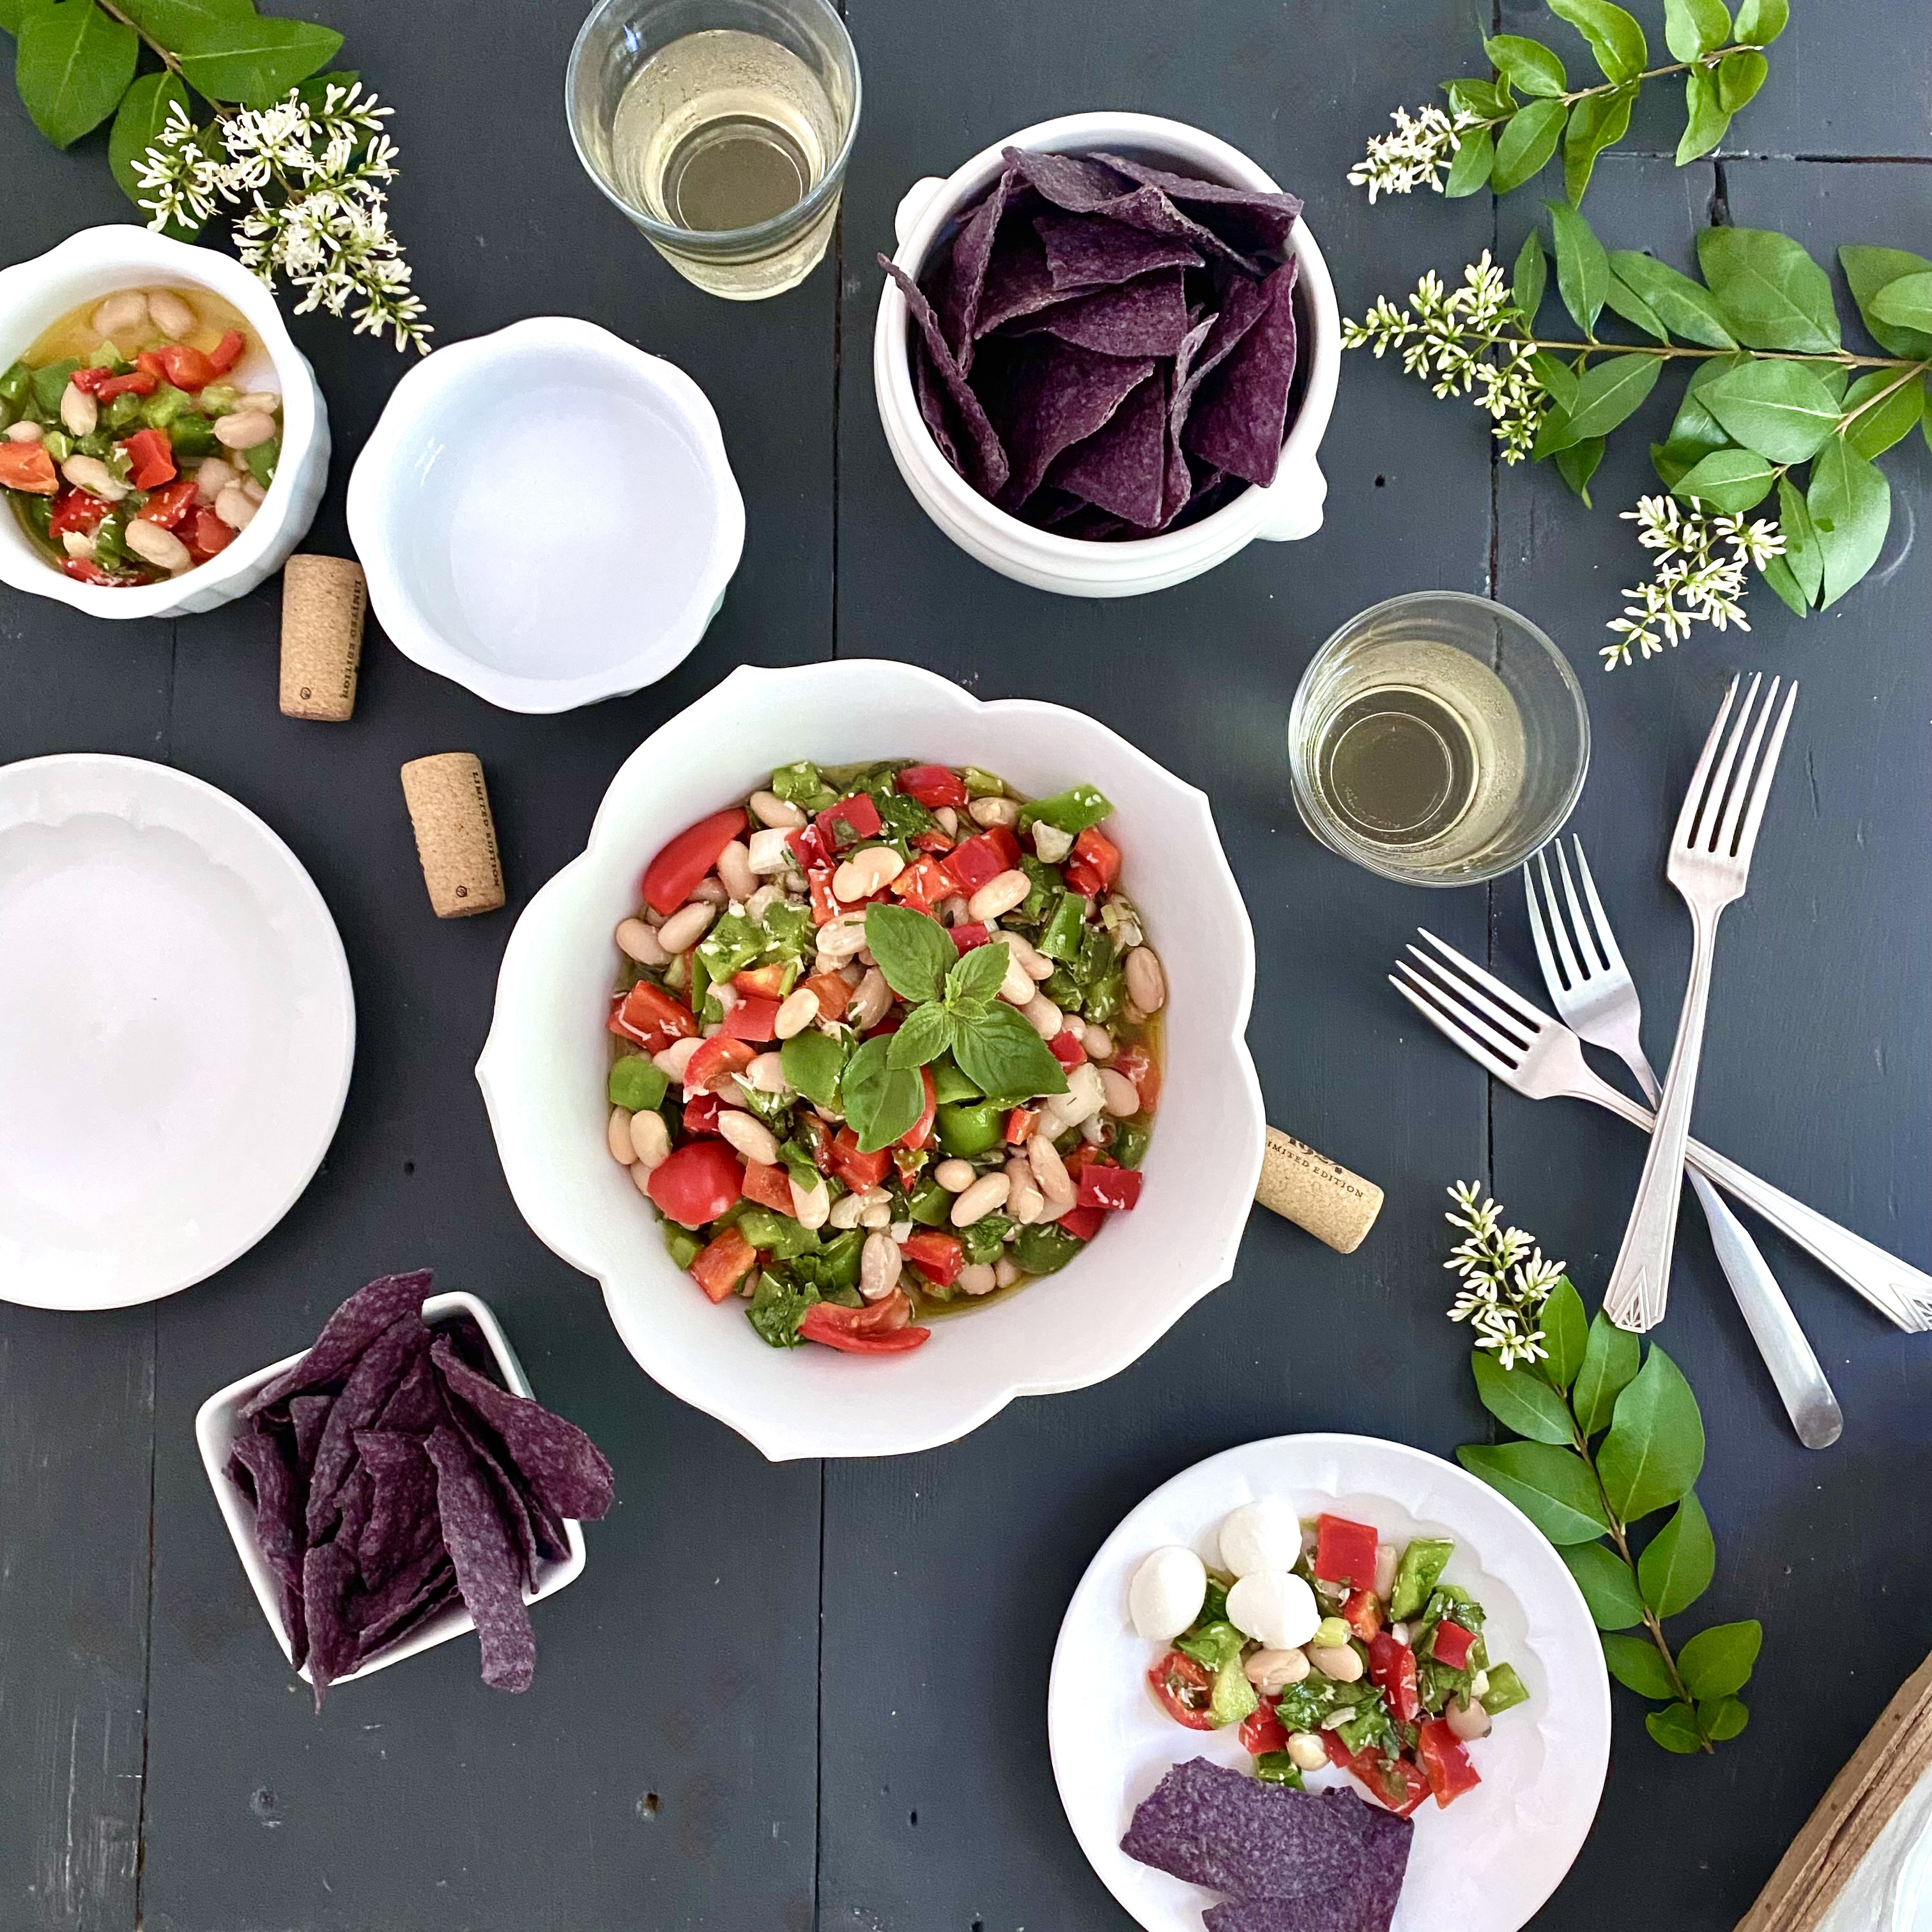
If you wanted to add a bit of Fourth of July flair to this recipe, serve it with blue corn chips and bite size mozzerrella balls for a red, white, and blue palette that celebrates the colors of the day.
Lovely served as part of your holiday hors d’oeuvres table, as an appetizer, or as a main dish, it’s a refreshing snack as much as a picnic component or the main meal of the party. Whether you are staying home or traveling around the country, this salad is easy to pack up and tote along on any sort of summertime adventure. It also stores well in the fridge in an airtight container for up to five days.
When it comes to the history of the United States and food, Martha is a prime example of our country’s dynamic and diverse culinary landscape, one that has been influenced by a wide range of cultures. She was born in Connecticut and educated in Massachusetts. She started her career in Texas, traveled extensively throughout Mexico, lived in Paris for a dozen years, and currently resides in California, where she continues to cook in her beloved Mediterranean, Mexican, and vegetarian style. All along the way, she’s espoused the value of sourcing fresh, local fruit, vegetables, and herbs that are so abundant in our country. That’s something to celebrate. For every American cook, there’s a story. And for every American recipe, there’s an influence inspired by someone else, somewhere else. Good food brings us altogether.
Cheers to simple summer cooking, to the heatwave that inspired this post, to Martha for sharing four decades worth of recipes, and to America on turning 250.
Find more Fourth of July recipes on the blog here… Lady Liberty Cheesecake, Americano Cocktail, Belle’s Star Spangled Cheese Straws, Homemade Blueberry Tart, and Colonial-Themed Blackberry Sally Lunn Cake.