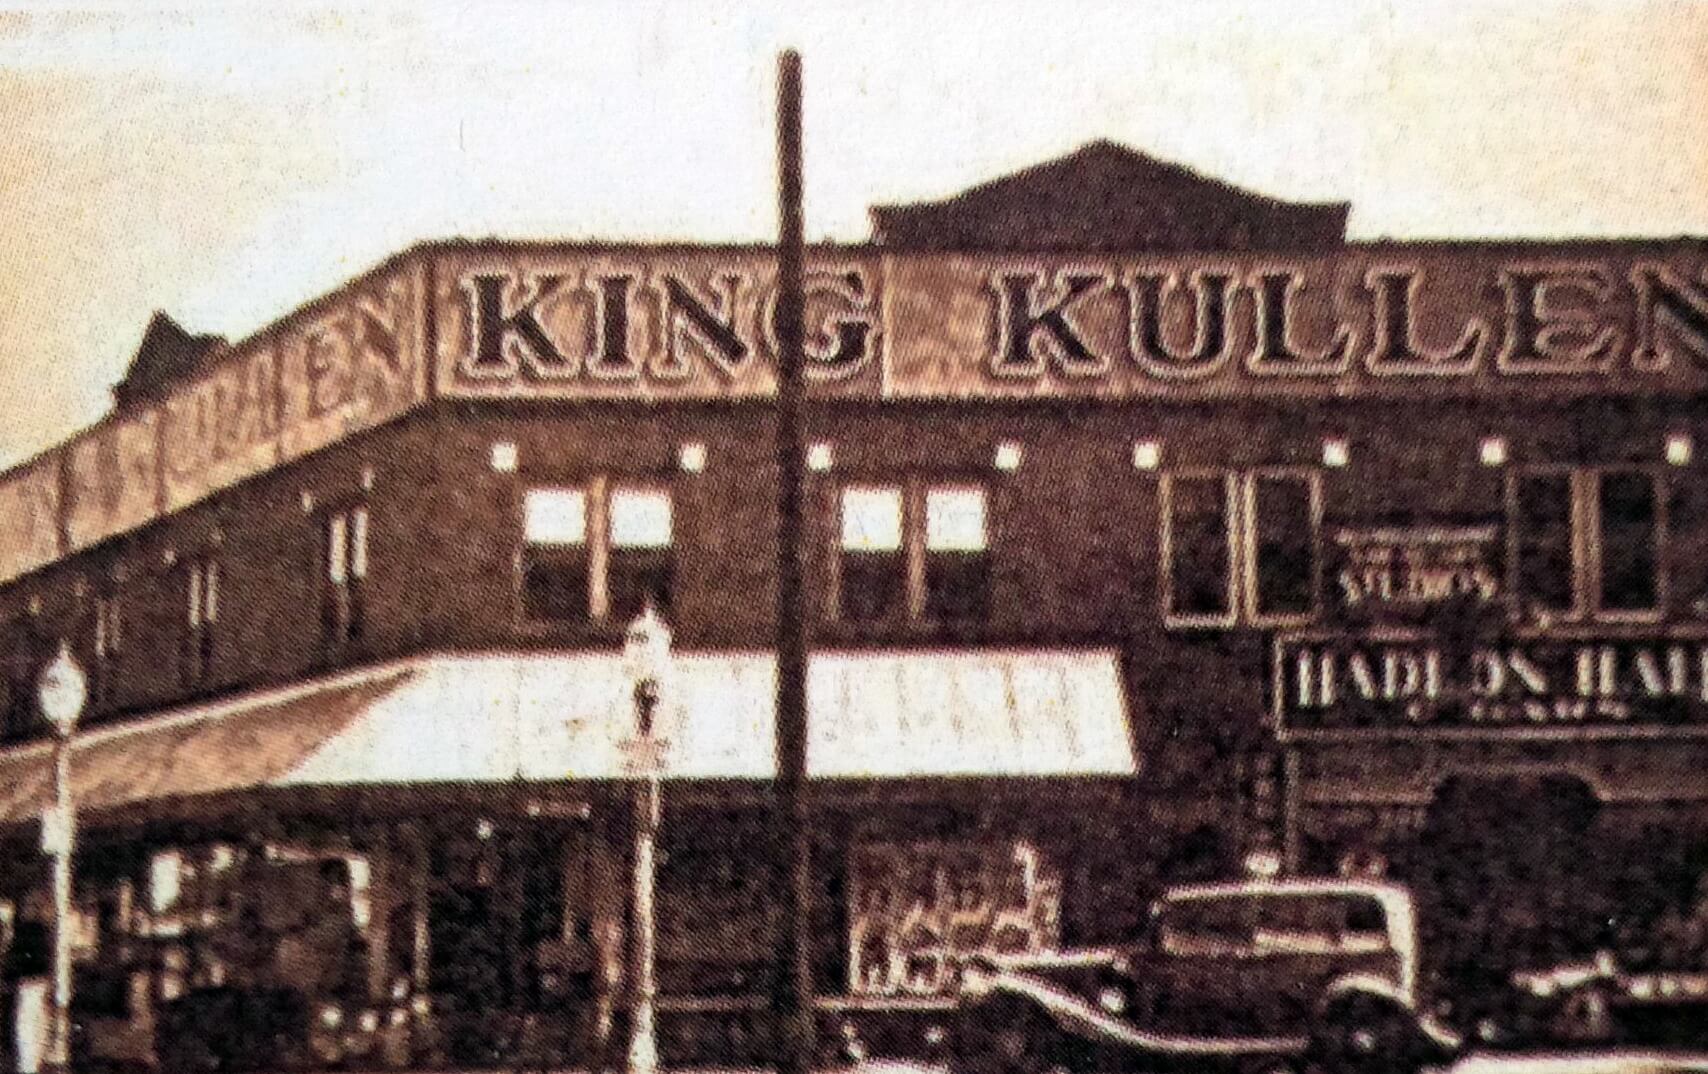
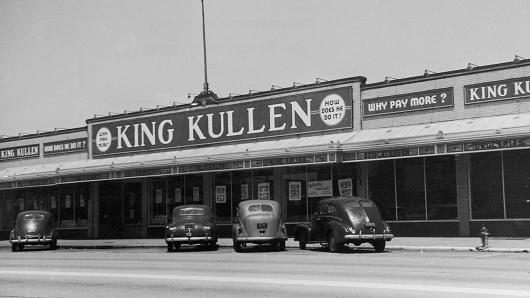
On this day – August 4th, 1930 – a giant marvel of a masterpiece was unveiled on Jamaica Avenue in Queens, New York. It involved a big building, a big parking lot and a plethora of products that extended far beyond what anyone could have imagined before. Aptly named King Kullen, it was King Kong-ish in size and scope and quickly took over an industry in a way only a behemoth of a good idea could. It was the birth of the super market – the very first large space grocery store that contained not only food items but also hardware, paint, automotive, cosmetics, shoe shine, kitchenware, confectionery and drug departments all under one roof.

The brainchild of grocery store employee, Michael Cullen (who spent half of his adult career working at The Great Atlantic & Pacific Tea Company and then grocery retailer, Kroger) imagined a better, larger, less expensive shopping experience that would cut grocery prices in half for the customer and allow more space for the store to sell bulk items in mass quantity. Essentially it is the same concept that our modern American grocery stores still follow to this day.
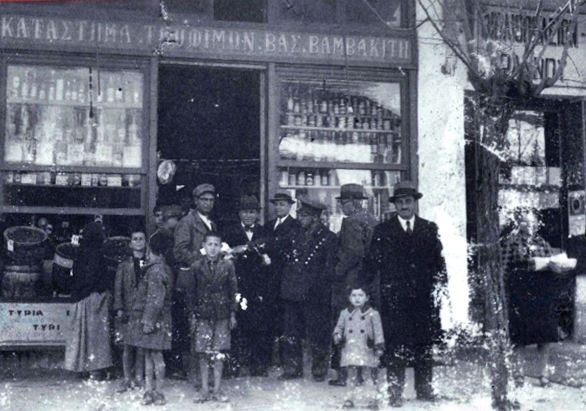
Before Michael and his big-brained idea came along, people grocery shopped in small pocket stores like this one photographed in the 1920s…
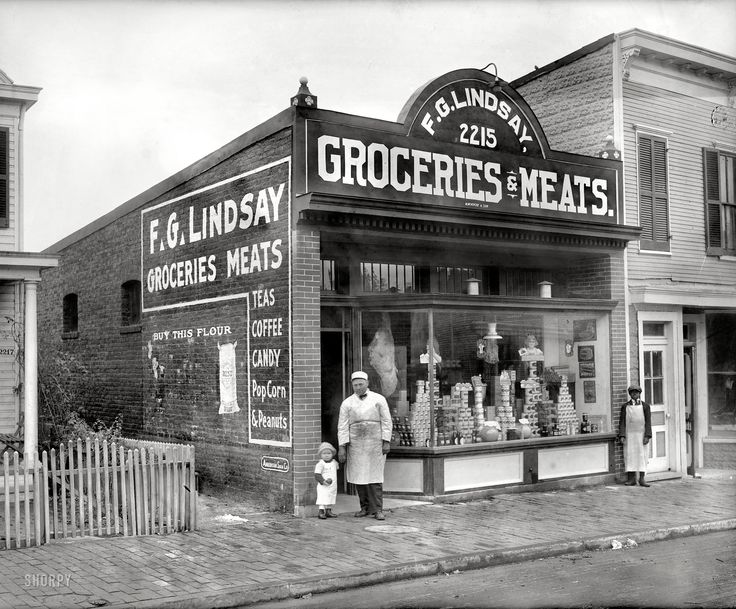
These independent stores definitely filled a need and were vital businesses to the community but they were also very limiting and not very private. Space was an issue for the store owners which meant that many items had to be special ordered for customers on a need-by-need basis, extending the shopping transaction by days or sometimes even weeks. Service was also an issue as items were frequently stored up high or behind counters making it necessary for grocery employees to gather specifically what was needed.

This one-on-one buying model may have helped develop customer relationships but it also created lengthy wait times for other shoppers while each order was filled. Speculation and gossip seeped into the buying process too as the whole store could see (and hear!) what everyone was buying. Combined with the fact that meat was purchased from the butcher, bread from the baker, fish from the fish monger and specialty cans and shelf stable items from the grocery, meant that the whole shopping experience could take hours out of the day.

Michael took note of all these clunky patterns, accessed the growing rise of refrigerators popping up in American homes and started jotting down ideas for something easier and faster involving less commotion and less expense. While he flushed out his thoughts he was still working at Kroger. He brought up his ideas to his boss who didn’t give Michael’s thoughts any merit. So Michael left Kroger and opened King Kullen Grocery Company independently months later. Michael knew he had a great idea – the right concept at the right time. He had worked in the grocery business for 28 years at that point, long enough to see where the consumer experience needed improvement and how profits could be made.
By building a bigger store in a bigger space, King Kullen initiated the self-serve shopping concept where all products were in easy reach of the customer with a large quantity of the same item available. So you could zip in and out of the store much more quickly. No more waiting, no more special ordering, no more gossip.

King Kullen also eliminated the idea of credit registry systems, another time sucker, by only dealing with cash transactions. And they axed the local delivery system which for small, independent grocers meant additional employees and additional expense. Combining all these elements – bigger store, easy to reach items, large selection of product and a faster payment system was much more efficient and empowering to shoppers. Independent groceries were old-fashioned and pokey where King Kullen, in 1930, was up to the minute modern.
And then there was the significant pricing system. Upon opening, King Kullen boasted that they could reduce your average grocery bill by 10-50% which during the Great Depression years was a major attraction for struggling wage-earners. By offering everything from house paint to ham (the “super” market concept) under one roof, King Kullen became a one-stop shop. You can see the price difference between Kroger in the 1920’s and King Kullen in the 1930’s in these advertisements…

Some of the significant savings included:
- Tea – $0.29 per 1/2lb at Kroger vs. $0.39/per 1lb at King Kullen
- Boiled Ham – $0.33/lb at Kroger vs. $0.21/lb at King Kullen
- Catsup – $0.15/bottle at Kroger vs. $0.10/bottle at King Kullen
- Whole Chicken – $0.33/lb vs. $0.19/lb at King Kullen
- Beans – 4 cans for $0.23 at Kroger vs. 6 cans for $0.25 at King Kullen
Finally, by providing a large parking lot able to accommodate a vast amount of cars, King Cullen changed how people shopped. Families went together, some traveling up to 100 miles away from home so they could fill their car with foodstuffs and stock their shelves for a lengthier period of time. The super market also hosted all sorts of product events and giveaways making each shopping trip to King Kullen unexpected and engaging. It was a seamless, adventuresome outing, easy to navigate and fun to participate in.
King Kullen caught like wildfire in the hearts of the American public. Thousands flocked to the new Jamaica Avenue store on opening day, leading a trend that other grocery stores (like Michael’s previous employer, Kroger) noted and then soon replicated. Throughout the 1930’s store after store opened under the King Kullen brand. Unfortunately in 1936 tragedy struck when Michael died just six years after debuting his first Jamaica Avenue store from complications following an appendectomy.
With the help of his wife and his sons, Michael’s legacy and the King Kullen brand continued to thrive. Today there are 32 King Kullen grocery stores still in operation, proving that Michael was a true visionary. The motto of the brand from the beginning was “We are here to stay and to please the public.” Eighty-seven years later and still going strong, they have definitely accomplished their mission and in doing so affected change across the entire grocery industry.
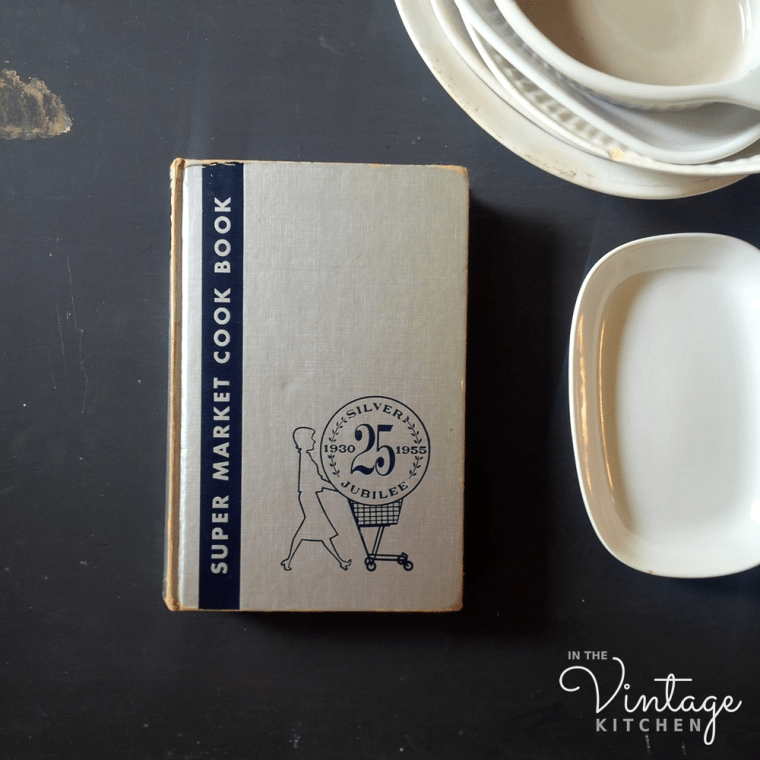
Just listed in the shop this week is a cookbook published in 1955 celebrating the 25th anniversary of the supermarket. Titled the Silver Jubilee, it contains over 500 pages of recipes utilizing ingredients easily found at King Kullen-sized stores.
It is hard to imagine this being a novelty cookbook now but if you think about having to stop at 5-7 different food stores to pick up ingredients for one recipe you can understand how enormous this concept really was between the 1930’s – 1950’s. We take so much for granted now in the form of food buying and what we expect from the process. The Silver Jubilee really helps us understand the marvel behind the modern just like Michael helped us experience the efficiency behind the industry.
Cheers to Michael and his revolutionary idea and a happy birthday to King Kullen!
Later this month we will be featuring a few recipes from the Silver Jubilee cookbook in our first ever cross country cook-a-thon. Stay tuned for that! In the meantime, find the celebratory Super Market Cook Book in the shop here.