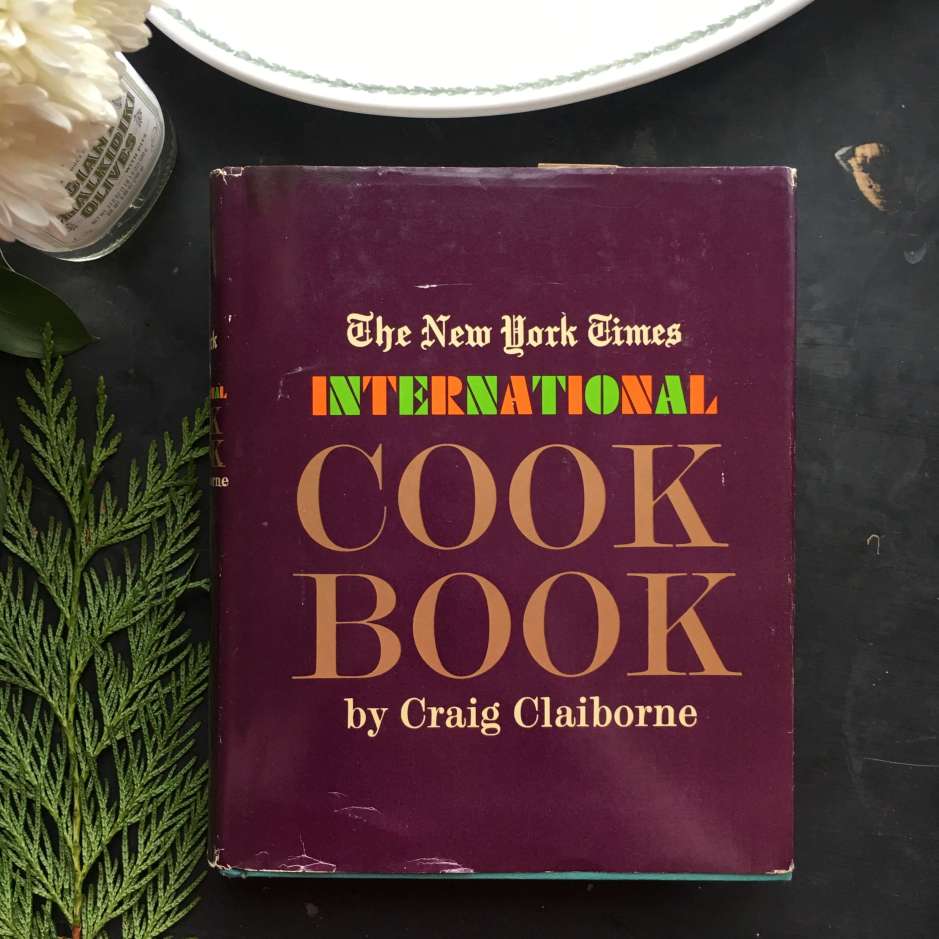

In 1966, these words described her cooking… creative, imaginative, inventive, eclectic, beautifully presented, and internationally inspired. Craig Claiborne, the New York Times food editor and a beloved favorite here in the Vintage Kitchen, said “anyone who truly cares about cooking is fortunate indeed that such a talent as hers can be shared on the printed page.” James Beard called her “the finest cook I know.” Newspaper columnist Elizabeth de Sylva deemed her the “free spirit of cooking,” and food writer Gaynor Maddox labeled her “one of the most exciting, competent, and delightful guides to better dining.”
Today, here in the Vintage Kitchen, we are featuring a thoroughly modern-minded yet vintage recipe from the culinary repertoire of Paula Peck (1927-1972), who was a phenomenal but now forgotten cook popular during the mid-20th century. I use the word forgotten carefully. Since professional chefs today consider her cookbooks classics and since she still has a quiet army of devoted fans, she’s not lost to a select group, but Paula is definitely, surprisingly not part of mainstream cooking conversations like other famous names that traveled in her circle. Why is that? Was she overshadowed by bigger personalities like Julia Child or James Beard? Did her culinary prowess get dismissed over time? Her recipes simply forgotten?
In order to try to figure out why Paula Peck is not a household name today, we need to start at the beginning and explore the details of how she came to be the topic of conversation in mid-20th century kitchens.
It all started with her spouse.
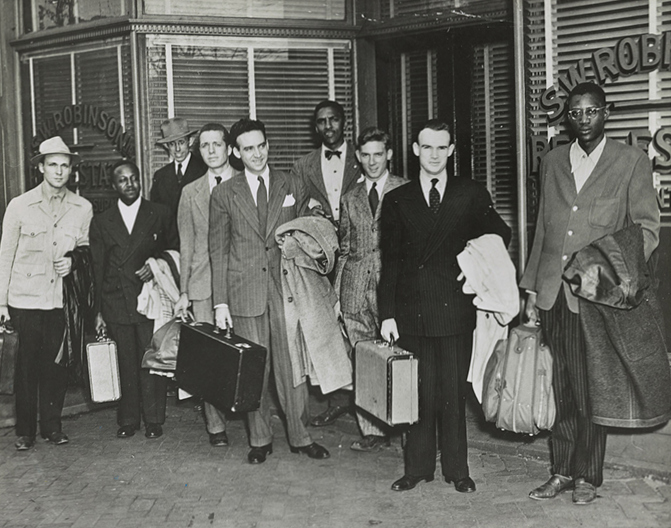
Paula’s husband, James Peck, known as Jim, was a newsworthy civil rights activist who worked his entire life trying to bring people together for noble and decent causes. Involved with the War Resistance League, the American Civil Liberties Union, and the Congress of Racial Equality among others, it was Jim who first inspired Paula to dive into the world of cooking after they were married in 1950. Up until that point, Paula knew little about how to create a meal. This was a bit of a tricky situation since she married a foodie. Unless she wanted to lose her husband to the local eateries of New York City night after night, she knew she was going to need to learn to cook. So as a young bride of 23, she set out on a mission to tempt her husband and his adventurous gourmet palate away from the restaurant scene, which he adored, and into the kitchen of his own home.

As Paula started experimenting with food, she fell more and more and more in love with cooking. In trying to appeal to her husband’s enjoyment of international cuisine, in particular, she studied foods from all around the globe. She began collecting cookbooks, keeping track of recipes in a file box and gathering ideas about food preparation with friends. With every passing bite, Jim encouraged her explorations. Eventually, she gathered enough courage to take a cooking class with one of the country’s most celebrated gourmands, James Beard. From there, her culinary star rose bright and shiny, as the two struck up a friendship. One opportunity led to another. Paula became James’ apprentice and then his teaching partner. And then she went on to teach her own cooking classes.

Eleven years into her culinary journey, she published her first cookbook The Art of Fine Baking in 1961. After that, she was hired to work on the baking portion of the mega Time-Life Foods of the World cookbook series along with a host of respected chefs, food writers, and culinary experts. In 1966, she published a second cookbook, The Art of Good Cooking, in which she espoused the physical beauty of the kitchen, of quality ingredients, of simple equipment, of the breath-of-fresh-air joy that became her signature cooking style.

Her recipes began to appear with frequency in newspaper columns nationwide. She did live in-person cooking demonstrations for various events. She conducted interviews. The industry was achatter with news about Paula, about her recipes, about her unique approach to food. By 1970, Paula, the twenty-something girl who was not so skilled in cooking two decades earlier, arrived in the form of an accomplished, confident culinary teacher. Swathed in accolades, with nothing but a field of potential and possibility in front of her, surrounded by skilled peers and influential connections, Paula’s trajectory was on course for iconic status. And then something terrible happened. Paula died. Sadly, she was just 45.
In the 1960s, Paula circulated in the culinary world a bit differently than her comrades. Unlike most well-known cooks of her day, she wasn’t necessarily focused on age-old techniques. She questioned things. She wondered about established facts of cooking, curious if there were other ways or reasons to approach techniques beyond the traditional. She wasn’t concerned as much with how things were done, had been done, or should be done. Instead, she gave herself, and then her students, permission to experiment with food intuitively and to play around with taste, texture, and time.
Taking little bits and pieces from other cuisines, from other places and adapting them in ways that were unique and interesting, Paula worked with food from the foundation up, building a recipe like an artist builds up a scene in a painting. Taking into account, color, subject matter, texture, time, origin, flavor, and the relationship between one ingredient to another, her food was dotted with elements of surprise and flourish. It was those bits of unexpected detail that wound up setting her apart from all the gastronomes of her day. And I think it was those bits of detail that make her food still very relevant today.
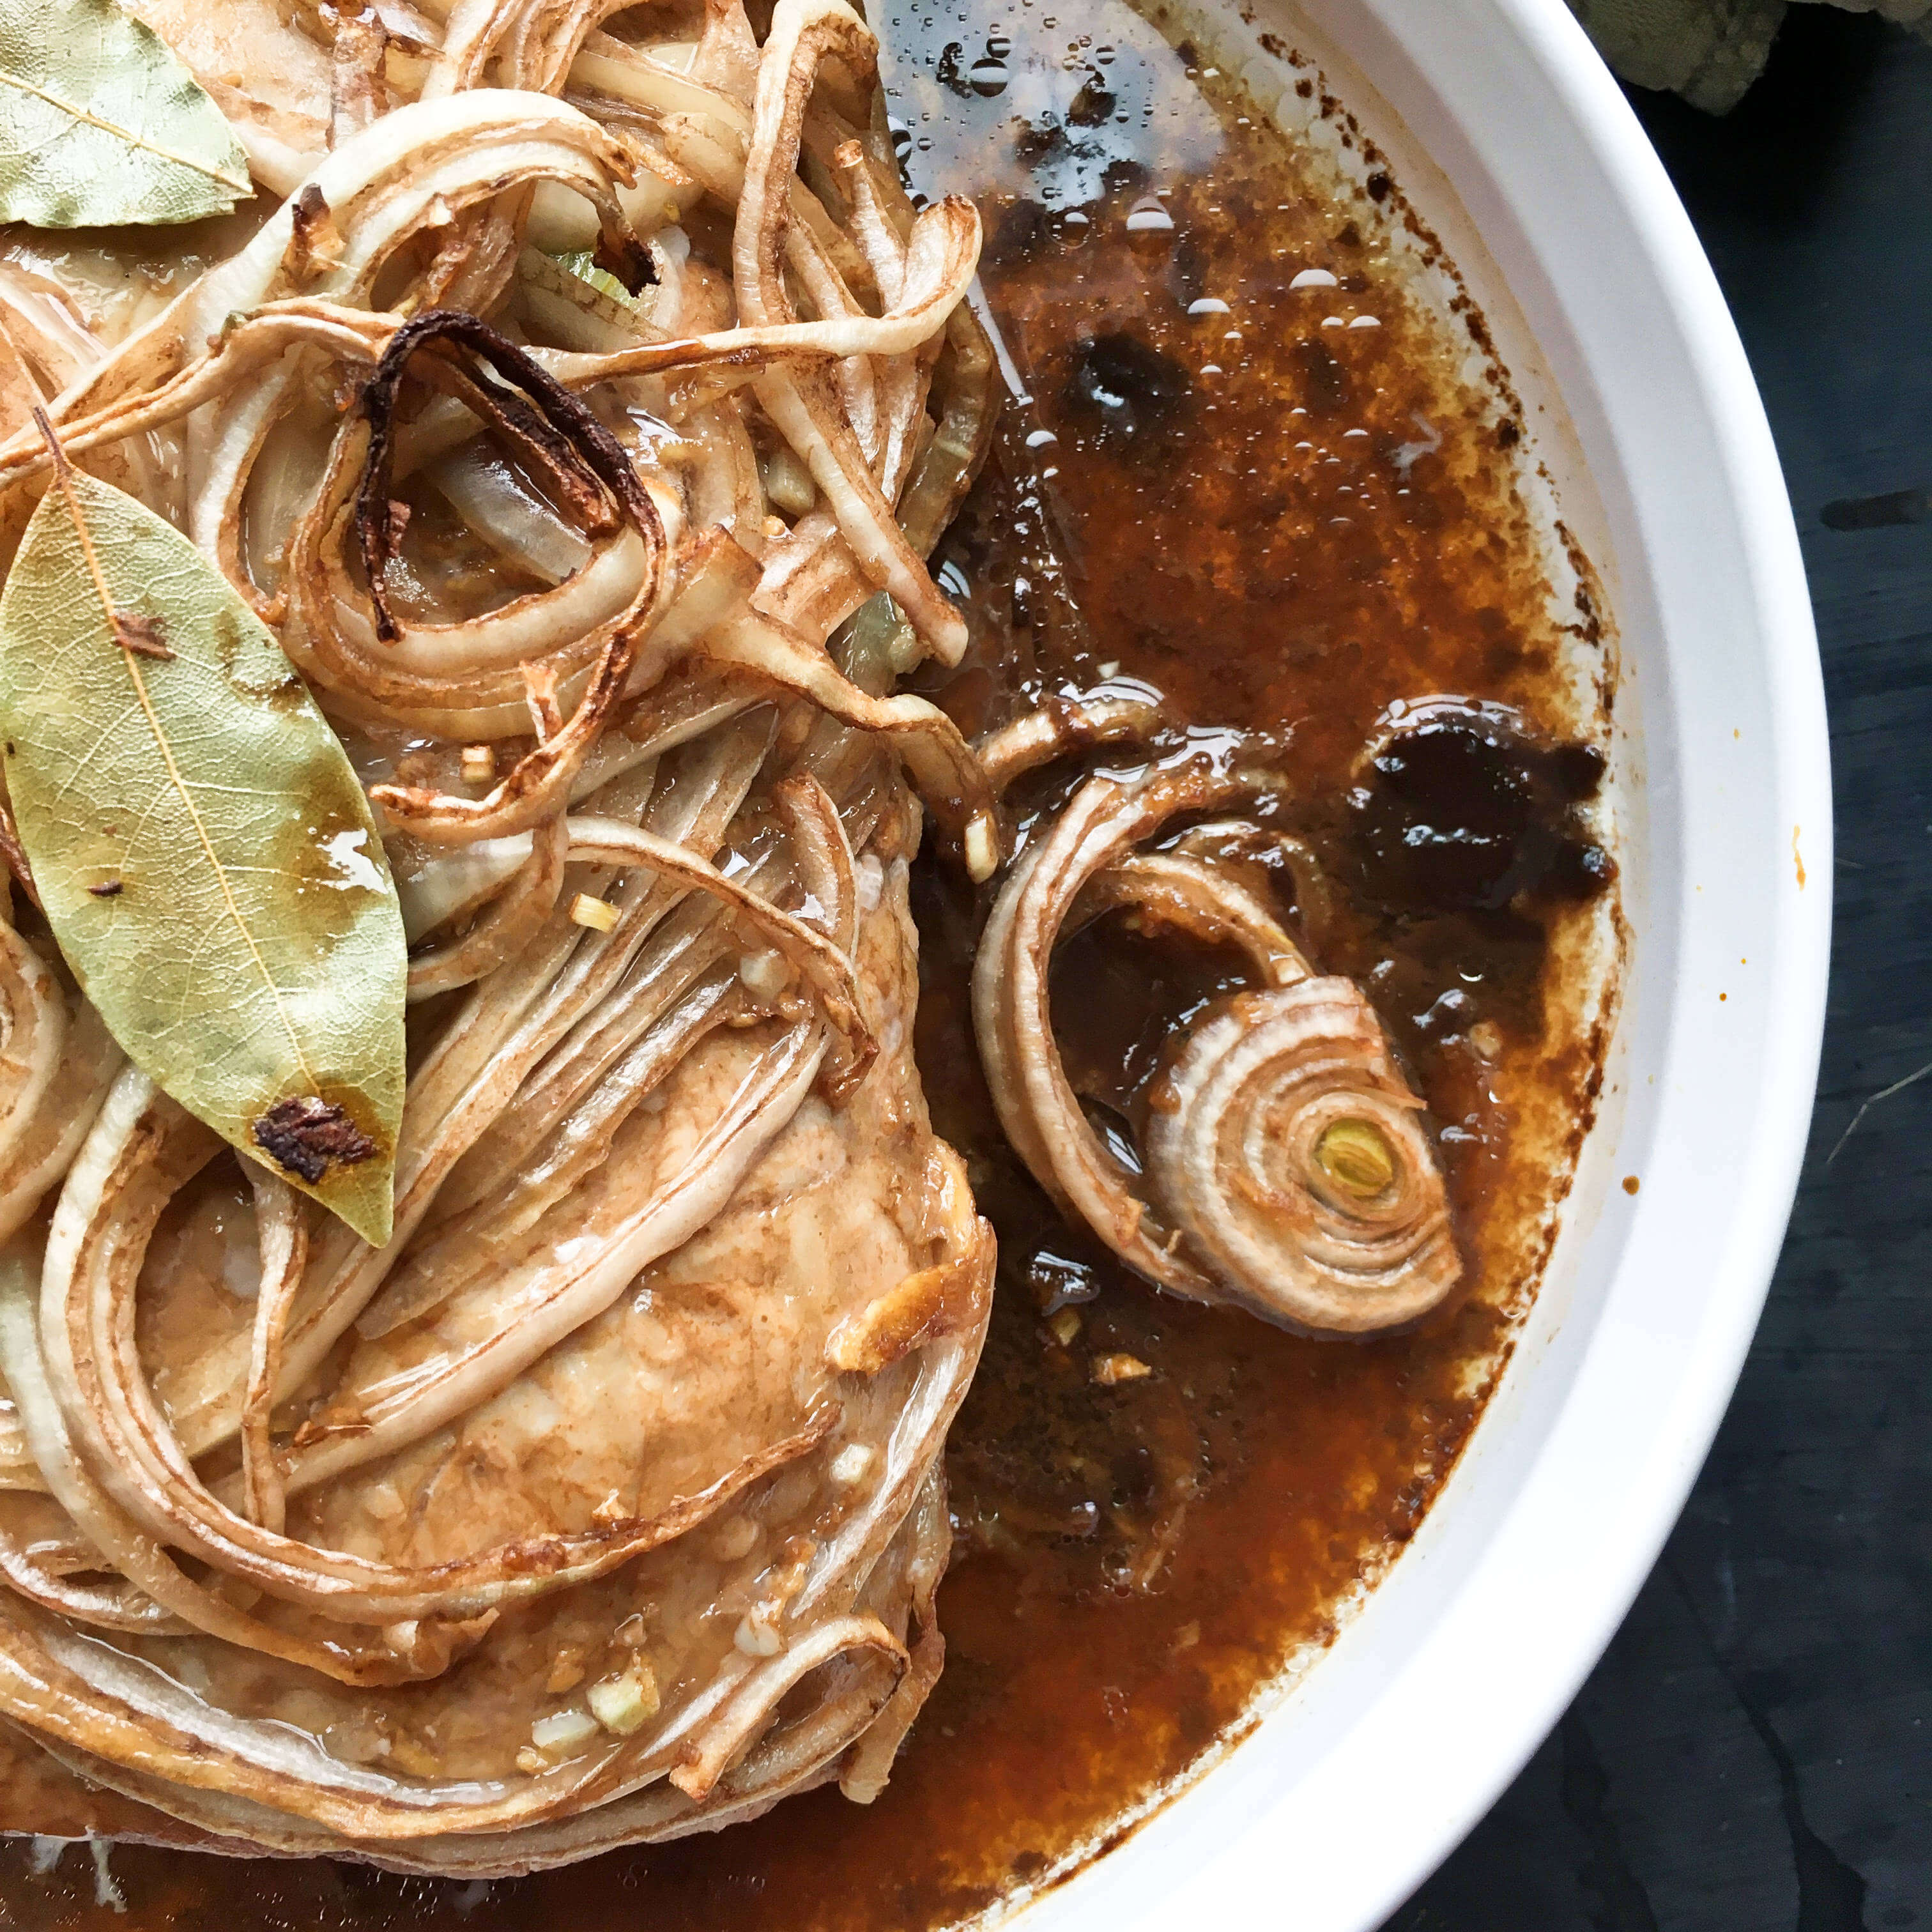
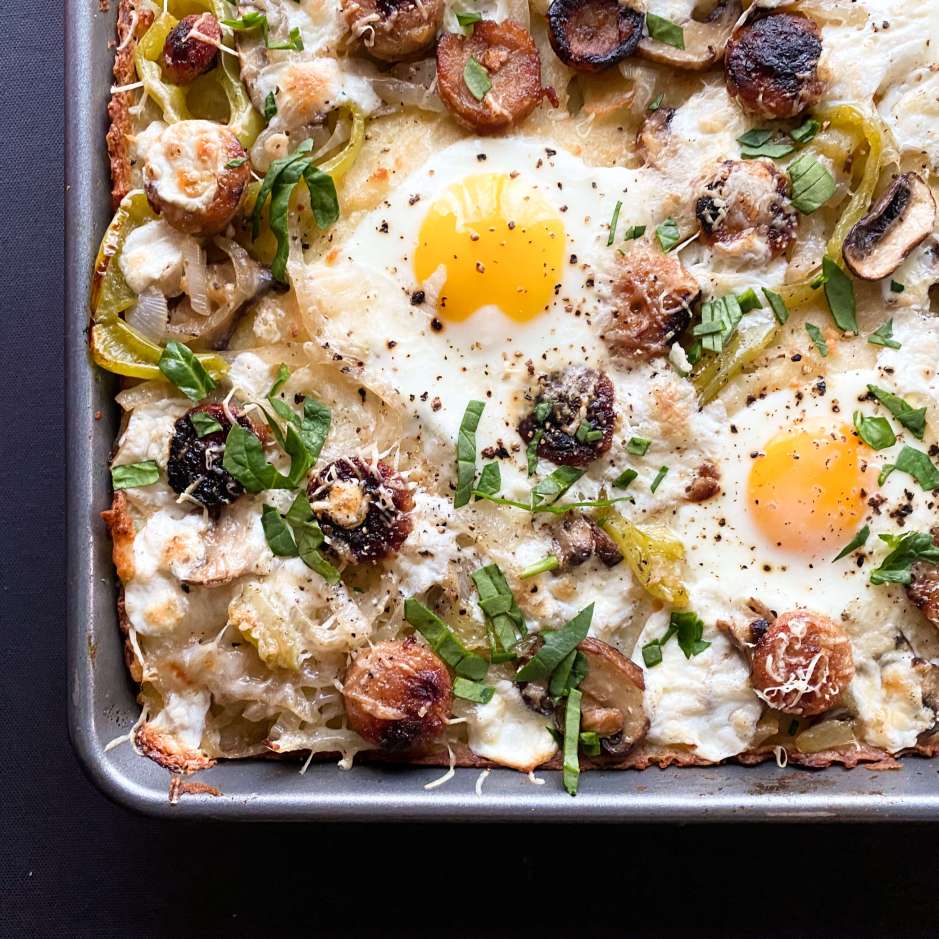
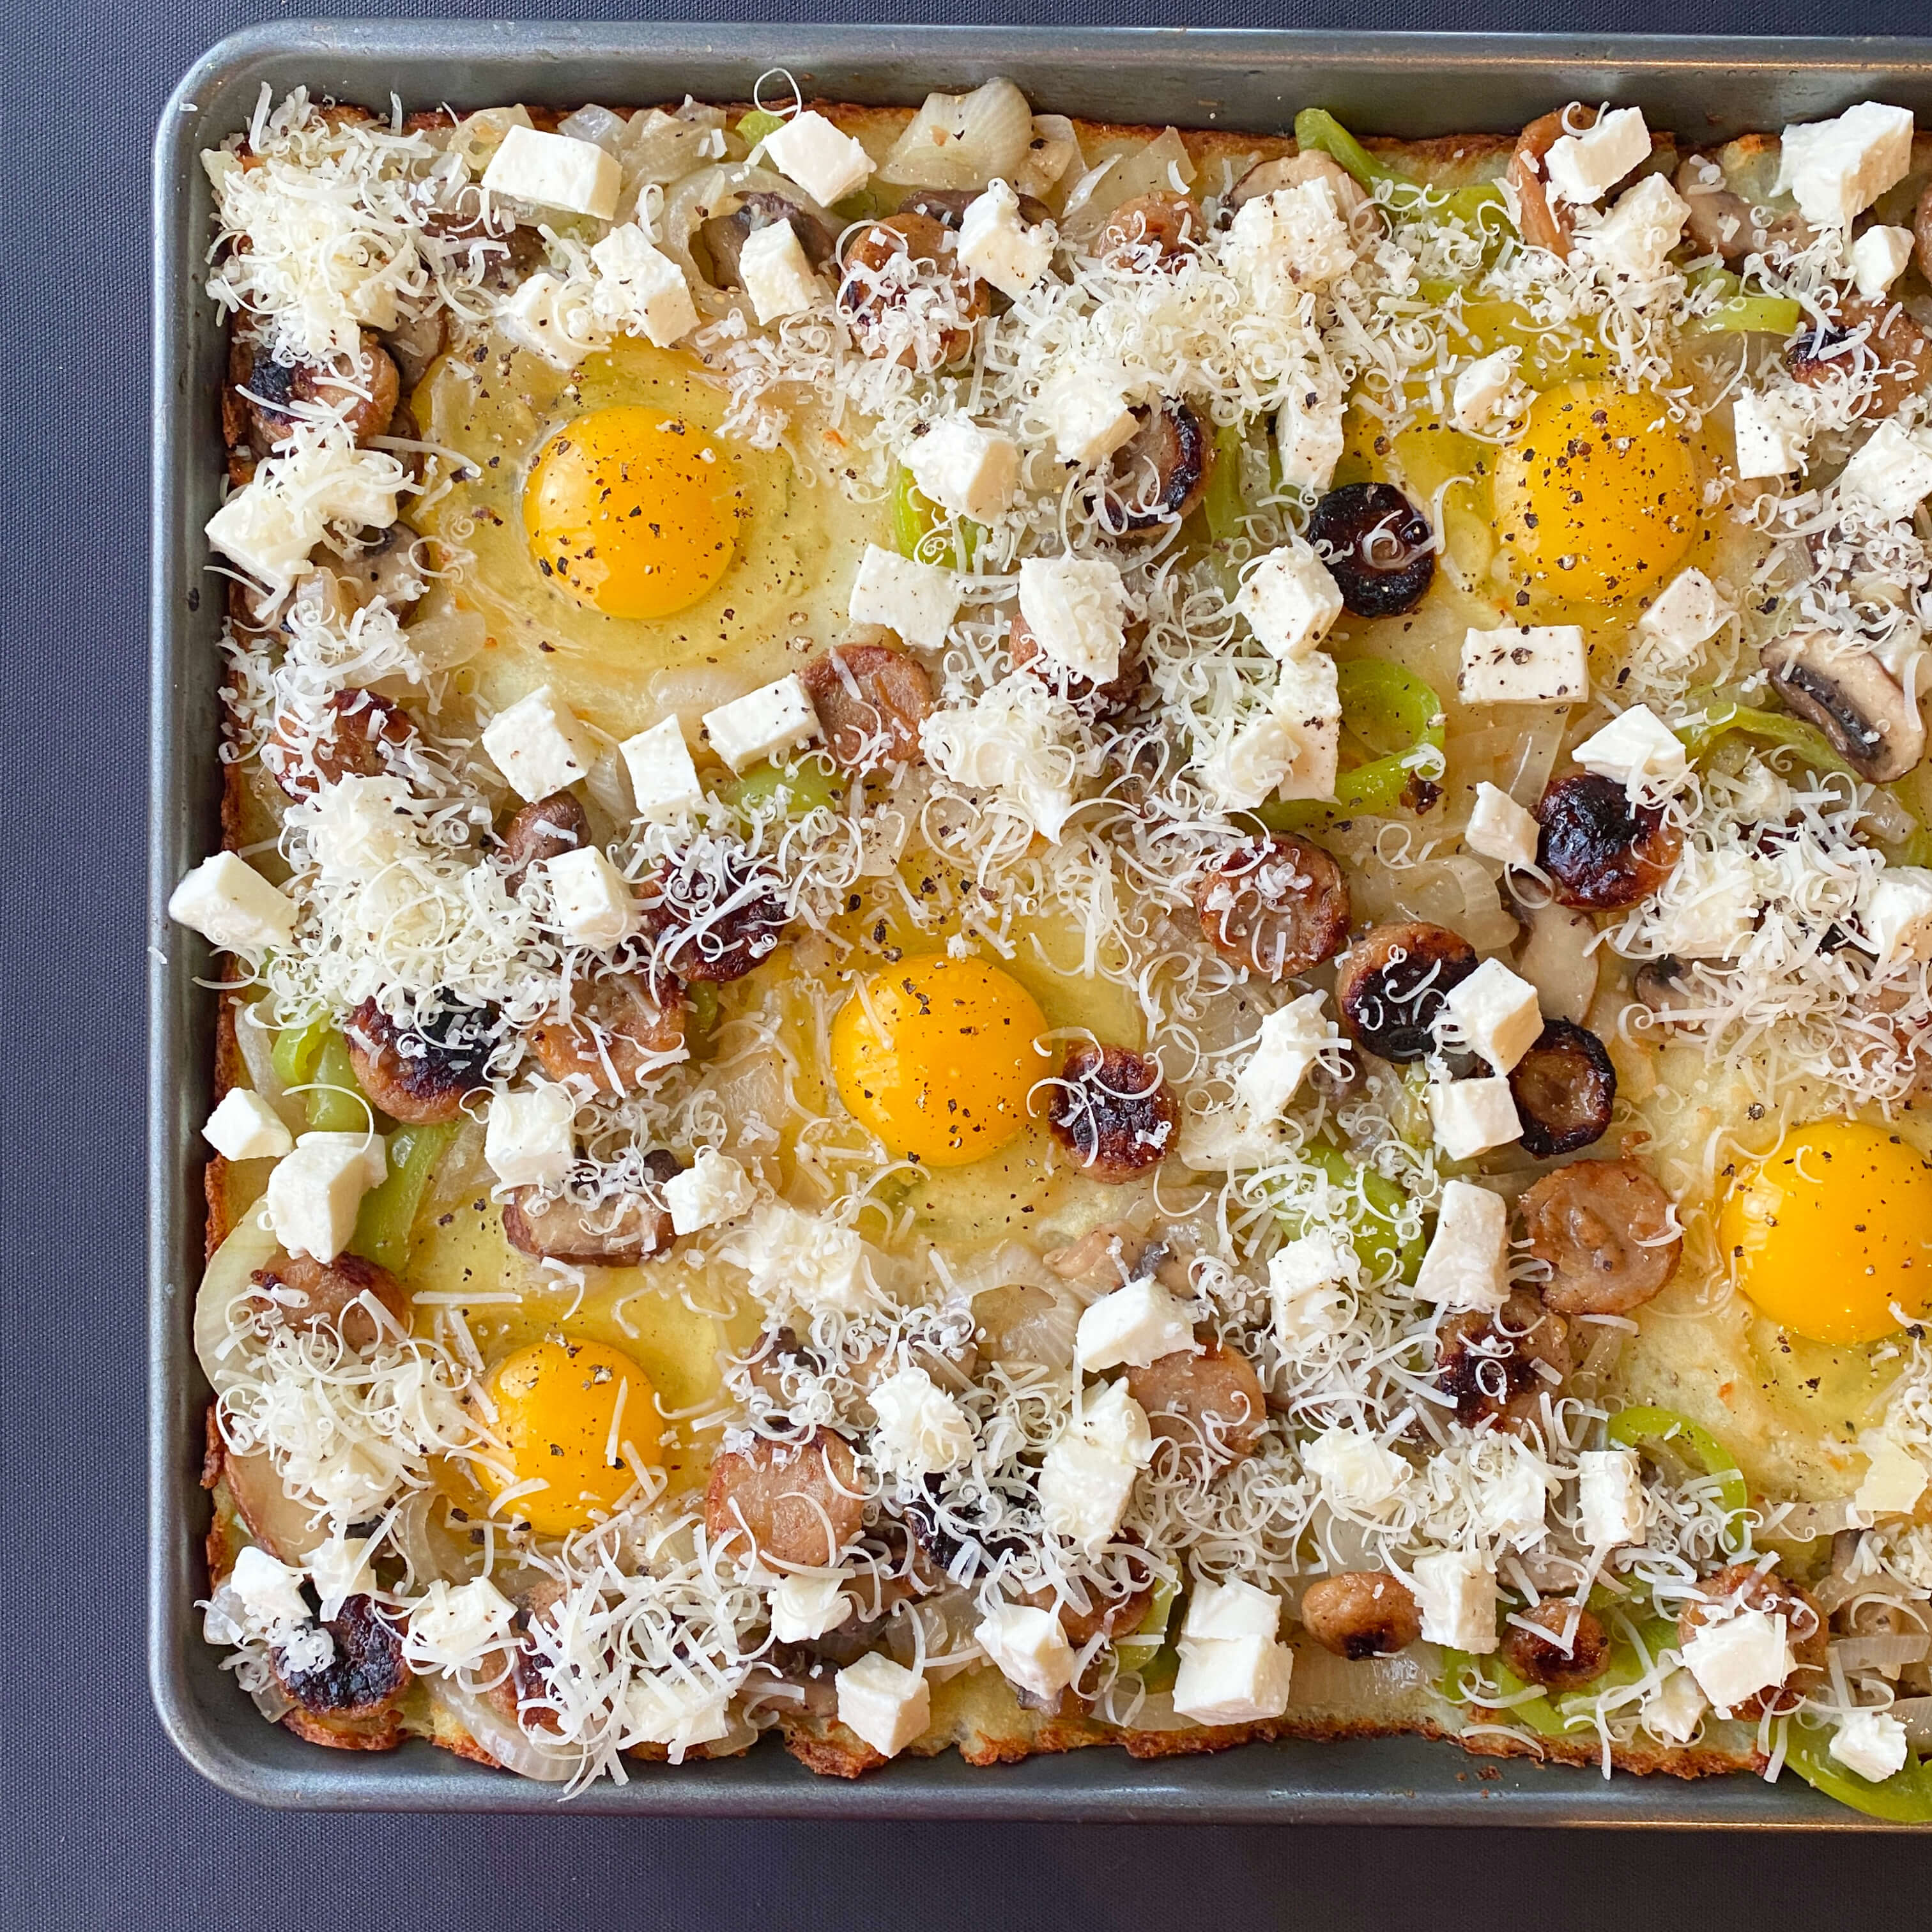
Take pizza for example. Everybody knows the age-old basic pie with its flour crust, tomato sauce, a sprinkling of cheese, and perhaps a topping or two. But in Paula’s midcentury mind, the word pizza could mean something else entirely too. It could look something like this…
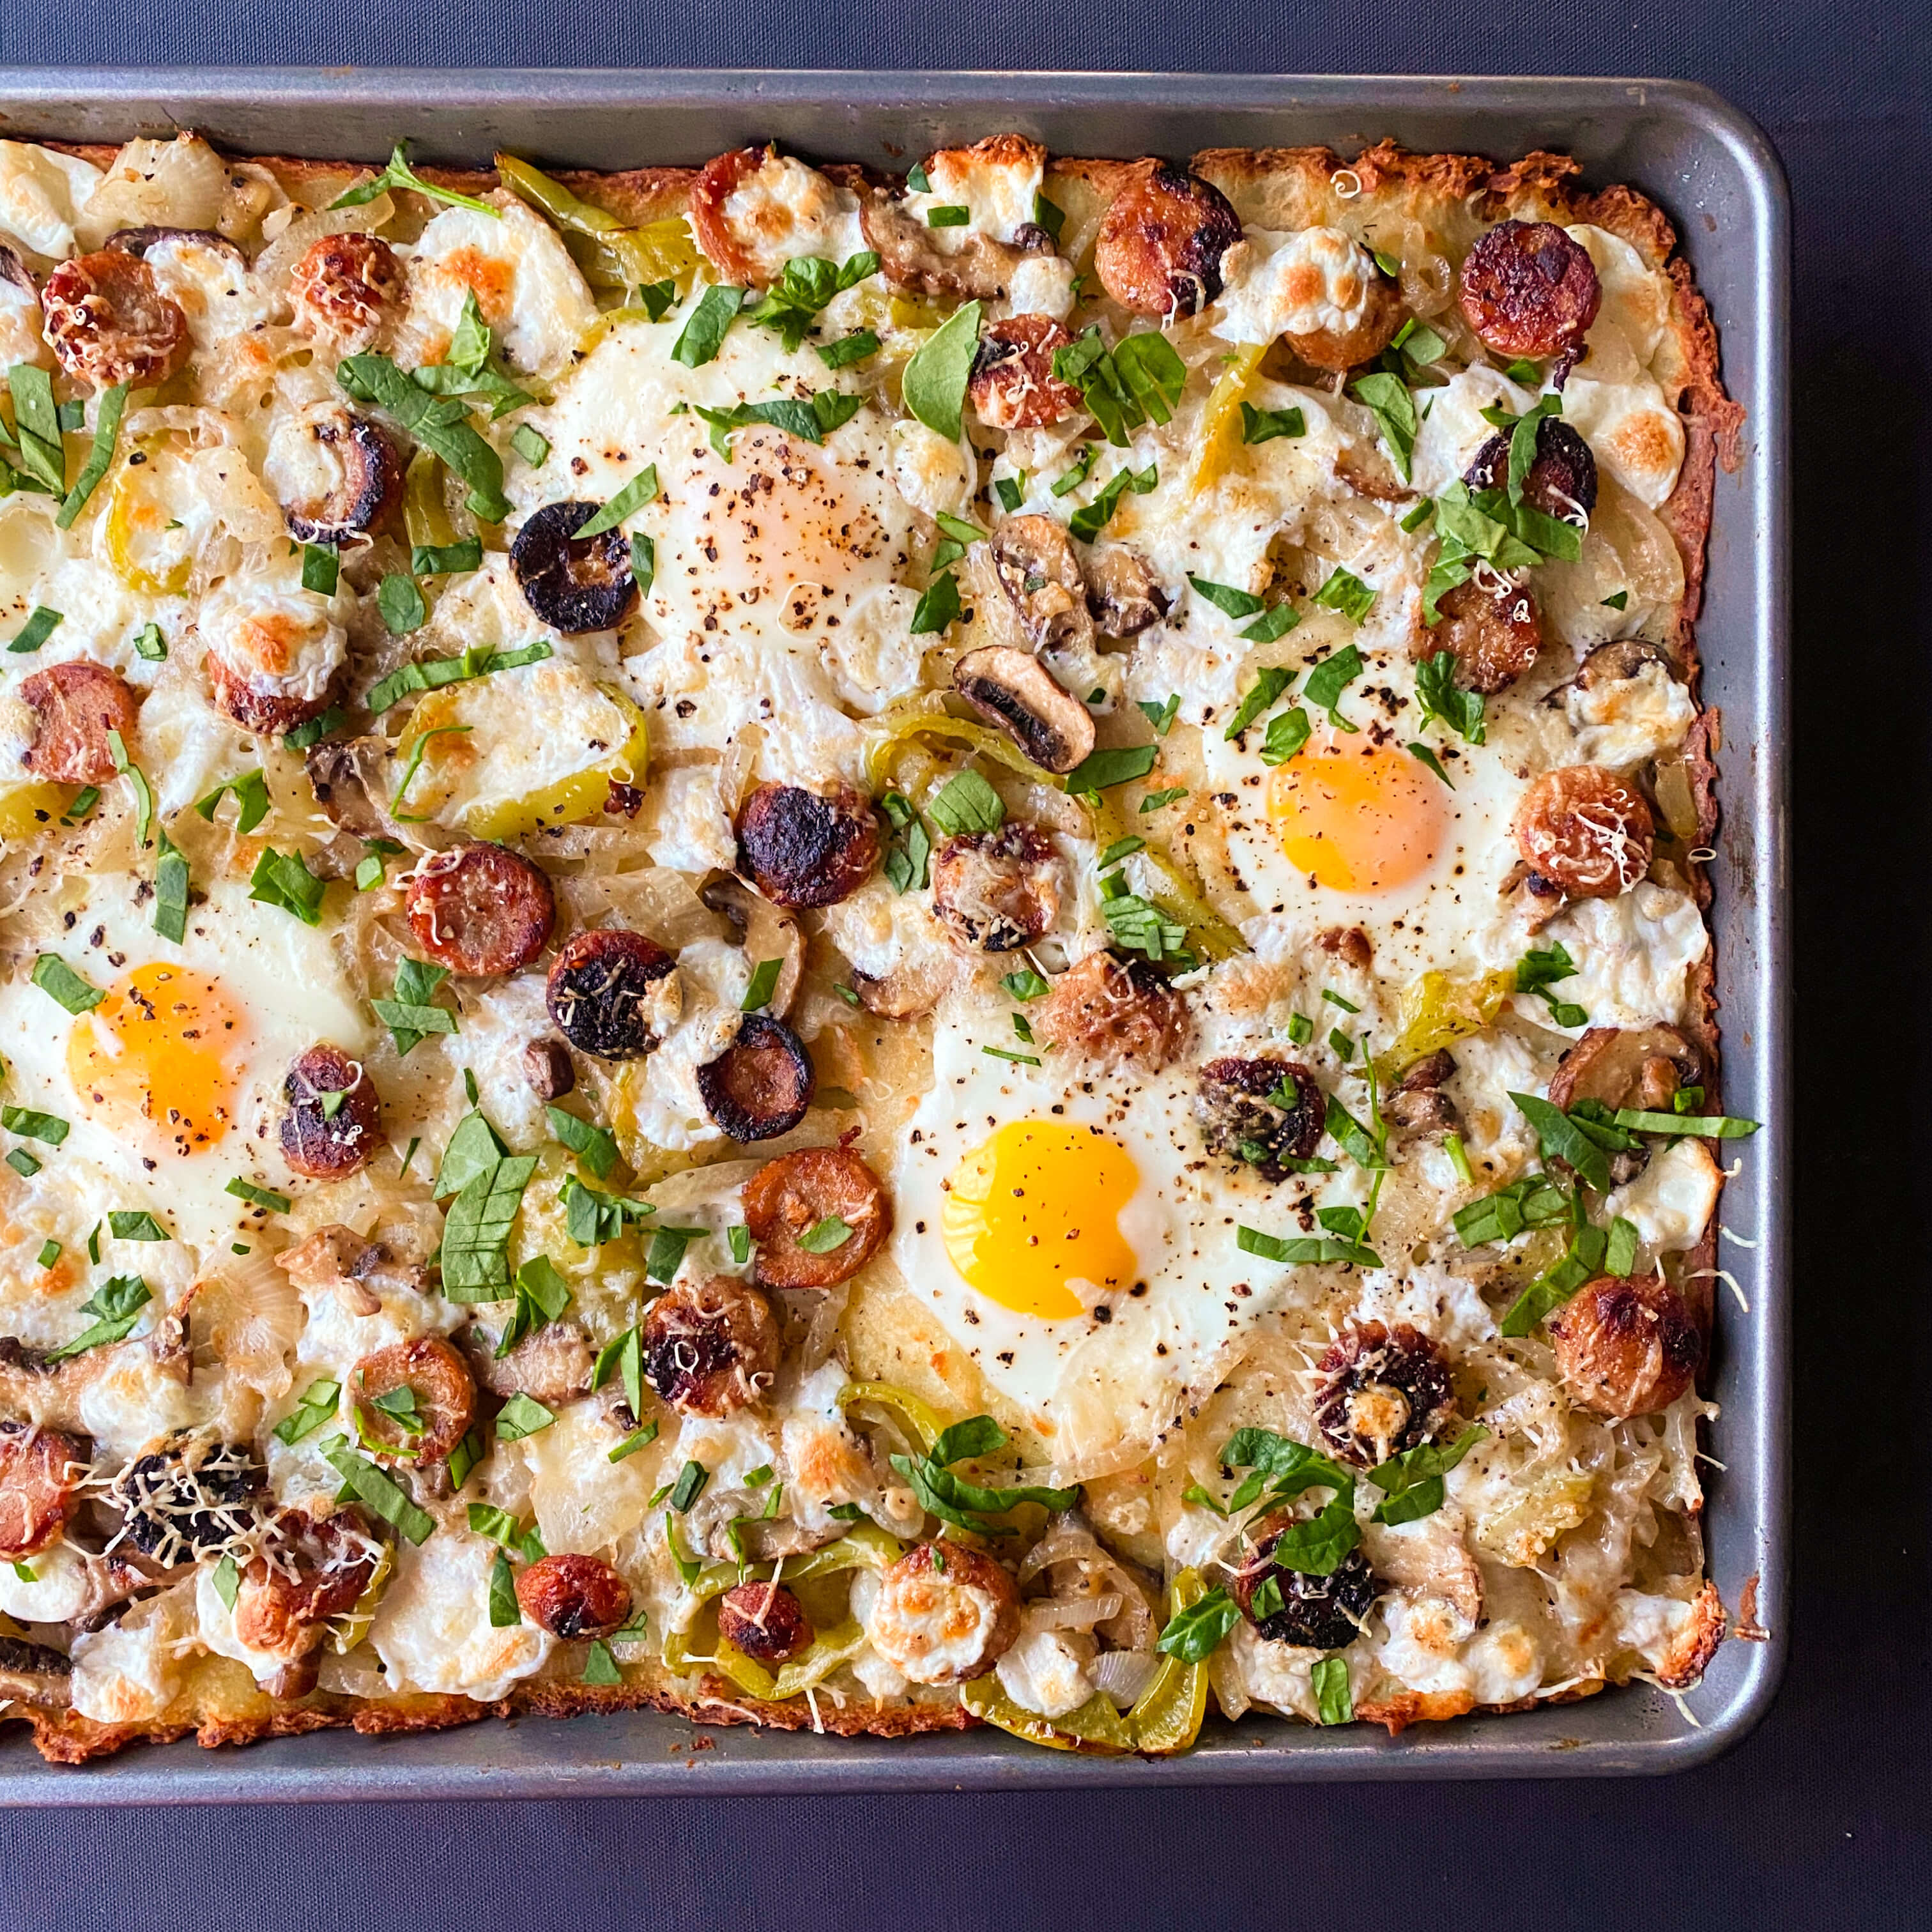
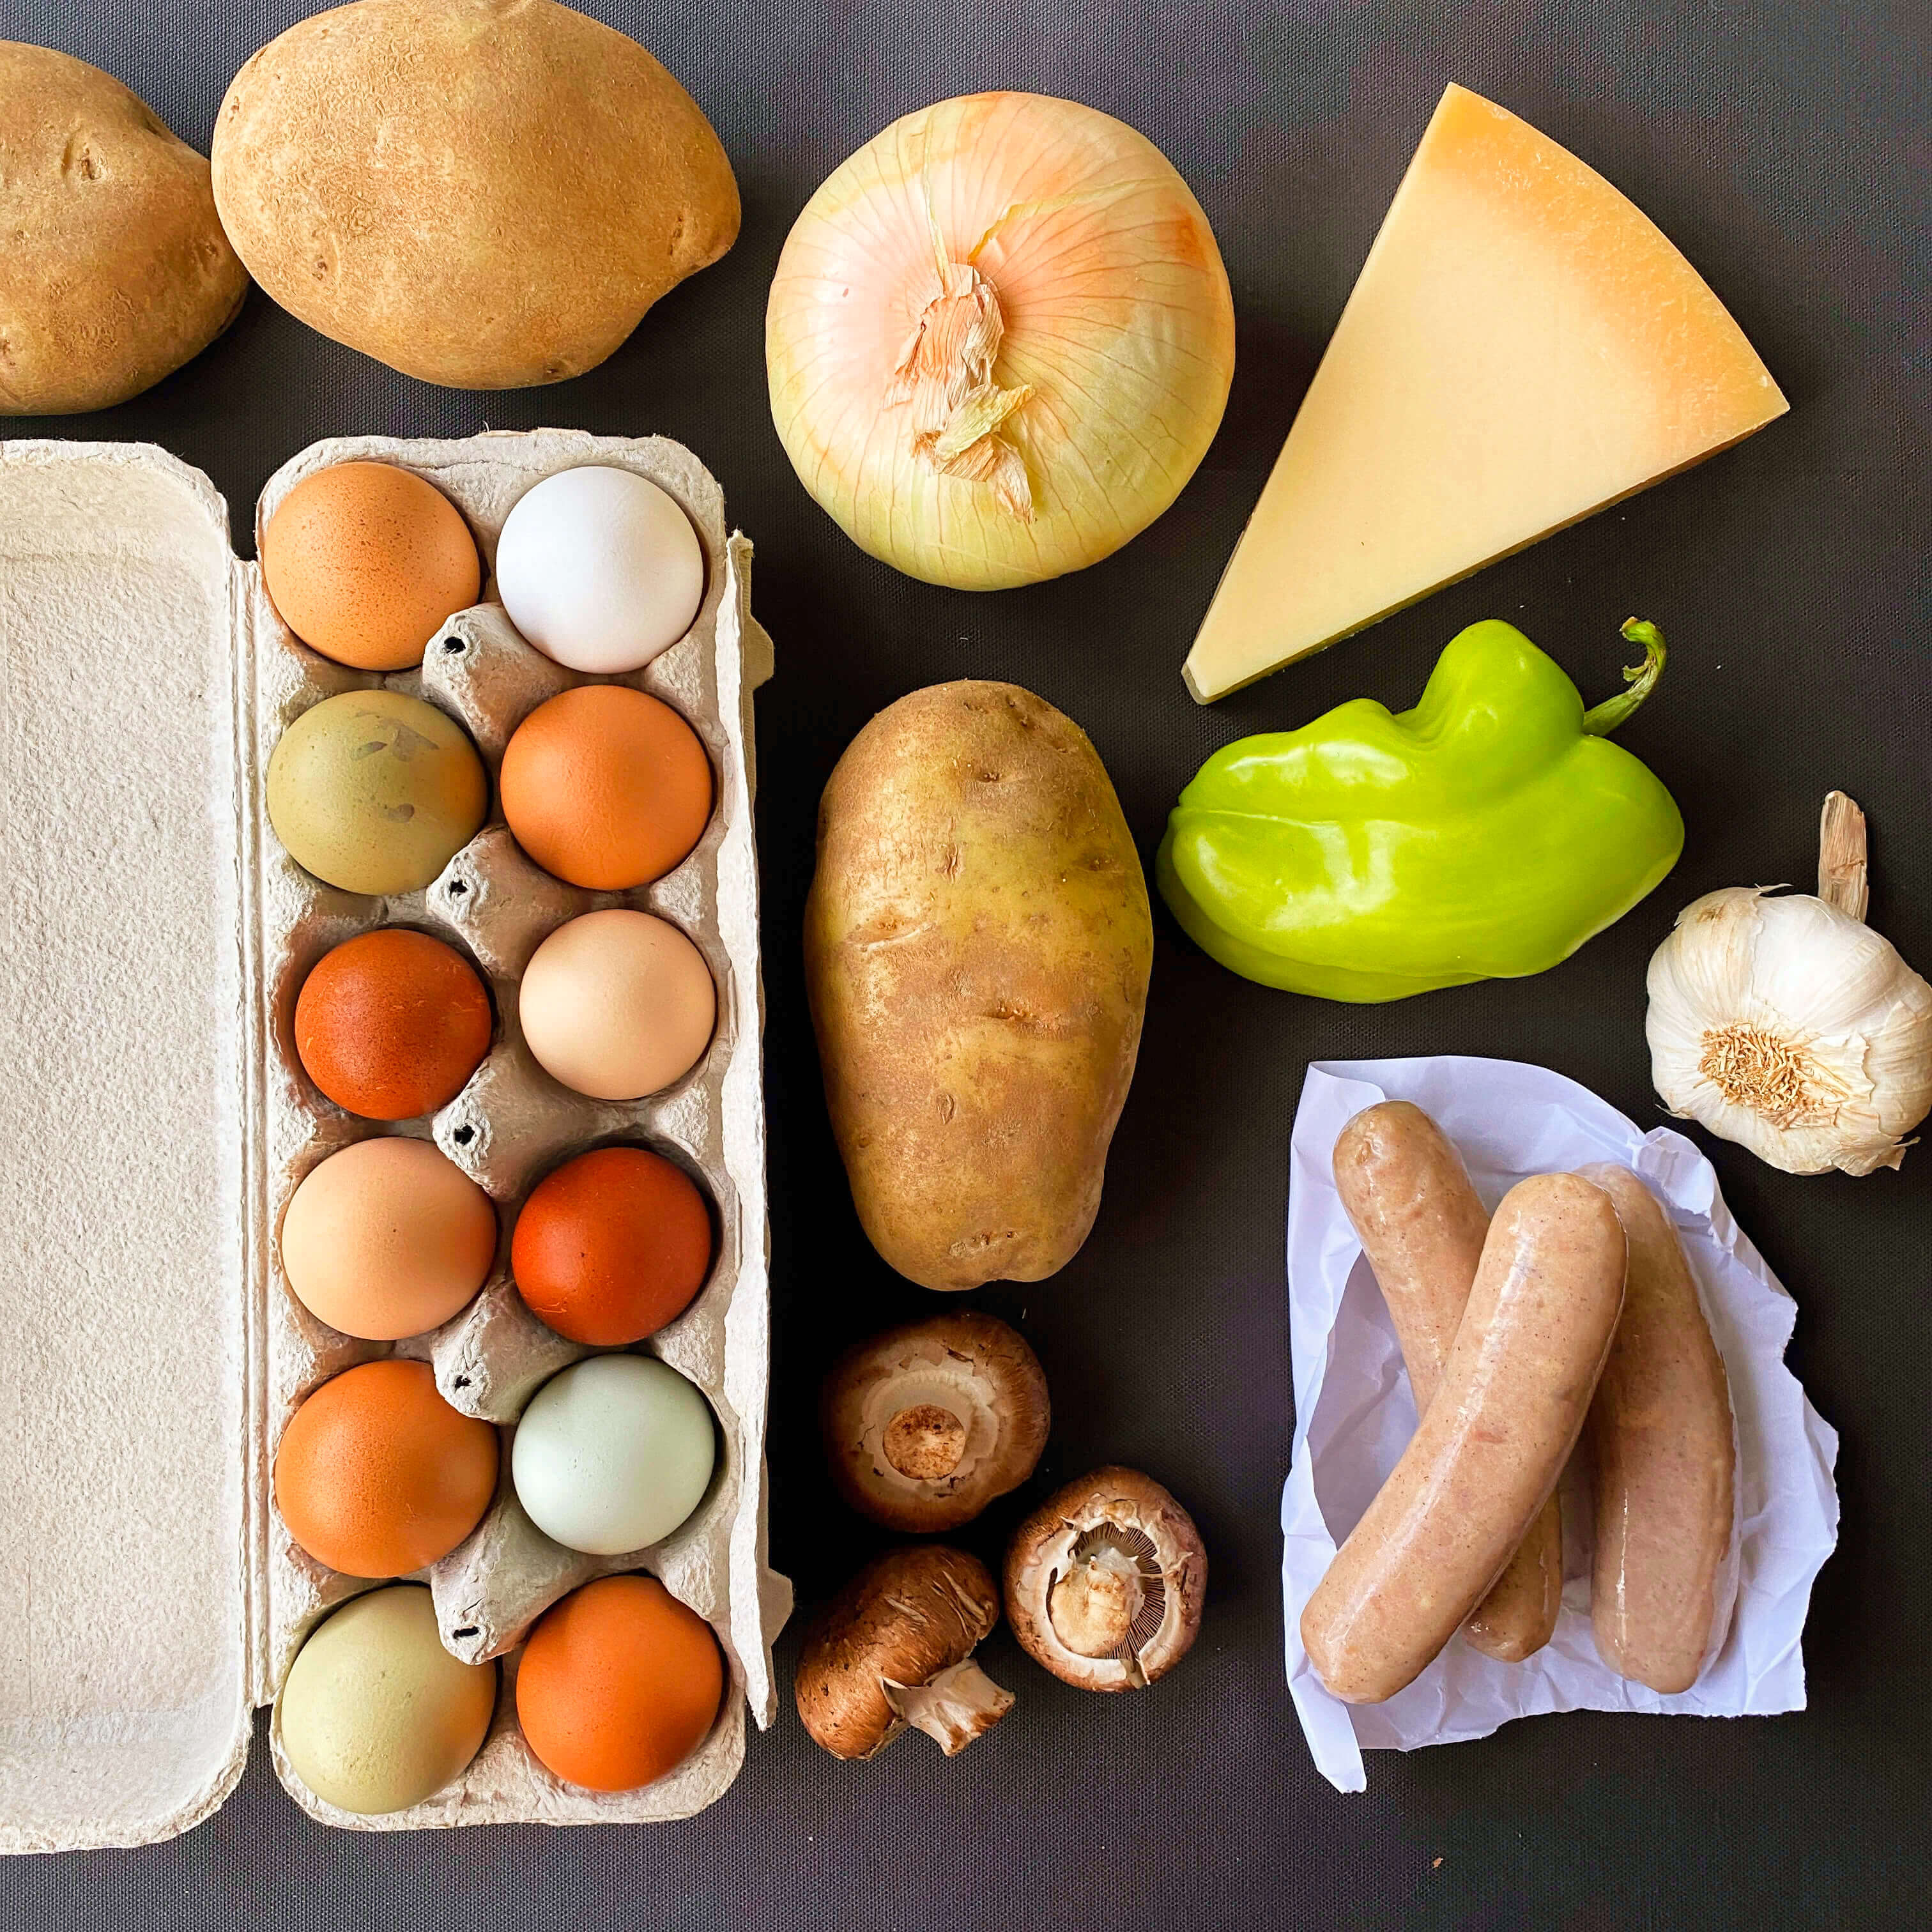
As a prime example of Paula’s creativity in the kitchen, it is her recipe for Egg & Potato Pizza from her 1966 book, The Art of Good Cooking, that is being featured here today. Using mashed potatoes as a base, sauteed onions, peppers, garlic, and mushrooms in place of a tomato sauce, and sausage and two kinds of cheese as toppers, this entire dish is polka-dotted with raw eggs and then popped into the oven for a brief bake. Surprise, whimsy, and a delicious combination of flavors are the result.
In a decade when casseroles were king of the dining table, the presentation alone of this recipe most definitely must have felt like a delightful break from the ordinary in 1960s America. More like a popular modern-day sheet pan meal than a traditional pizza, this fun-to-make any-time-of-day appropriate dish has contemporary comfort food written all over it. Made with simple ingredients and easily prepared, it feeds six people, is satisfyingly filling, and is fun to present table-side. In other words, it contains all the hallmarks of a perfect Paula dining experience.
I made this recipe as-is except I substituted chicken sausage for Italian sausage. And one thing to note before you begin… this recipe is best served immediately when it comes out of the oven. If you leave it to sit for a minute or two the eggs will continue to cook to a hard-boiled consistency and will eventually turn rubbery, if you wait to serve it much longer after that. If you like your eggs runny, cook the potatoes and toppings minus the eggs just until the cheese begins to melt (about 17 minutes) and then crack your eggs in their allotted divots and stick the whole tray back in the oven for about 3 minutes.
Paula Peck’s Egg & Potato Pizza
Serves 6
1/2 cup olive oil
3 cups well seasoned mashed potatoes
1 large onion, peeled and sliced
2 cloves garlic, minced
2 cups mushrooms
1 green pepper, seeded and sliced
4 cooked sweet or hot Italian sausages (I used maple-glazed chicken sausage)
6 eggs
1/4 cup grated Parmesan cheese
2/3 cup diced mozzarella cheese
Freshly chopped spinach for garnish (optional)
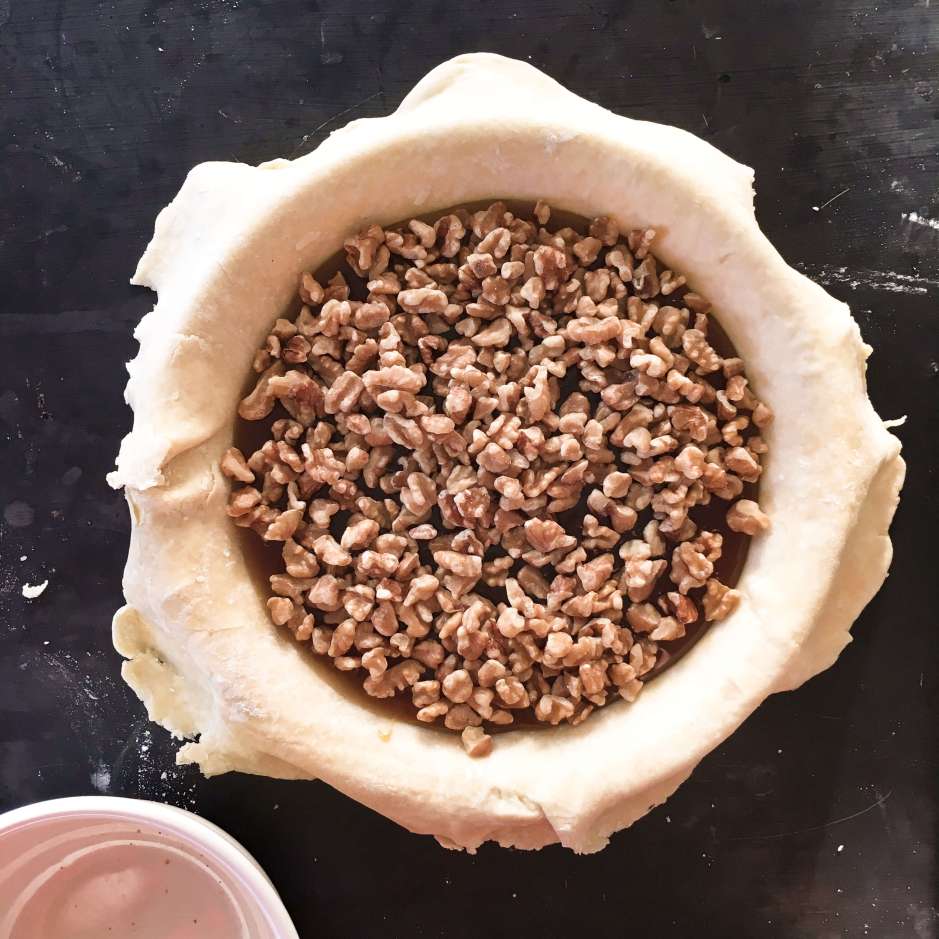
Preheat the oven to 400 degrees. Grease a large flat baking tray generously with olive oil. Spread the mashed potatoes evenly covering the entire pan. With the back of a spoon, make six indentions in the potatoes for the eggs which will be added later.

Bake the potato-lined pan in an oven for 30-40 minutes or until the potatoes seem slightly crisp on the bottom. Remove from oven.
While the potatoes are baking, slice sausages 1/4 inch thick and brown them in a pan on the stovetop. Set aside. Next, saute onion, garlic, mushrooms, and green pepper in remaining olive oil until soft.

After the potatoes have been removed from the oven, spread top of it with the sauteed mixture and sliced sausage, leaving indentations clear.

Break eggs into each of the indentations. Sprinkle with Parmesan cheese and dot with pieces of mozzarella cheese.
Return to oven. Bake for 20 minutes or until eggs are set and the cheese is bubbly.


Cut the pizza up into squares or wedges and serve immediately. Paula recommended a green salad as a side dish which is a great choice if you are making this for brunch or dinner especially.
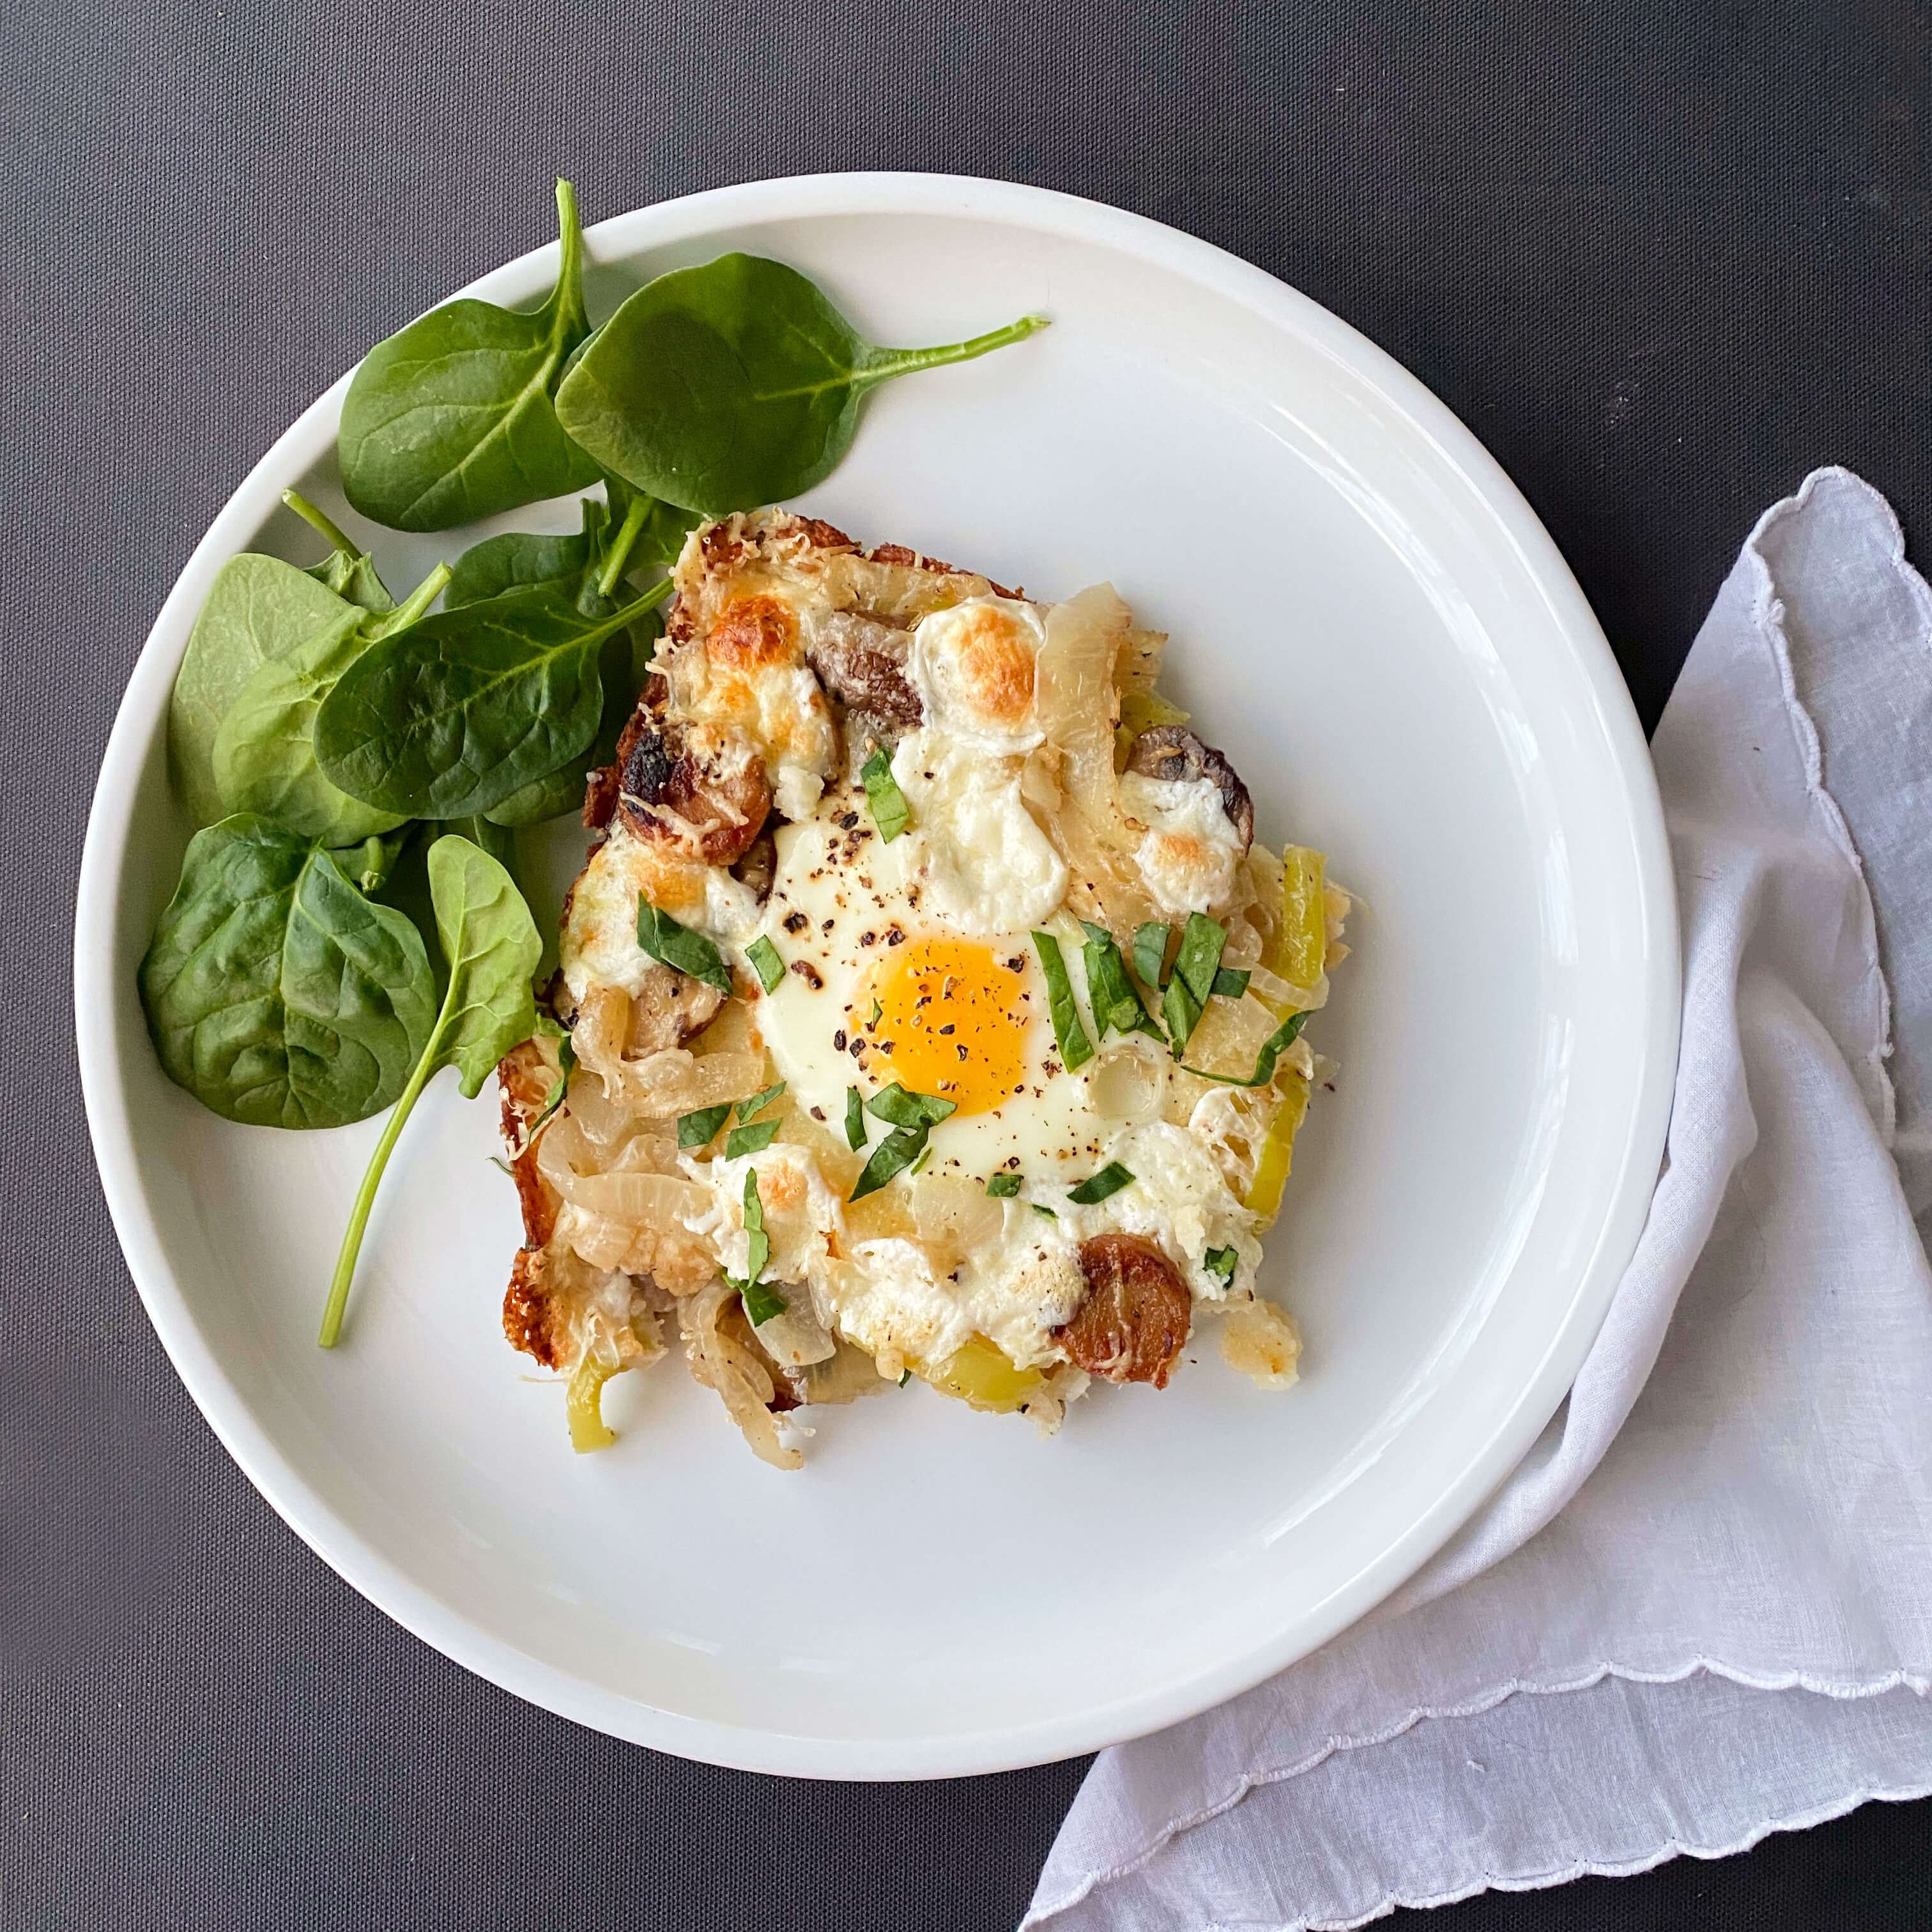
Ideal for upcoming spring holiday breakfasts like St. Patrick’s Day, Easter or Mother’s Day, when onions and spinach are in season, this egg and potato pizza is a blank slate for your creative interpretations too. Add purple onions in place of yellow onions for additional color. Garnish with fresh herbs or scallions on top in place of spinach. Replace Italian sausage with prosciutto or smoked salmon. Serve it for breakfast, for brunch, for lunch, for dinner. Call it a pizza or a sheet pan meal or a one-dish wonder. Paula would be the first one to tell you to take this recipe and run with it till your heart is content. Interpret it as you like. That’s what cooking was all about in the Peck family kitchen.
“My belief is that tradition should not hamper us if we find a better way of doing things,” Paula wrote in 1966. Perhaps that very attitude is what has kept Paula’s recipes out of the widely circulated limelight of modern-day kitchen conversations. Instead of being stubborn, restrictive, and definitive about only one be-all-end-all way to approach food preparation, Paula encouraged exploration. She encouraged hands-on learning. And she encouraged continual education.
That type of exploration and freedom tends to breed a sense of confidence that builds over time through experience. A new cook might start out making one of Paula’s recipes exactly as she described, but then over time, feeling secure at the eventual mastery would adopt Paula’s methods of questioning and discovering. The recipe would get tweaked, augmented, adapted, enhanced. As it evolved, it would take on new forms, new ingredients, new flavors, a new identity. Attribution back to its original source, over time, would get muddied, fuzzy, forgotten, and then lost to history completely. I think that’s what happened to Paula and her creative approach.
In modern-day multi-cultural fusion cooking, in outside-of-the-box presentation, and in the pairing of unusual yet complementary flavors, I think today signs of Paula’s style of cooking are all over our culinary landscape. We just don’t realize that she was the source from which it all began. Paula Peck by name might not be on the tip of everyone’s tongue these days, but her inspiring style of cooking still is.
I hope you enjoy this recipe as much as we did. If you decide to add your own flourish to this dish please send us a message or a photo of your finished affair. We’d love to learn how Paula inspired you!
Cheers to creativity in the kitchen! And to Paula for showing us what fun cooking can be when you add a little splash of imagination.