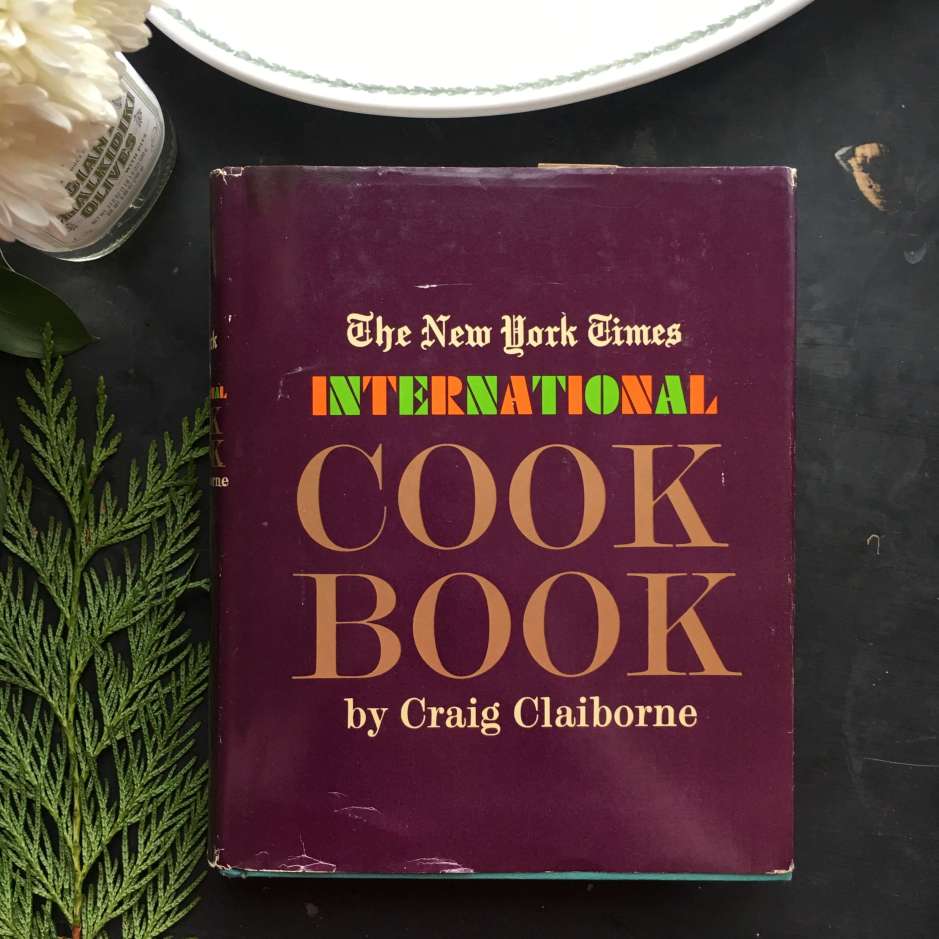
Welcome to Week 1 of the International Vintage Recipe Tour 2020! If you missed the previous blog post a few days ago, this is week #1 of a year-long culinary adventure as we cook our way through 45 countries in 12 months, courtesy of recipes from the 1971 edition of The New York Times International Cook Book. If you are all caught up and ready to explore, then cheers to our travels. Let’s get started…
COUNTRY #1: Armenia
In today’s post, we are headed to Armenia via the kitchen, to prepare a traditional heritage food packed with protein and whole grains, and to learn more about this exotic country’s history thanks to the publication of a modern day memoir.

I must confess right off the bat, before I began this cooking project I knew absolutely nothing about Armenia, other than the fact that it is where the paternal side of the Kardashian clan hails from. Pronounced R-Me-Knee-A (not R-Min-E-A!), and nestled between Turkey, Georgia and Iran, Armenia is a small country that could easily be missed, depending on the age of the map you are consulting…

Located in Western Asia, a section of the world which also includes Middle Eastern countries, Armenians consider themselves neither Middle Eastern nor Asian but distinctly European. Armenia is the birthplace of the apricot and home to the oldest winery in the world (which dates back 6000 years). The capital city of Yerevan predates Rome, and is considered one of the oldest inhabited capital cities in the world. On the food front, their traditional cuisine has been influenced and enhanced by the closeness of their surrounding neighbors, giving Armenian dishes a unique blend of Russian, Turkish, Georgian and Mediterranean flavors.
This week in the kitchen, we are making a regional favorite, Armenian Stuffed Meat Balls. Essentially, this recipe is a meatball made with lamb, which is then stuffed inside another meatball, also made of lamb, and then cooked in beef broth. Each batch of meatballs is made with a different blend of ingredients – one vegetable laden, the other grain laden. Once tucked inside each other, they are quickly cooked in a boiling homemade broth and served immediately from the pot, plump and steamy. Although stuffing meatballs sounds a little bit complicated, it’s actually a very easy and fun recipe to make.

Over the course of the last few decades I have made countless numbers of meatballs, but I never considered, before this recipe, that they could be 1) be stuffed or 2) be cooked in other ways besides pan frying or baking in the oven. Always a fan of innovative cooking methods and creative food compositions, I thought these stuffed and boiled meatballs would be a really interesting and exciting challenge. And boy was this the case! A combination of artistry, hand massage and play dough, these magical meatballs rolled their way into formation in the kitchen with nothing but joy and fun.
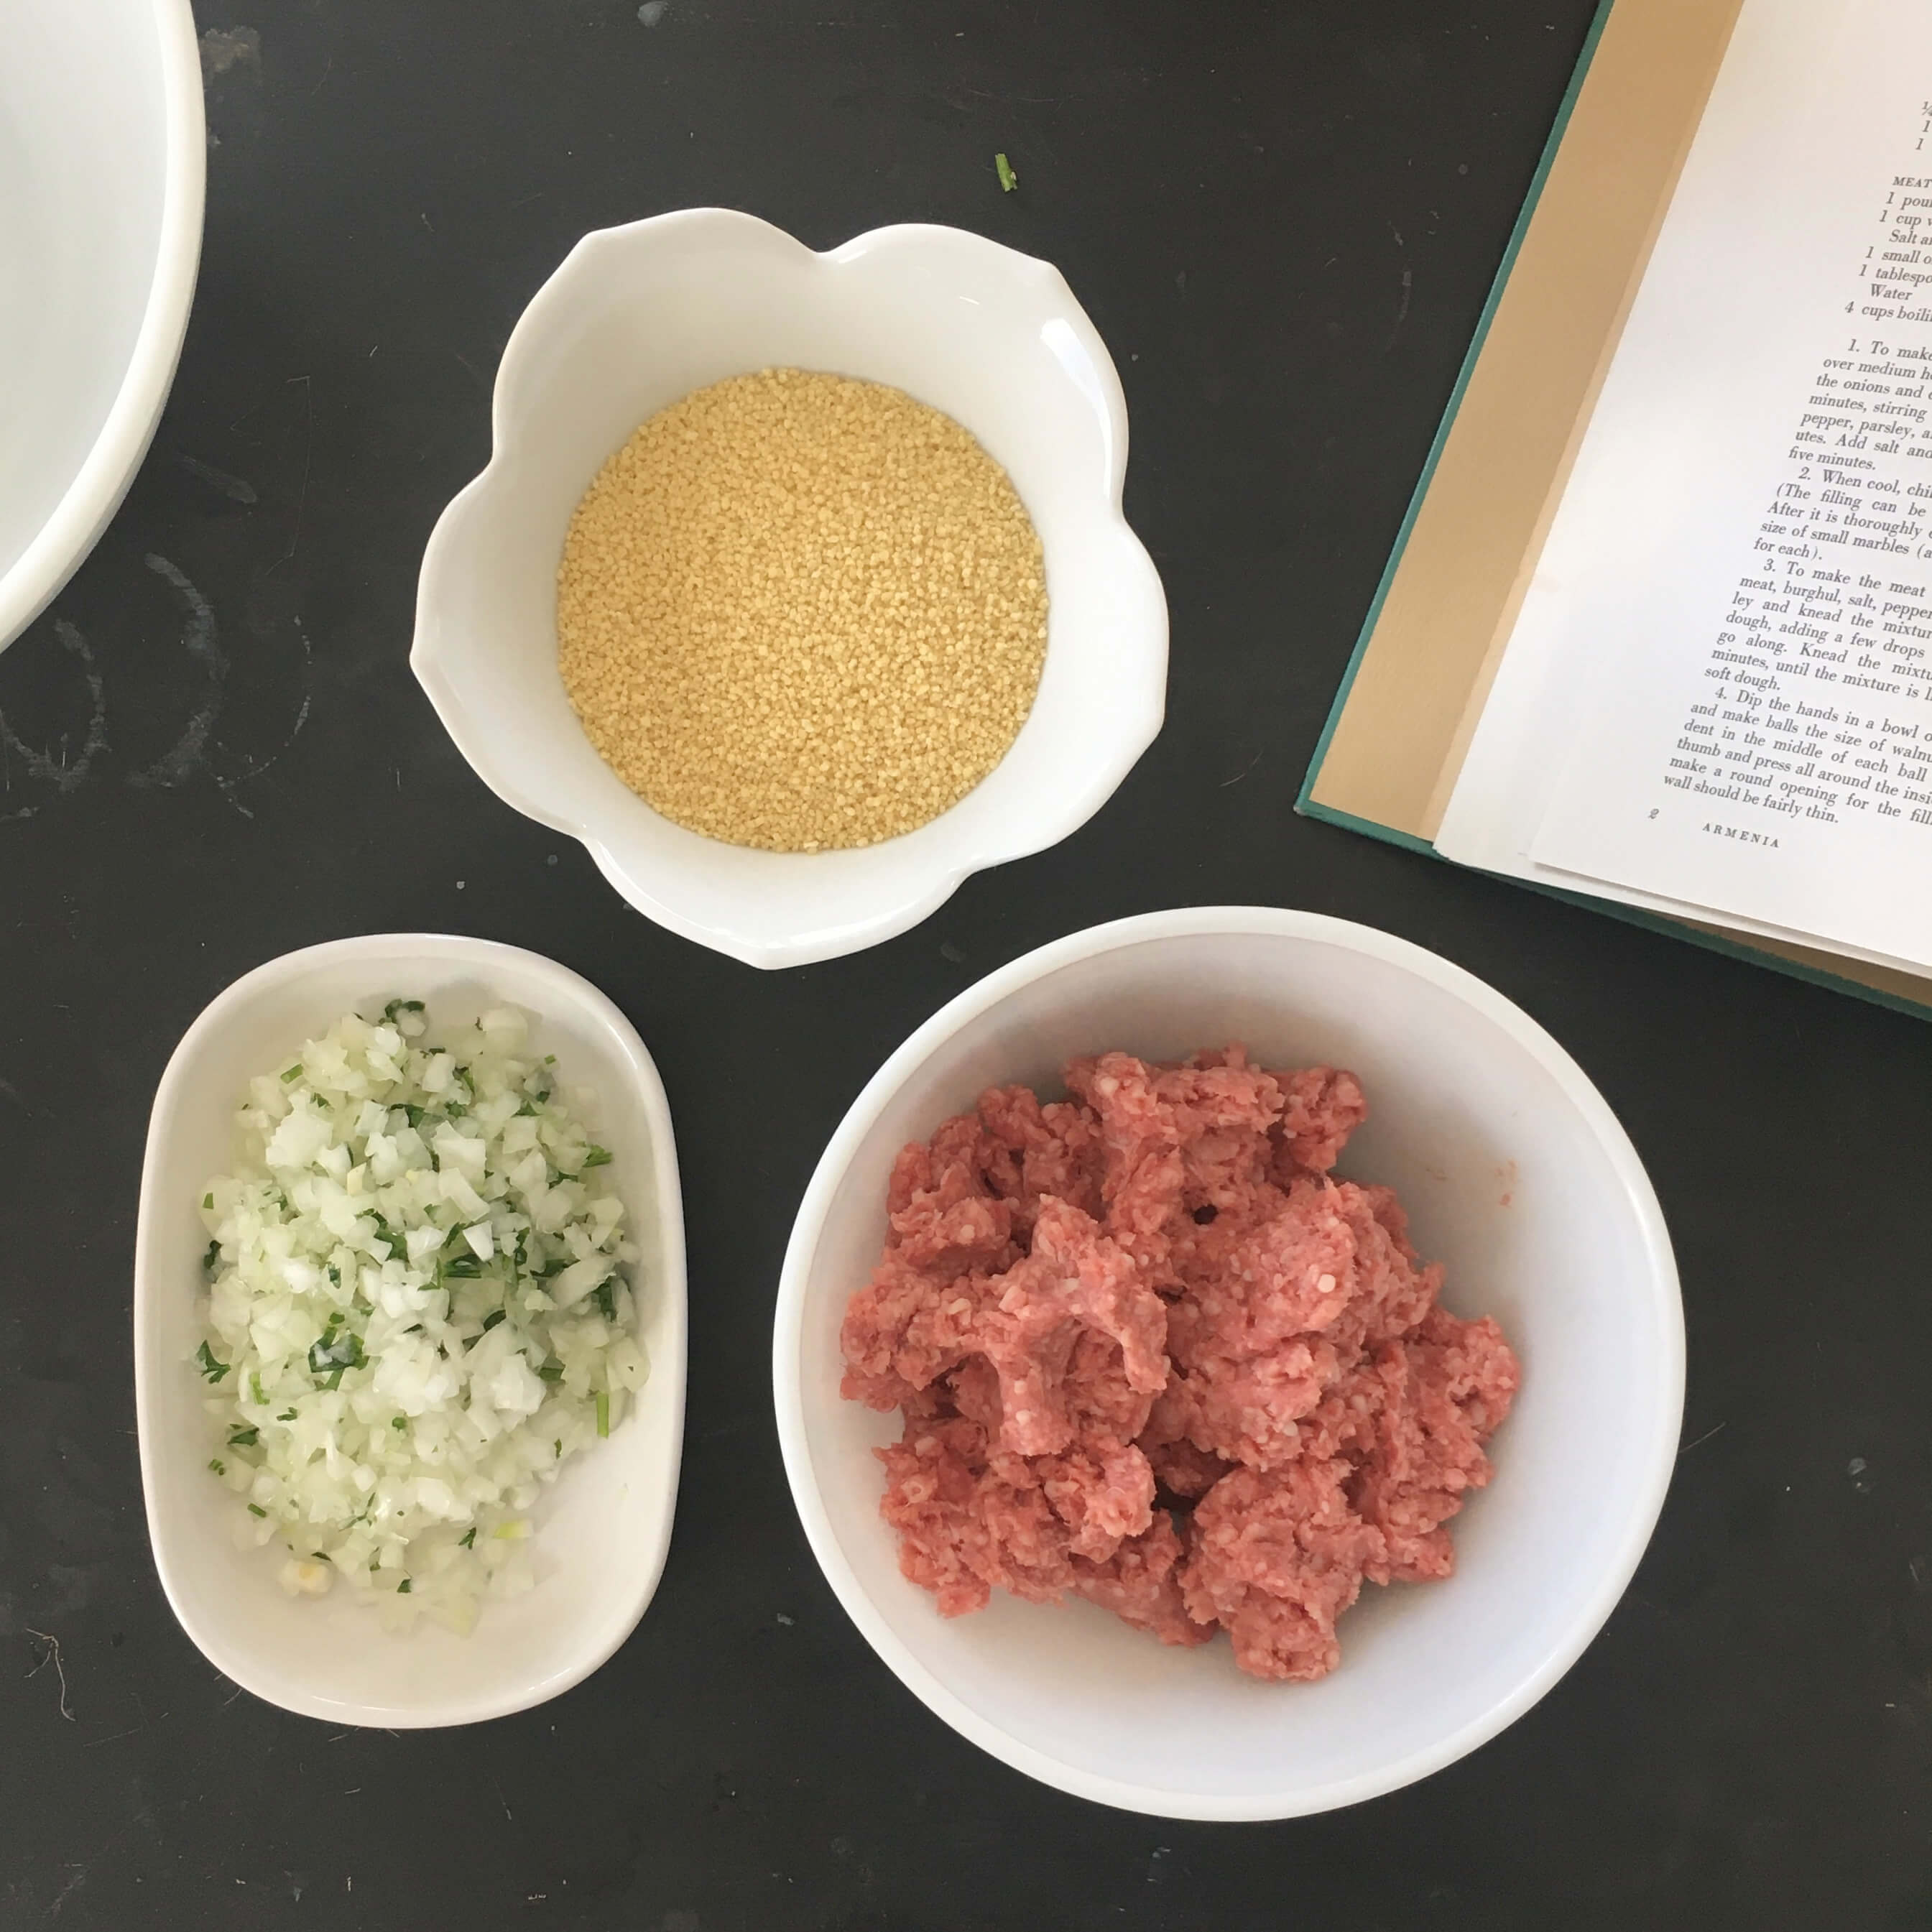
The only tricky situation I encountered with this recipe was sourcing bulgur, a cracked wheat that is a staple in the Armenian diet. Usually I can find this easily in the organic section of my local grocery store, but the day I went to shop for all the recipe ingredients, the store had sold out of what I needed. Two additional stops at other grocery stores also yielded an empty cart. Because the International Vintage Recipe Tour happens at a quick clip with shopping, cooking, photographing and writing all occurring within a week’s time frame, I had to come up with a substitution for this now elusive ingredient. My first challenge of the project!
As it turns out, thanks to some quick research online, it was a simple remedy. Two similar alternatives for bulgur are couscous and quinoa, both standard finds in most grocery stores, both traditional heritage foods of Armenia and surrounding countries, and both substituted with the same 1-1 ratio. Perfect!
While the meatballs are easy to make, and they cook within ten minutes, they do require about 6 hours of preparation time. Most of the time is eaten up by broth making (3 hours), chilling time in the fridge (2 hours), and hand kneading (20 minutes) but simultaneously, while each of these tasks are occurring, other components of the recipe can be readied, making it feel like the hours and the tasks just fly by. Both the interior meatball filling and the beef broth can be made a day or two ahead of time, but I recommend doing it all at once just for the sheer delight of completely immersing yourself in the making of this unique food. The recipe itself feeds a crowd, making on average between 22-24 meatballs in total, so this would be a fun weekend cooking project when you don’t have the pressure of the busy work week to battle and you can relax with a glass of wine or an Armenian cognac as you cook the day away.
THE RECIPES: Homemade Beef Stock and Armenian Stuffed Meat Balls
(Note: All recipes prepared throughout the International Vintage Recipe Tour are executed exactly 100% as written in the New York Times International Cook Book, unless noted).

Homemade Beef Stock
4-5 lbs. beef short ribs or beef soup bones
2 leeks, trimmed split and washed well
2 carrots, trimmed and scraped
2 ribs celery, cut in half
1 onion stuck with two cloves
2 sprigs fresh thyme or 1/2 teaspoon dried thyme
Salt to taste
1 teaspoon peppercorns
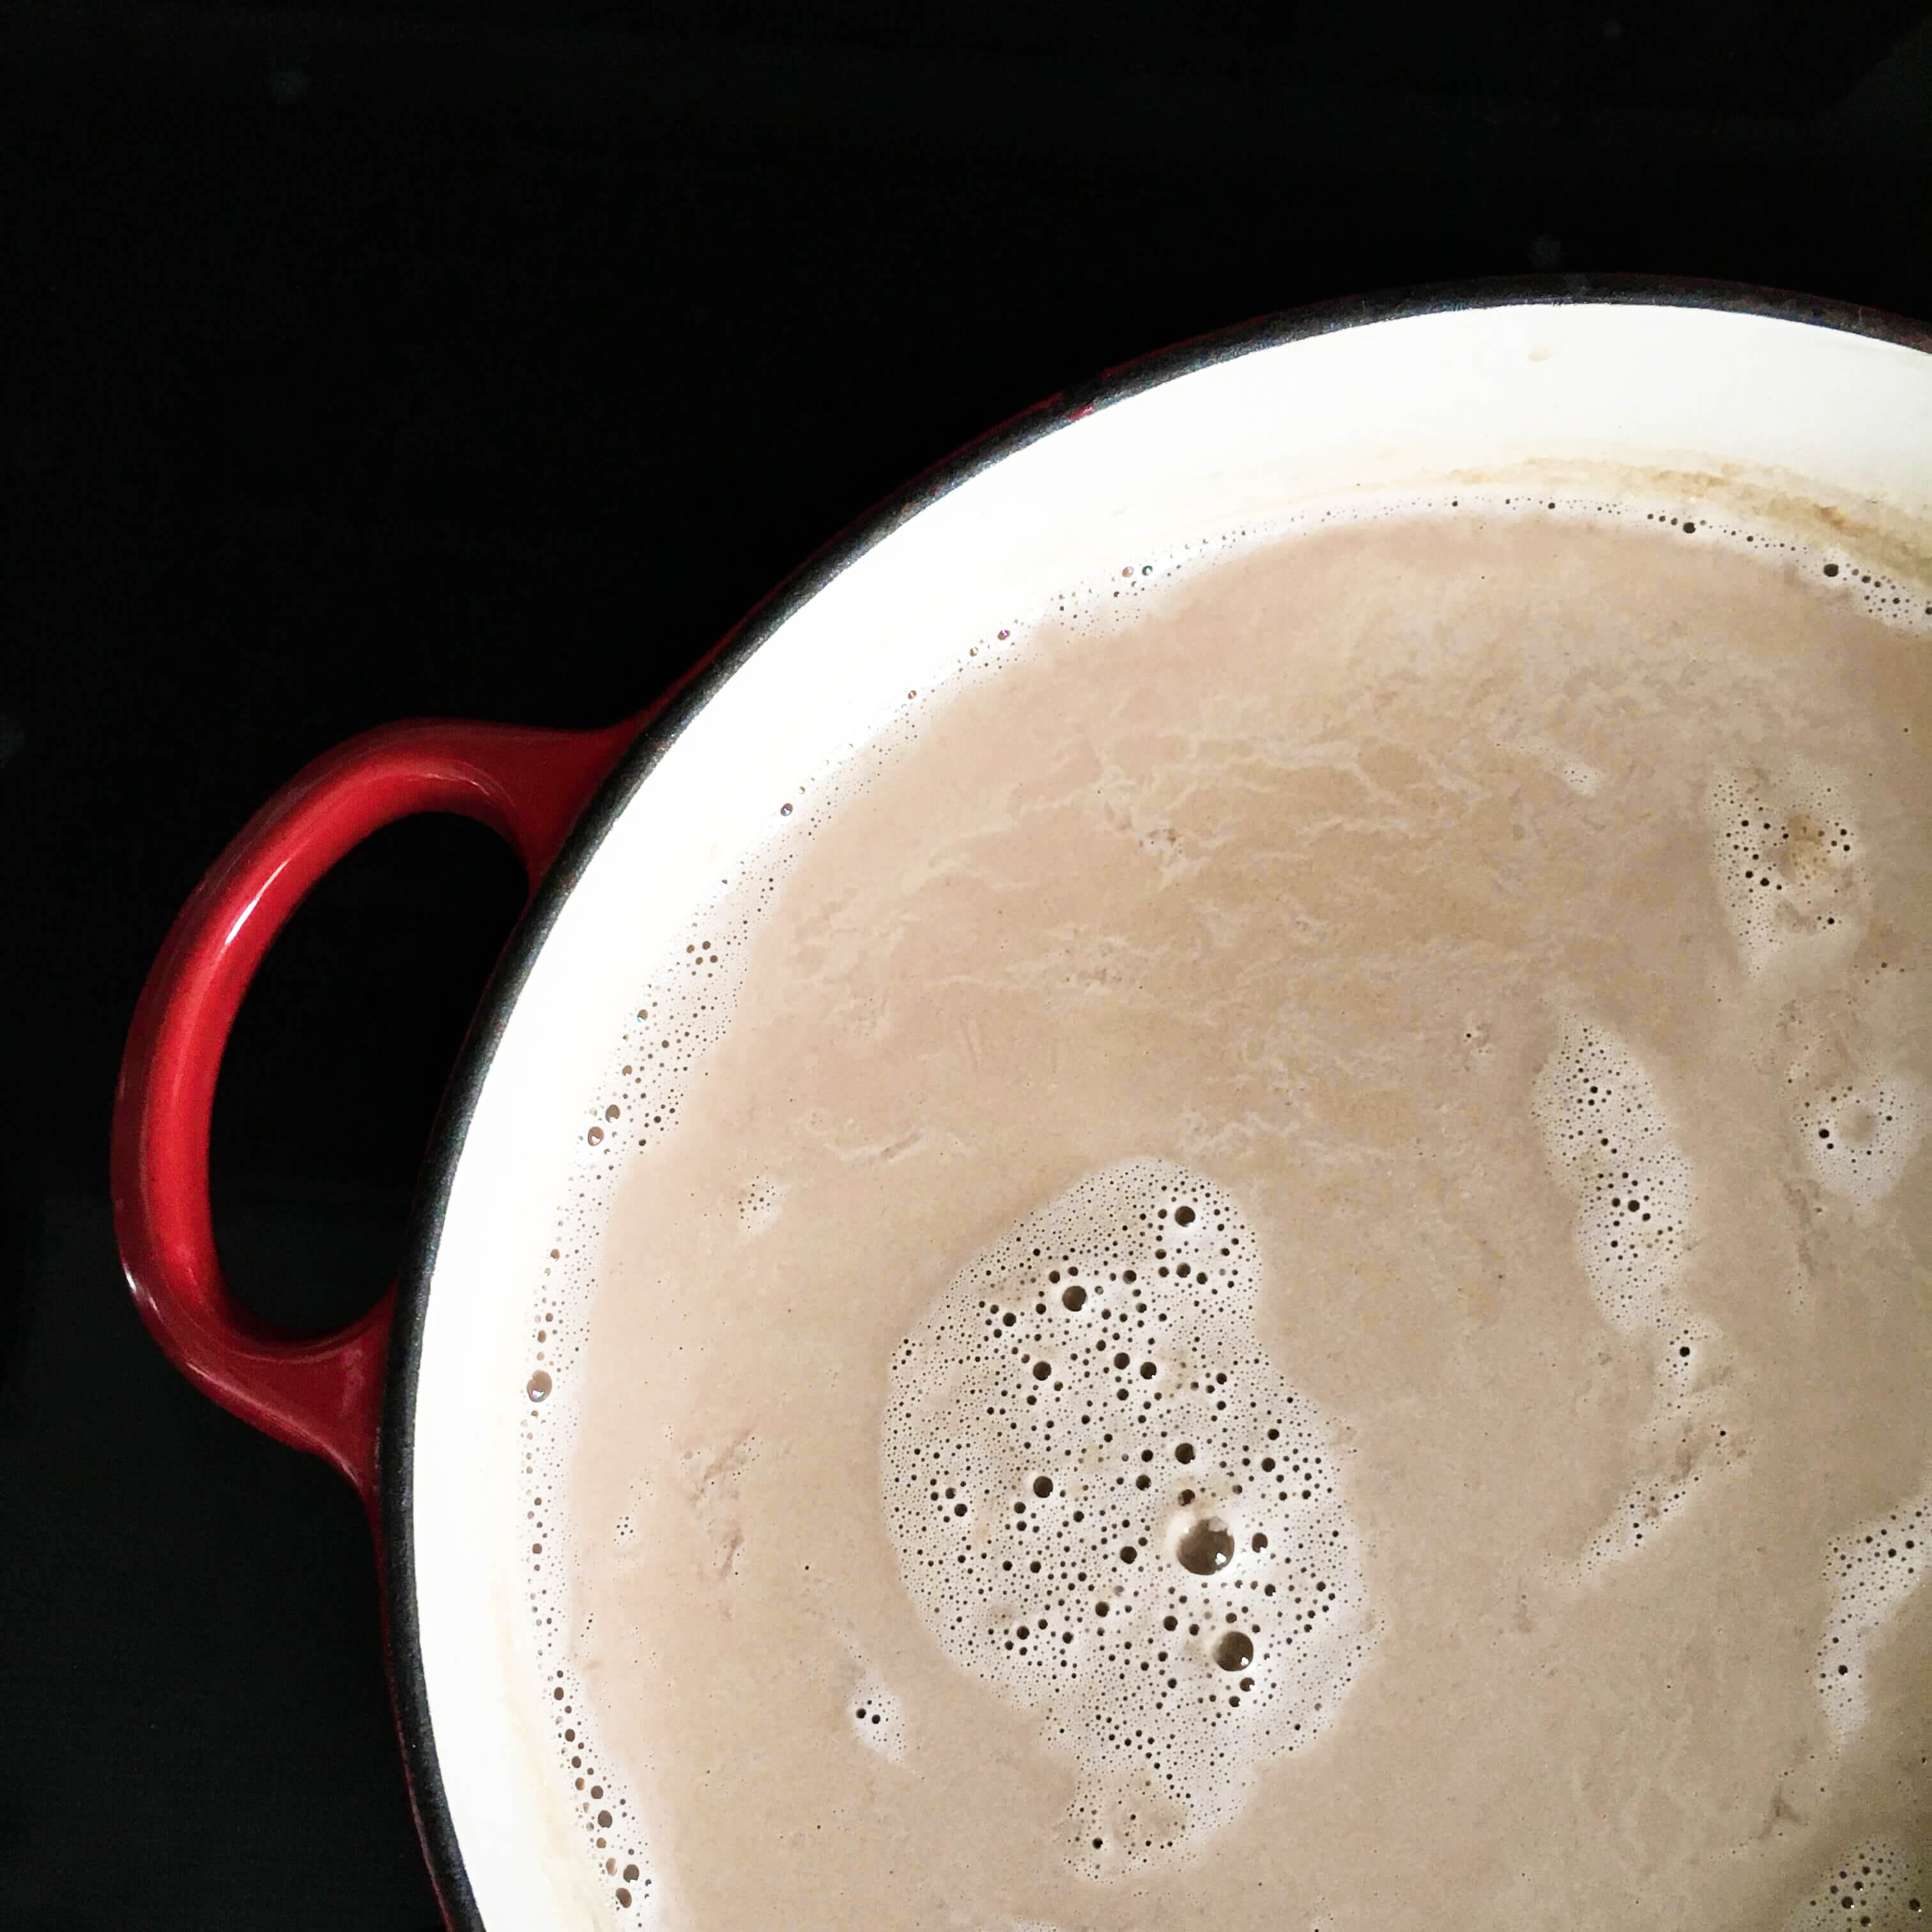
Place the beef in a kettle and cover with cold water. Bring to a boil and blanch about 5 minutes, then drain and run under cold water. Return the bones to the kettle and add the remaining ingredients. Add more cold water to cover and simmer, uncovered, about three hours. Skim the surface as the stock cooks to remove fat and scum. Strain.
Armenian Stuffed Meat Balls
For the stuffing:
1 lb. lamb, ground
4 medium onions, sliced
1/4 cup finely chopped green pepper
2 tablespoons chopped parsley
1/4 teaspoon chopped mint
1 teaspoon salt
1 teaspoon freshly ground pepper
For the Meatballs:
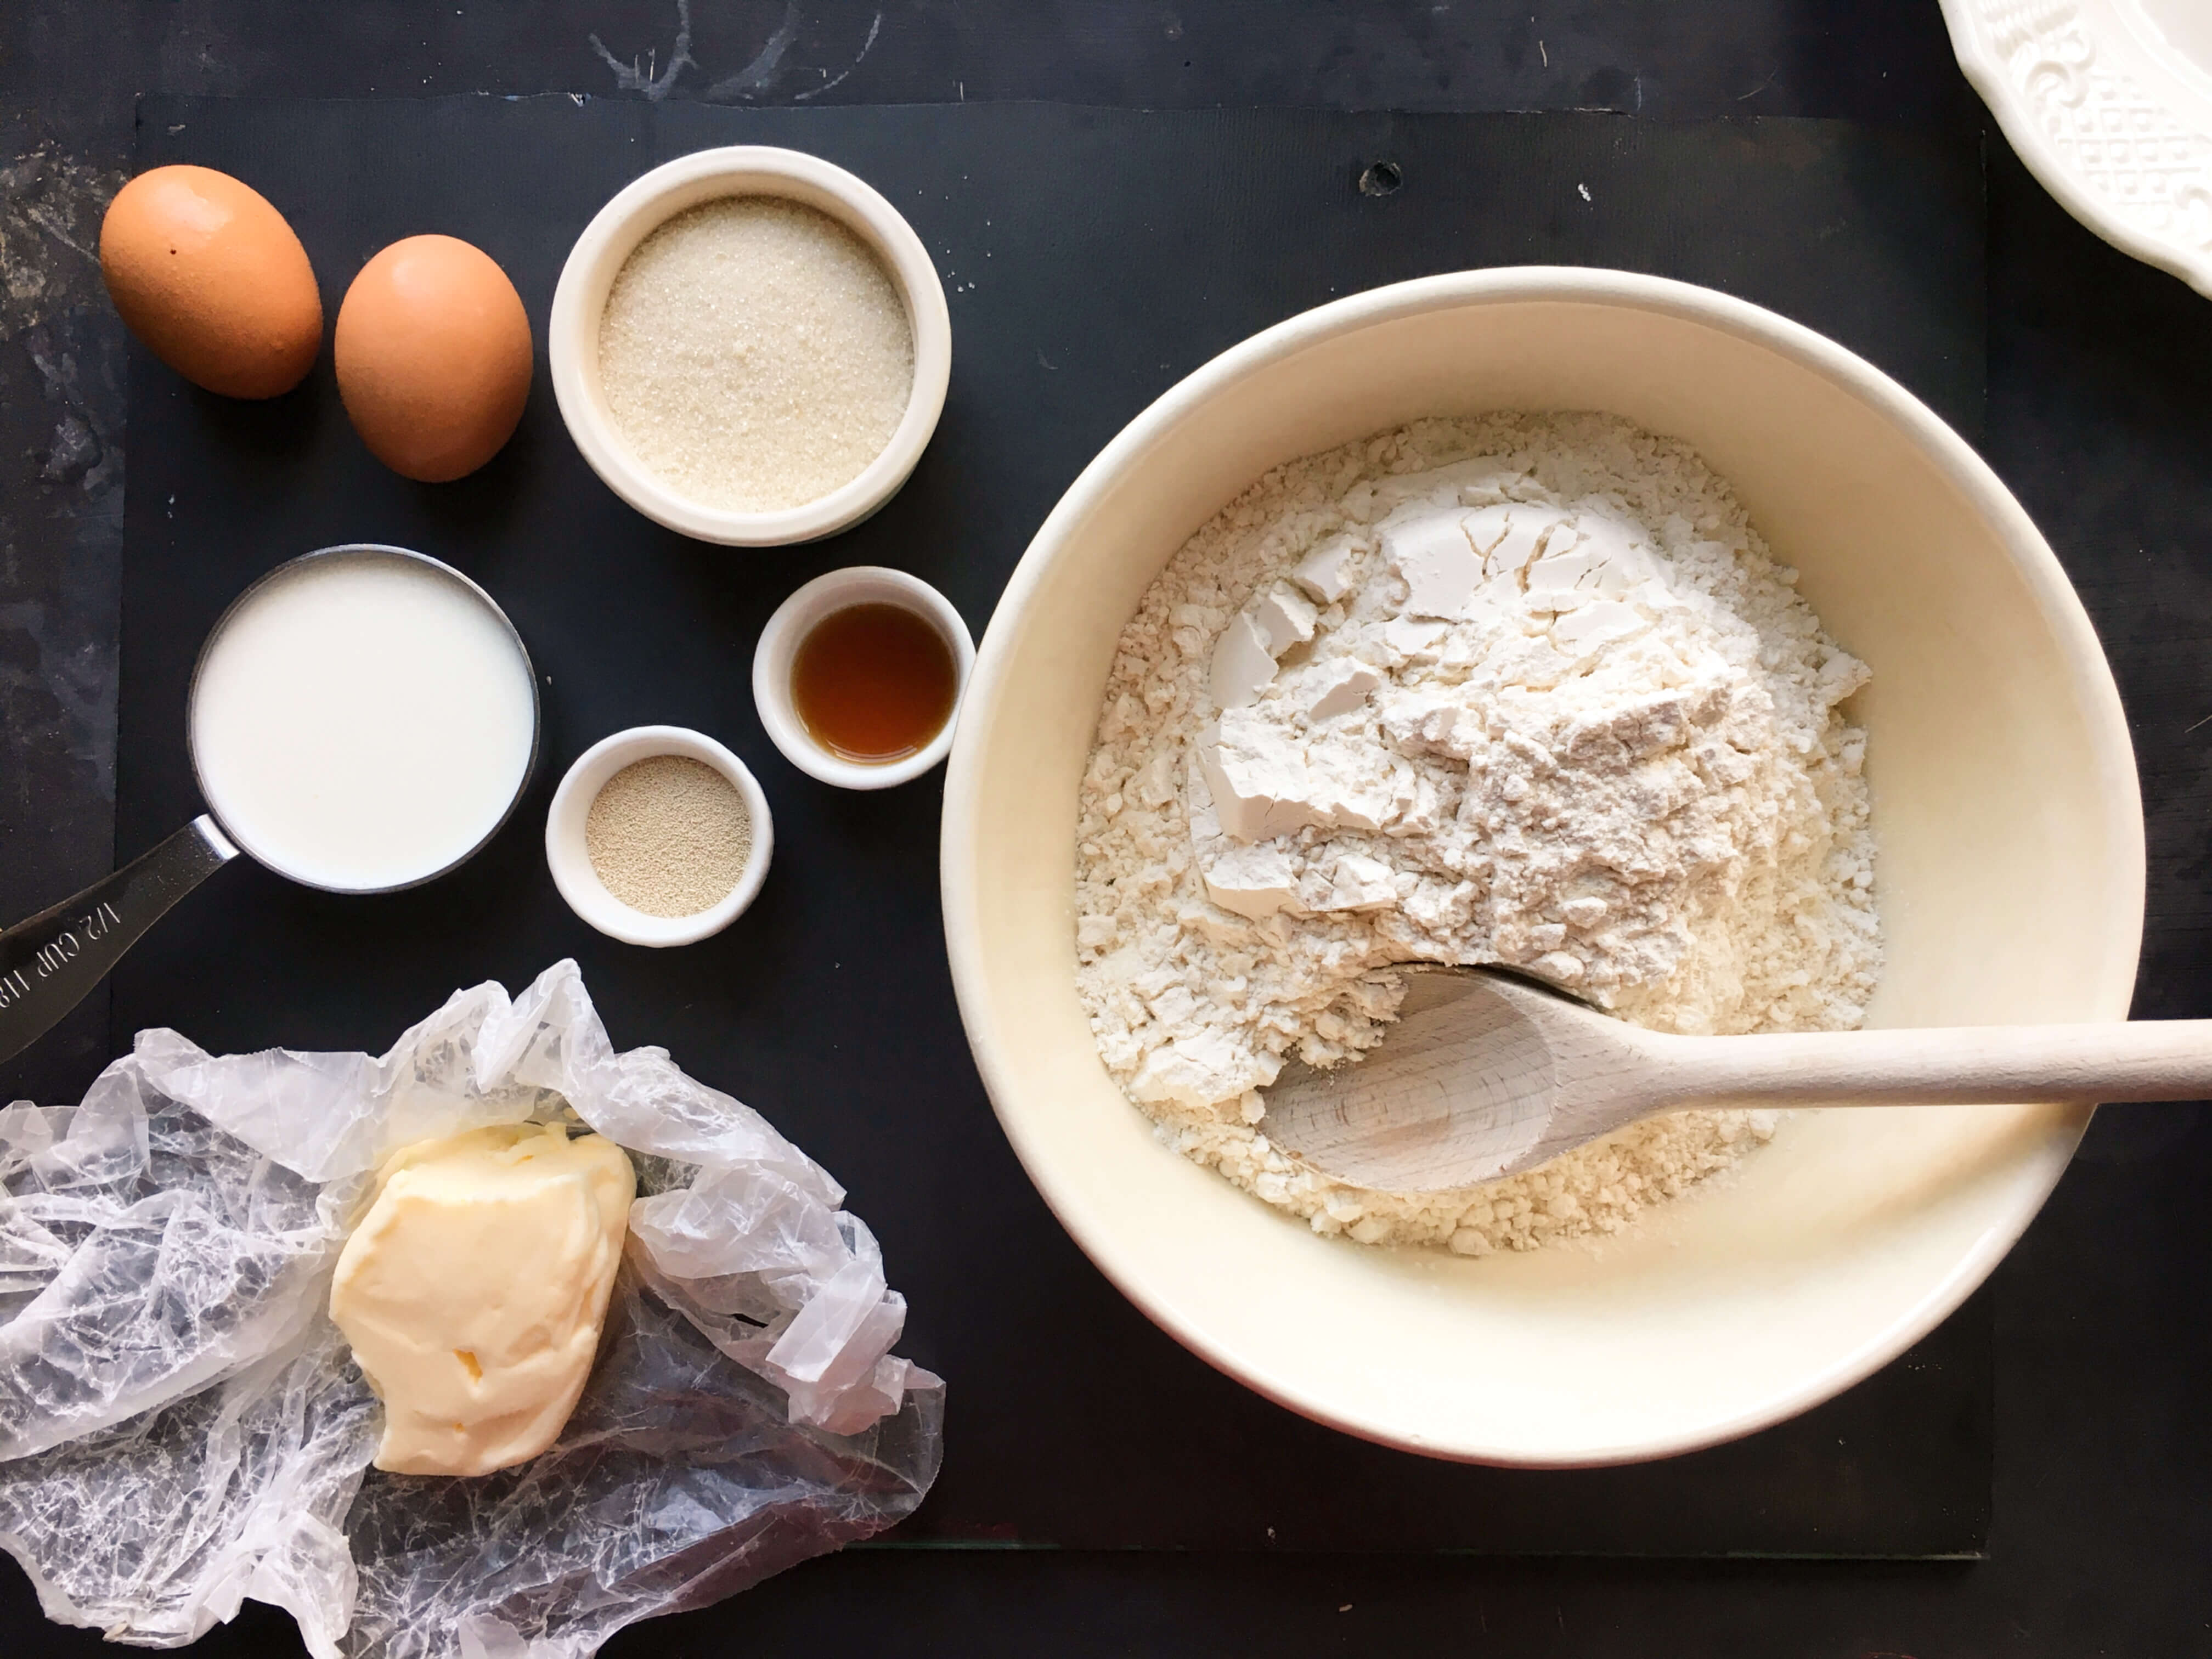
1 lb. very lean ground lamb
1 cup very fine burghul (cracked wheat) or 1 cup quinoa or 1 cup couscous
Salt and freshly ground pepper to taste
1 small onion, finely chopped
1 tablespoon finely chopped parsley
water
4 cups boiling beef stock
To make the stuffing, saute the lamb over medium heat, stirring occasionally. Add the onions and cook over low heat for thirty minutes, stirring occasionally. Add the green pepper, parsley and mint and cook 10 minutes. Add salt and pepper and simmer for five minutes.
When cool, chill stuffing for at least 2 hours. After it is filled shape into the size of marbles (about one teaspoonful for each)
To make the meat balls, combine the meat burghal, salt, pepper, onion and parsley and knead the mixture as you would dough , adding a few drops of water as you go along. Knead the mixture for twenty minutes until the mixture is like a medium soft dough.
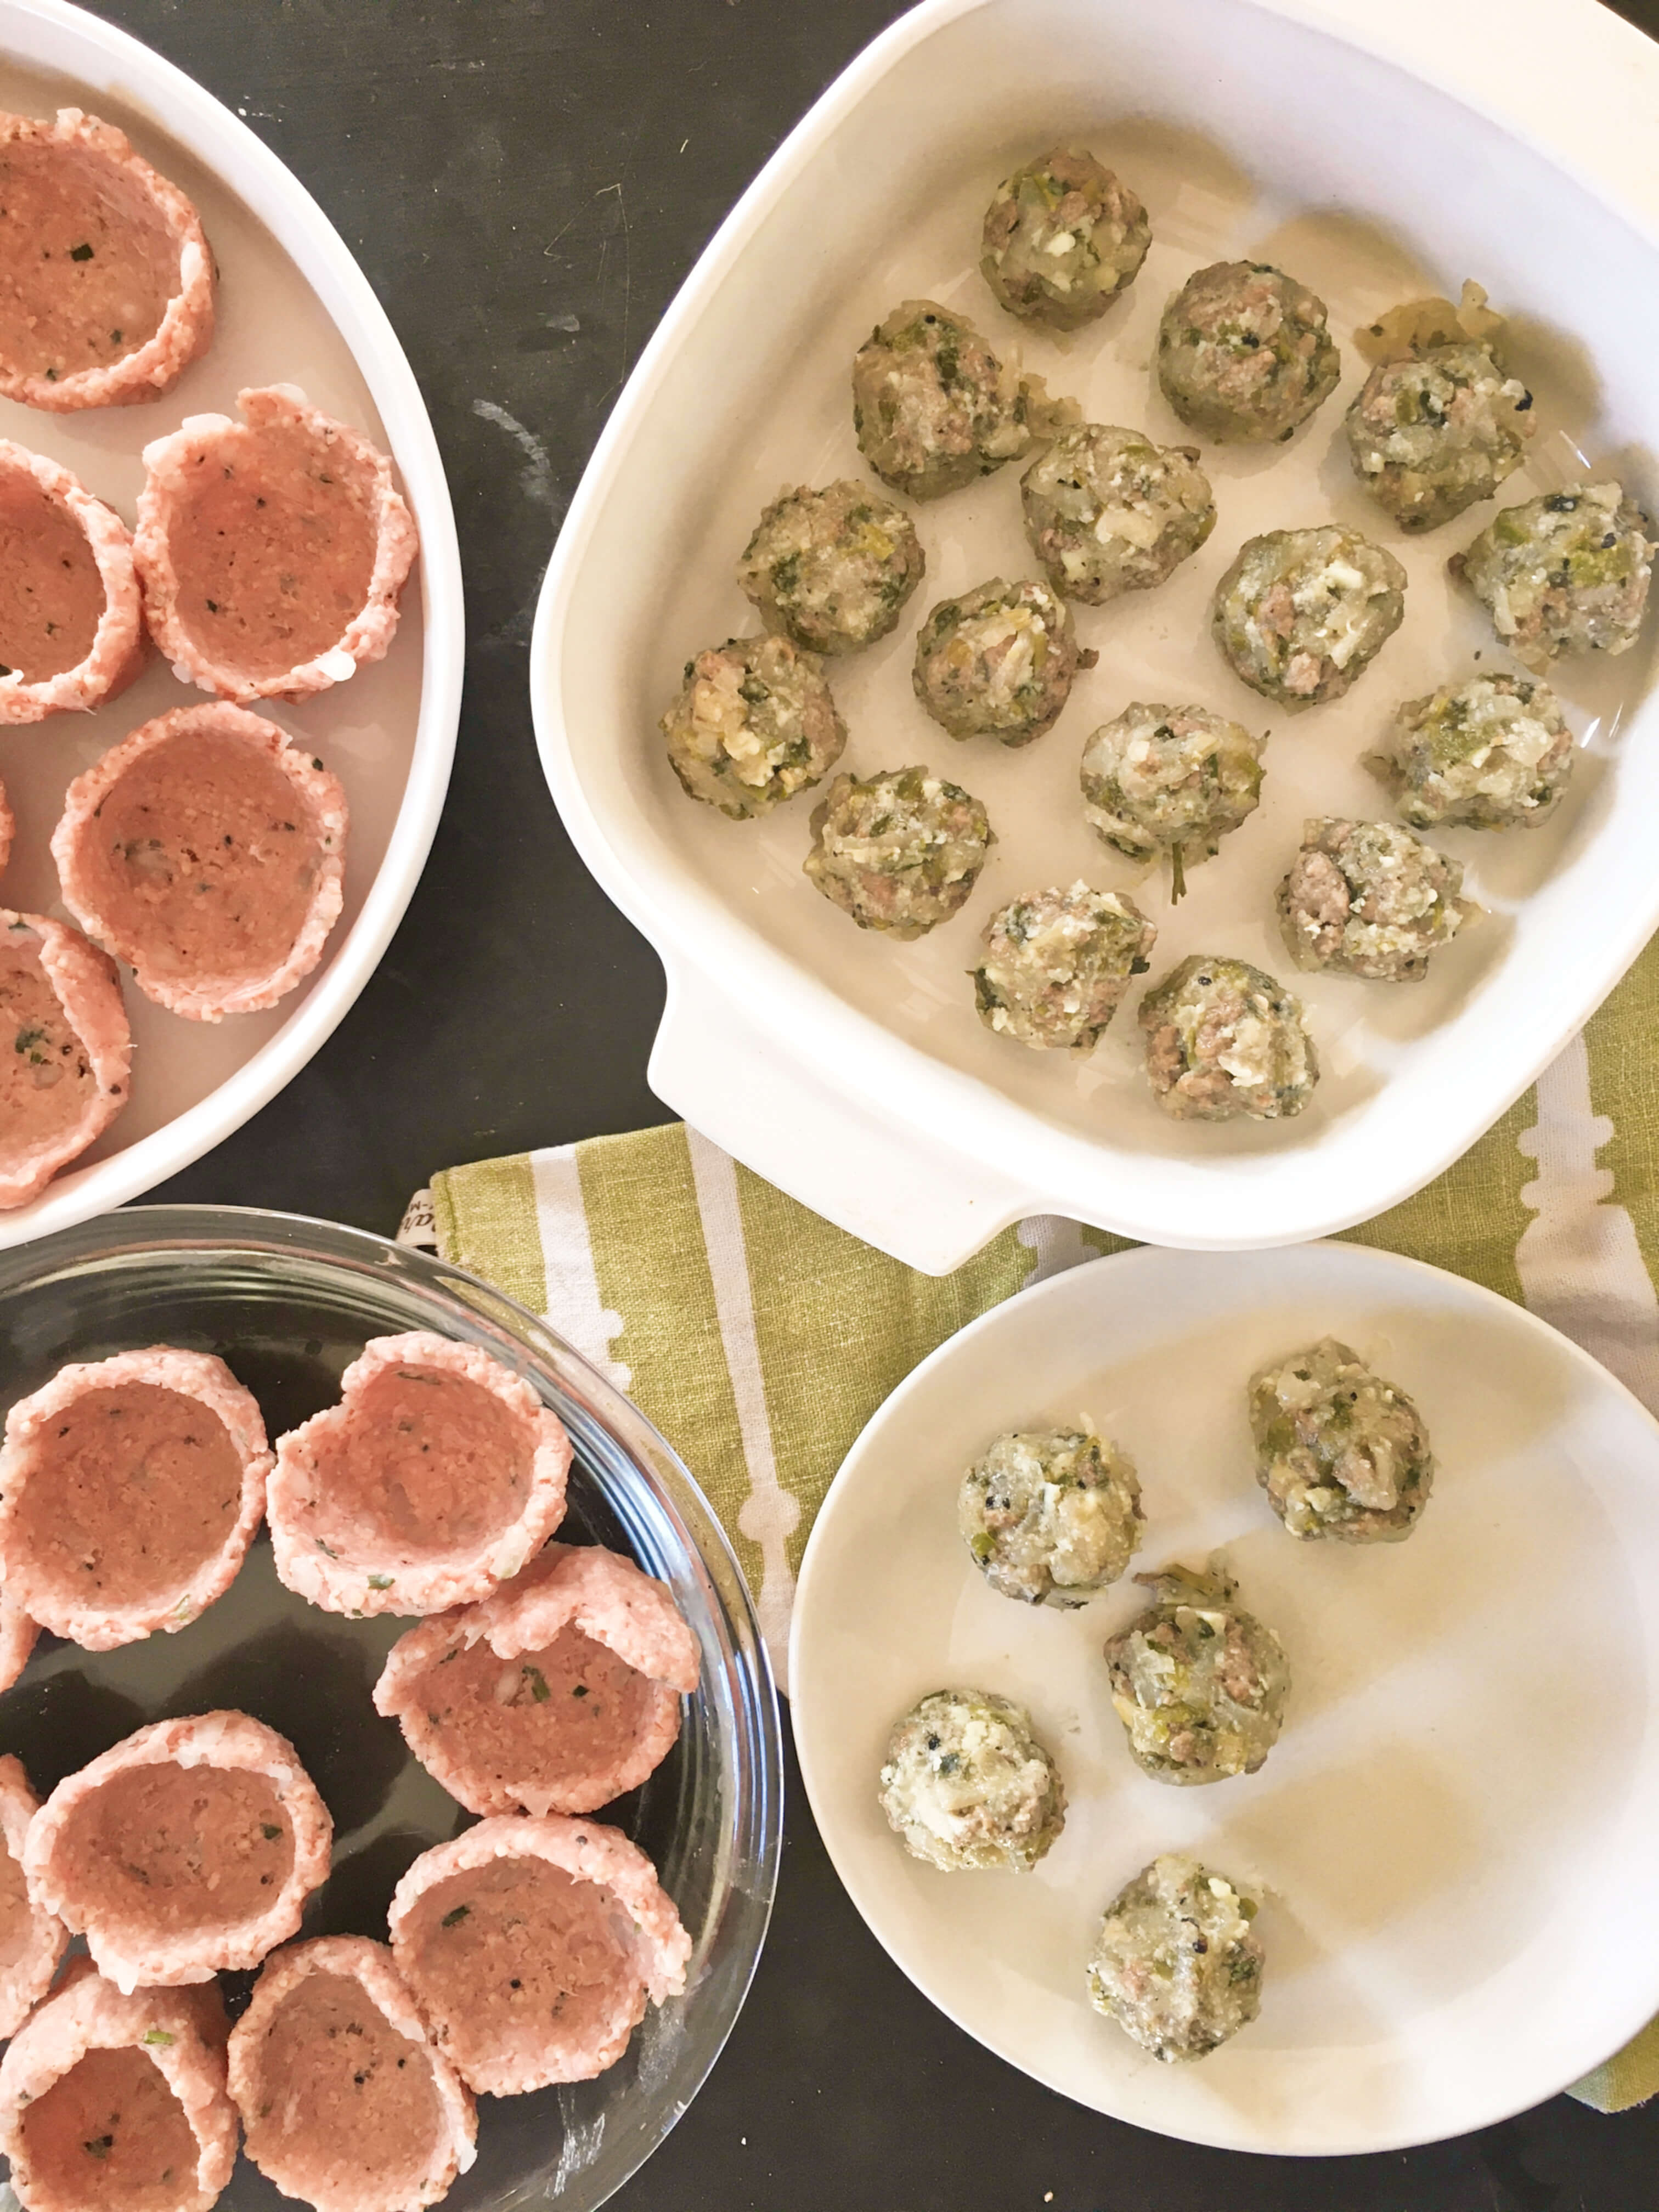
Dip your hands in a bowl of cold water and make balls the size of walnuts. Make a dent in the middle of each ball with your thumb and press all around the inside wall to amke a round opening for the filling. The wall should be fairly thin. (Watch a video on how to do this on my Instastory here).
Place the marble-sized filling in each shell and bring the edges together to close. Smooth the surface with wet fingers and flatten slightly by gently pressing between the palms.
Drop the meat balls into the boiling stock and cook for ten minutes or until the meat balls come to the surface. Remove with a slotted spoon without puncturing. Serve immediately.
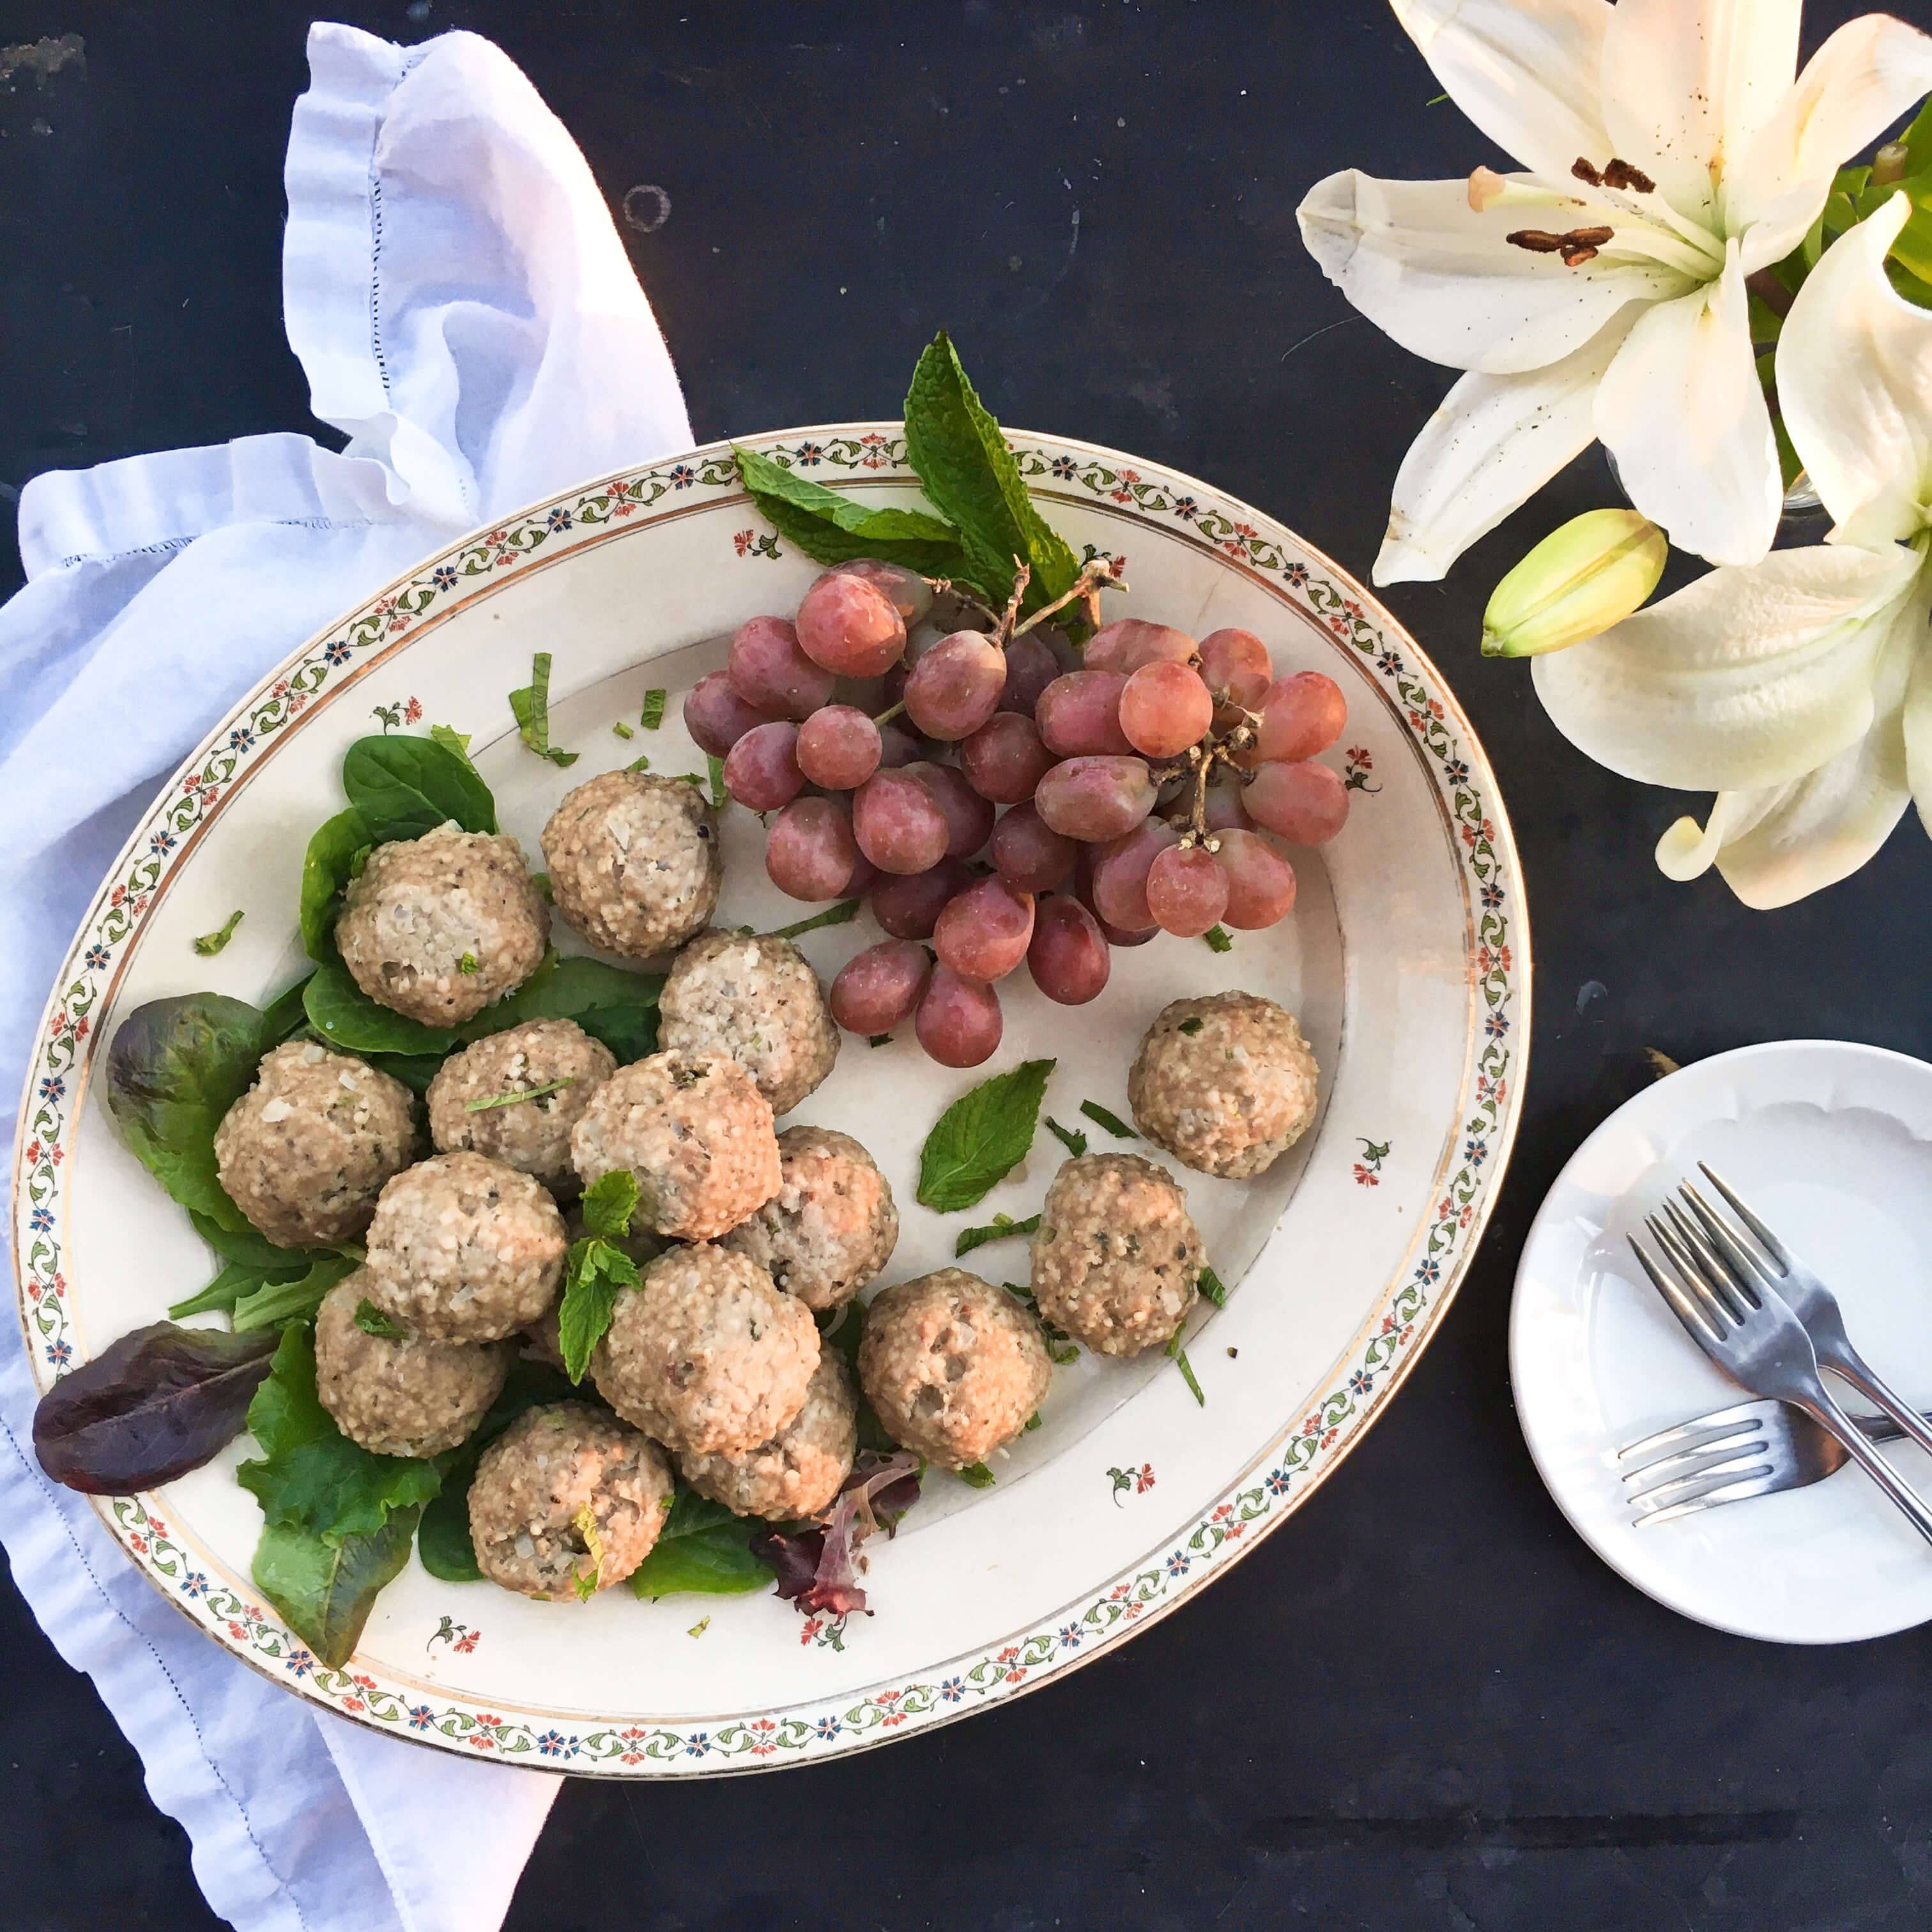
THE RESULT…
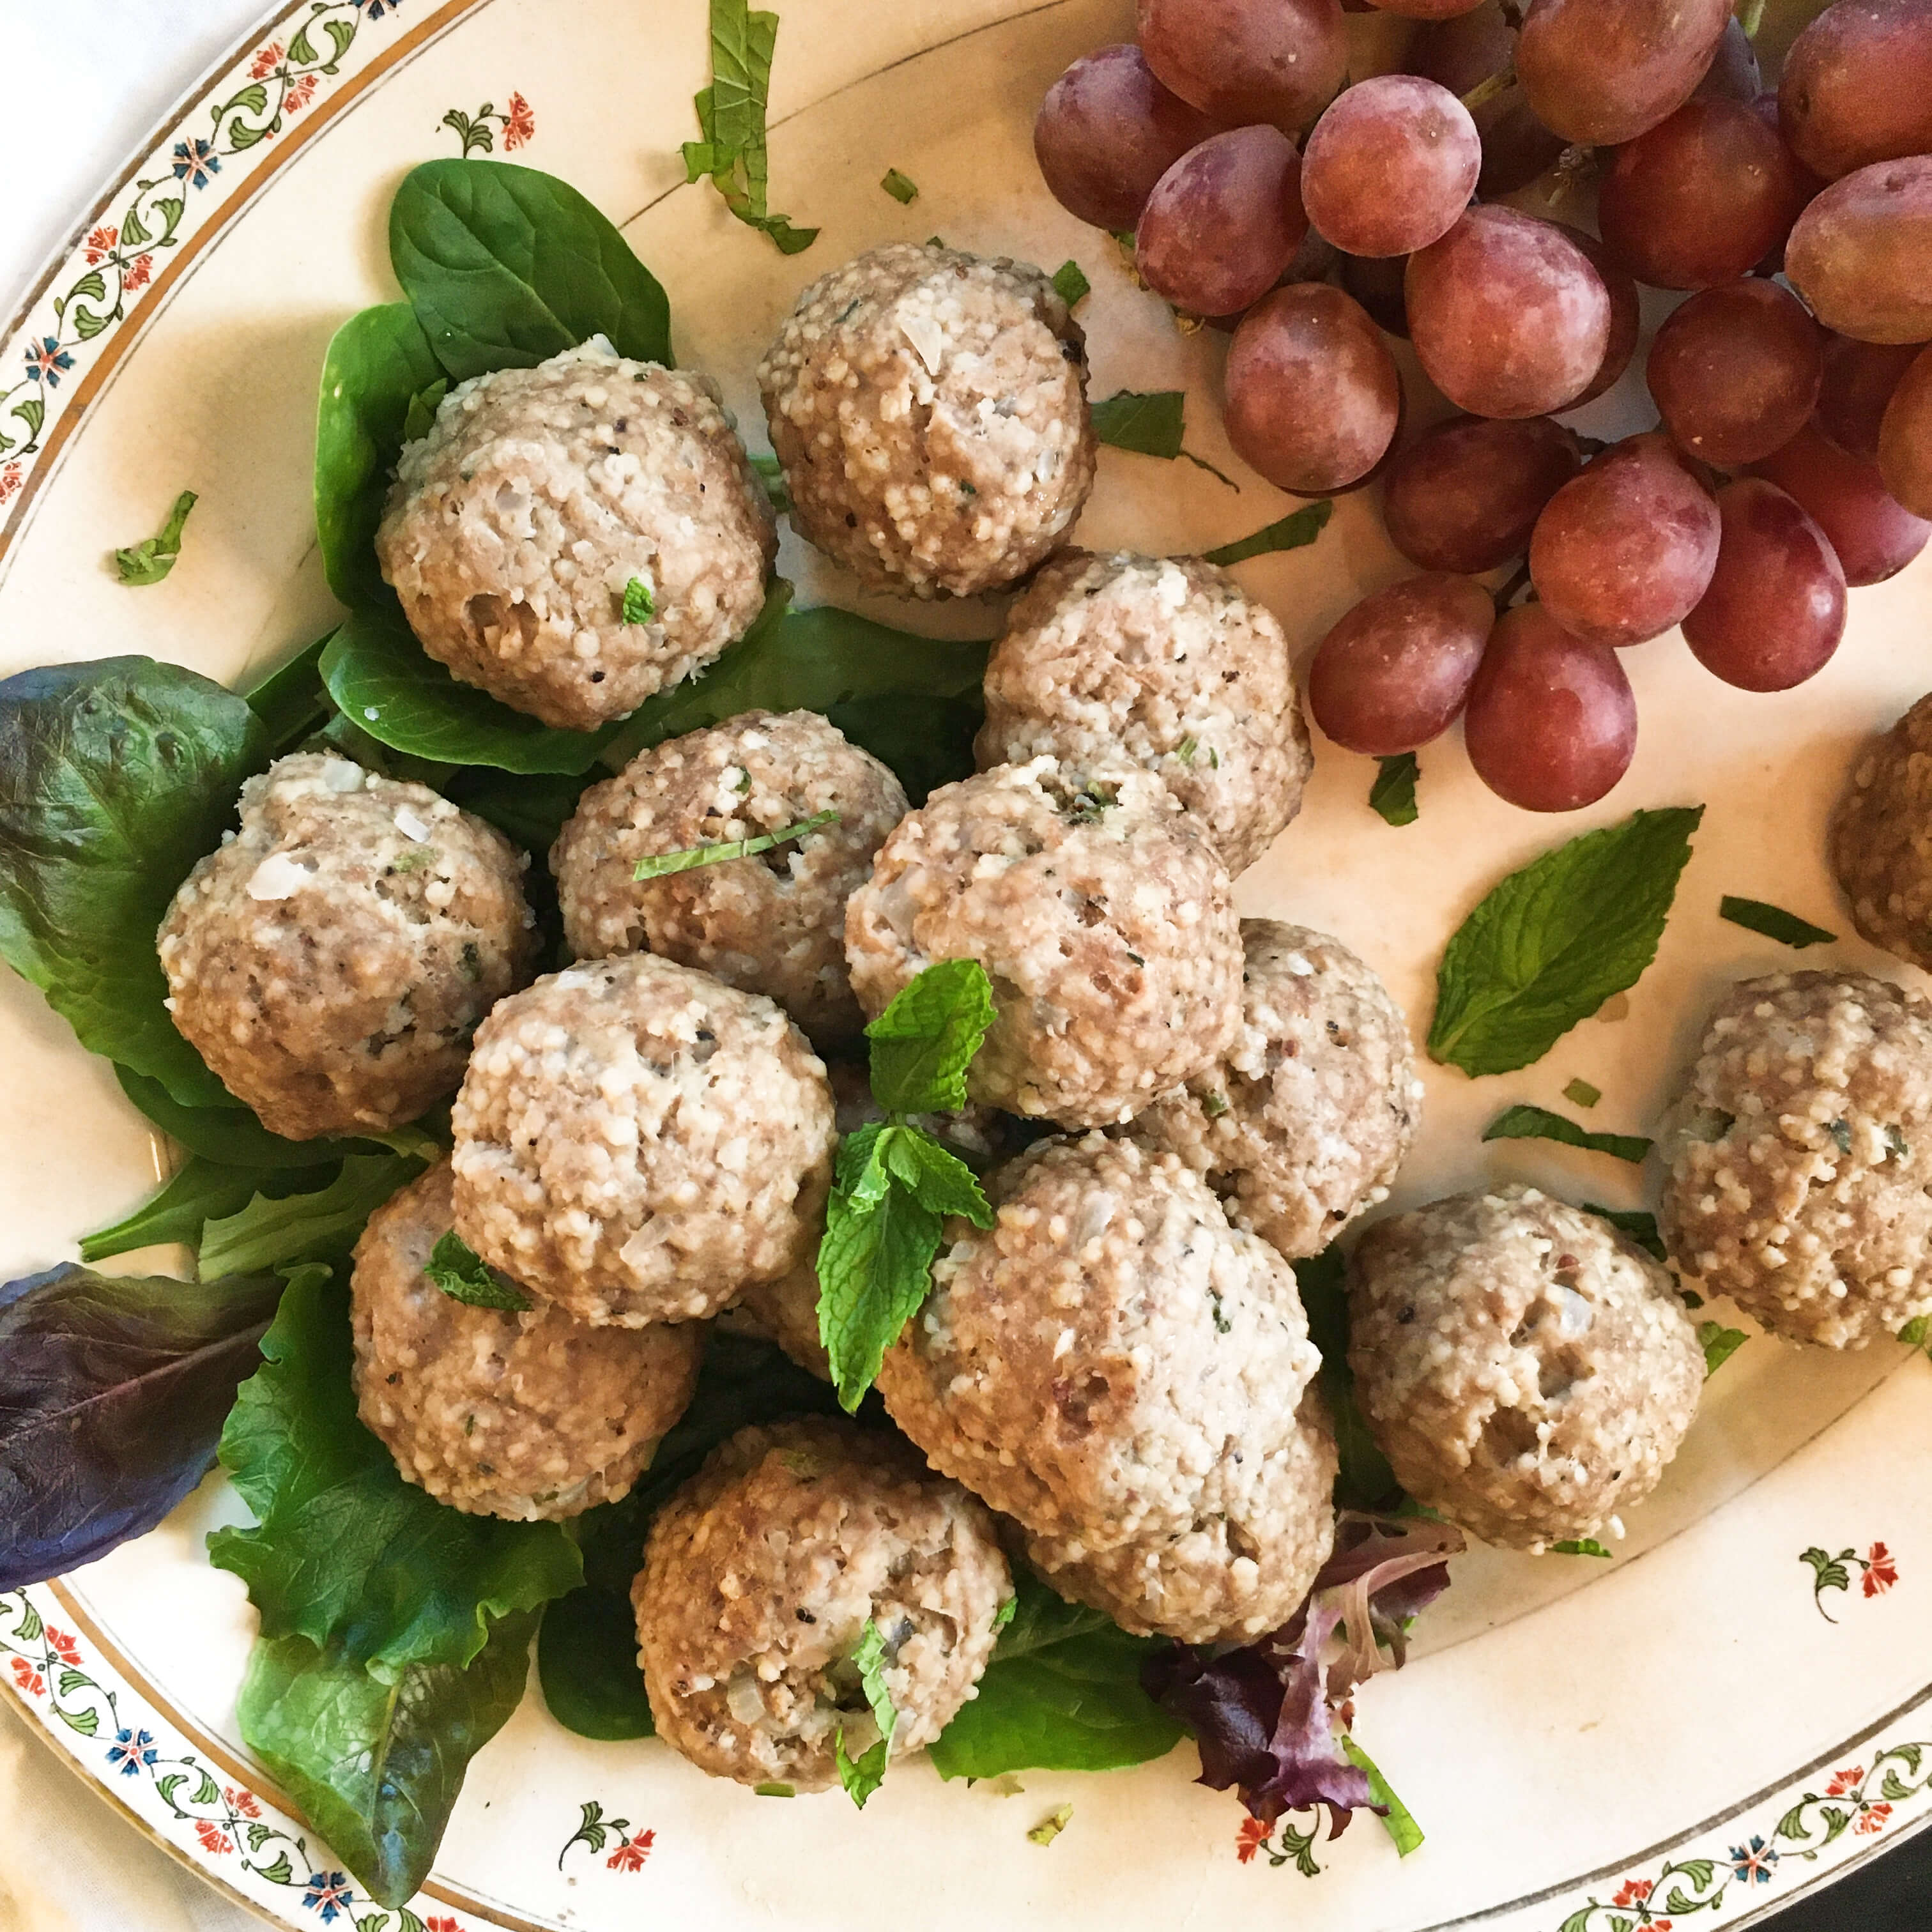
Delicious! Like a hearty little bundle of meatloaf, these meatballs contain all the components of a balanced dish with subtle, nuanced flavors. Filling, comforting and satisfying, the only thing I would have wished, was that they were a bit more aromatic in the spice department. They weren’t bland in the least, but I think I might have been spoiled years ago by my lovely Bulgarian friend’s specialty of Turkish meatballs, which are laden with cumin. That aside, these Armenian meat balls were delicious and delicate in their own unique way. I bet also, had I prepared this dish in the Springtime when the onions and the mint are at their peak of freshness, the sweetness of the mint and the tangy-ness of the onion would have been stronger, sharper and more distinct.
Next time, I’ll experiment with this recipe again in March or April, and add a triple dose of mint to the stuffing to see how that adds to the overall taste. If you try this recipe now, during the winter months, I would suggest serving them with a dollop of mint jelly or a spicy habanero jelly to add another dynamic layer of flavor. Traditionally, this food would be served alongside a heaping pile of rice pilaf or in a shallow basin of broth, like a soup, but because we are featuring just one recipe from each country on this Tour (although this week had two because of the broth) I served these meatballs with a simple side salad and some fresh grapes in lieu of the suggested Armenian Rice Pilaf recipe that followed in the cookbook.
HISTORICAL COMPANION: The Hundred Year Walk
Just like you would pair a fine wine with a fine meal to bring out the food’s flavor, I thought it would be fun to connect each recipe we make with a unique cultural story from history to add interest to the dish and spark additional conversation. Throughout the tour, this historical nod will come in various forms – interviews, book recommendations, movie suggestions, music playlists, art discussions and artifact discoveries. This week’s cultural tie-in comes in the form of a book, The Hundred Year Walk, which details the history of Armenia and its people in a highly relatable way.
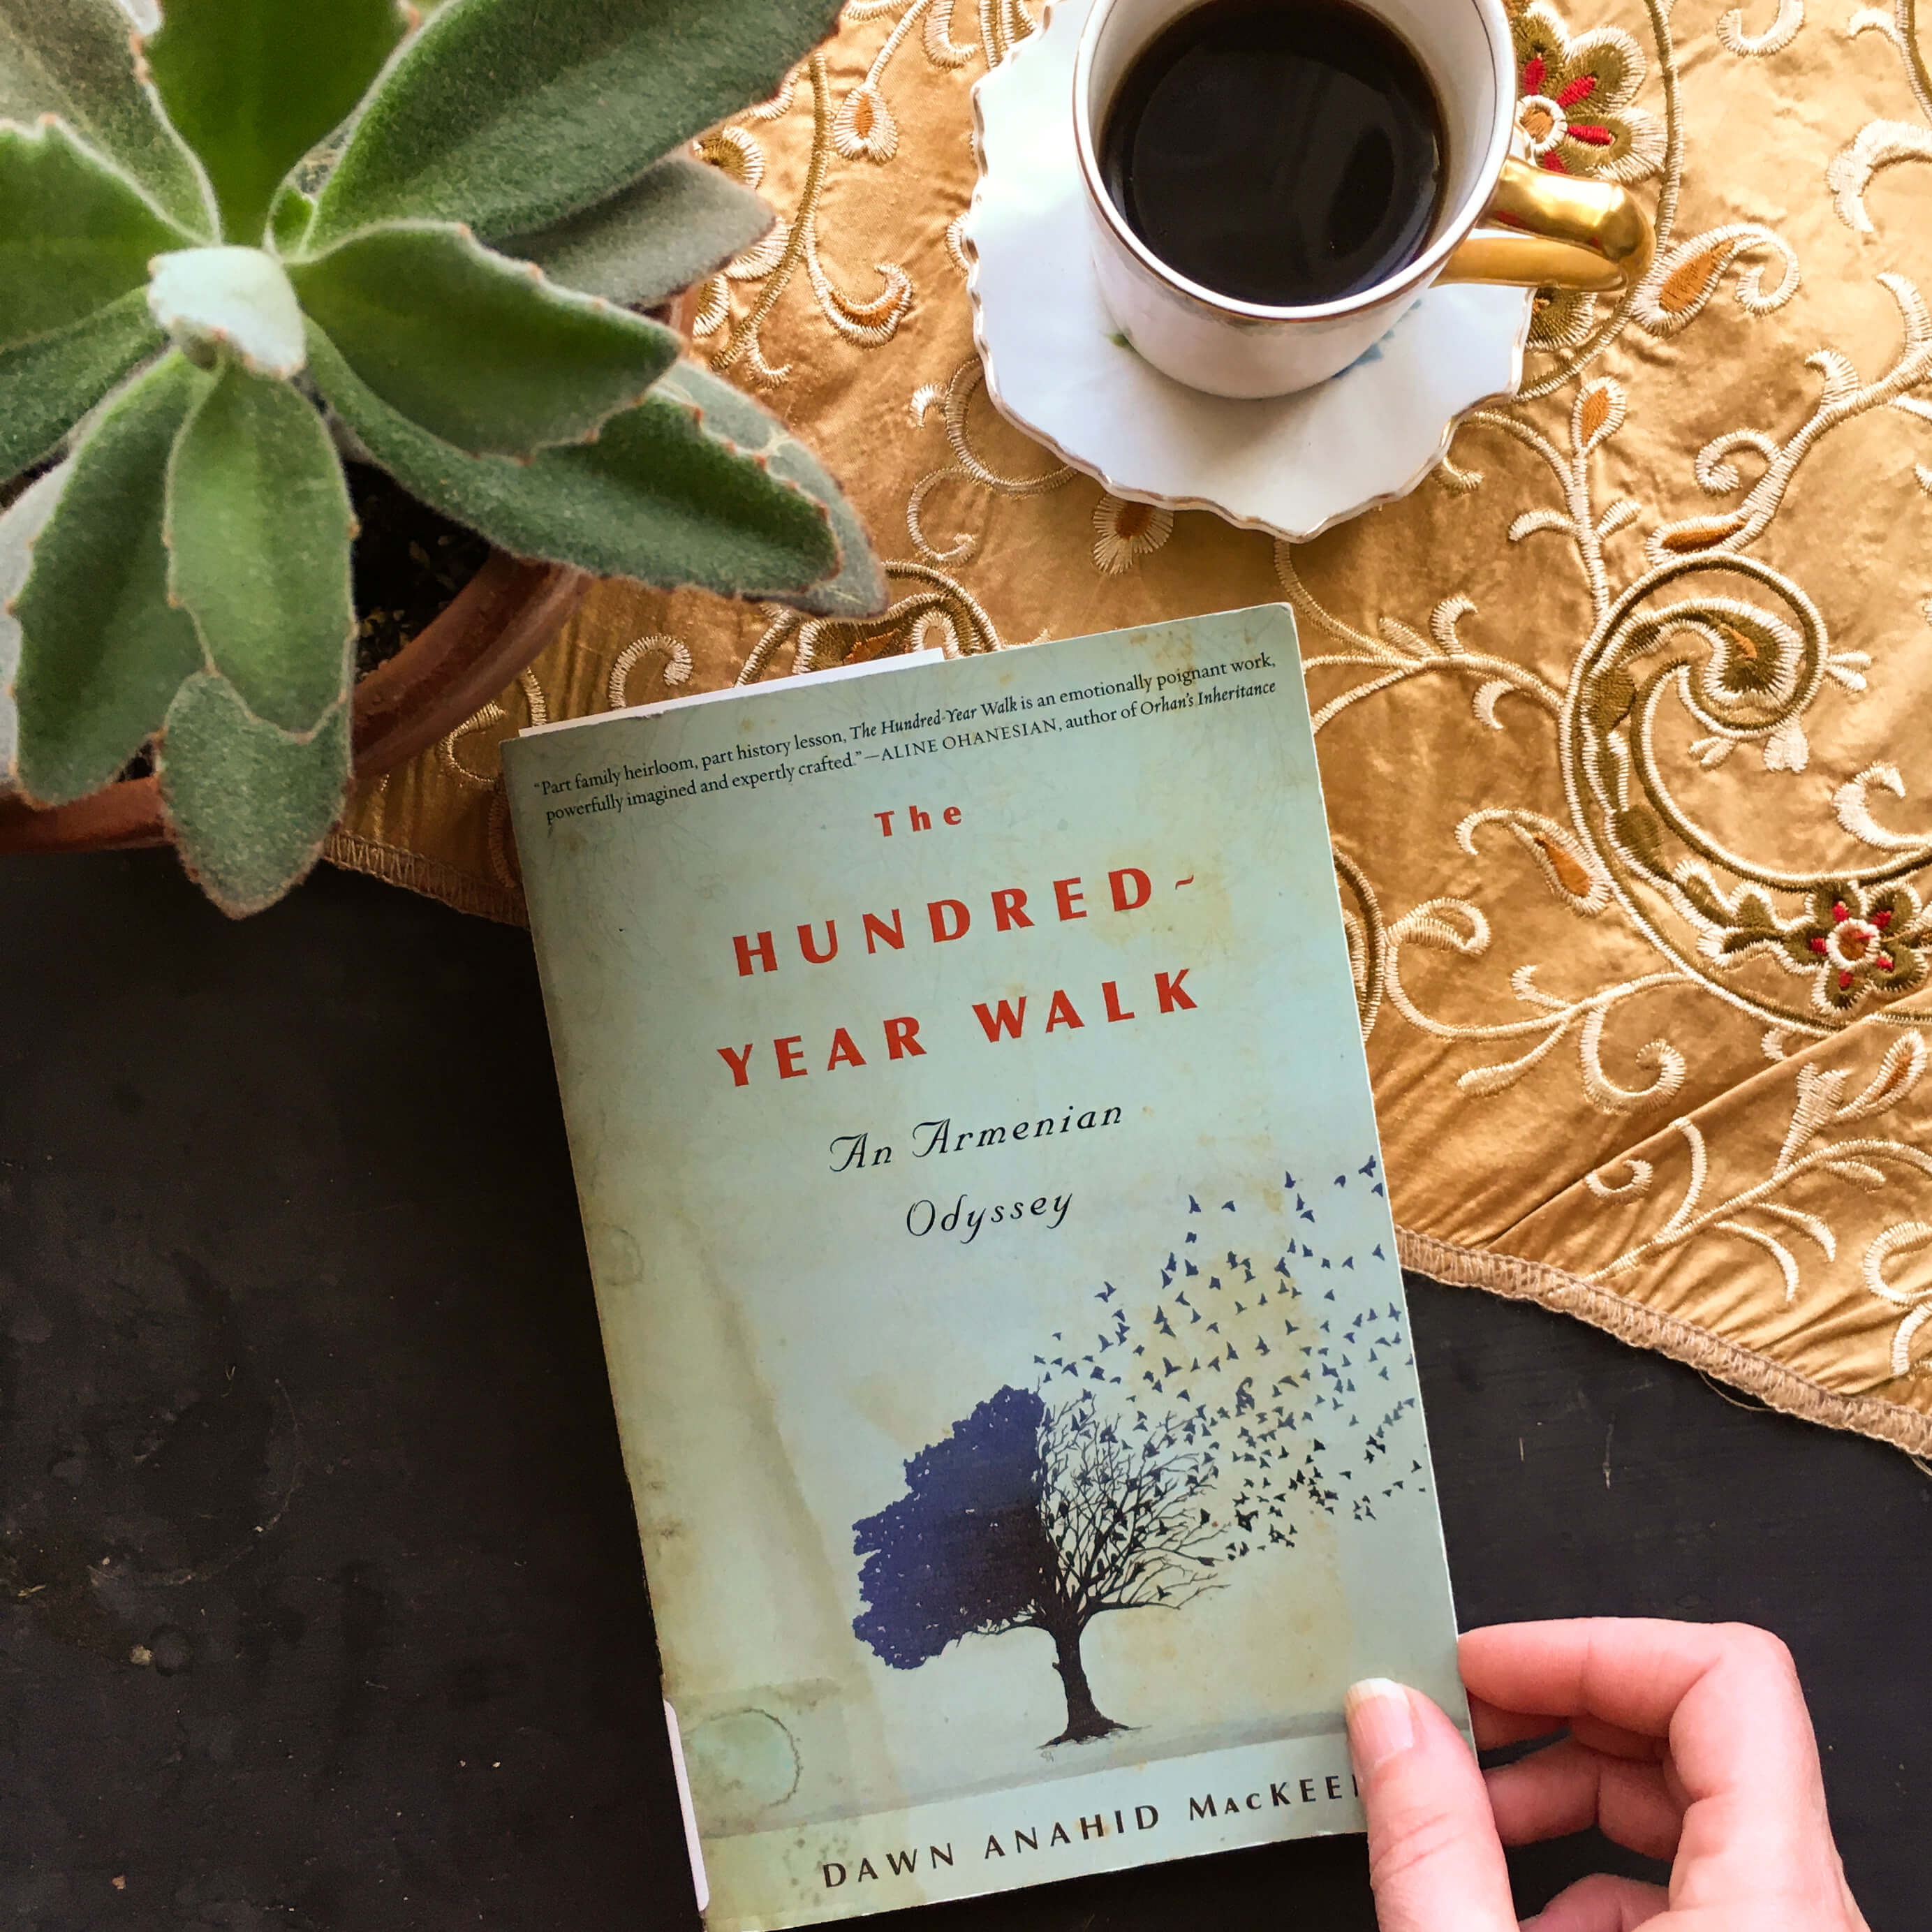
Written by Dawn Anahid MacKeen, a thirty-something California native who is half American and half Armenian, The Hundred Year Walk, published in 2016, tells the true story of her Armenian grandfather who survived Turkish military capture in the early part of the 20th century. It’s almost impossible to research anything about Armenia without reference to the tragic Armenian genocide of 1915 – an event that killed over 1 million people – about half of the country’s population. While this is a heavy topic for our recipe tour, this event is as important to the country’s history as their staple foods, and has come to define the Armenian culture throughout the past 100 years.

Dawn’s grandfather Stepan, a survivor of the Armenian genocide of 1915, recorded details of this life-altering experience and his escape to freedom in journals which he kept throughout his life. Those journals were passed down to Dawn’s mother who tucked them away, out of sight for decades. But in the early 2000’s, on a trip home to California to visit her parents, Dawn finds the handwritten books and suddenly becomes consumed by stories surrounding her grandfather’s unusual and heroic escape. Filled with a desire to understand her own family history and the struggles Stepan faced, Dawn begins piecing together his cataclysmic journey as he walked through cities, over mountains and eventually across the desert in order to escape death. Retelling Stepan’s story as events unfolded in 1915, Dawn also parallels this ancient history with her own modern day journey of exploration in the early 2000’s, as she follows in his own footsteps retracing his route through modern day Turkey and Syria – a young woman traveling alone amid post 9/11 tension and unease.
What I loved most about Dawn’s book was her ability to paint a thoroughly engrossing portrait of the Armenian way of life known by her grandfather’s generation, and then balance that against her own unique perspective and experiences as a modern day American woman. Her book is a crash course in all things Armenia, while also offering a compassionate viewpoint of the effects of war and displacement upon multiple generations.
On a side note, one of the random things I learned in preparation for this post is that the library will buy books for you. I wanted to read The Hundred Year Walk over the Christmas holiday but none of the books available online would be delivered in the timeframe that I needed, and my local bookstore didn’t carry this title. Dawn’s book was also not included in my local library system, which meant that they didn’t have any copies in any of their branches. On their website, I noticed a feature called “suggest a book ” where you can suggest a book for the library to buy which will then become part of their permanent circulating collection. Not sure, how all this worked nor how quickly, I submitted a request for the library to purchase a copy of The Hundred Year Walk. The very next day I received an email that the book request had been approved, and that they were ordering several copies for several branches. Four days later, I received another email. The book was at the library ready for pickup. How marvelous! I’m not sure if all libraries offer this service, but it’s worth an inquiry if you find yourself in a particular predicament.

History can feel very far removed and intimidating when you have no reference point or fundamental understanding of a country or a culture that is thousands of miles away and vastly different from your own. But cooking this batch of Stuffed Meat Balls and reading The Hundred Year Walk was such a captivating experience. Riveting from page one, I won’t spoil the book and its trajectory of events, only to say that it starts with a scene in the kitchen – a conversation between Dawn and her mother while they wash dishes. It’s a mundane task, so commonplace and ordinary, yet ultimately becomes life-changing for both women as there in the swirl of the dish water, Stepan’s story begins to form.
I hope Week One of the International Vintage Recipe Tour sets up in your kitchen in just the same way. That conversations spark between between friends and family as meatballs get made and interest about Armenia grows. I look forward to exploring and sharing more recipes from this fascinating country with you in future posts. In the meantime, if you have any related food stories or experiences to share about Armenia or the Stuffed Meat Ball recipe, please share them in the comments section below. I’d love to hear your thoughts.
To learn more about Dawn Anahid Mackeen , visit her website here.
Join us next week, as we embark on Week Two of our epicurean adventure… Australia, where we’ll feature a good news recipe for a country that needs all the good news it can get right now.

FEATURED!
This recipe was featured in The Armenian-Mirror Spectator on November 19th, 2020! Stop by to read about it here!